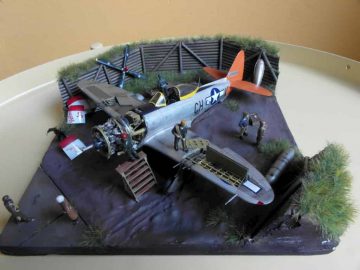
The Brewster SB2A was an US bomber-scout aircraft build for the RAF and the US Army, Navy and Marine Corpse between 1942 and 1944. It was also ordered in large quantities by the Dutch and French, but these were taken over by the Americans and British after the German invasion.
The aircraft itself was a disaster and contender for the worst mass produced aircraft of the 2nd world war. They were underpowered, difficult to handle and poorly build. After they were considered unfit for combat, many were scrapped before entering service or used as target tugs.
The kit
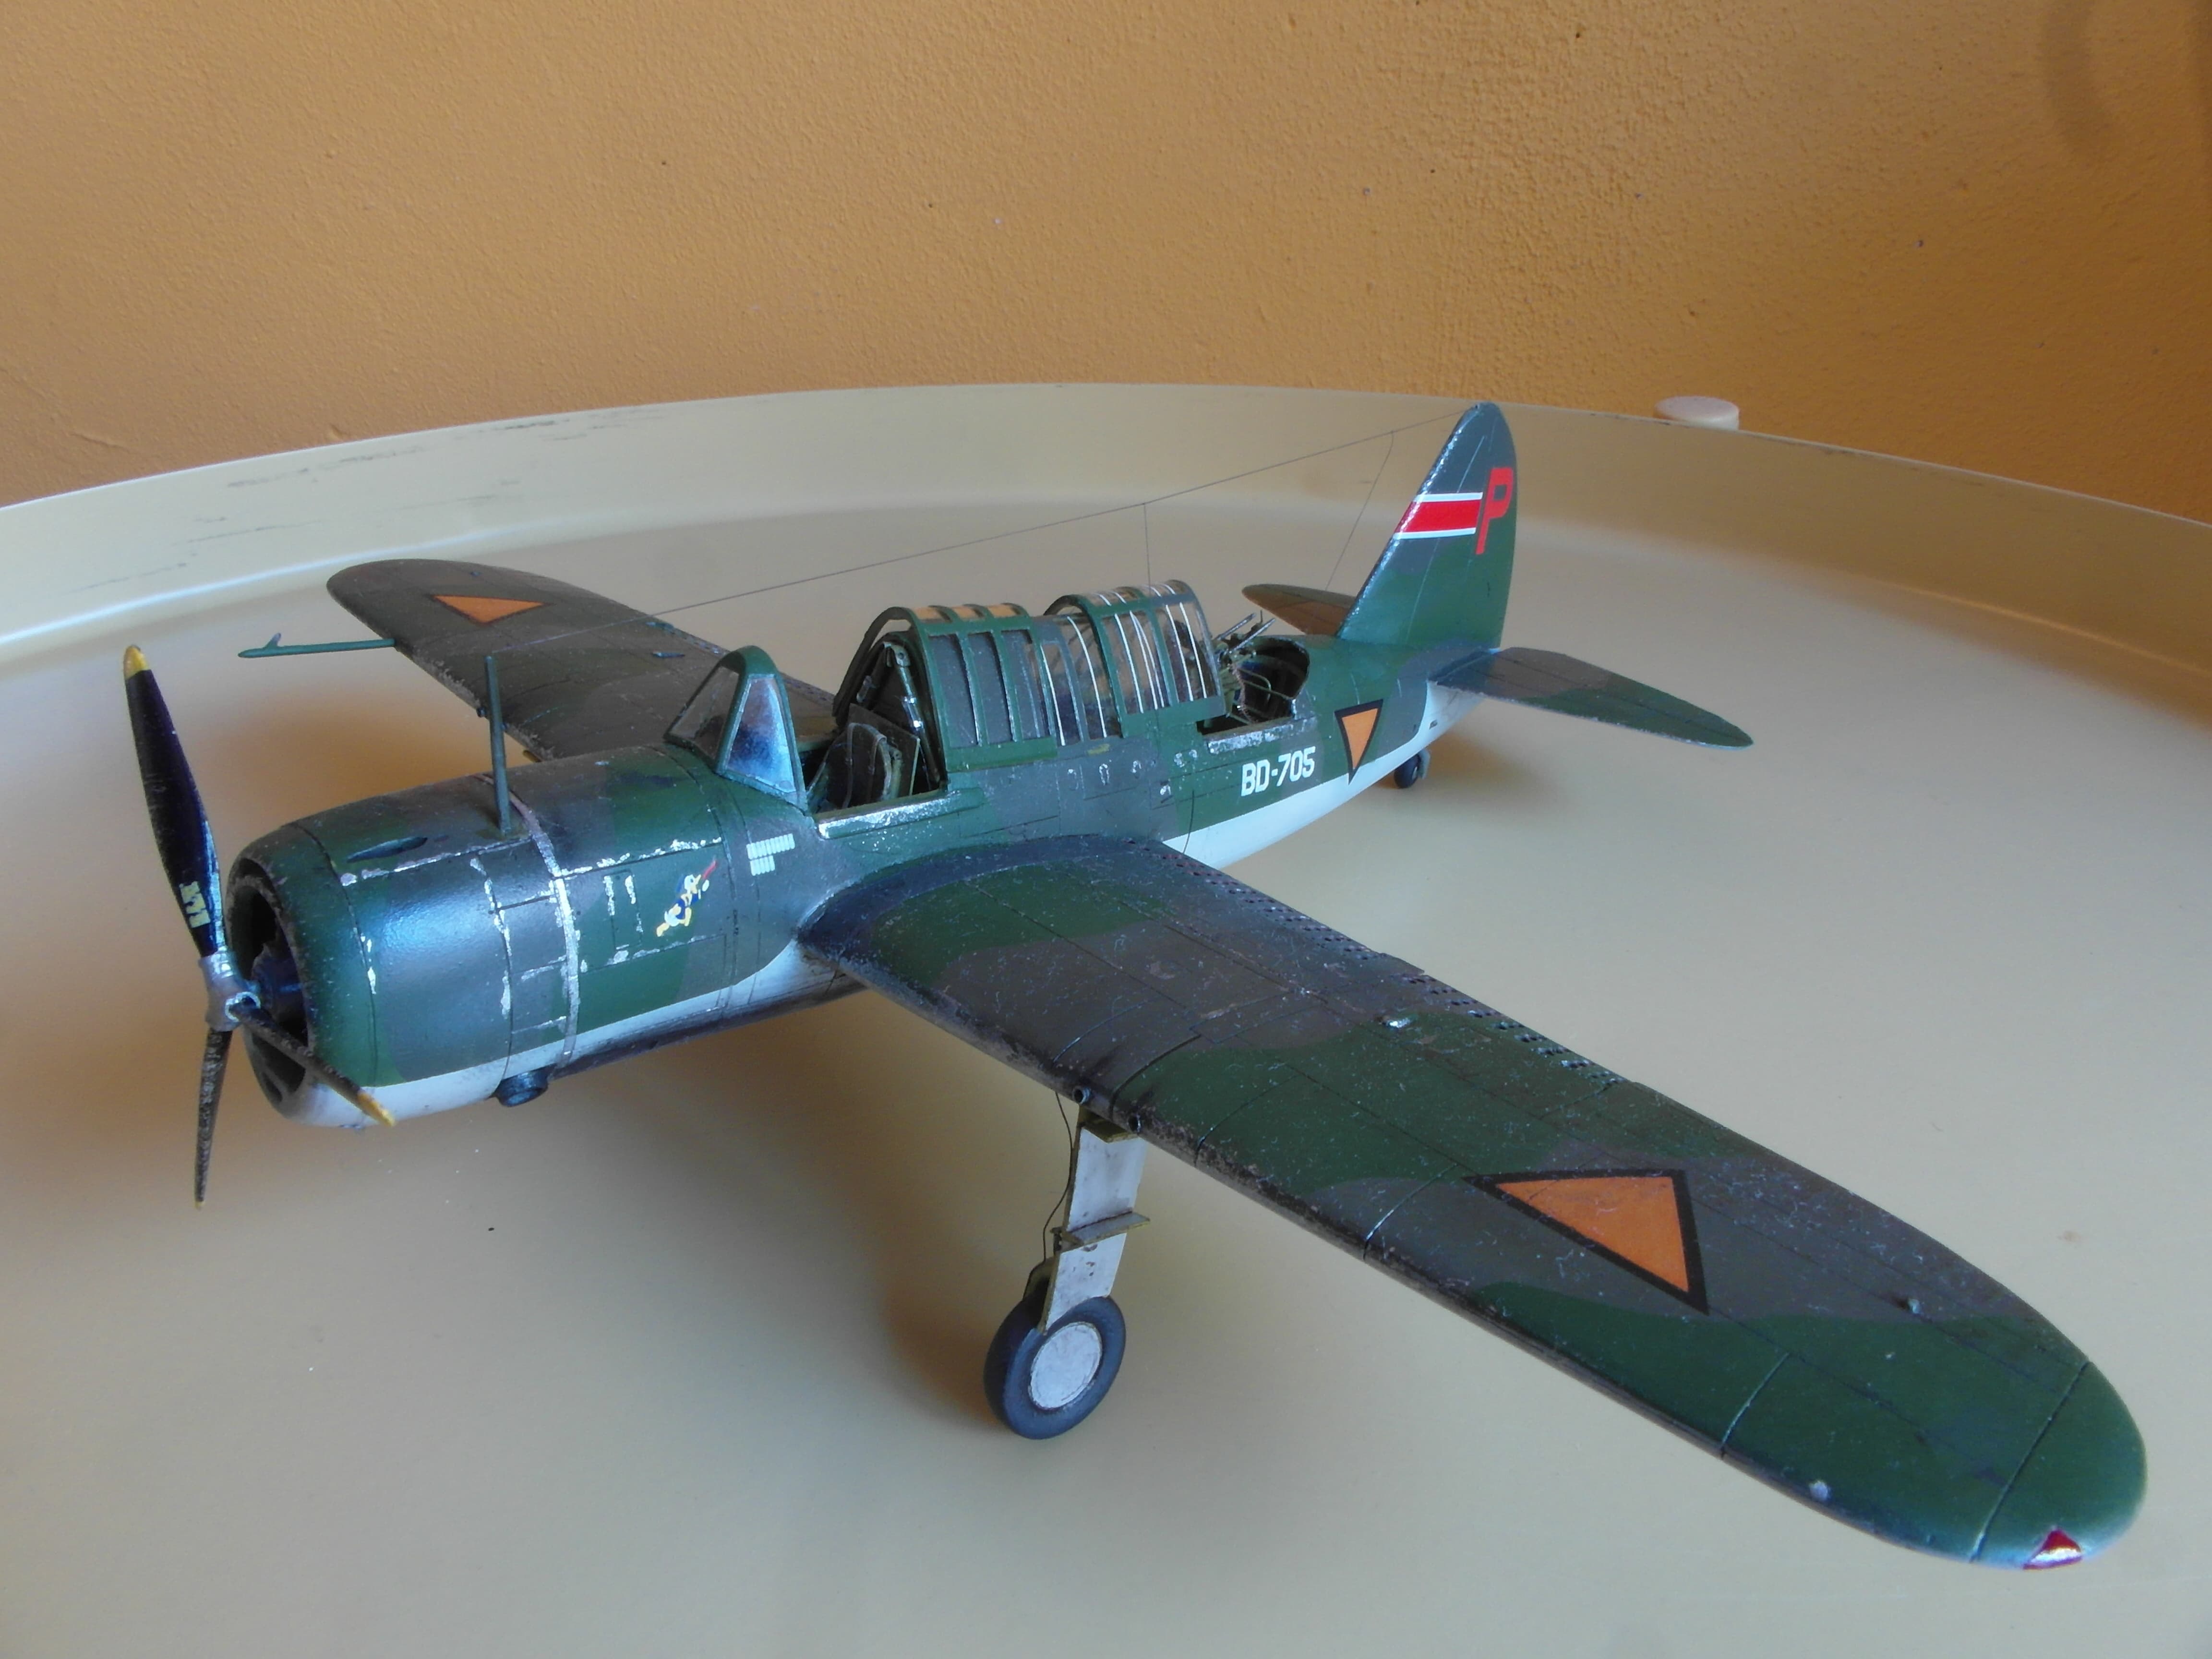
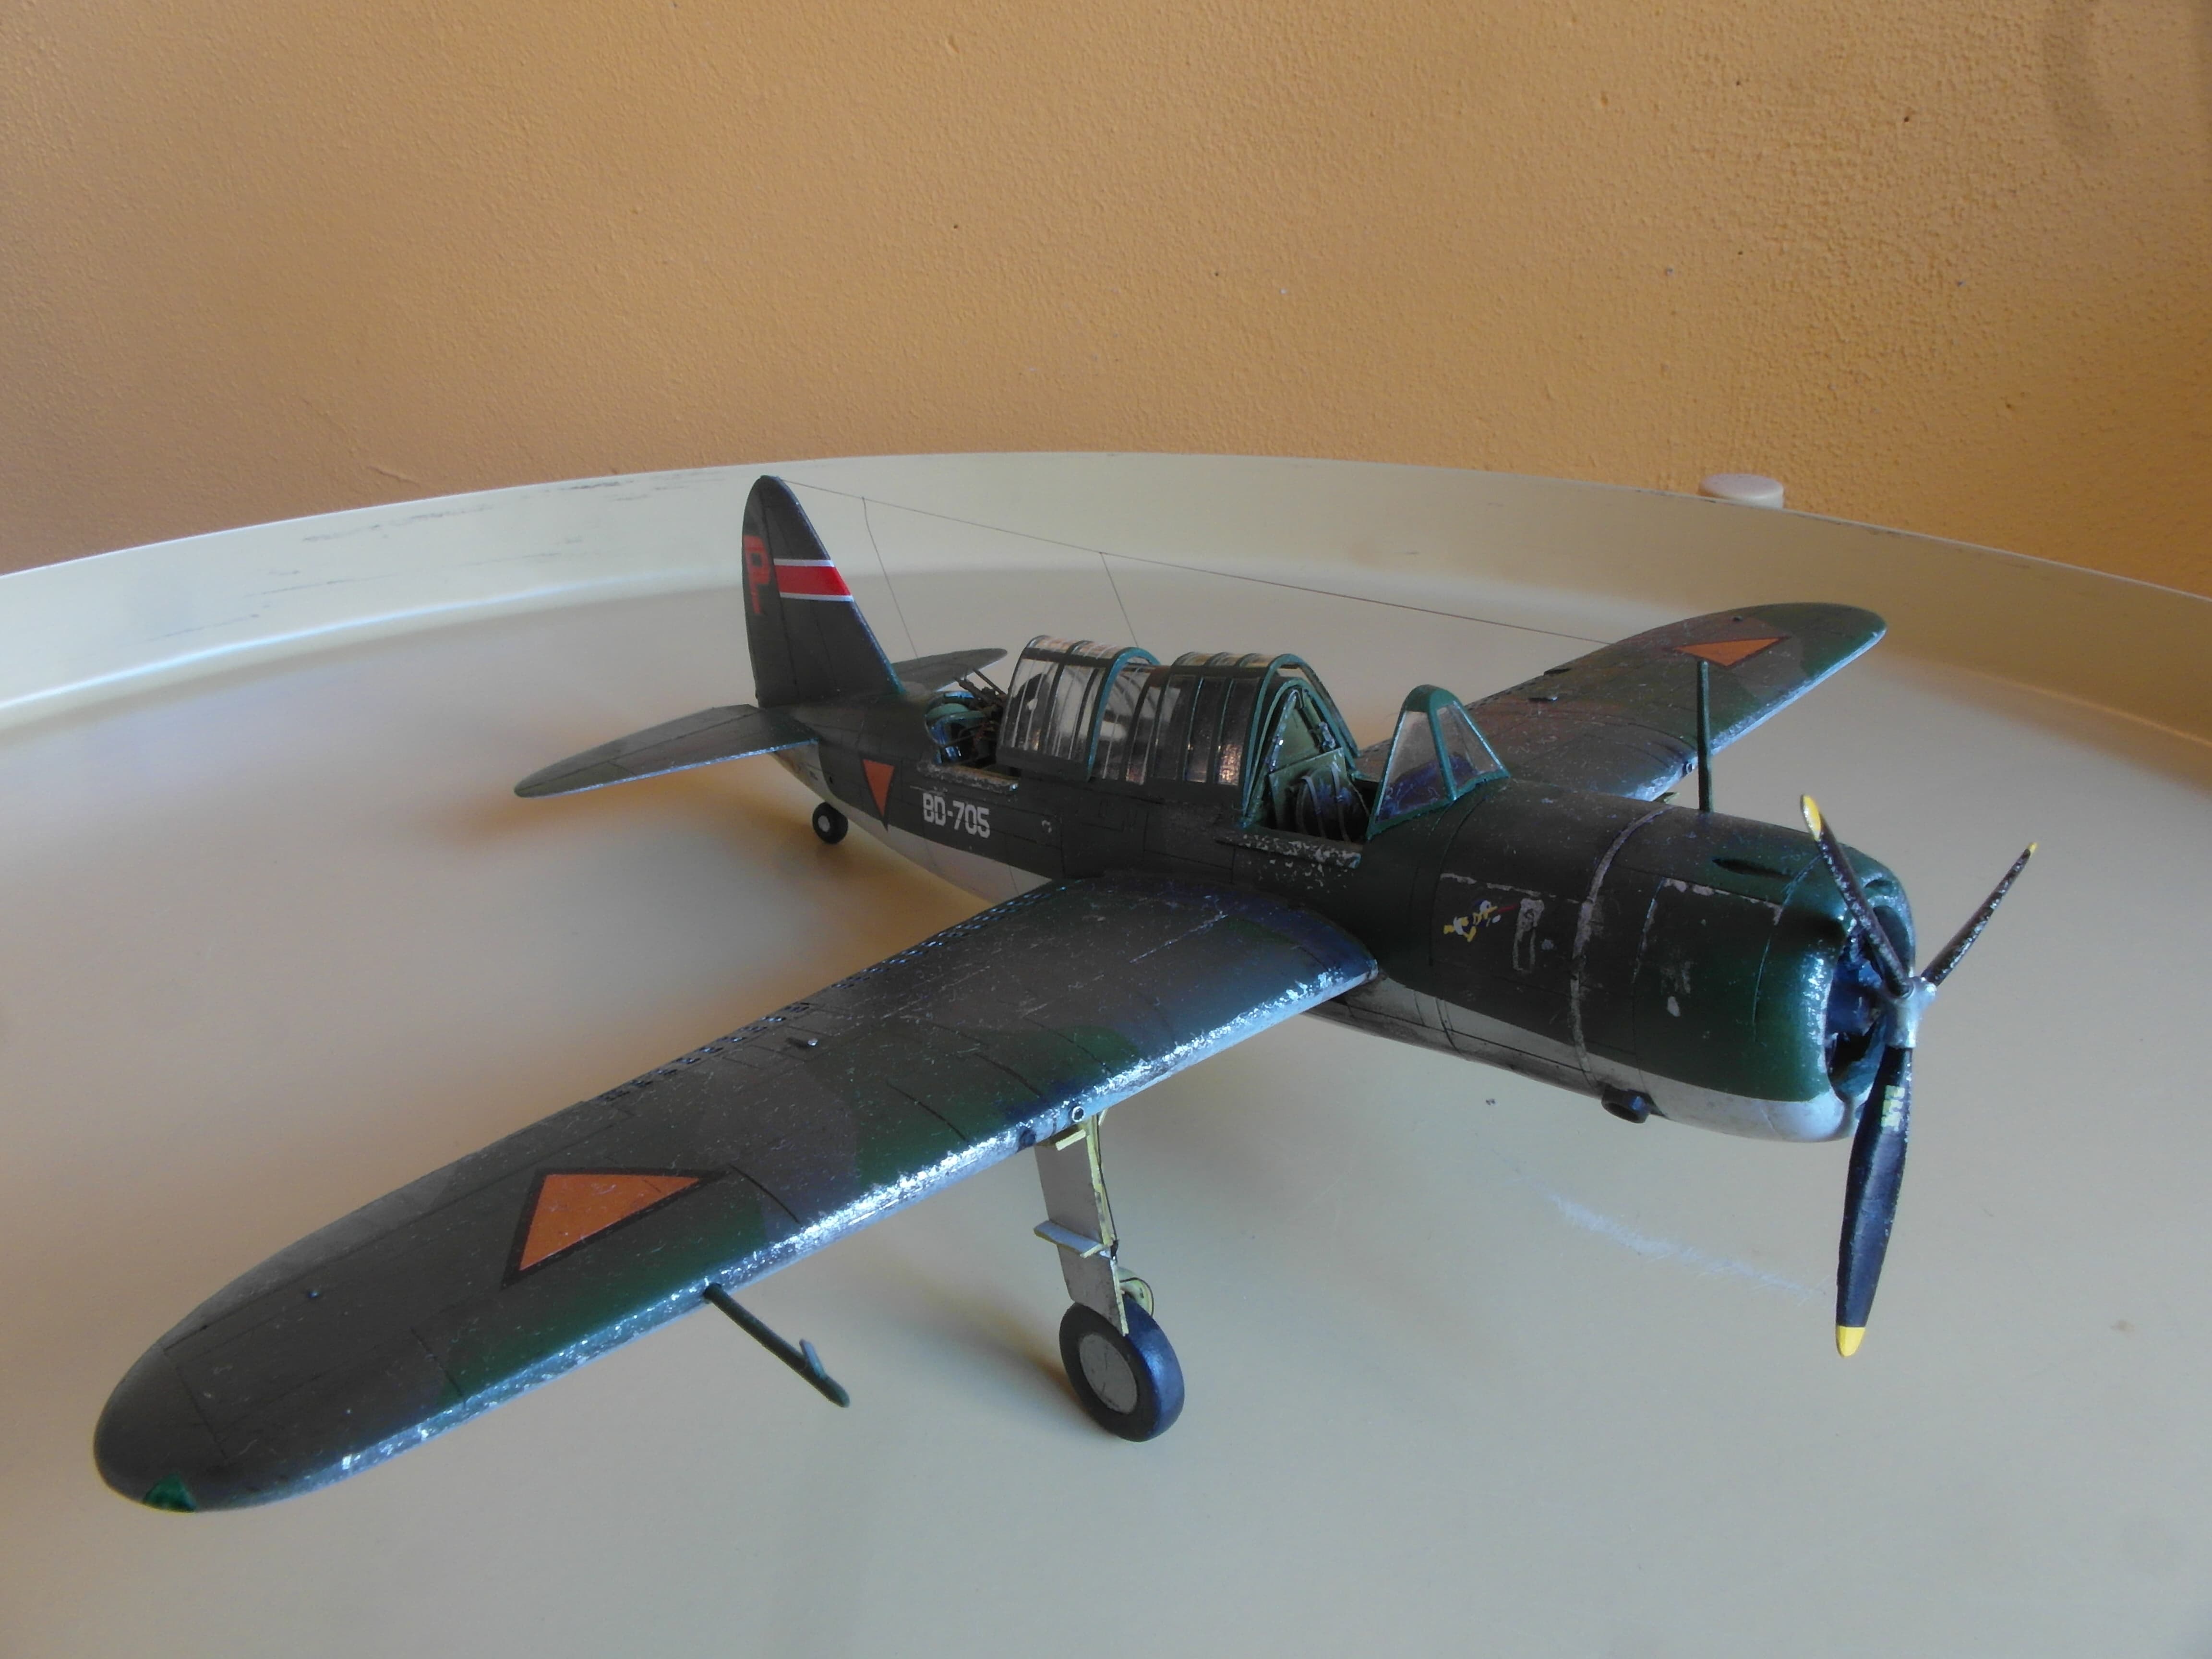
This kit by Special Hobby originally drew my attention as I’m quite fond of Dutch aircraft, and this run included “what-if” markings for the ML-KNIL, the Dutch East Indies army air force.
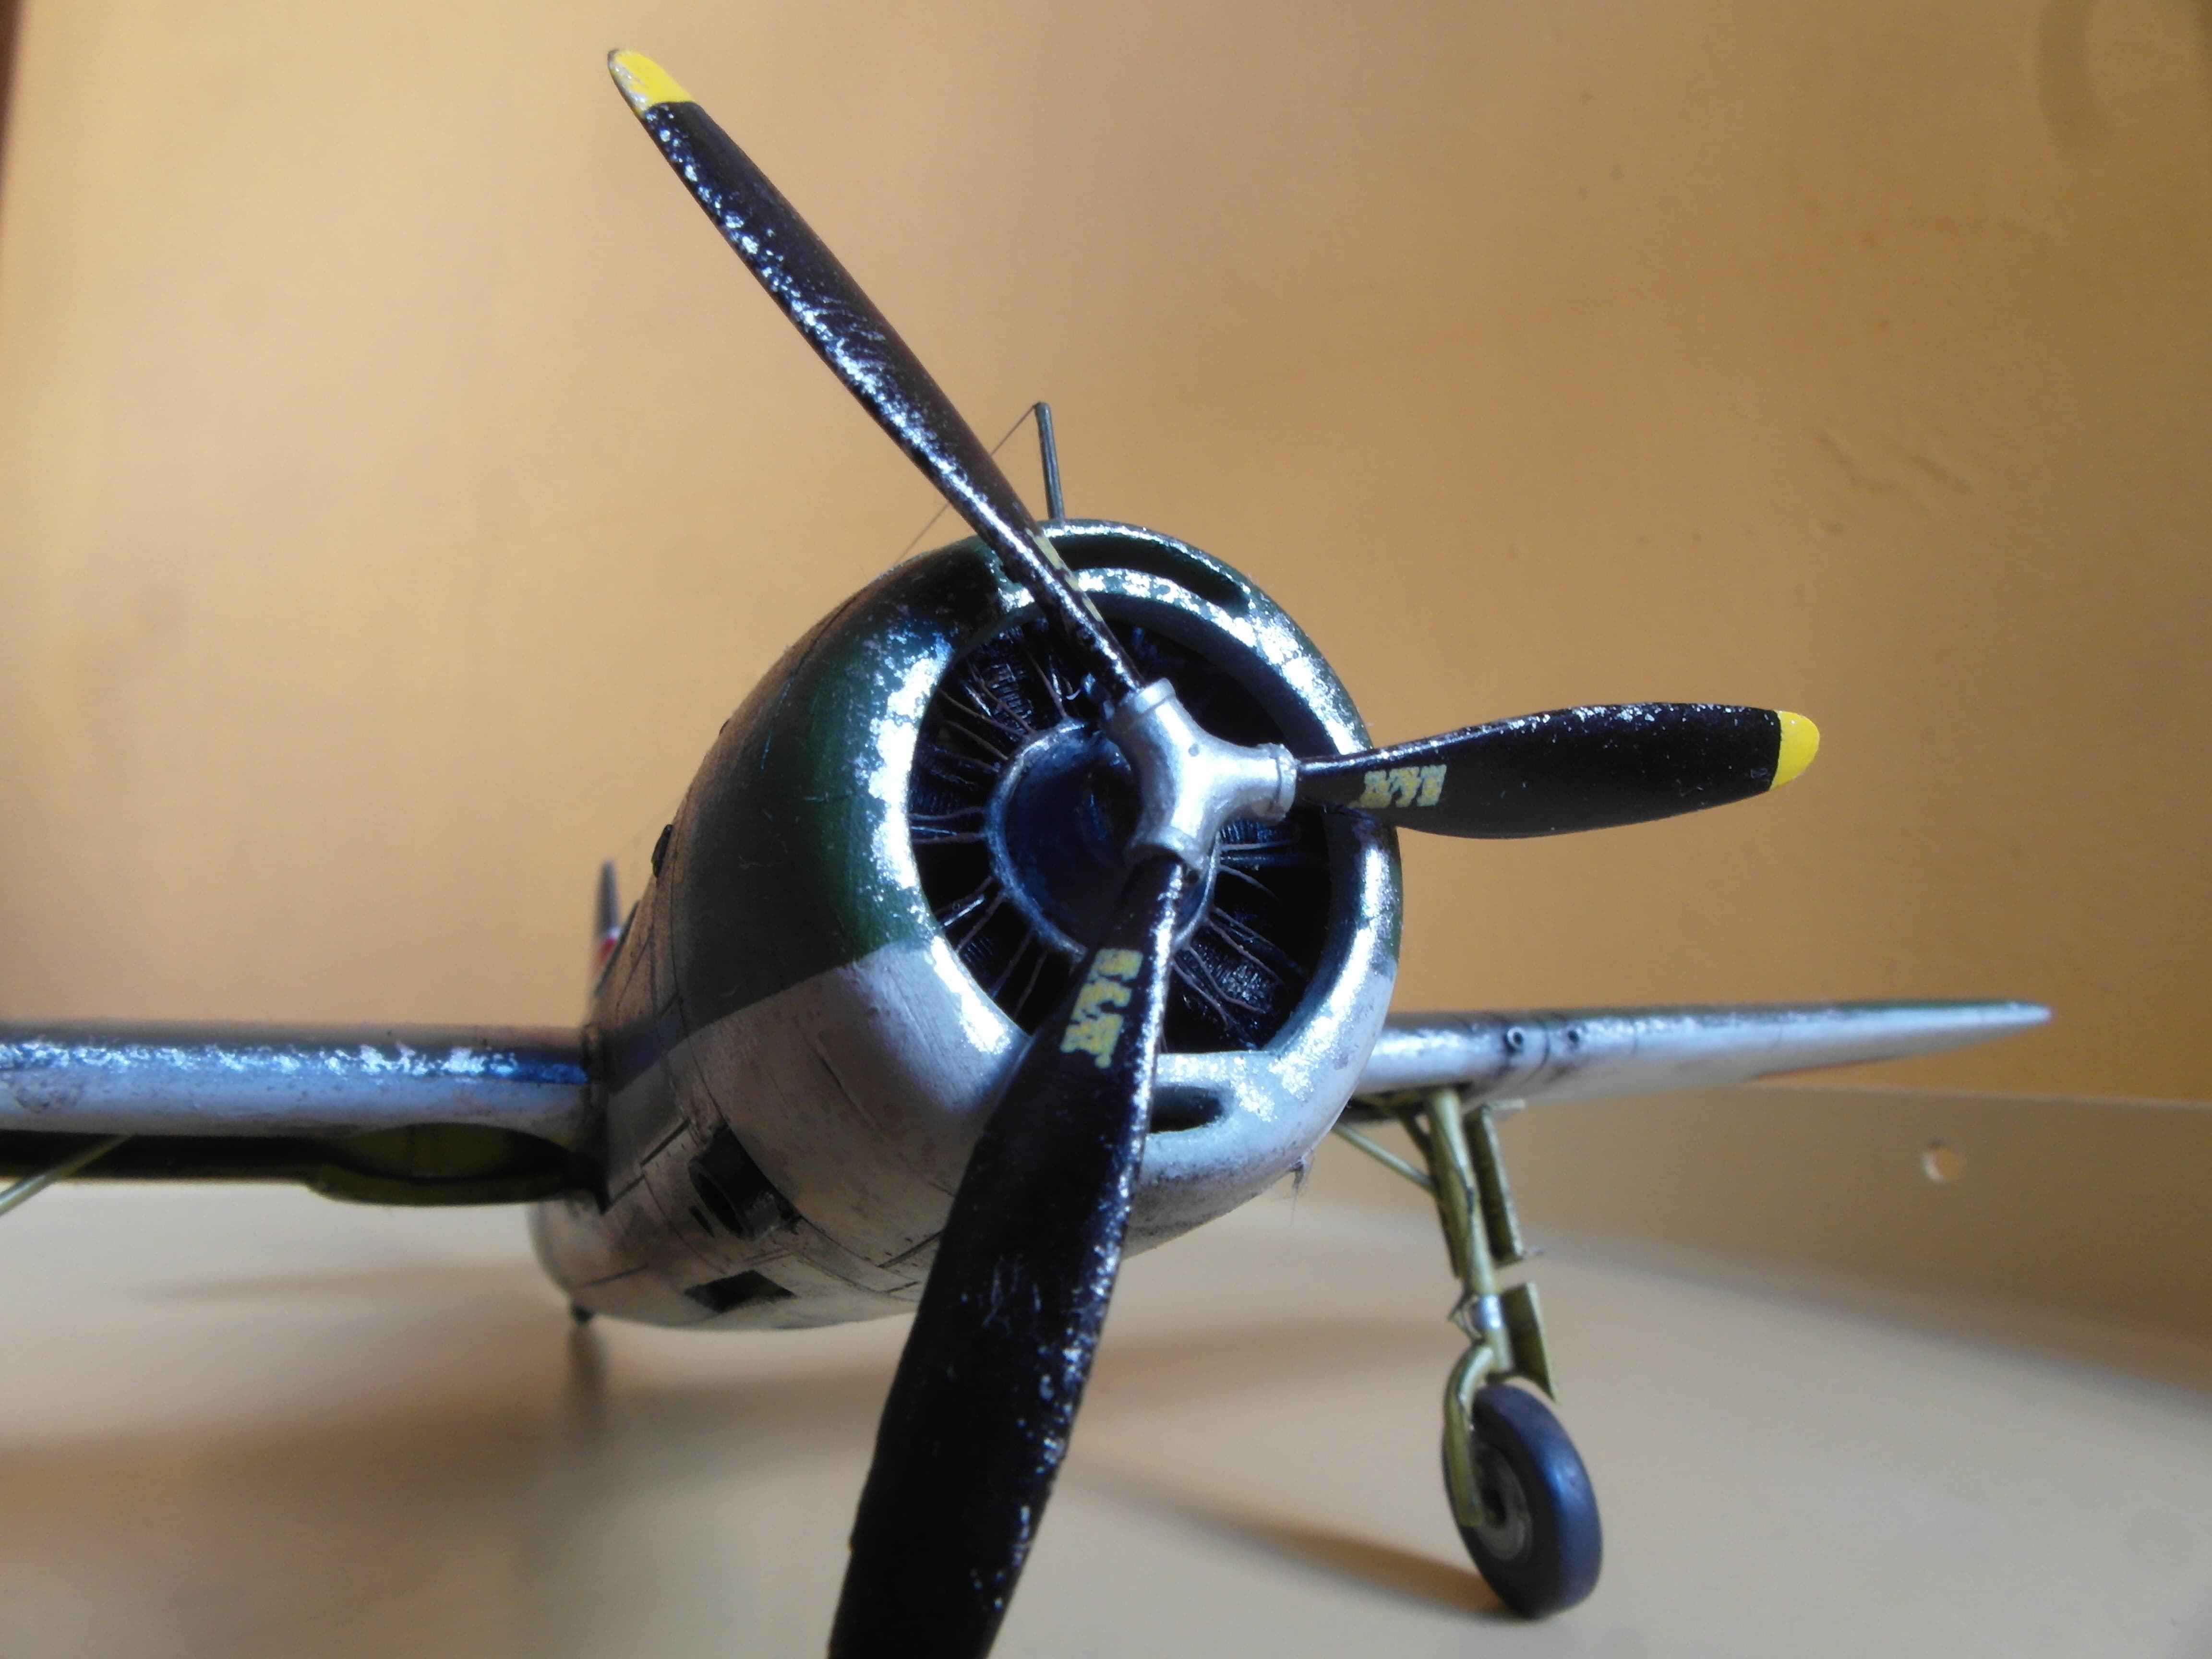
The details are resonable, nice panel lines, detailed interior, some photo etch fret, a resin engine. It’s however quite clear they didn’t create new moulds, as there are quite a few errors stemming from the usage of old moulds, like flash.
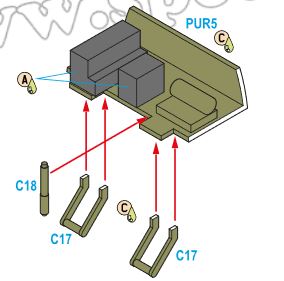
The instruction manual is also horrendous. The graphics look good, but are extremely unclear ambiguous about the exact placement of the interior details, requiring me to resort to old manuals and photo’s to discover where parts should be.
Surprisingly, there is surprisingly little information about this aircraft available online. It wasn’t some small production aircraft, and one aircraft even survived in a museum. Interior pictures are almost non-existent and schematics are behind paywalls. Luckily they’re cheap, and not copyrighted so I’ve taken the liberty to reupload them here.
Construction
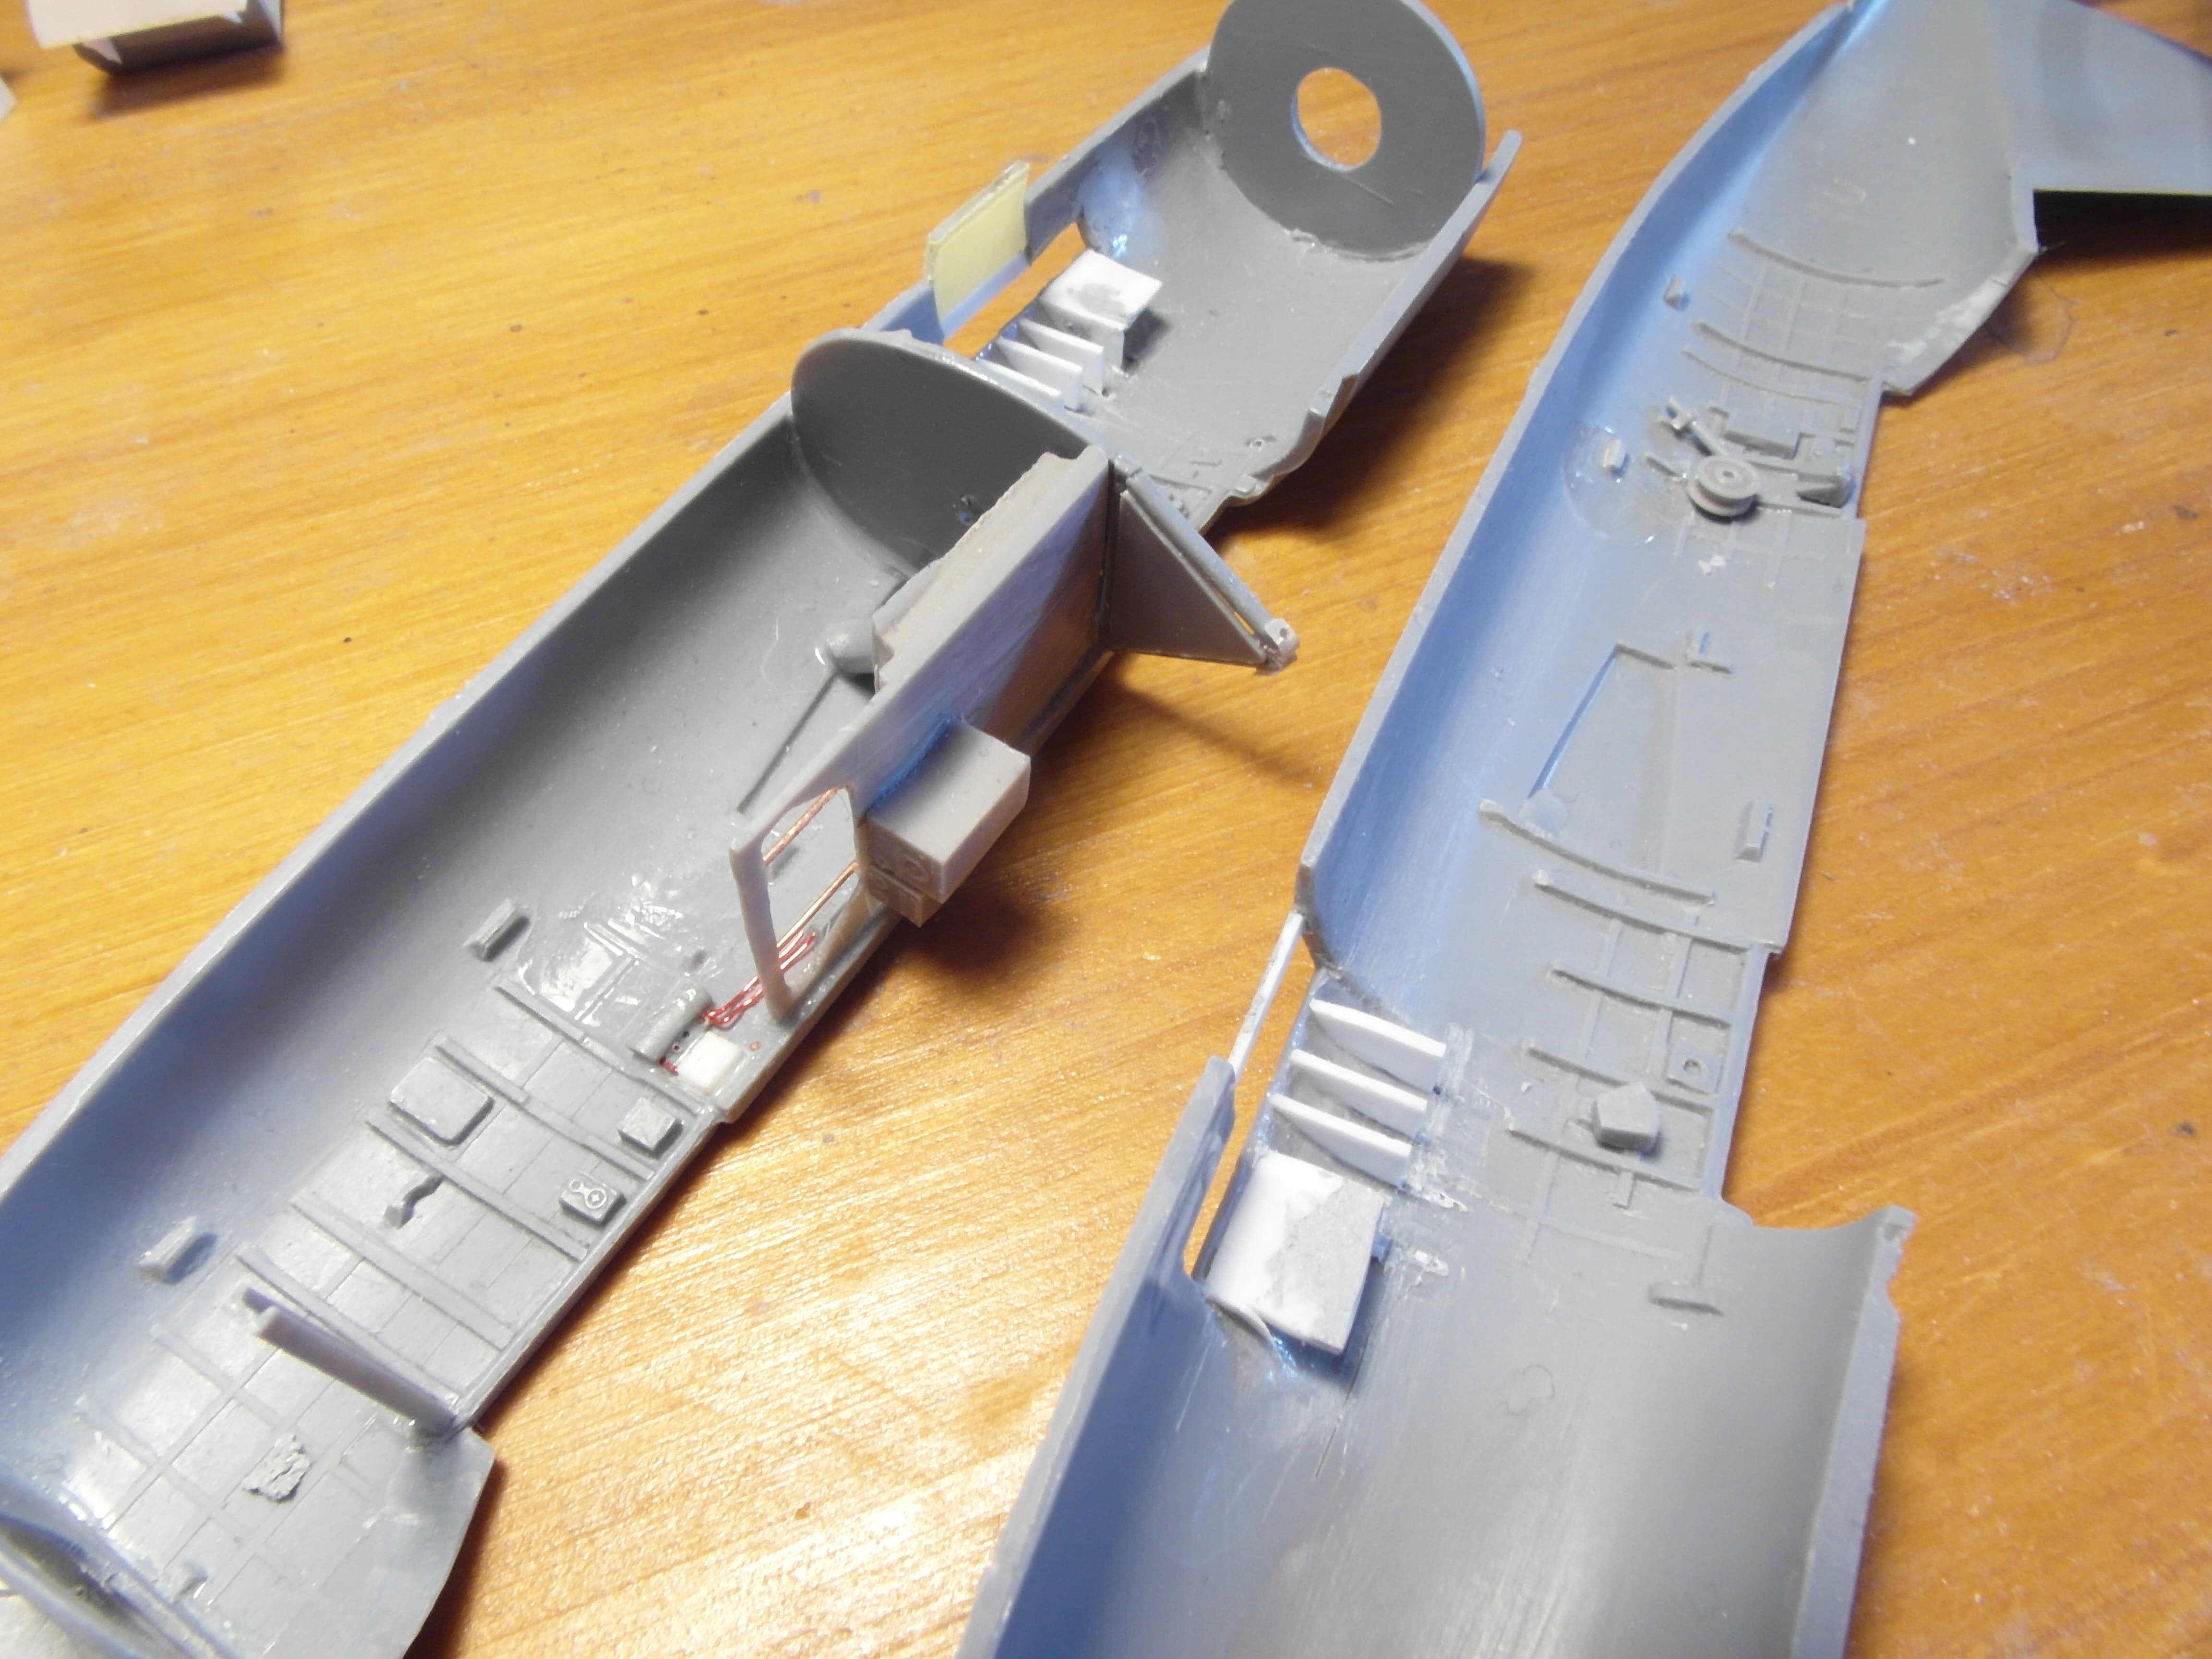


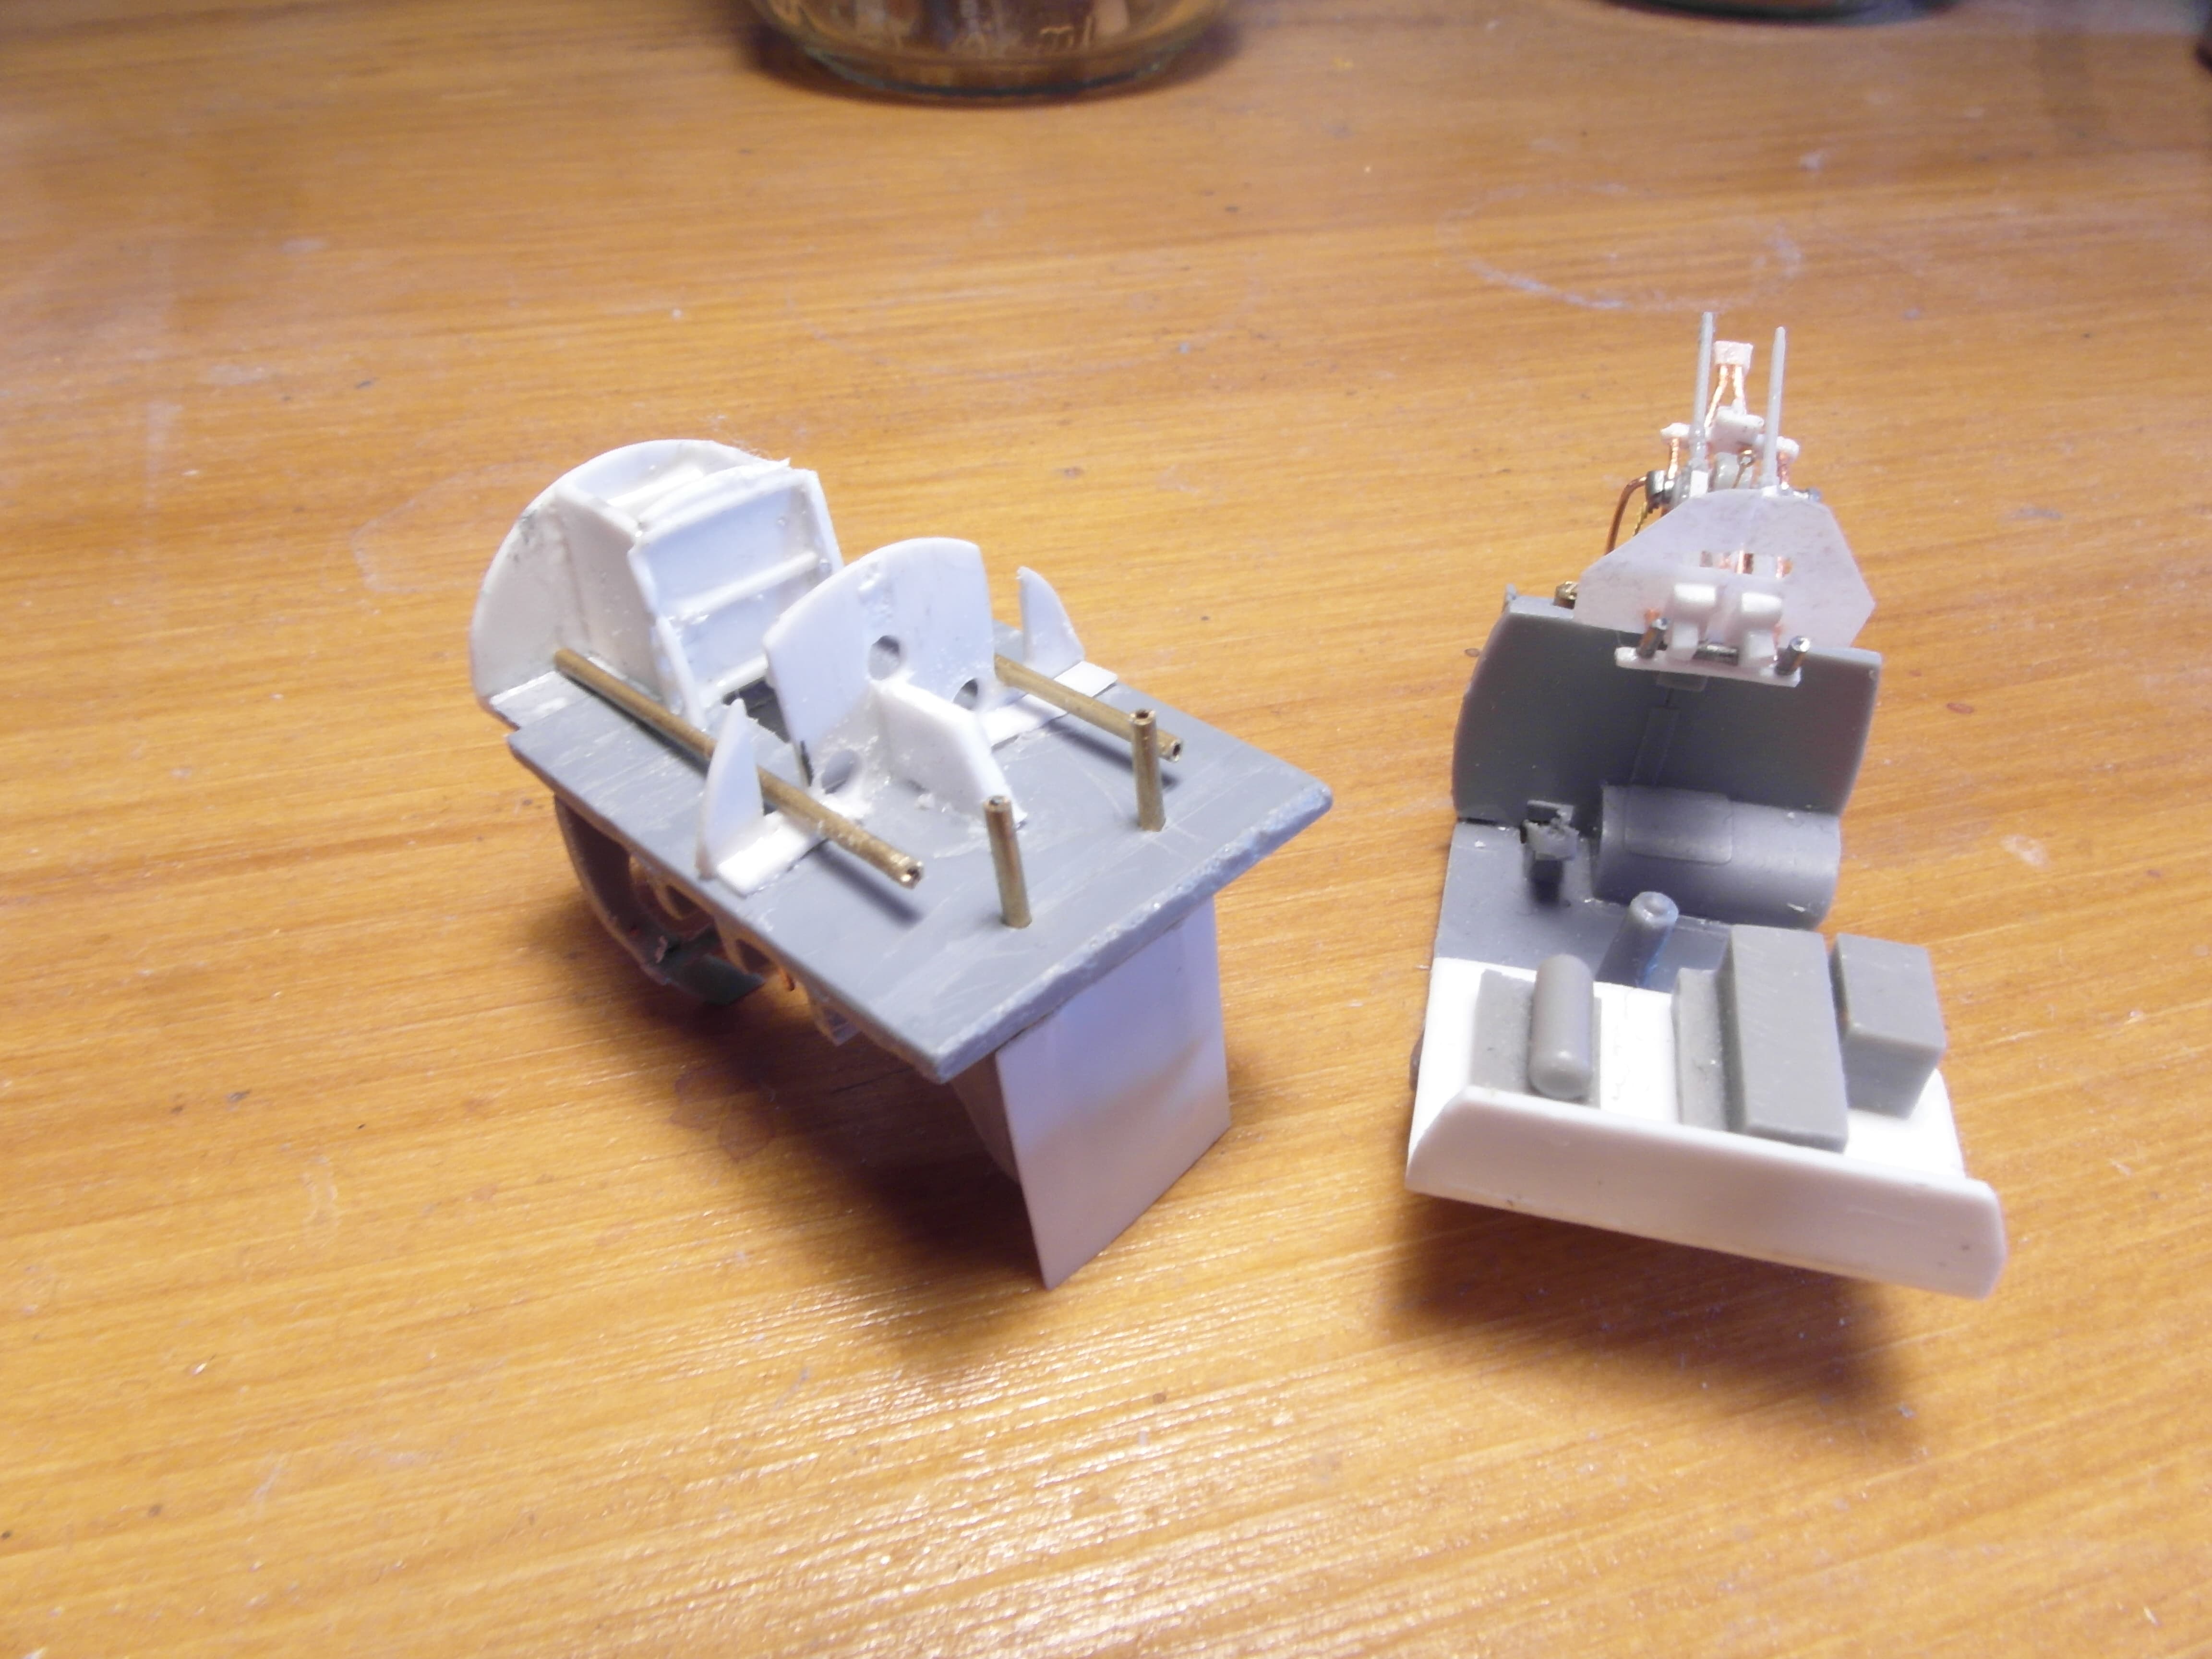
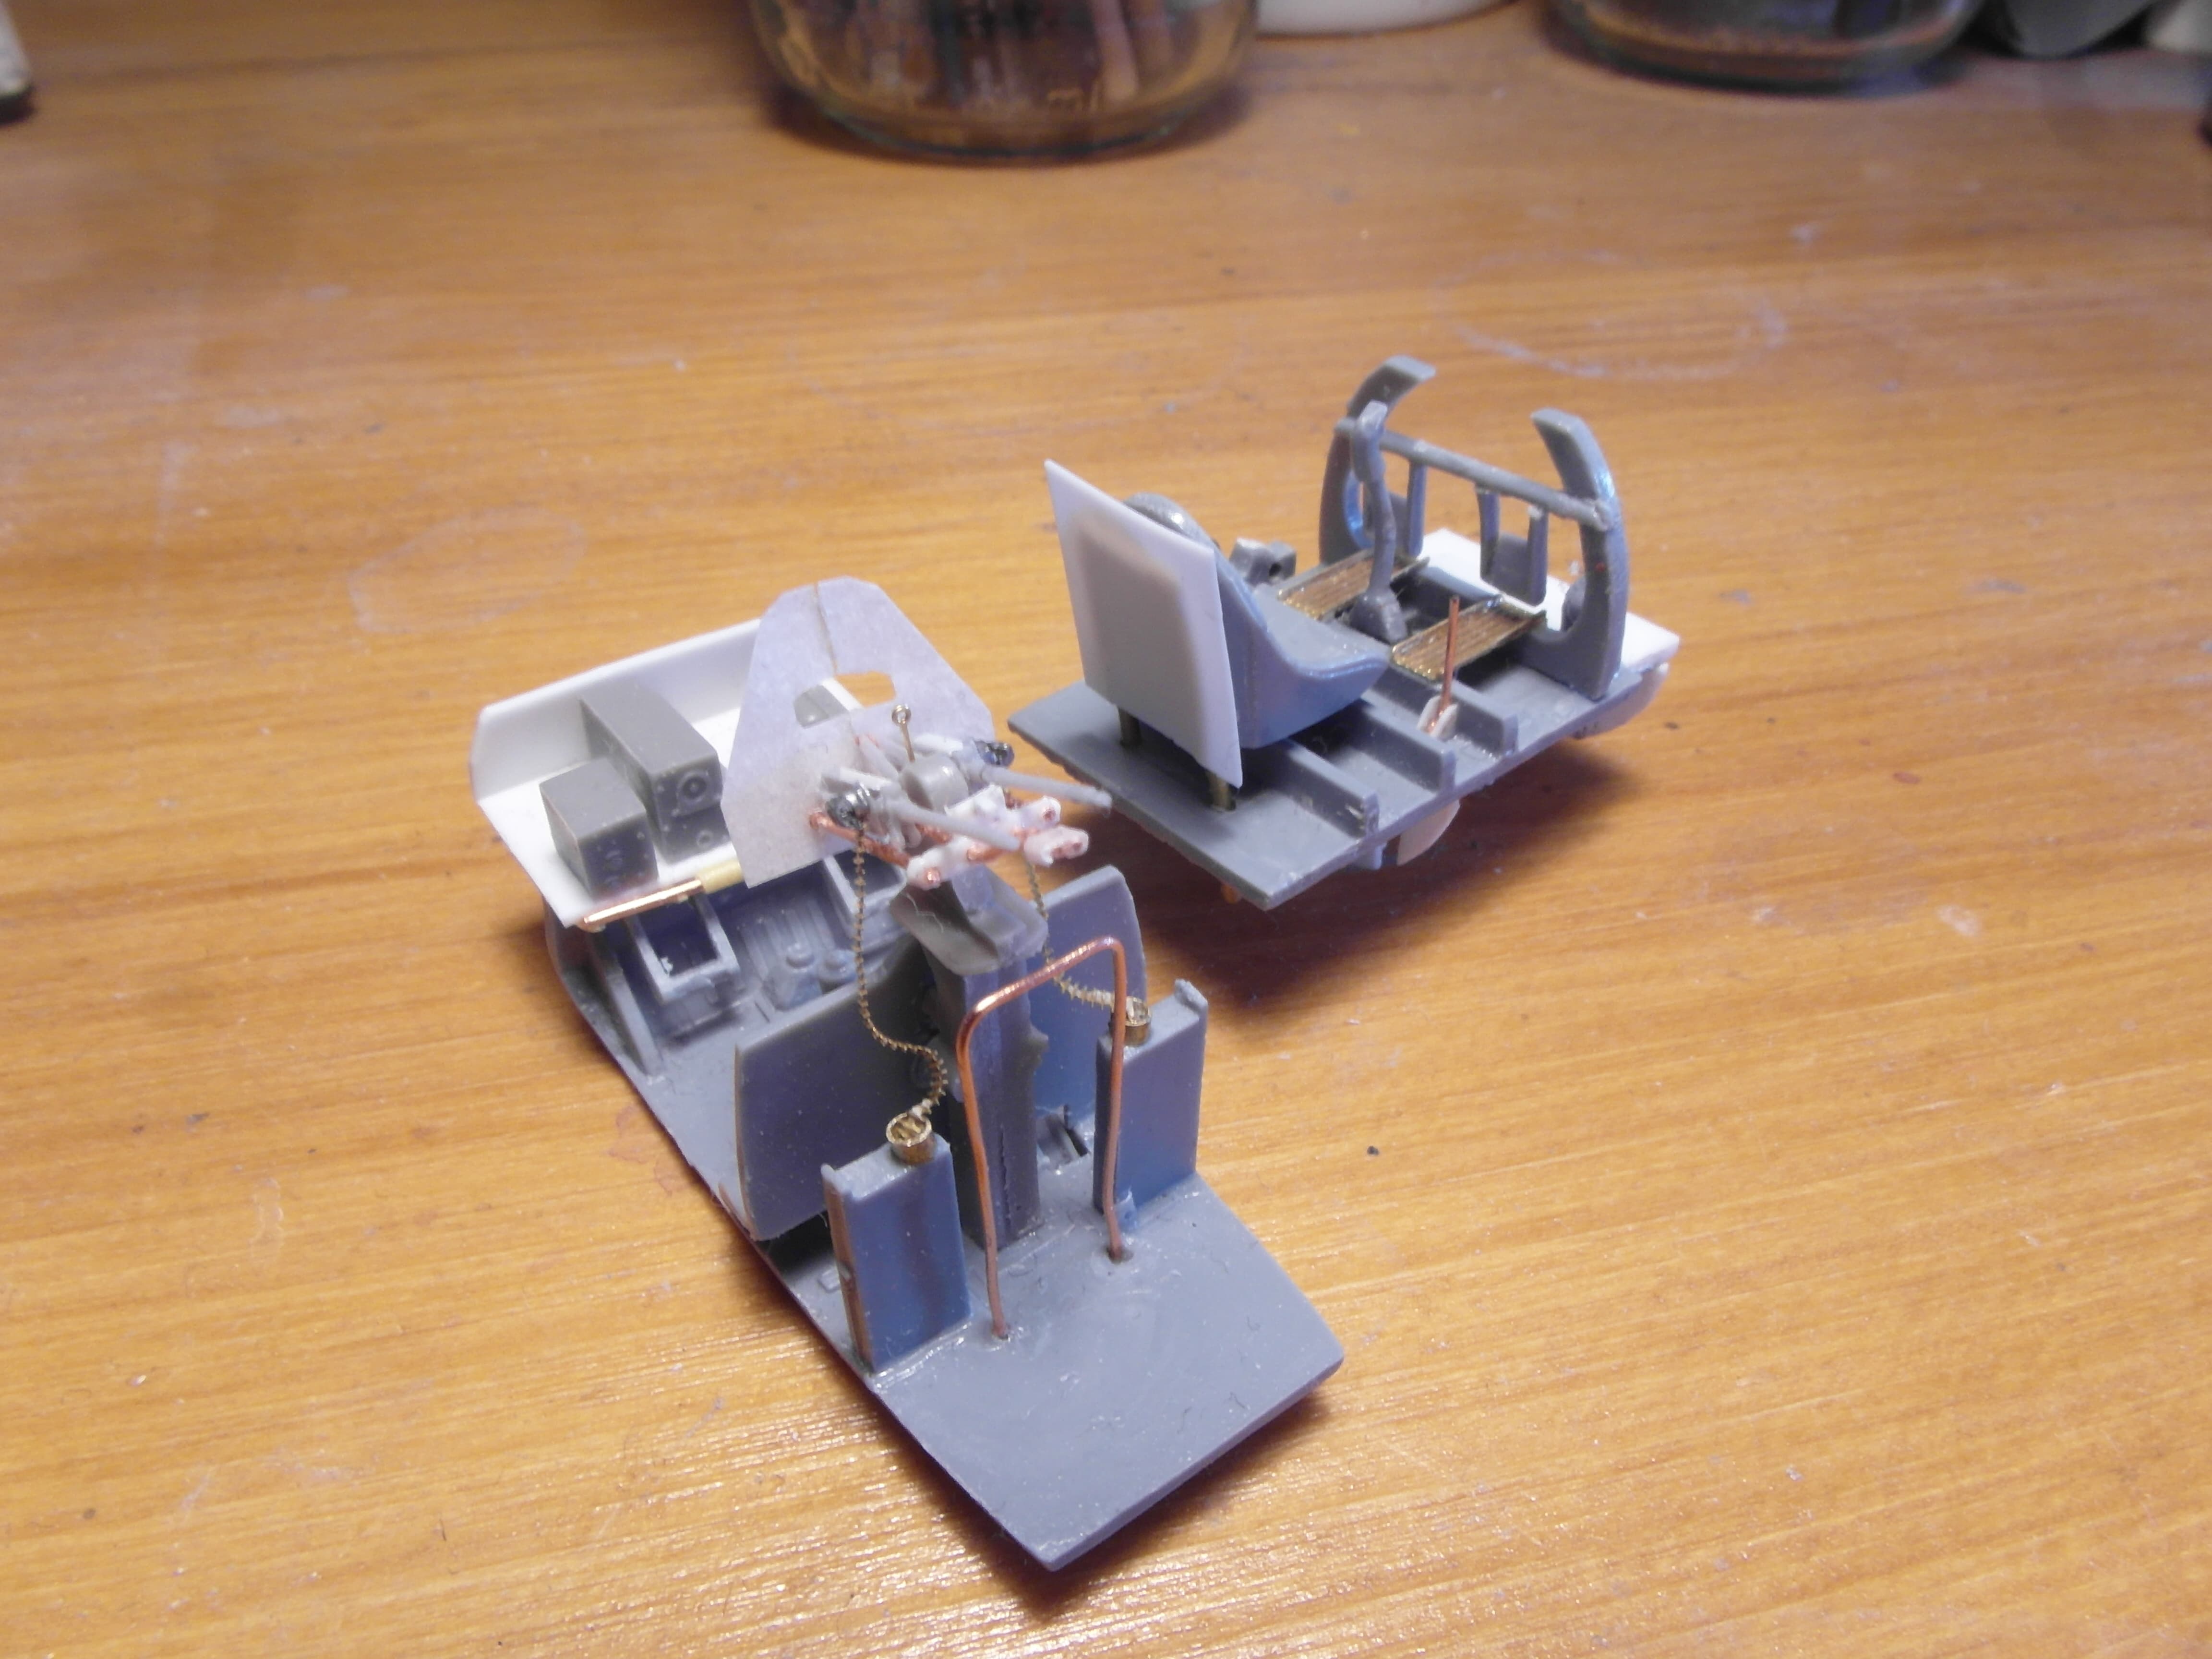
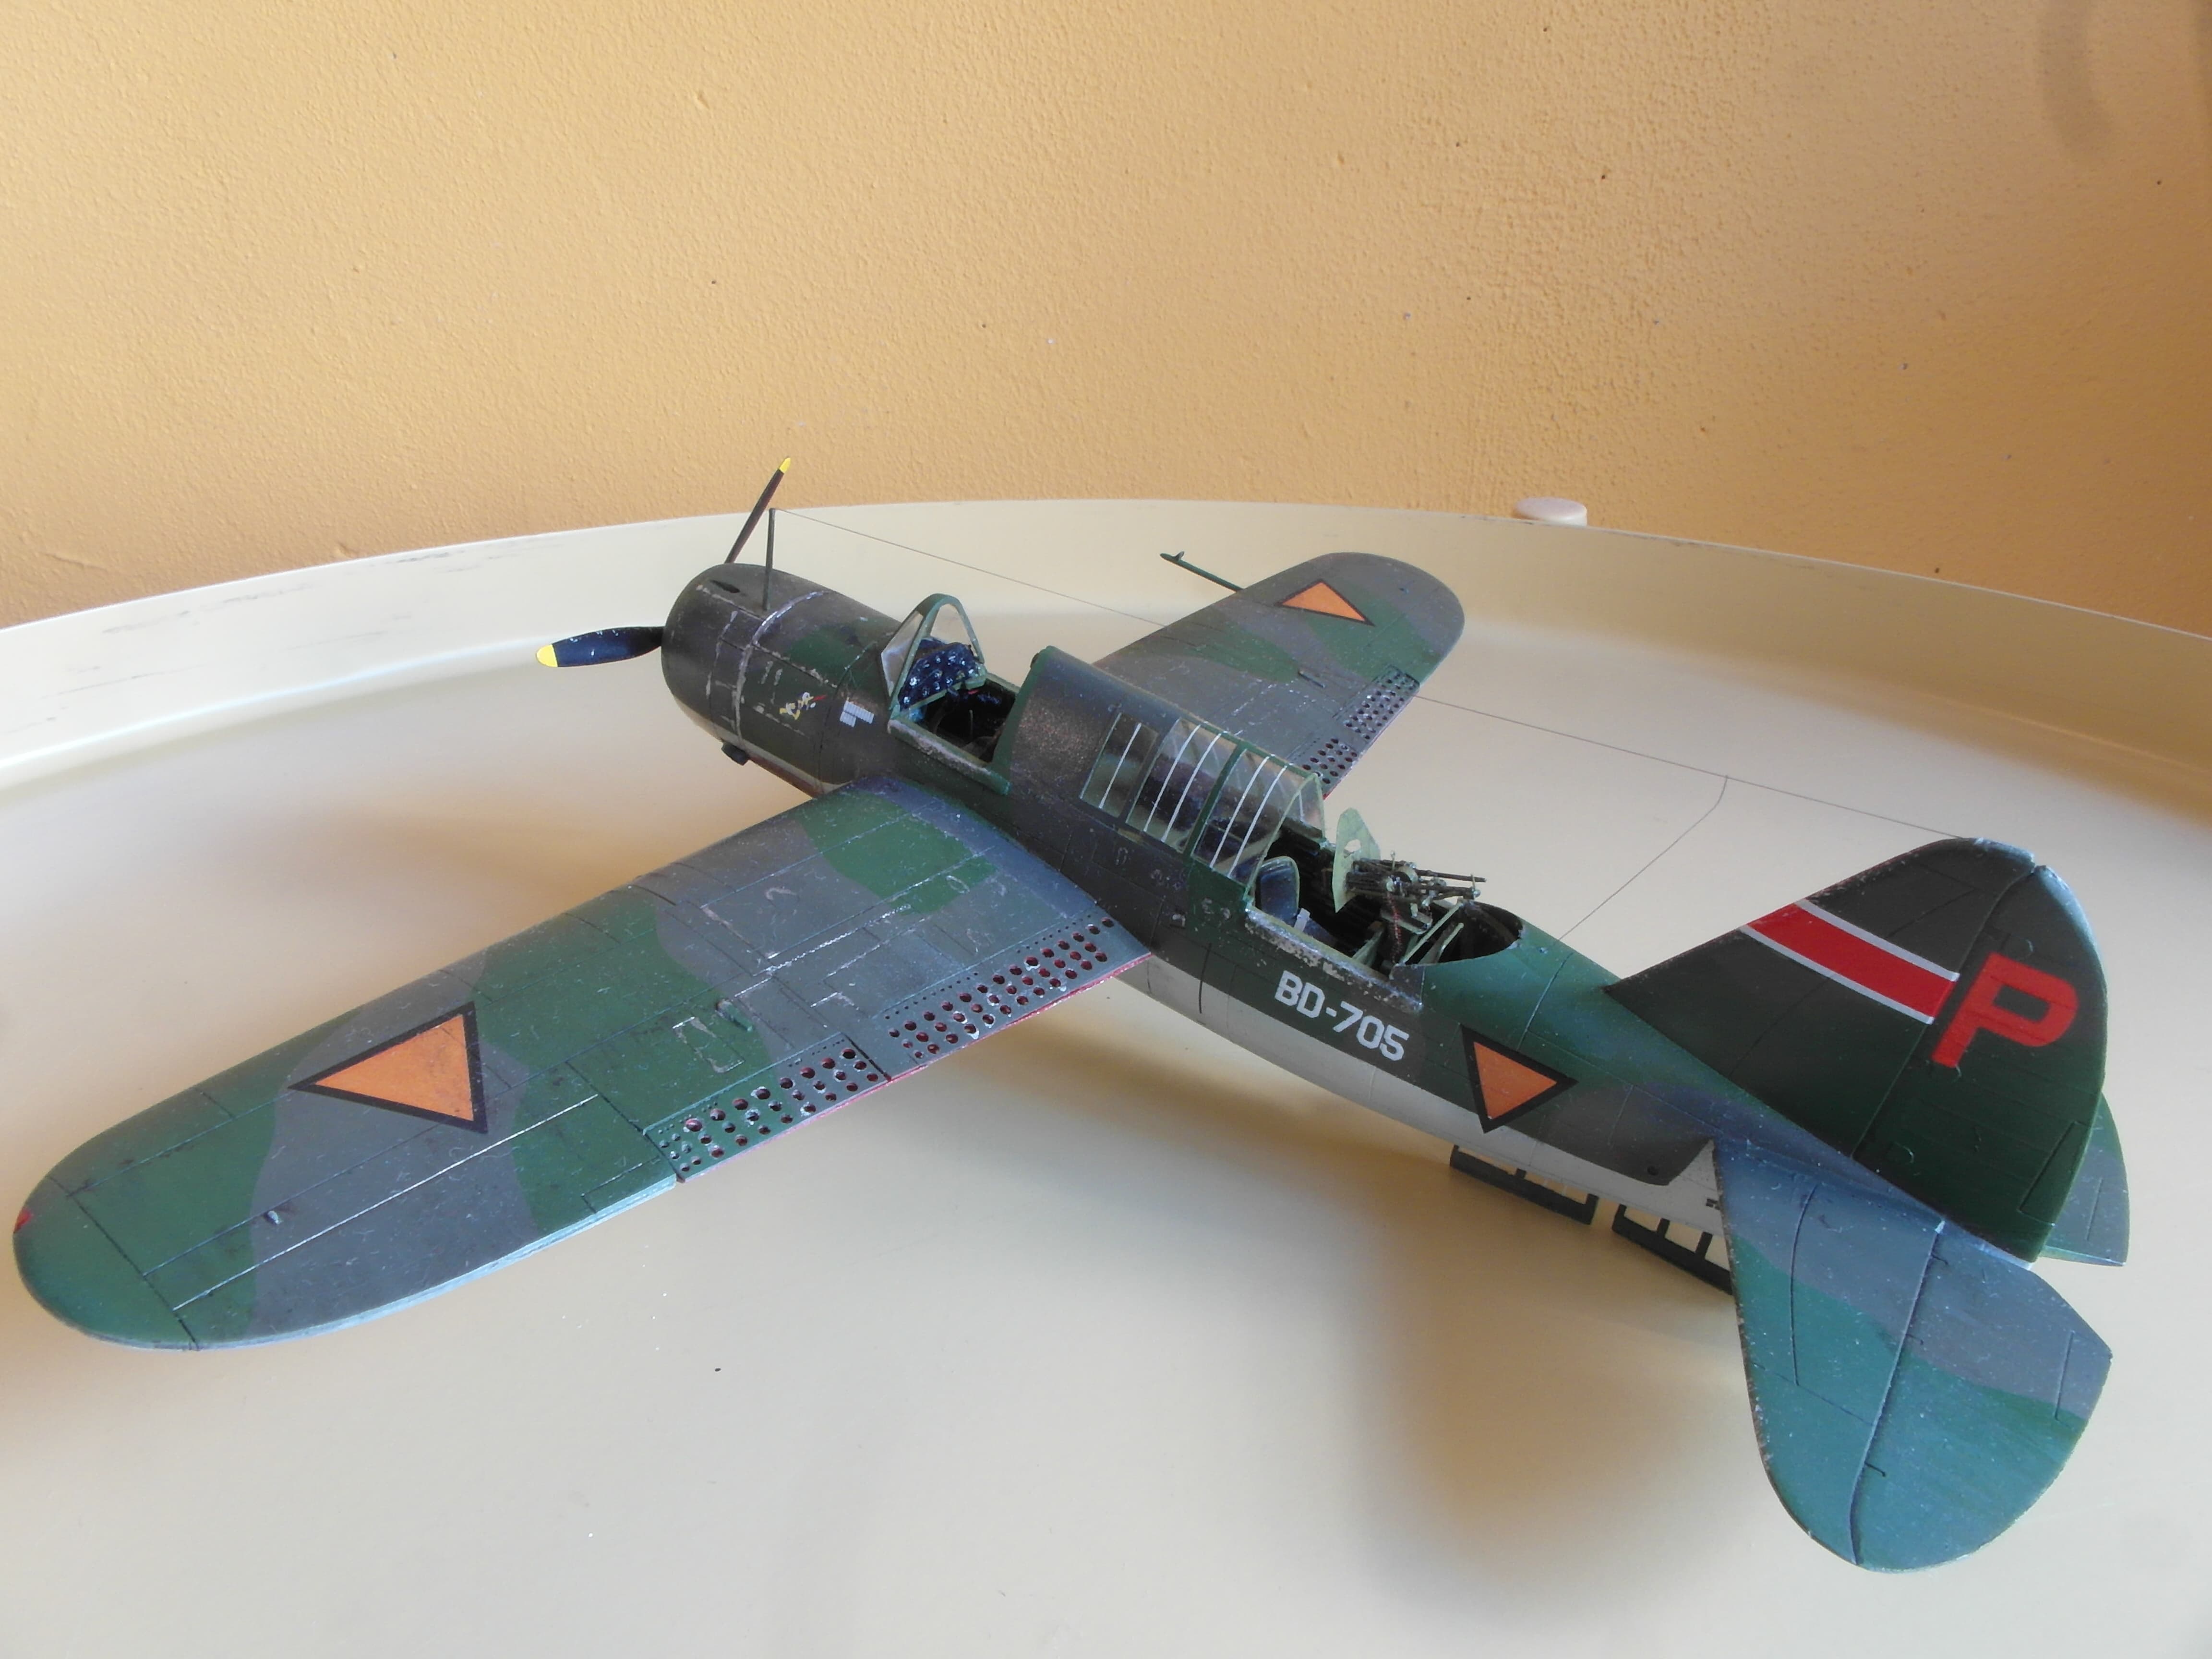
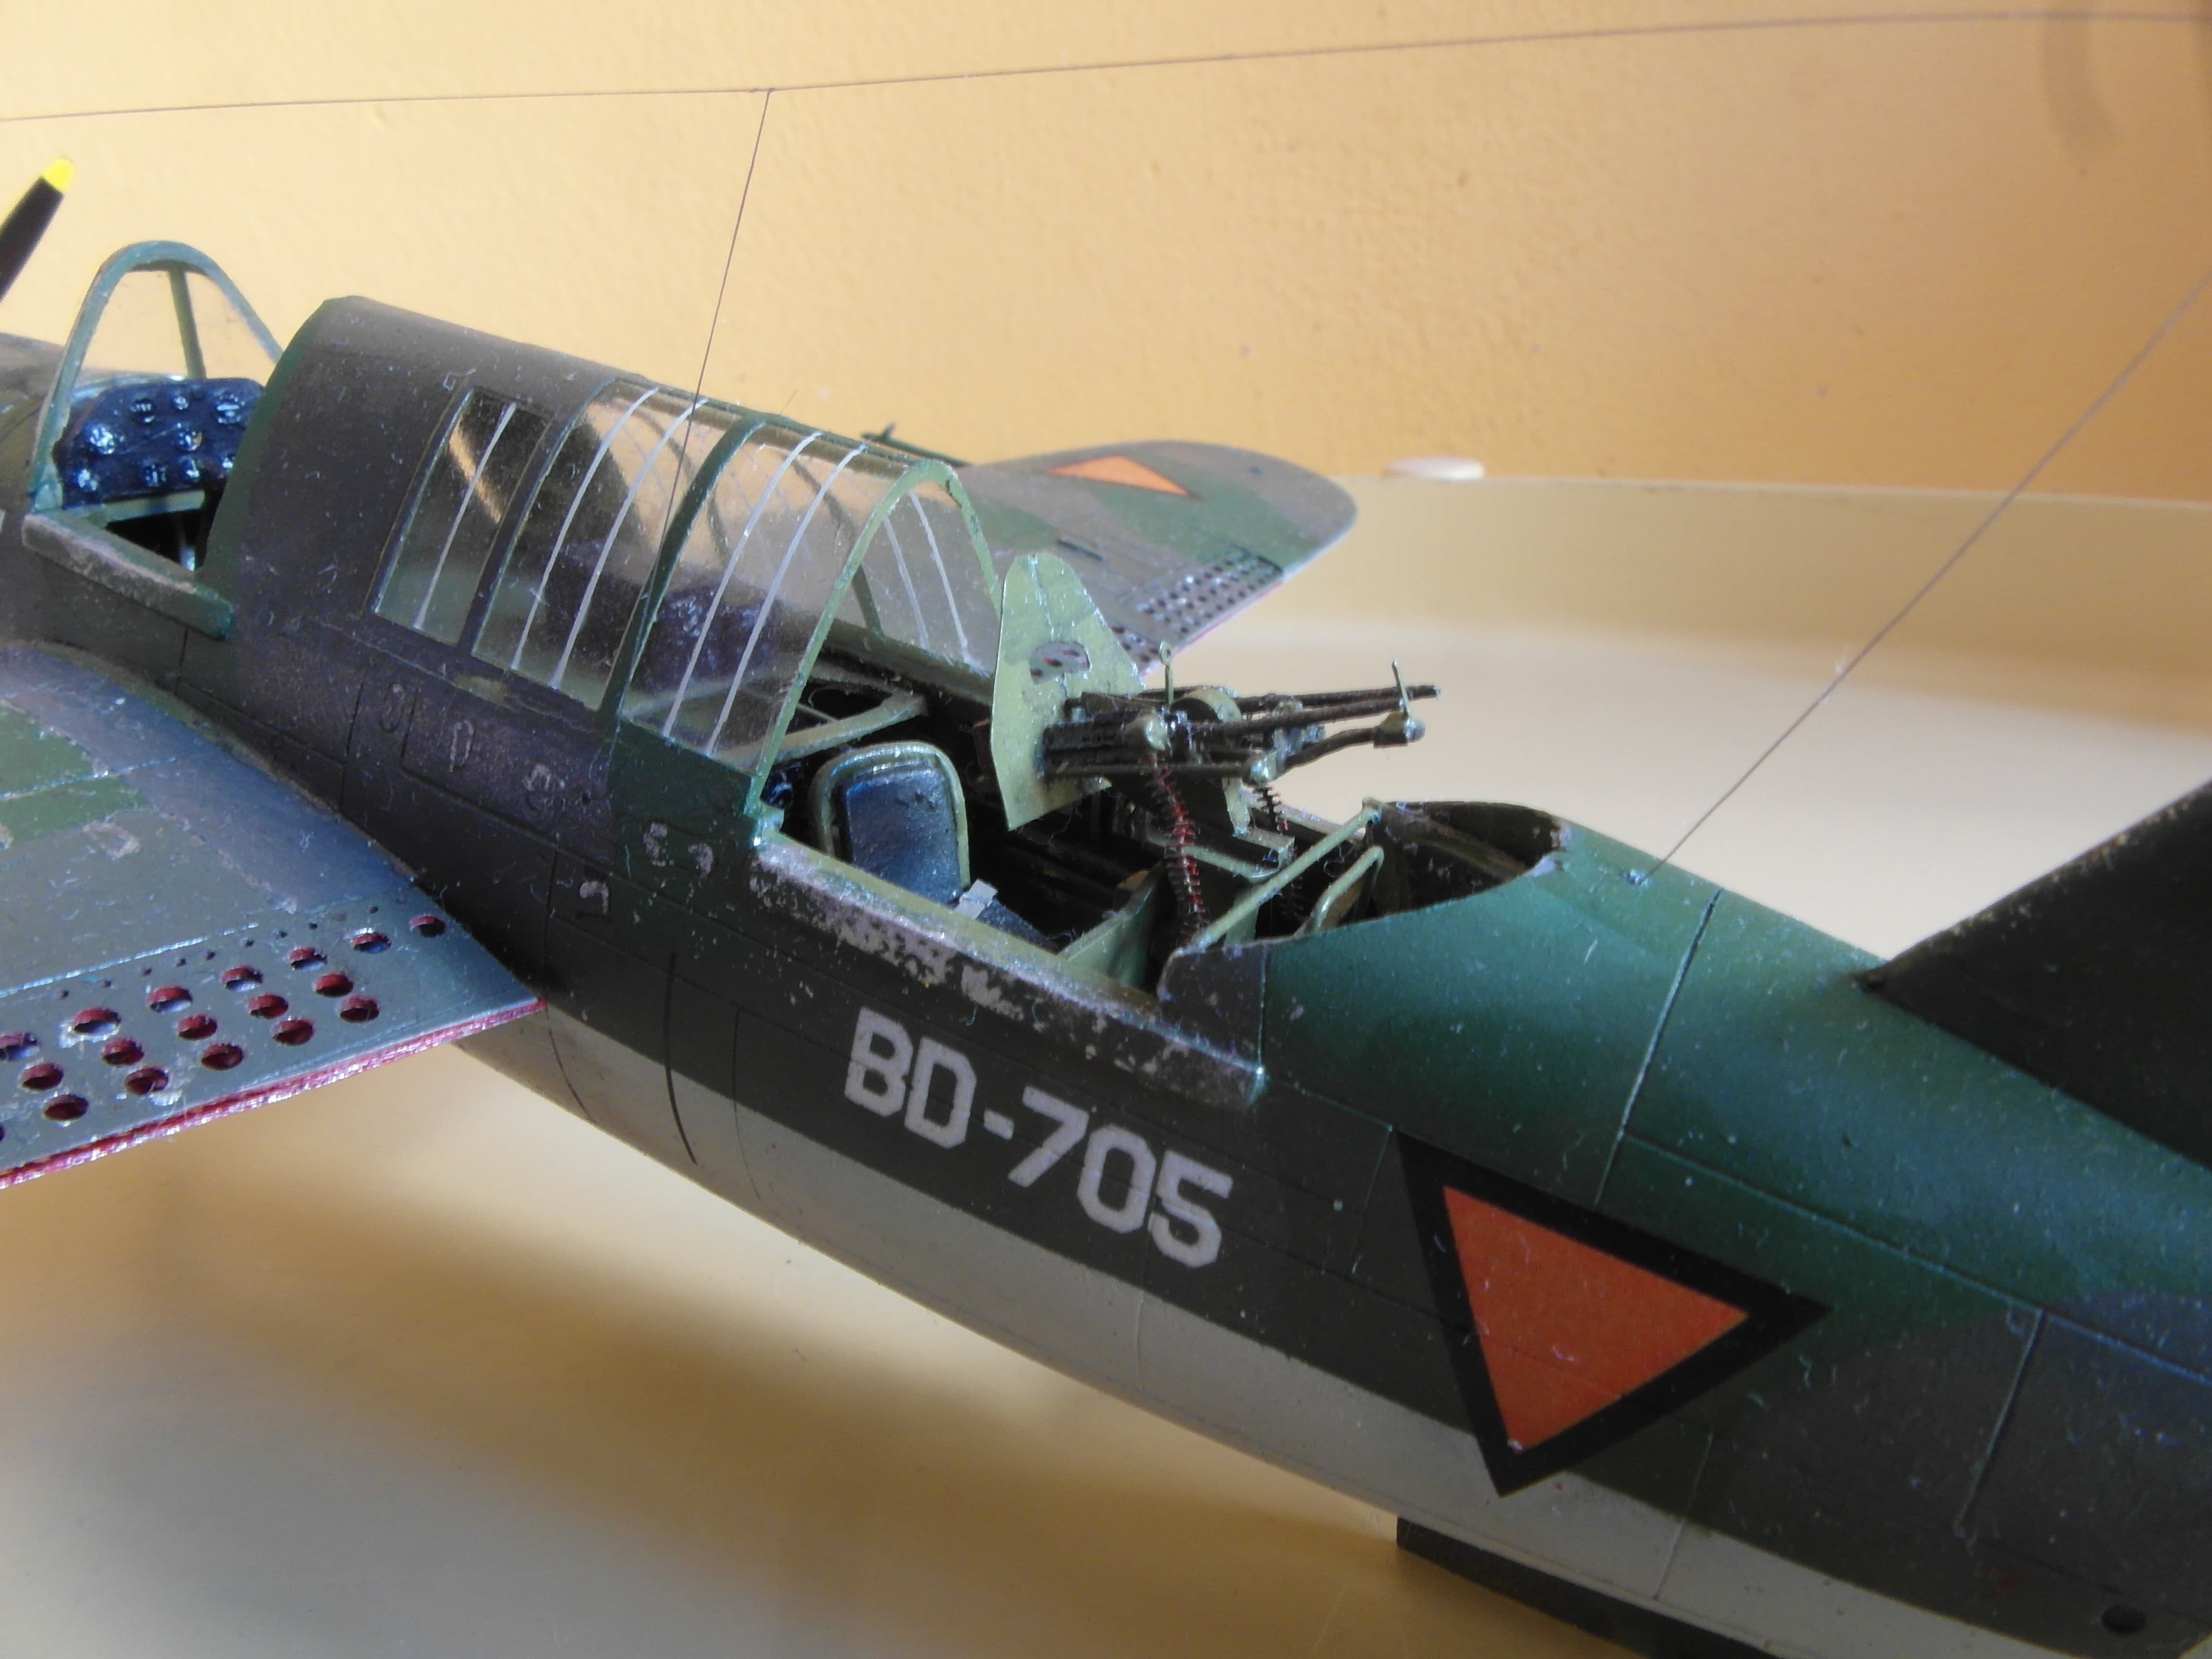
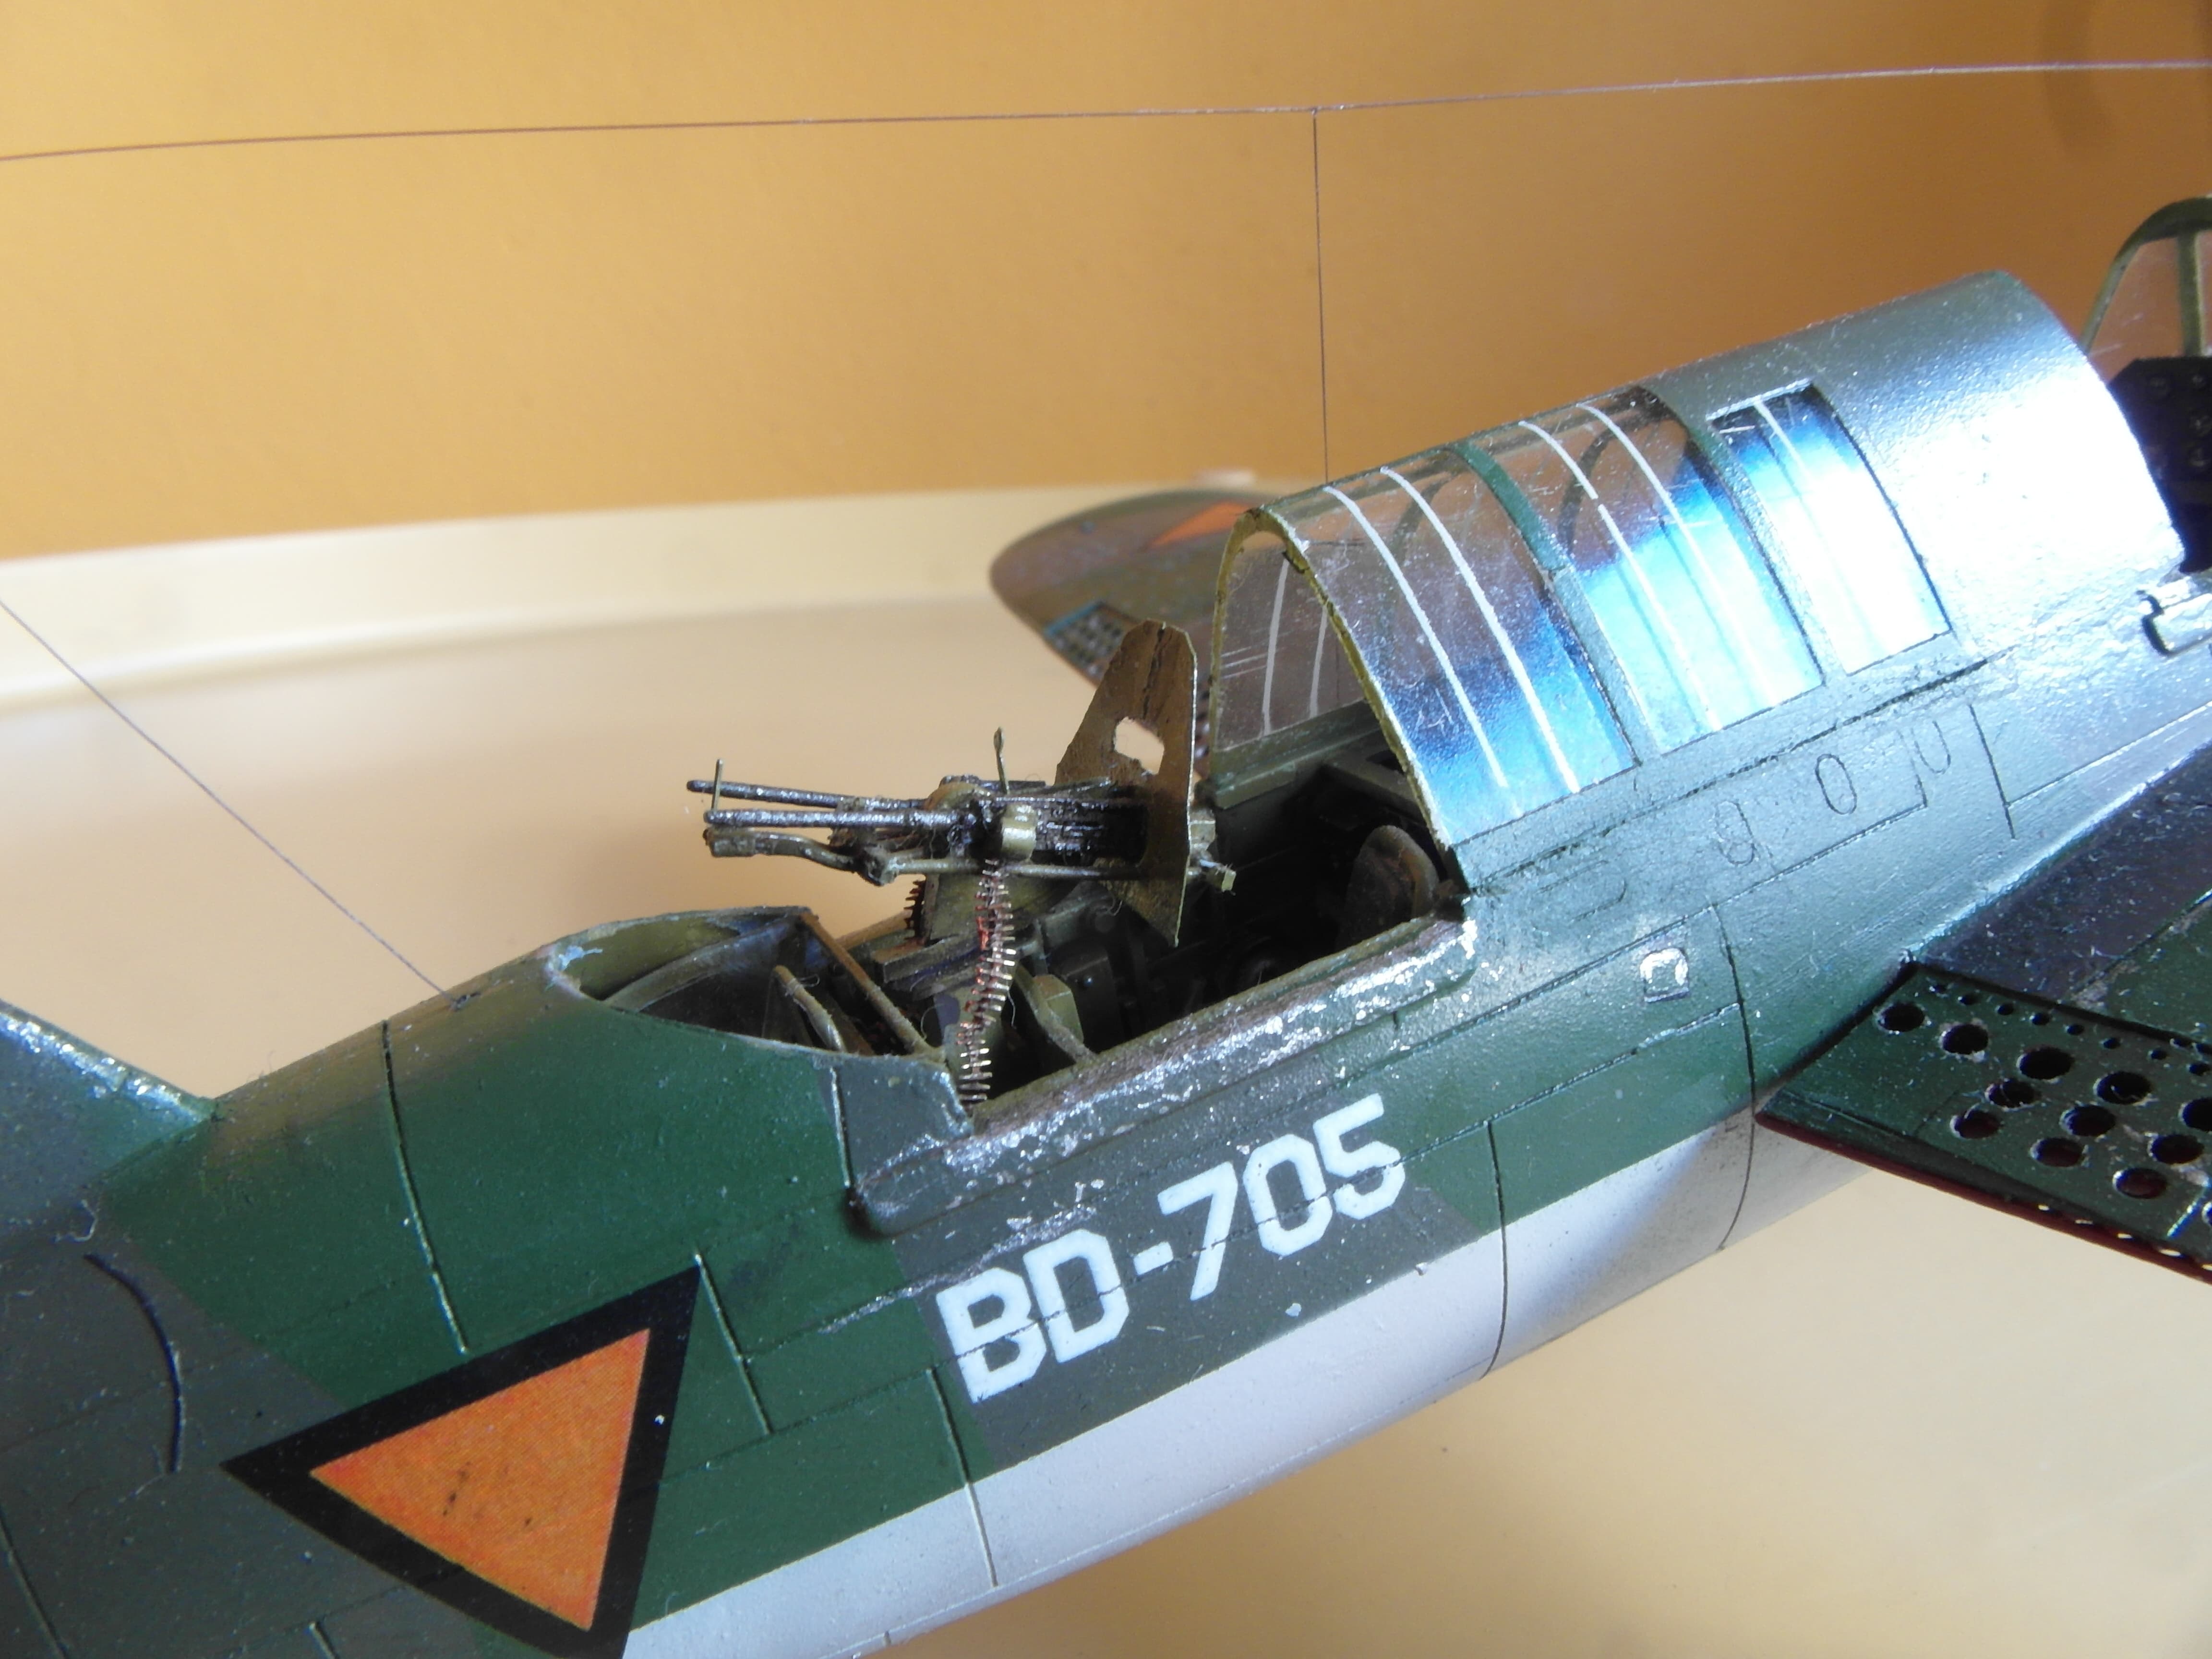
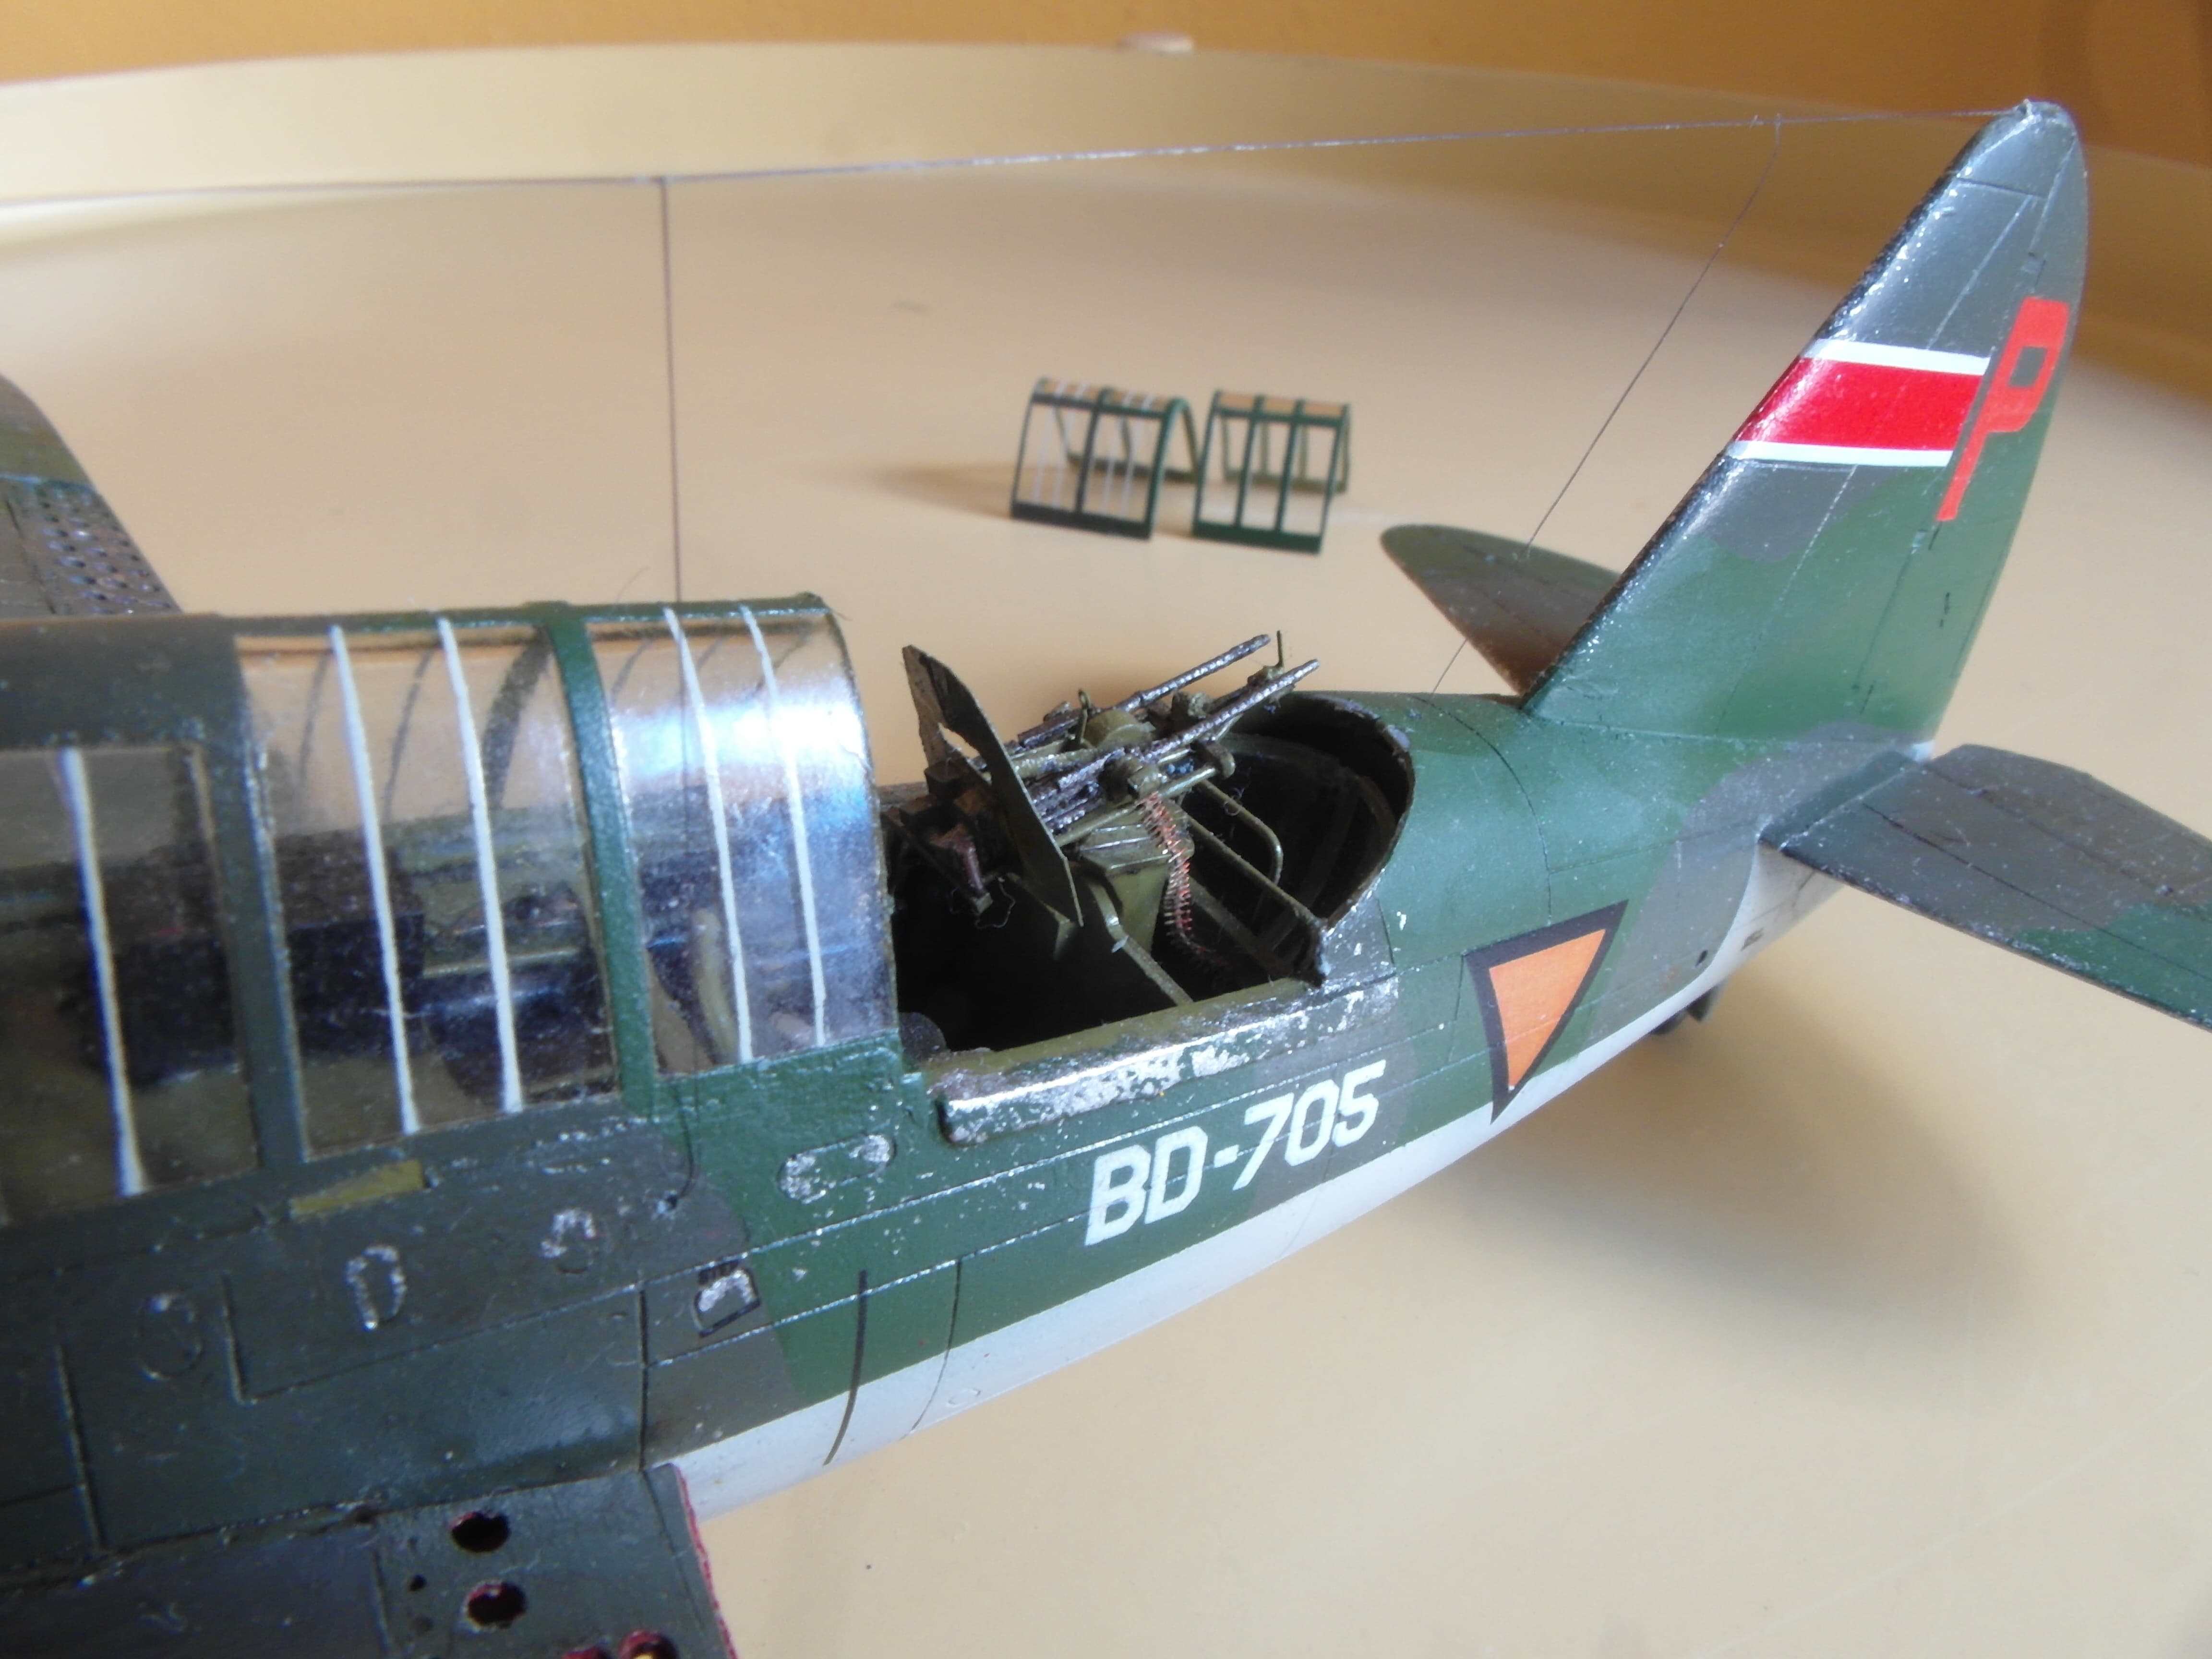
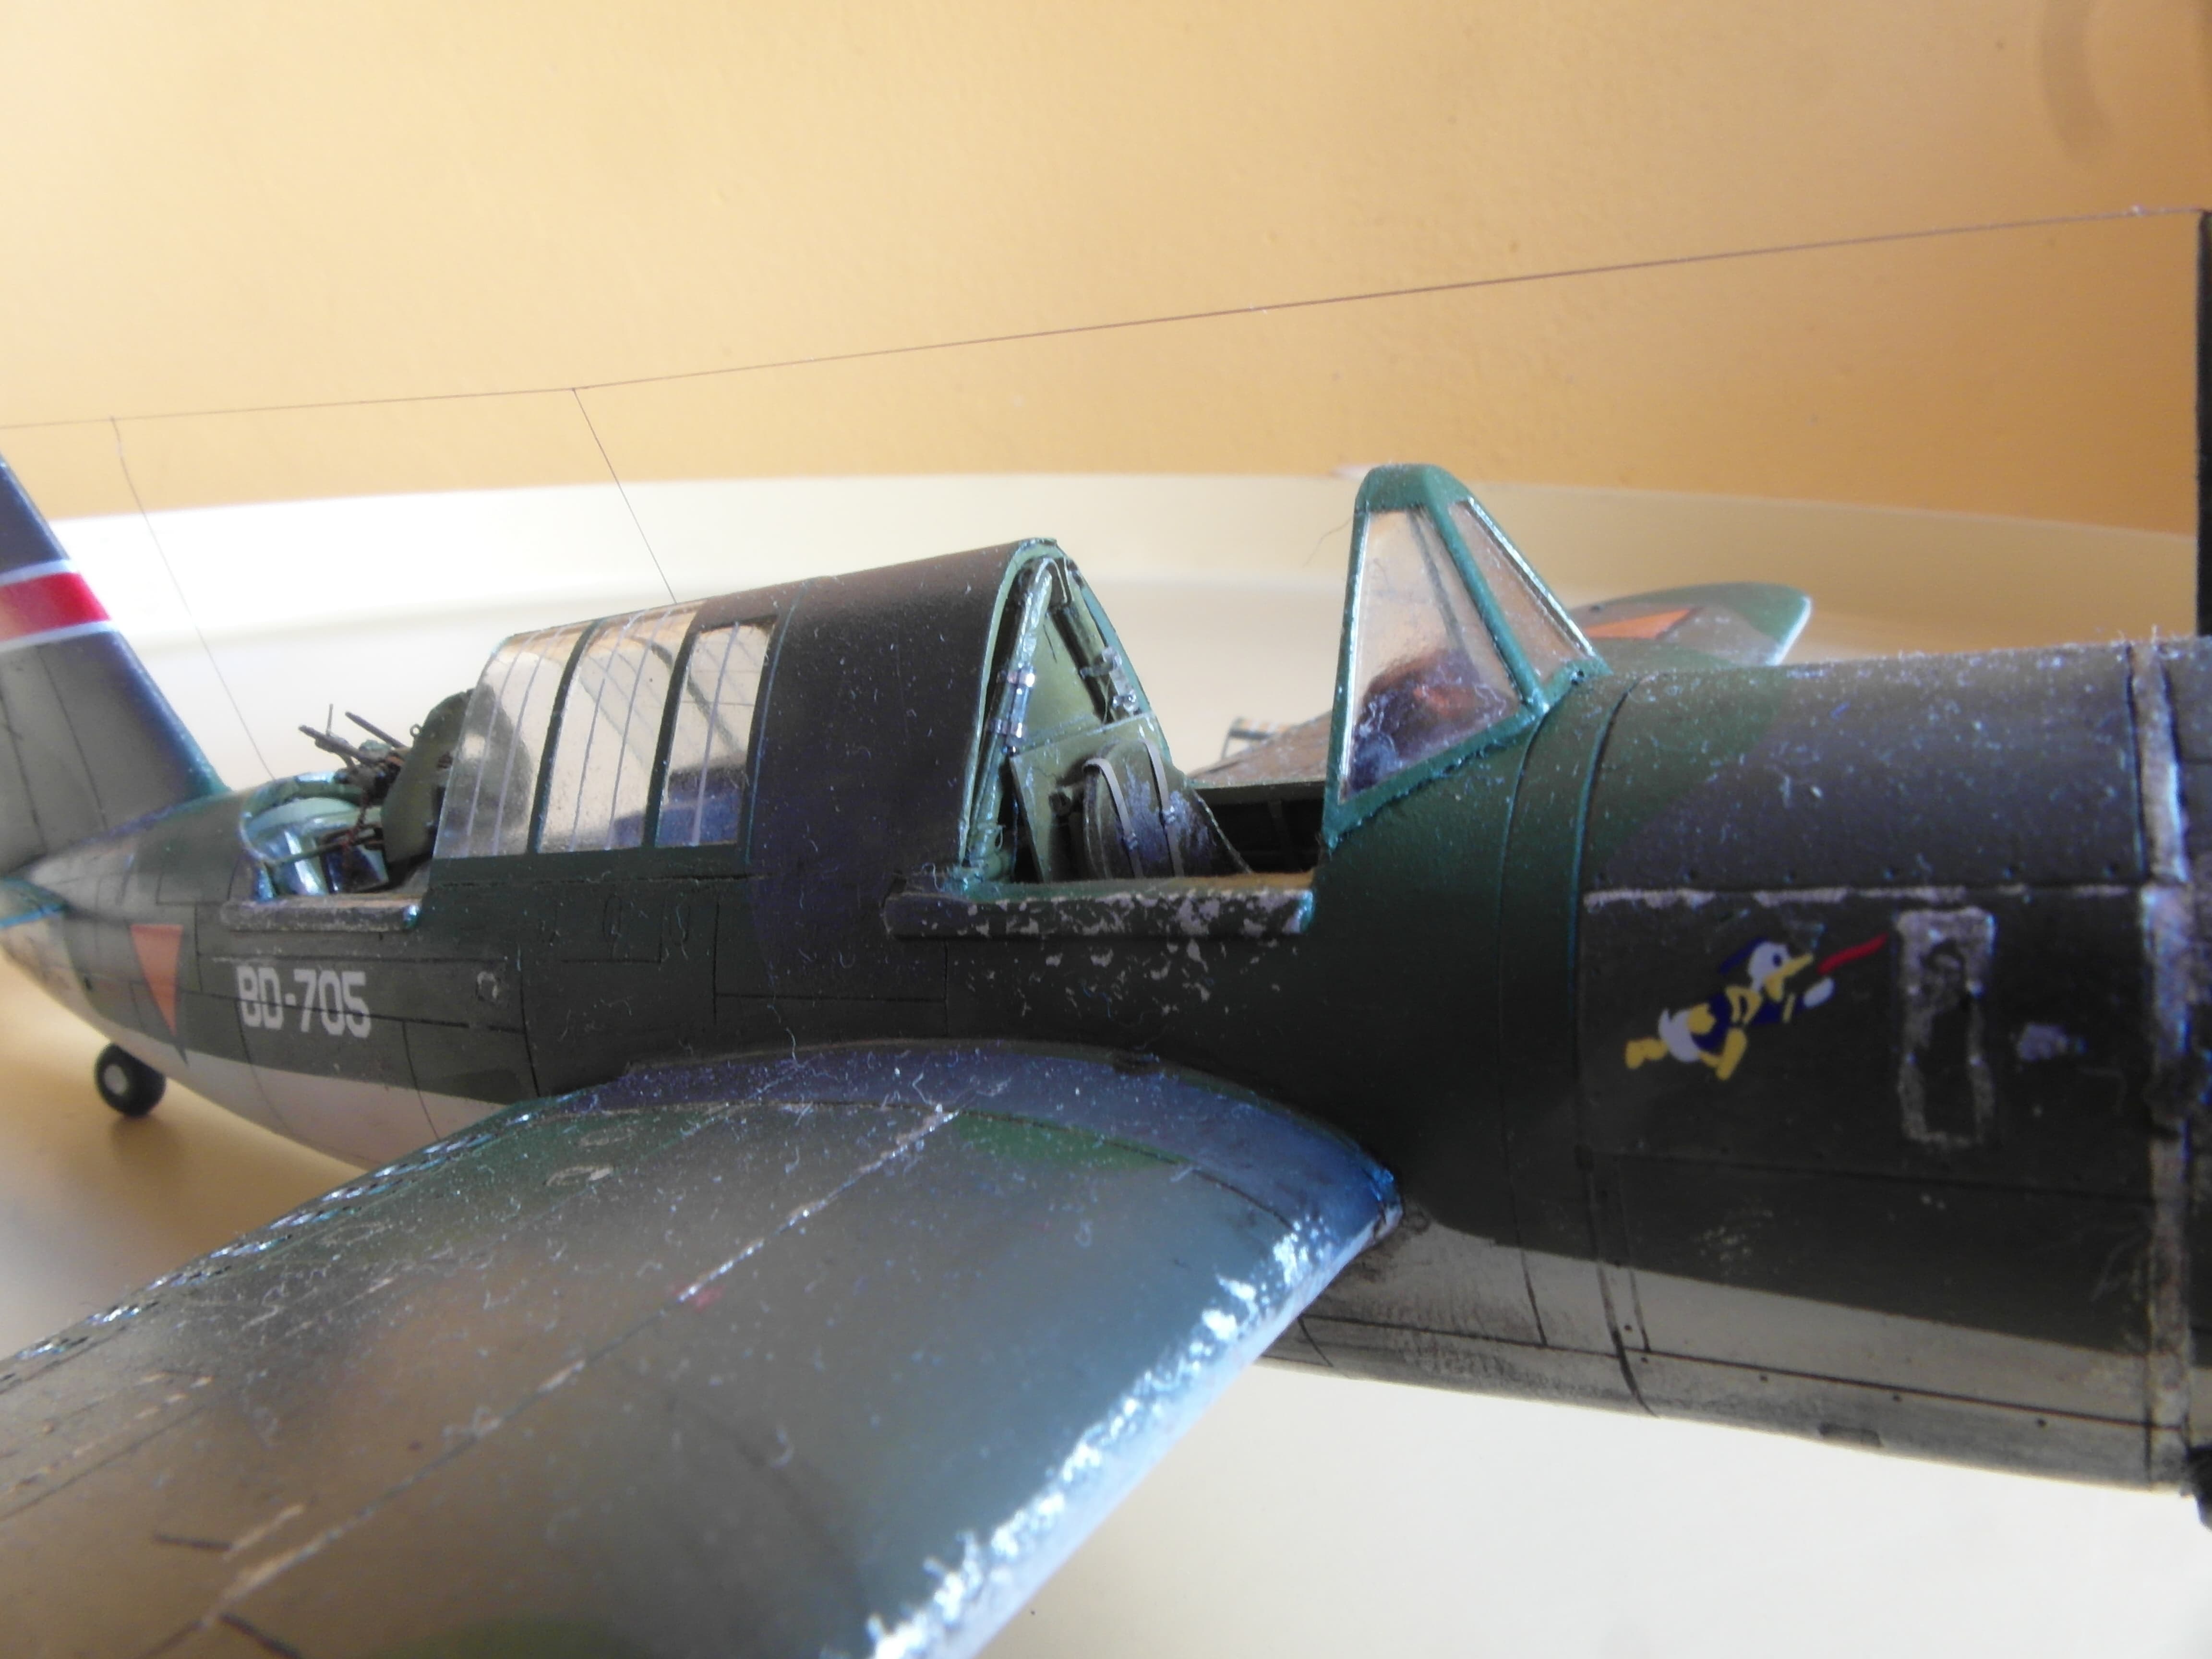
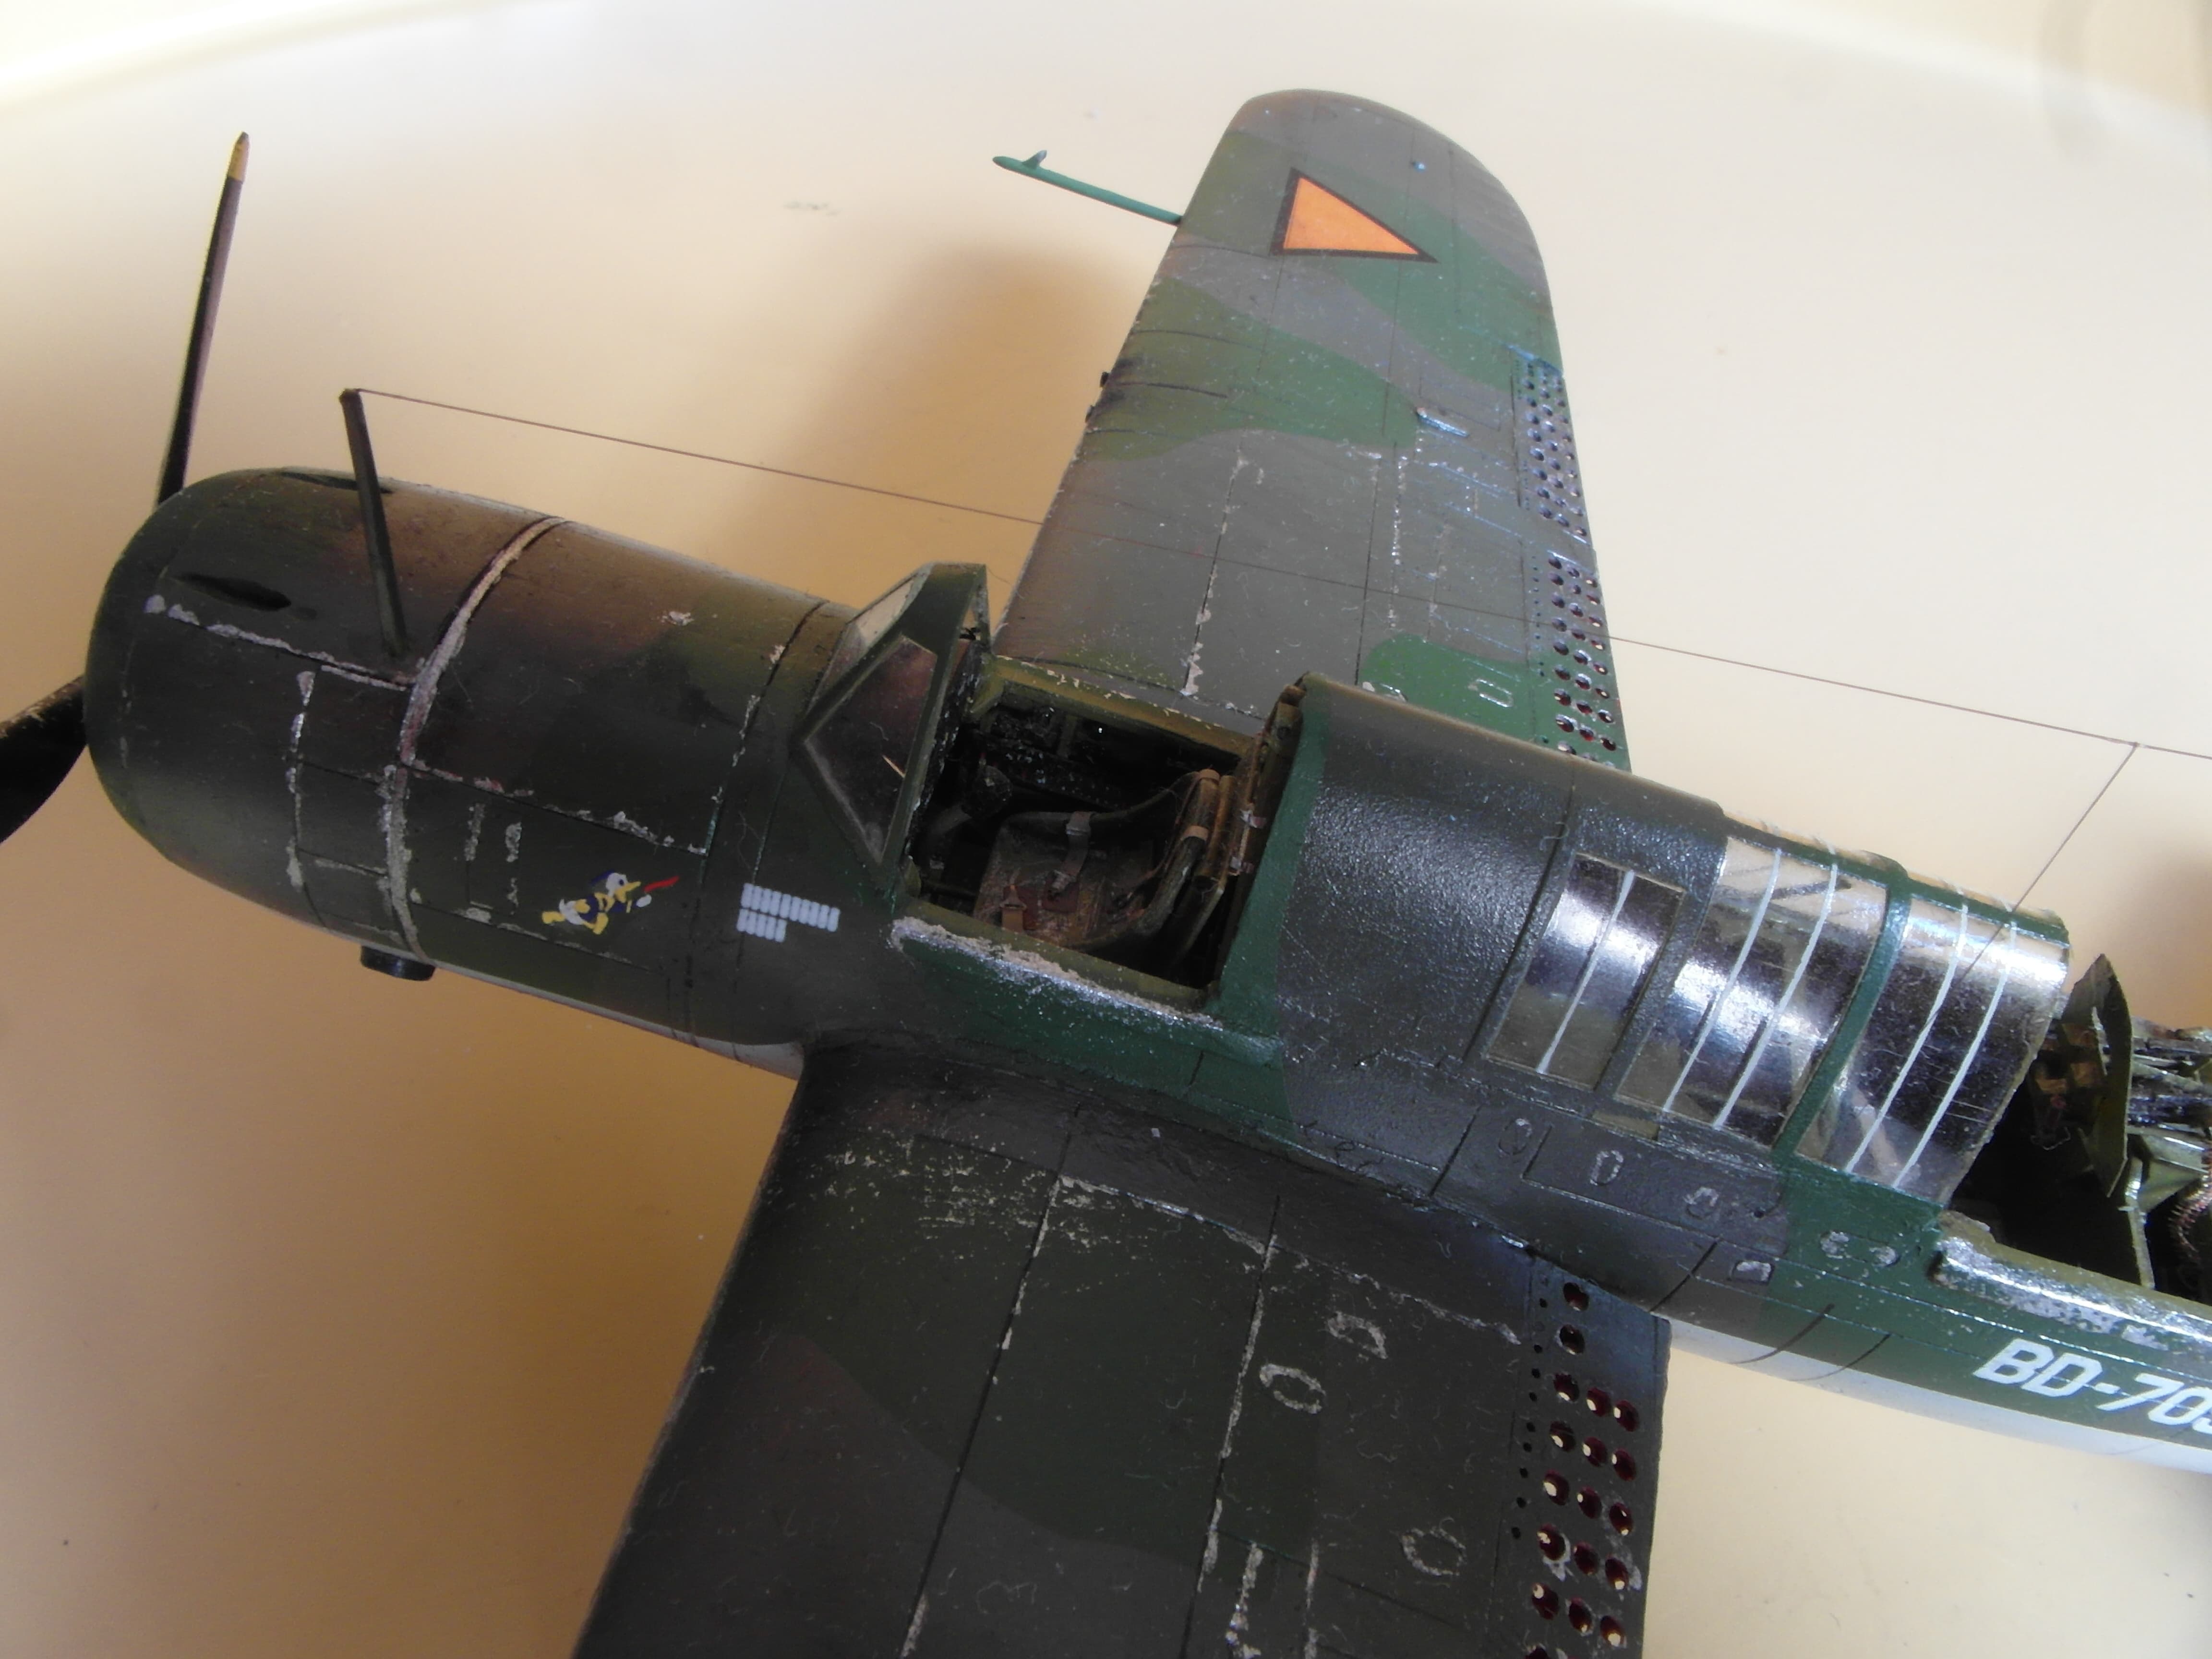
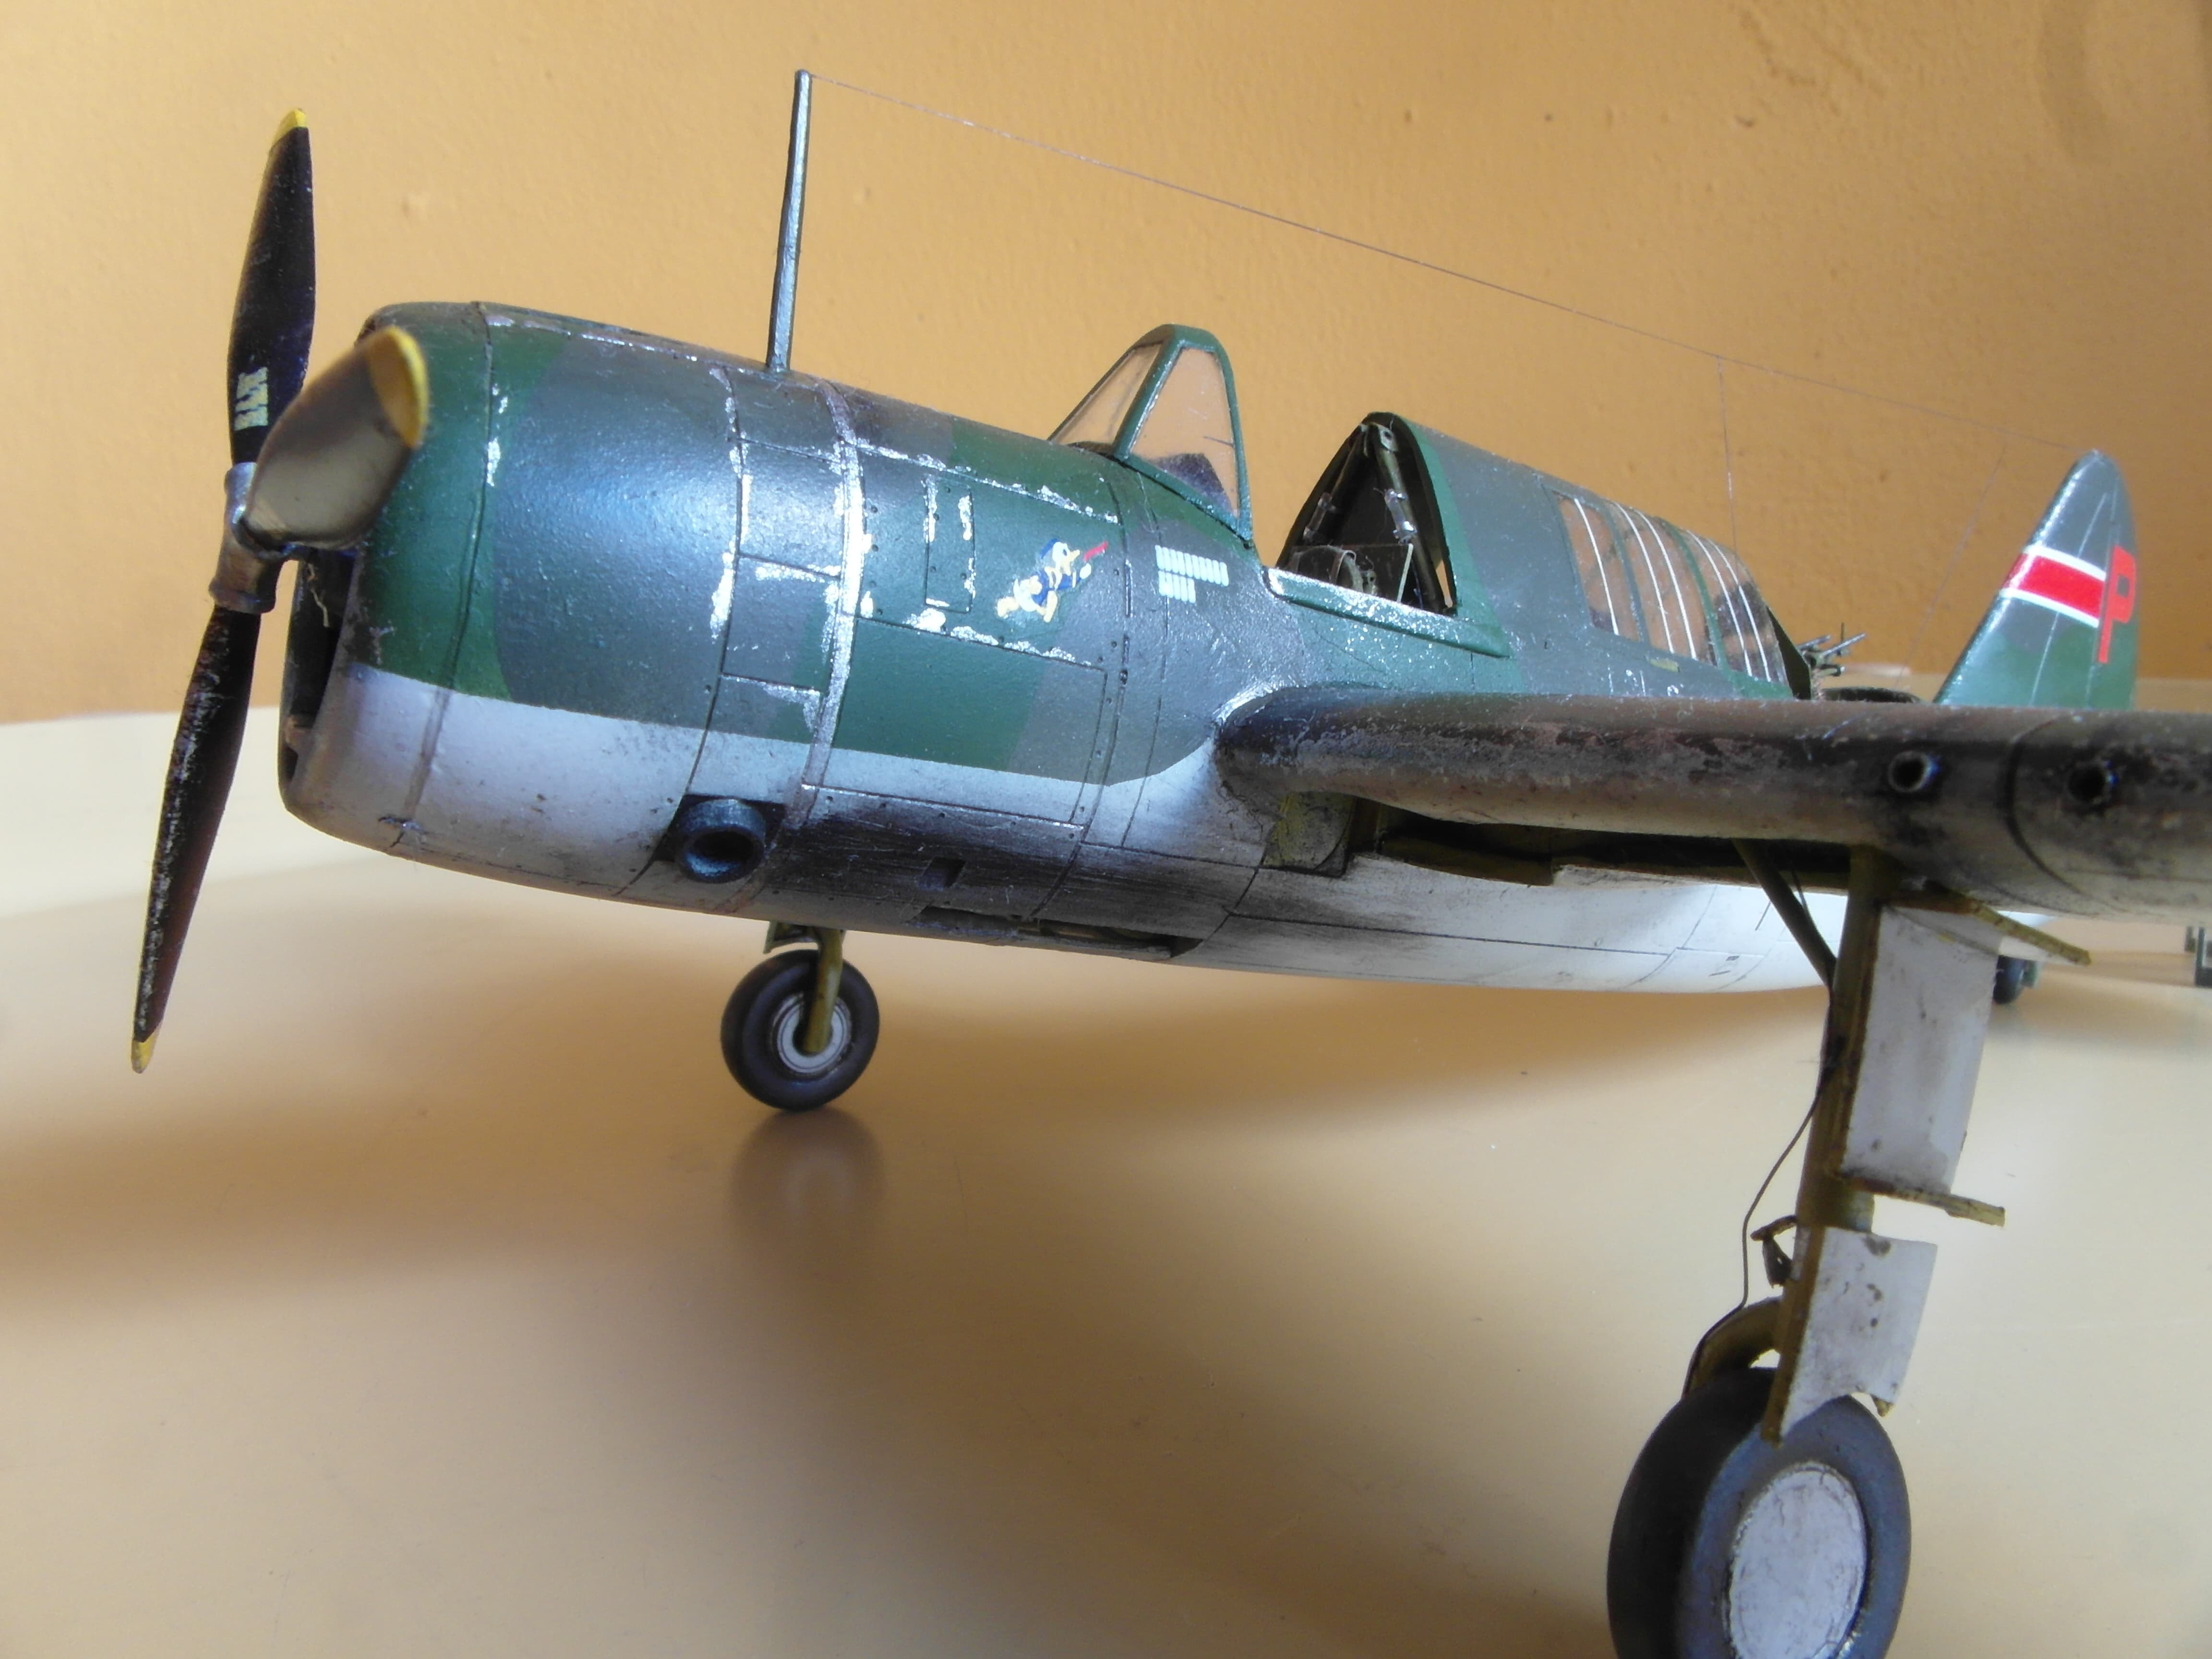
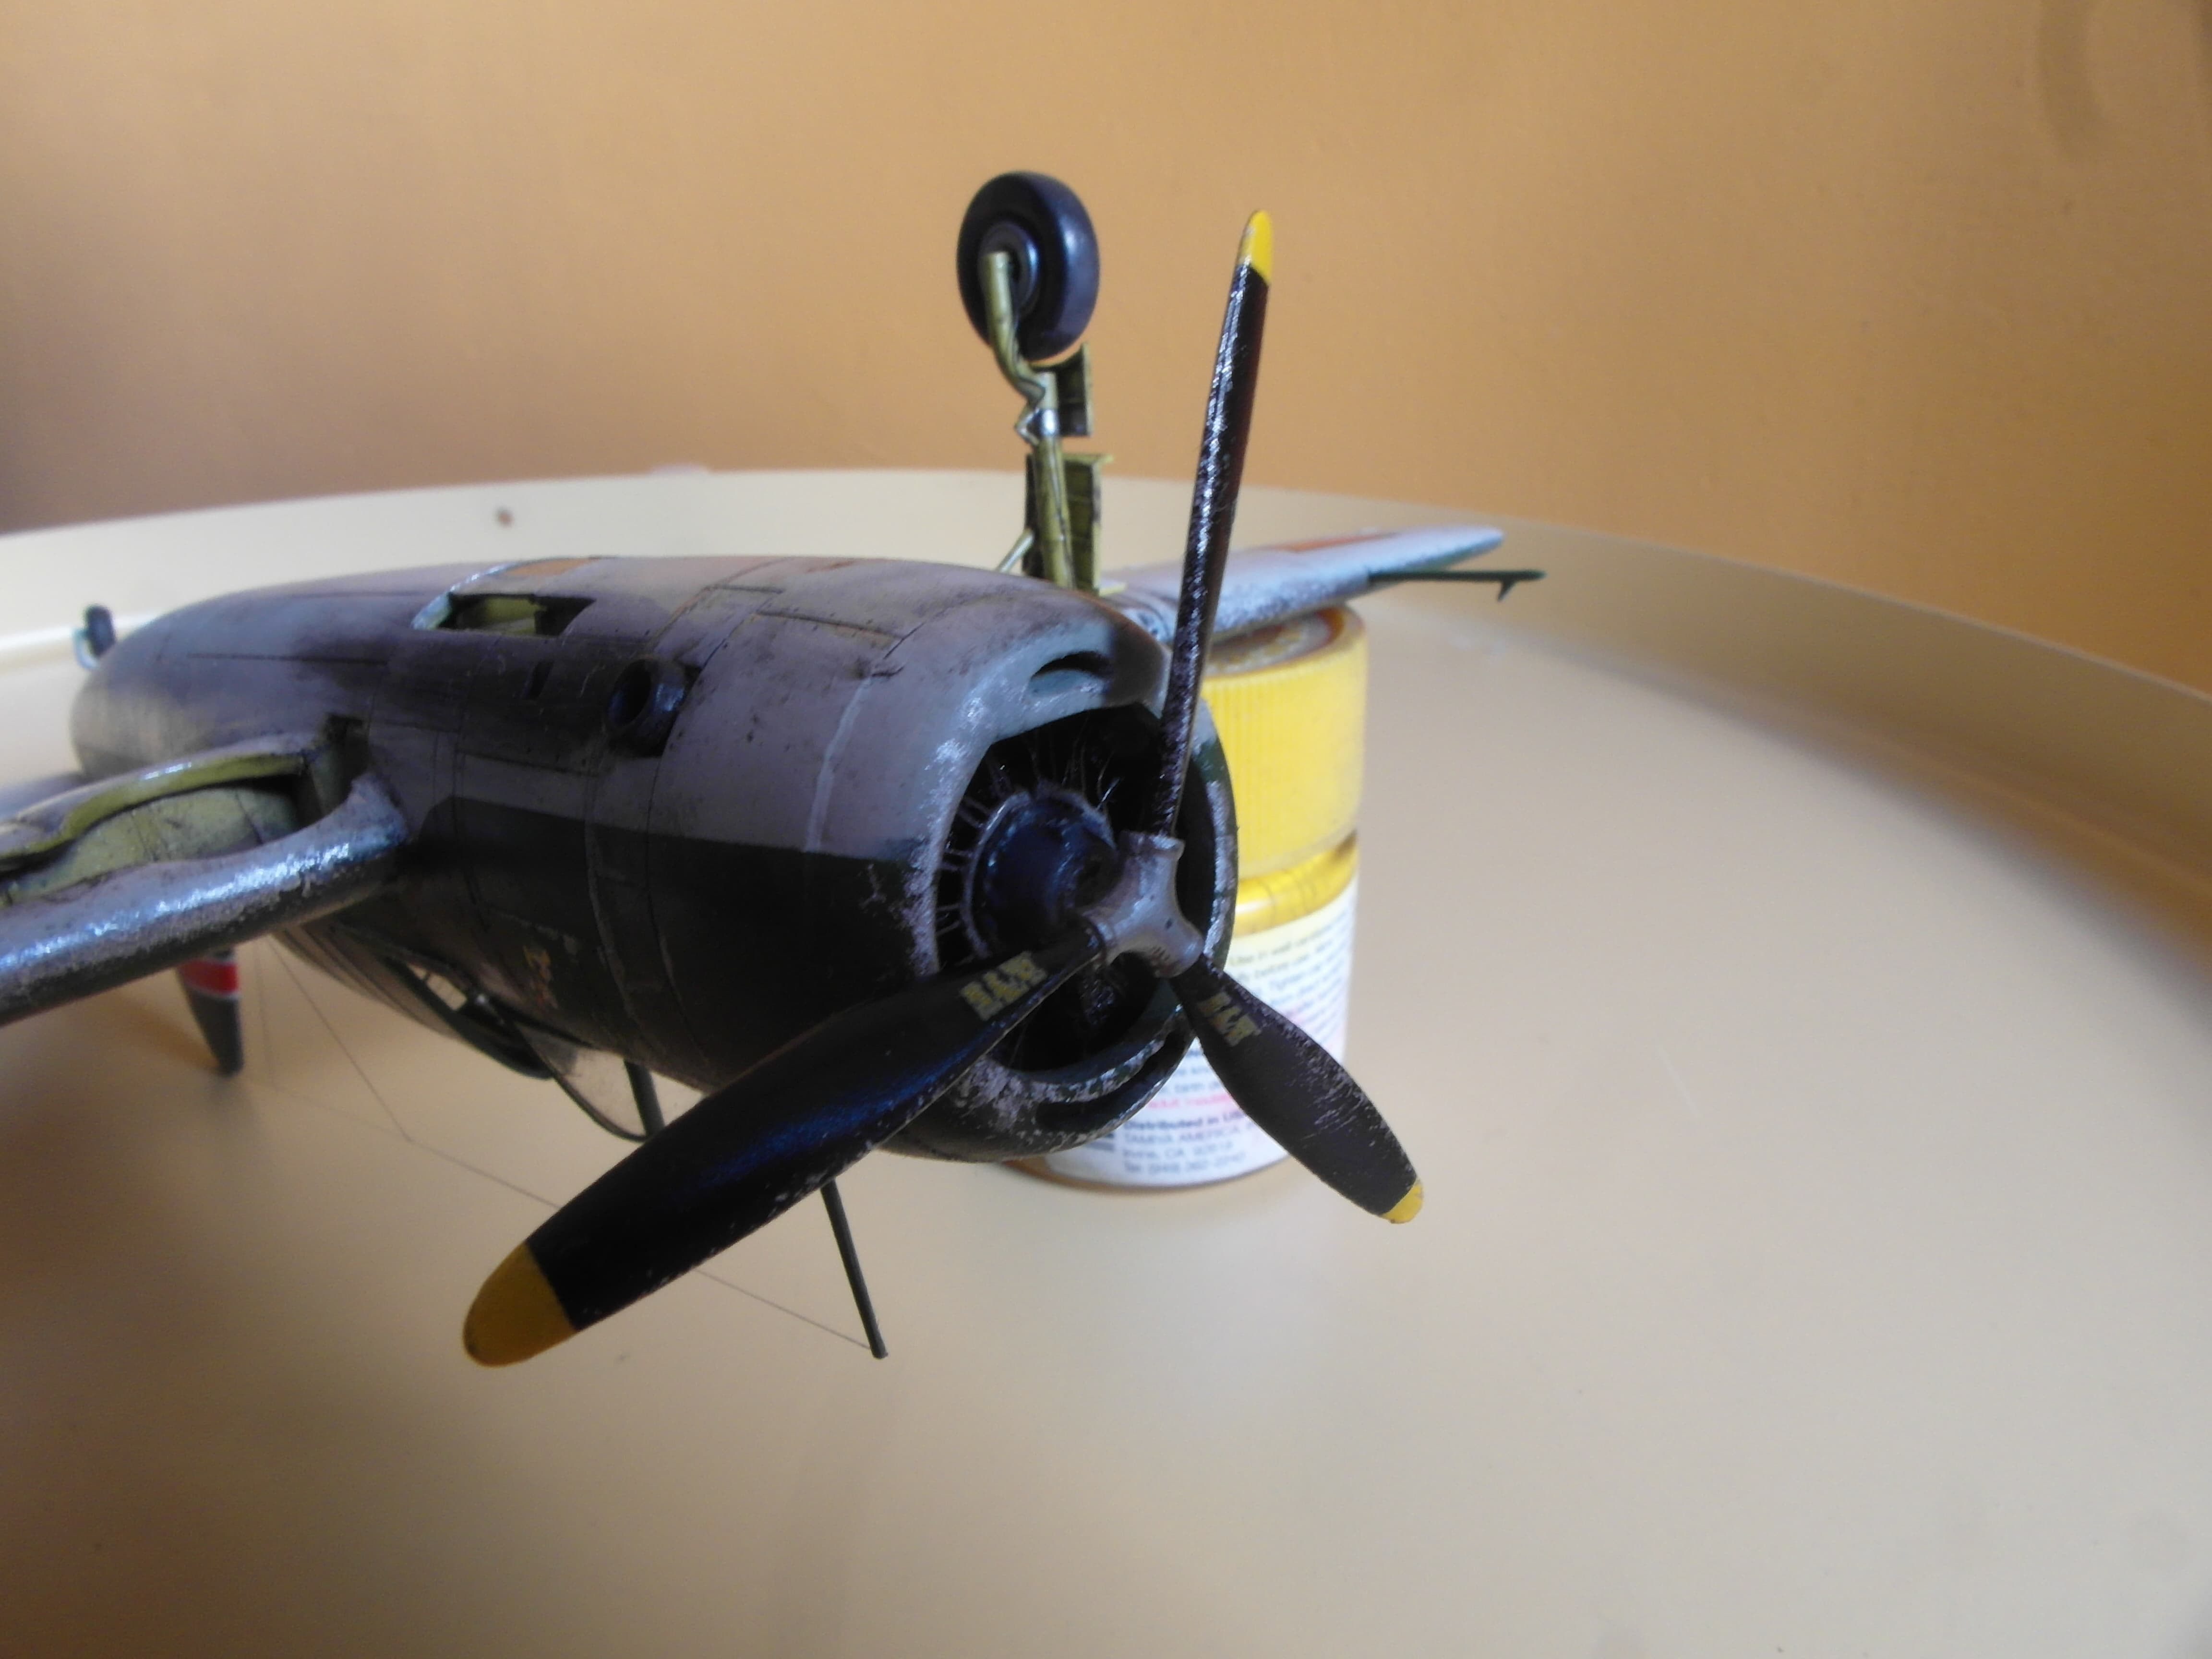
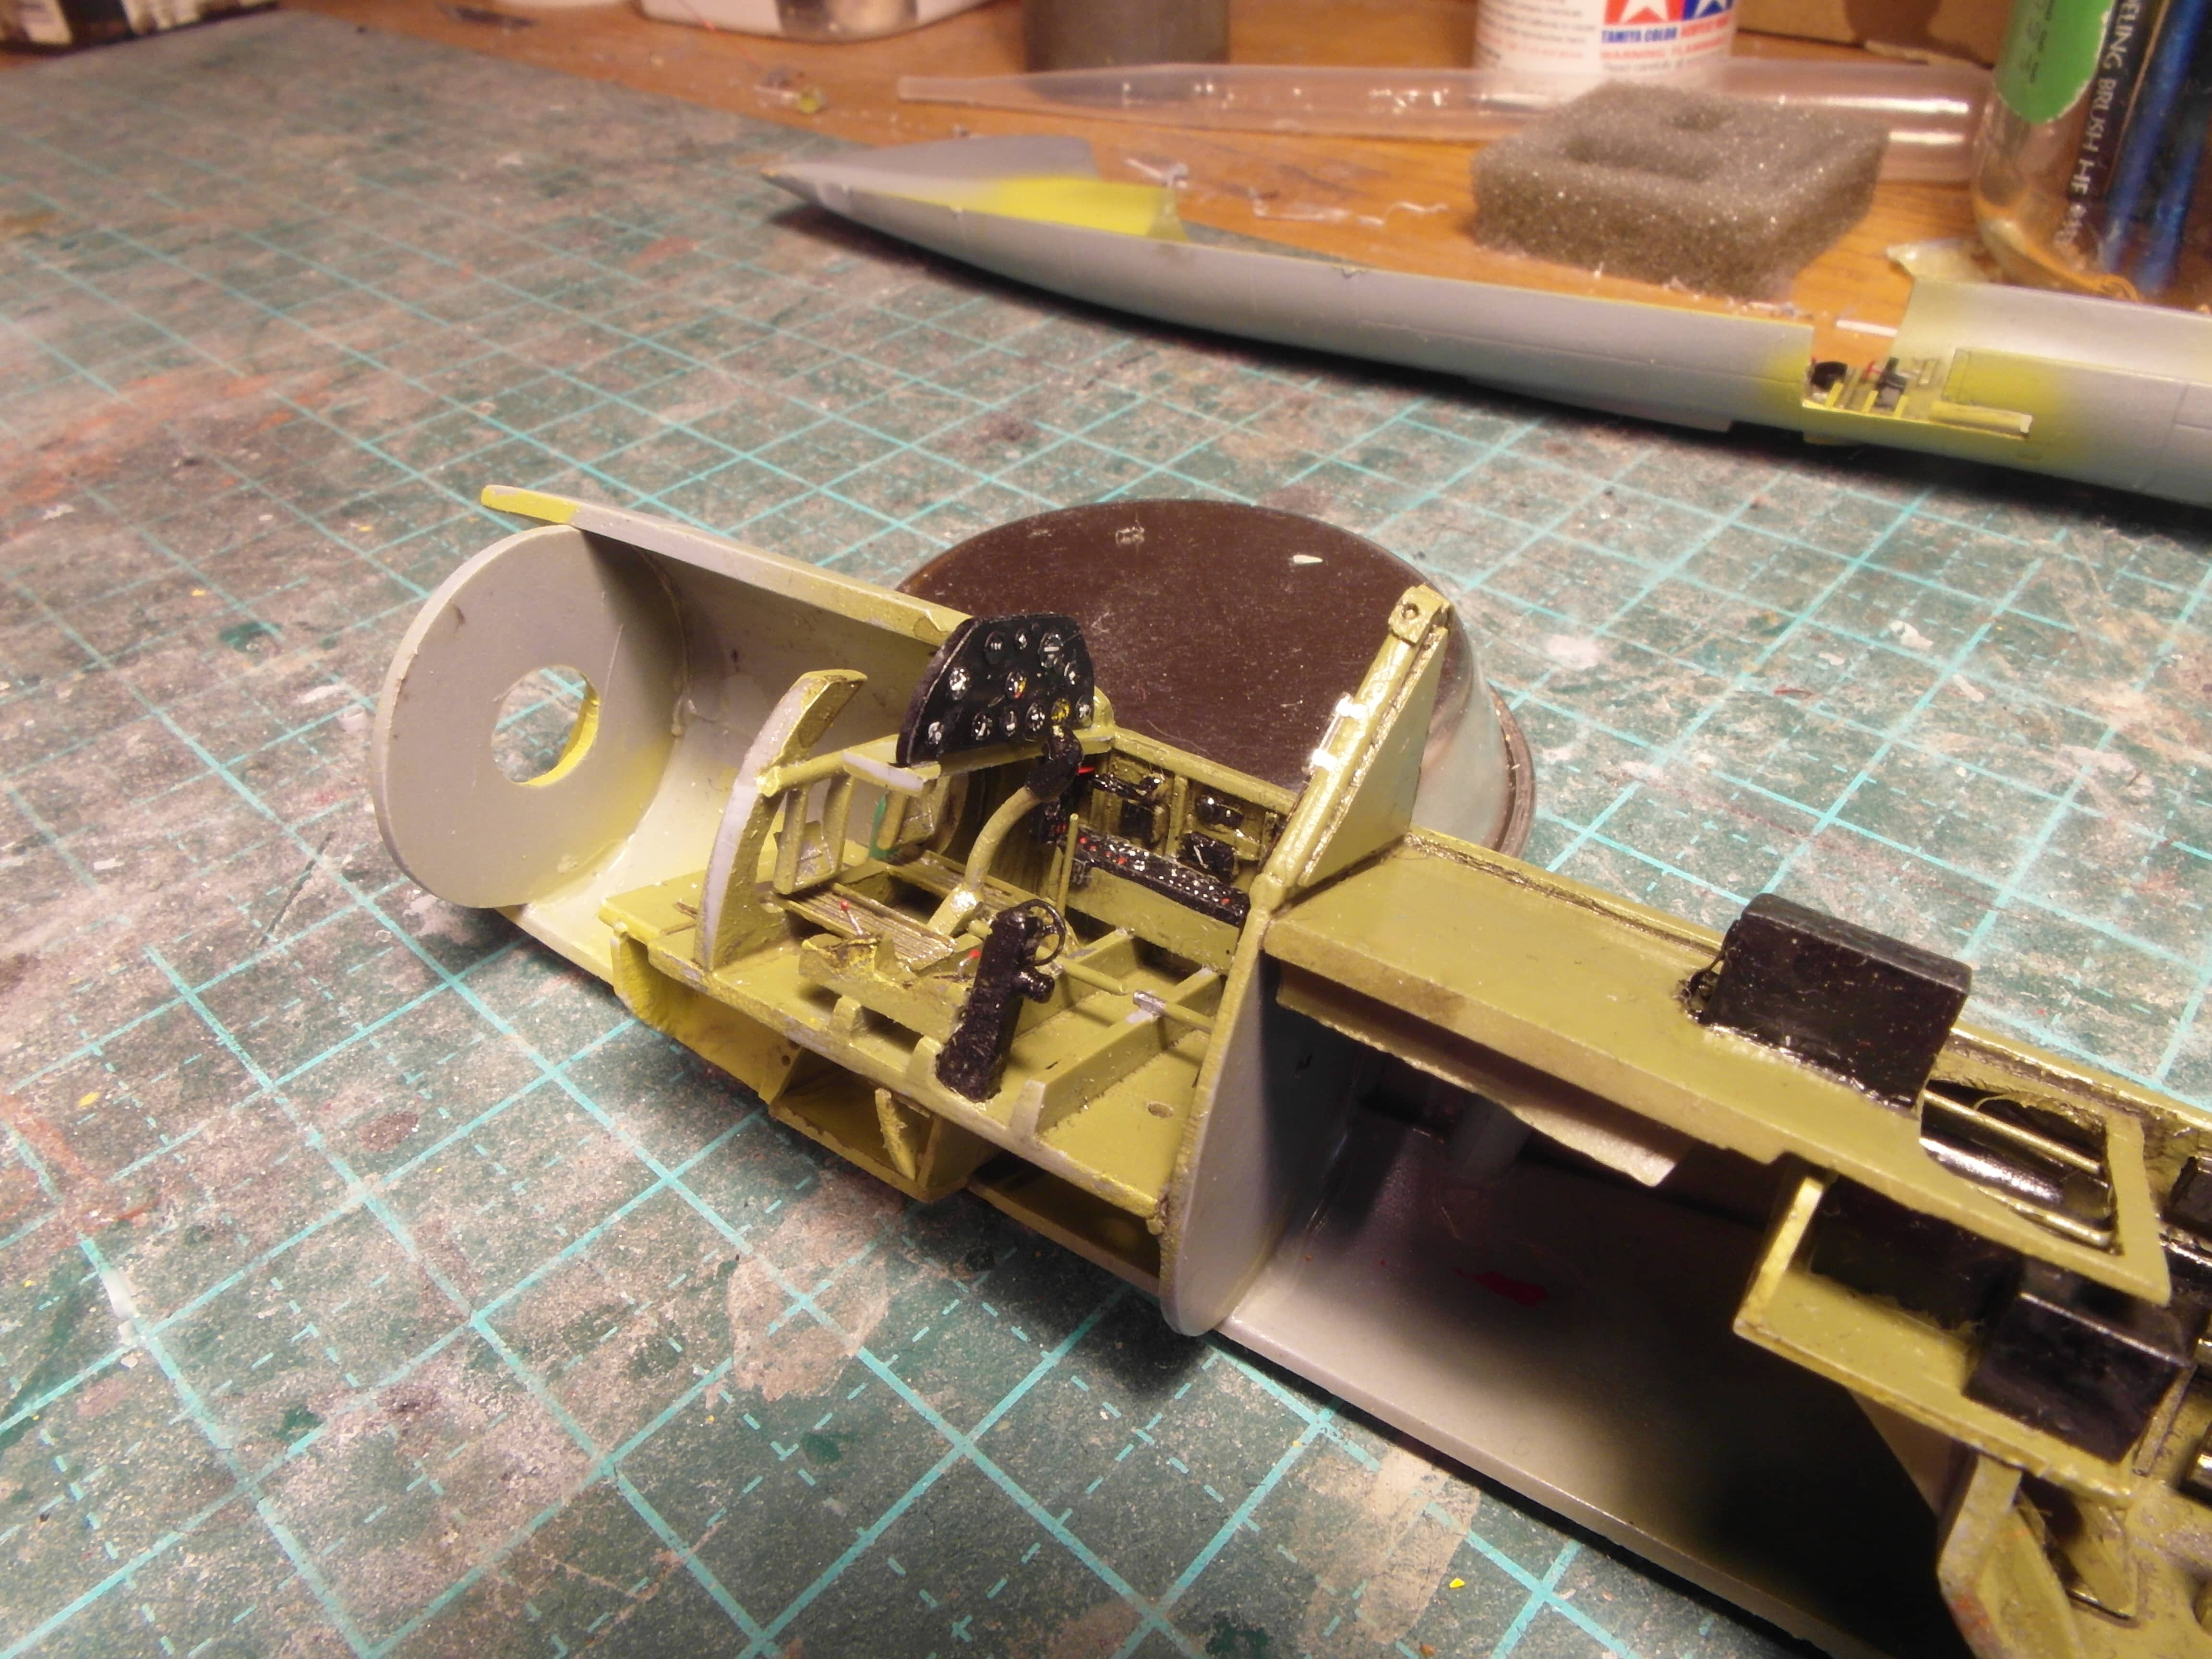
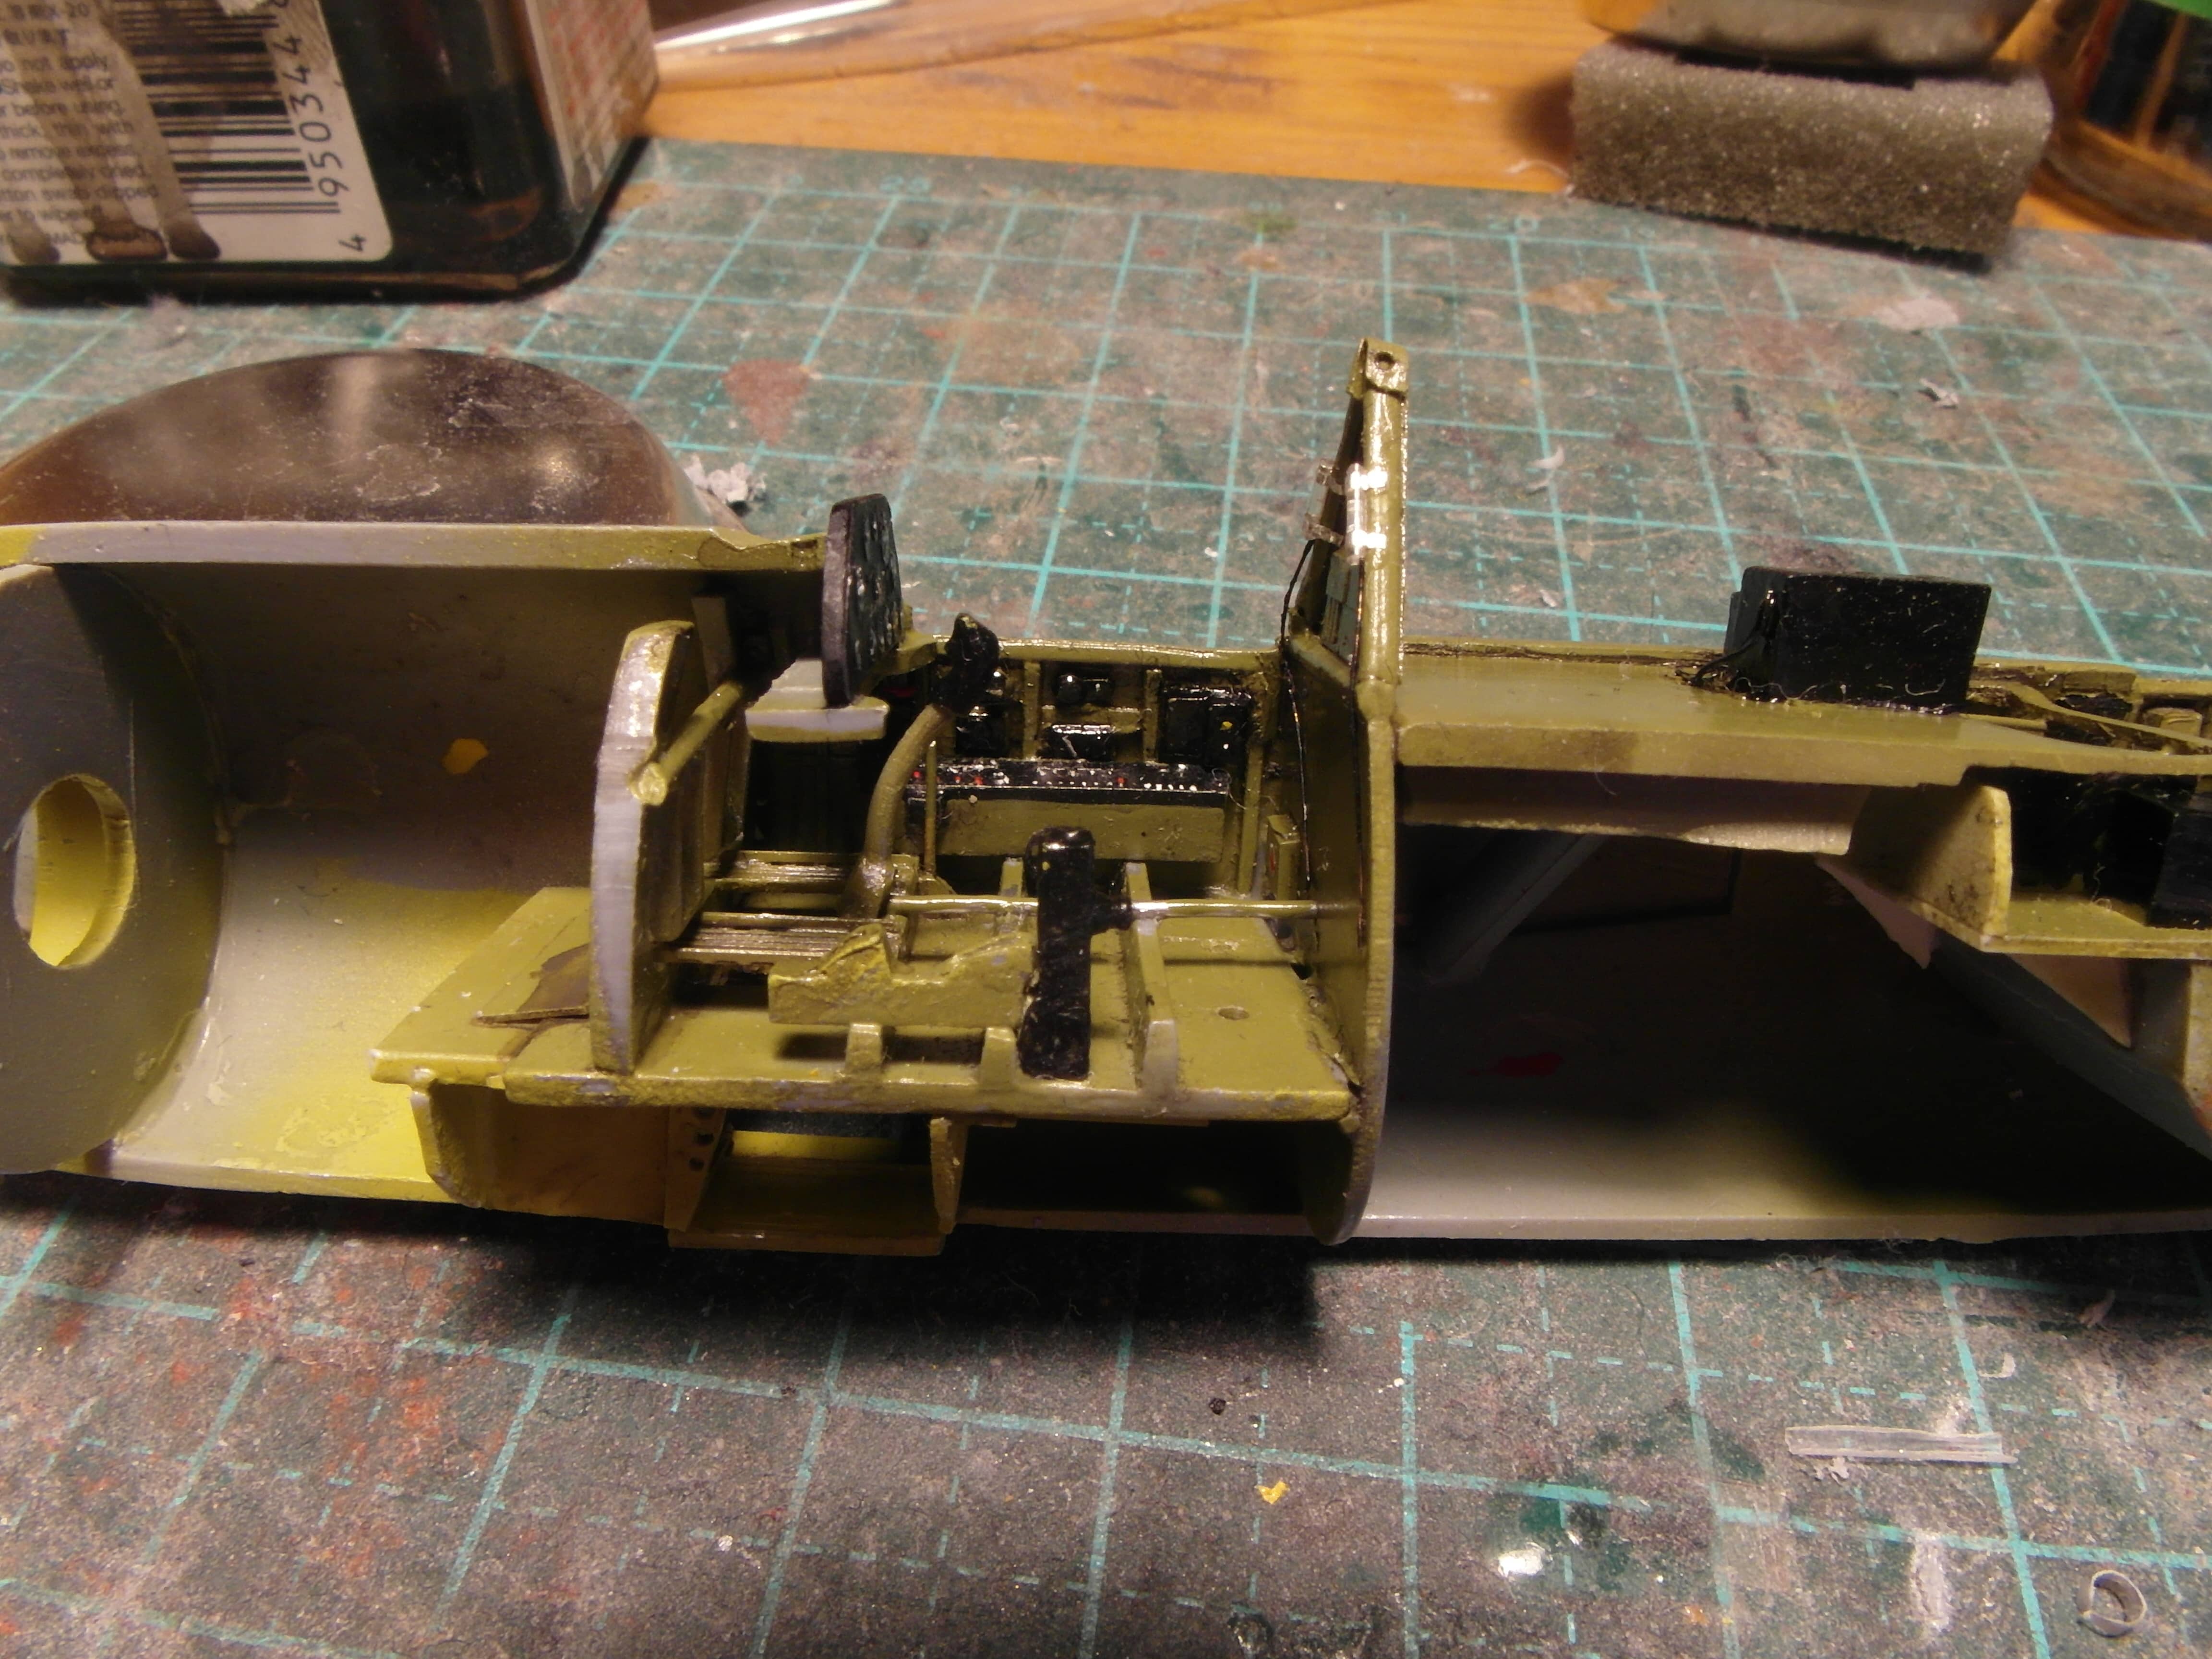
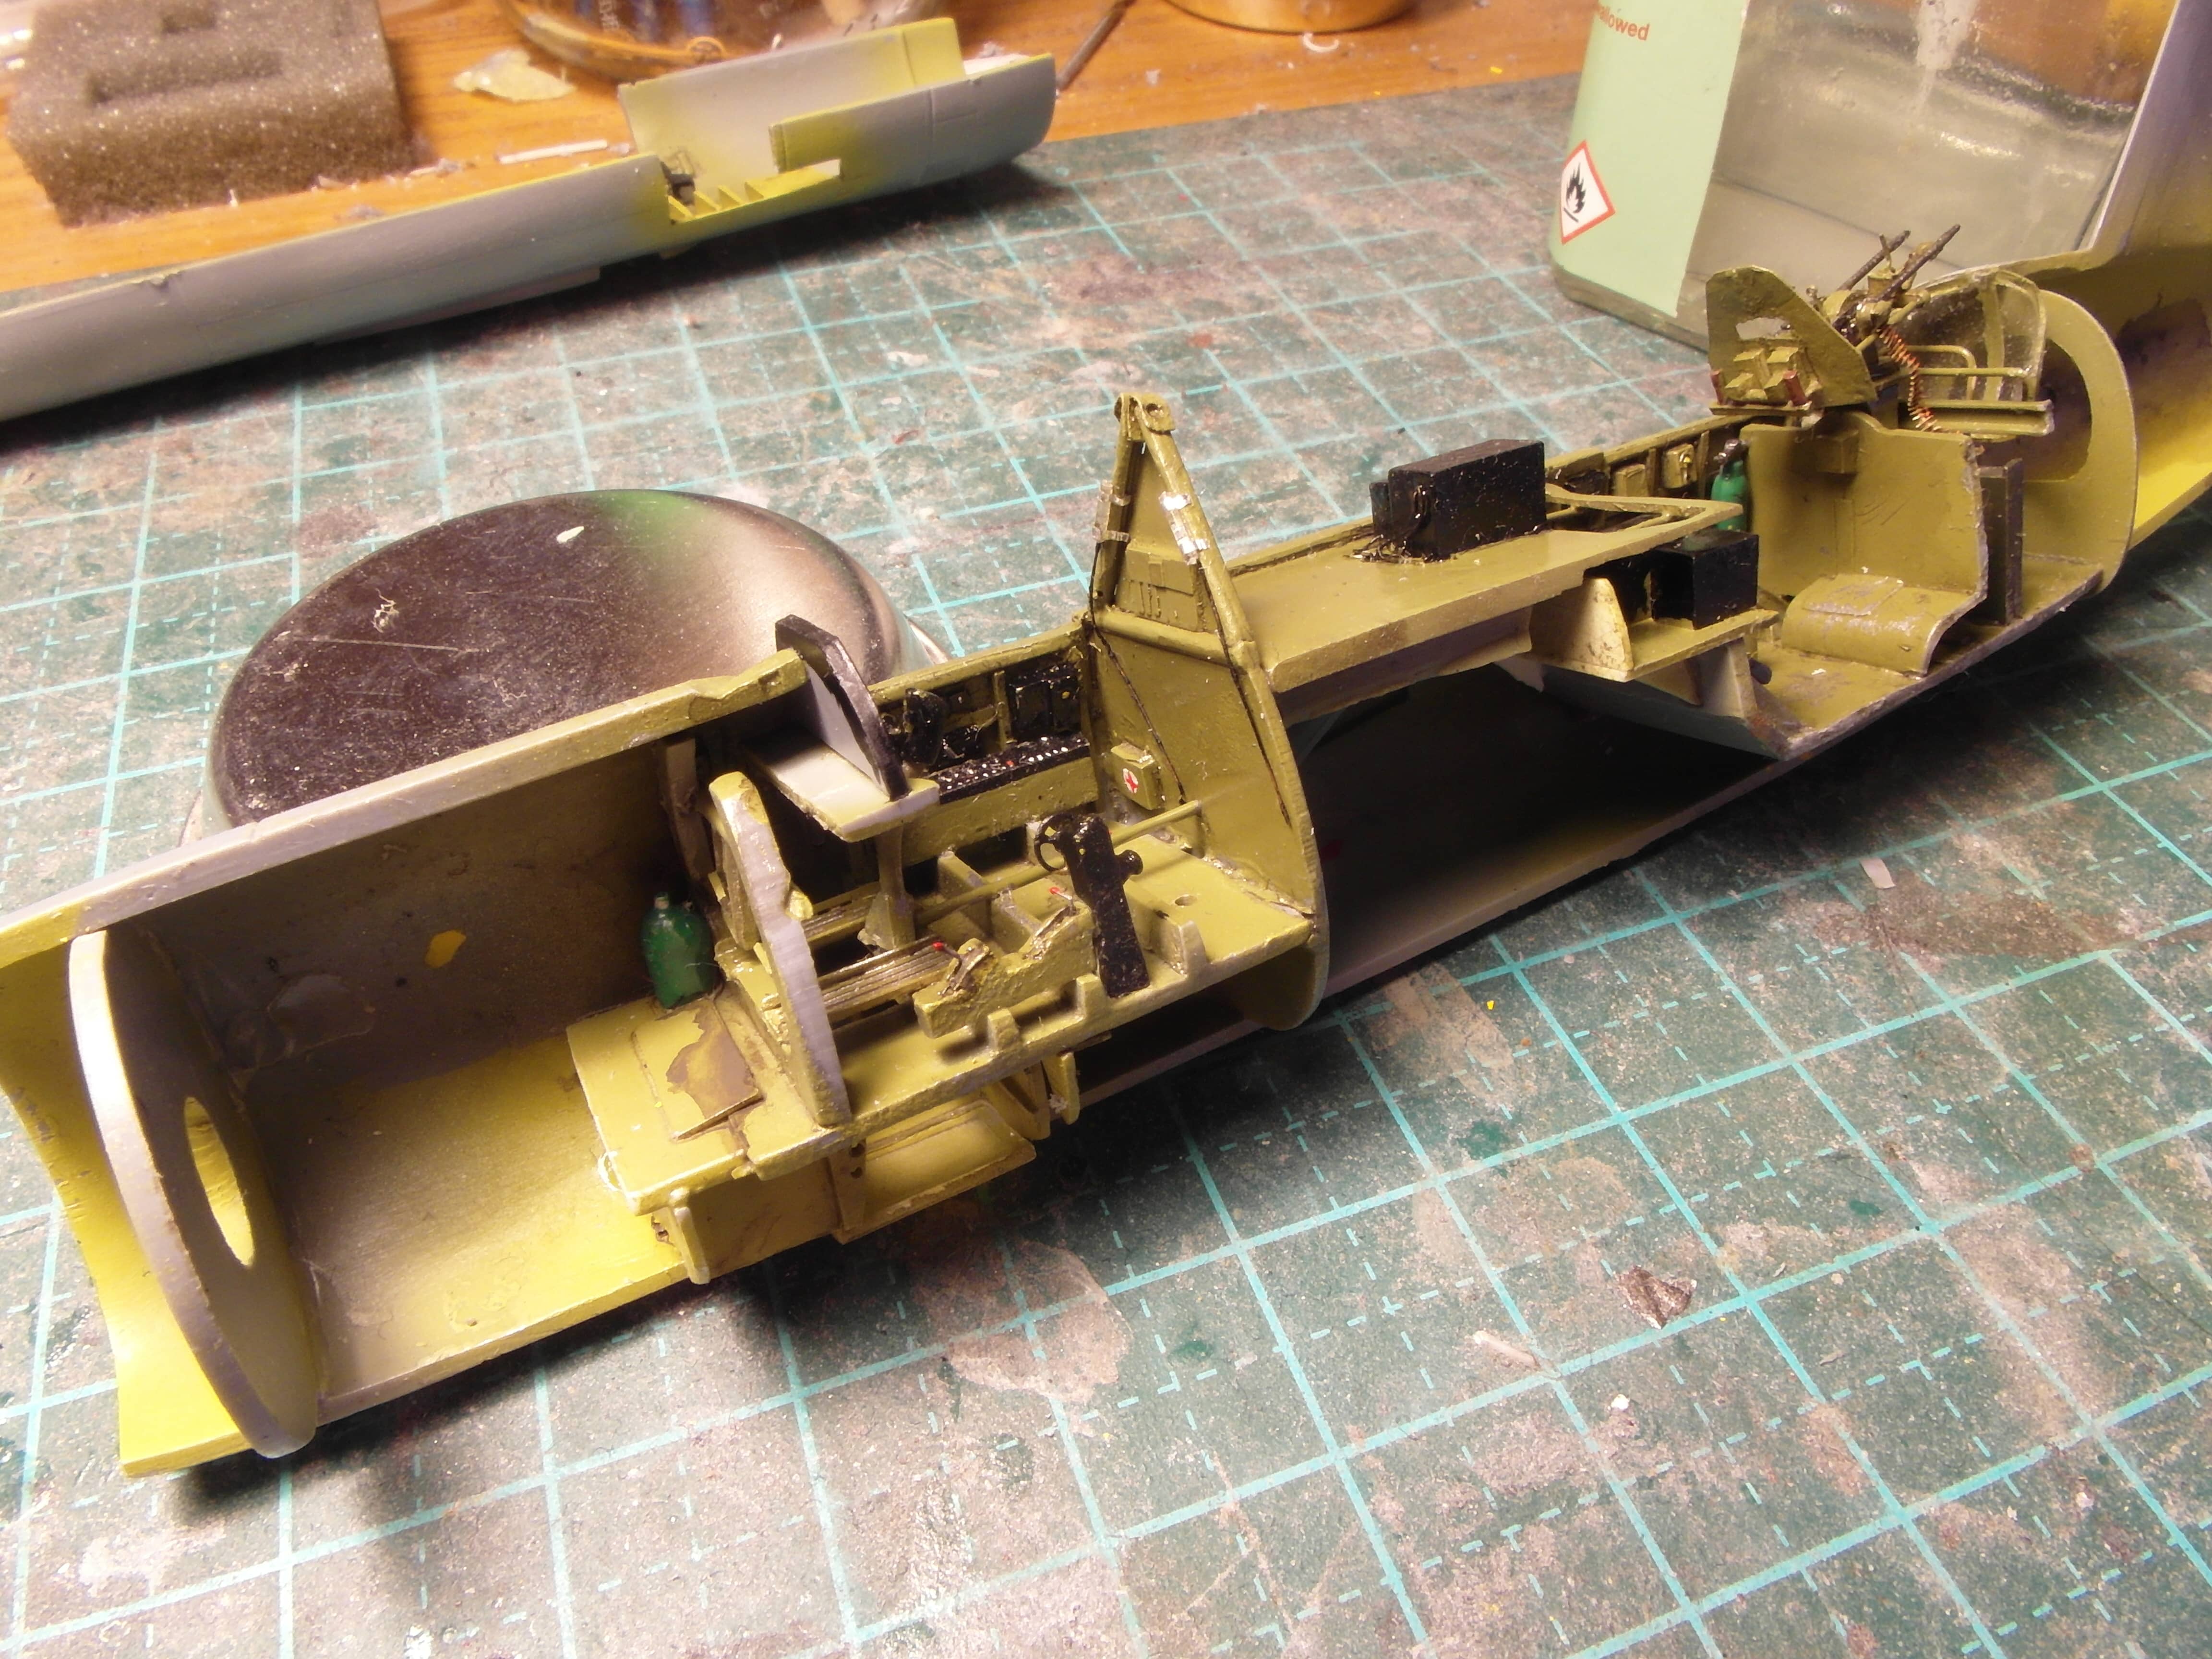
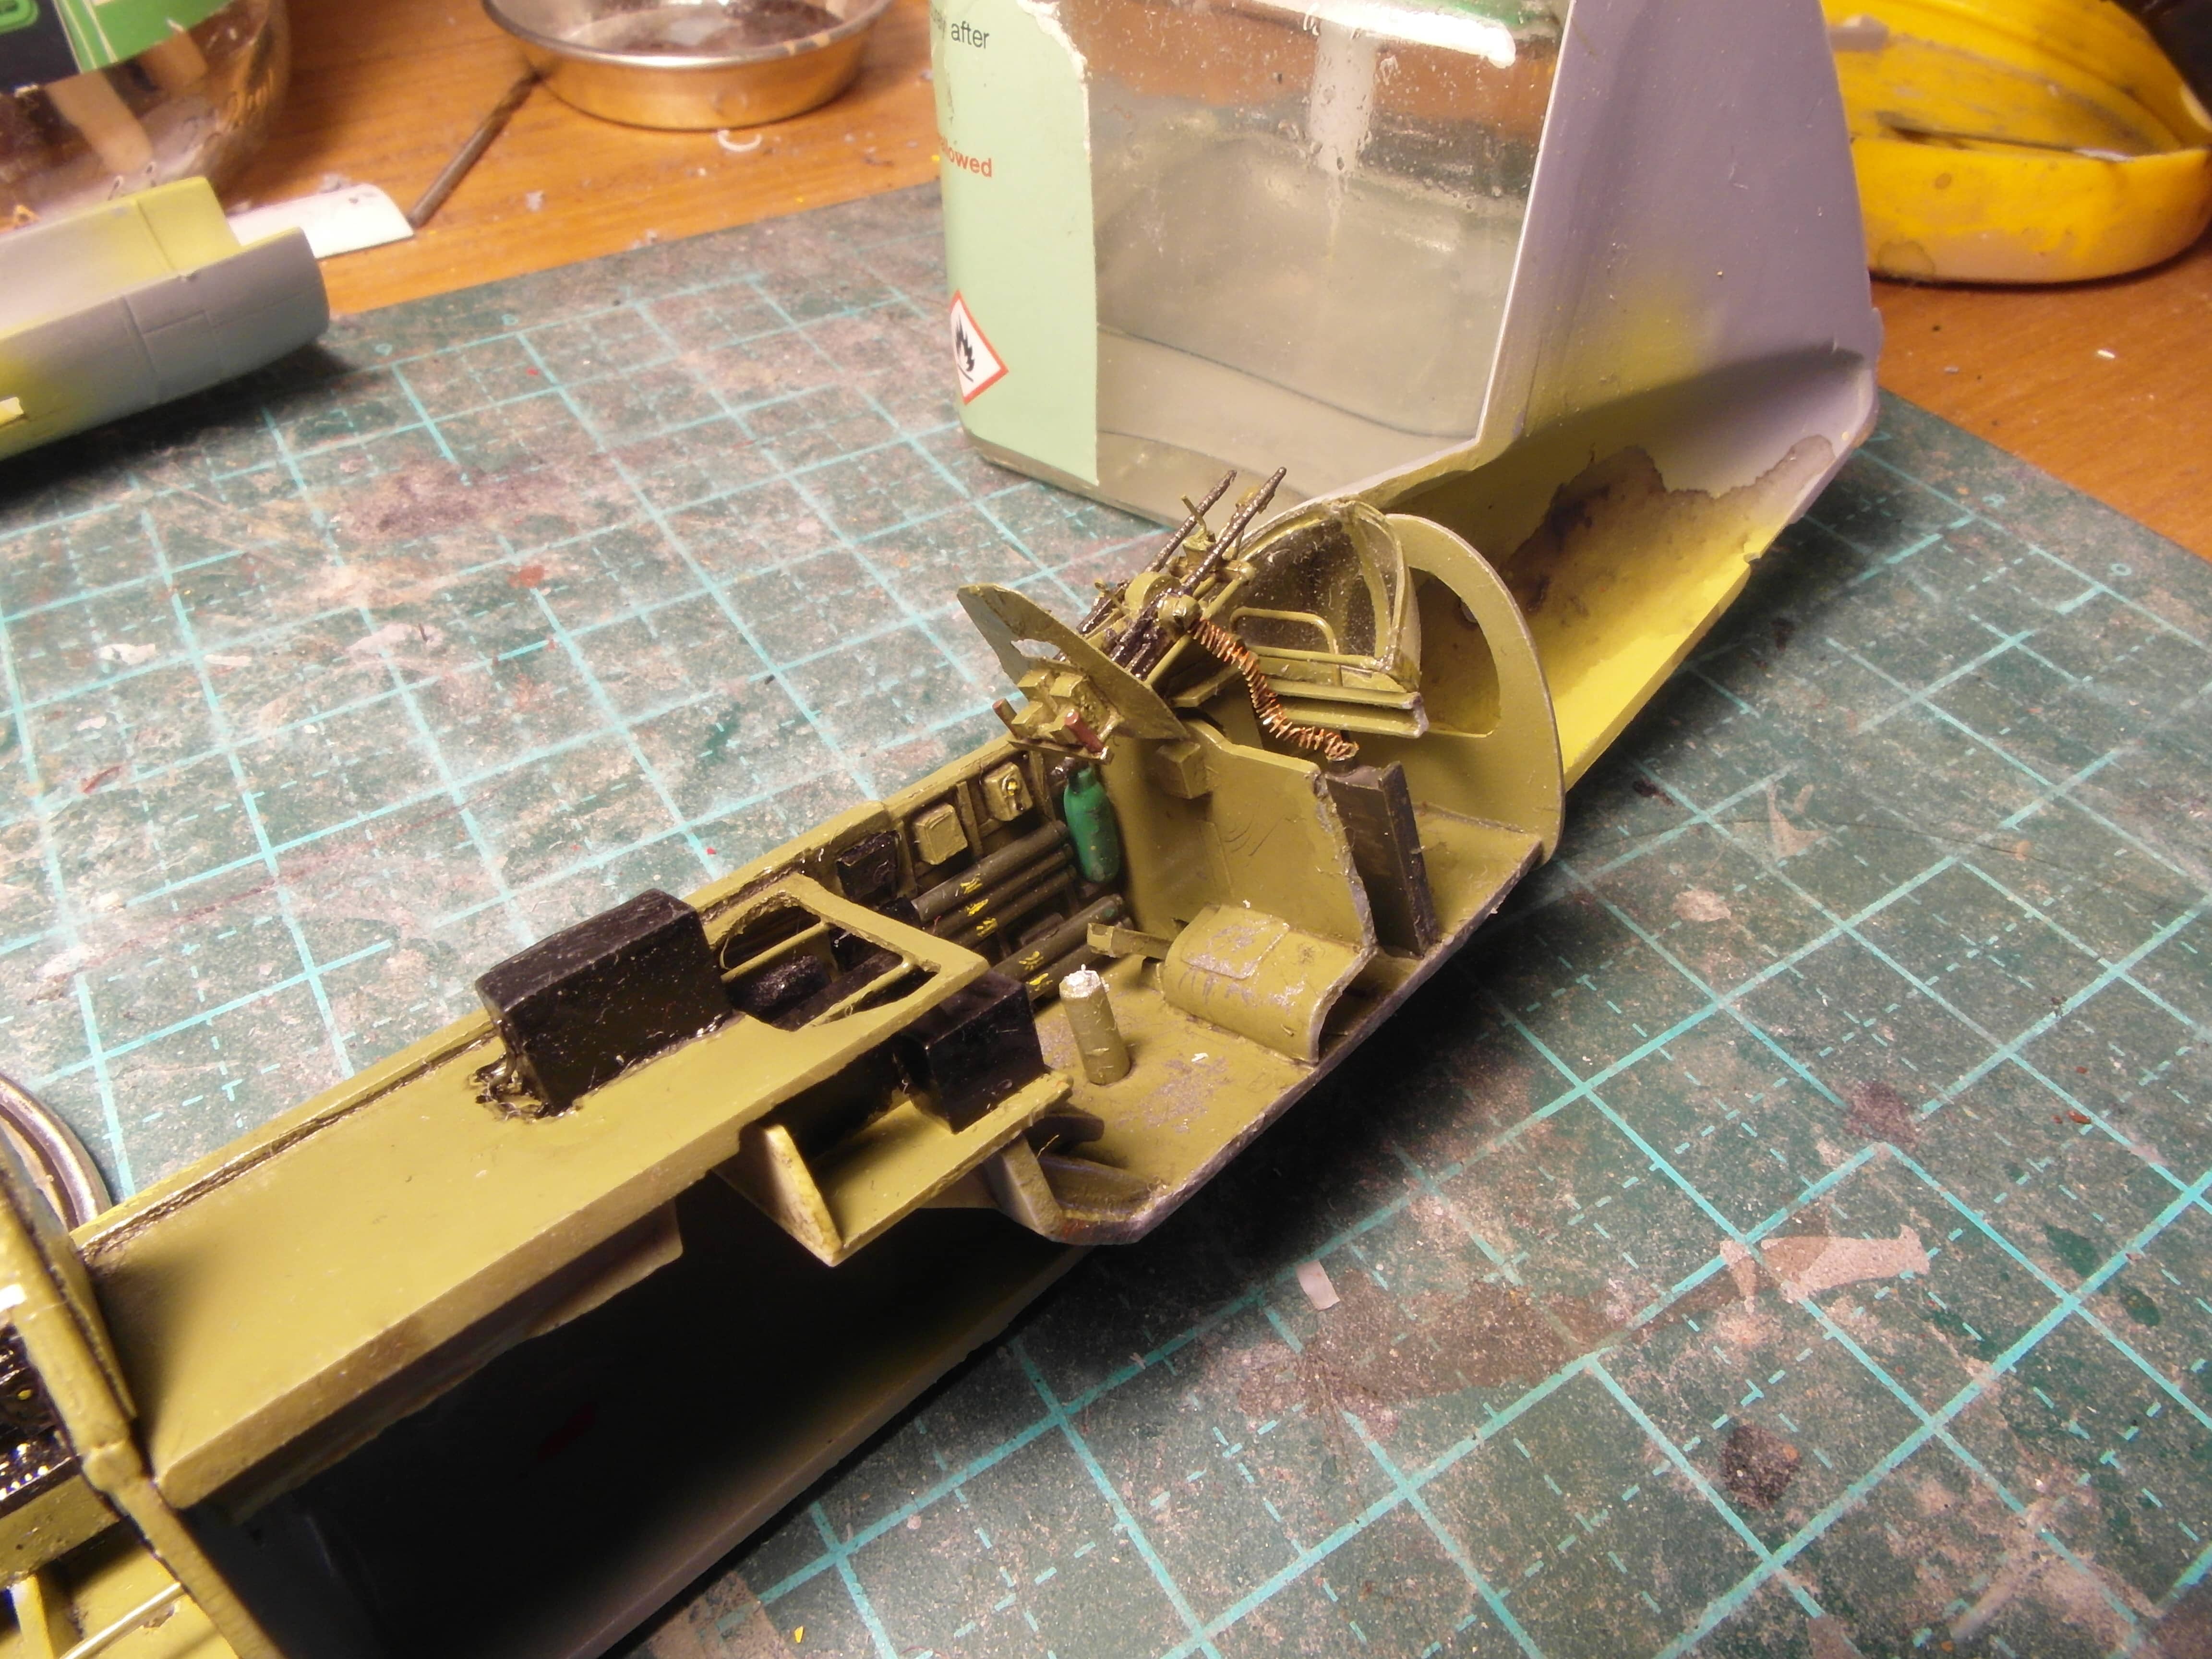
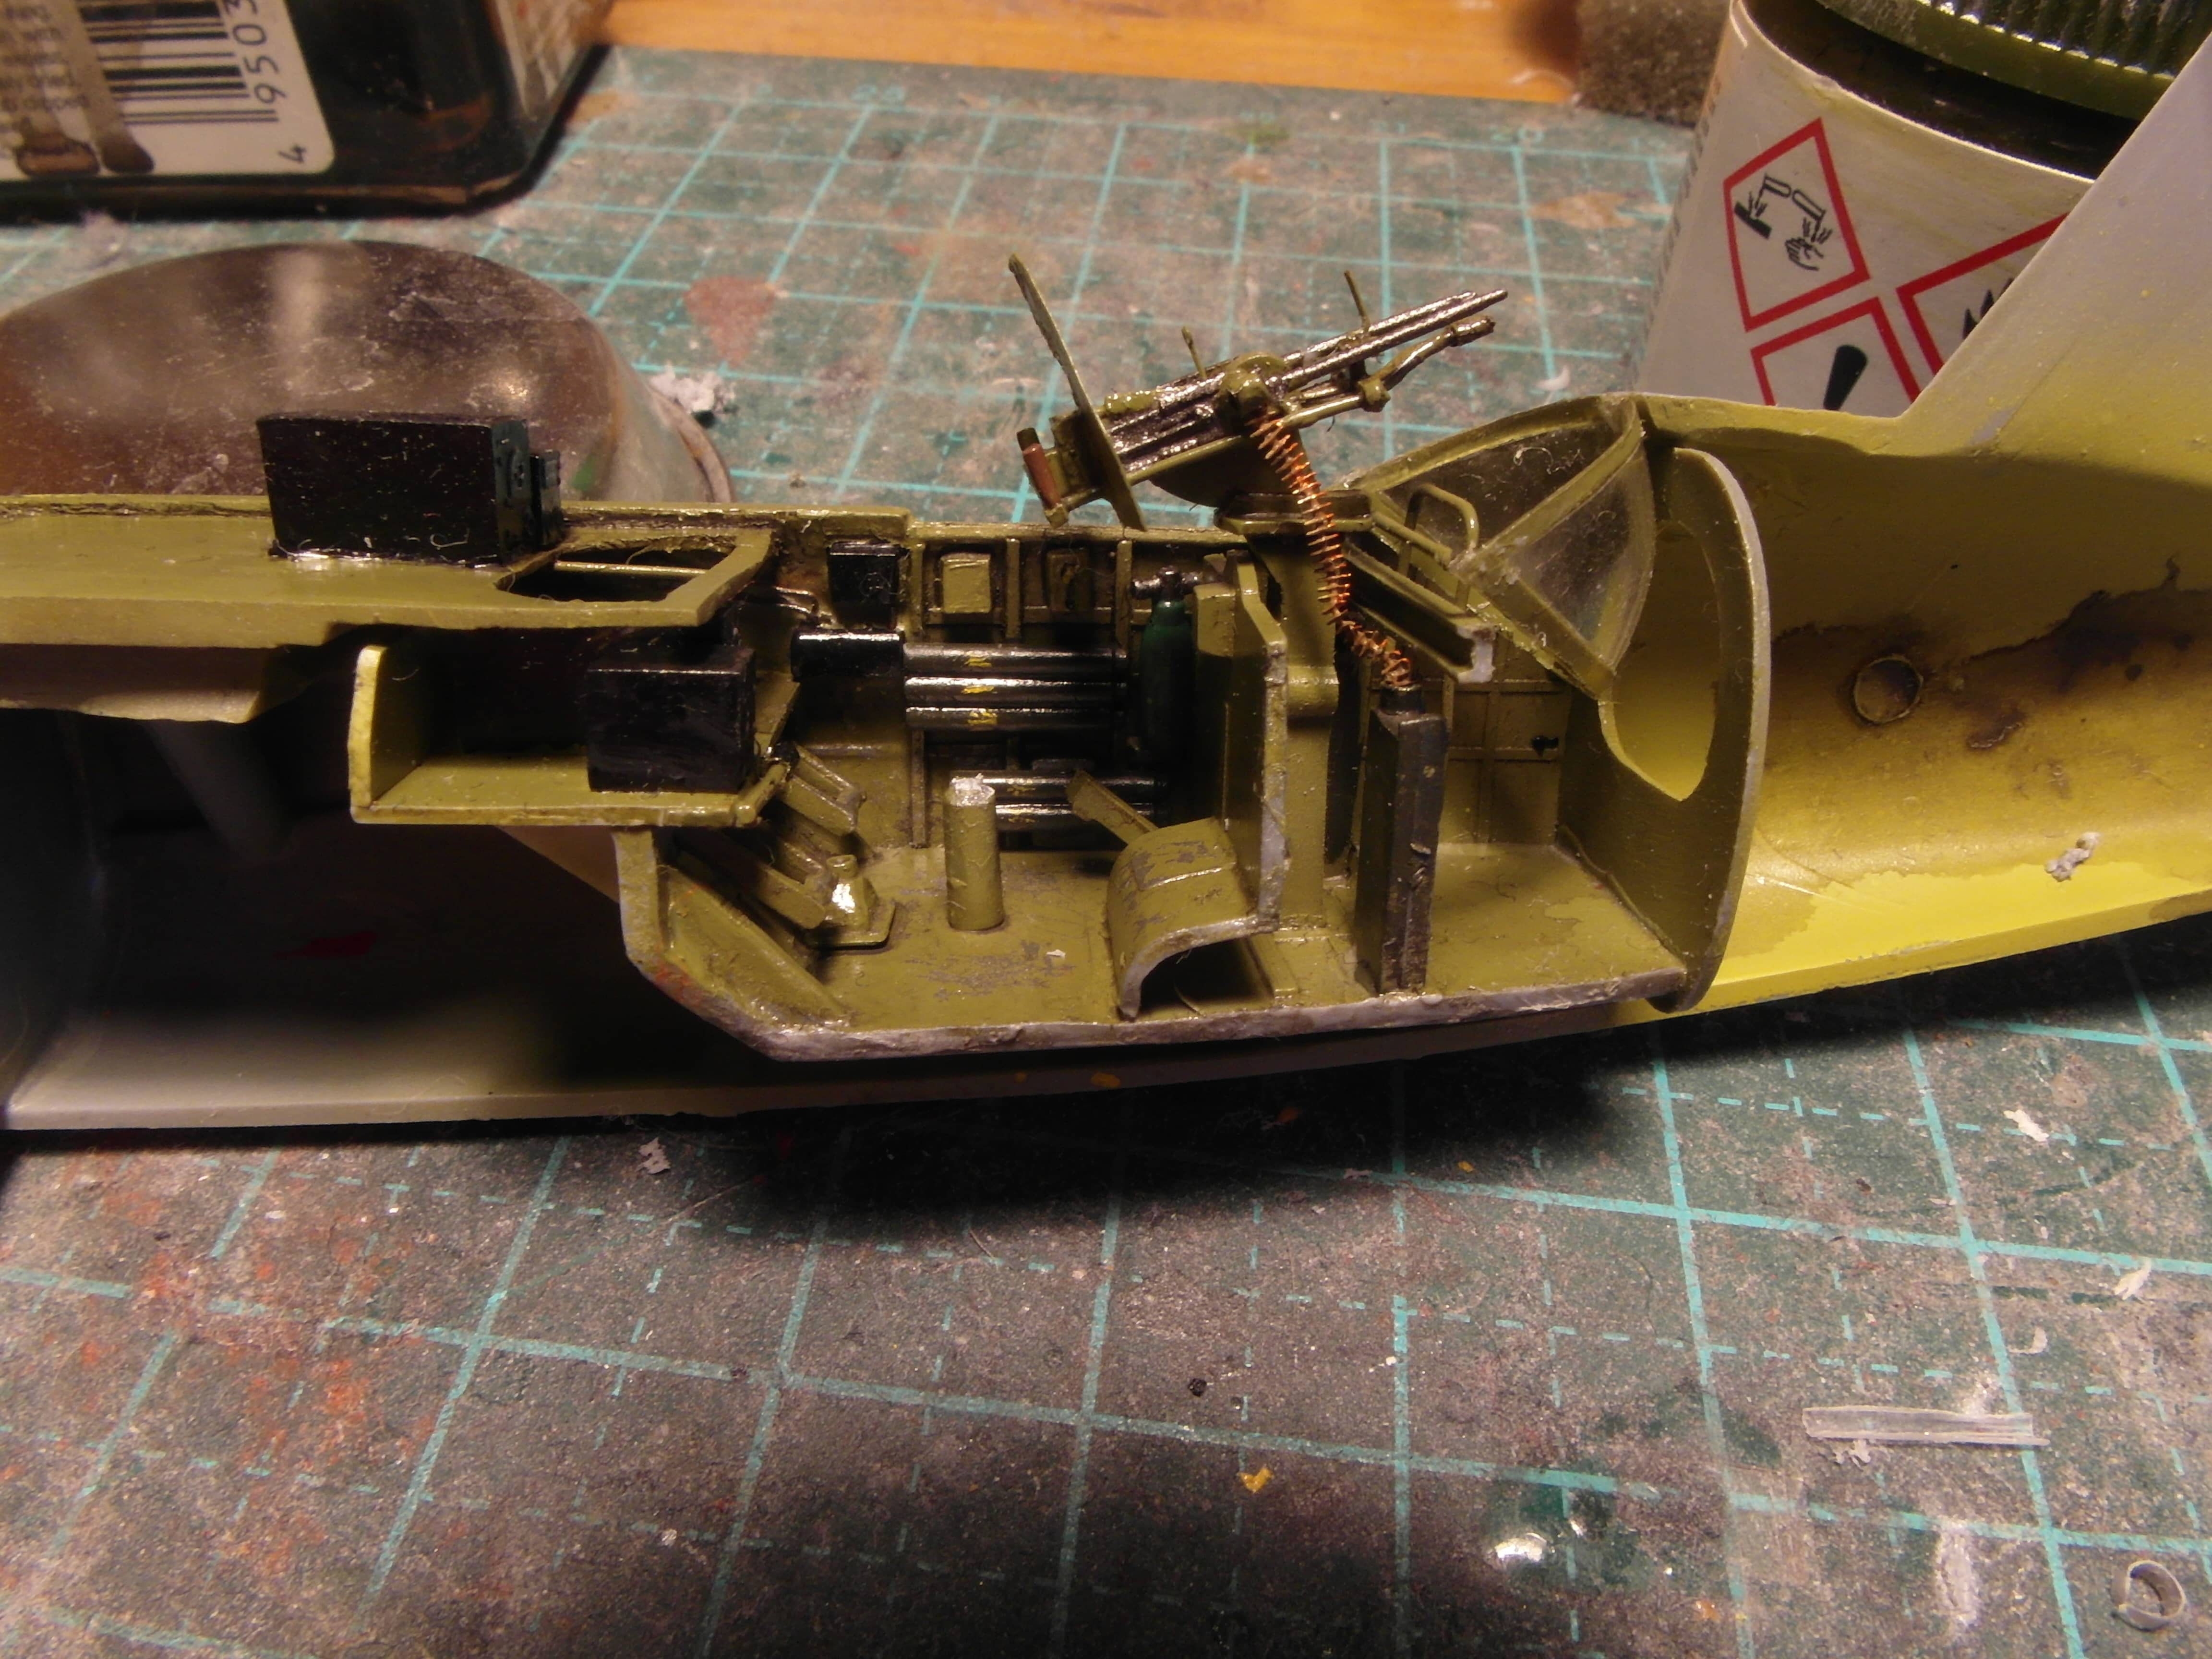
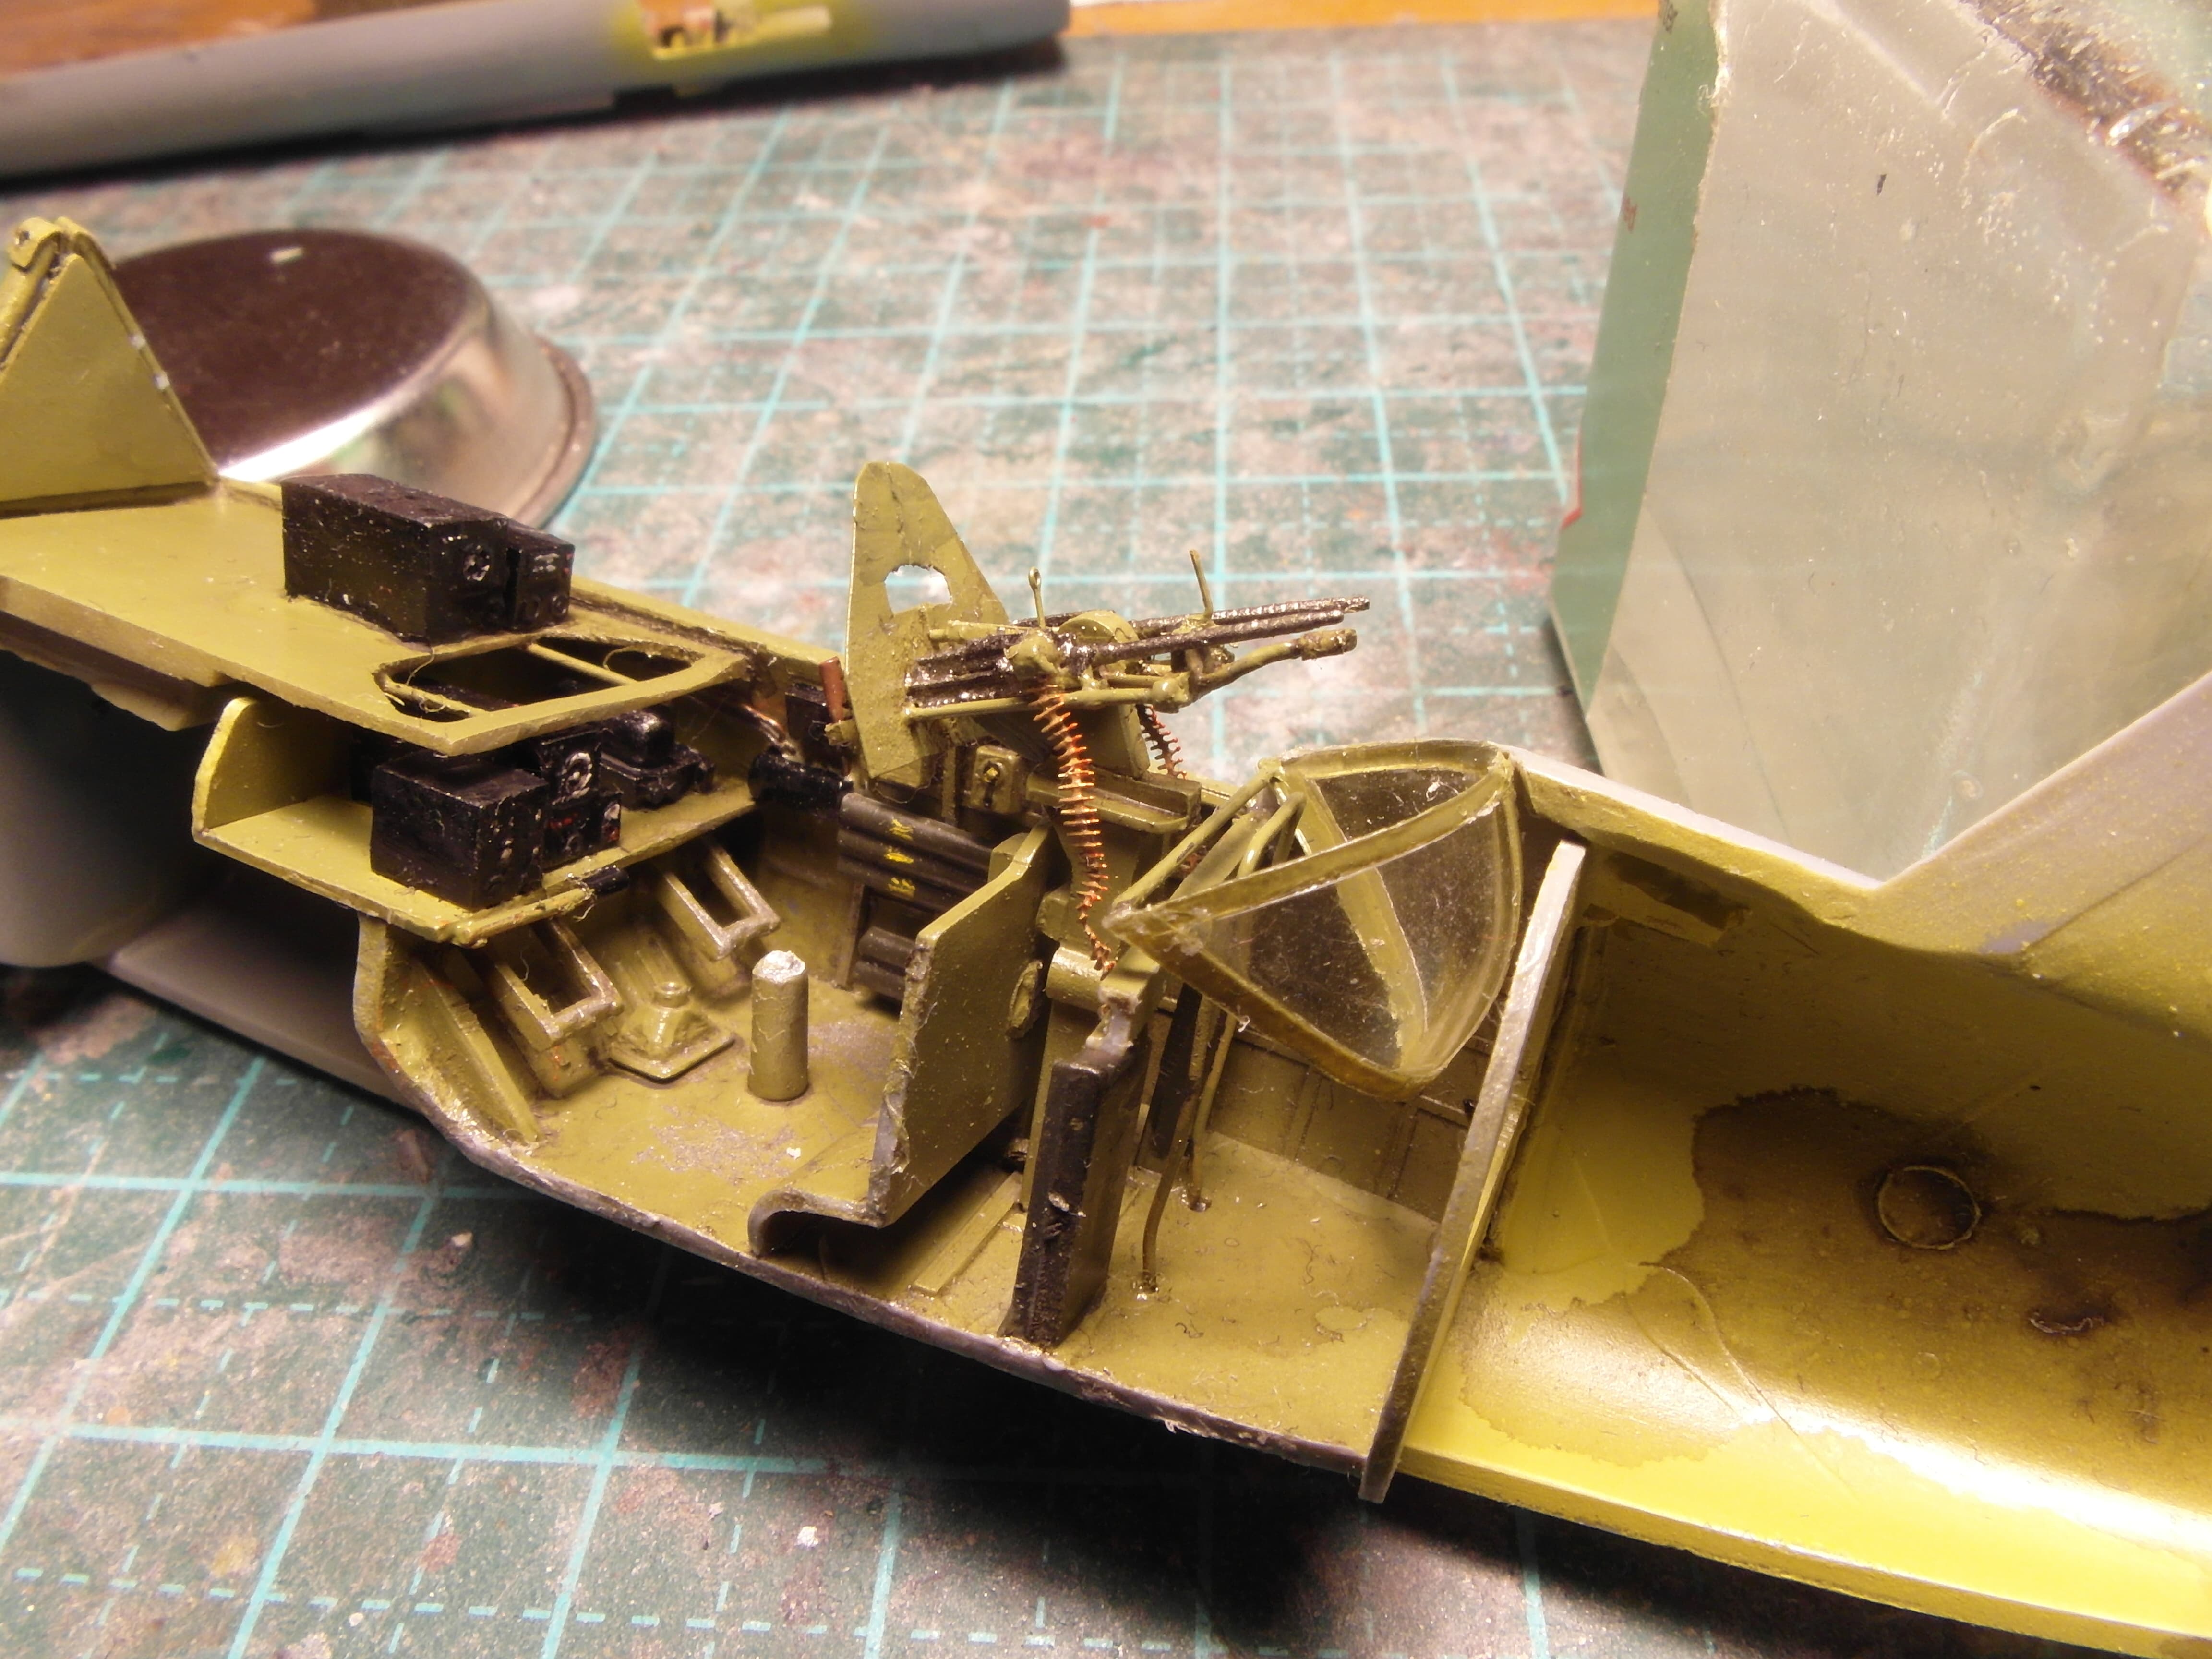
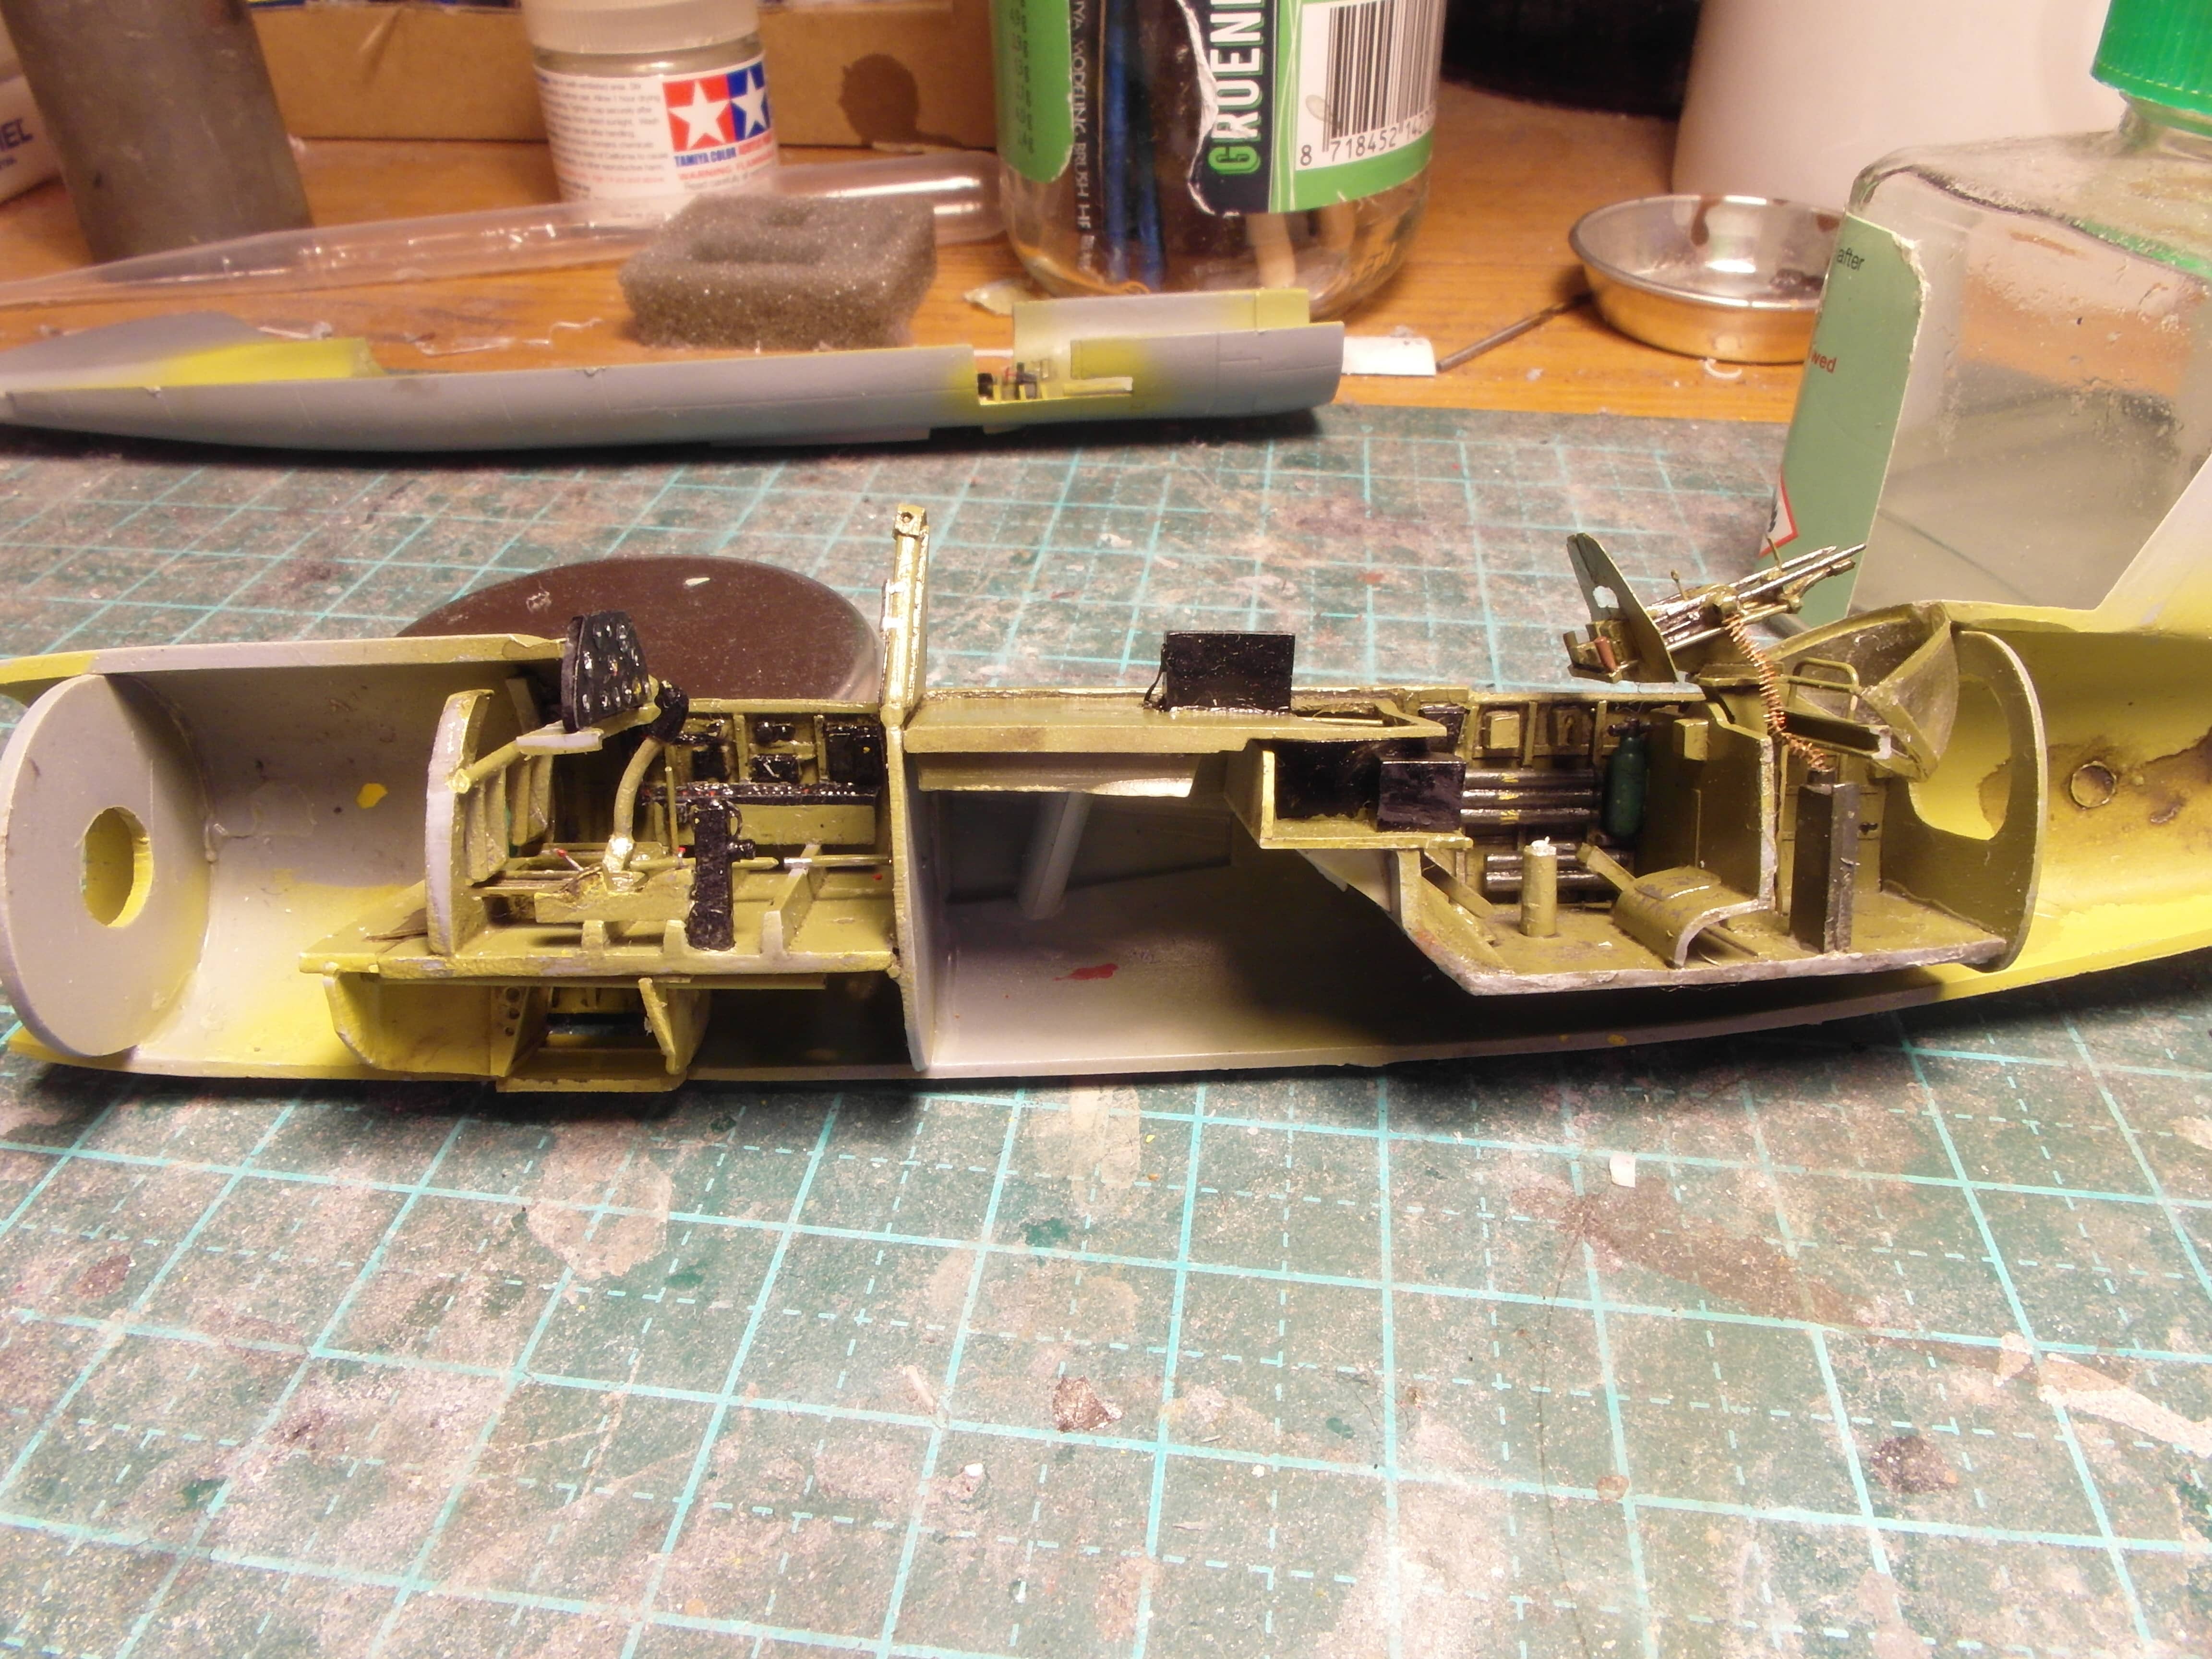
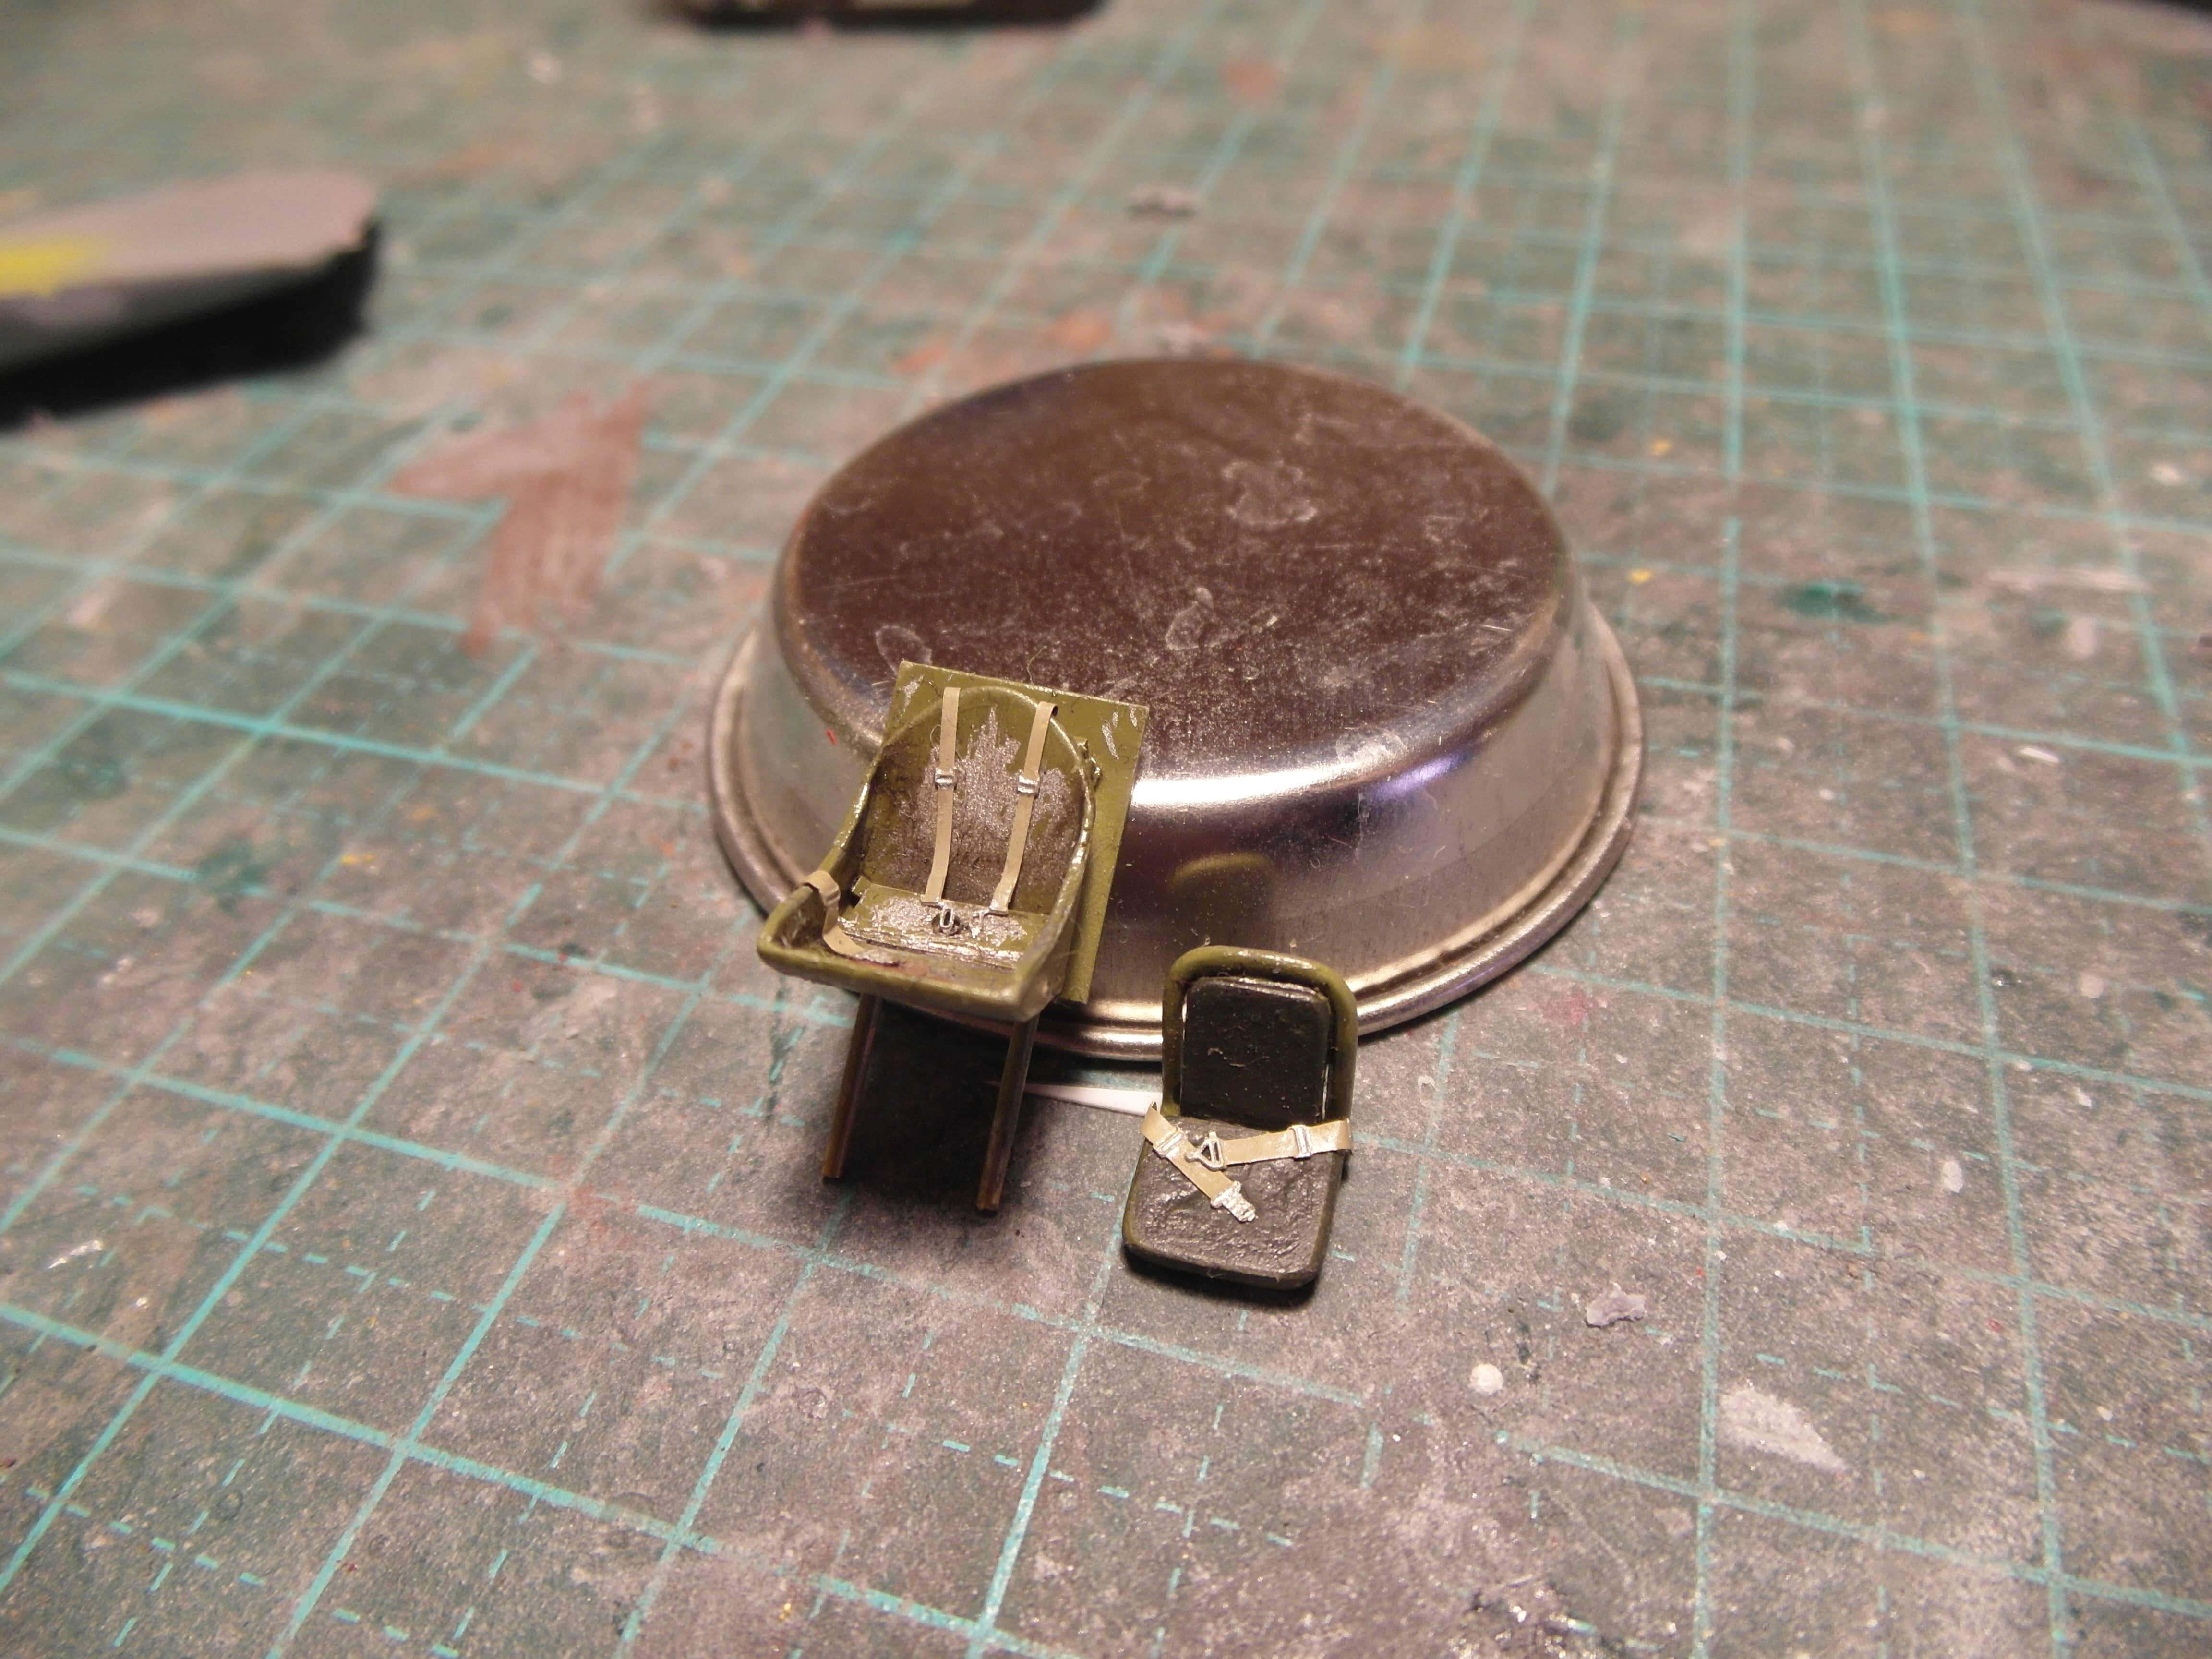
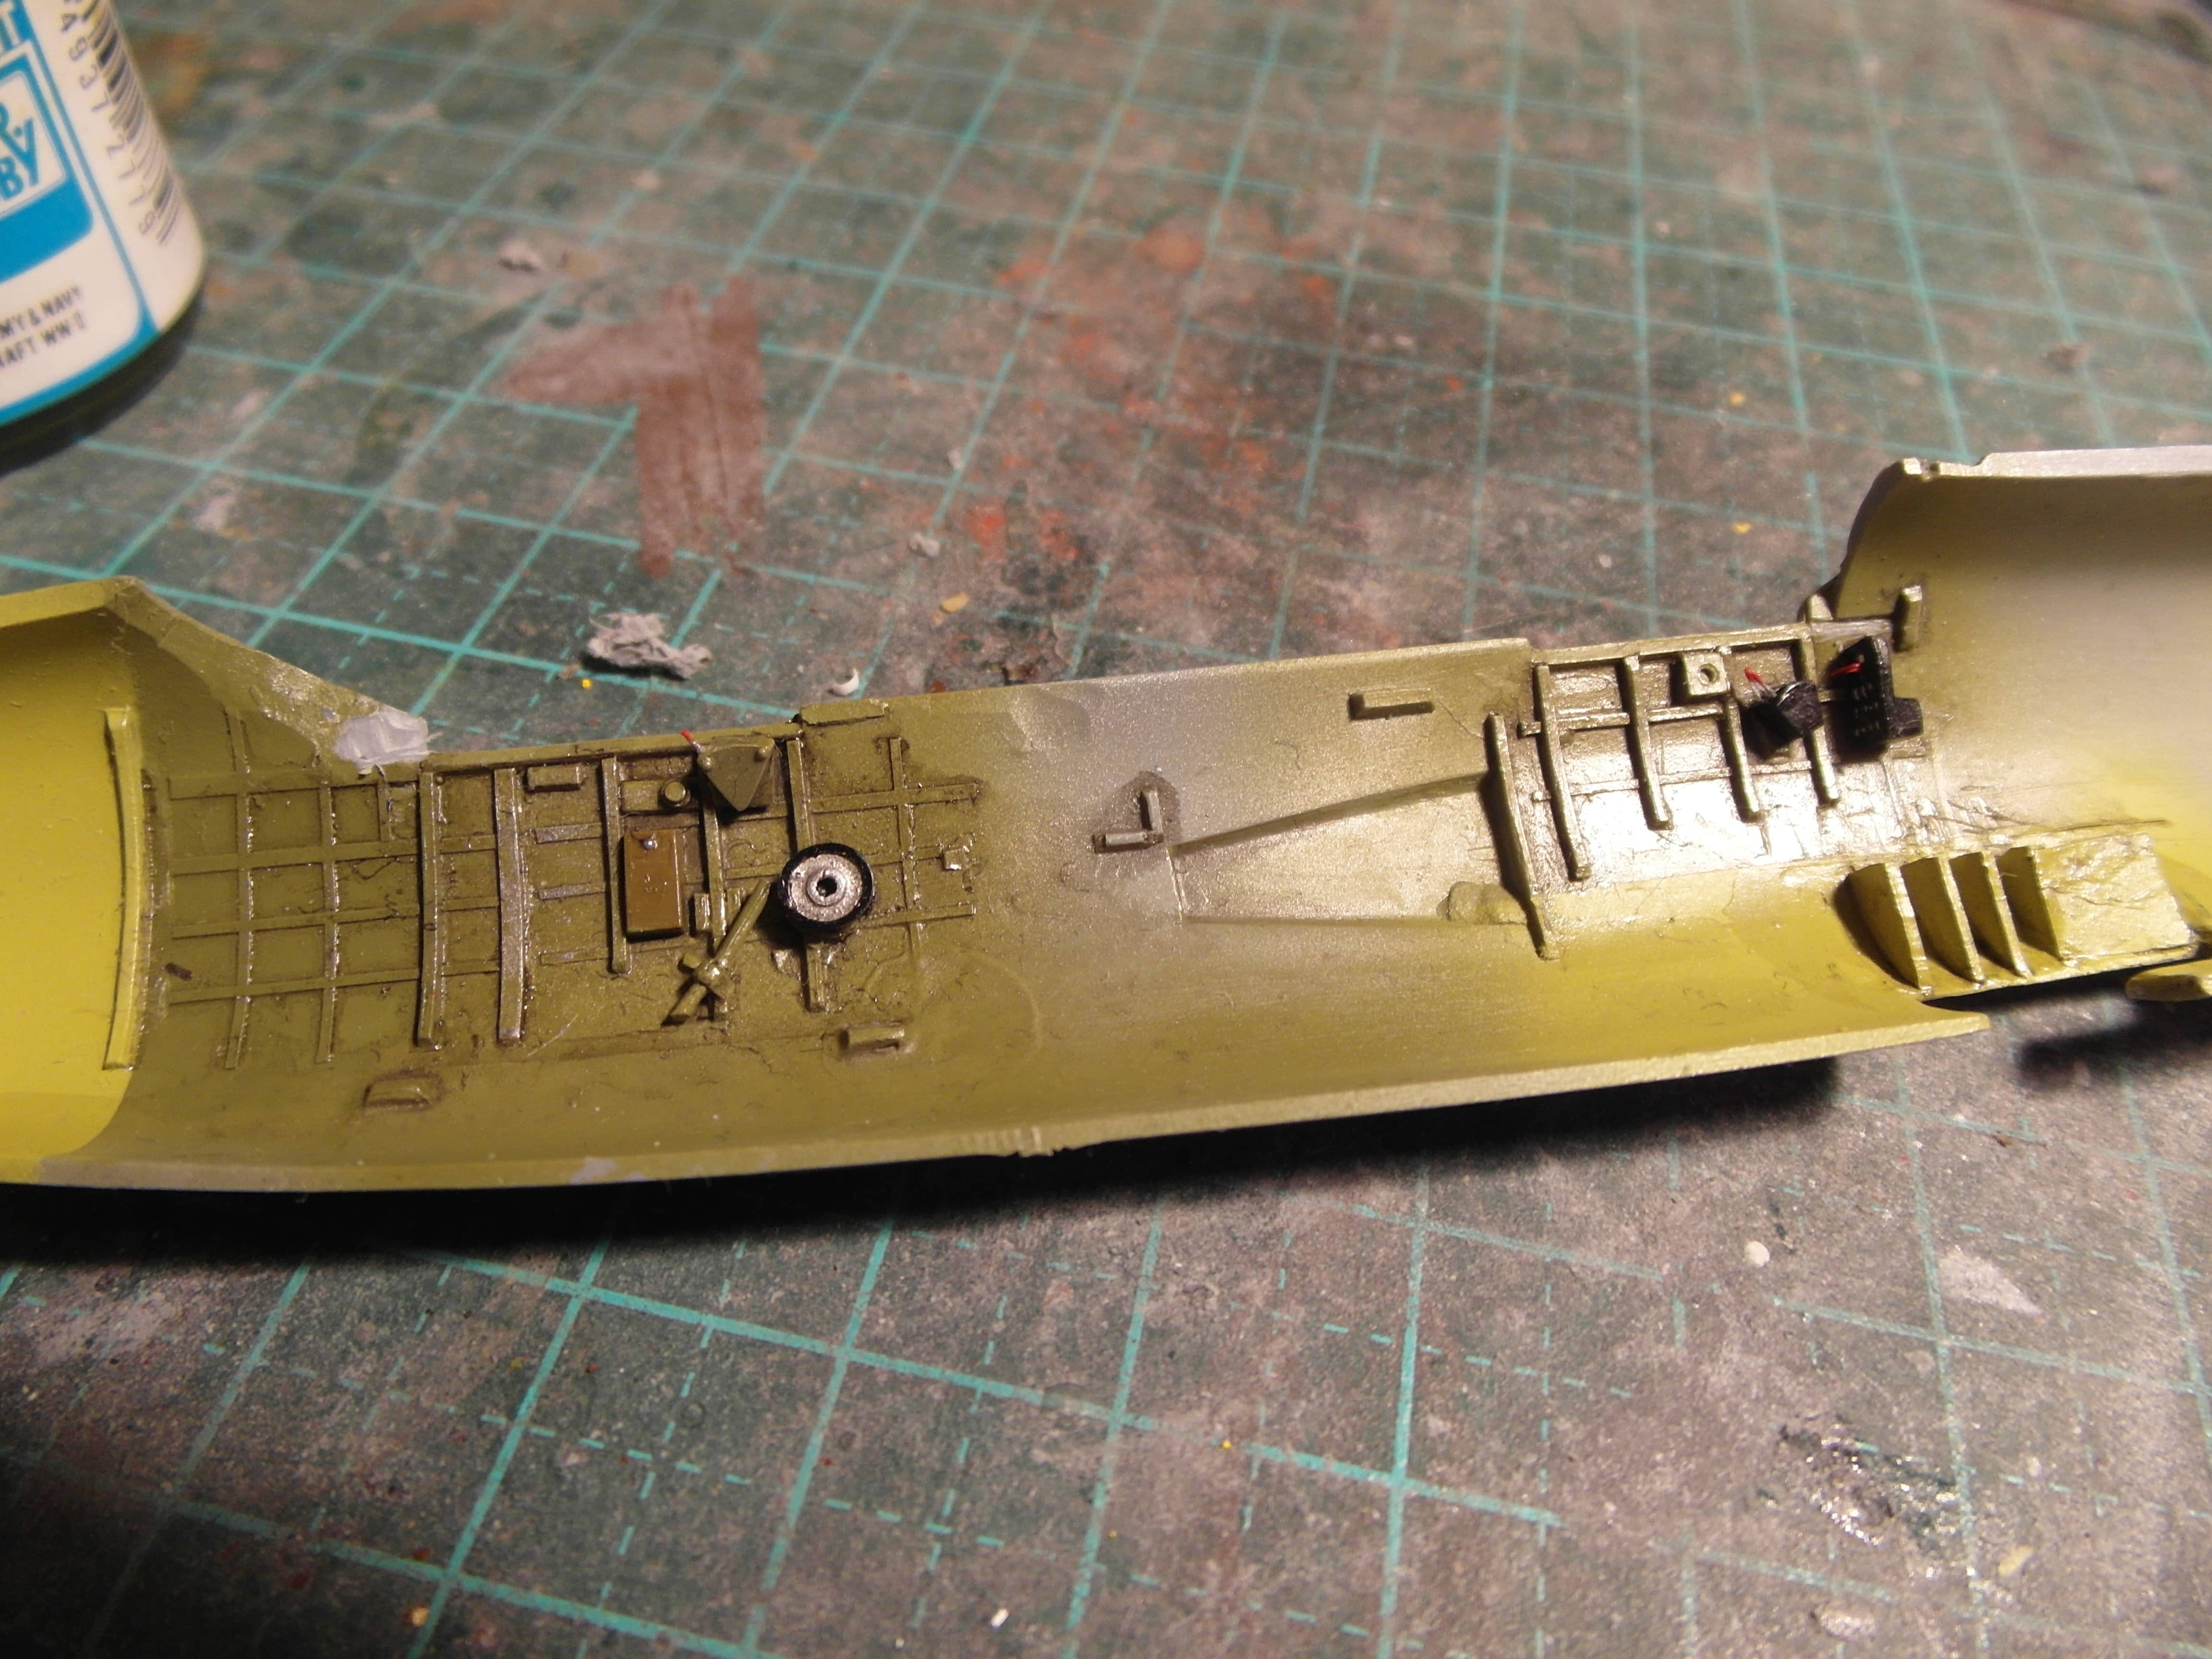
As always I’ve started with the interior section. While the details were mostly all right, I did opt to enhance some of them, mainly scratch building the turret and using some resin guns by gaspatch. Special Hobby also took some short cuts with the bomb bay, which is missing, while the release mechanism should be visible trough two large openings and the bomb aiming window.
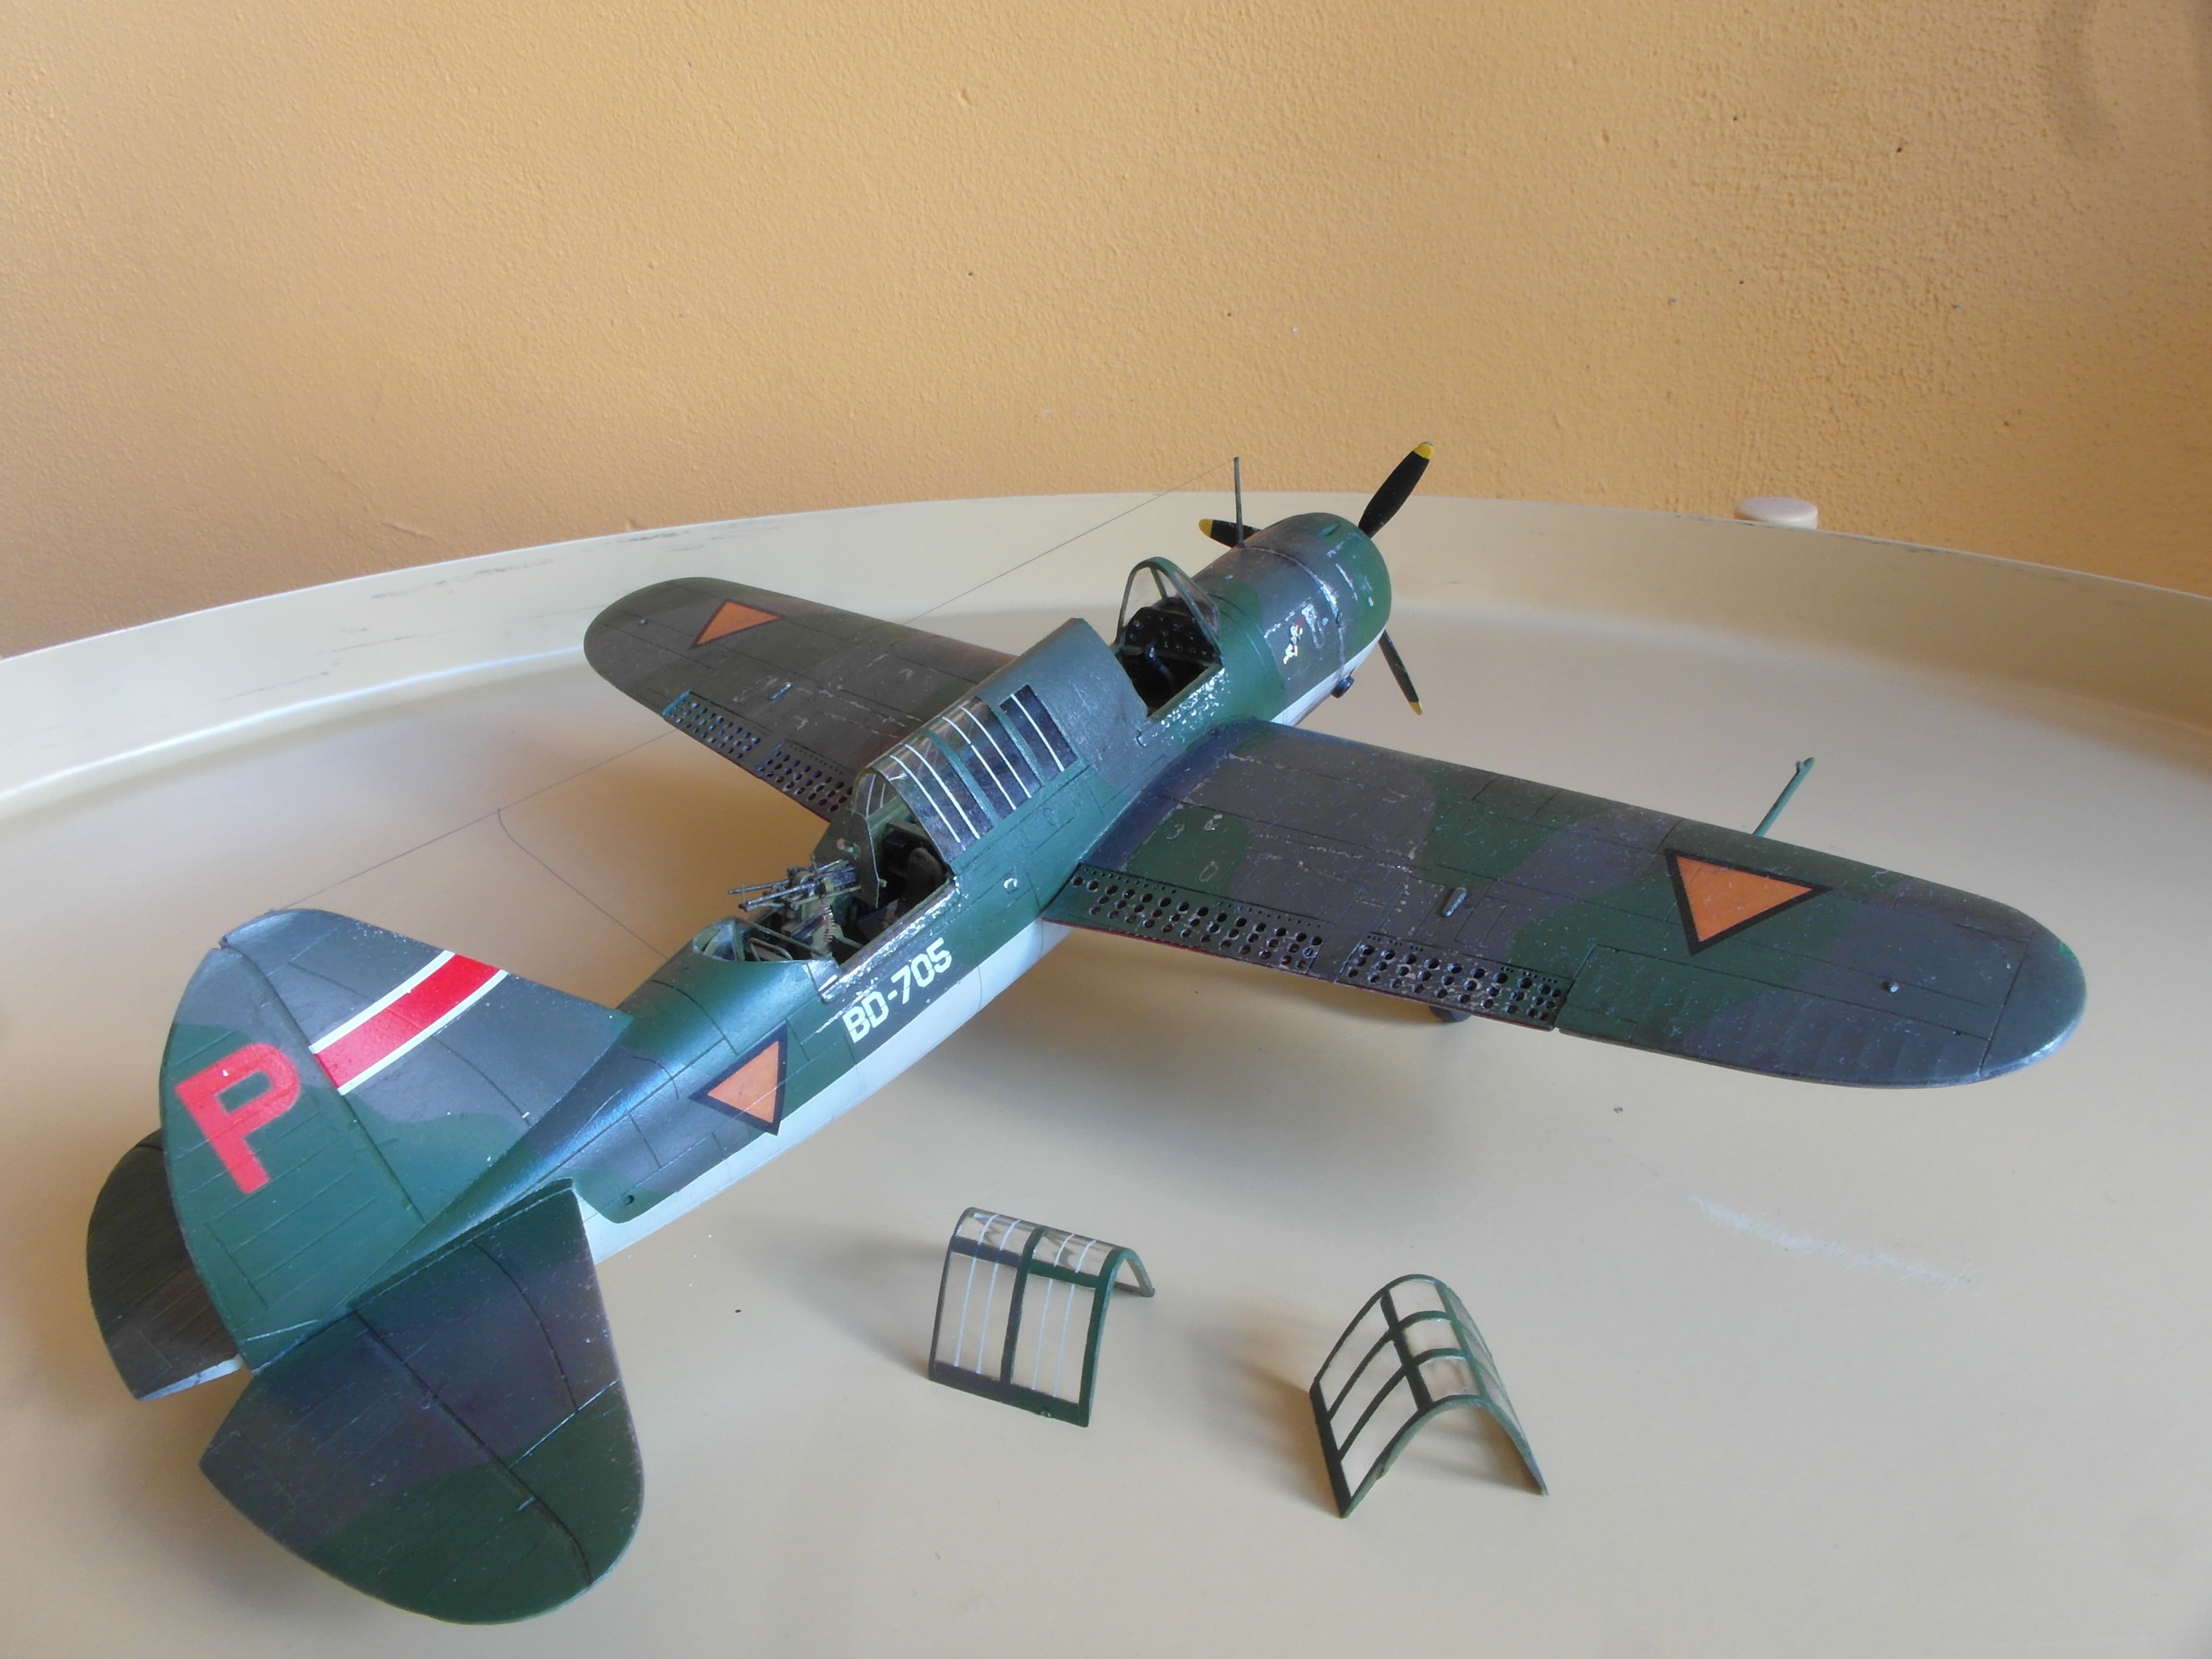
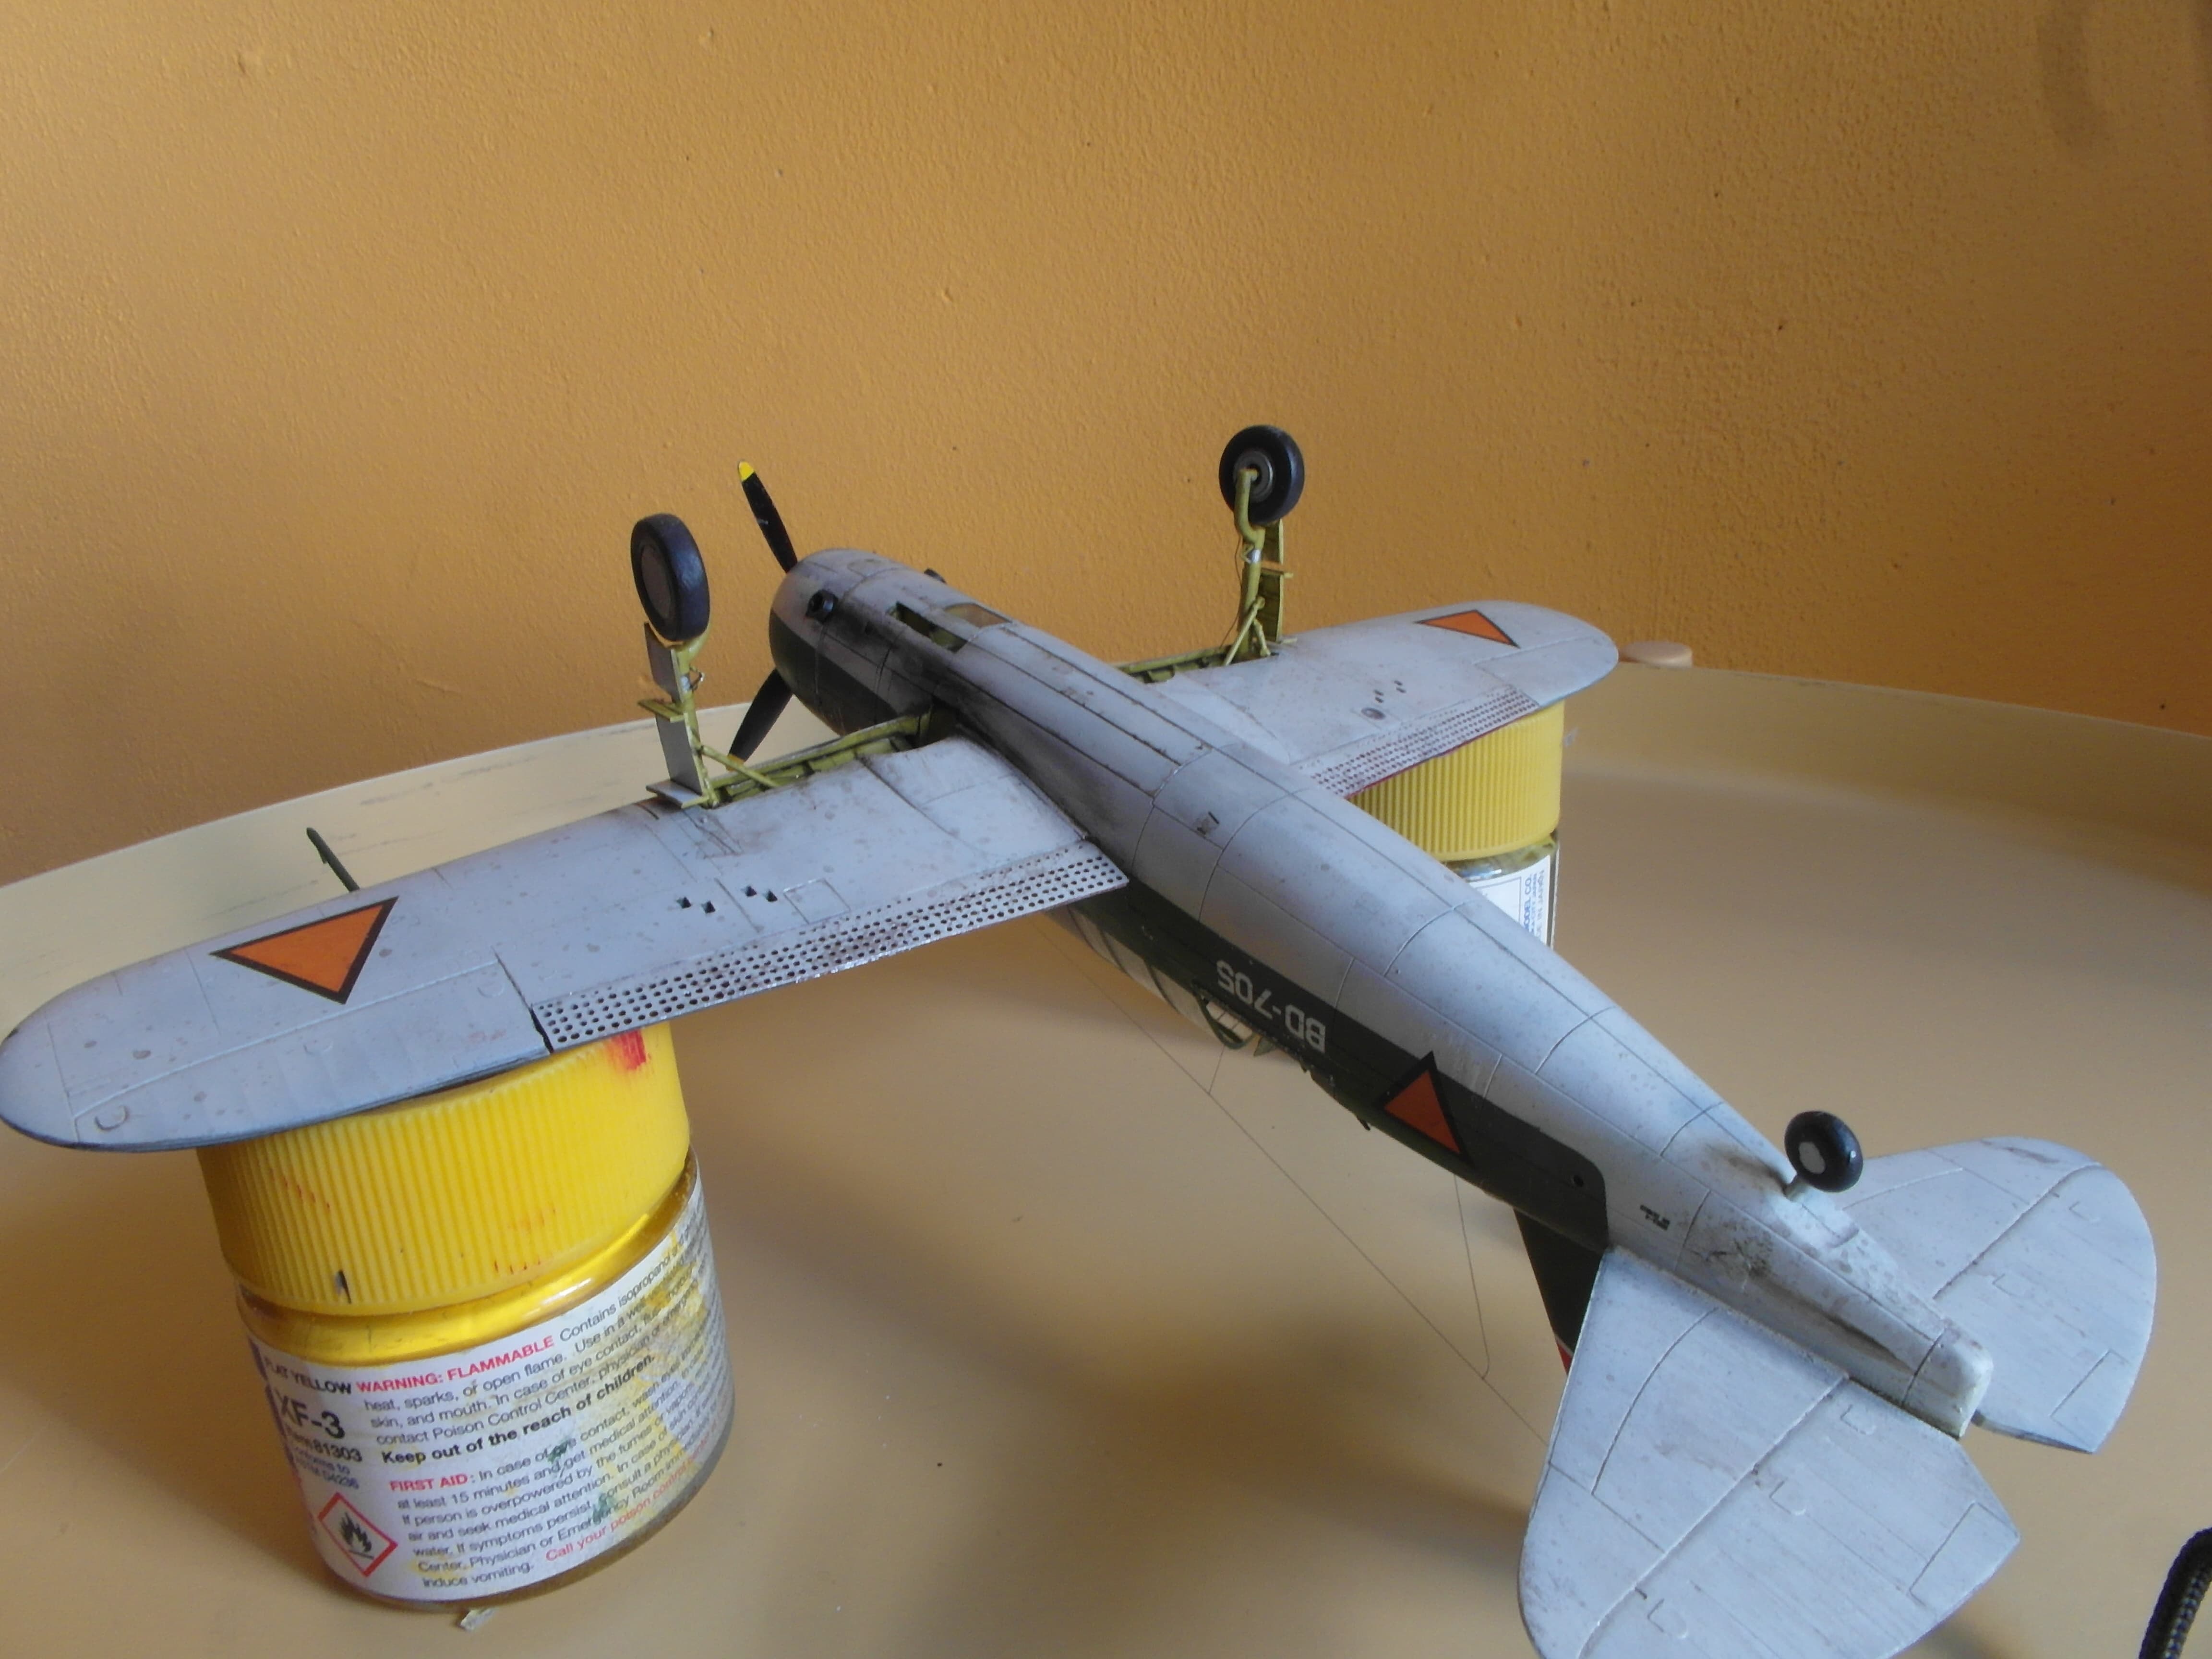
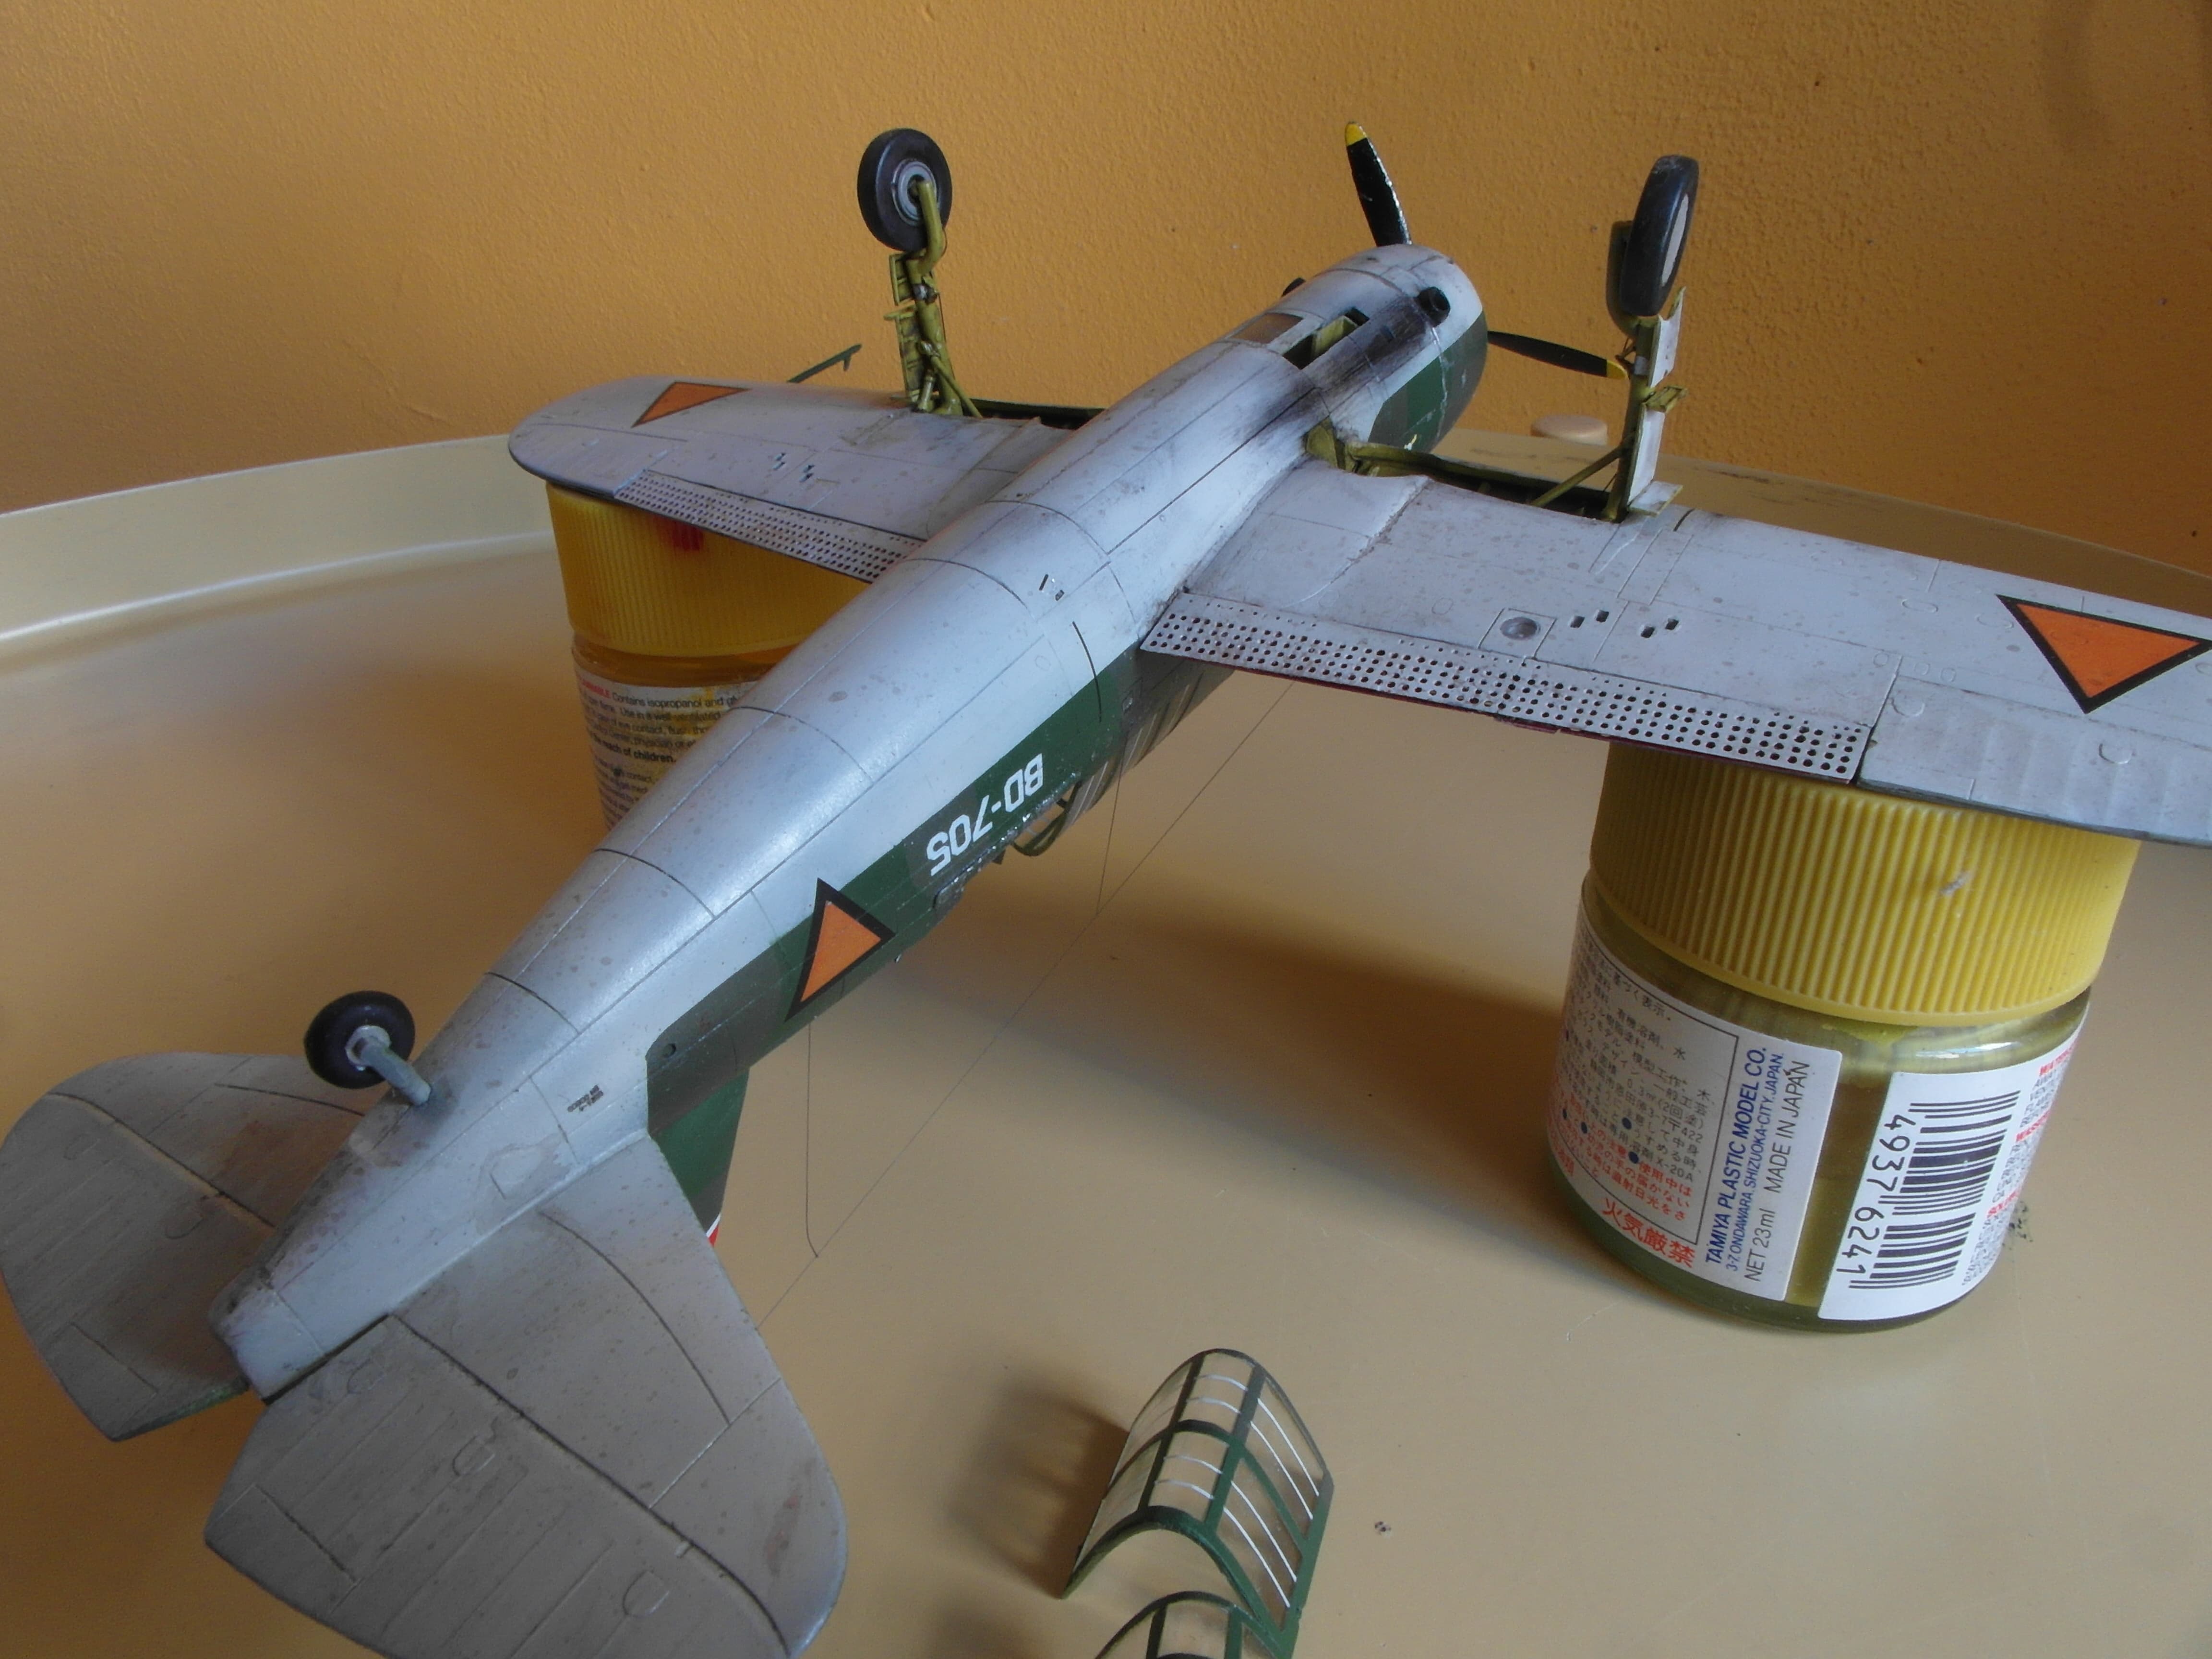
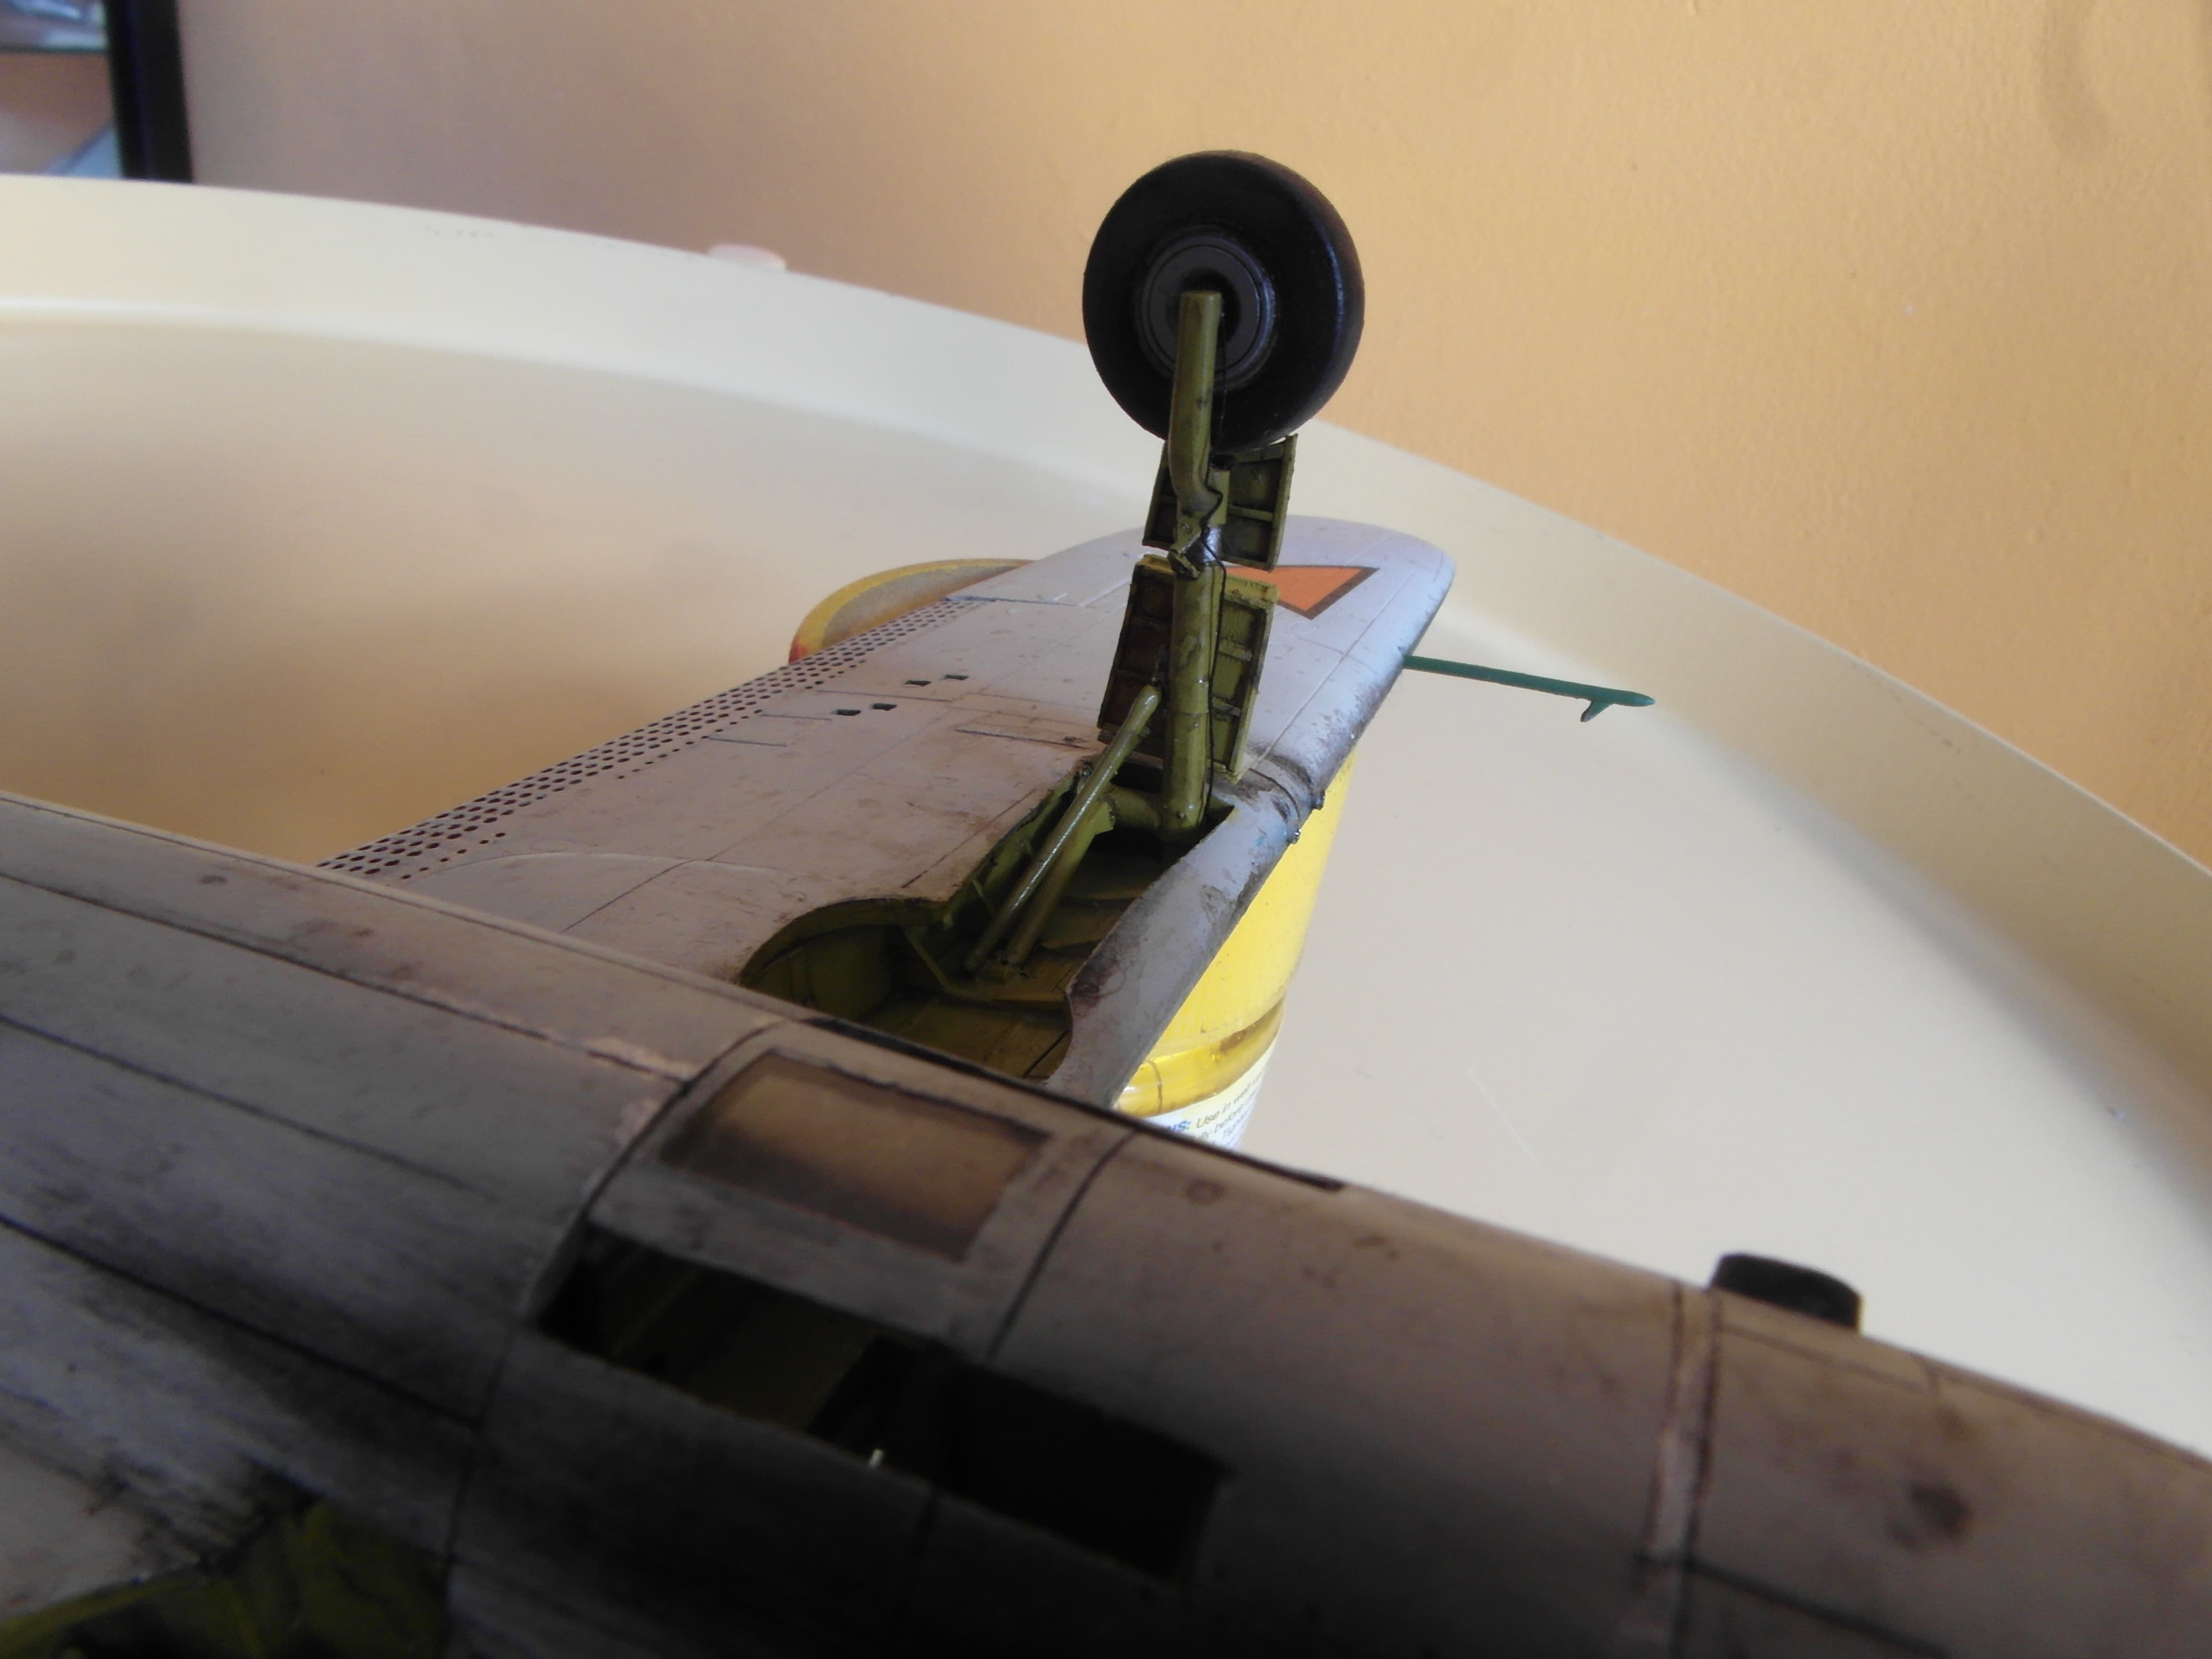
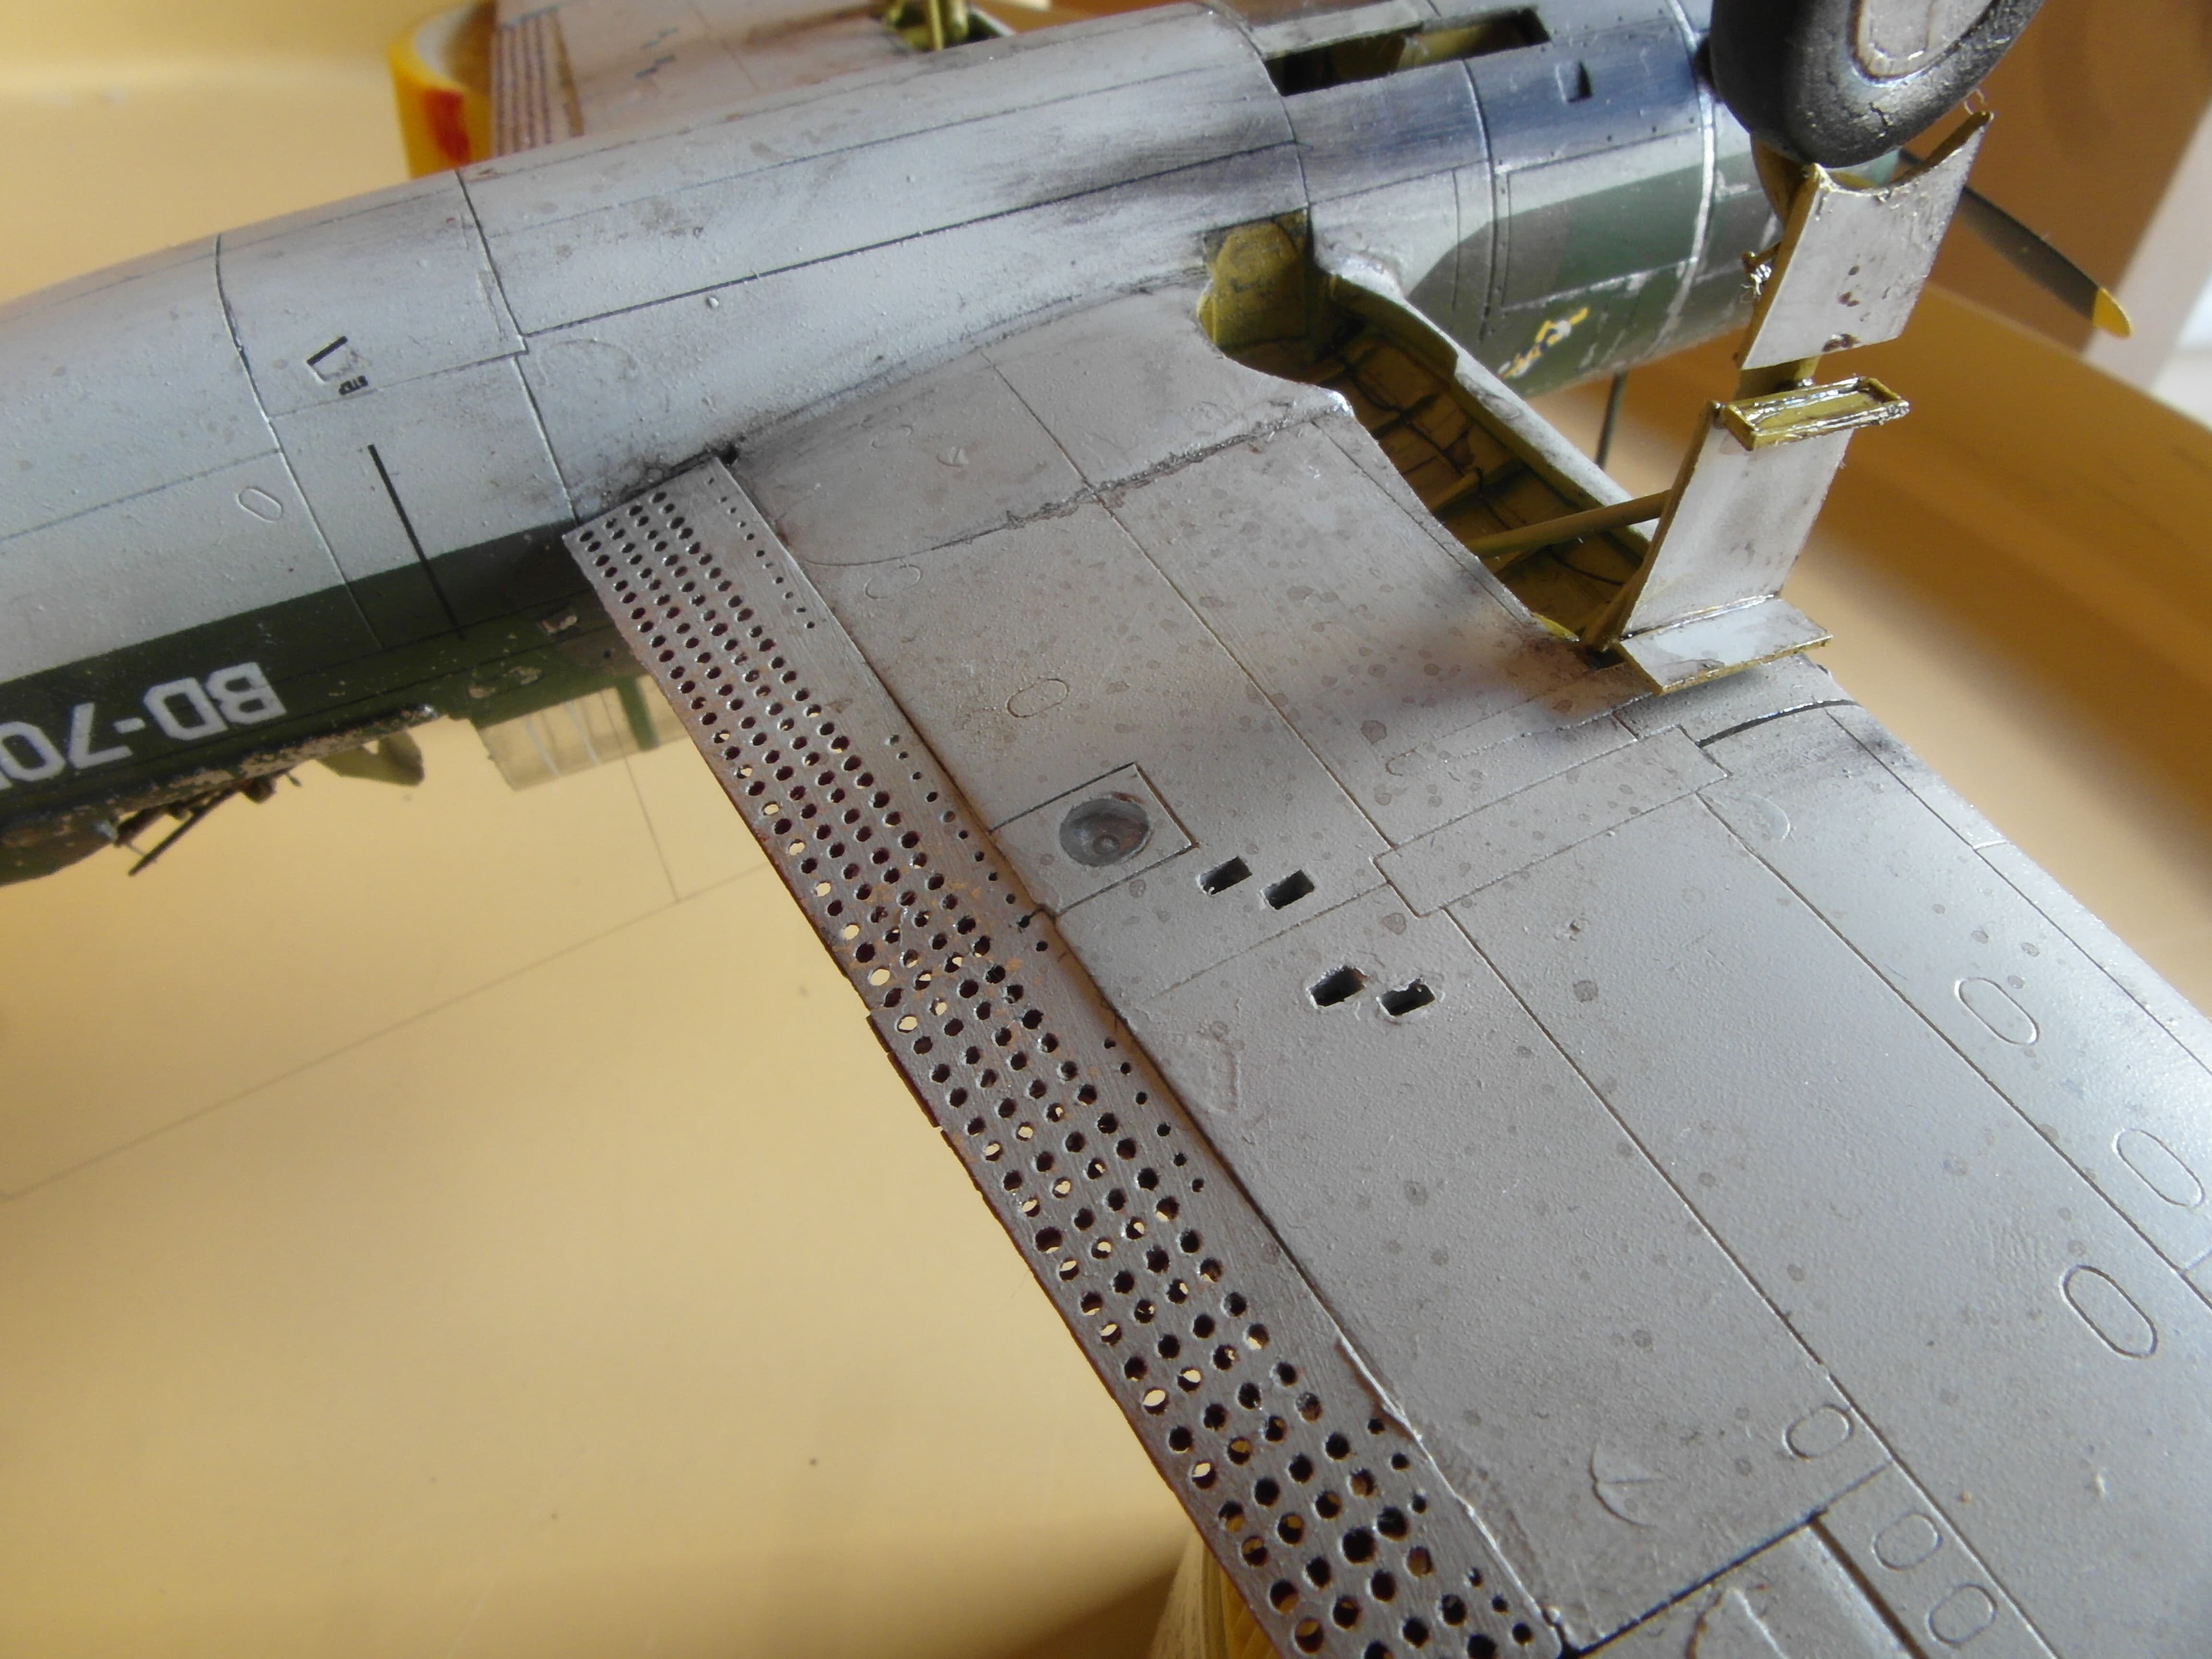
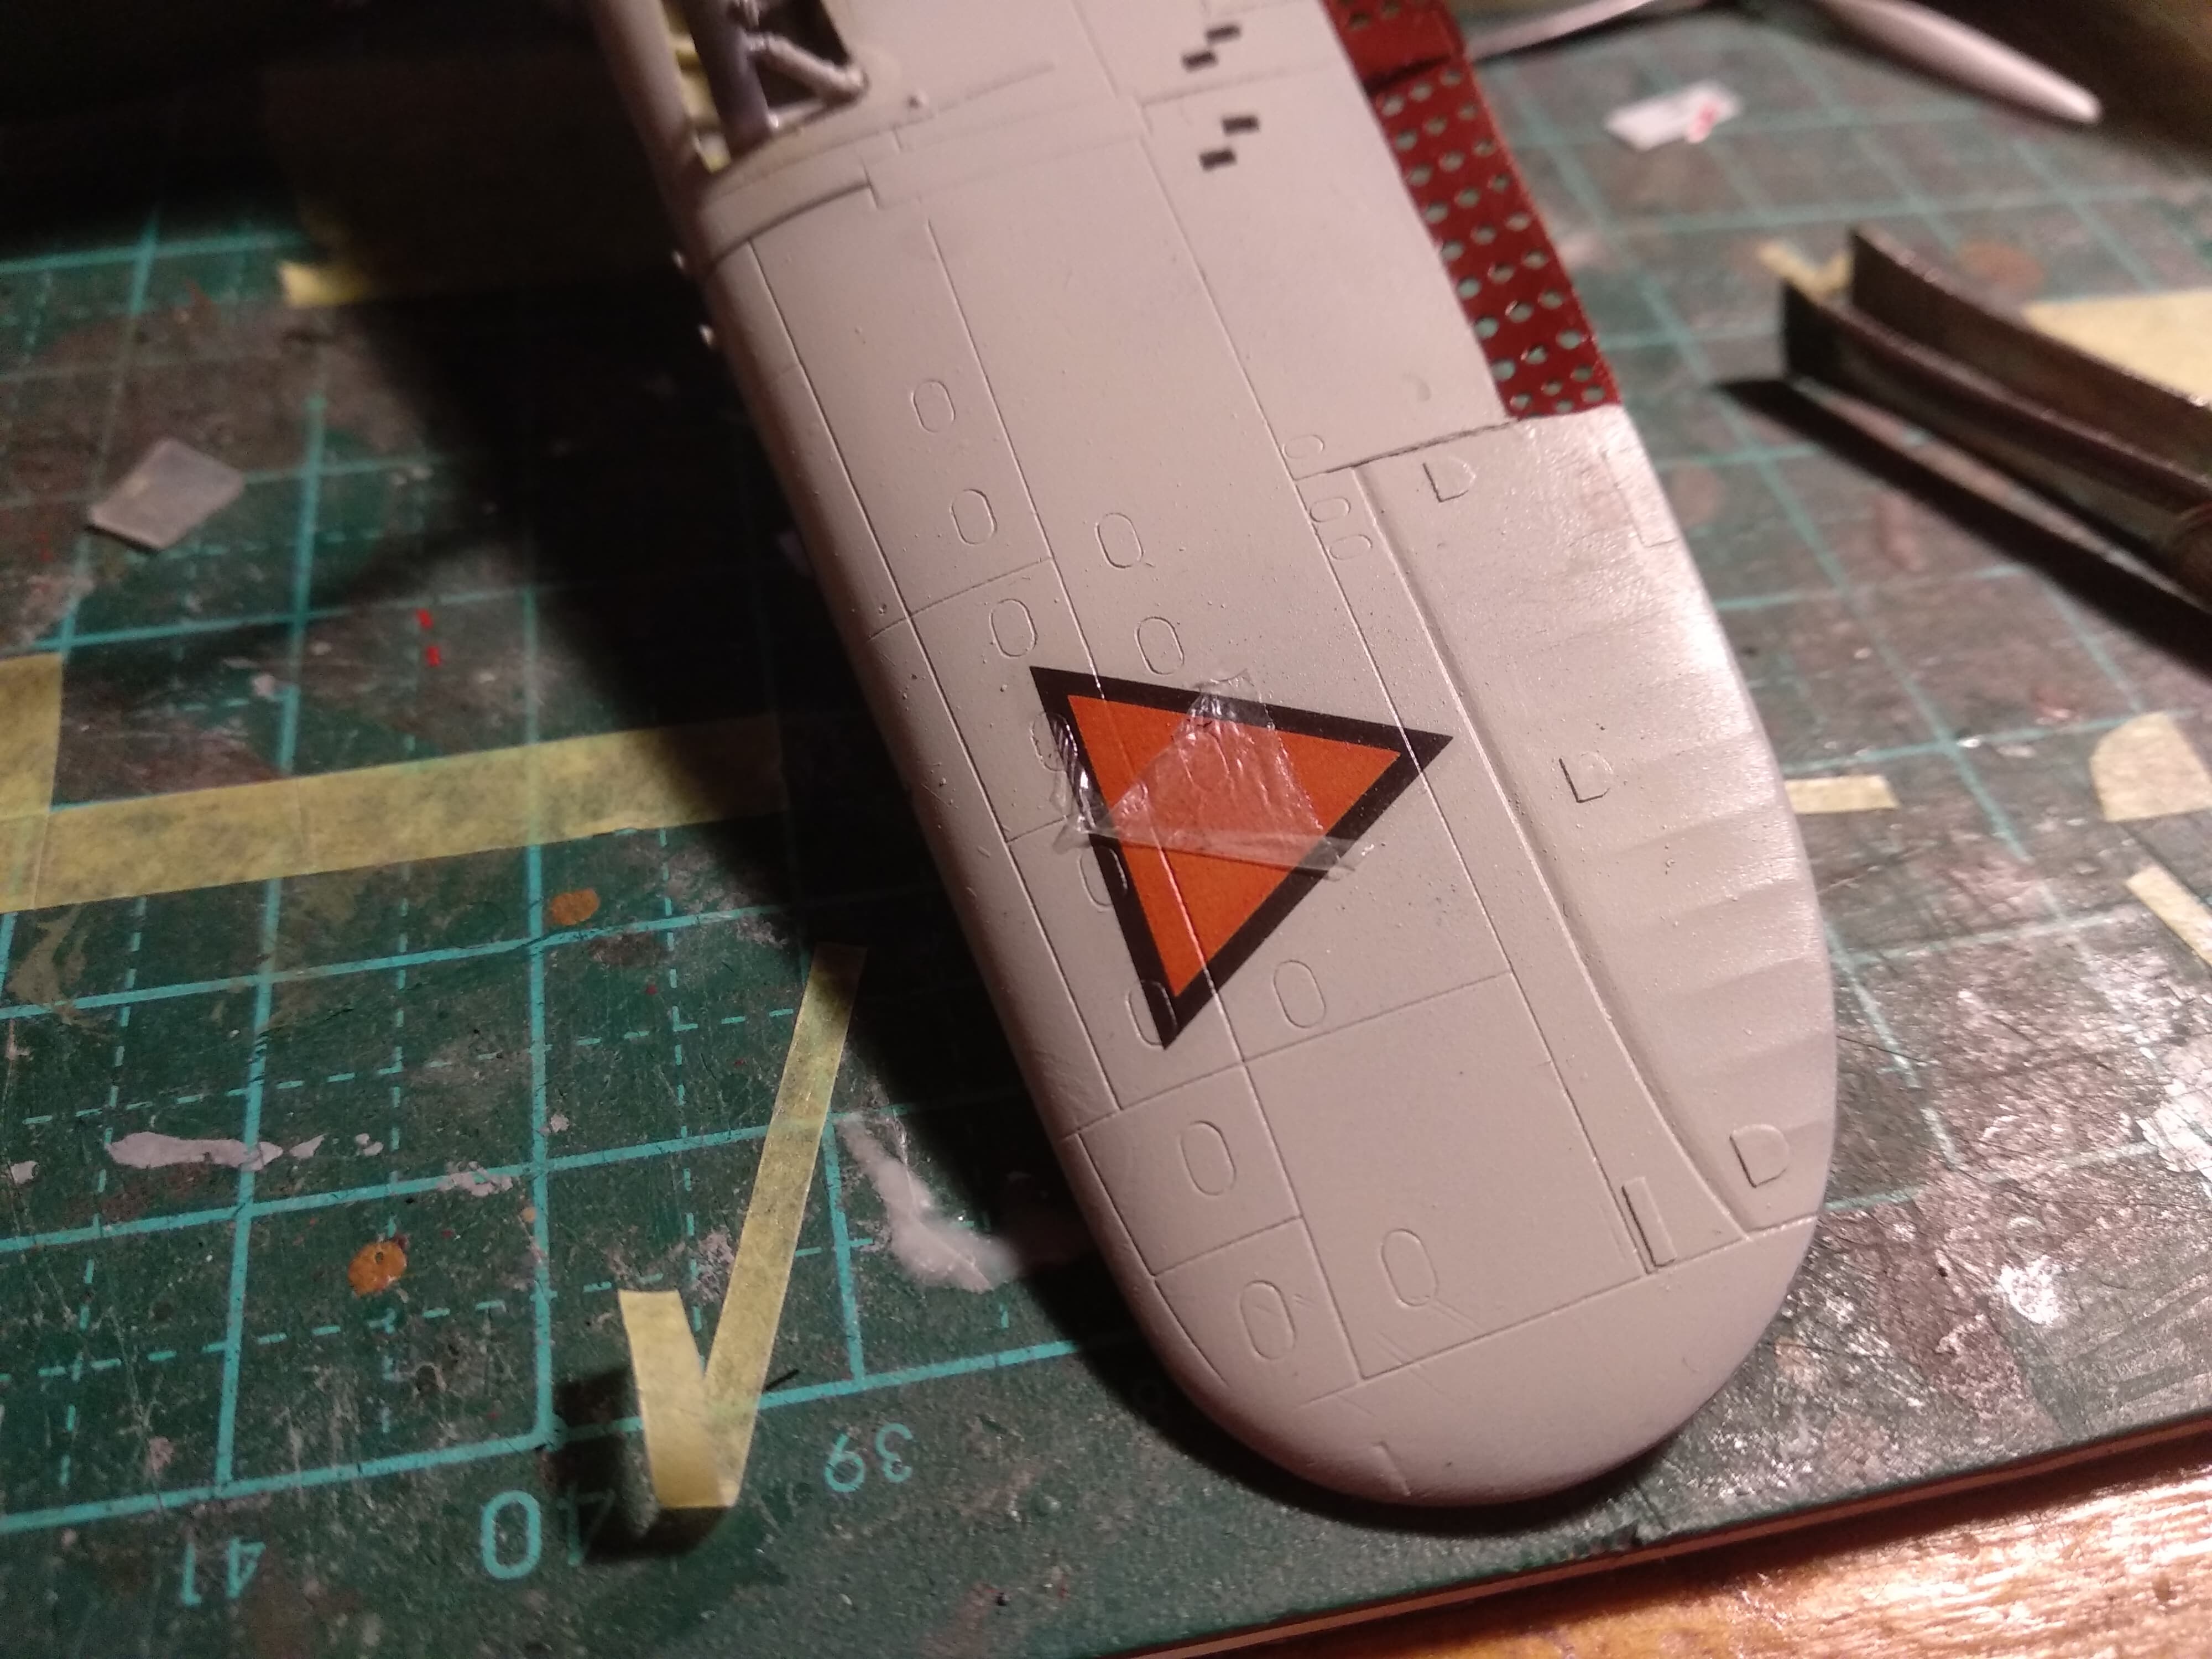
The flaps / air brakes where drilled out and sanded down. It would have been great if these were included as PE parts, but so be it. With the decals I did notice something strange, the top film didn’t really adhere to the surface, even after using Microsol. I feared that I had to redo them, but the paint layer stayed on the model, and seems to adhere quite nicely. accidental plus? Just carefully dab the edge with masking tape till it comes loose, and then peel it of.
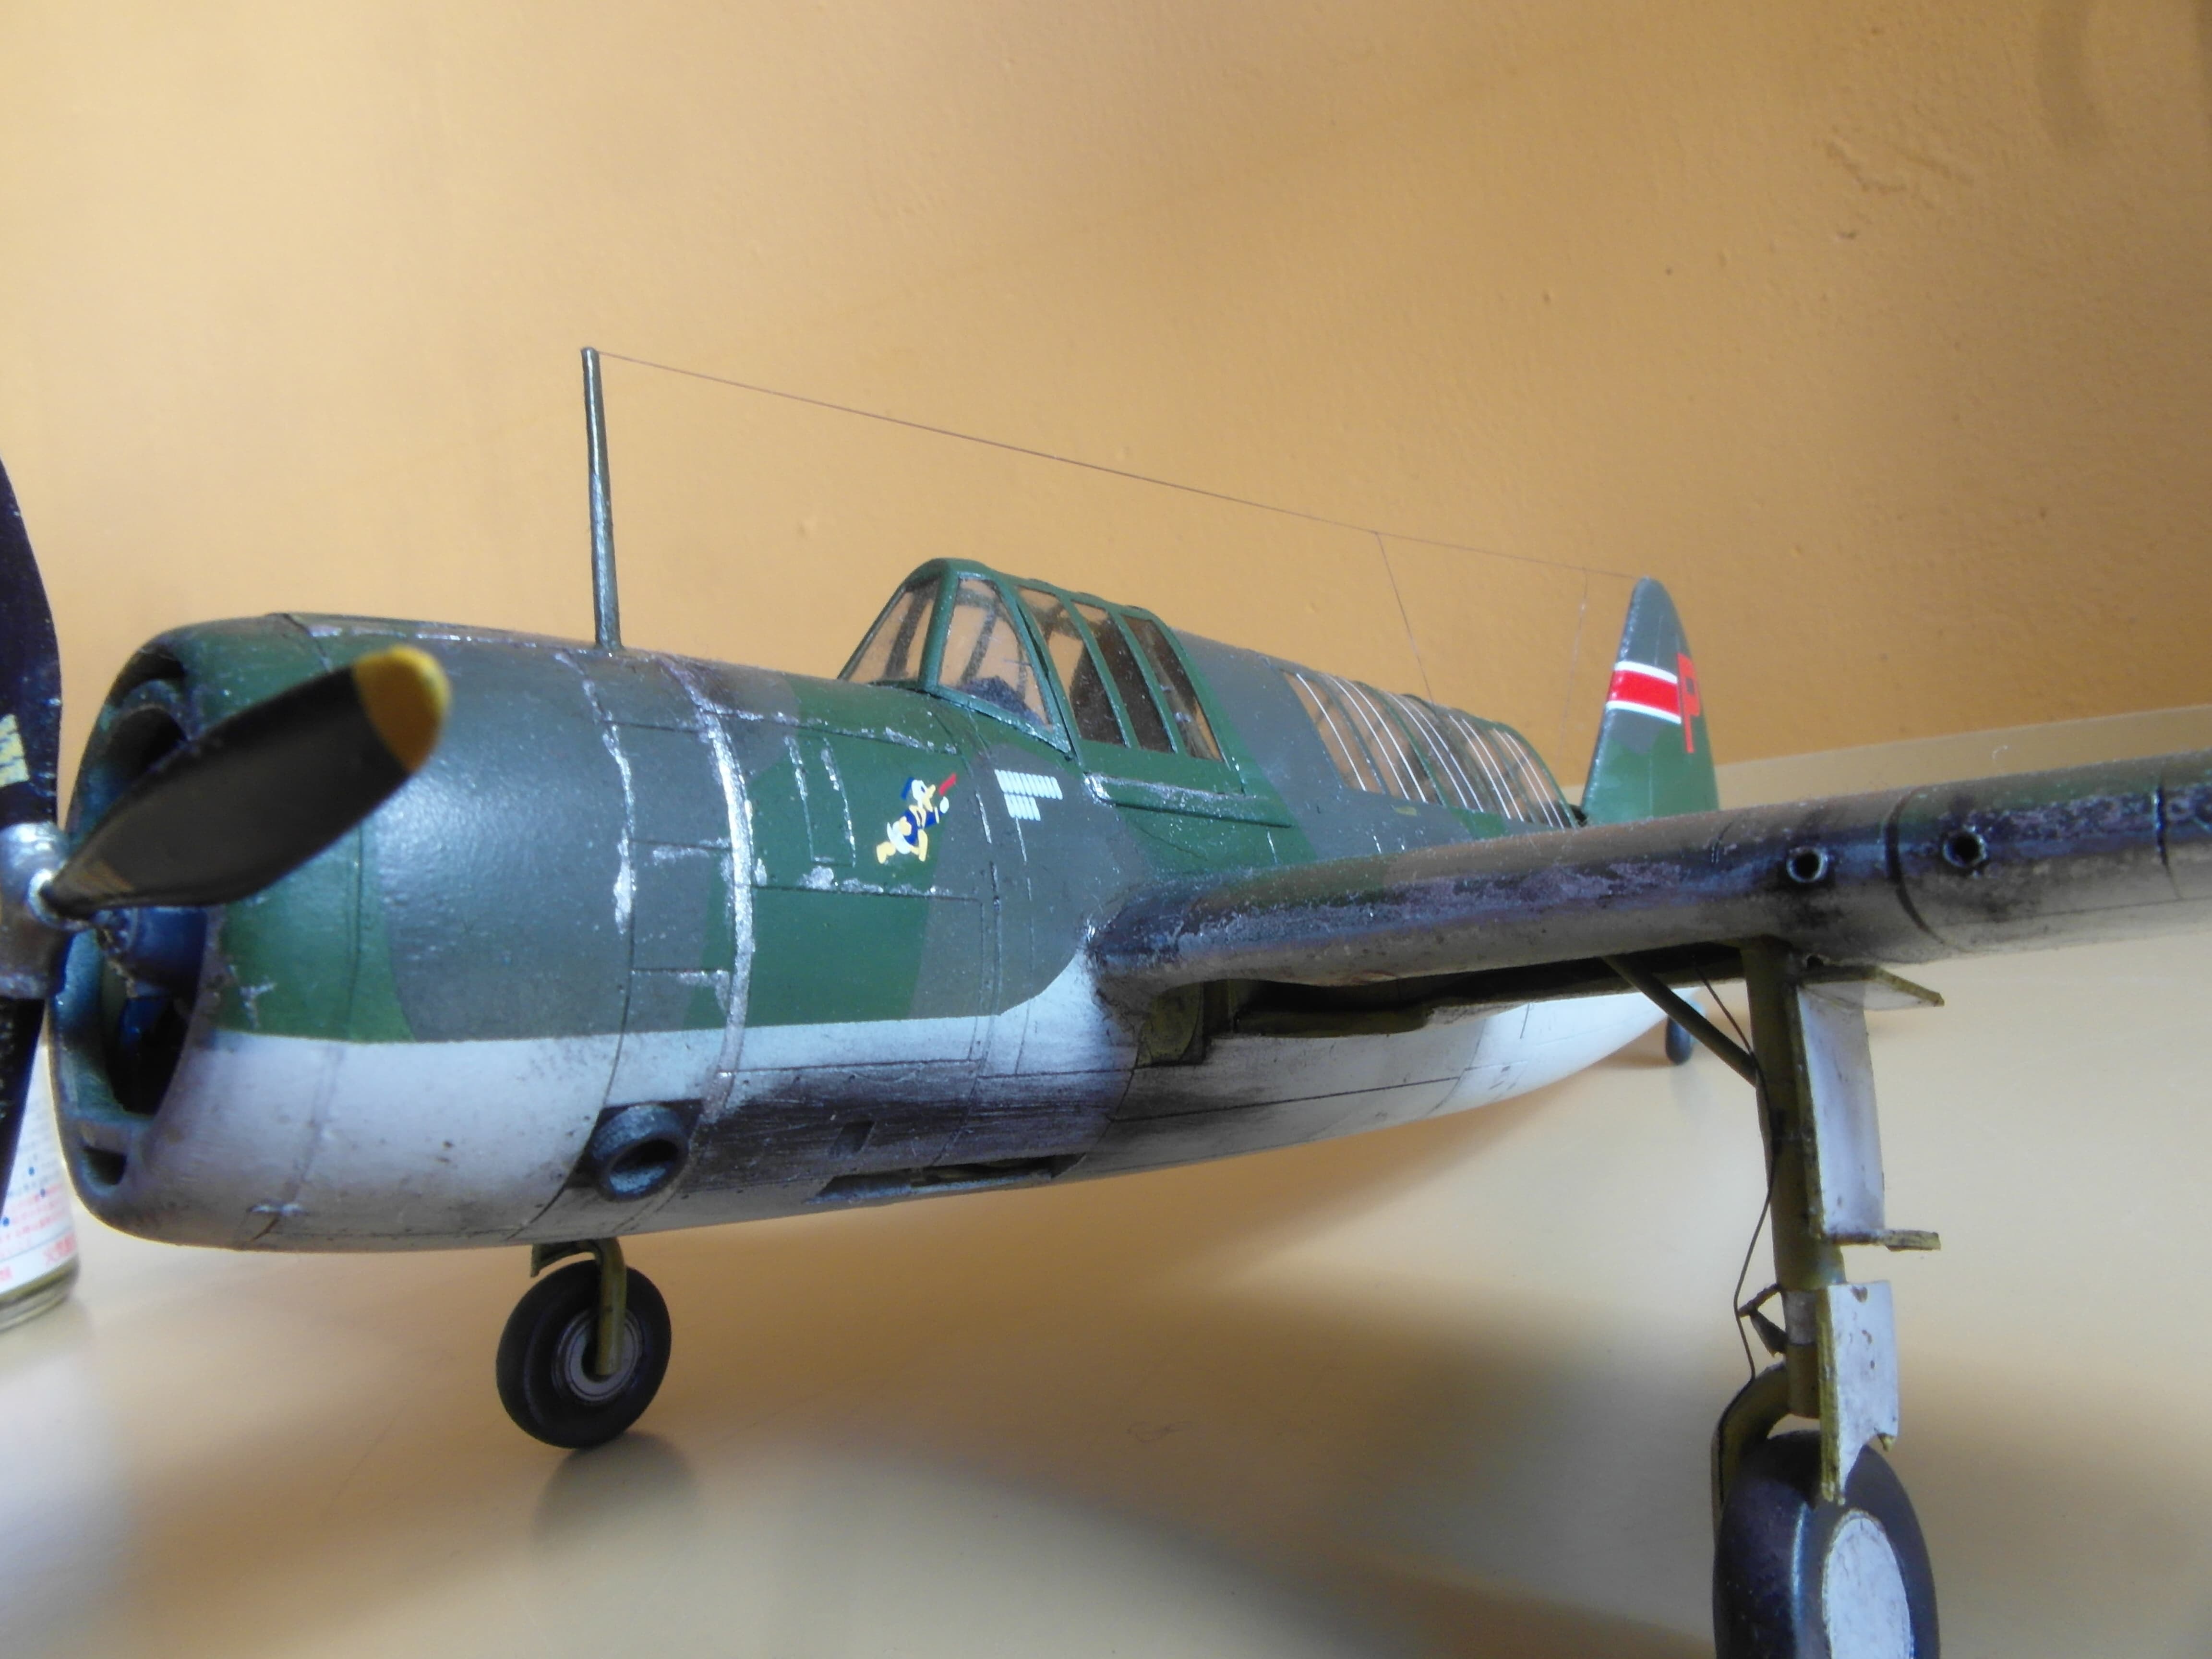
I also opted to paint the white stripes on the windows.


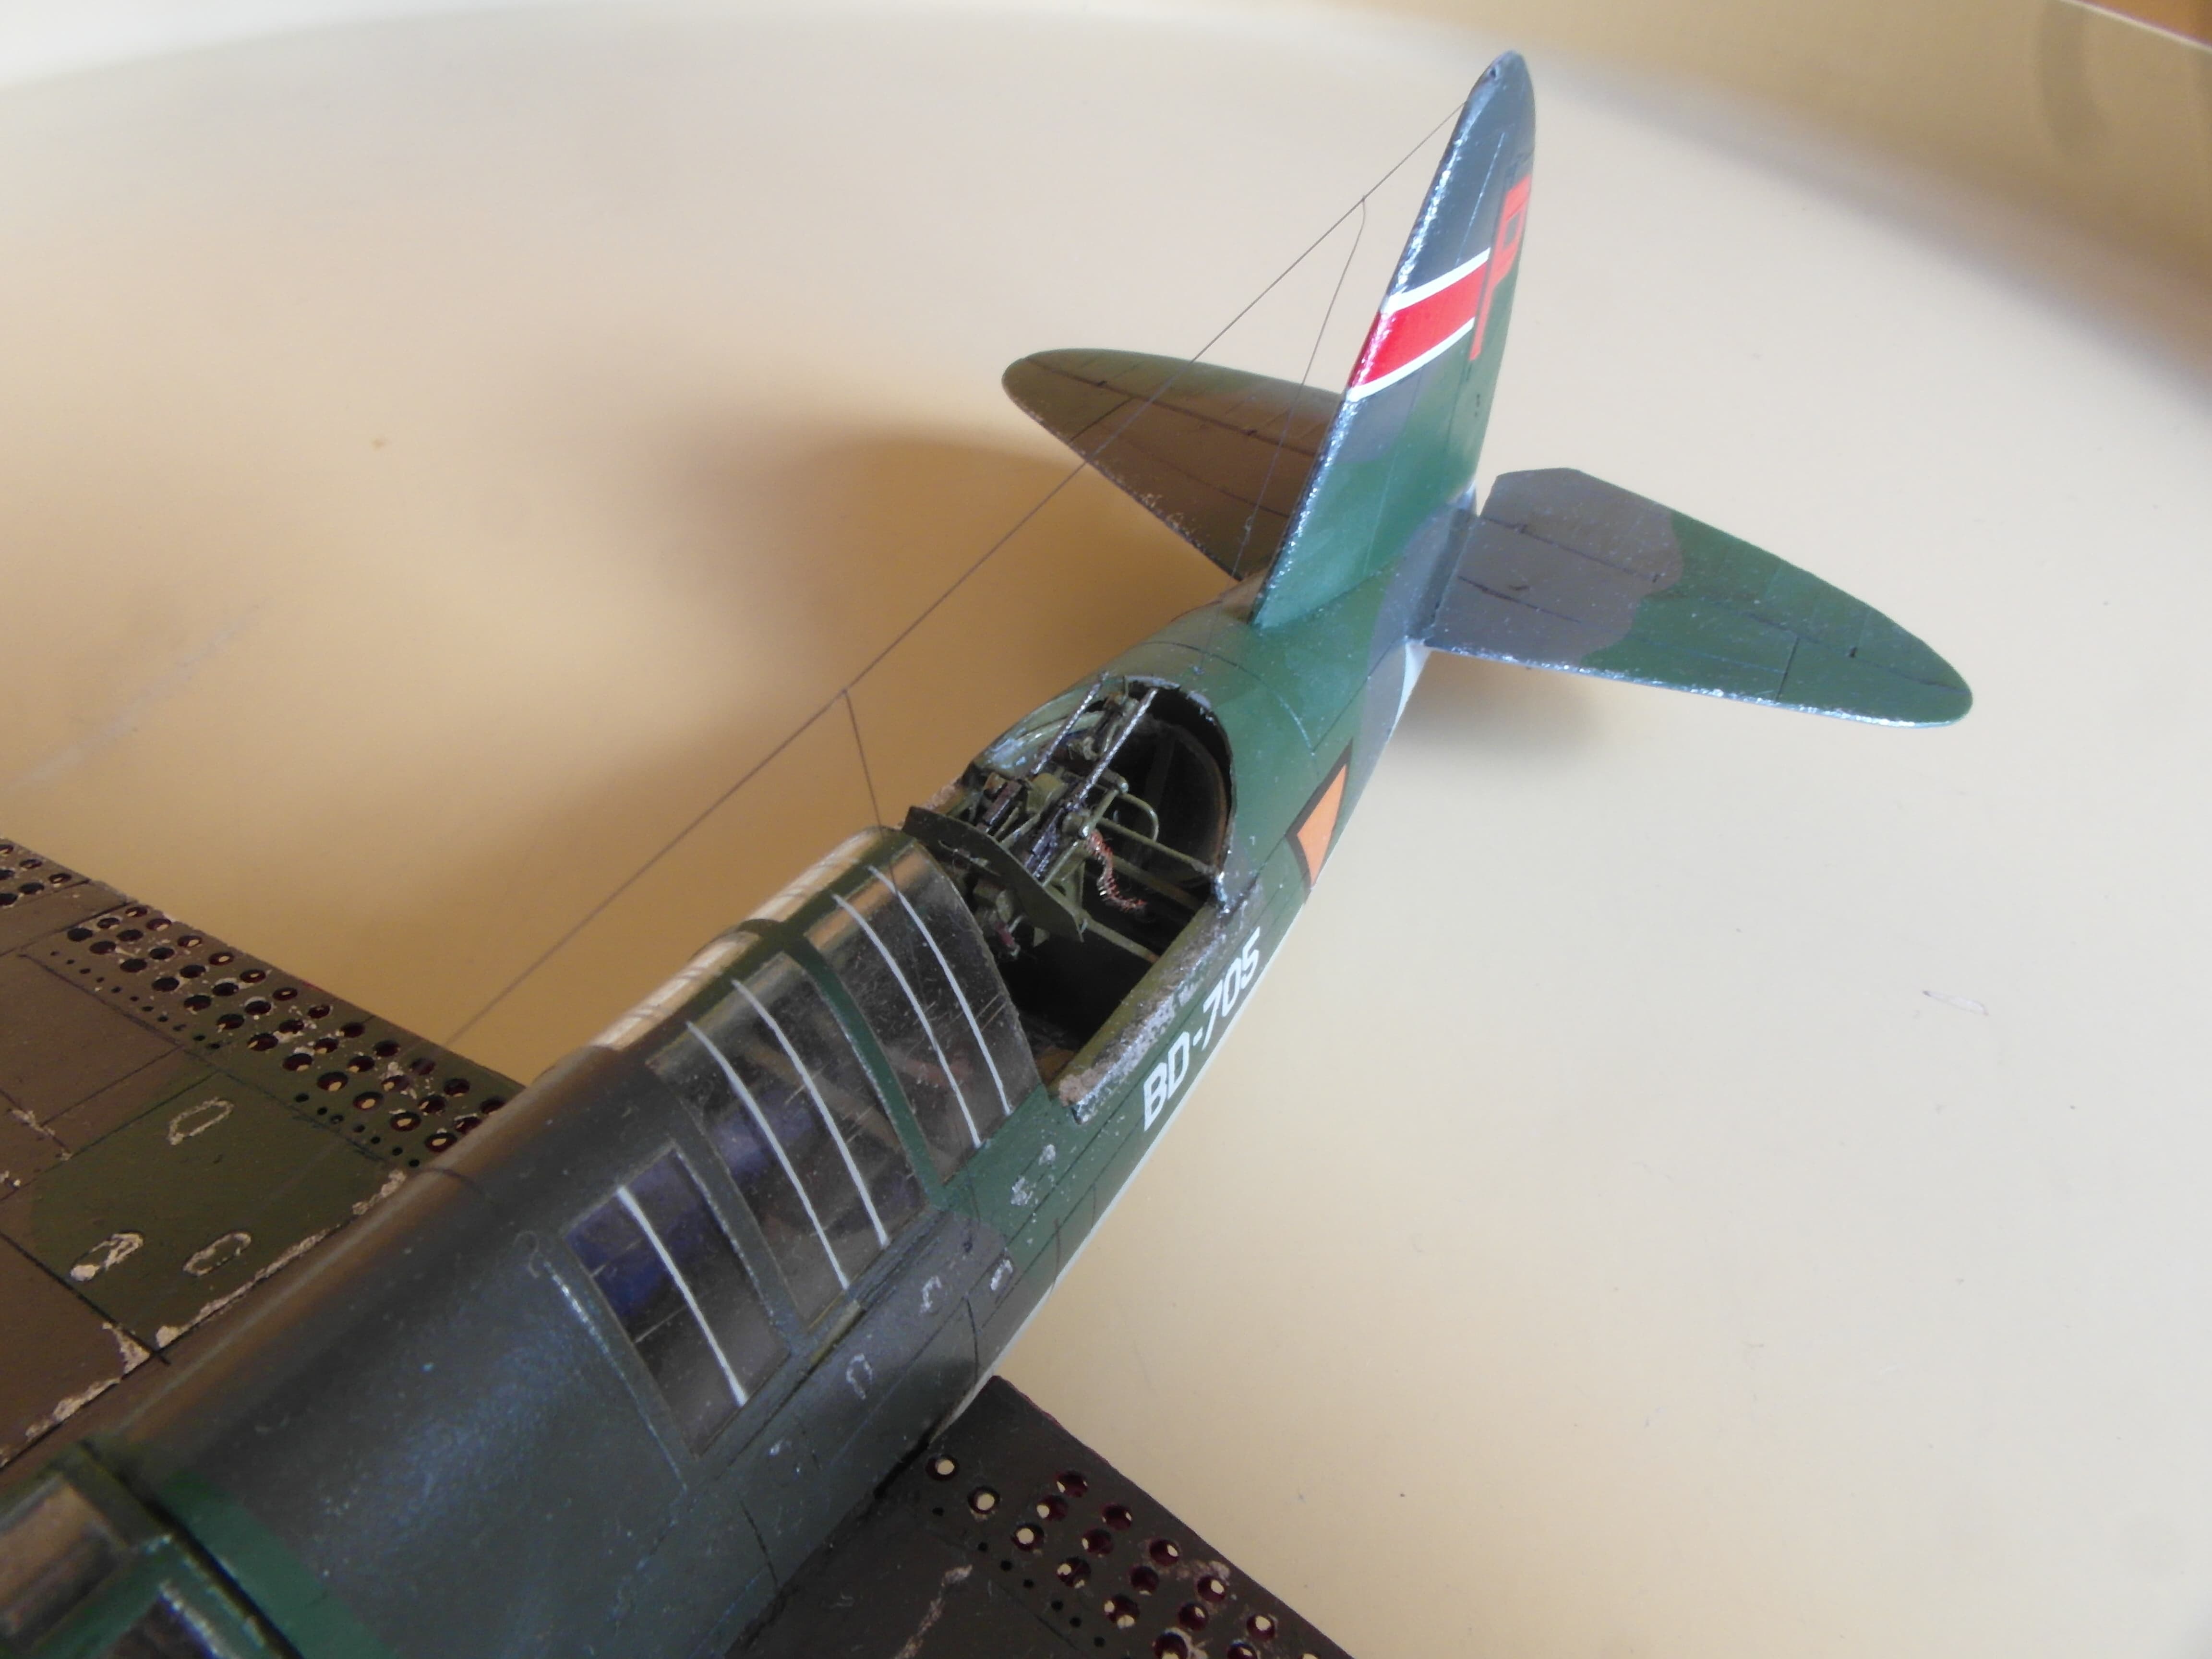
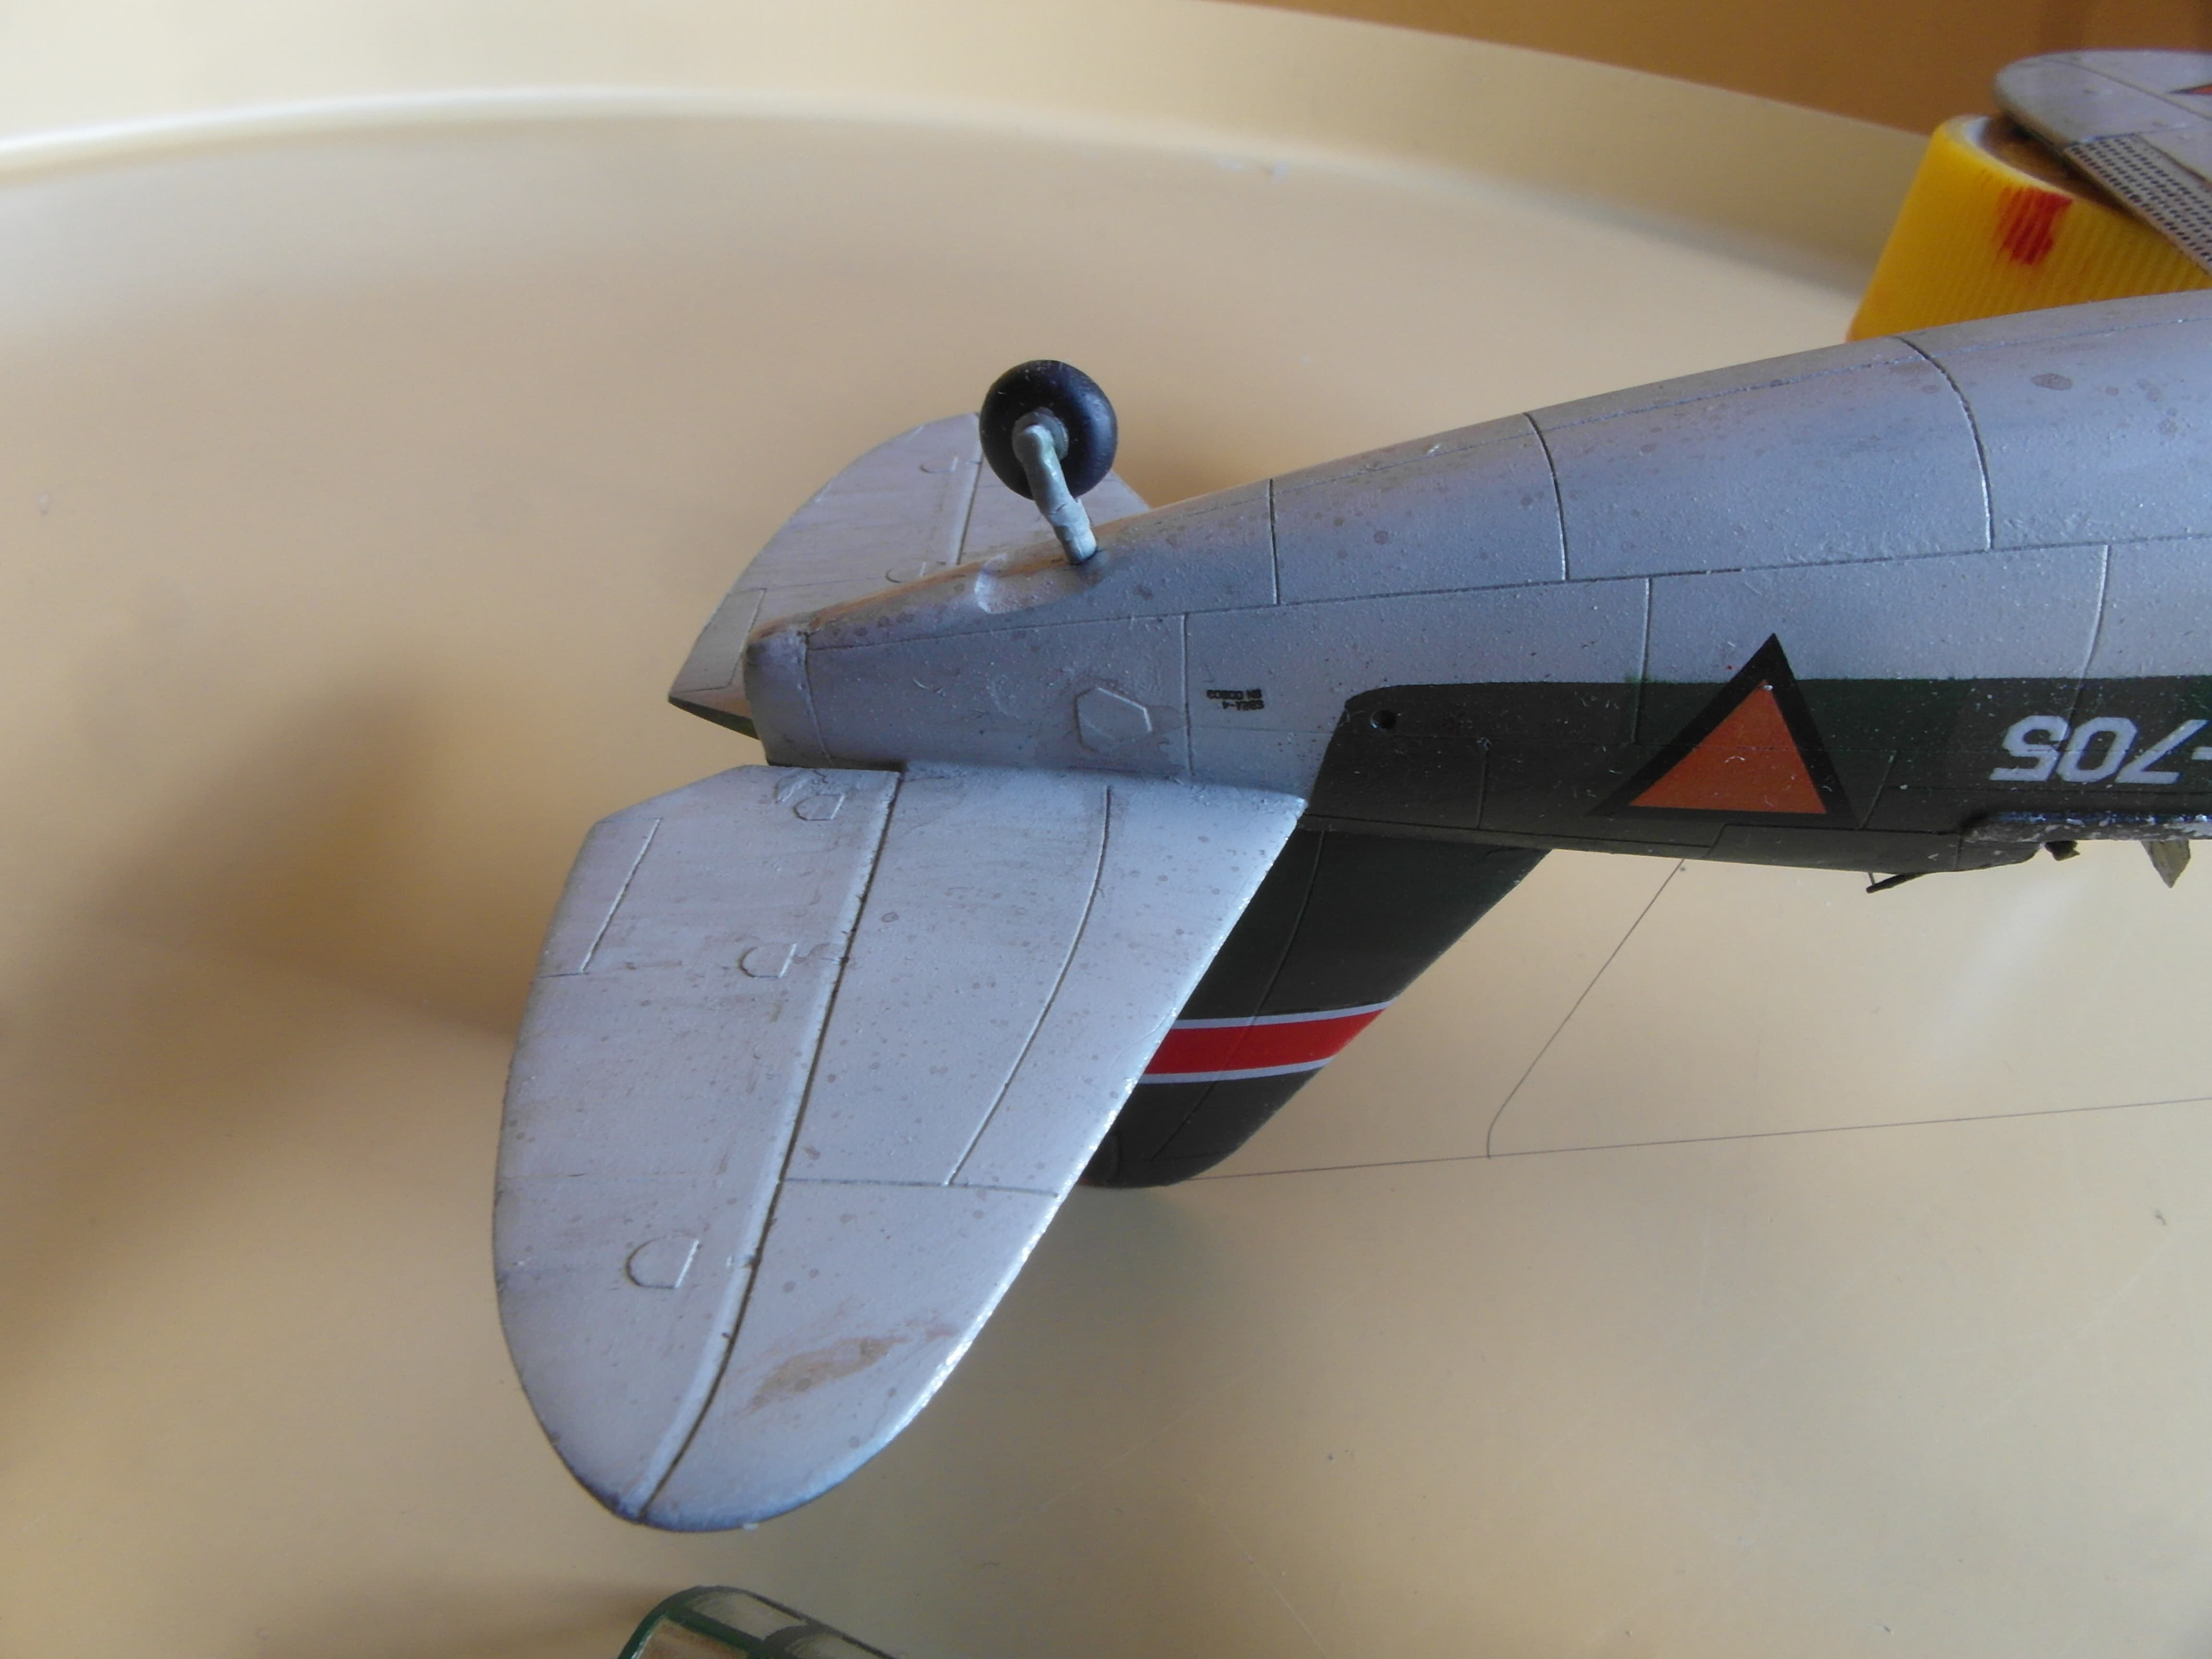
For the camouflage I choose the what-if Dutch markings. The topside consists of Jong Blad (Gunze H309) & Oud blad (AK RC083) Greens, over a white underside (AK RC254). The Kit specifies some other shades, and a aluminium dope underside, but based on my own research these two greens should be more accurate. Also a painted underside would’ve been more likely. I’ve also added some fictional markings on the tail to spice it up a little.