The RMI-8 was a Hungarian twin engined fighter project. Pretty much all information on the project, blue prints, plans and other RMI prototypes, were lost when the Allies bombed the RMI facility in 1944.
What is known is reconstructed afterwards by Winkler László at the end of the 1950’s, however a lot of information about the state of the prototype is still unknown, most likely forever.
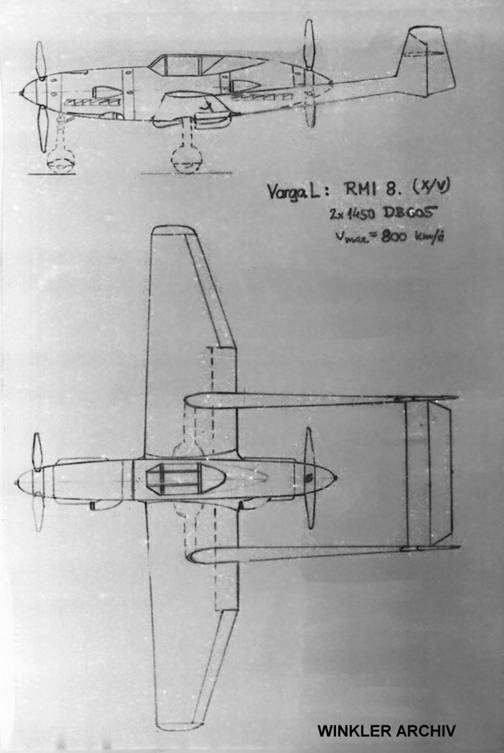
The aircraft was likely a combination between the Fokker D.23 and the Messerschmitt Bf 109G-2. Likely Fokker blueprints got to Hungary sometime during the war, as the D.23 was encountered in the Winkler Archives. The Hungarians then likely partially replaced it with the Me 109’s to create the RMI-8
The Kit
Even though it’s a rather obscure little aircraft, Balaton Modell has created this nice little resin kit of the RMI-8. I do love me some twin boom aircraft, so when I saw this rare kit offered on Scalemates for a very nice price, I bought it. The outside of the kit is lovely detailed, but the cockpit is rather bare and the decals are lacking. Luckily the person I bought the kit from also included an additional decal sheet for a Hungarian Bf 109 so I’ll be using those.
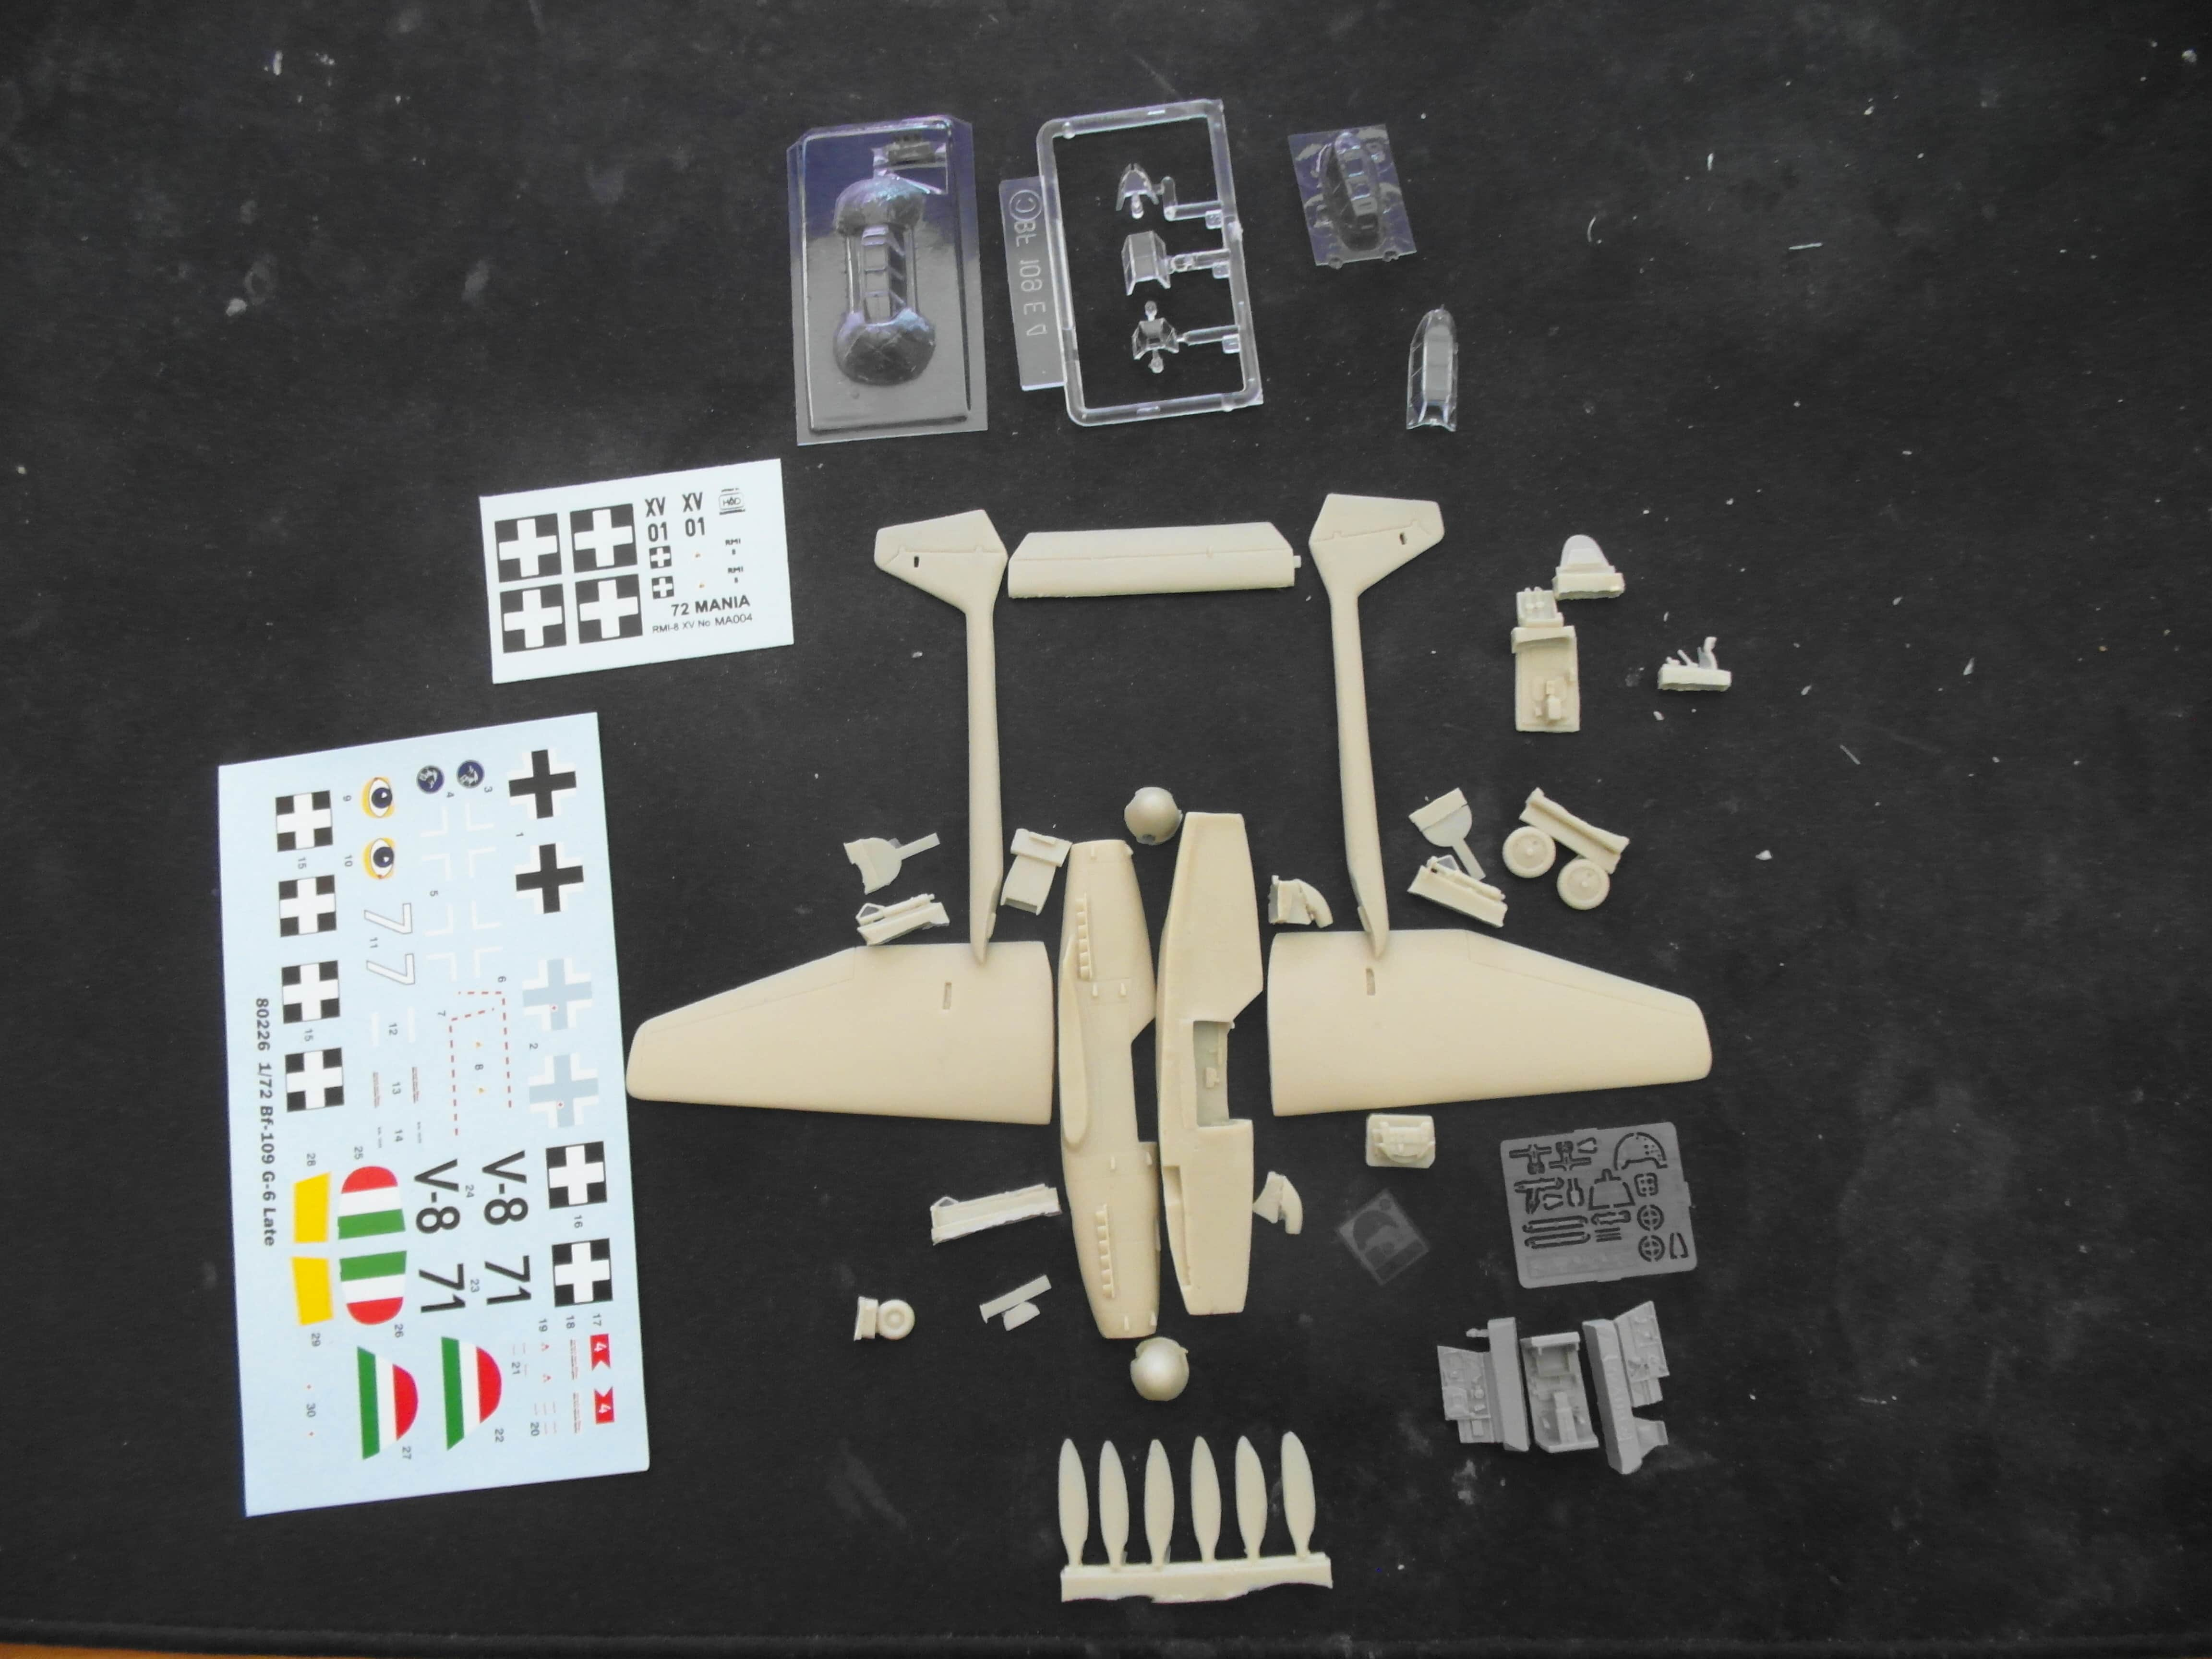
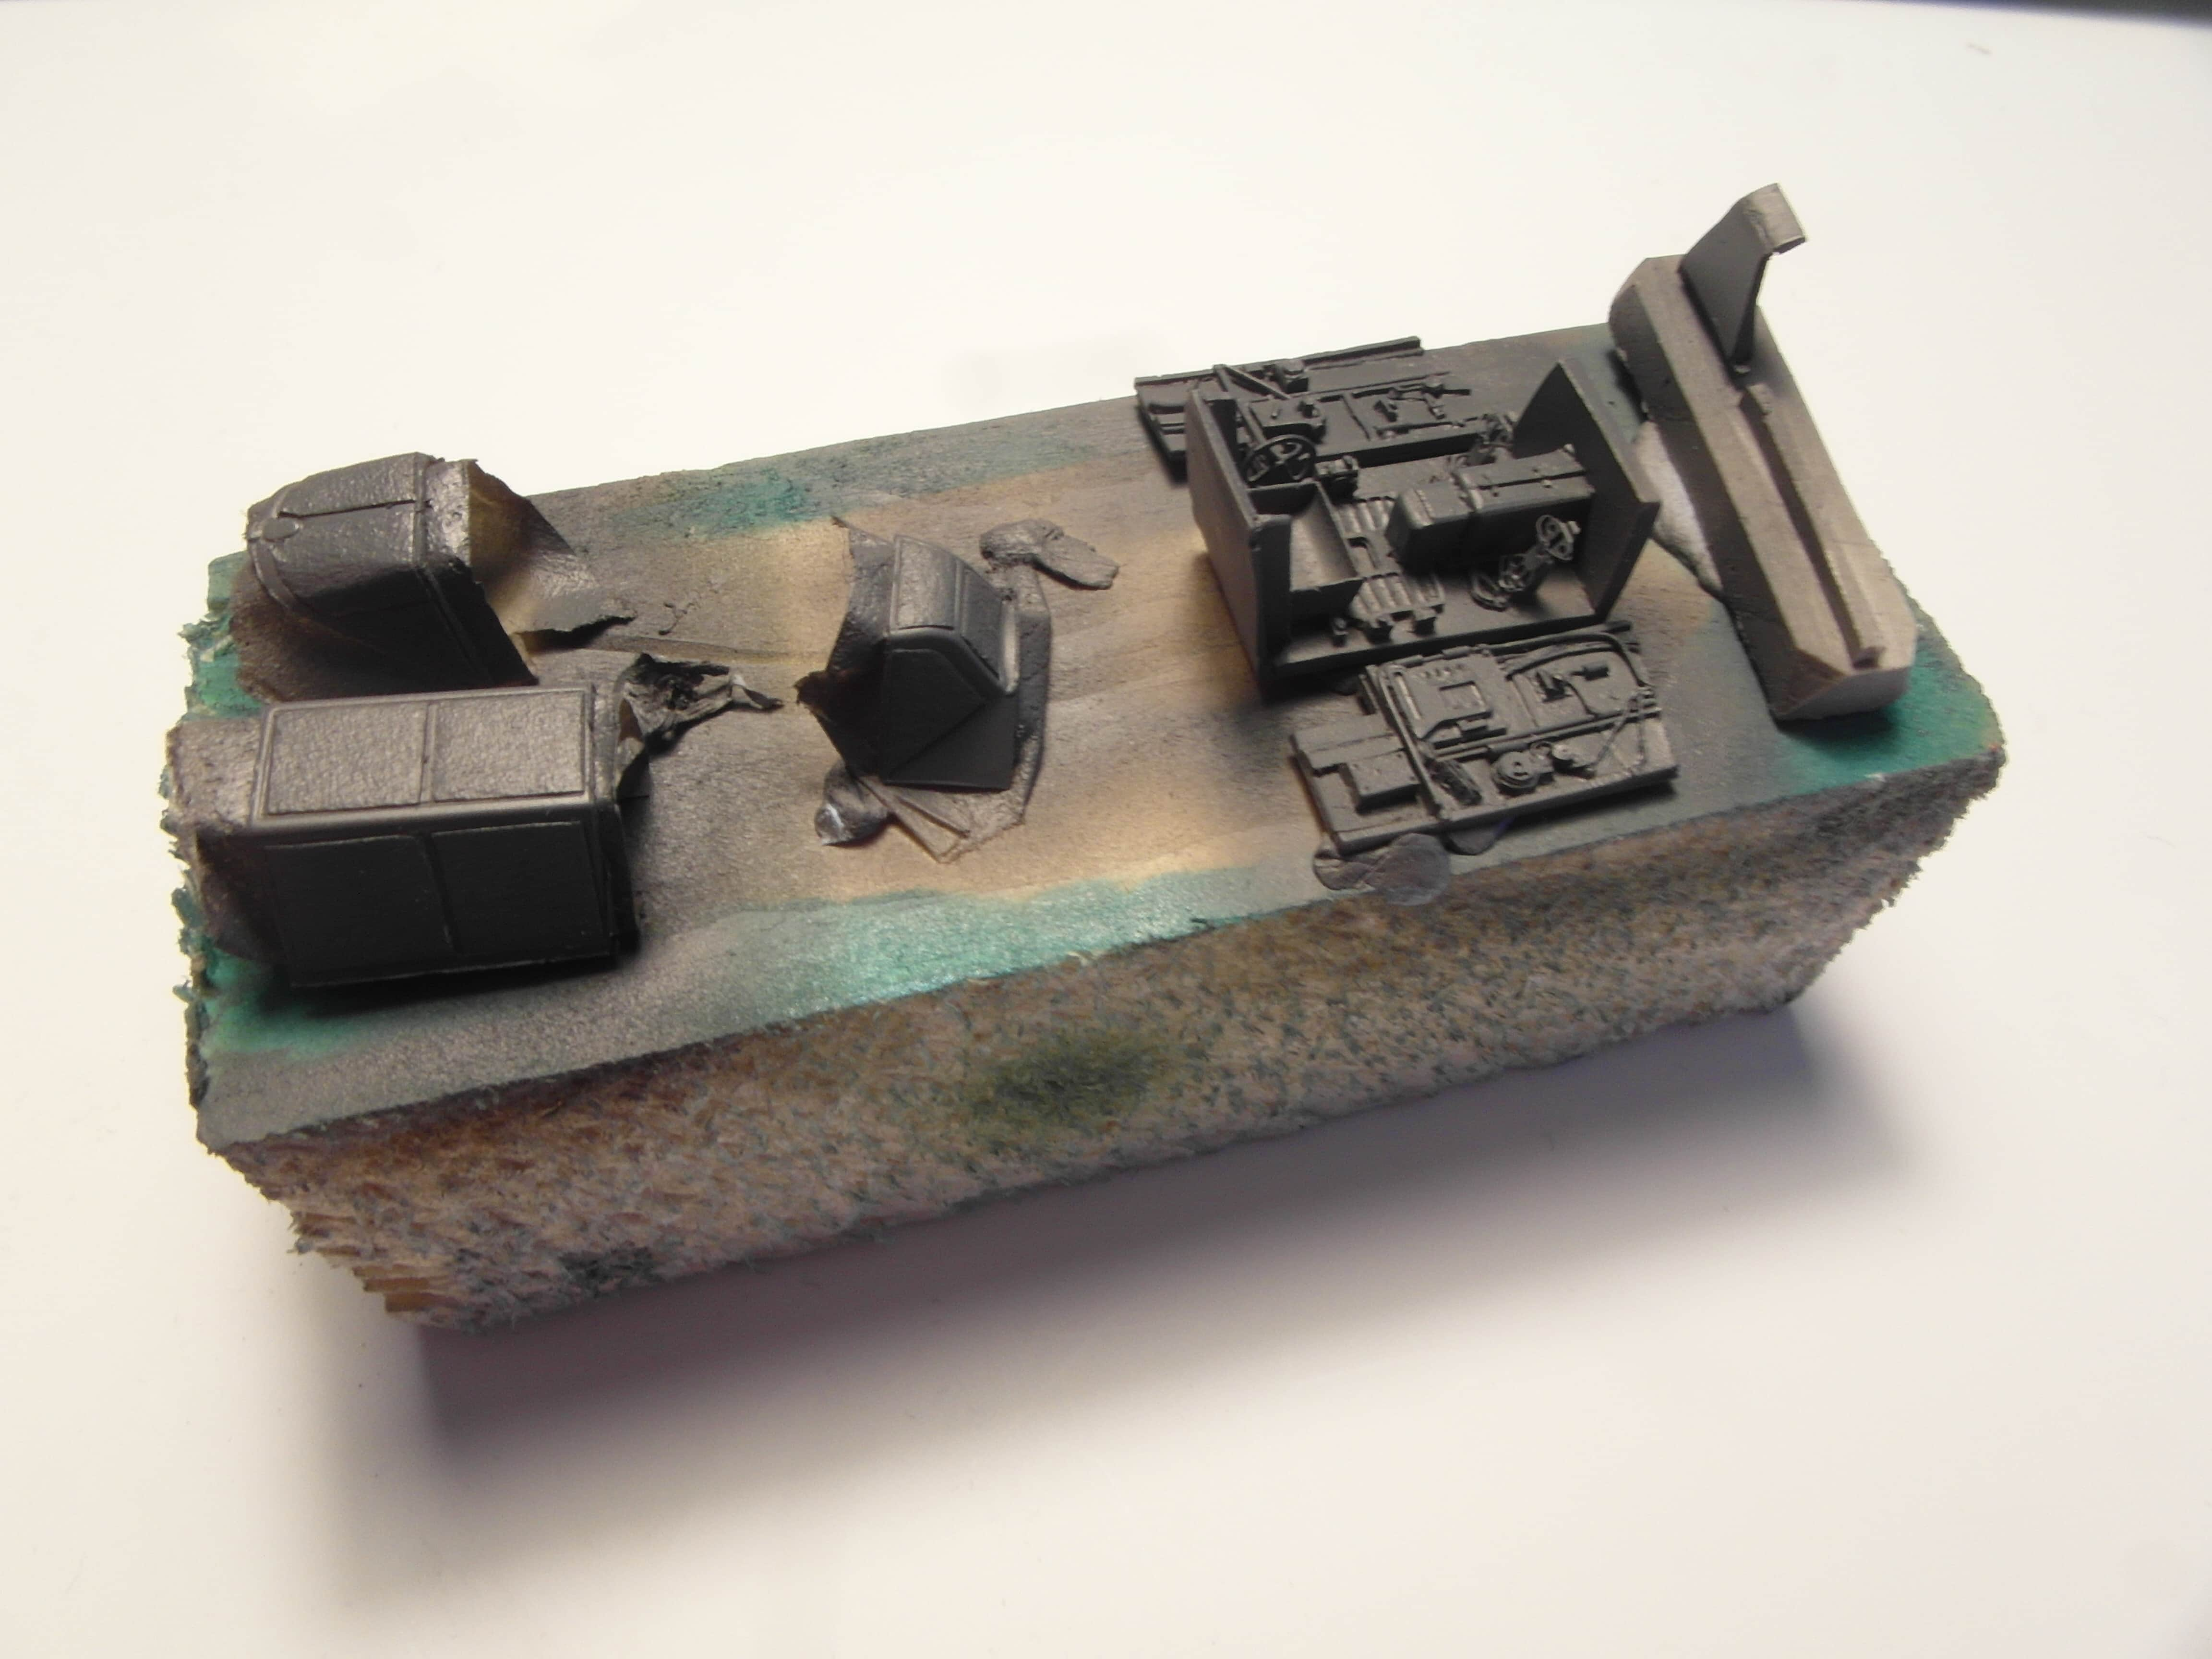
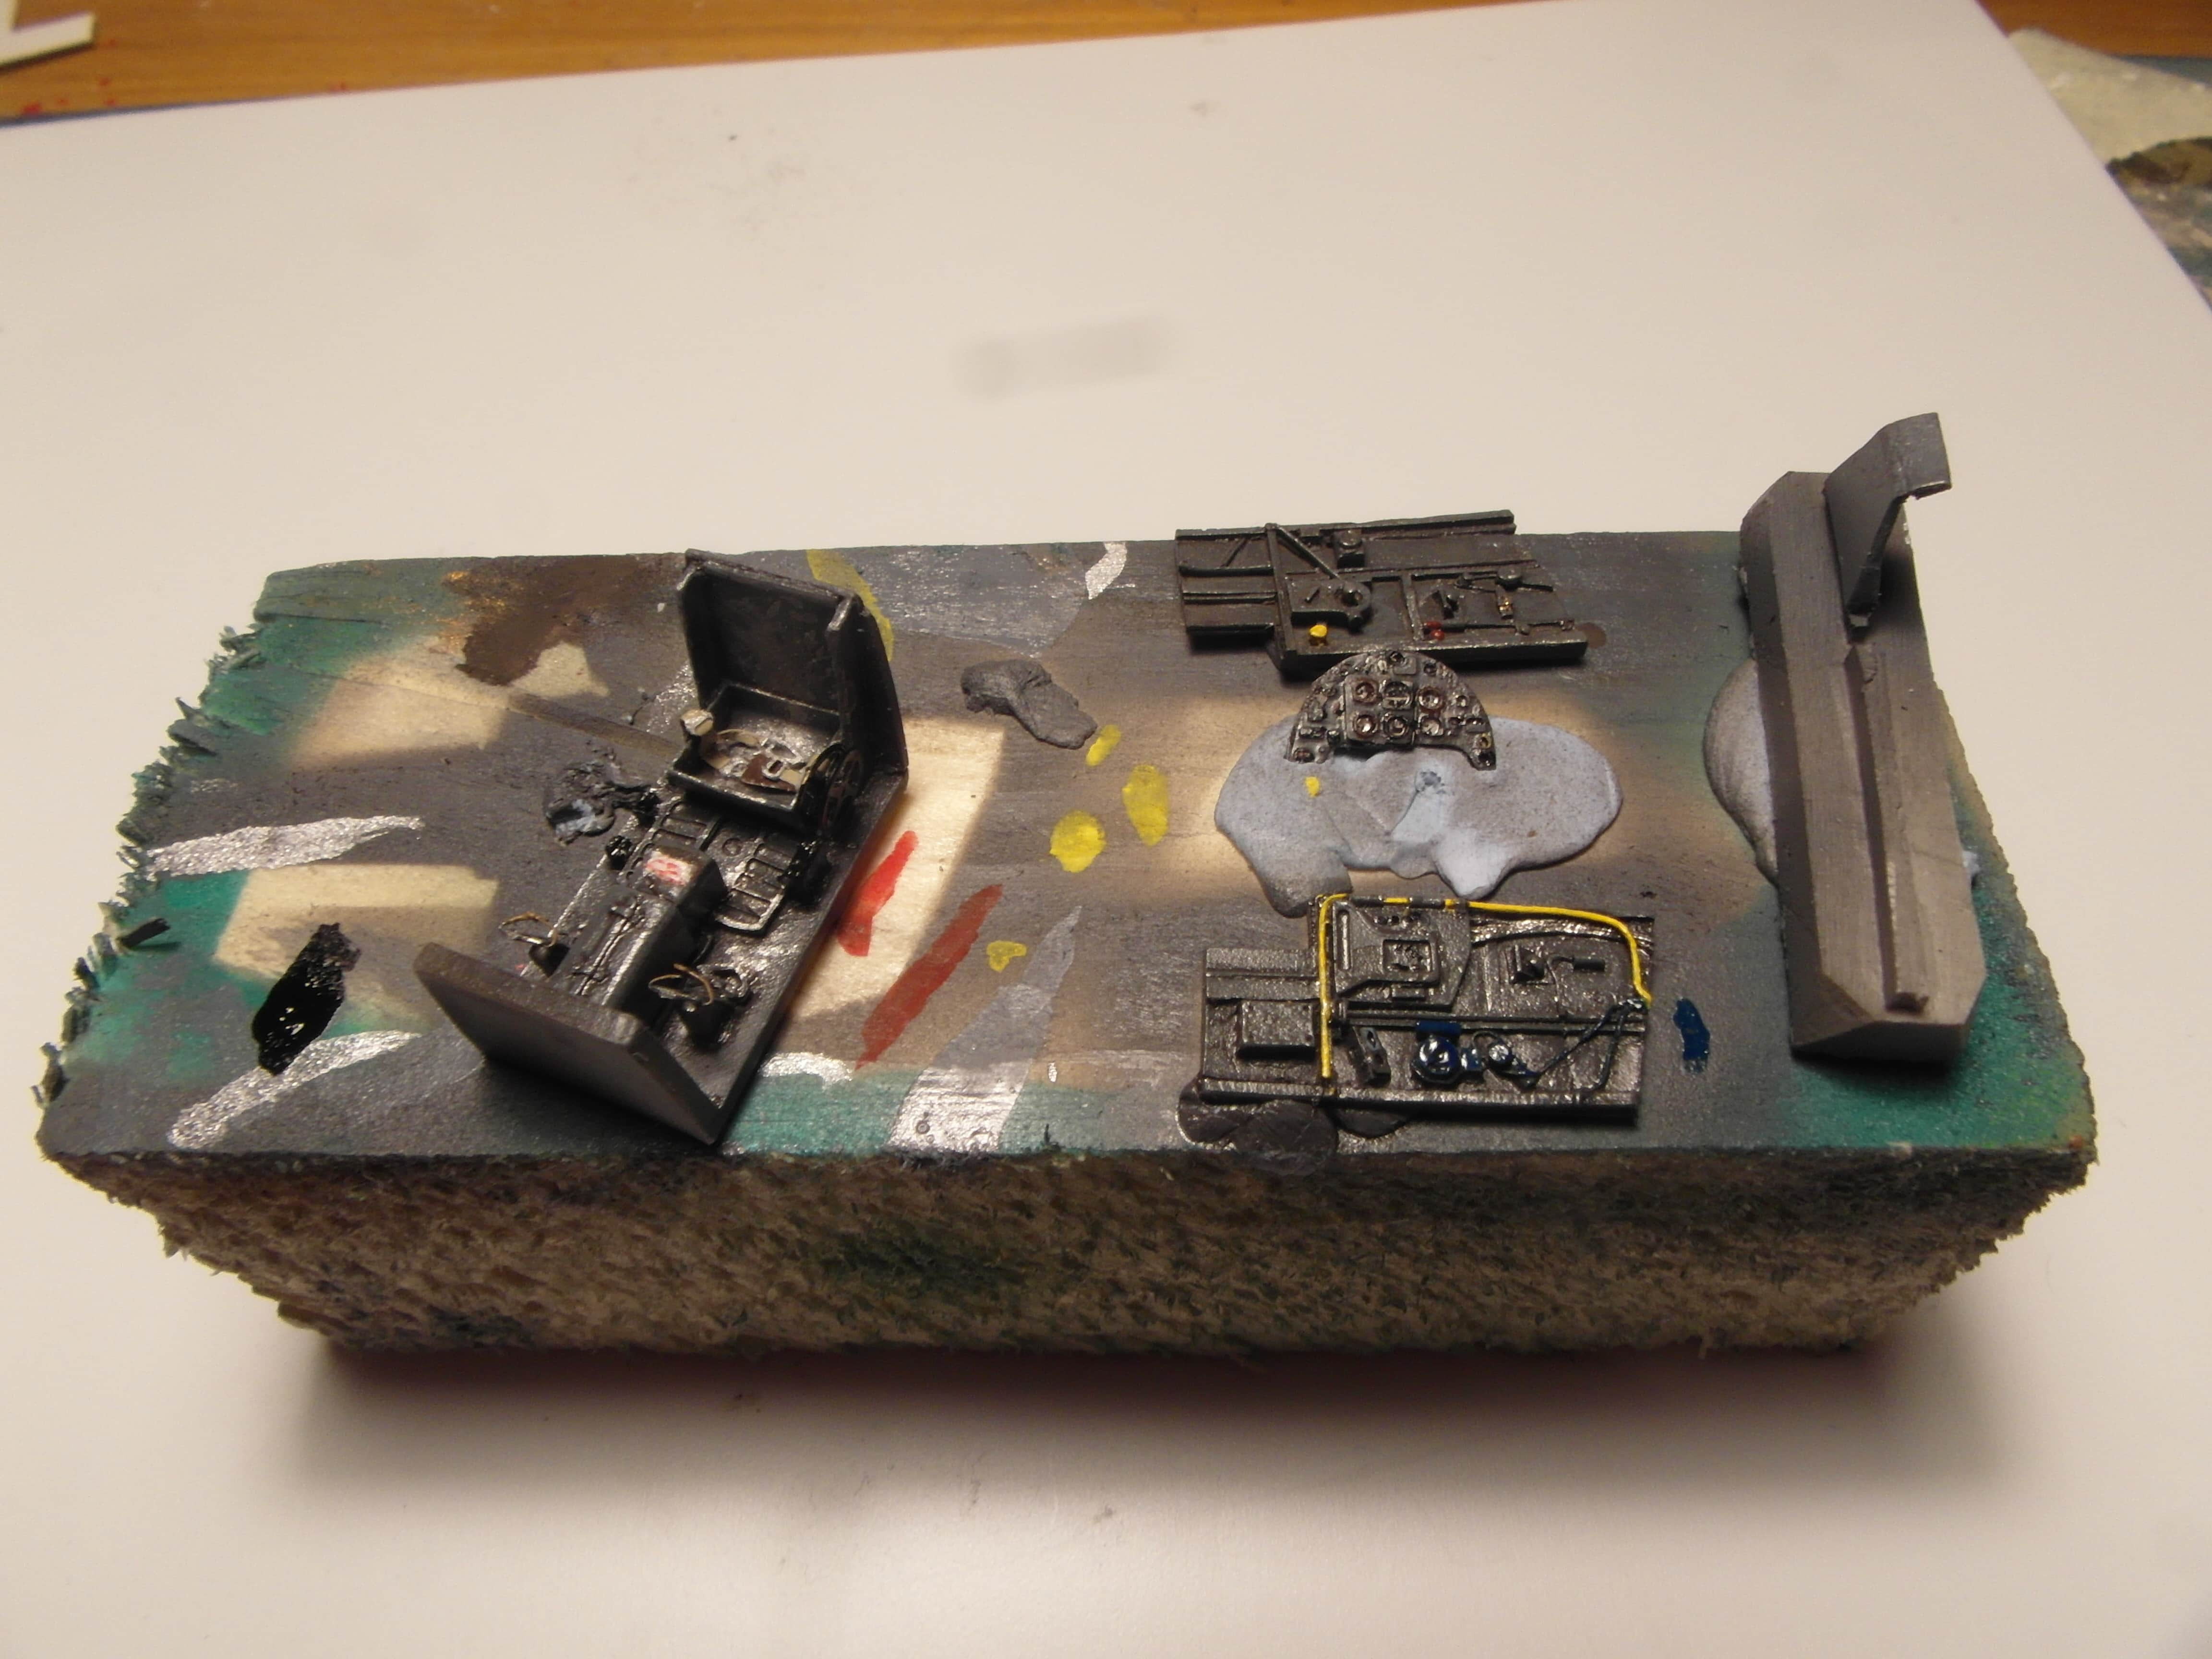
The cockpit issue was solved with an after market resin cockpit for a Bf 109G-6. Even though the RMI-8 is based around the G-2, the only difference between the 2 and 6 is the heavier armament, resulting in the characteristic nose bulges.
The kit itself includes a very bad vacuformed canopy, and while the seller did include some injection moulded canopies, I wanted to show the cockpit open which is best done with vacuformed. Luckily Rob-Taurus offers some very nice canopies, so I bought one together with the cockpit.
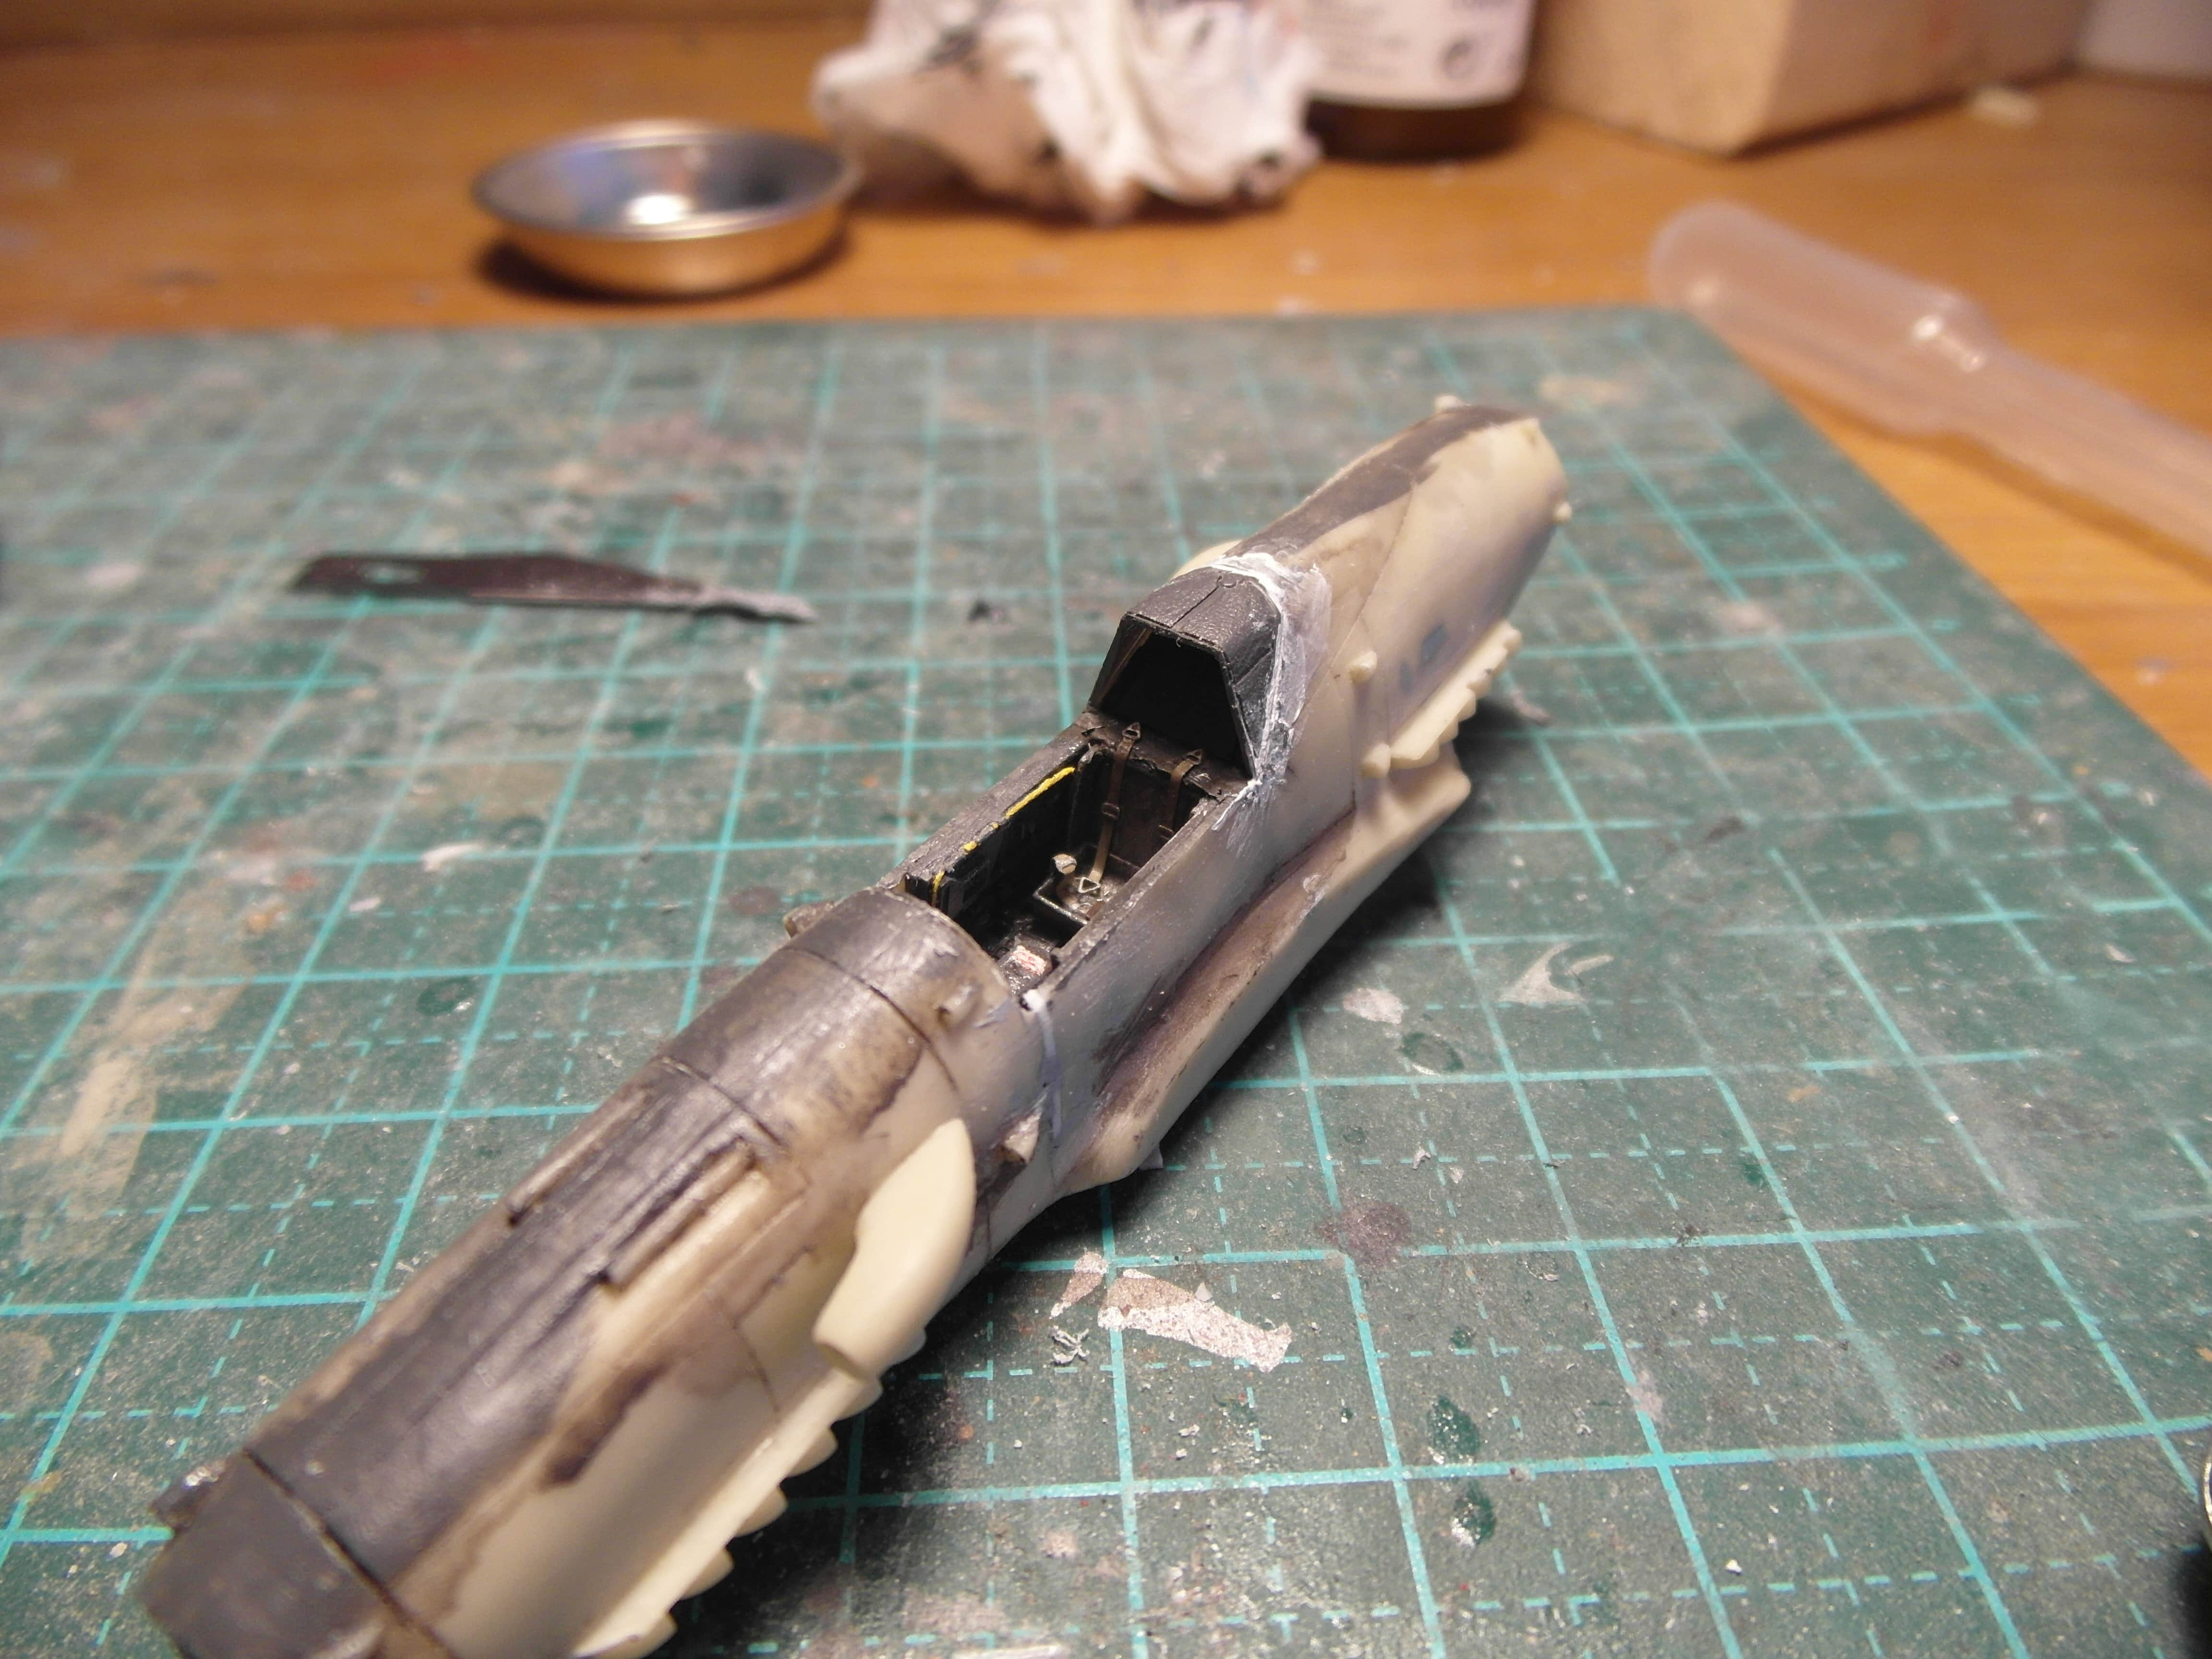
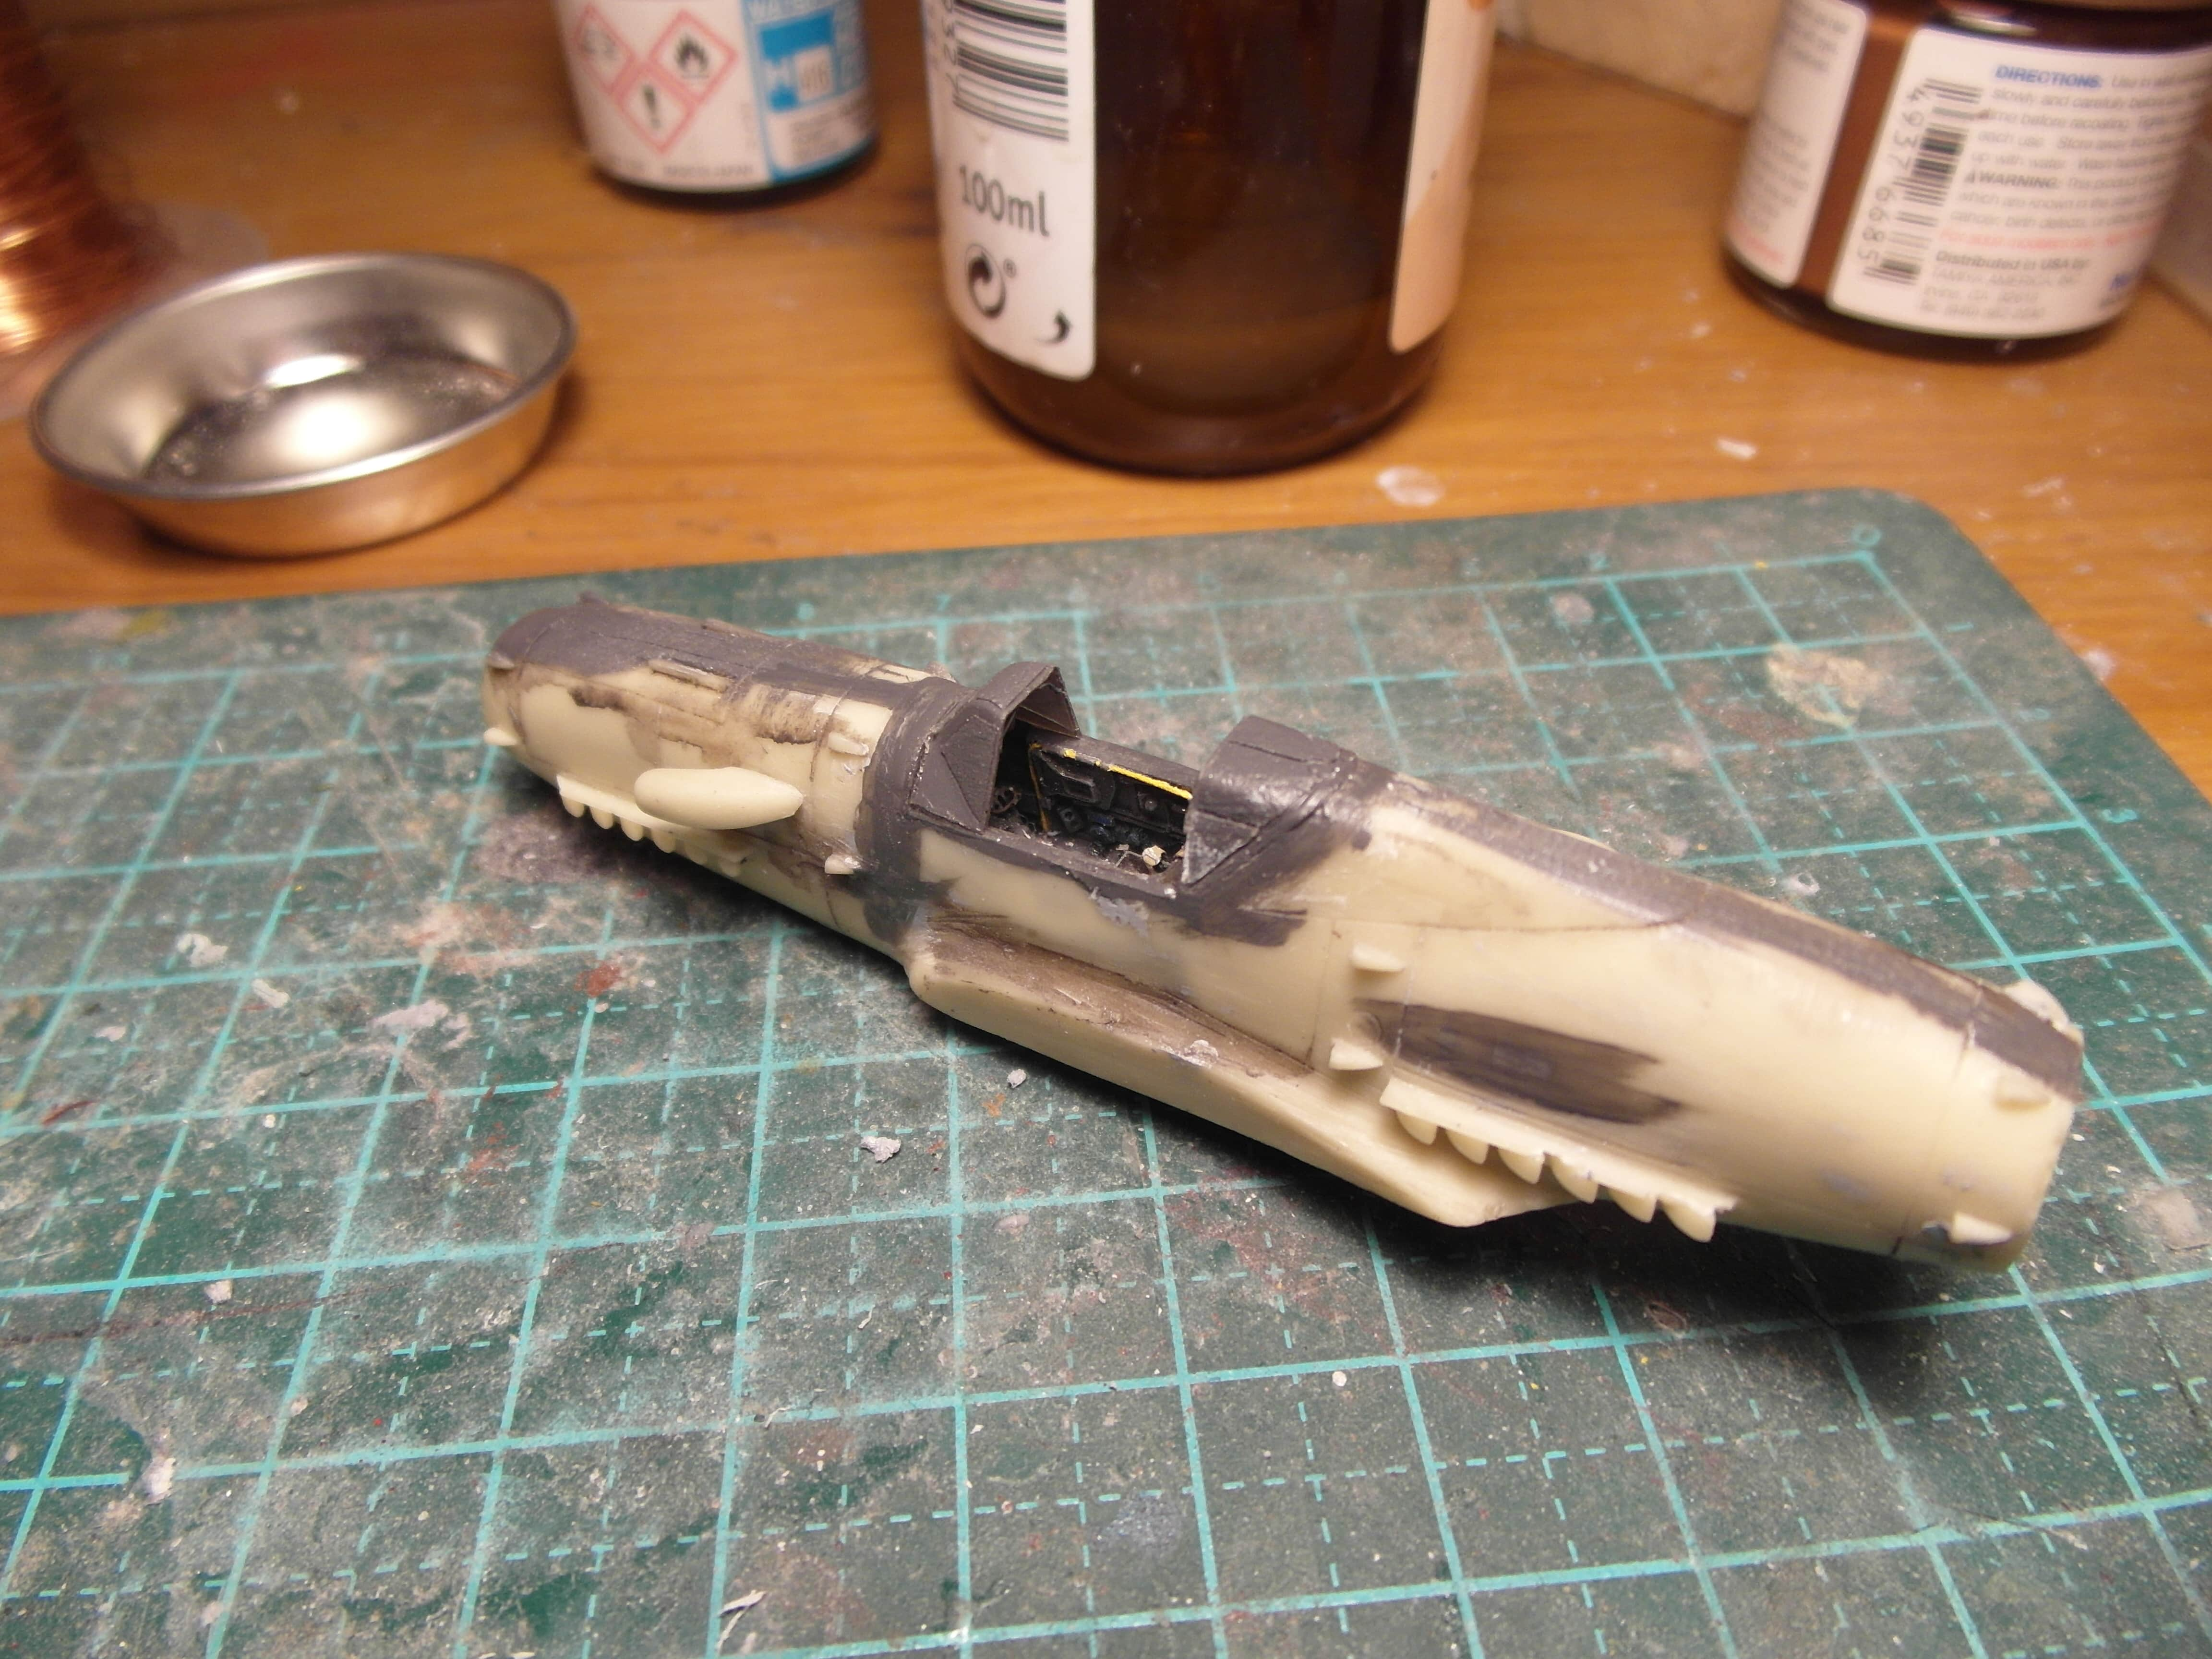
Cockpit
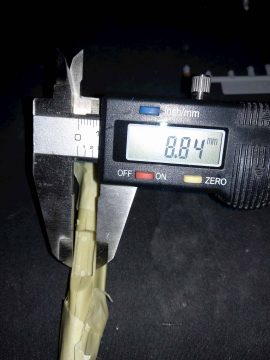
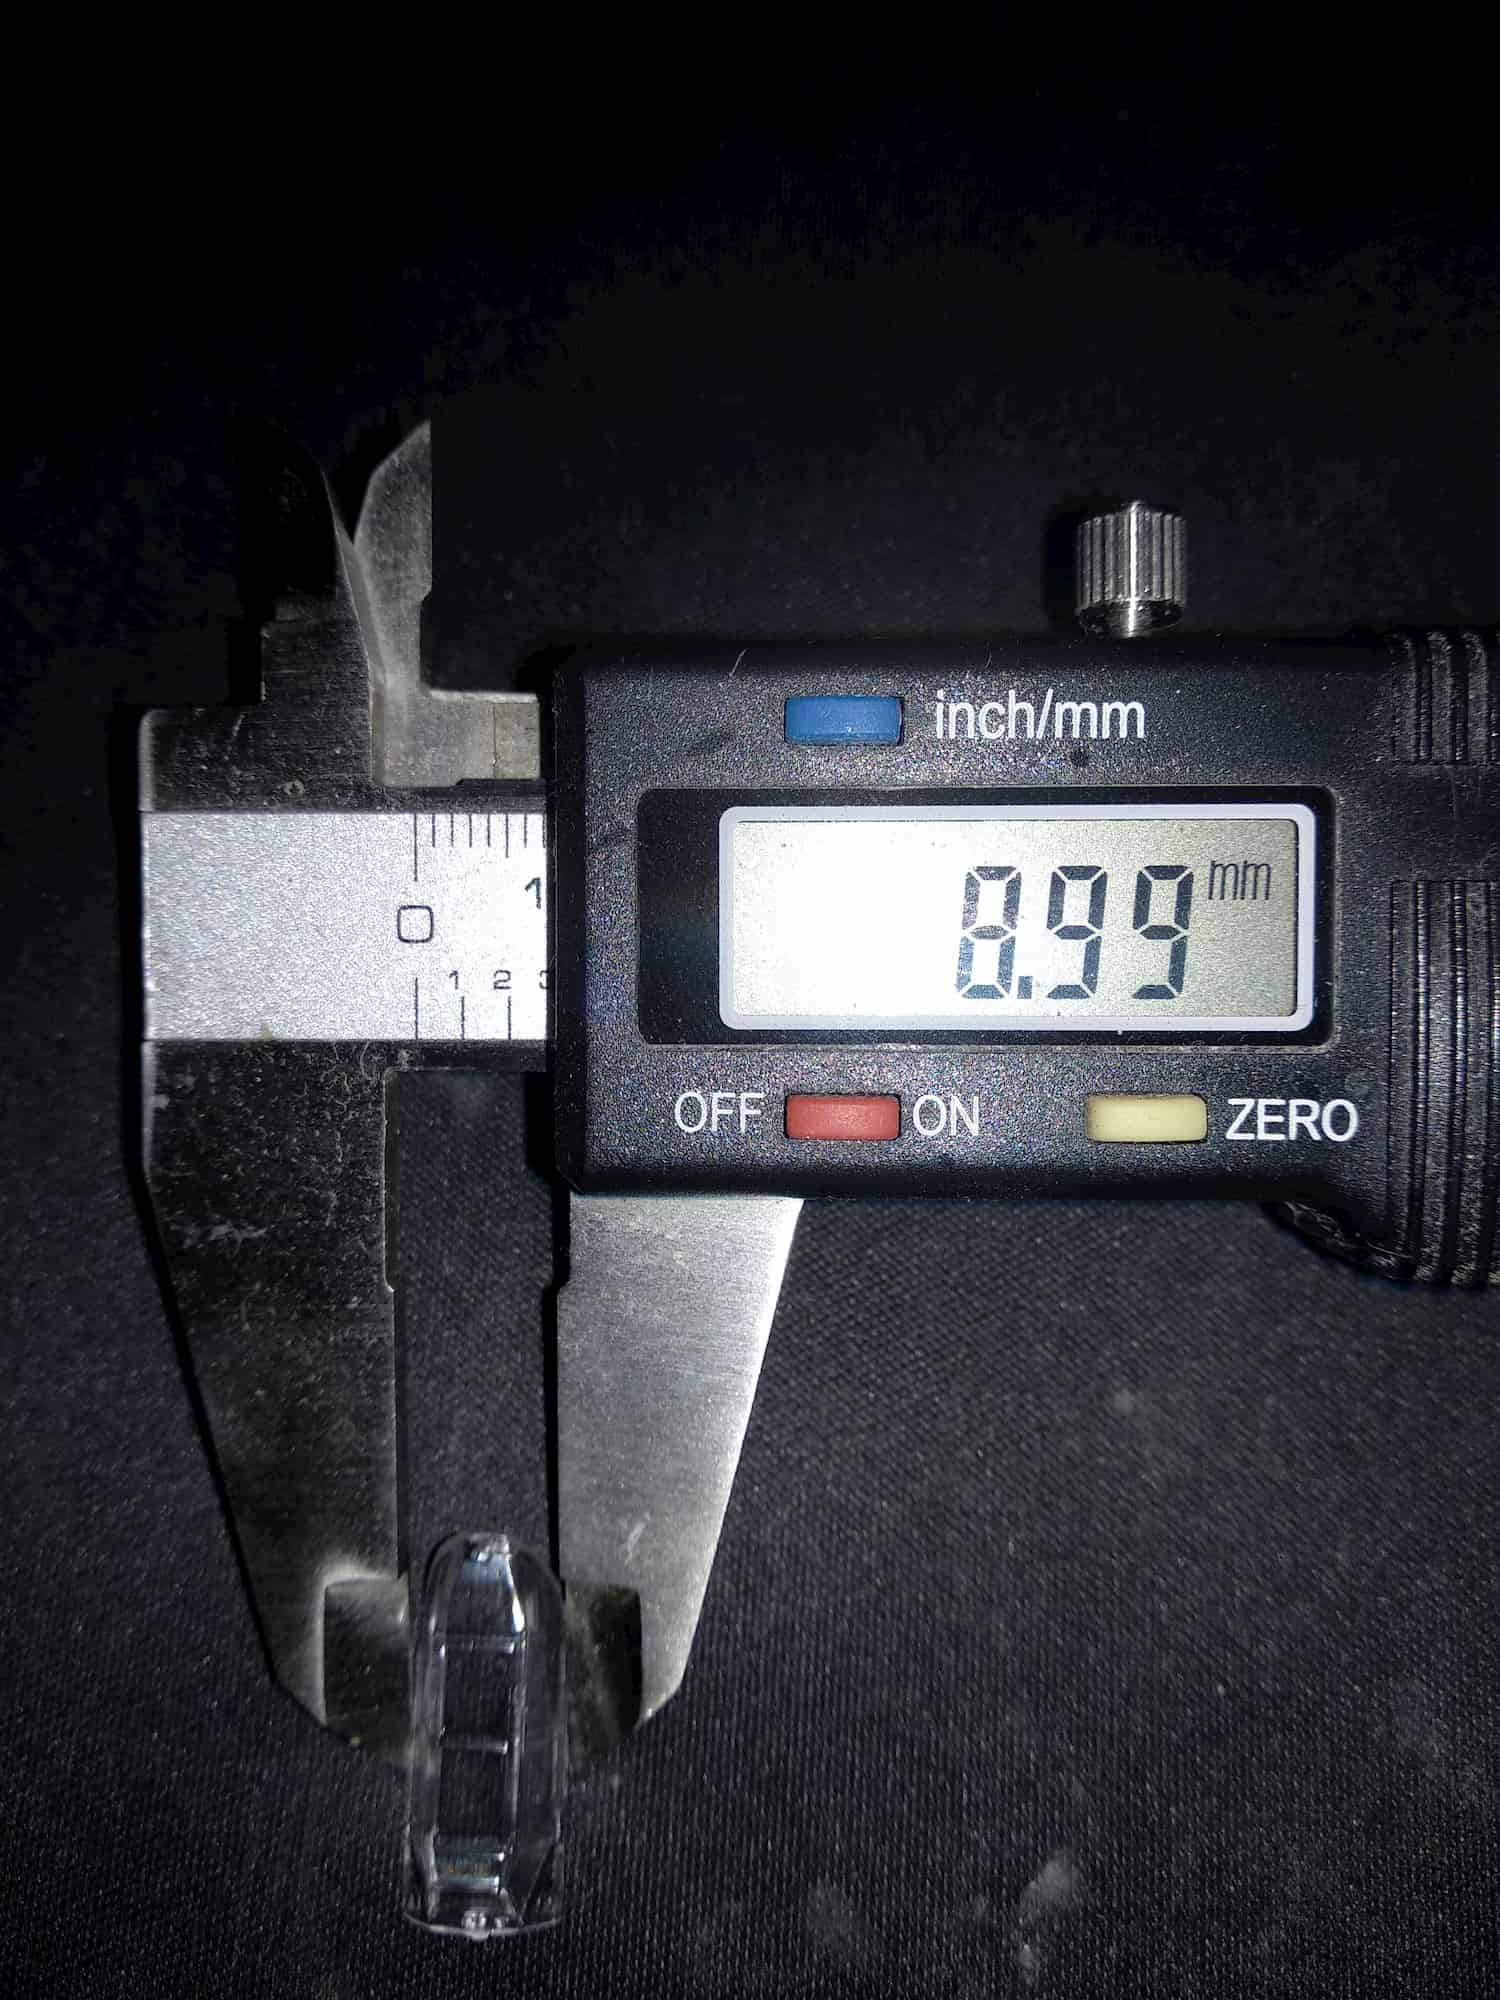
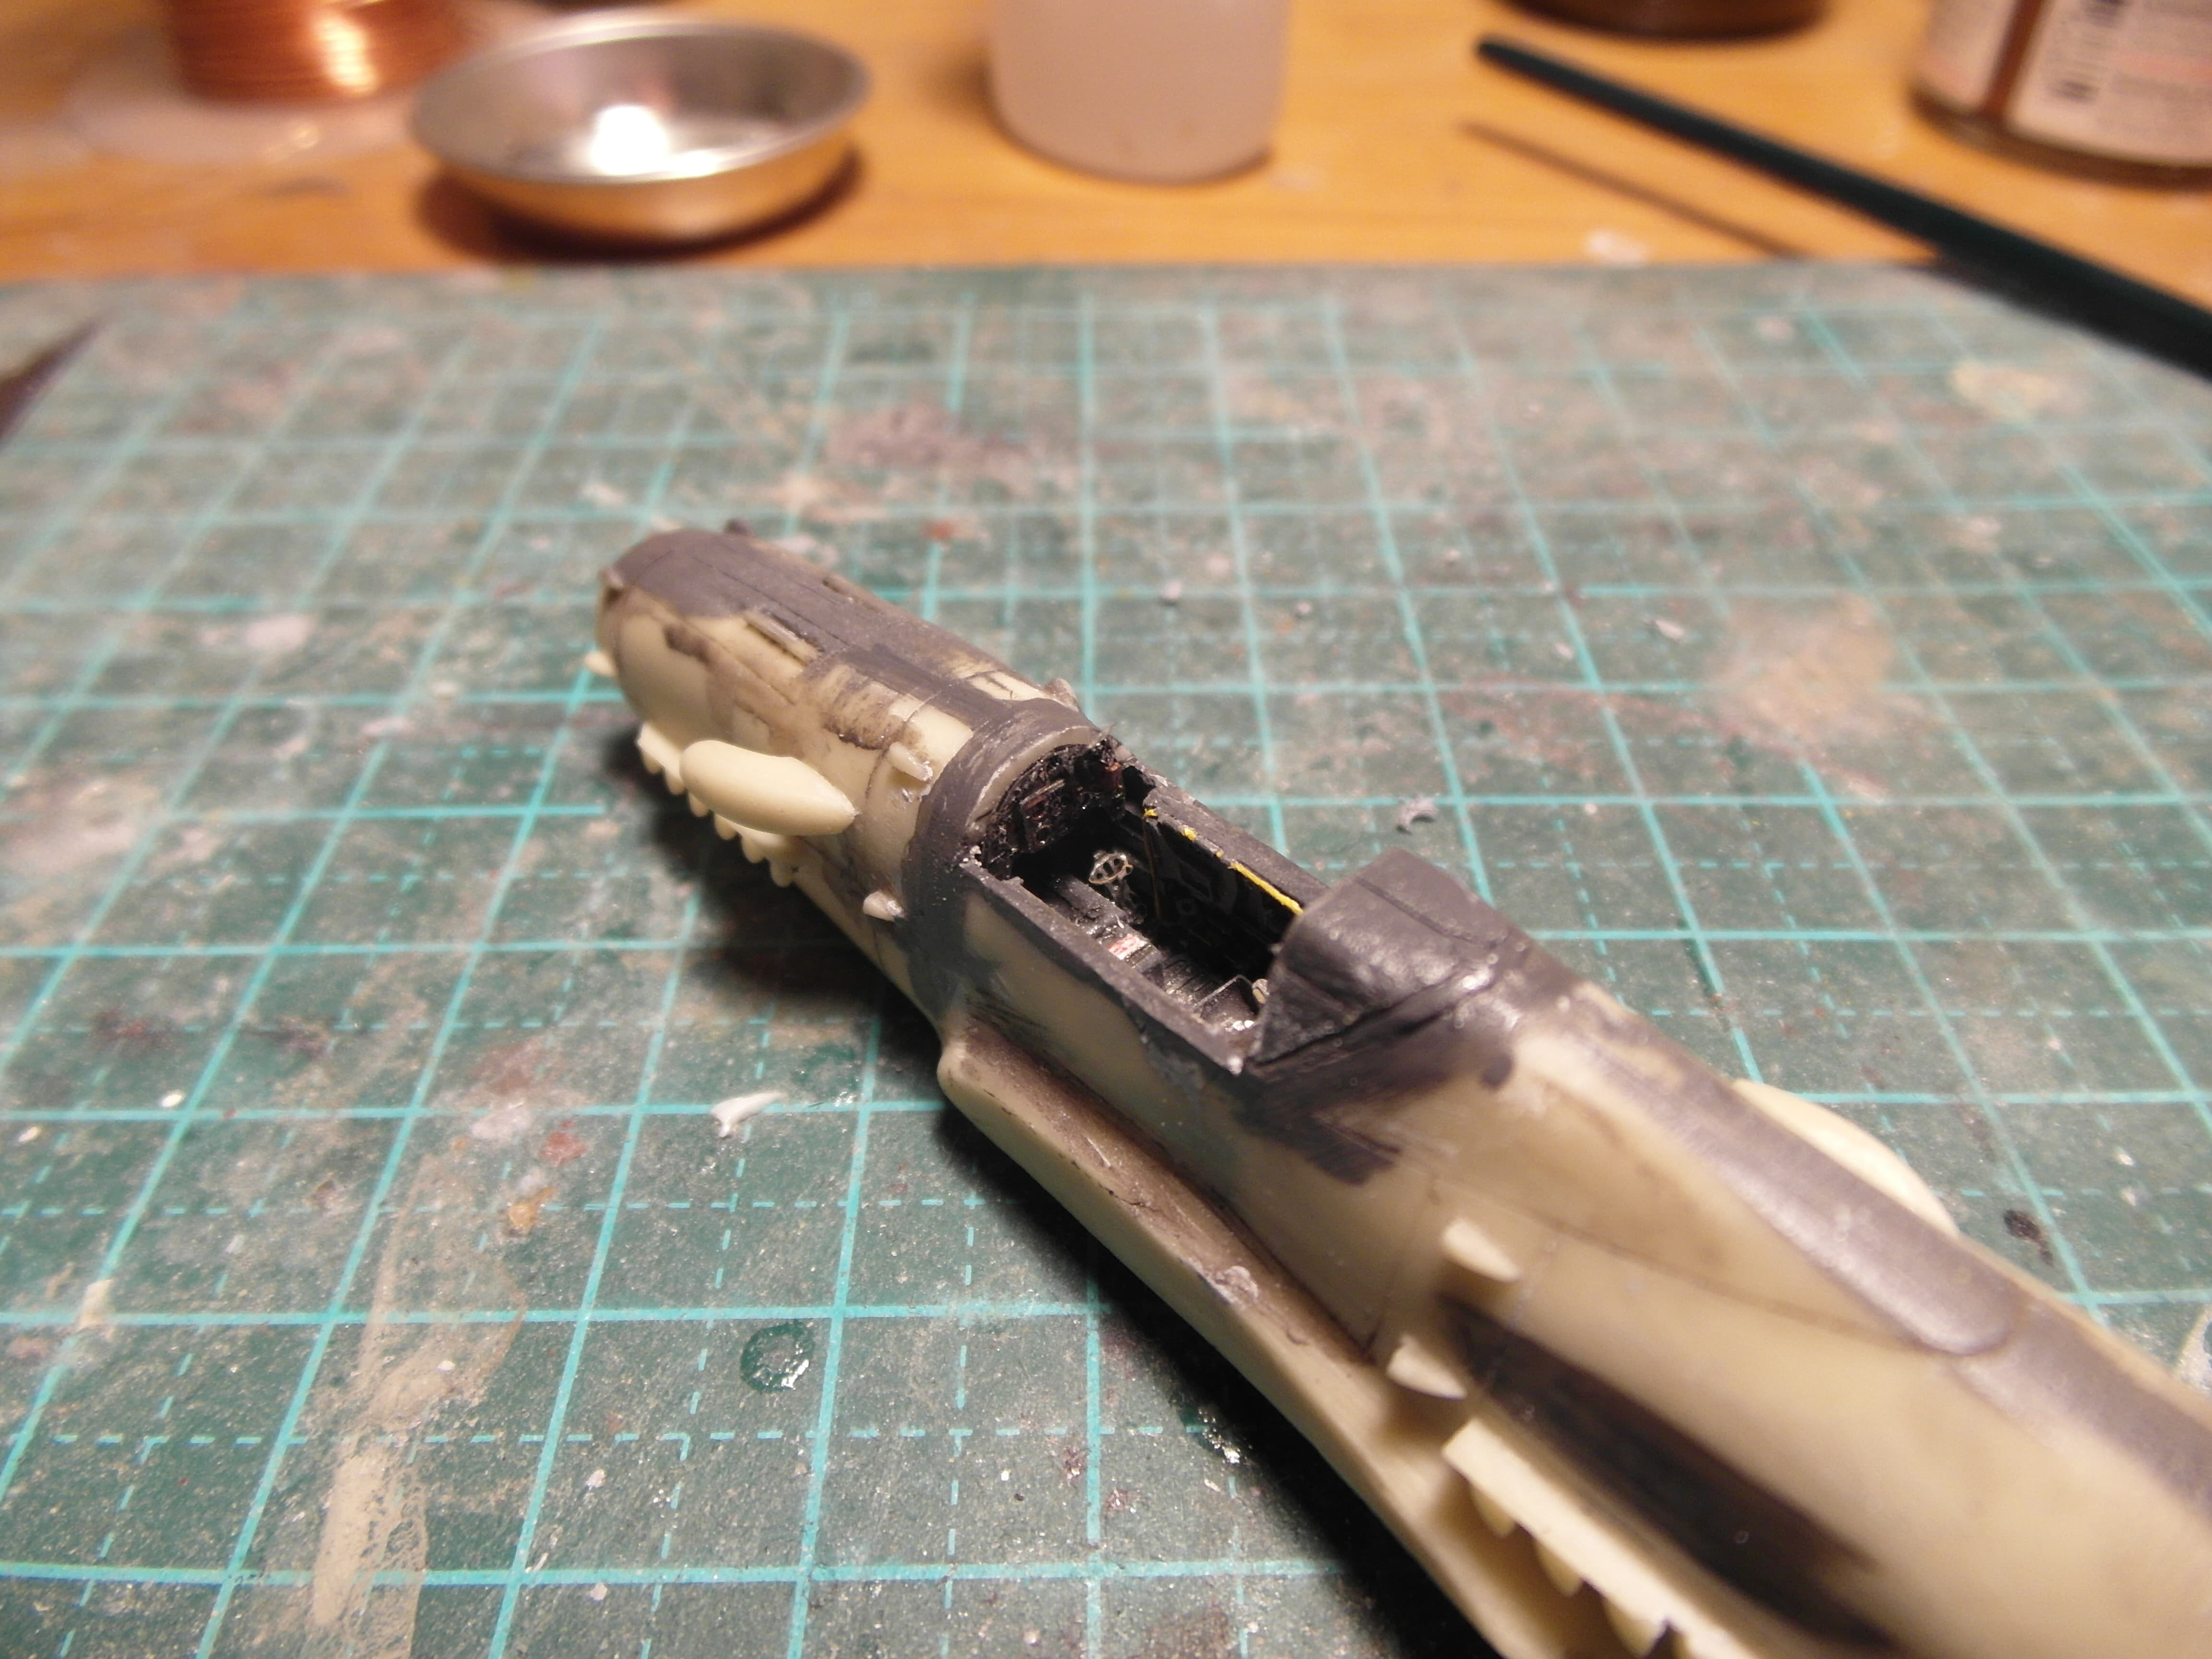
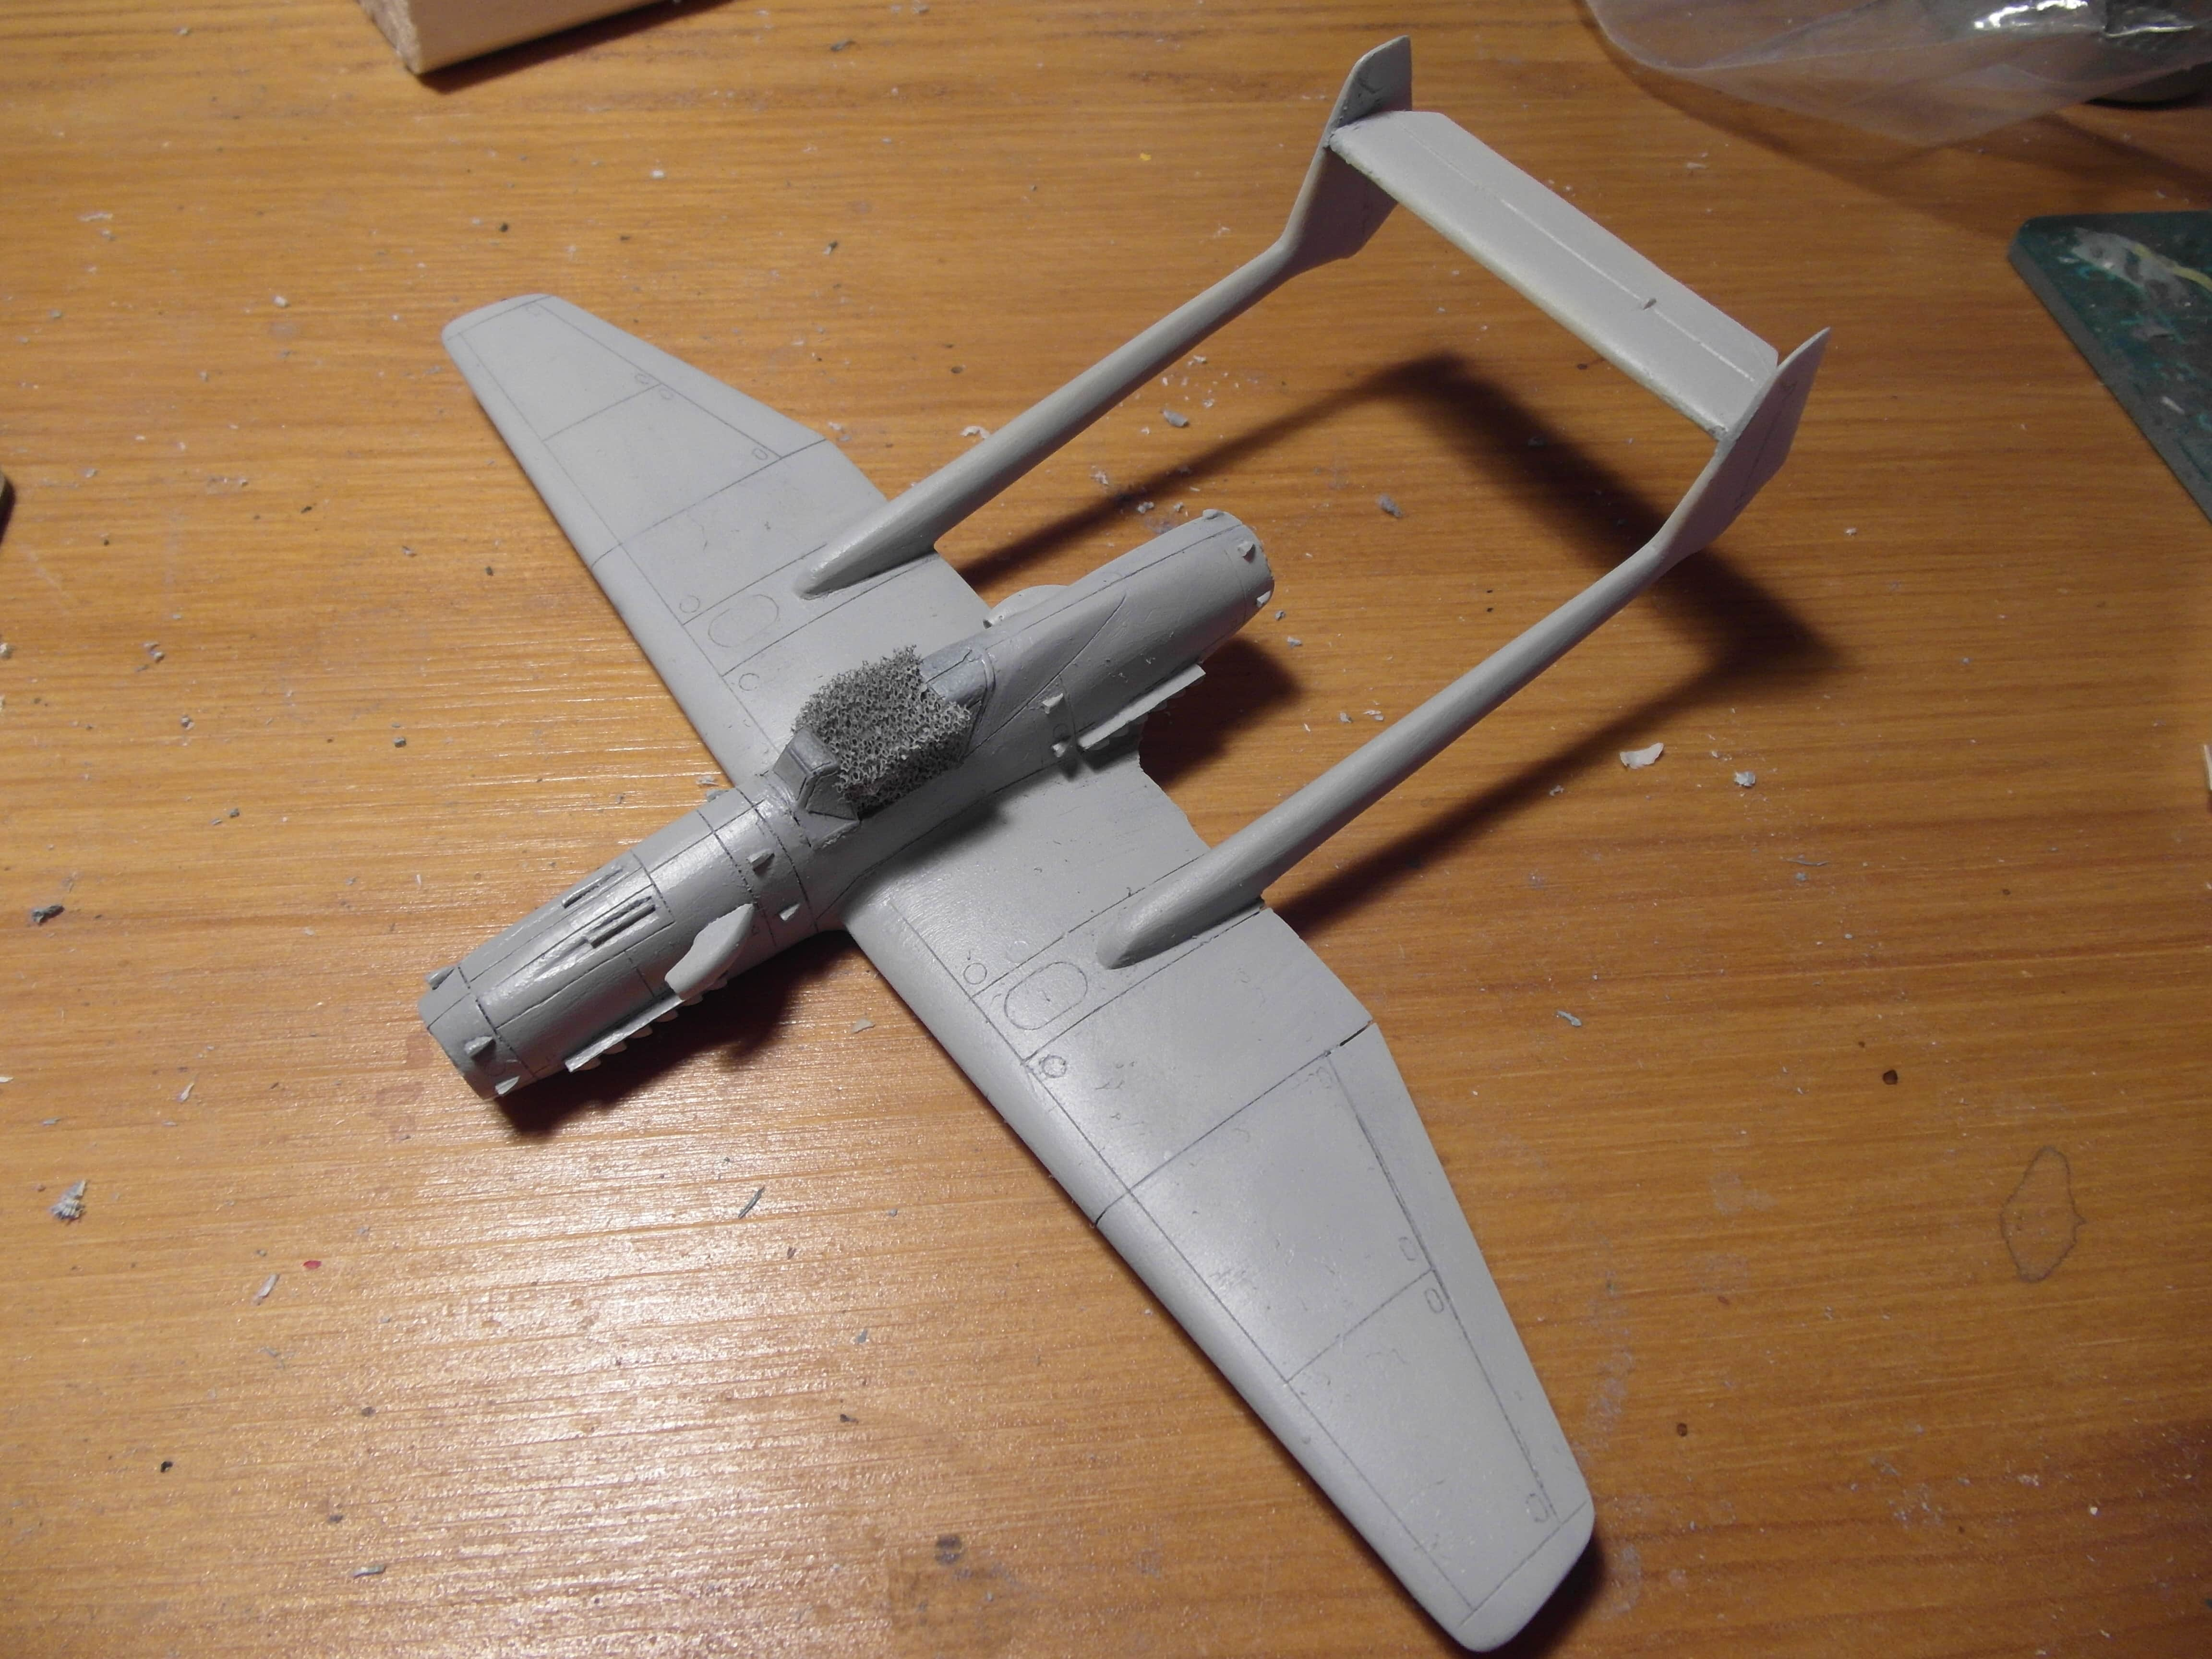
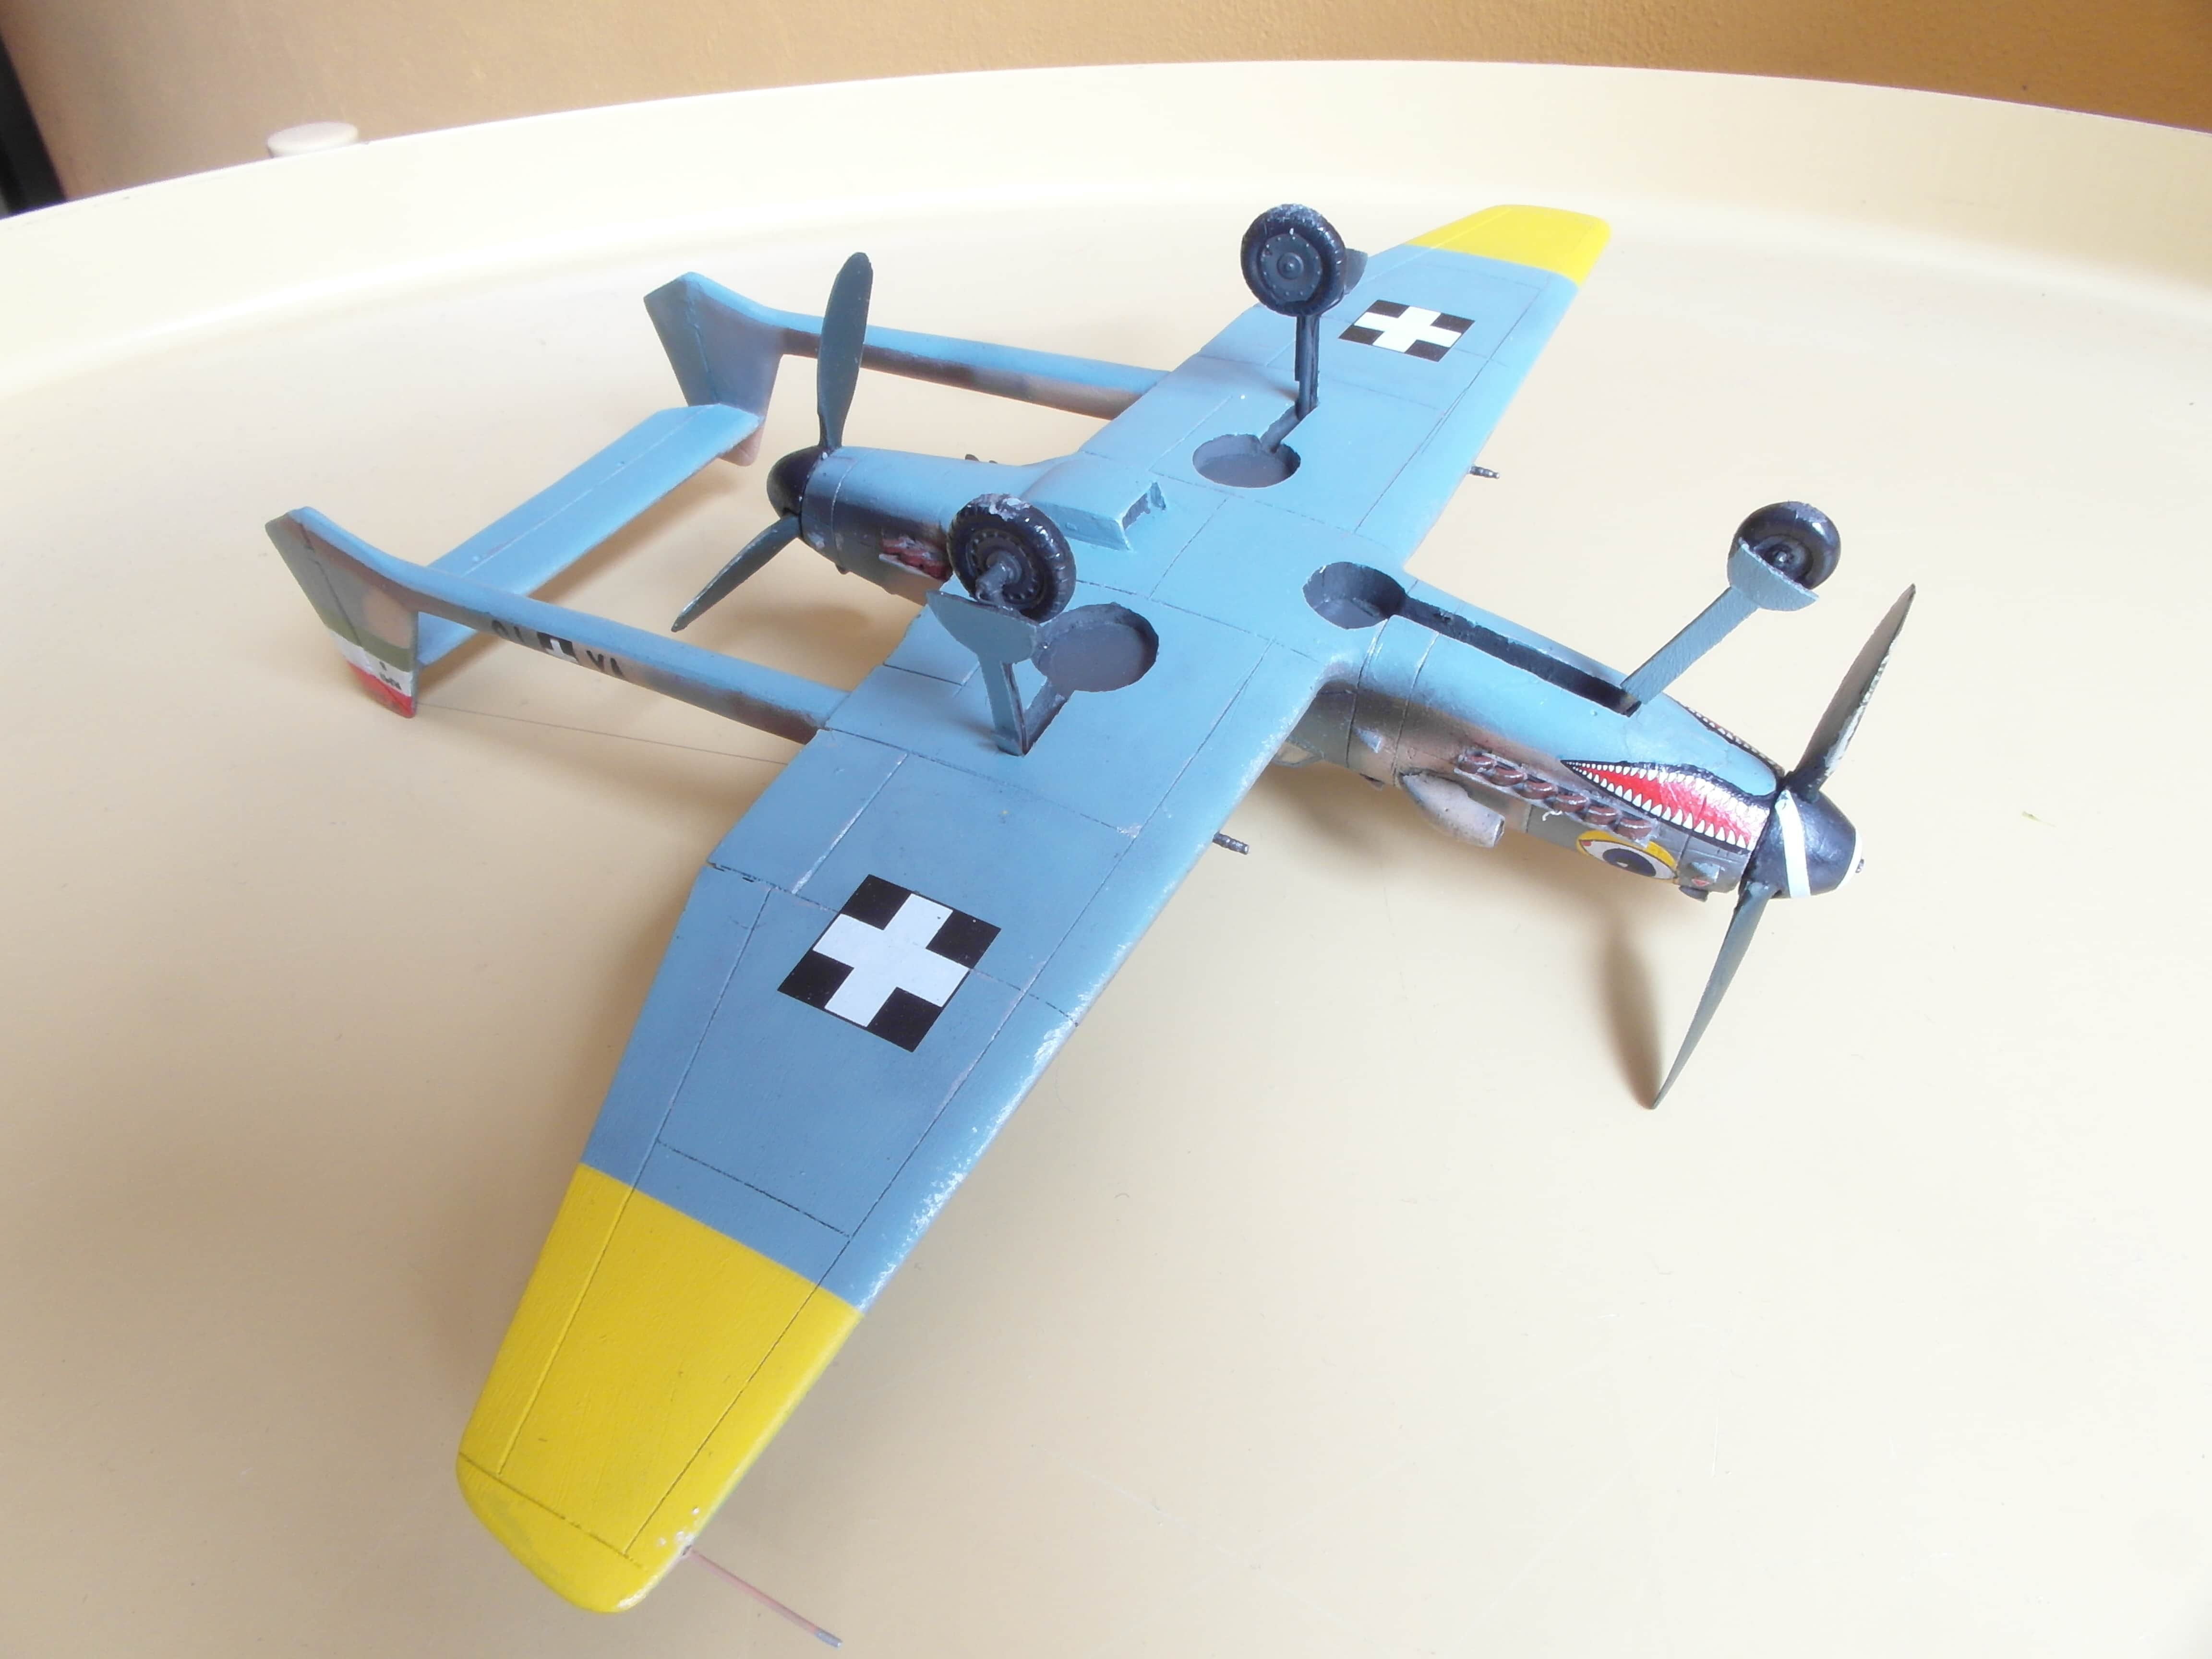
The first thing I noted when dry fitting, is that the fuselage is rather narrow. The canopy is too wide for it, the nose wheel bay is egg shaped and the front and end are oval shaped too, resulting in the propeller hubs sticking out to the side.
Fuselage 
injection moulded canopy 
vacuformed

Luckily this is easily fixed by adding a piece of 0.5 mm styrene sheet between the two resin fuselage halves. This will also give the resin cockpit some more breathing room.

Next is fitting the cockpit in the fuselage. The fuselage is wide enough now, but the cockpit needs to be placed deeper and more to the front, so I cut out a bunch of extra resin to make room.
After the cockpit was glued in place, some small modifications were made to accommodate for the instrument panel and the front window, but generally everting went together without a hitch.


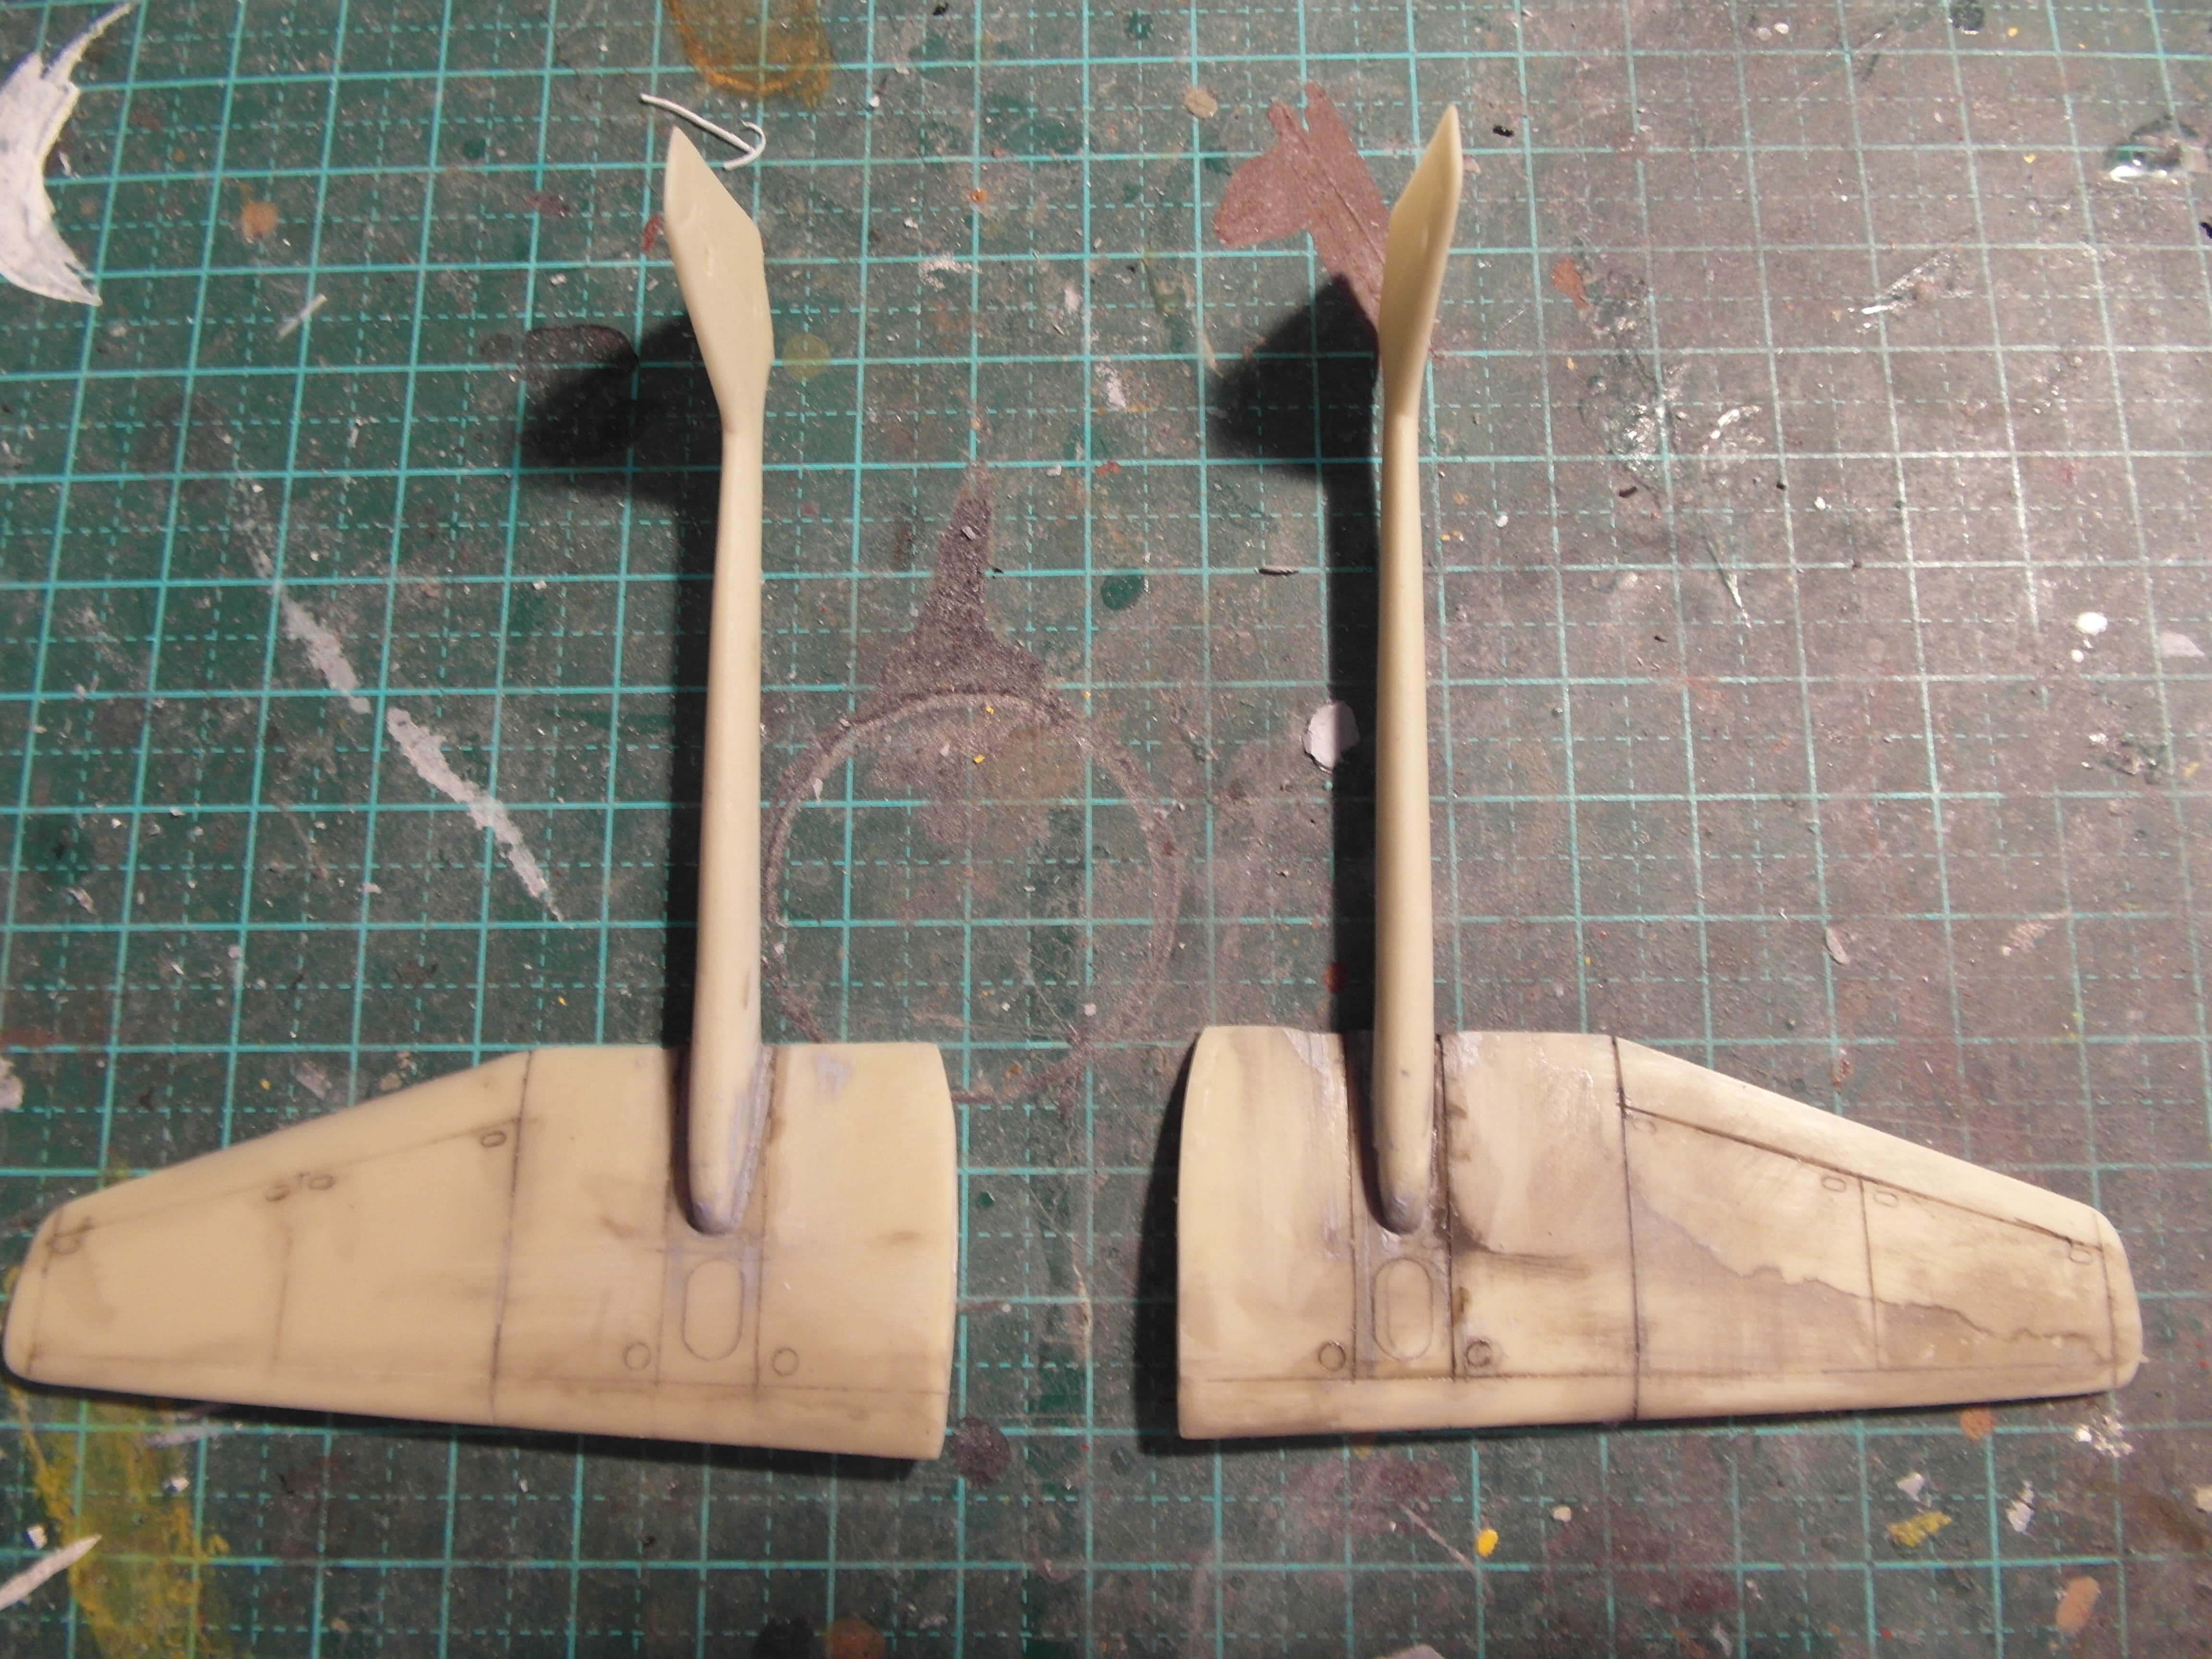
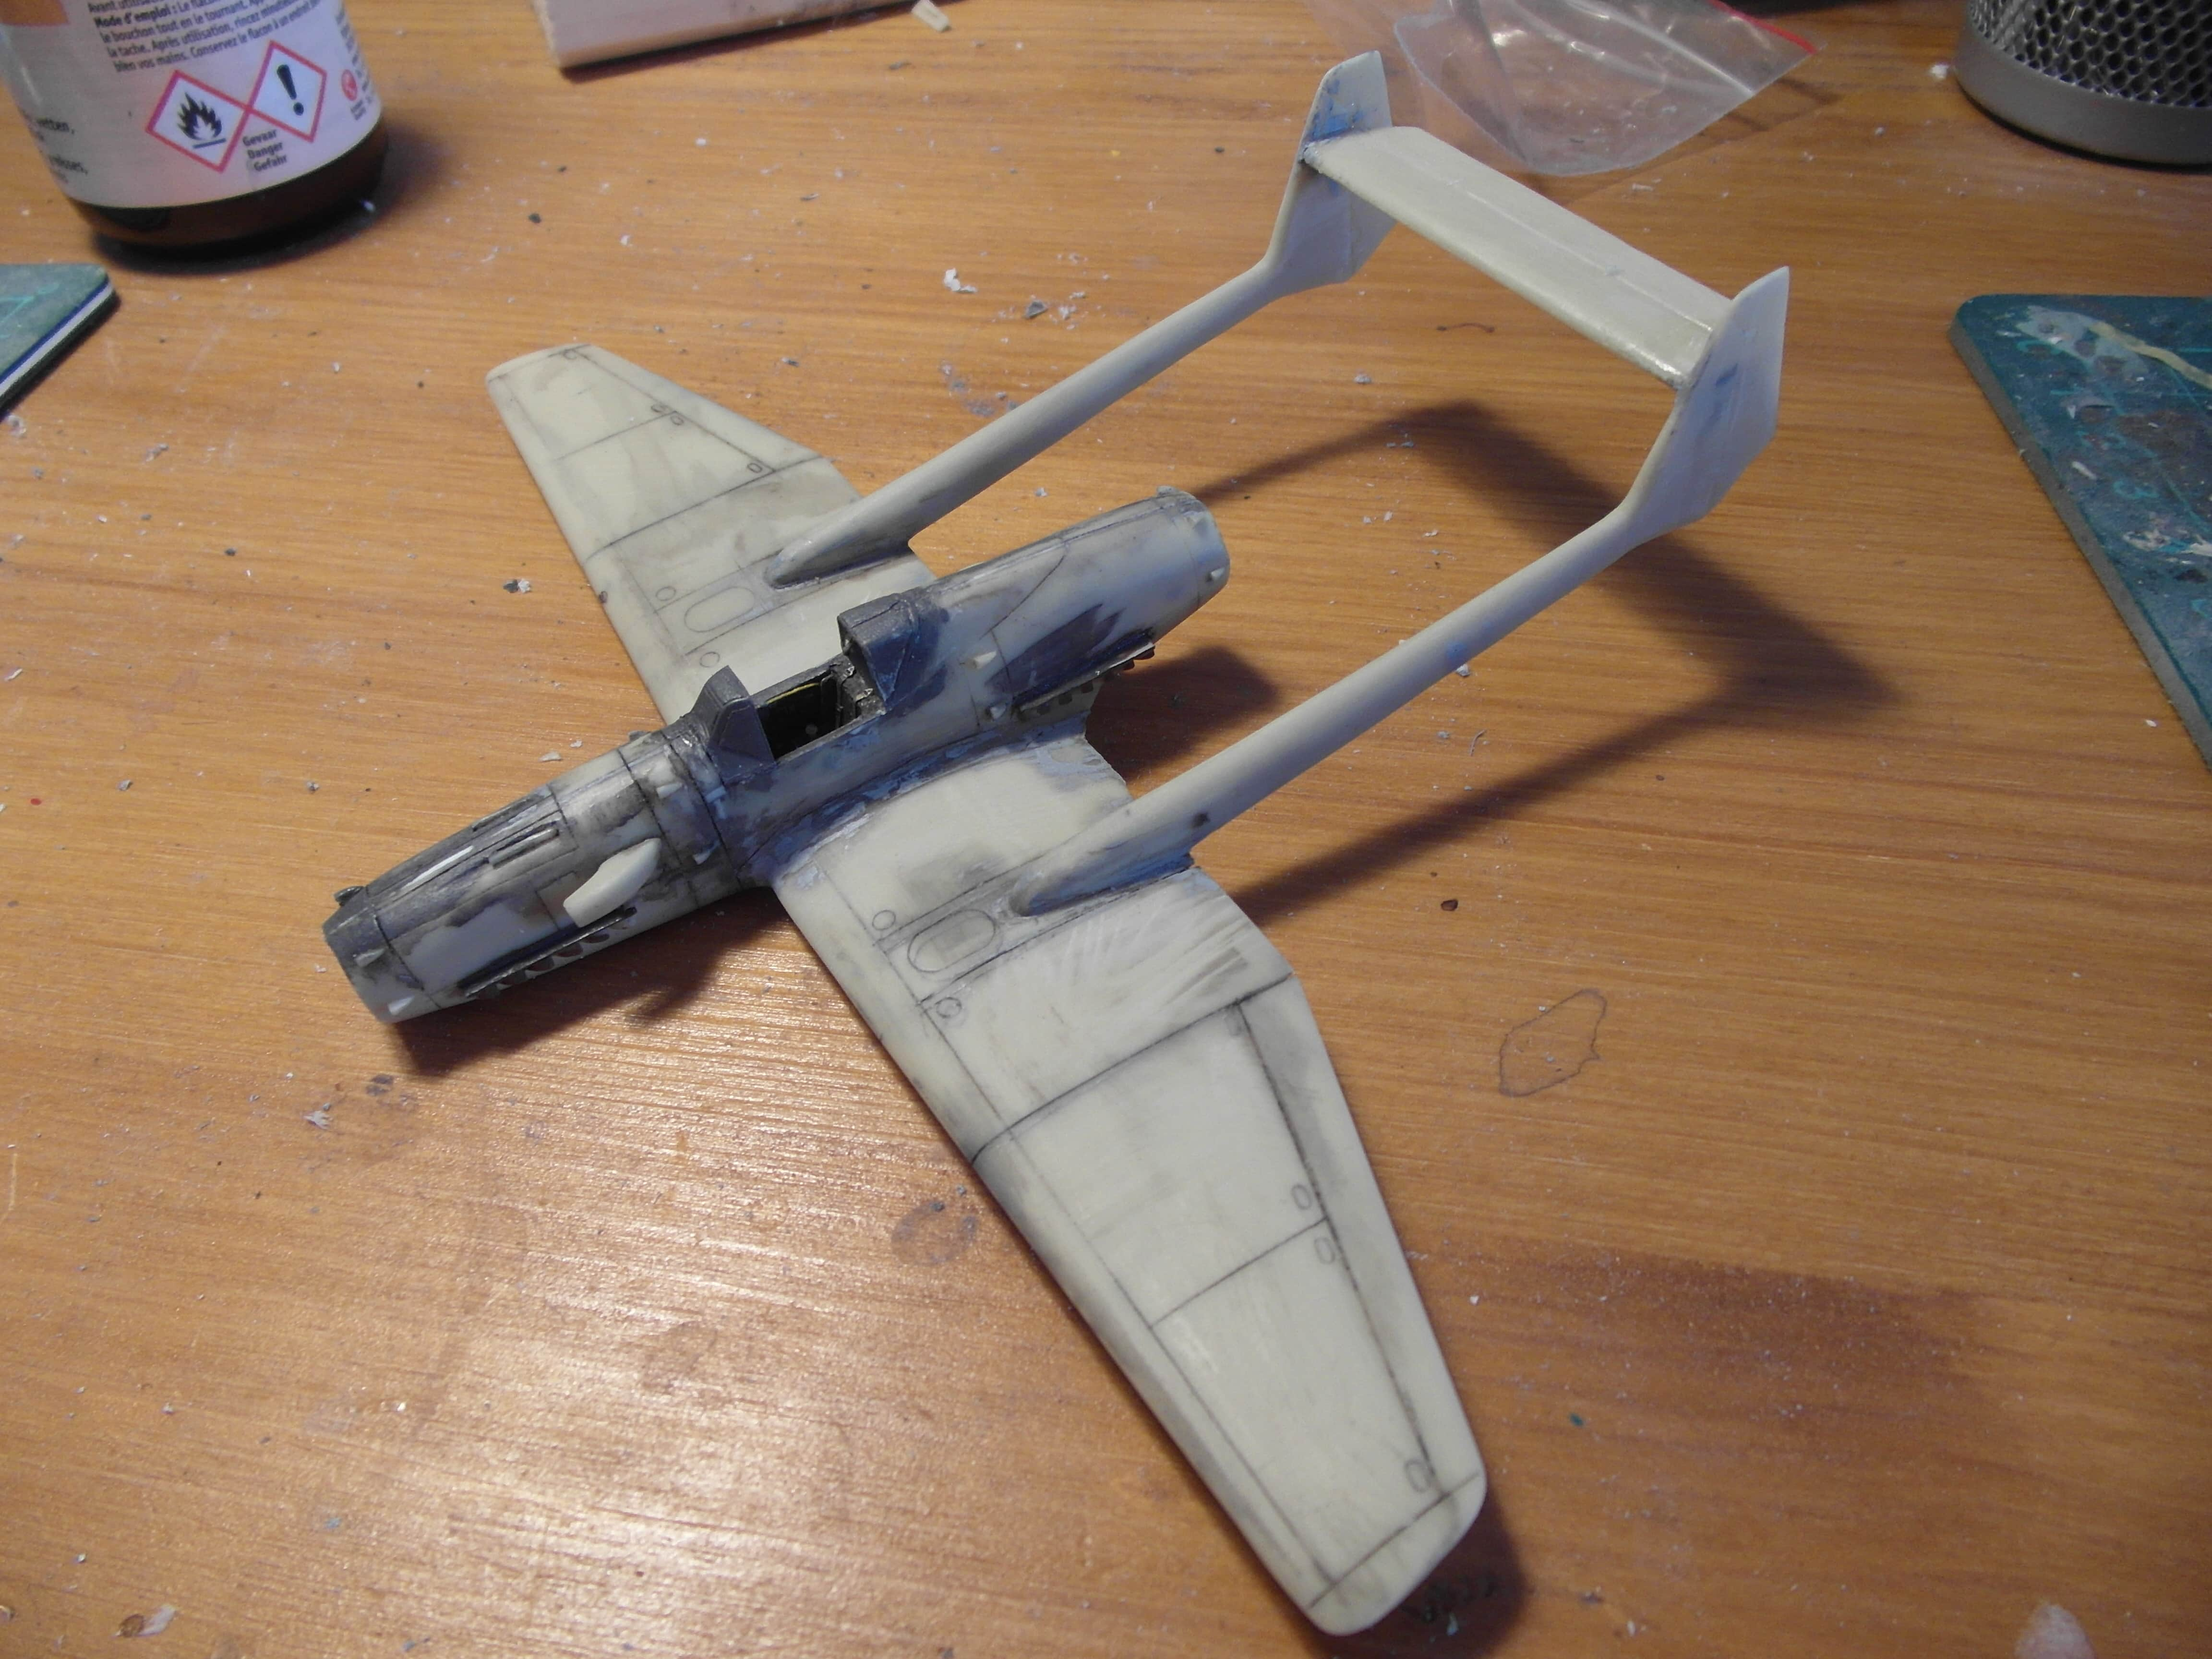
The tail booms were a bit of a pain, as the connecting surface didn’t exactly align properly with the wings. But with some careful placement and a lot of putty the tails were in the correct position. I also scribed some extra panel lines and maintenance hatches into the wings as they were rather bare.
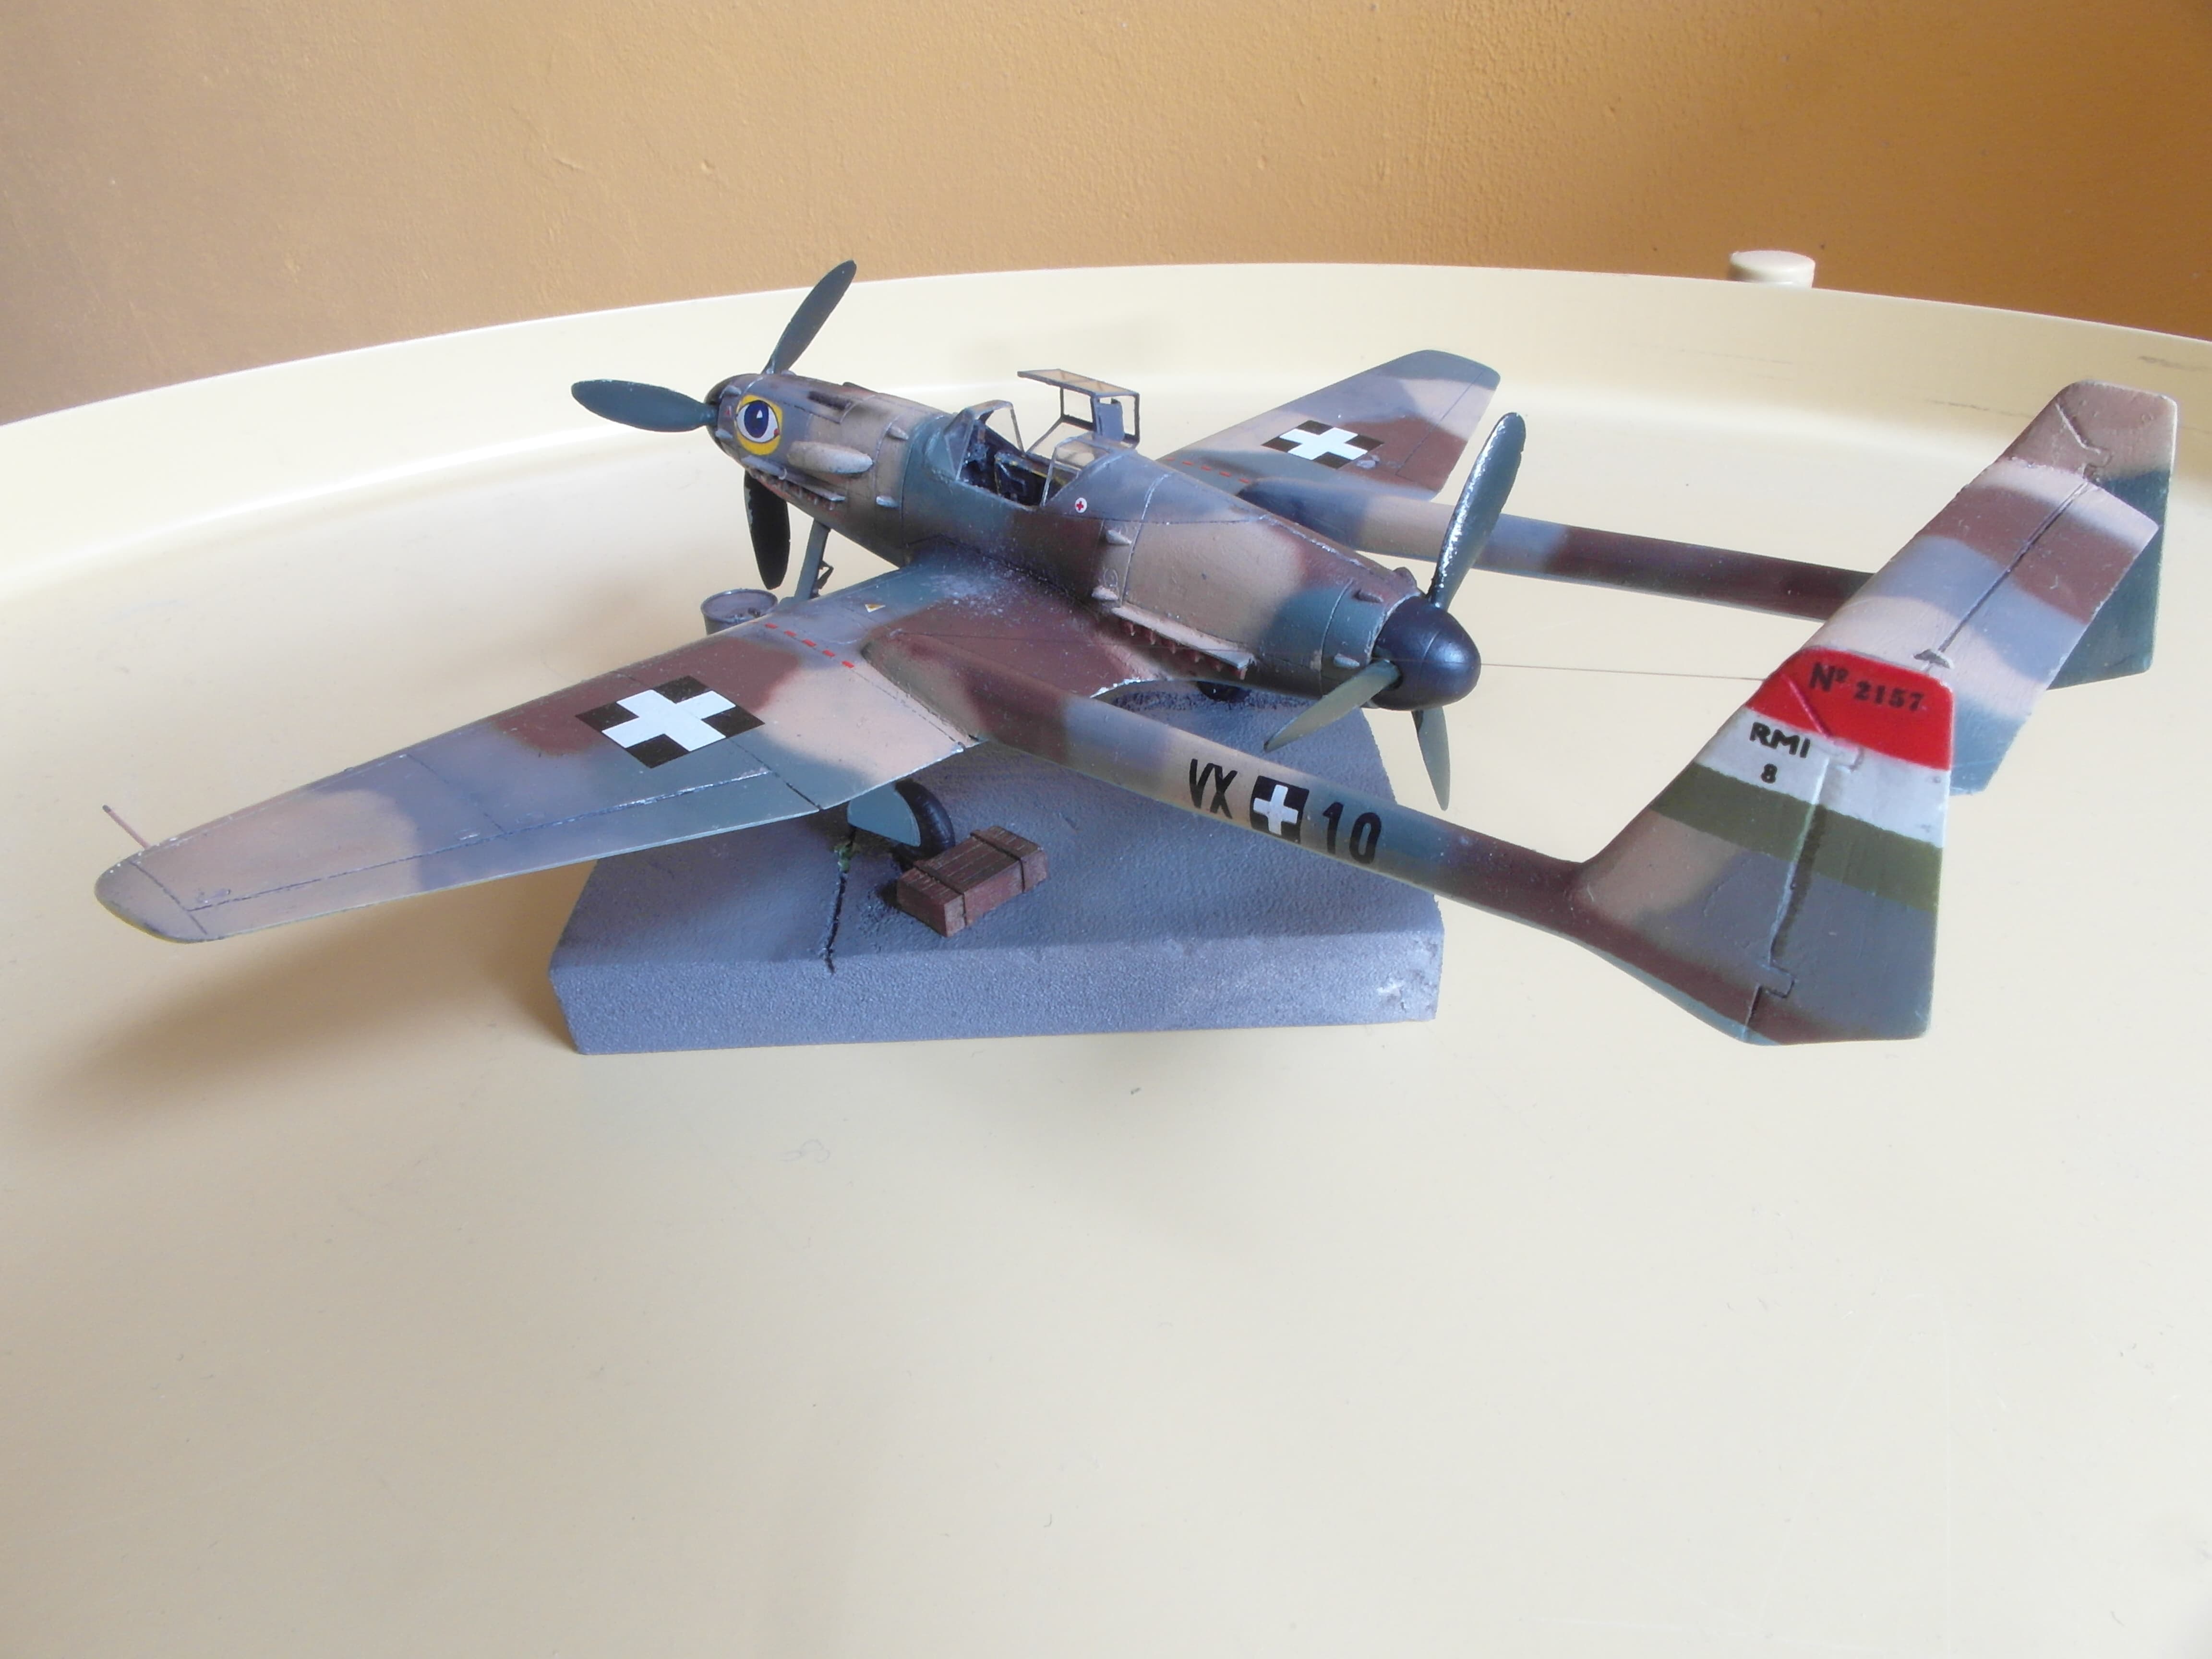
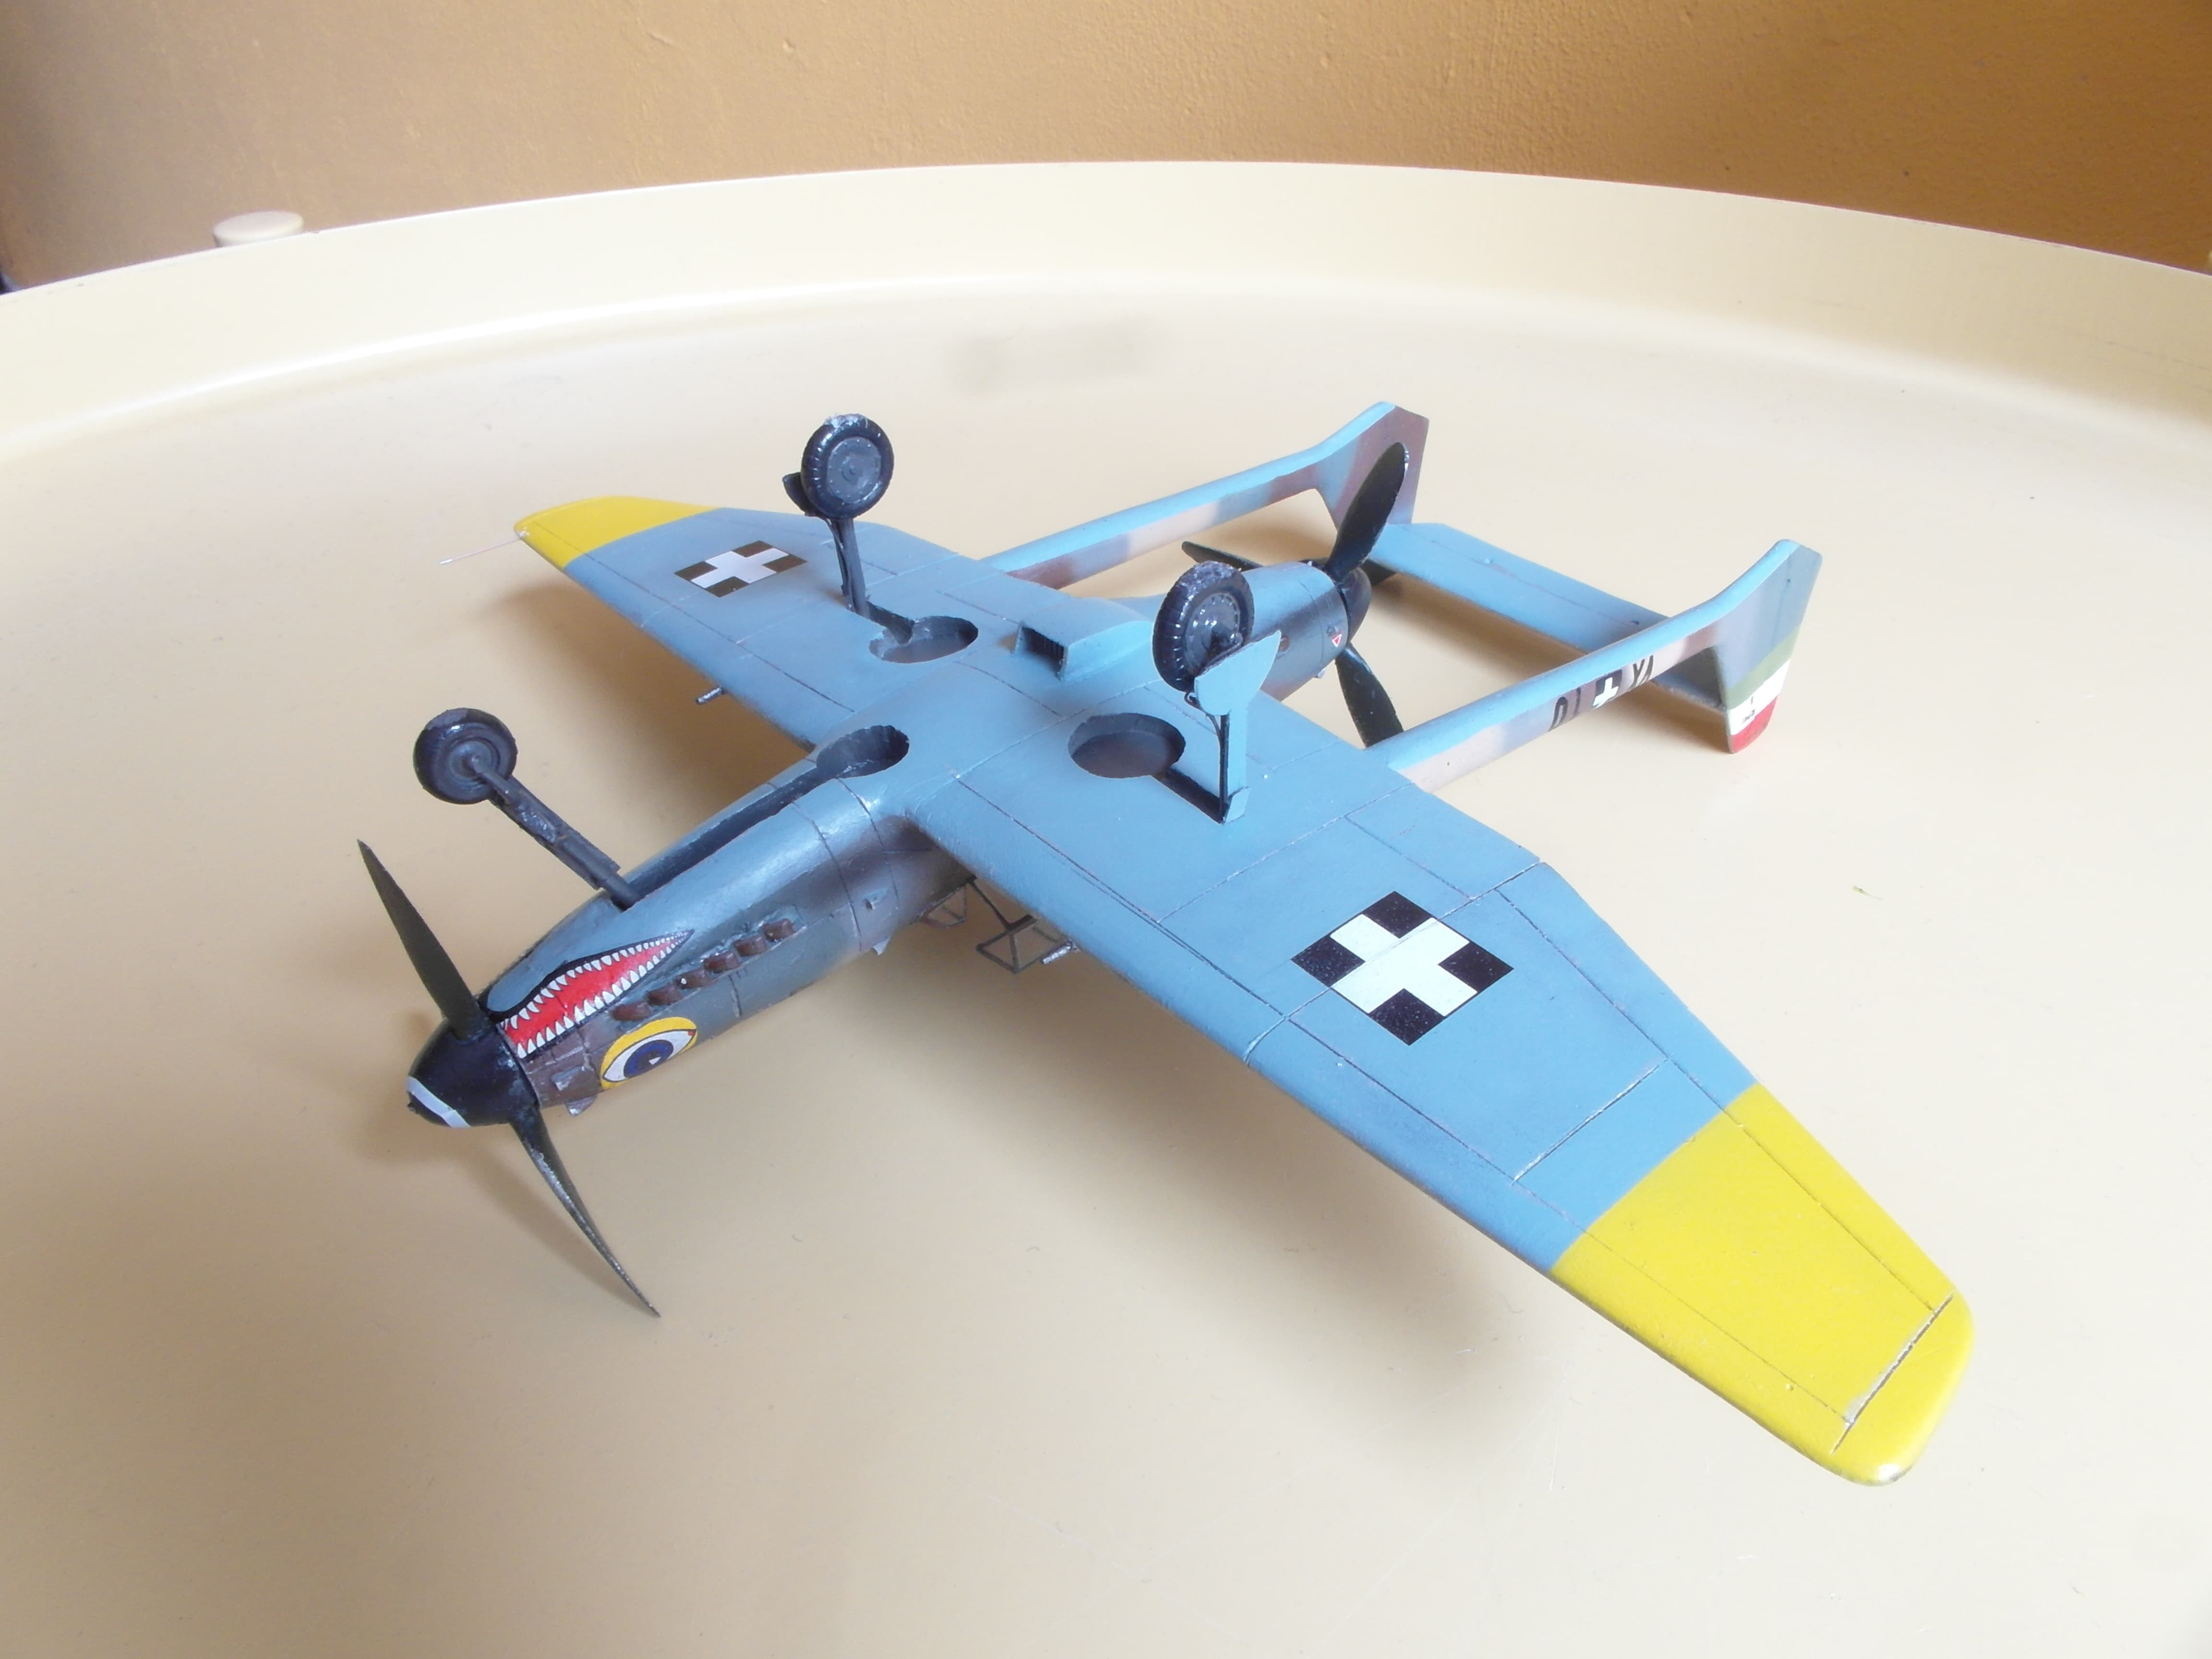
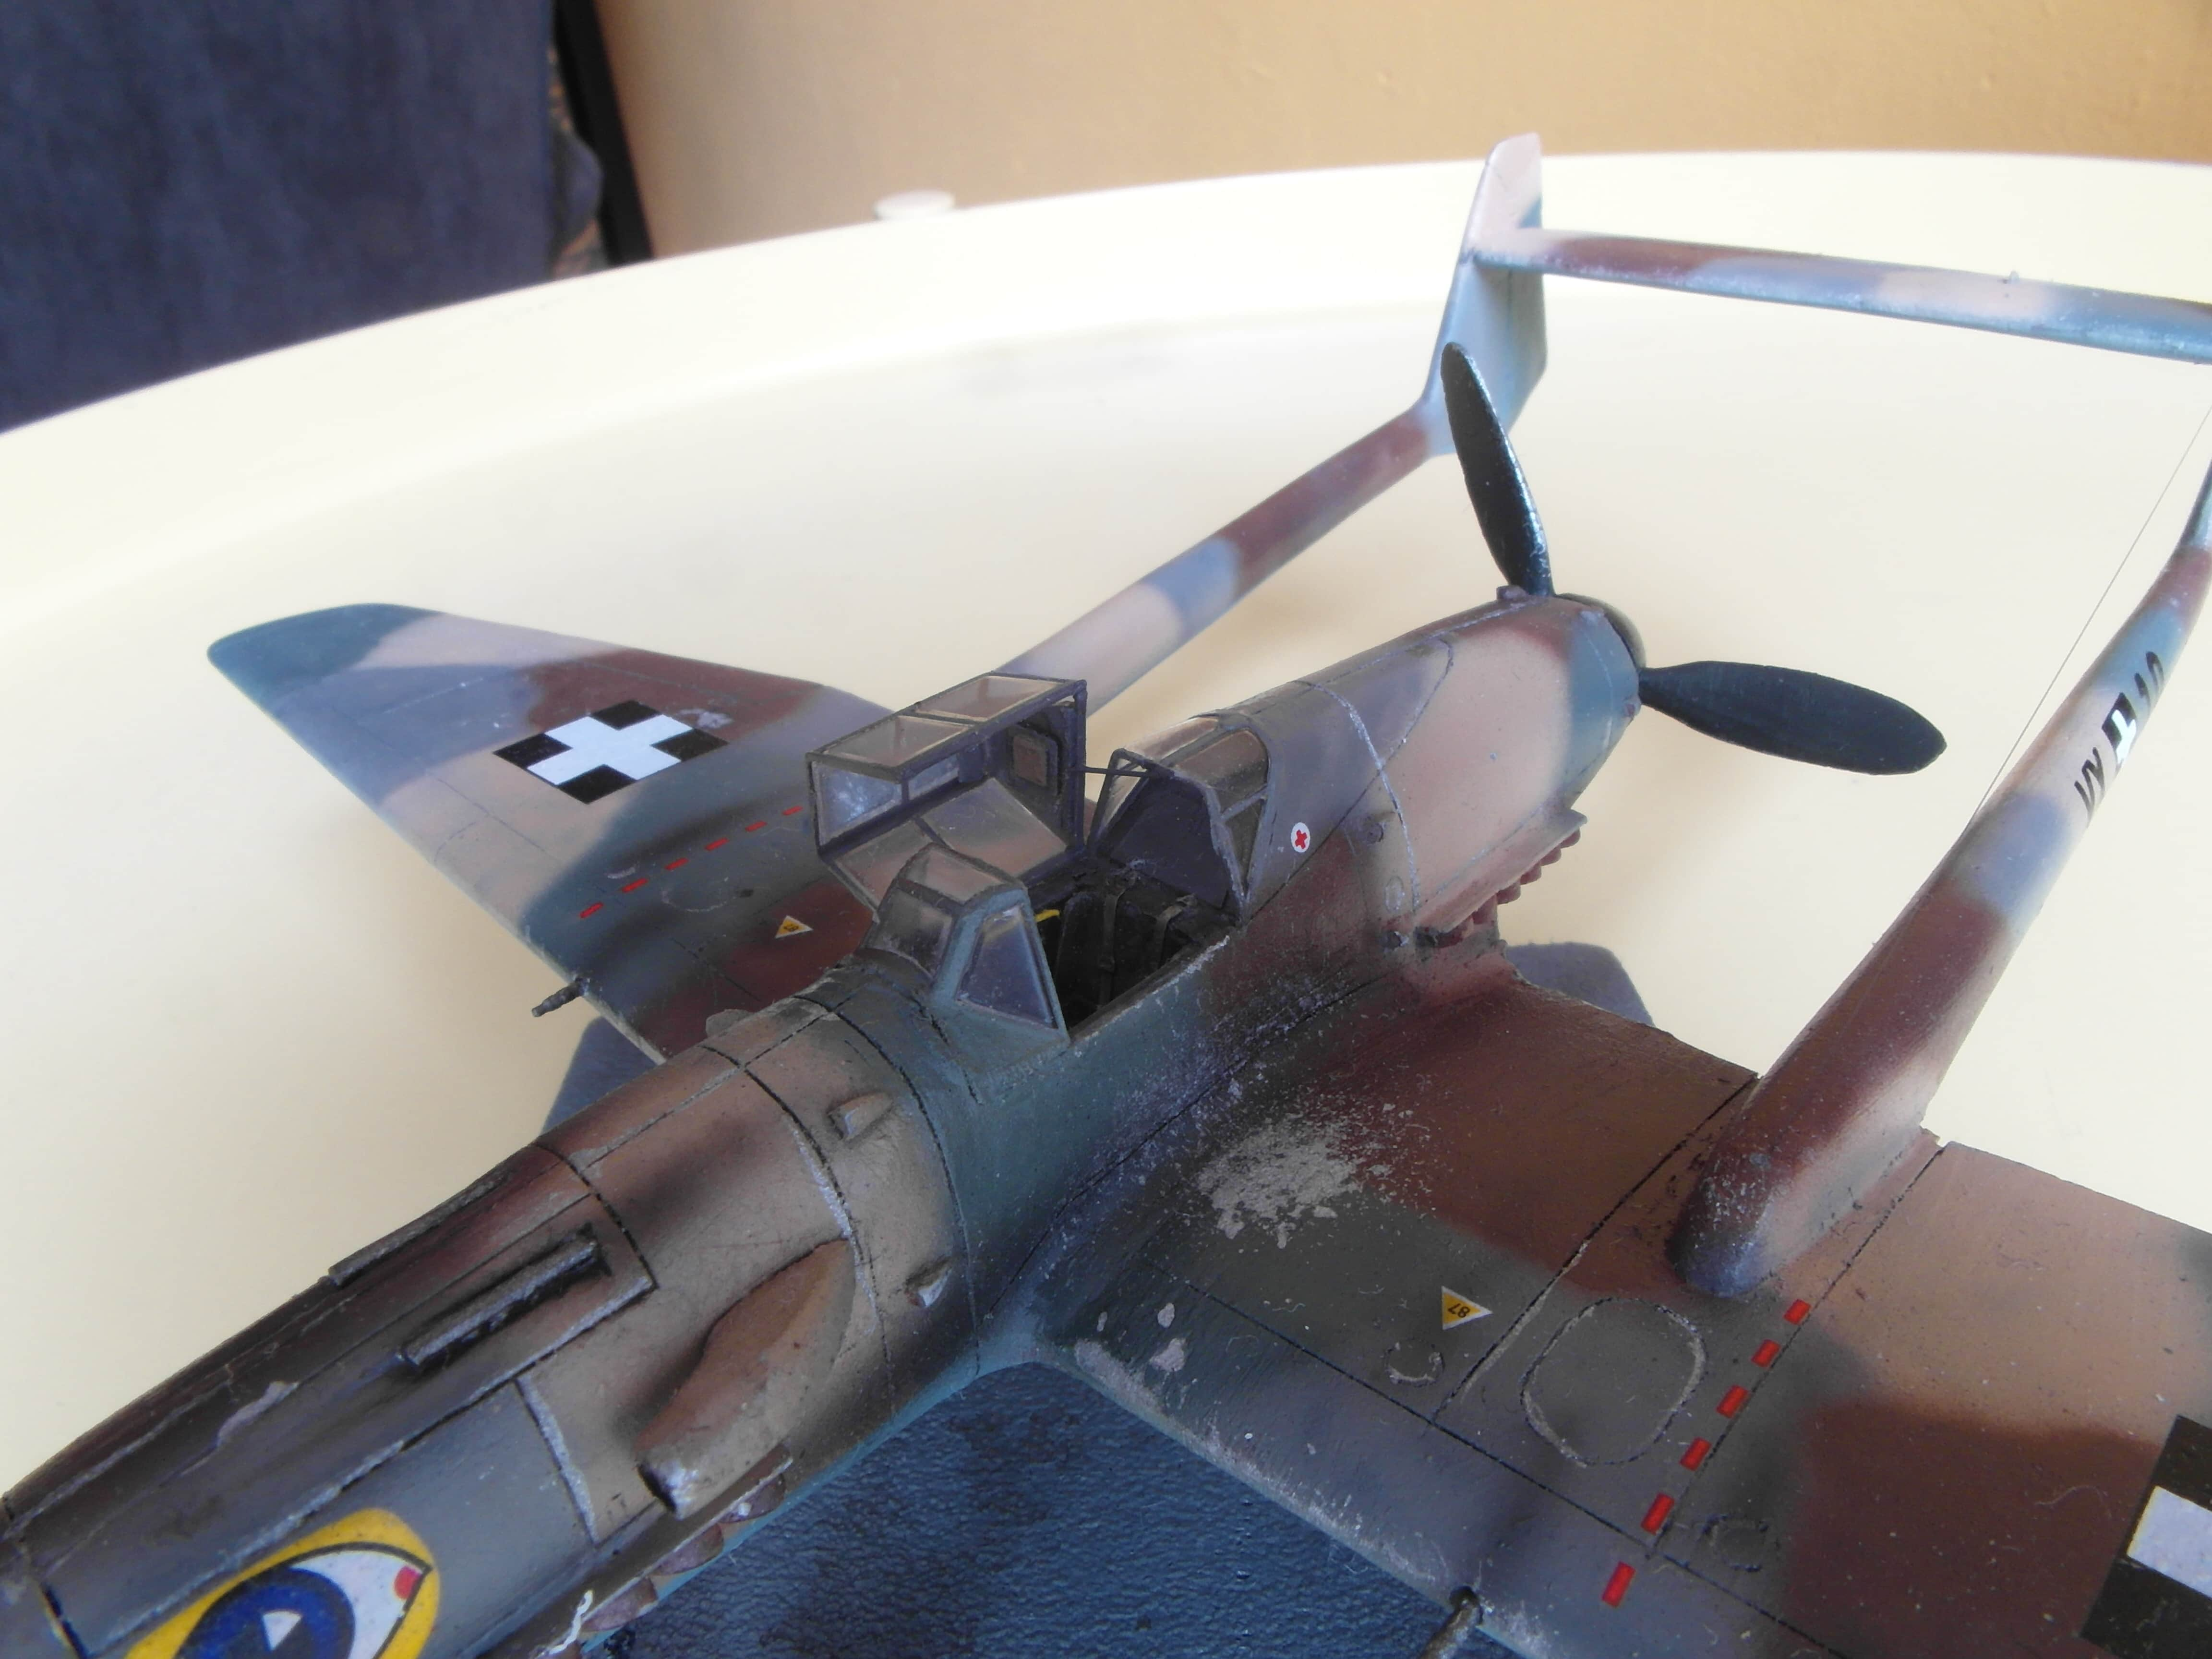
Camouflage
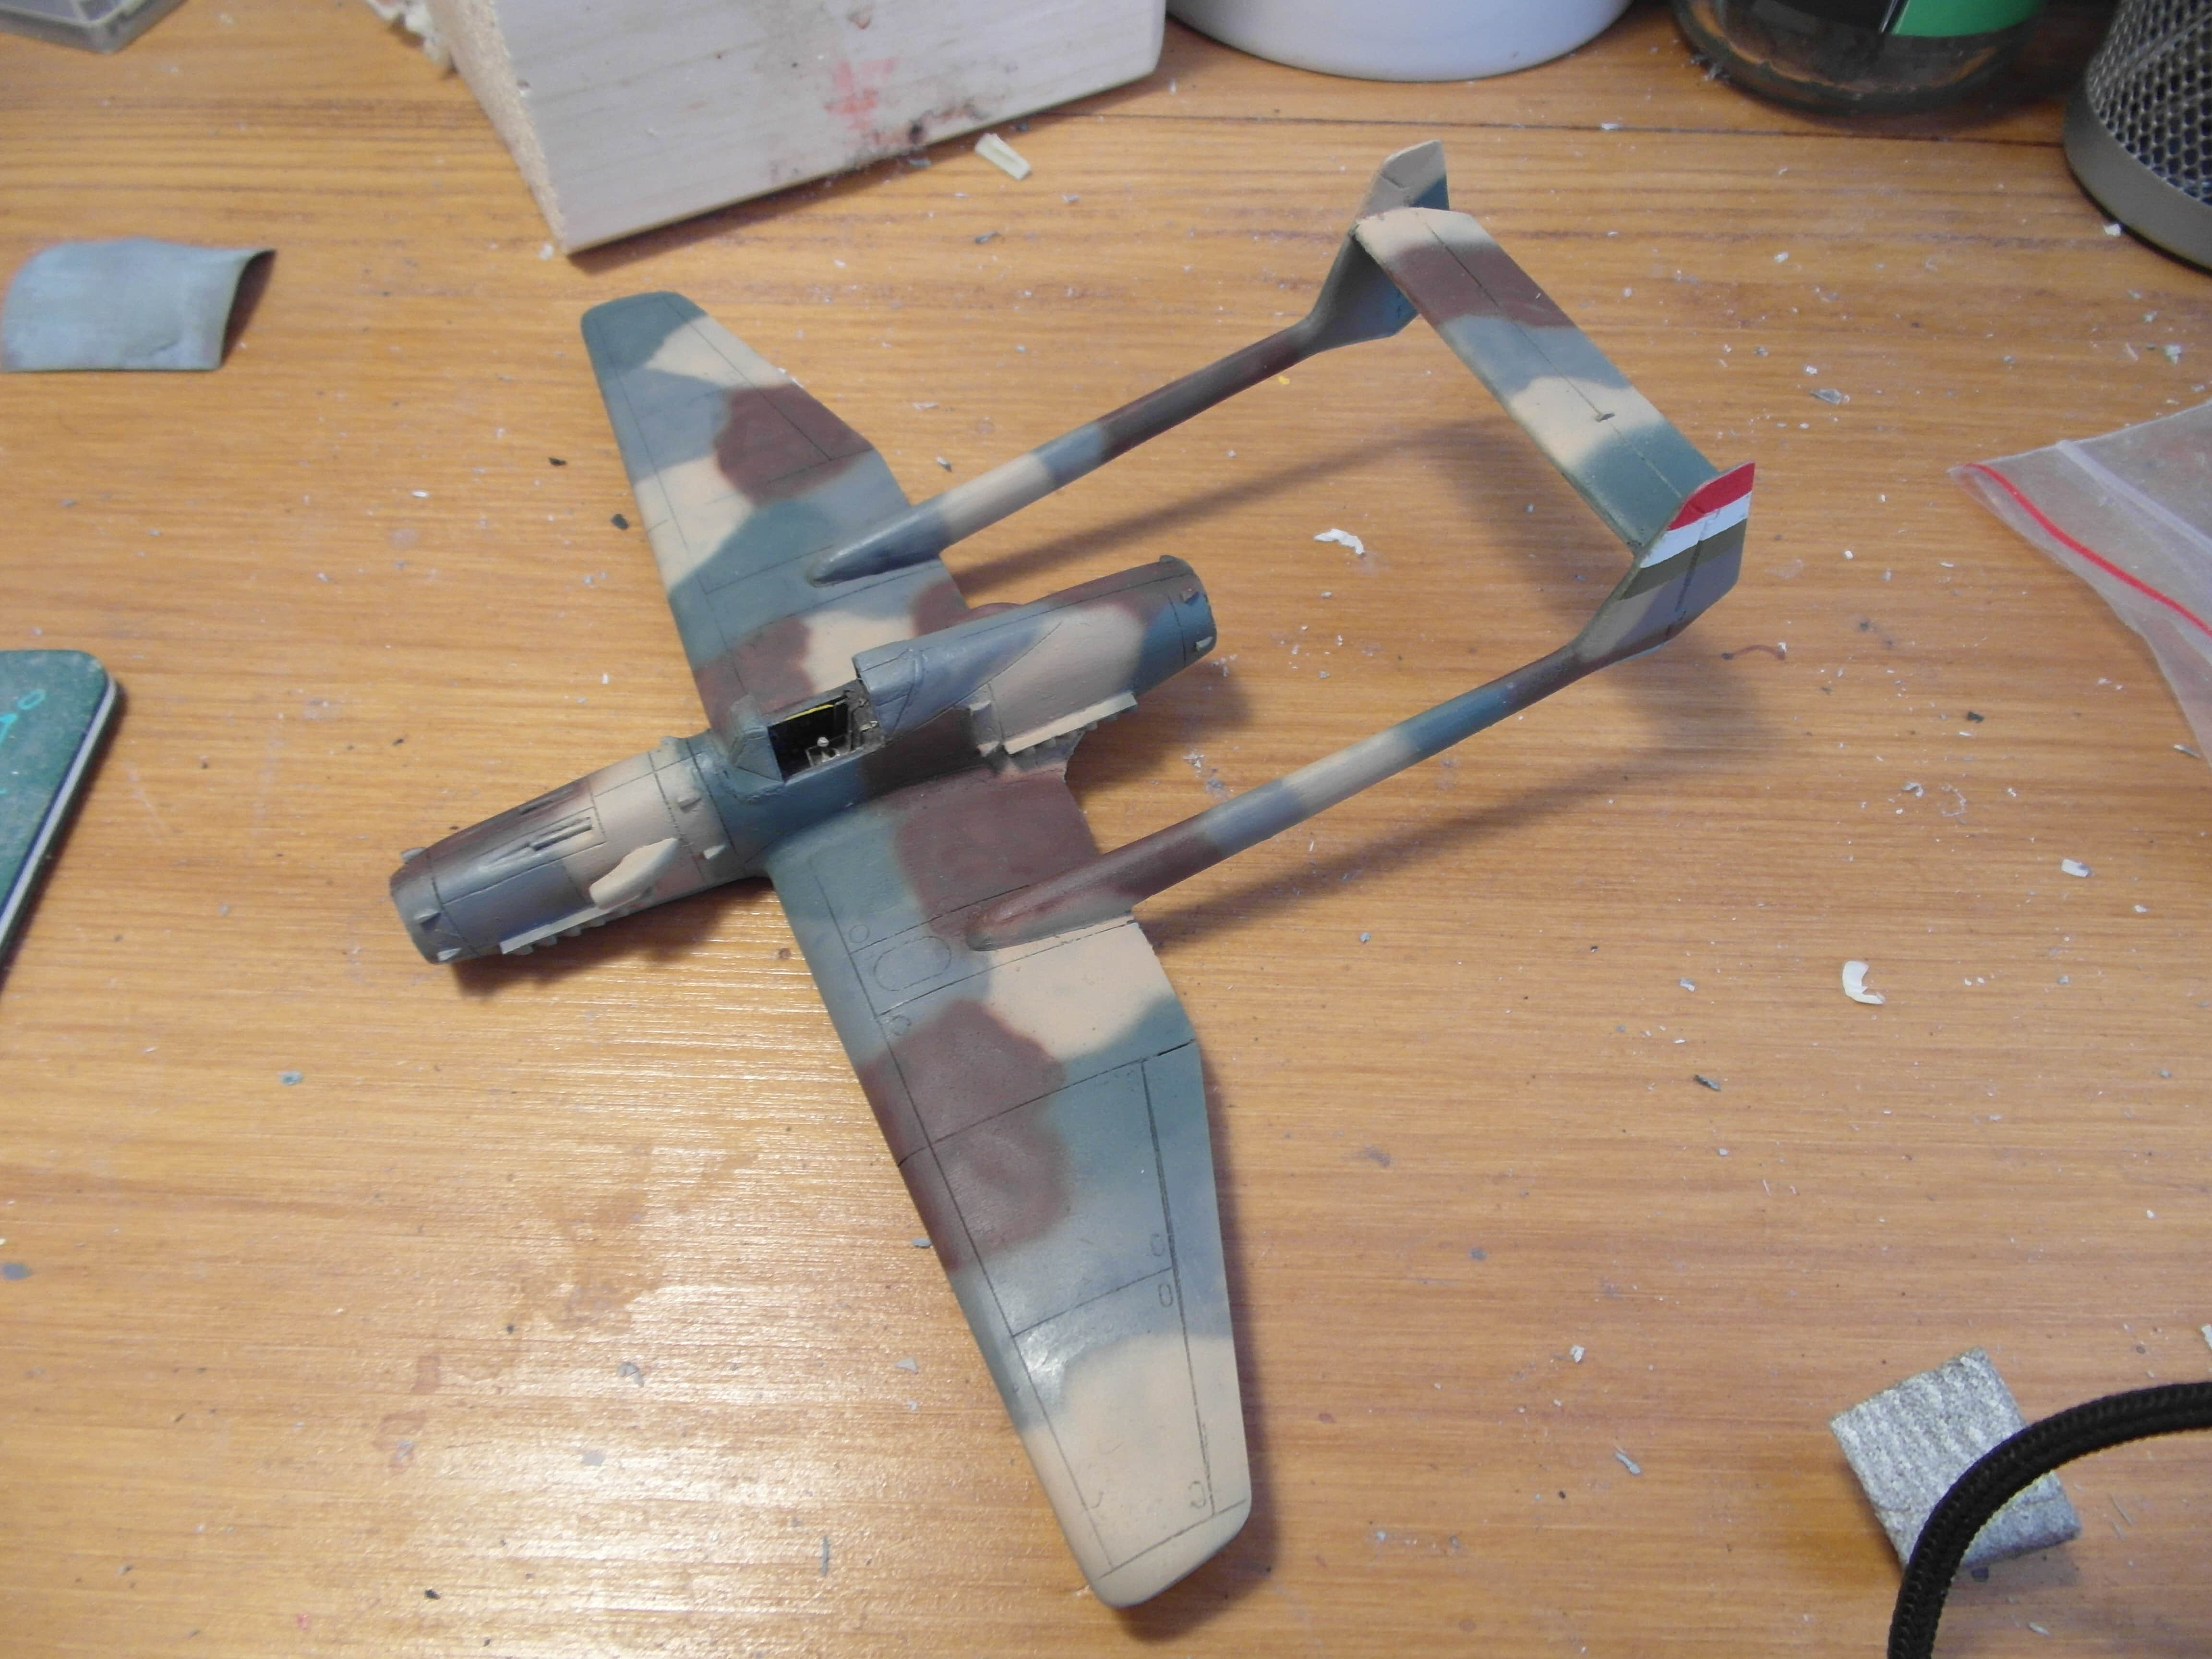
With the aircraft assembled it is time for painting. I wanted a more unique camouflage scheme to set it apart from German aircraft. While research on Hungarian paints is scarce, there are some nice sources out there, including an experimental camouflage consisting of a sandy brown, a dark brown and dark green. Combined with the regular Hungarian scheme, were the sandy brown is replaced by light grey, a four colour camouflage apparently at least existed on a Focke Wulf FW-56.
I thought it was kind of neat so I choose to recreate that, with a light blue underside. For the exact shades, my sources are here, on a separate page about Hungarian paints.
I choose to use Hataka paints, as they had some paints in the exact shades I needed. I did have some bad experience with these paints, but let’s try again.
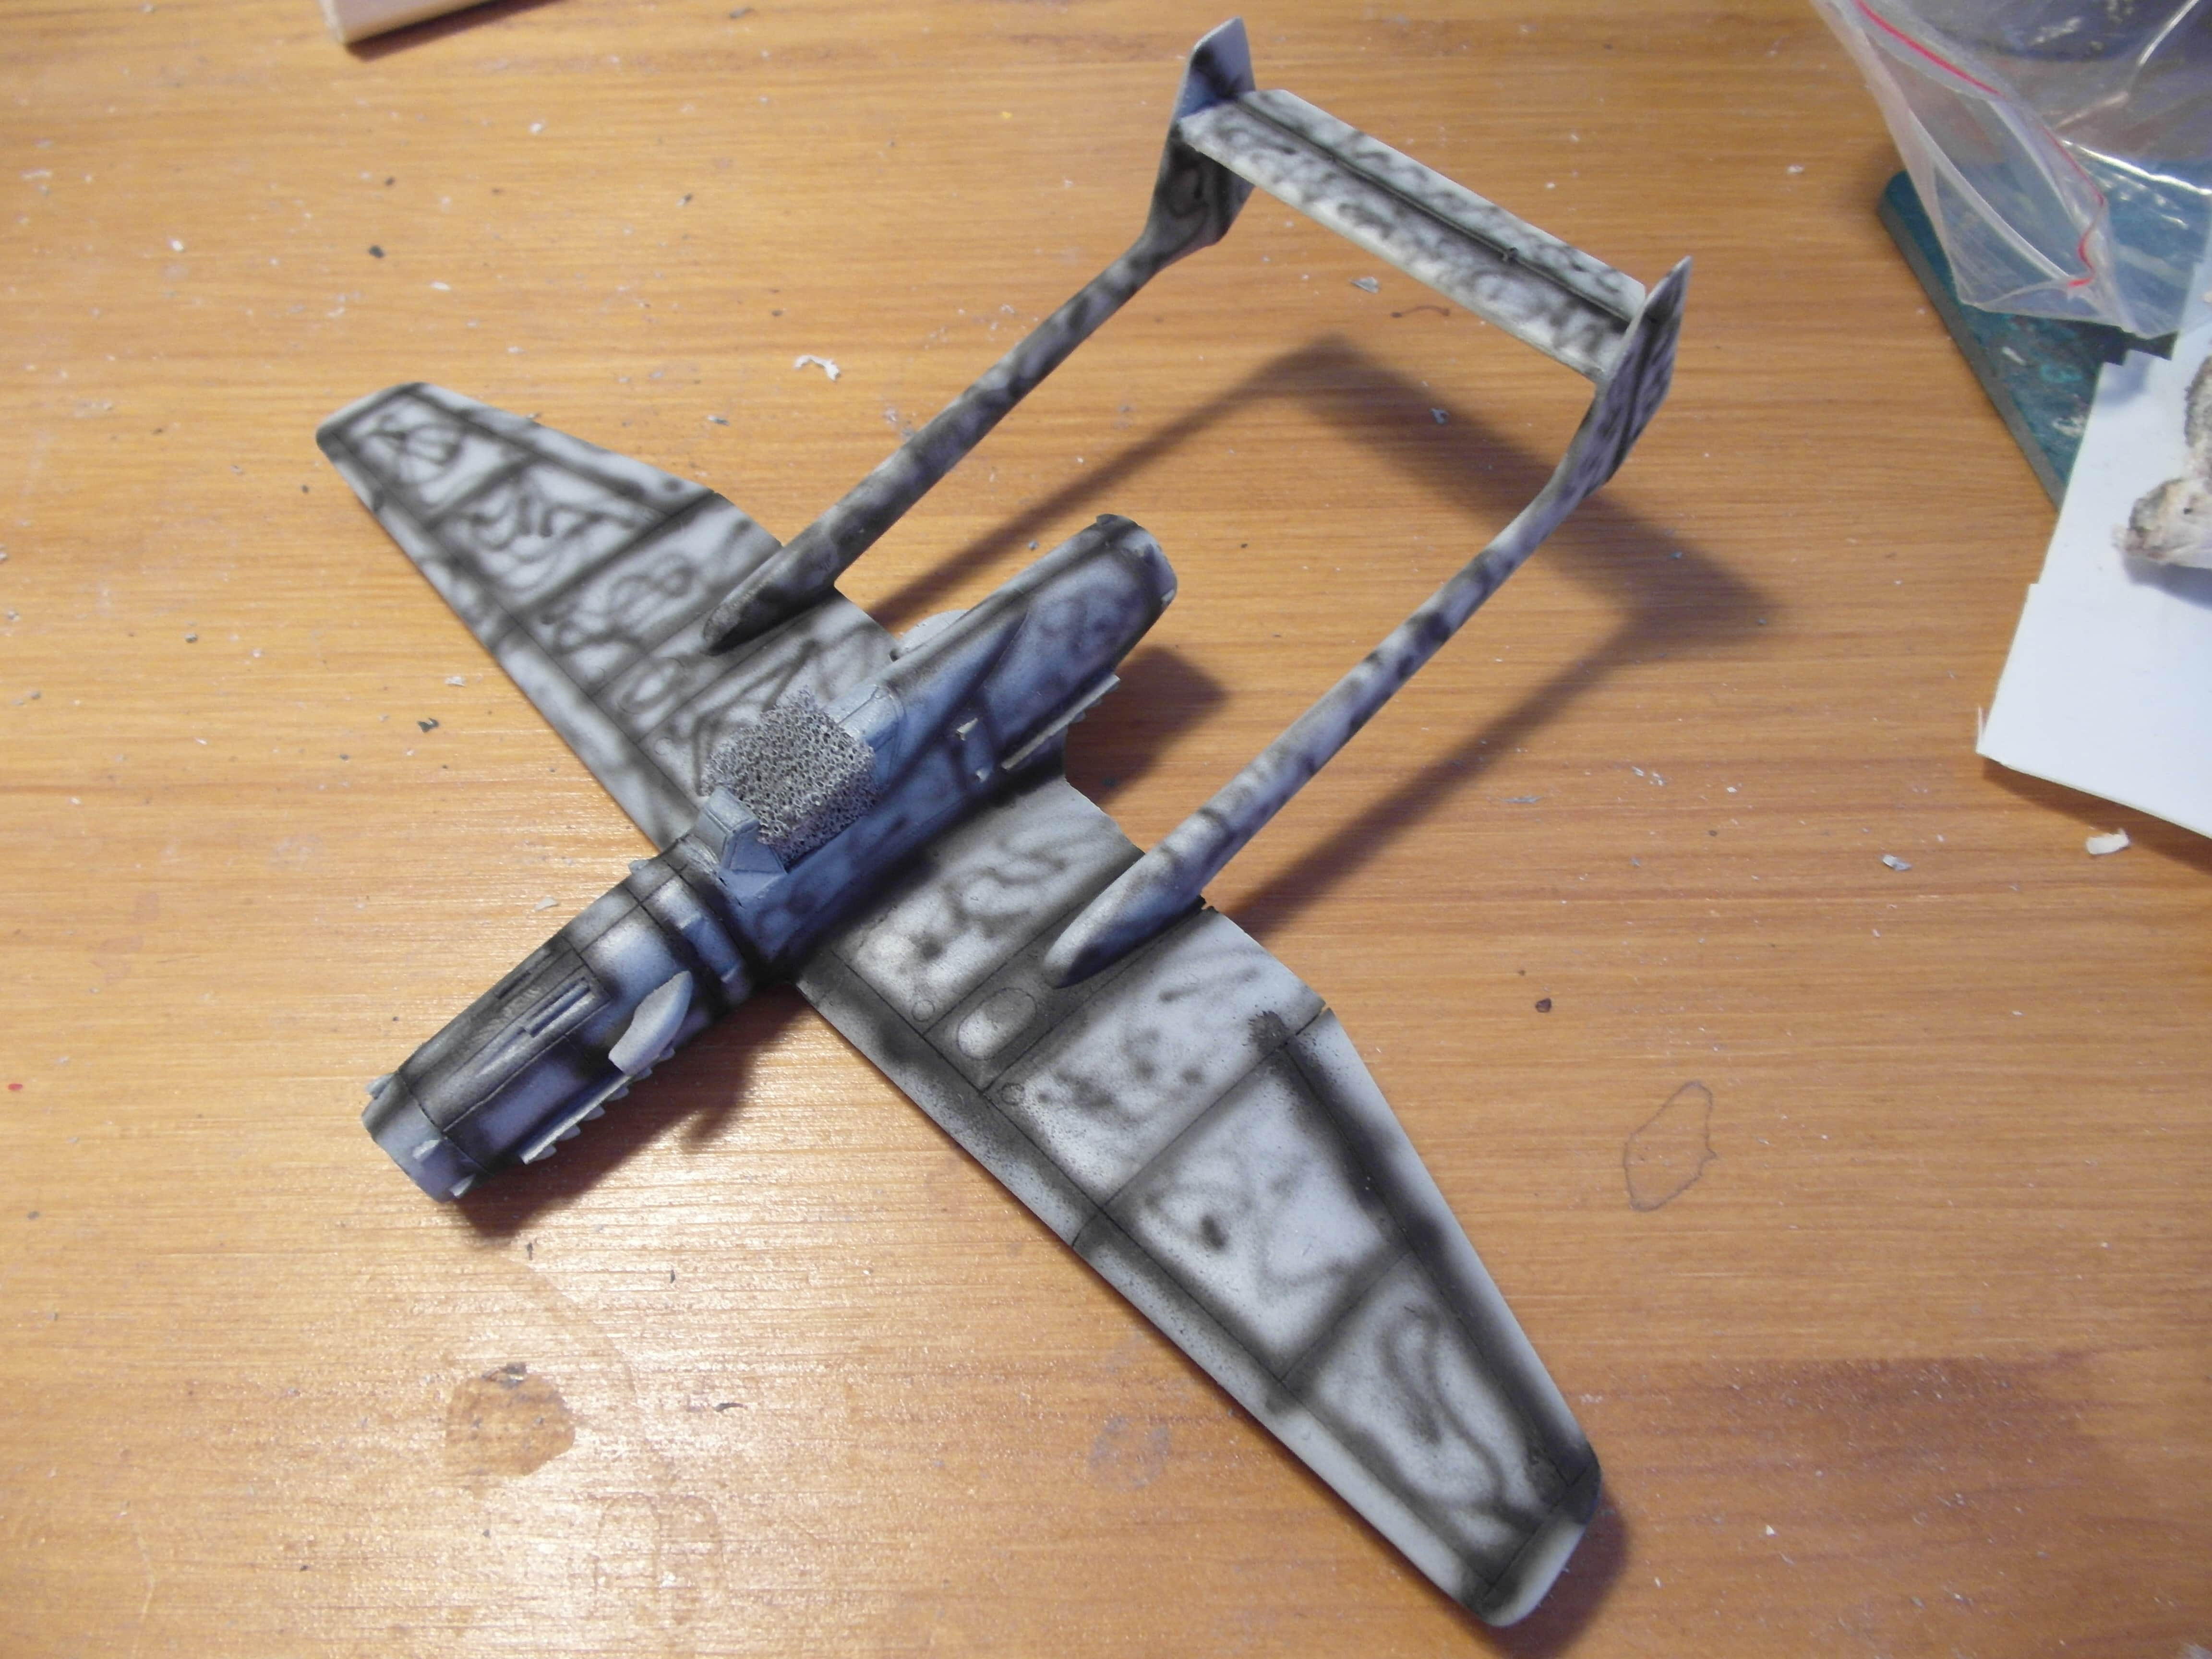
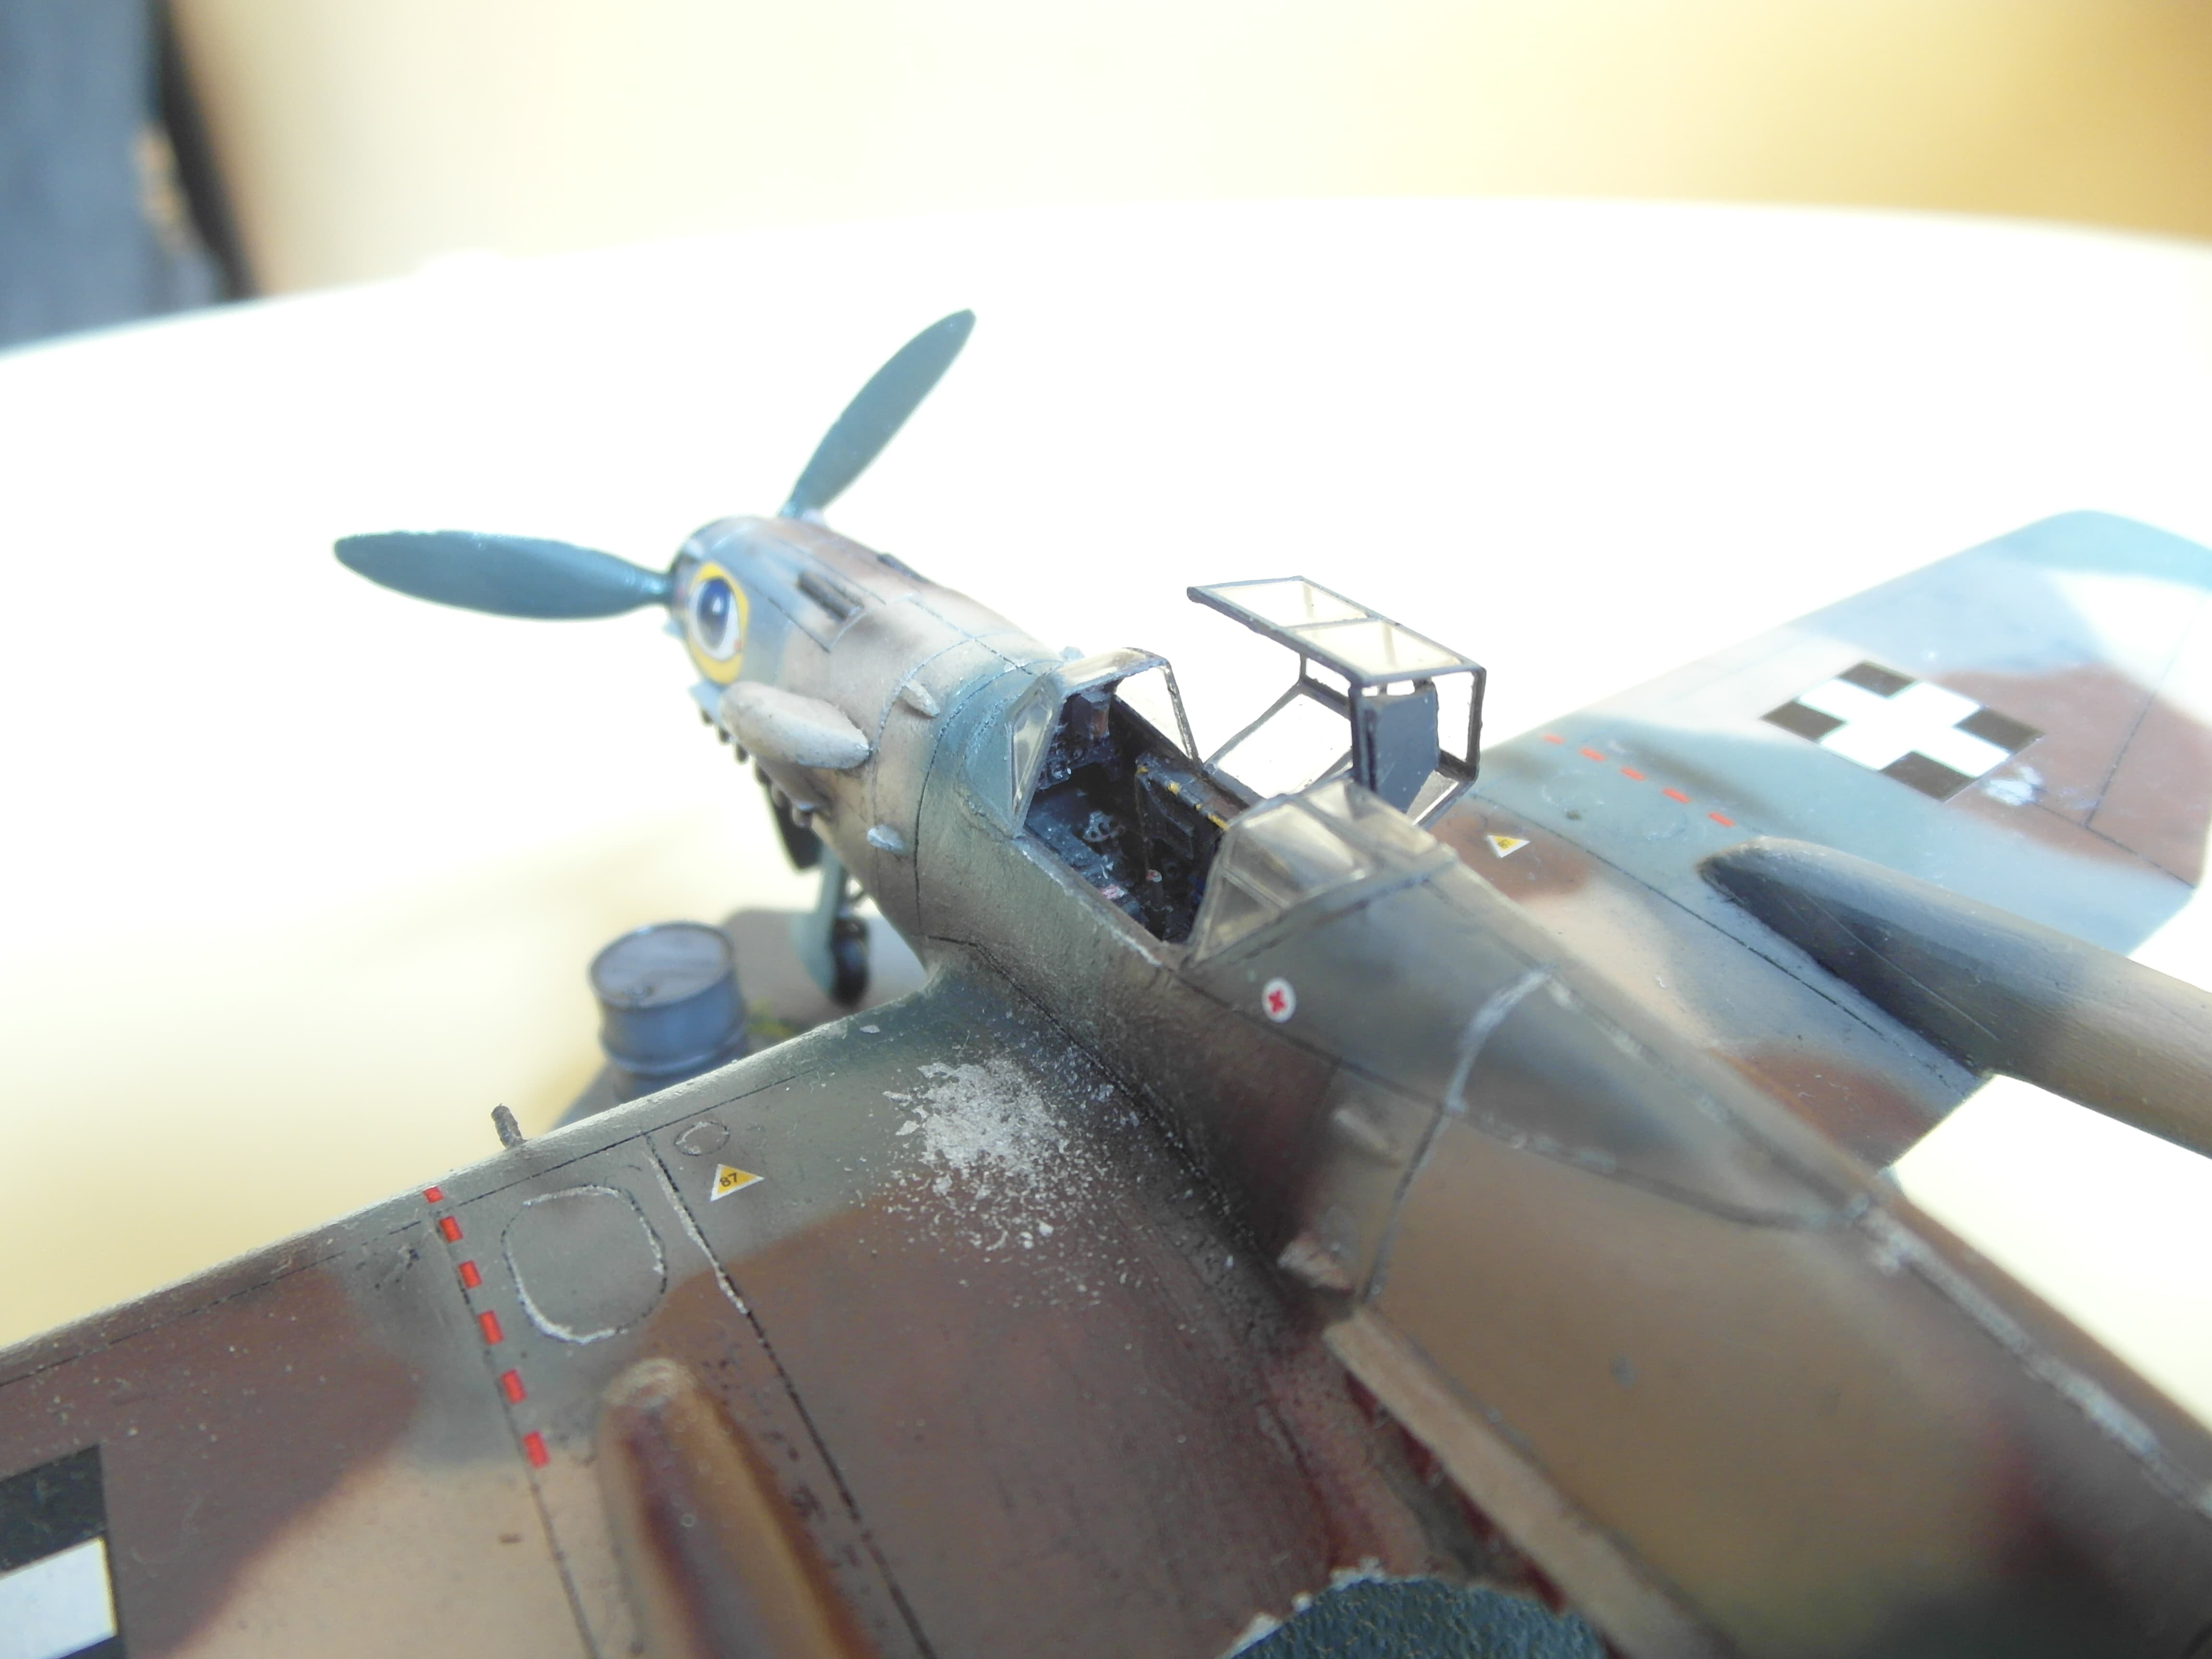
I started with priming the model and applying a black pre shading. Then I sprayed all the camouflage colours and painted the Hungarian flag tail flash.
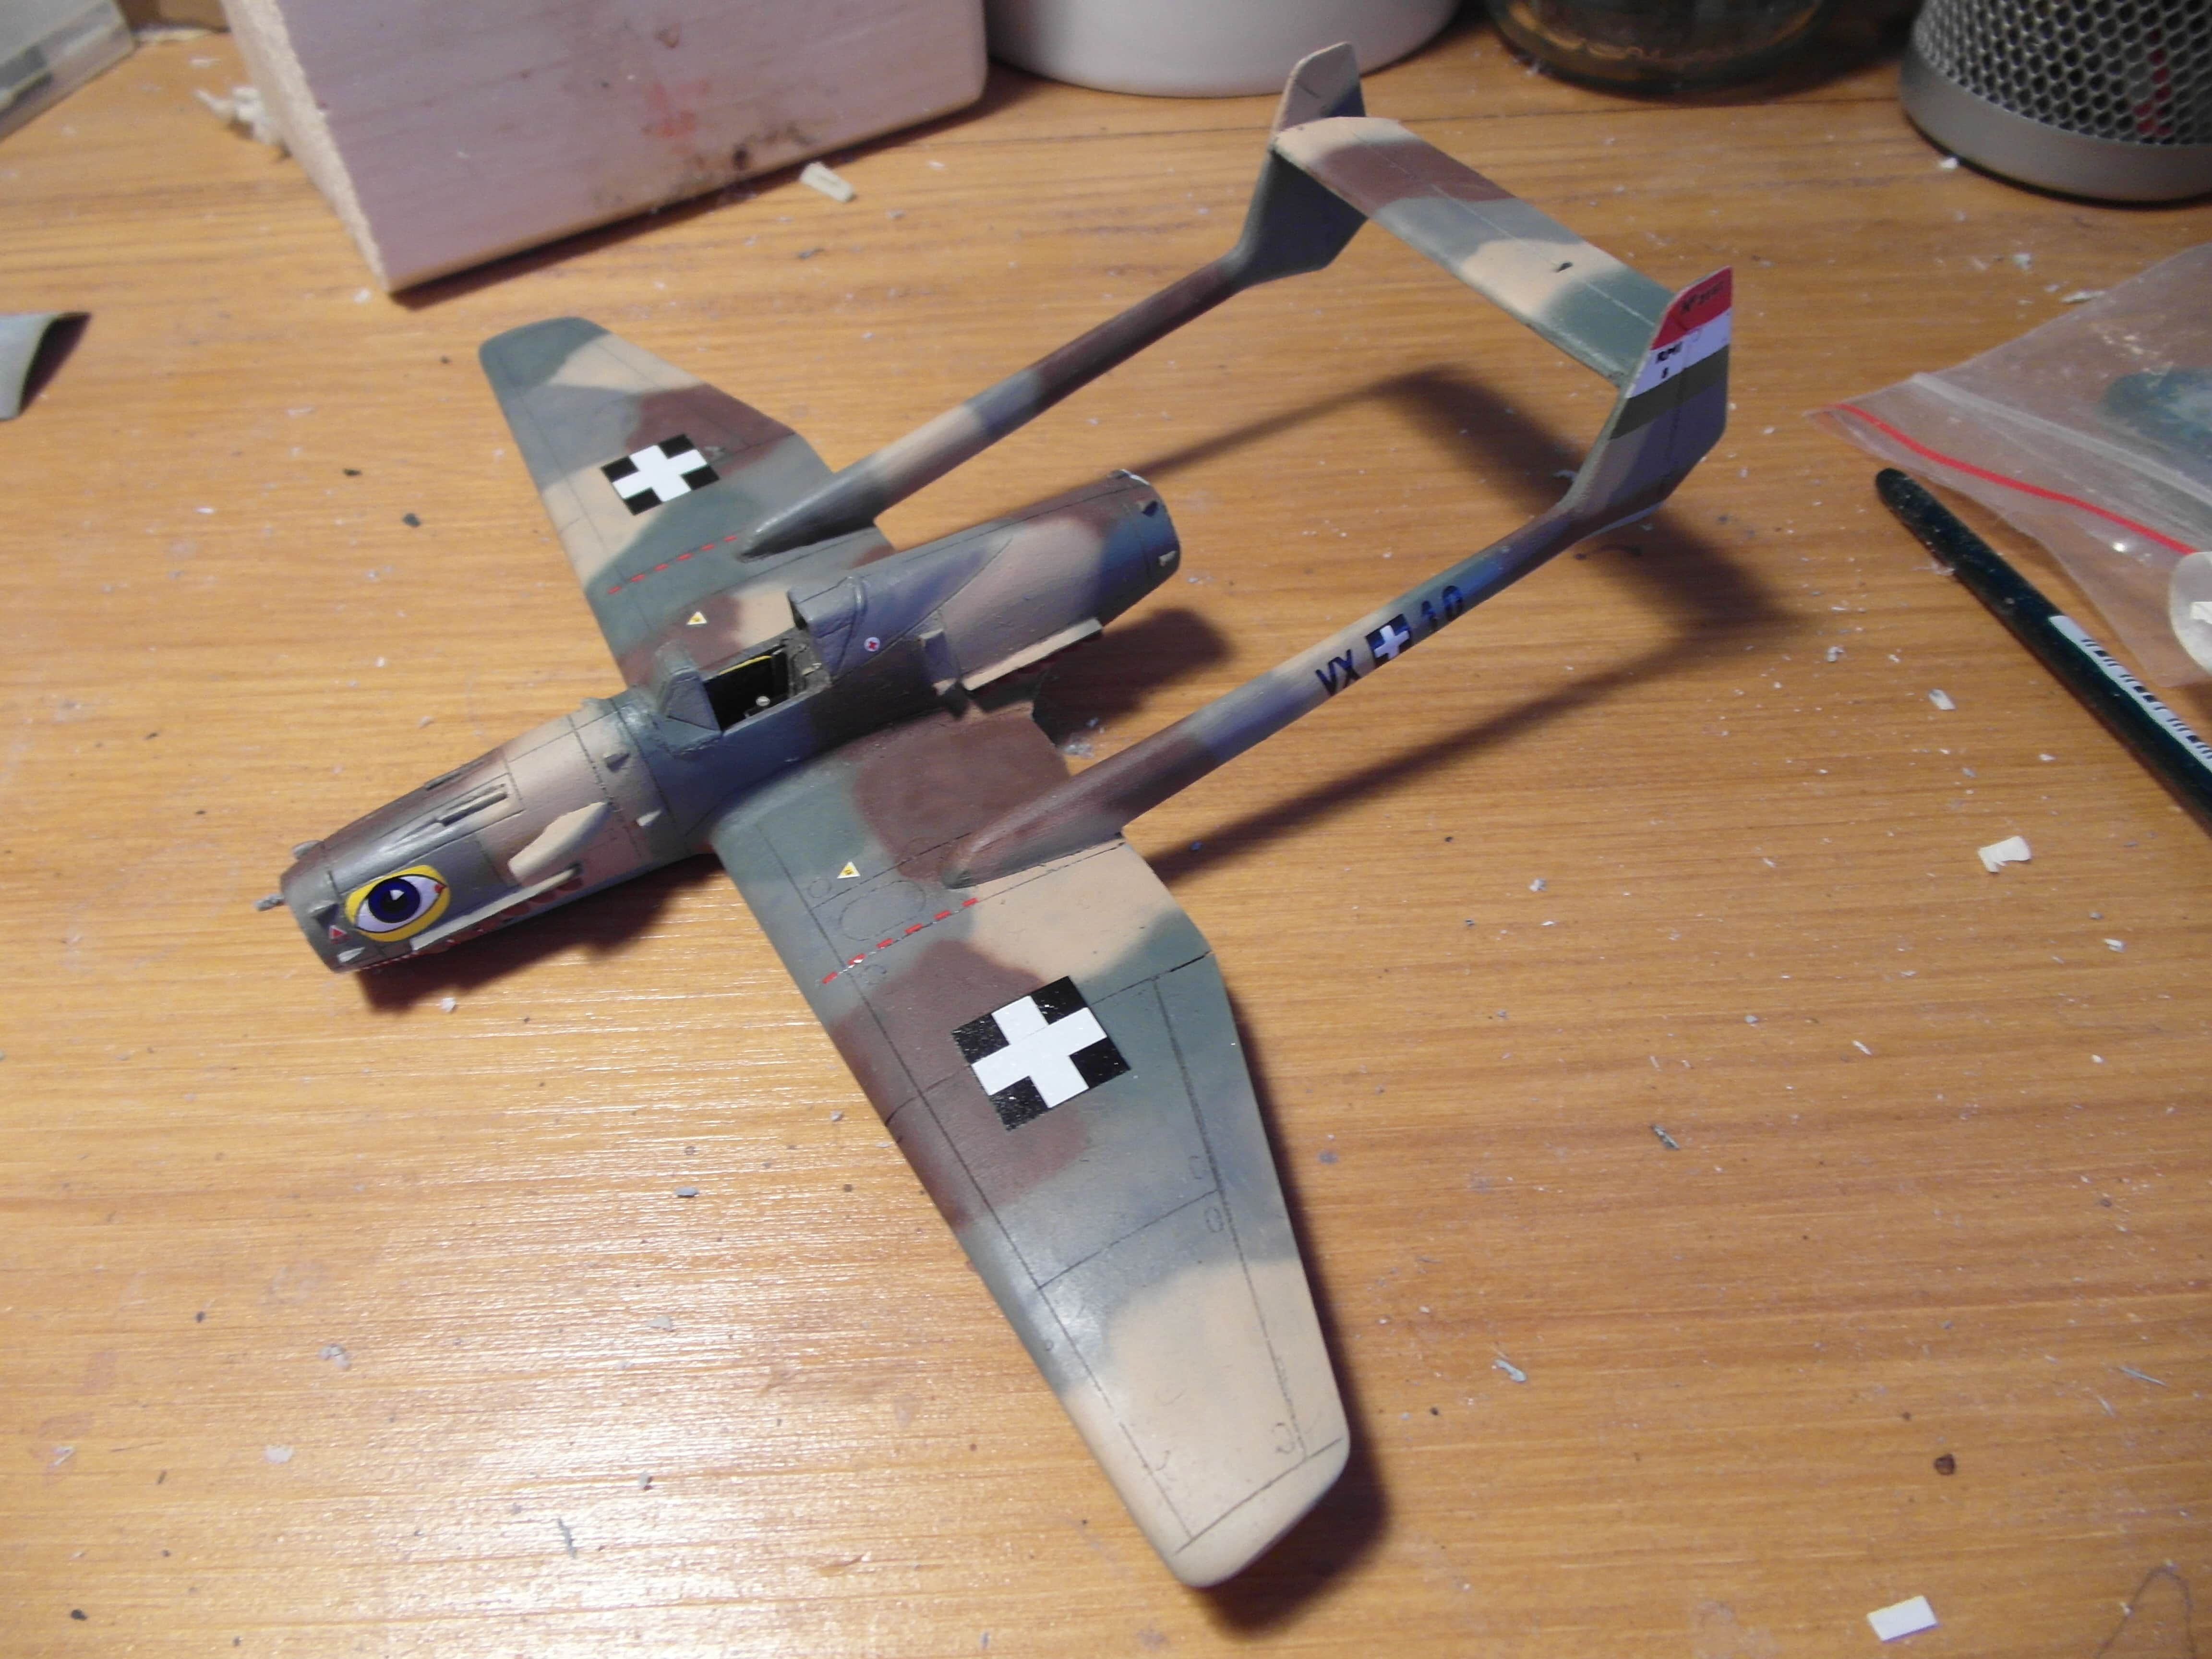
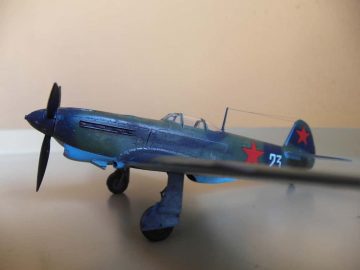
I mostly used the decals from the additional decal sheet, but also included a mouth to complement the large eyes from a yak 1b I build earlier.

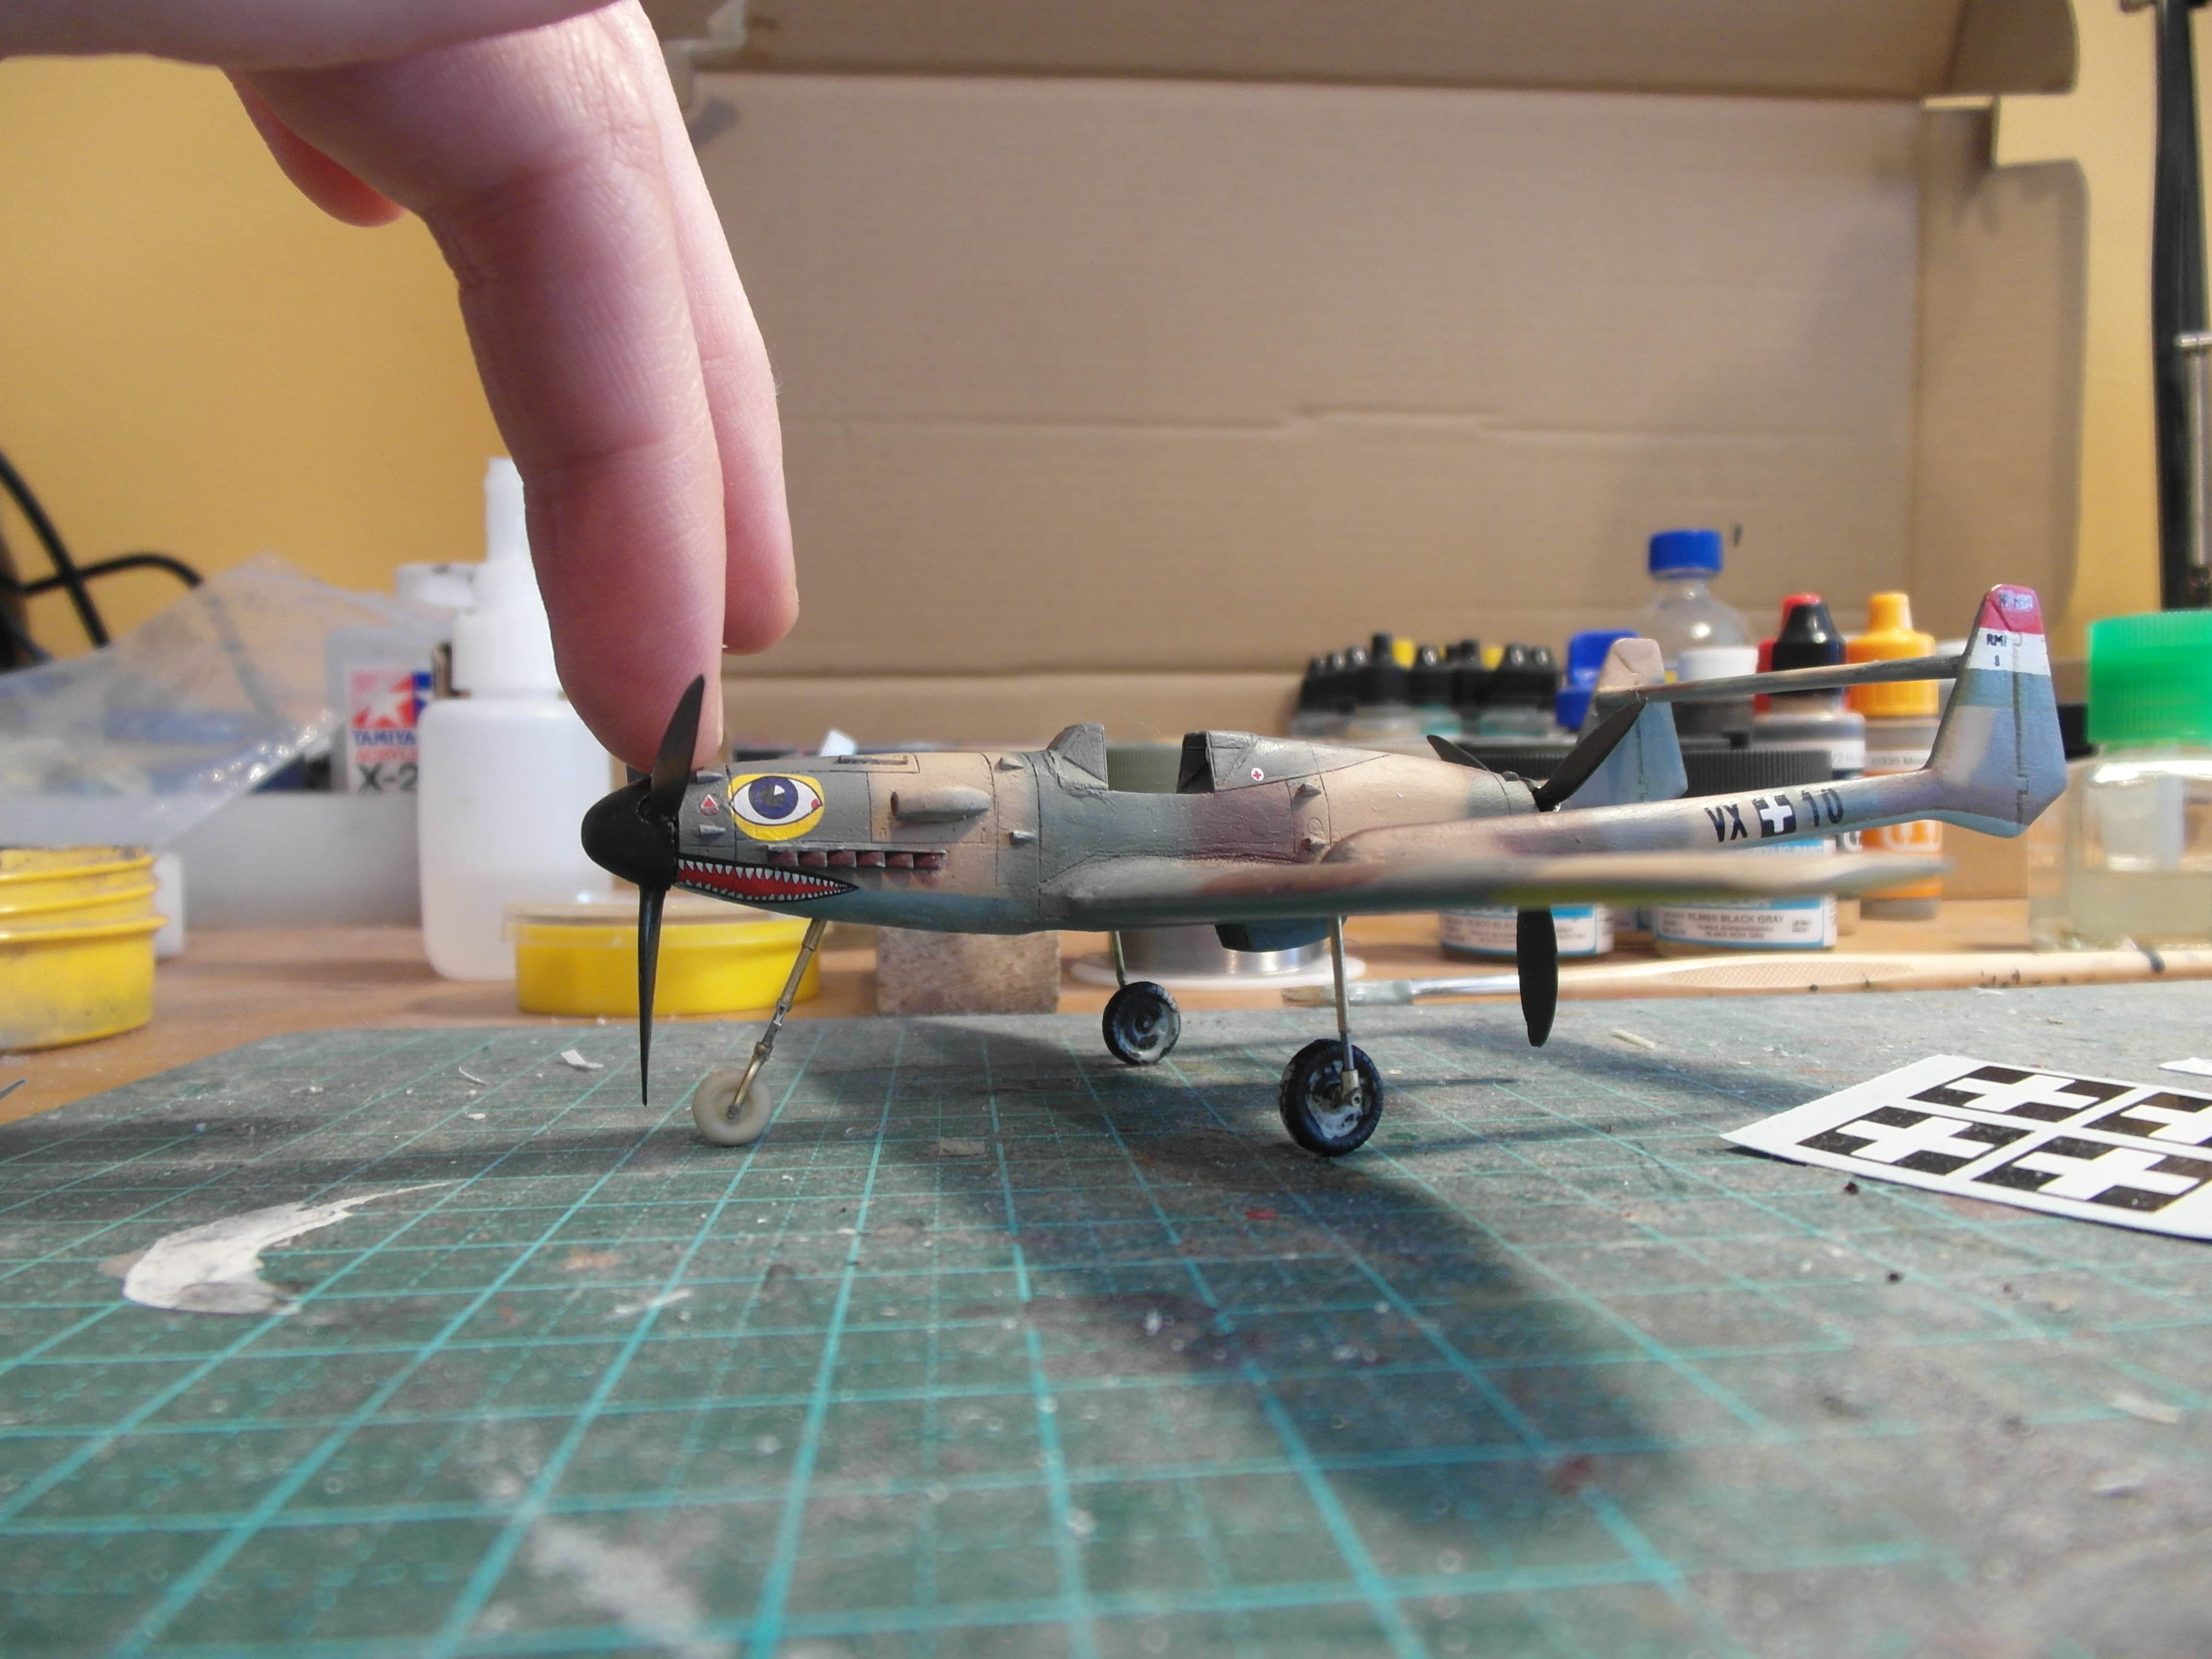
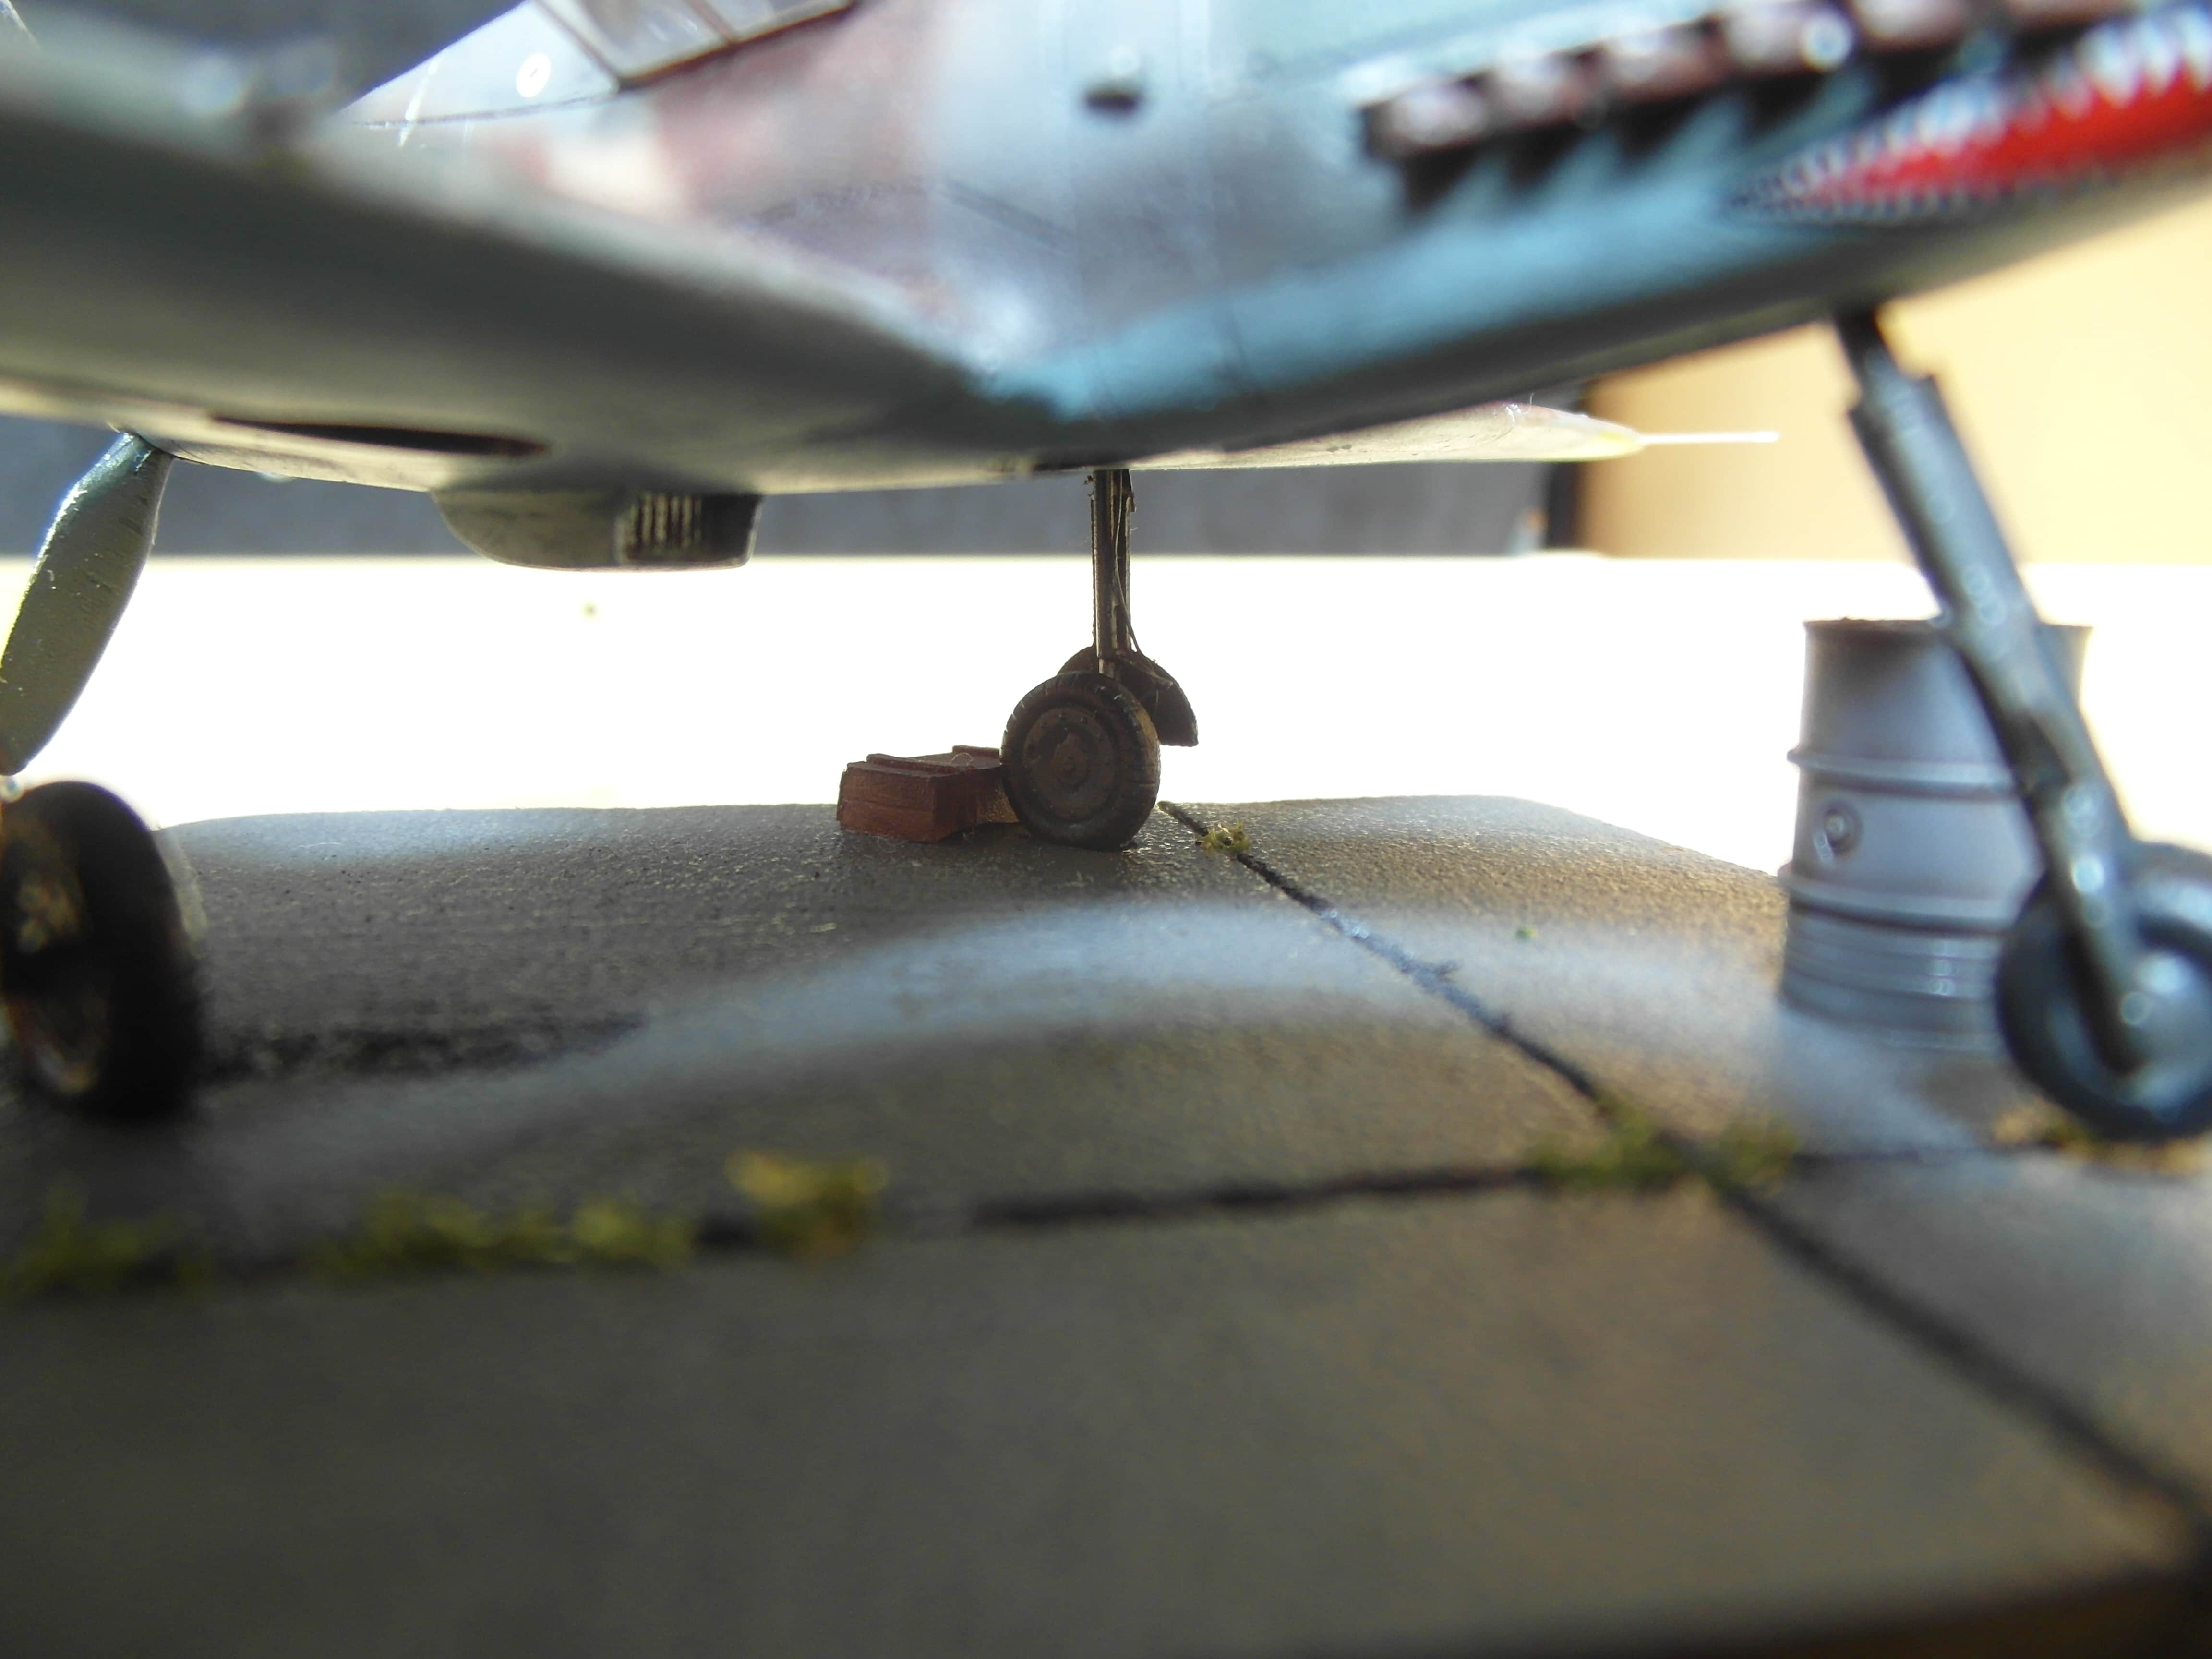
Landing gear
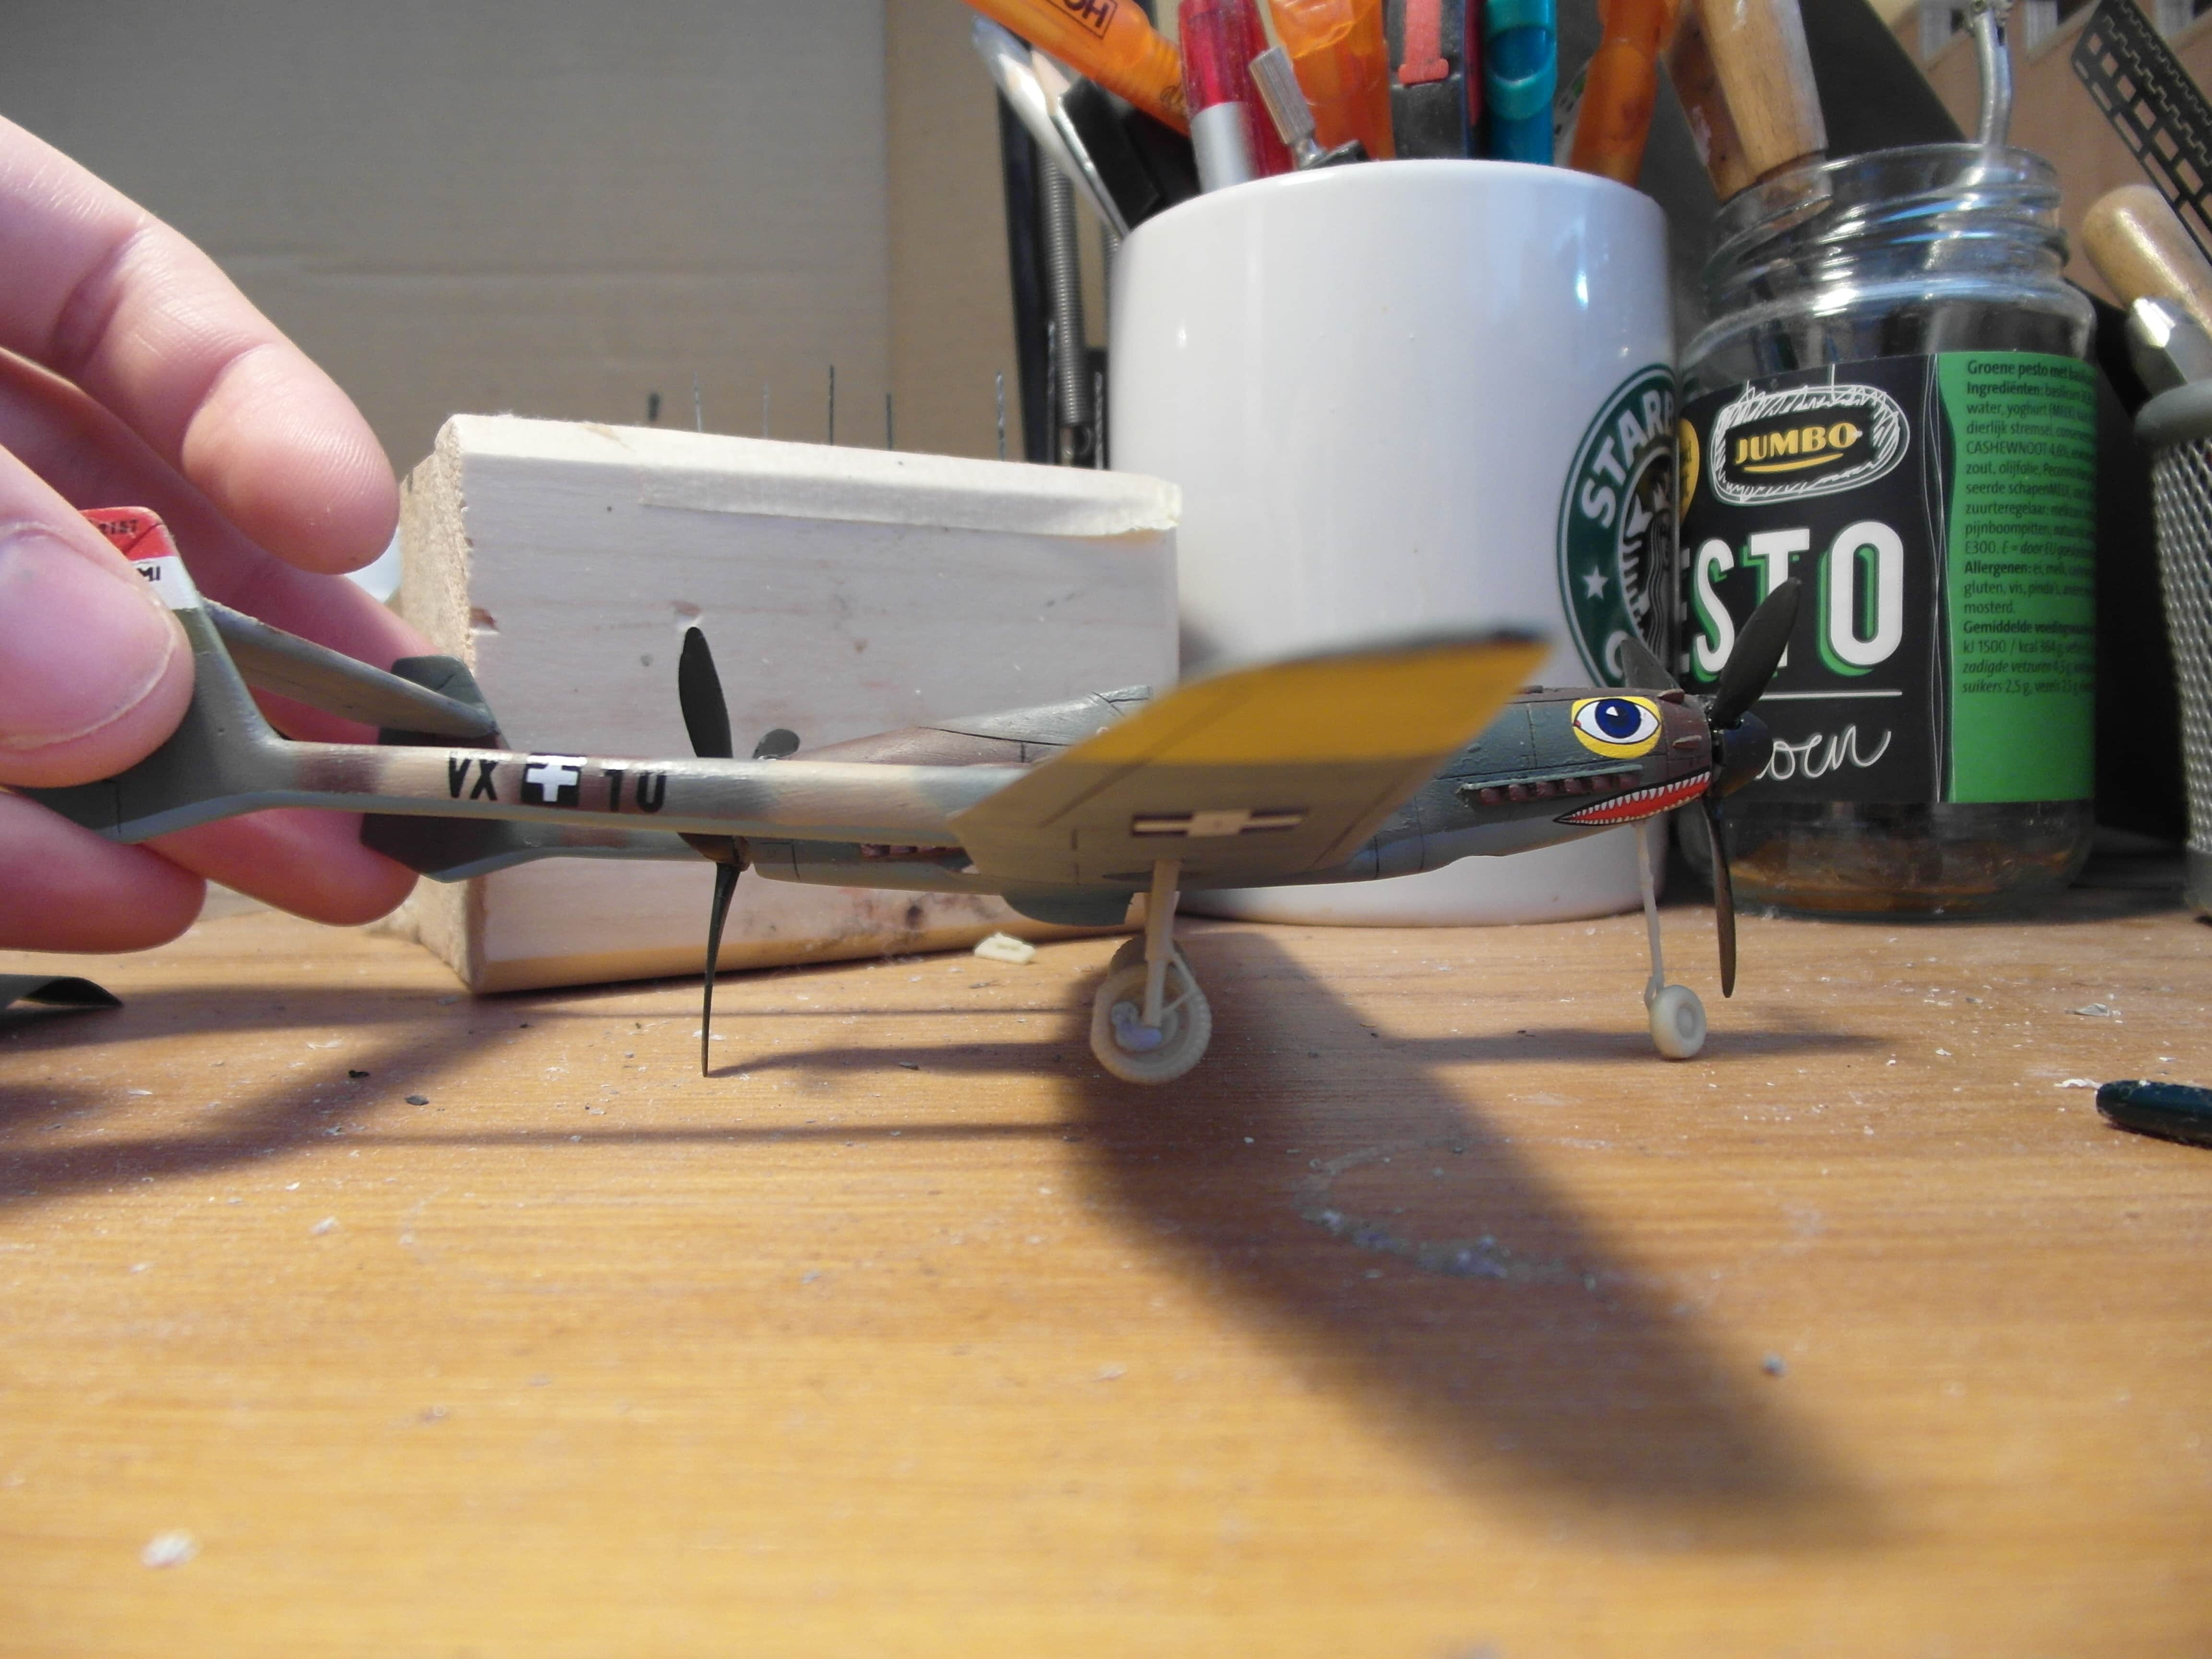
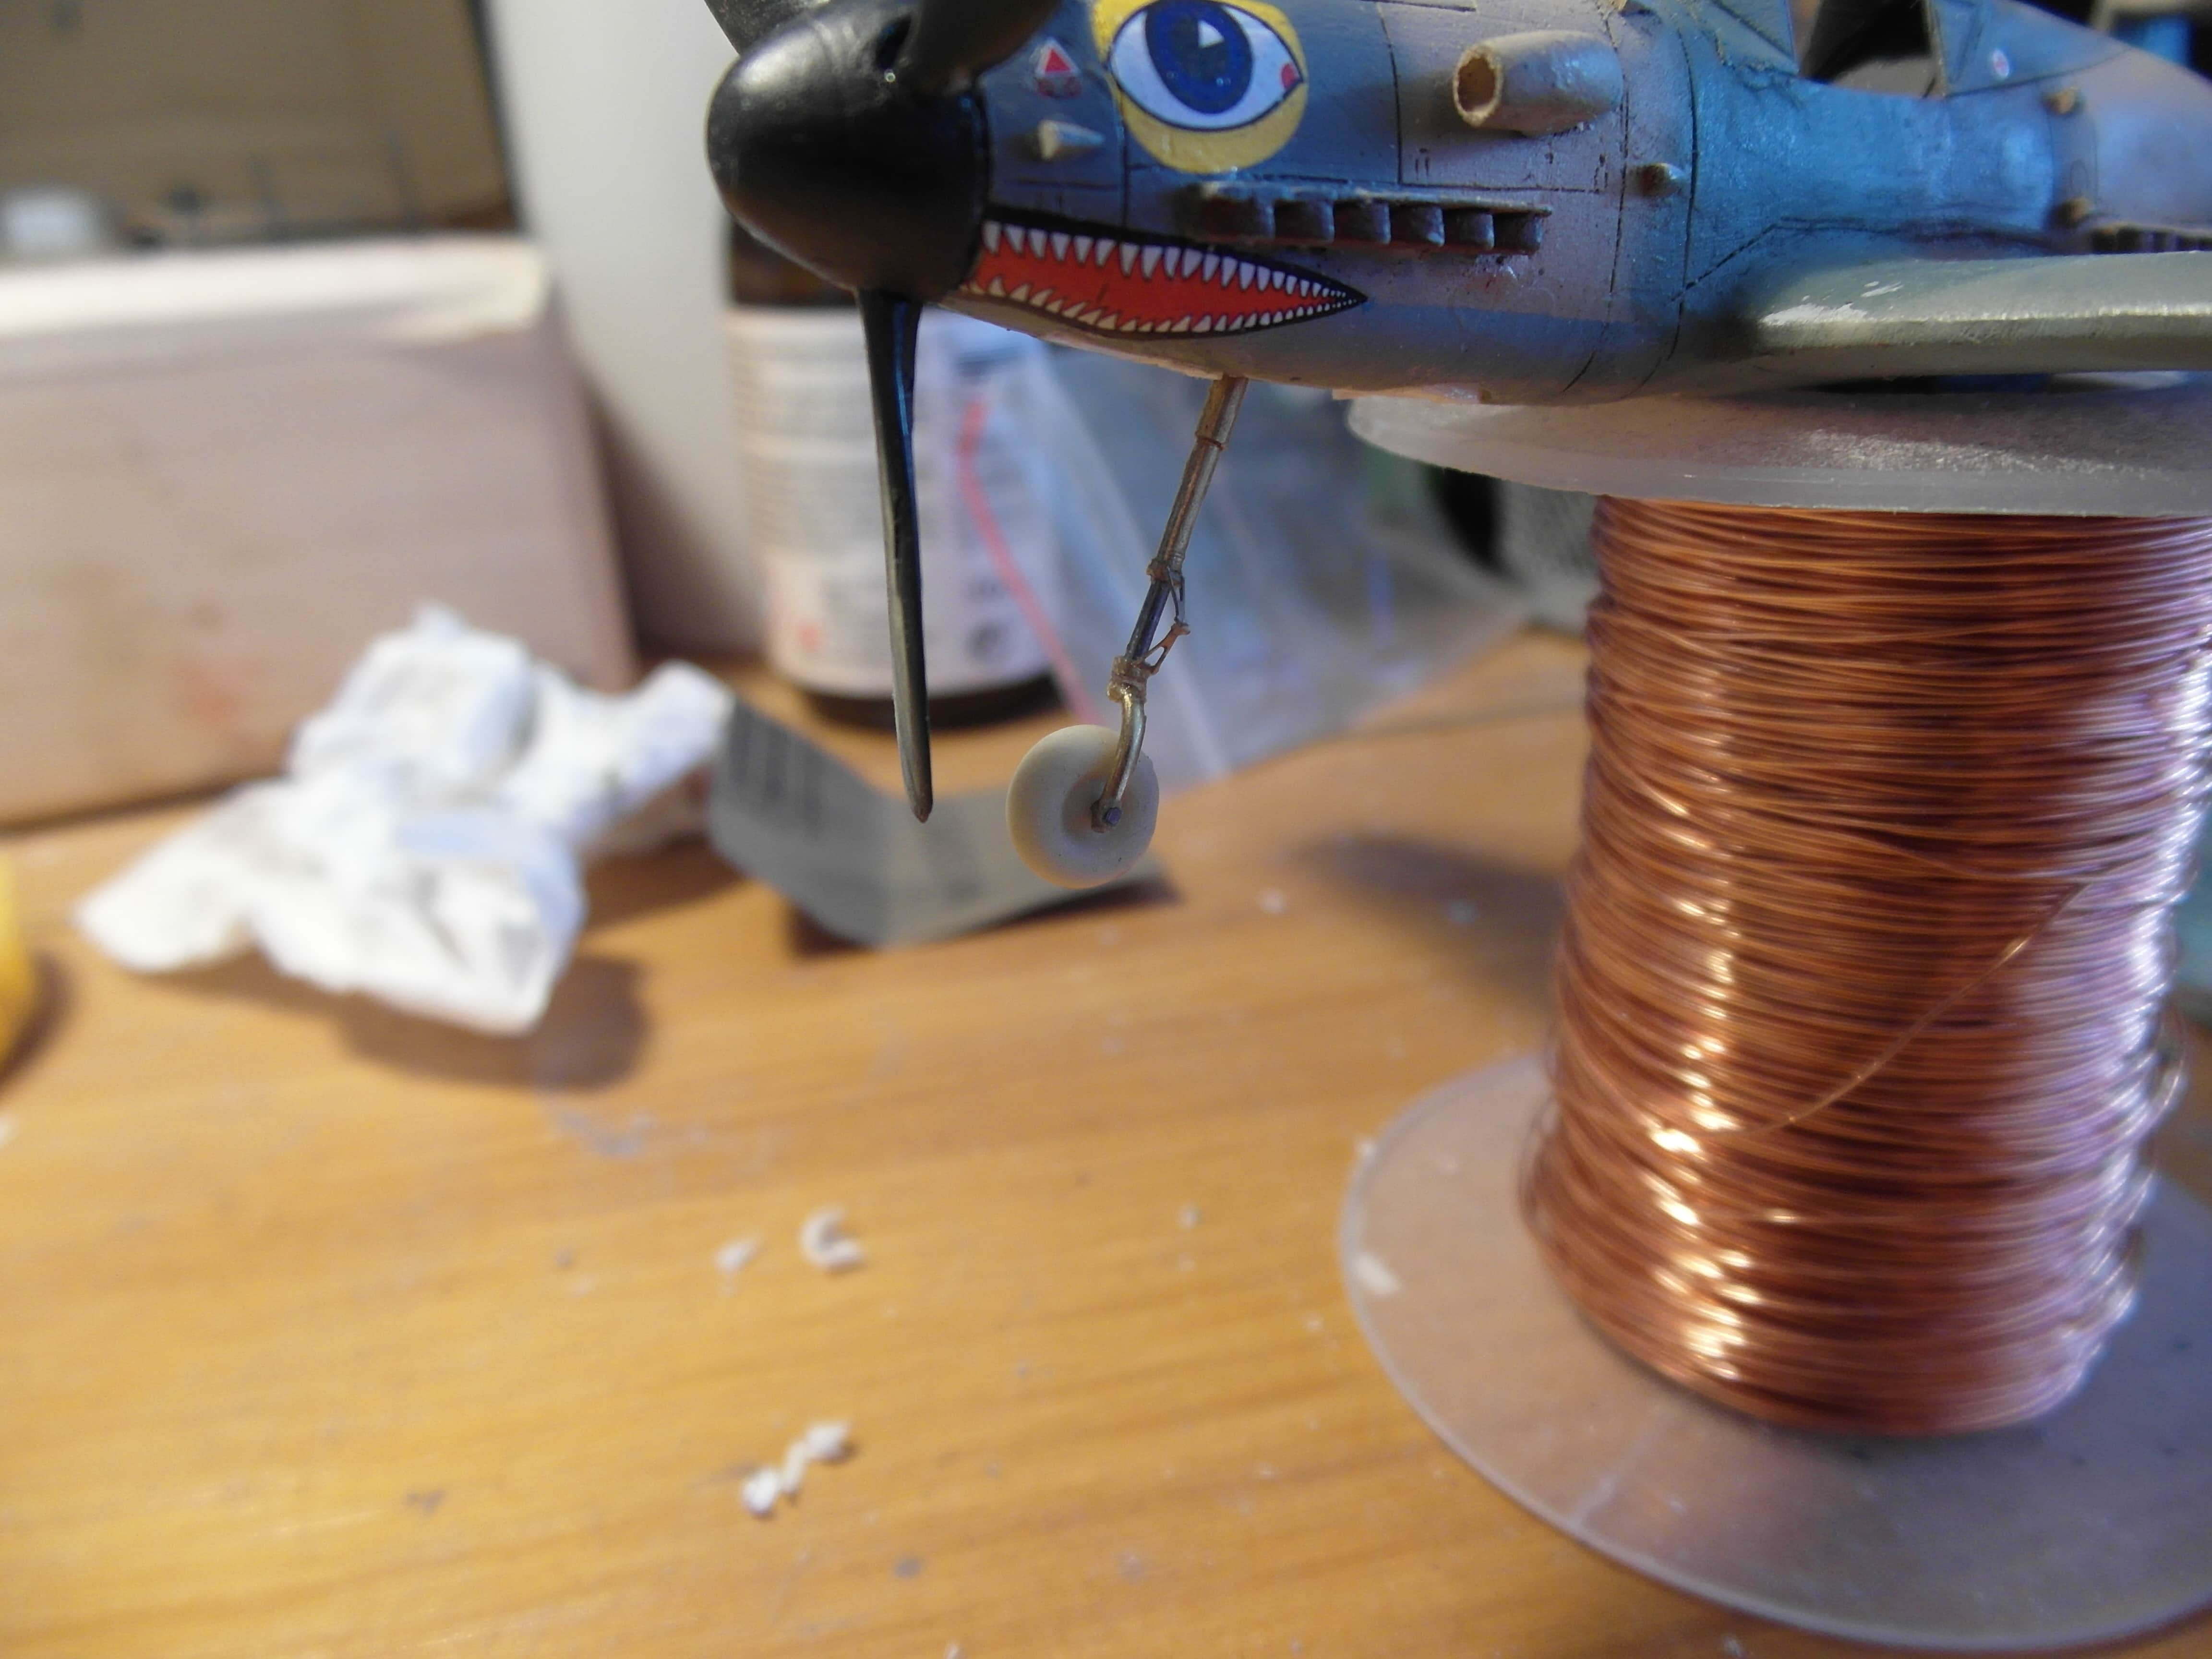
After assembly of the propellers I noted something kinda bad. The included landing gear wasn’t long enough. The plane would strike the ground with the rear propeller. Also the nose landing gear was kind of weak and wouldn’t hold the weight of the model without deforming. I also noted that the wheel well for the nose wheel was way to short.

resting on the rear prop 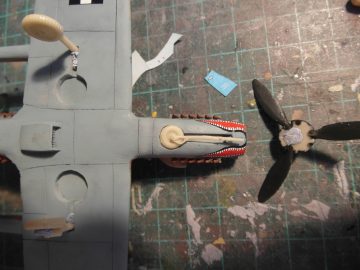
too short to fit 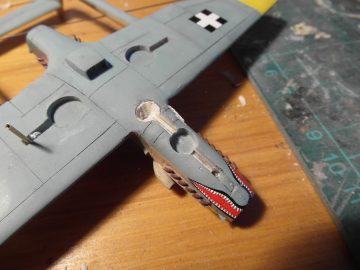
started with the new well.


A new set of landing legs was constructed from some brass and steel pipes. I also enlarged the front wheel well and placed it slightly back, as it’s current position would be impossible as it would intersect with the engine. The rear propeller was also shortened by 2 or so millimetre to further raise it from the ground.

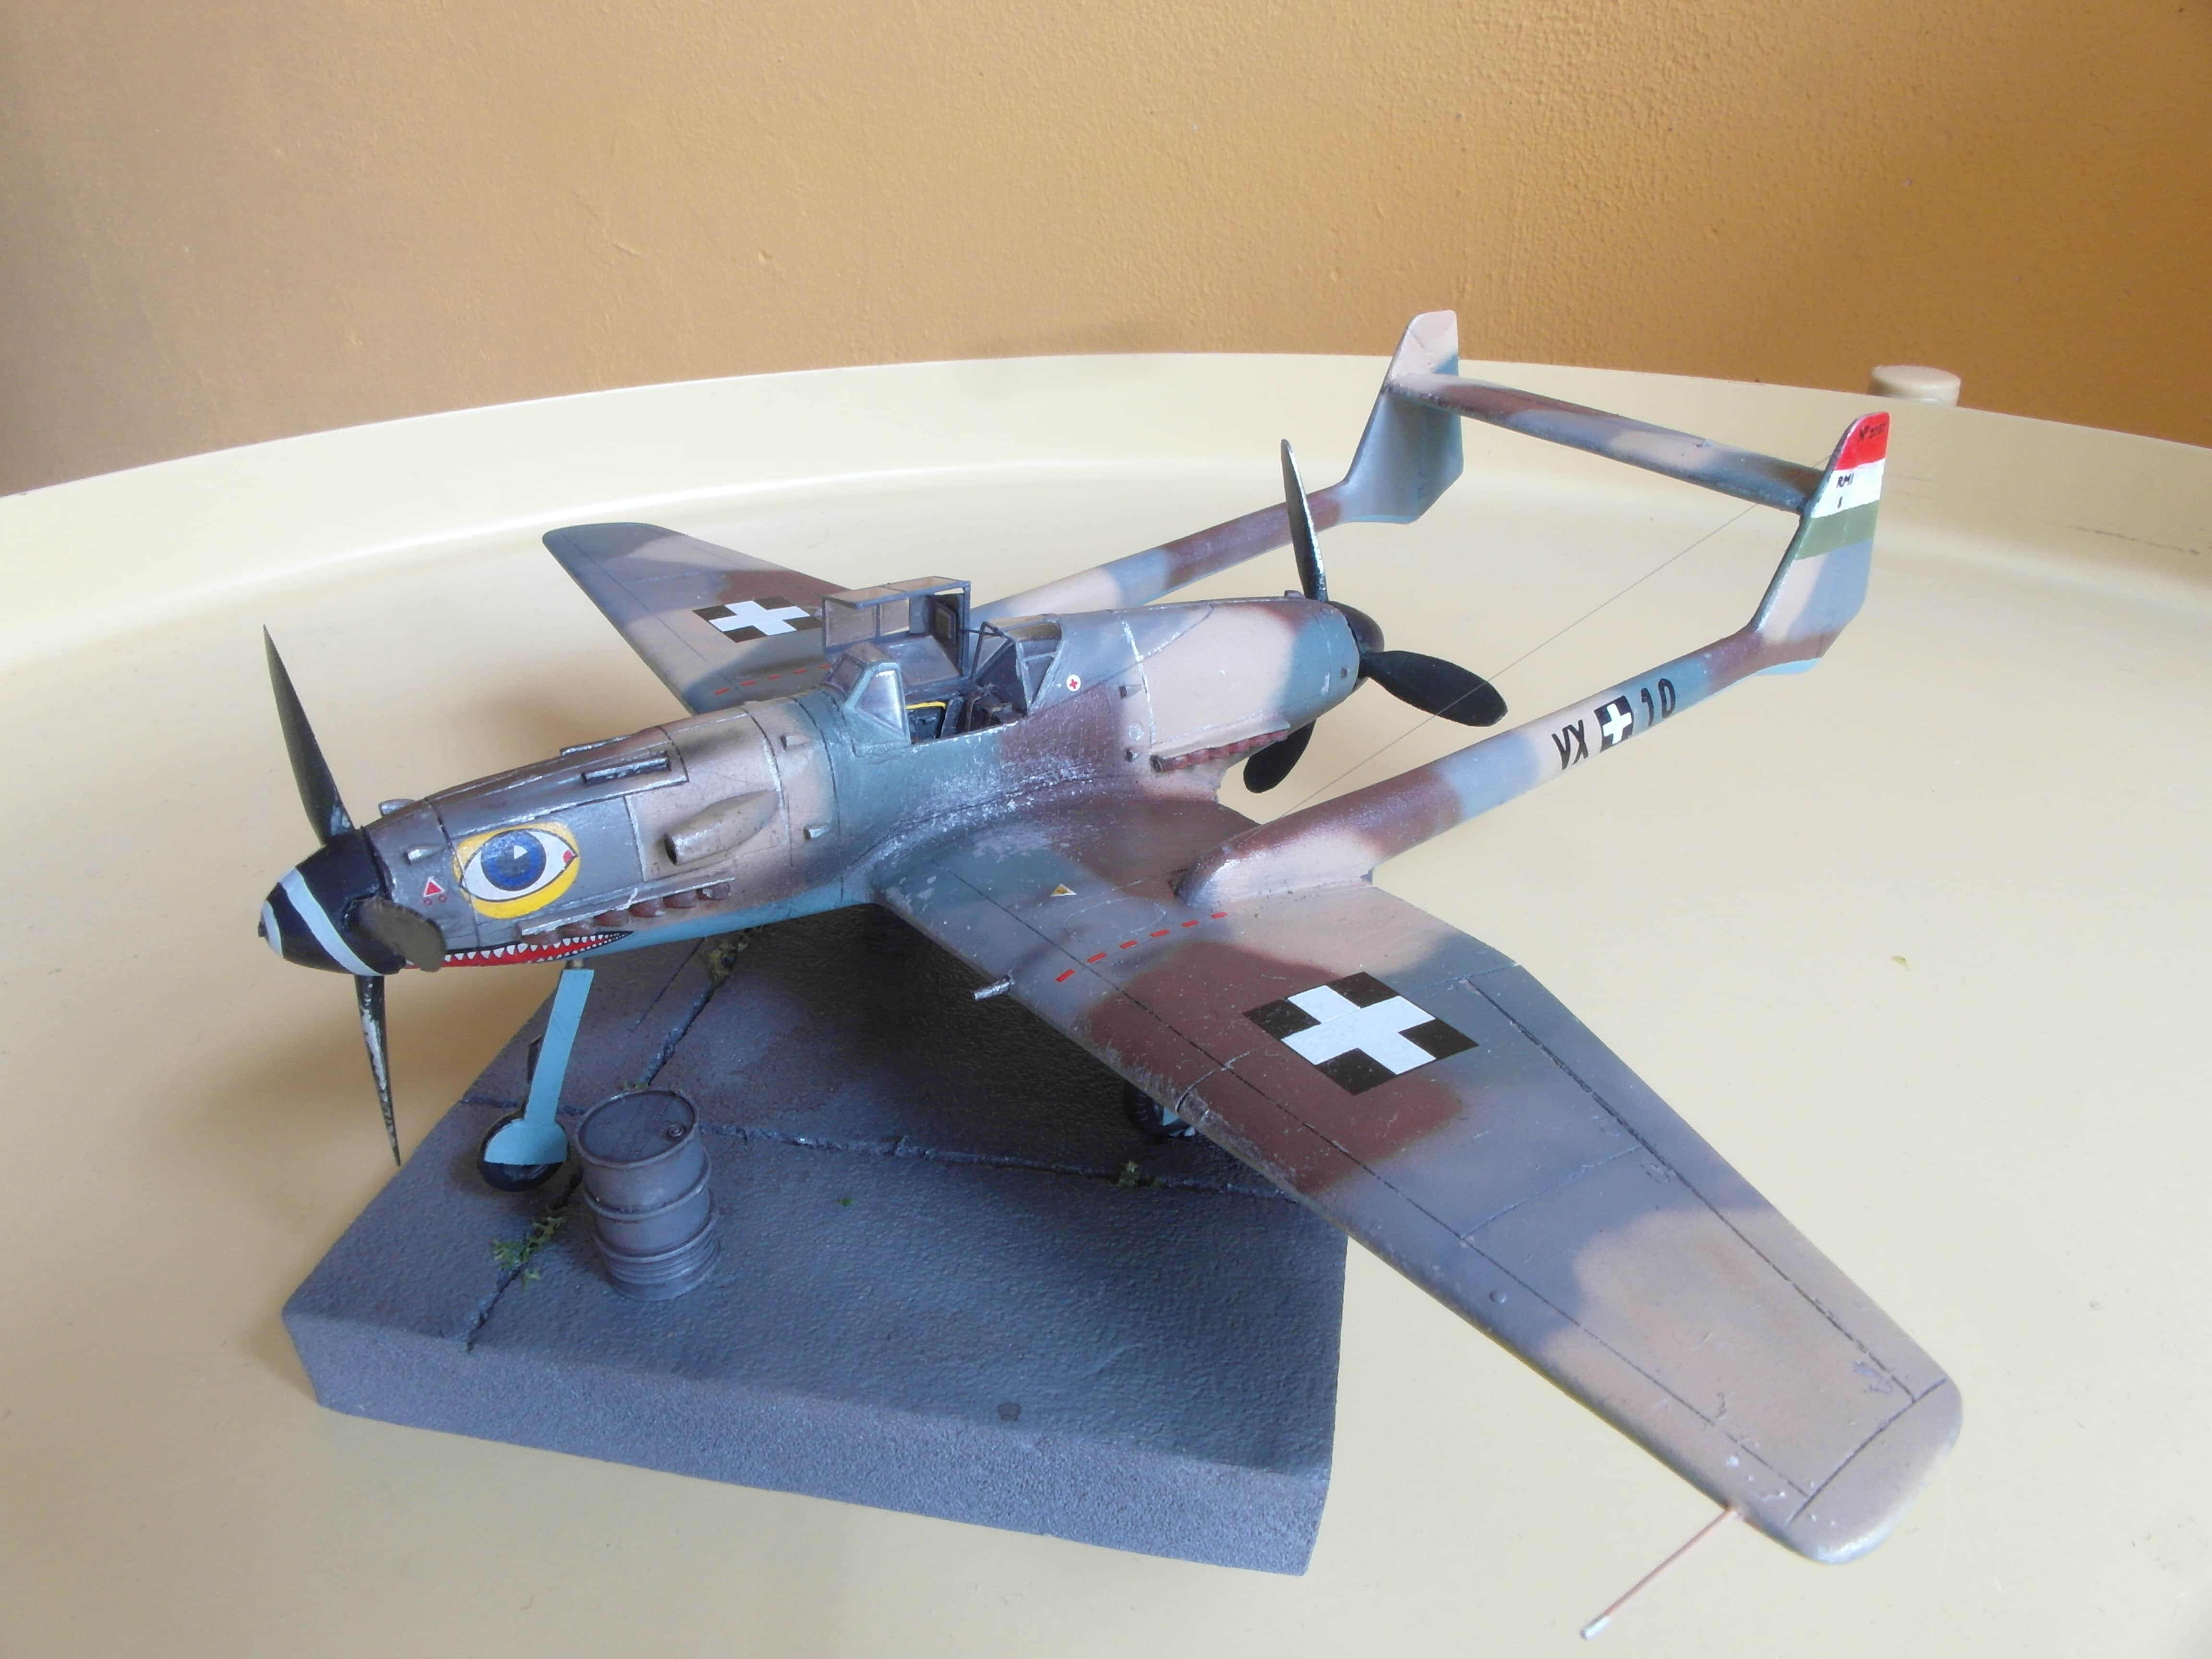
Finishing touches.
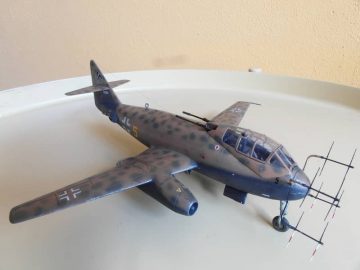
Some light weathering was applied to the plane. An antenna wire was also placed between the tail and the boom root. Two cannons were installed in the wings as well .
As I feared, the plane is a tail sitter. I hoped the solid nose would offset the weight enough, but of course it wouldn’t. To fix this I created a small base from styrofoam and glued the plane to it with white glue.


Very nice build! Knew allready Fokker D.23, but this one was completely new one for me.
-Timo