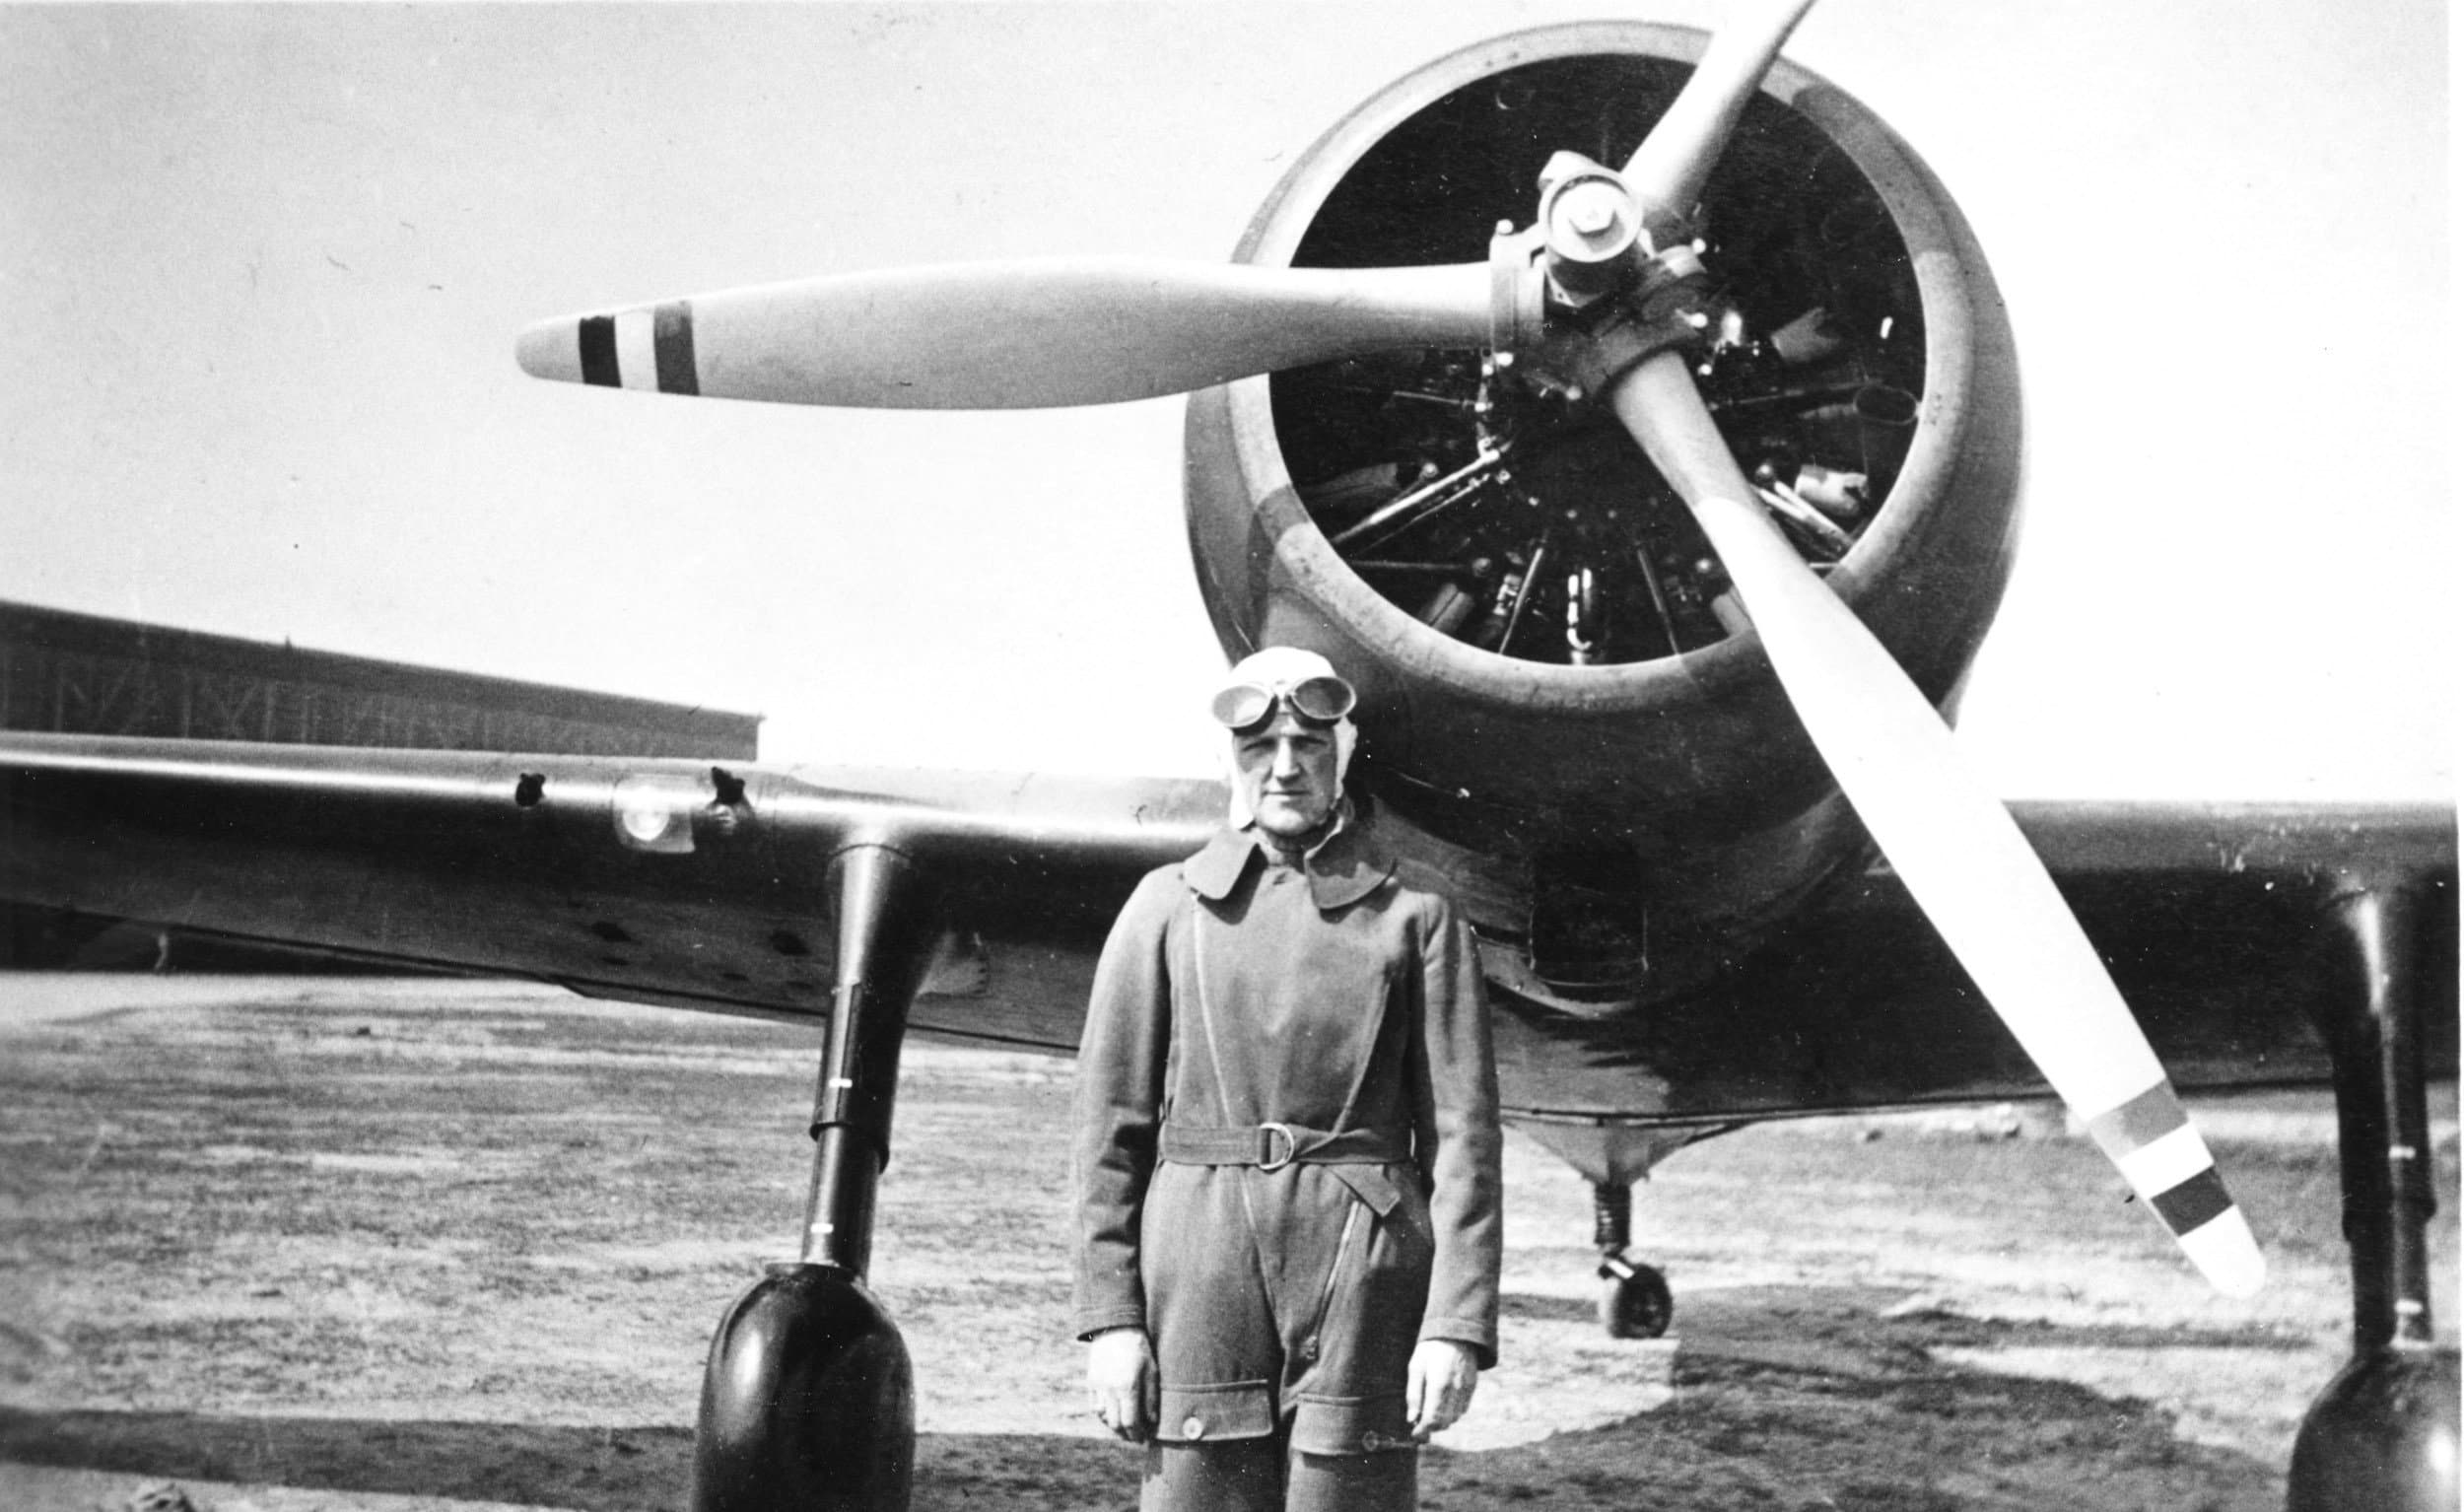
The Fokker D.XXI was a small Dutch interceptor, developed in the late 1930’s. It pressed into service in 1938 with the LVA. It was also used by the Finnish and Danish air forces.

The kit
The kit thee injection moulded sprues, two grey and one clear. The details are crisp and flash is limited. It also contains some photo etch parts and a bunch of resin fret for the cockpit and propeller hub. They are quite nice, but it’ll require quite a bit of work to remove them from their casting blocks. The photo etch provides framing to have the cockpit in an open position, but with only one, solid injection moulded canopy it will be quite a risk to implement it.
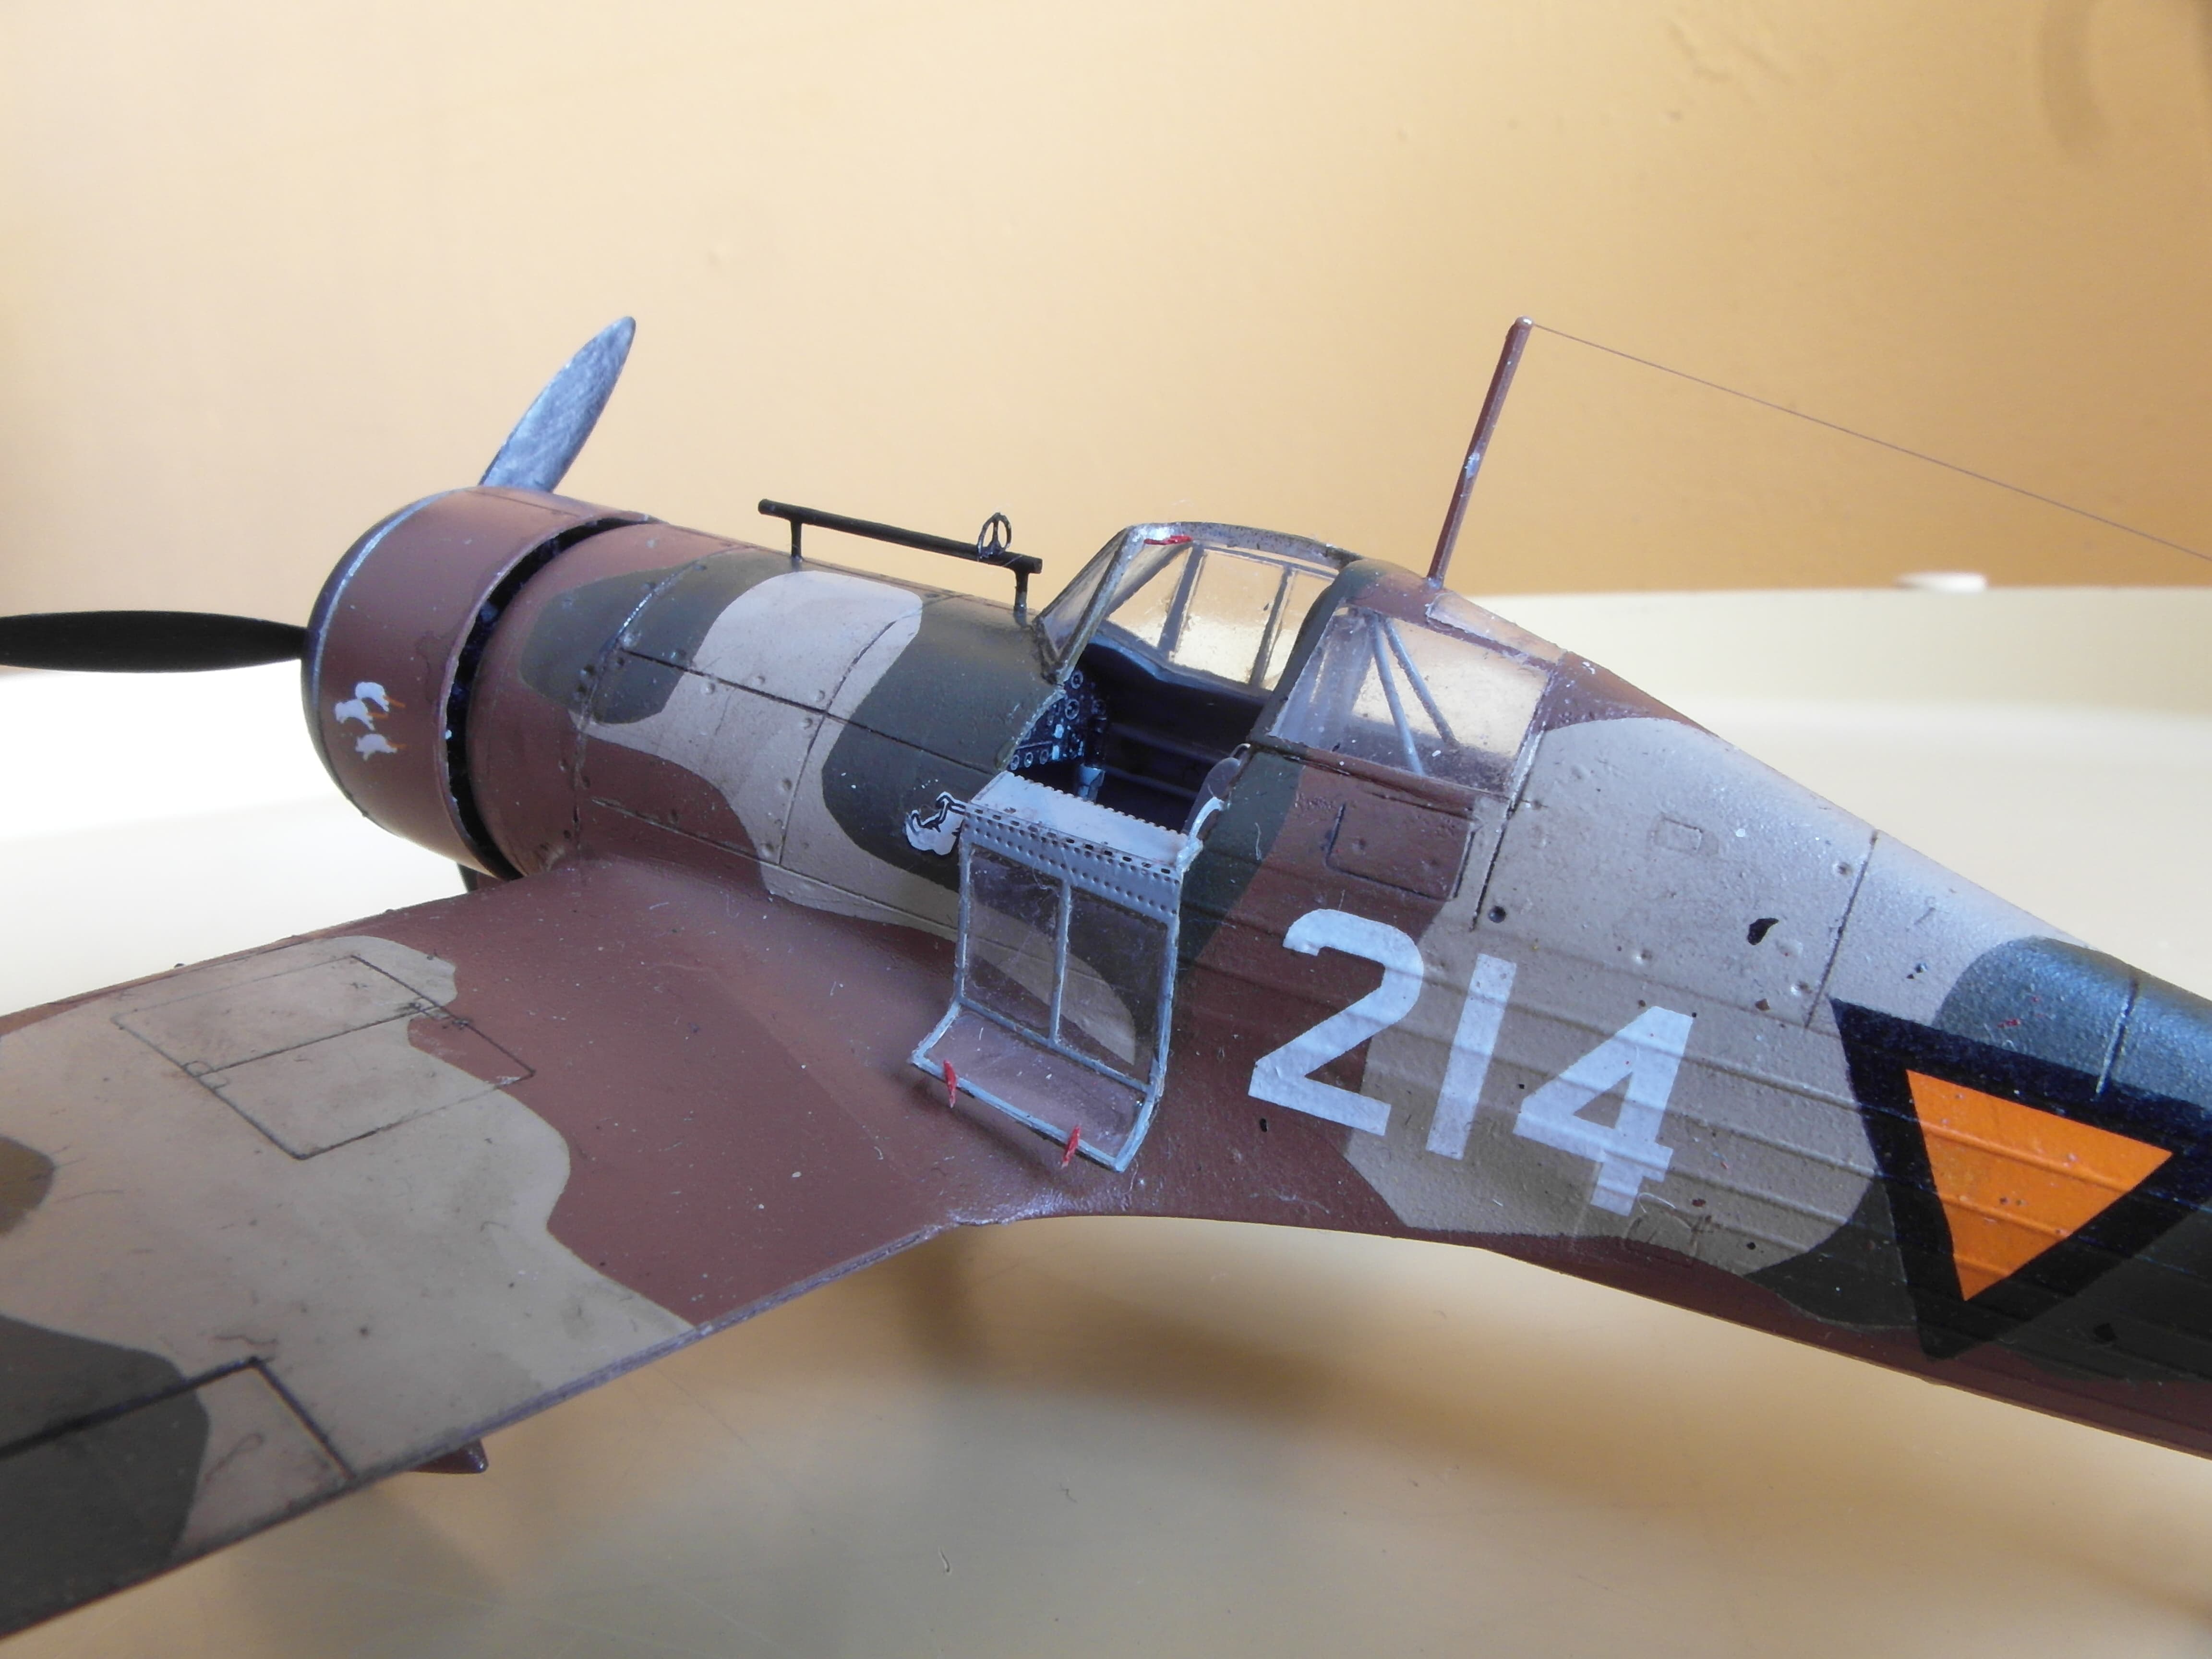
The cockpit
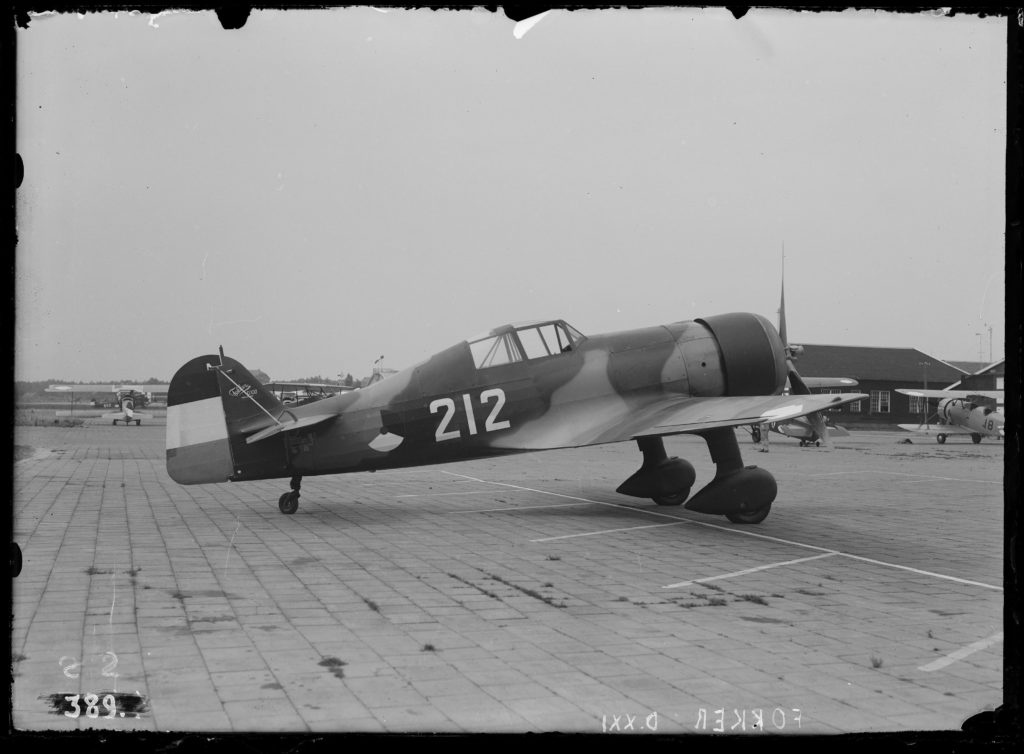
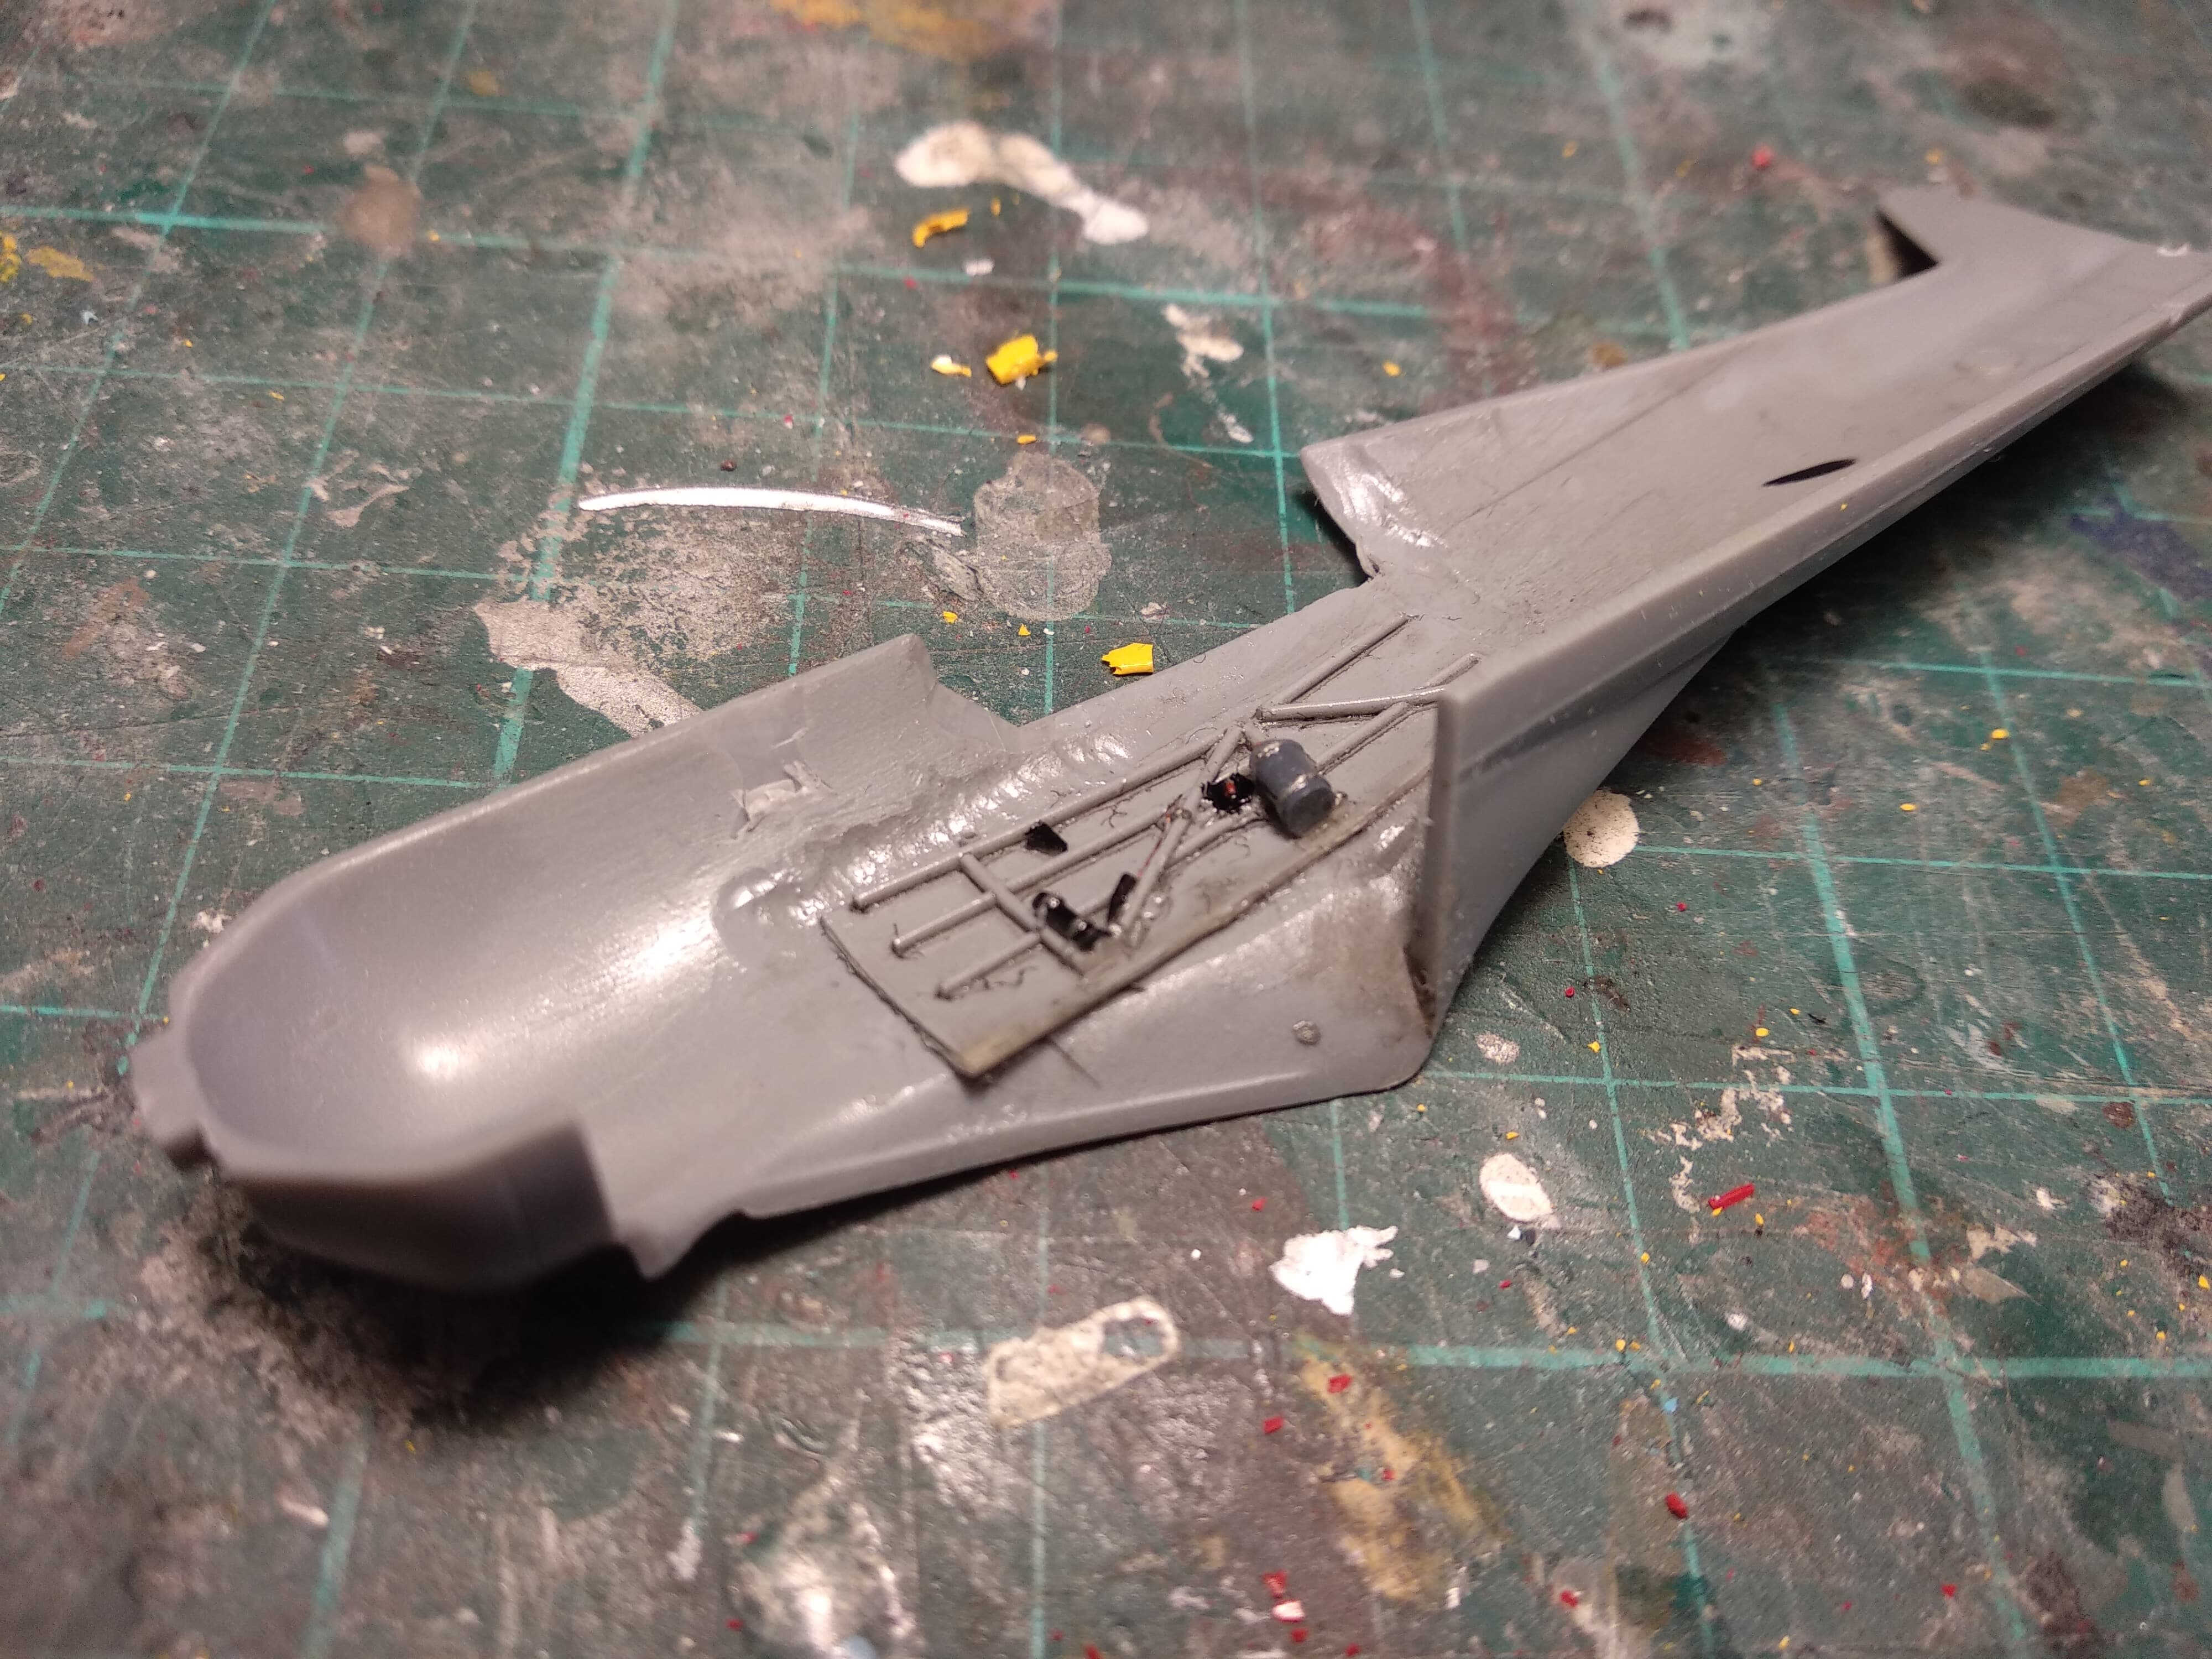
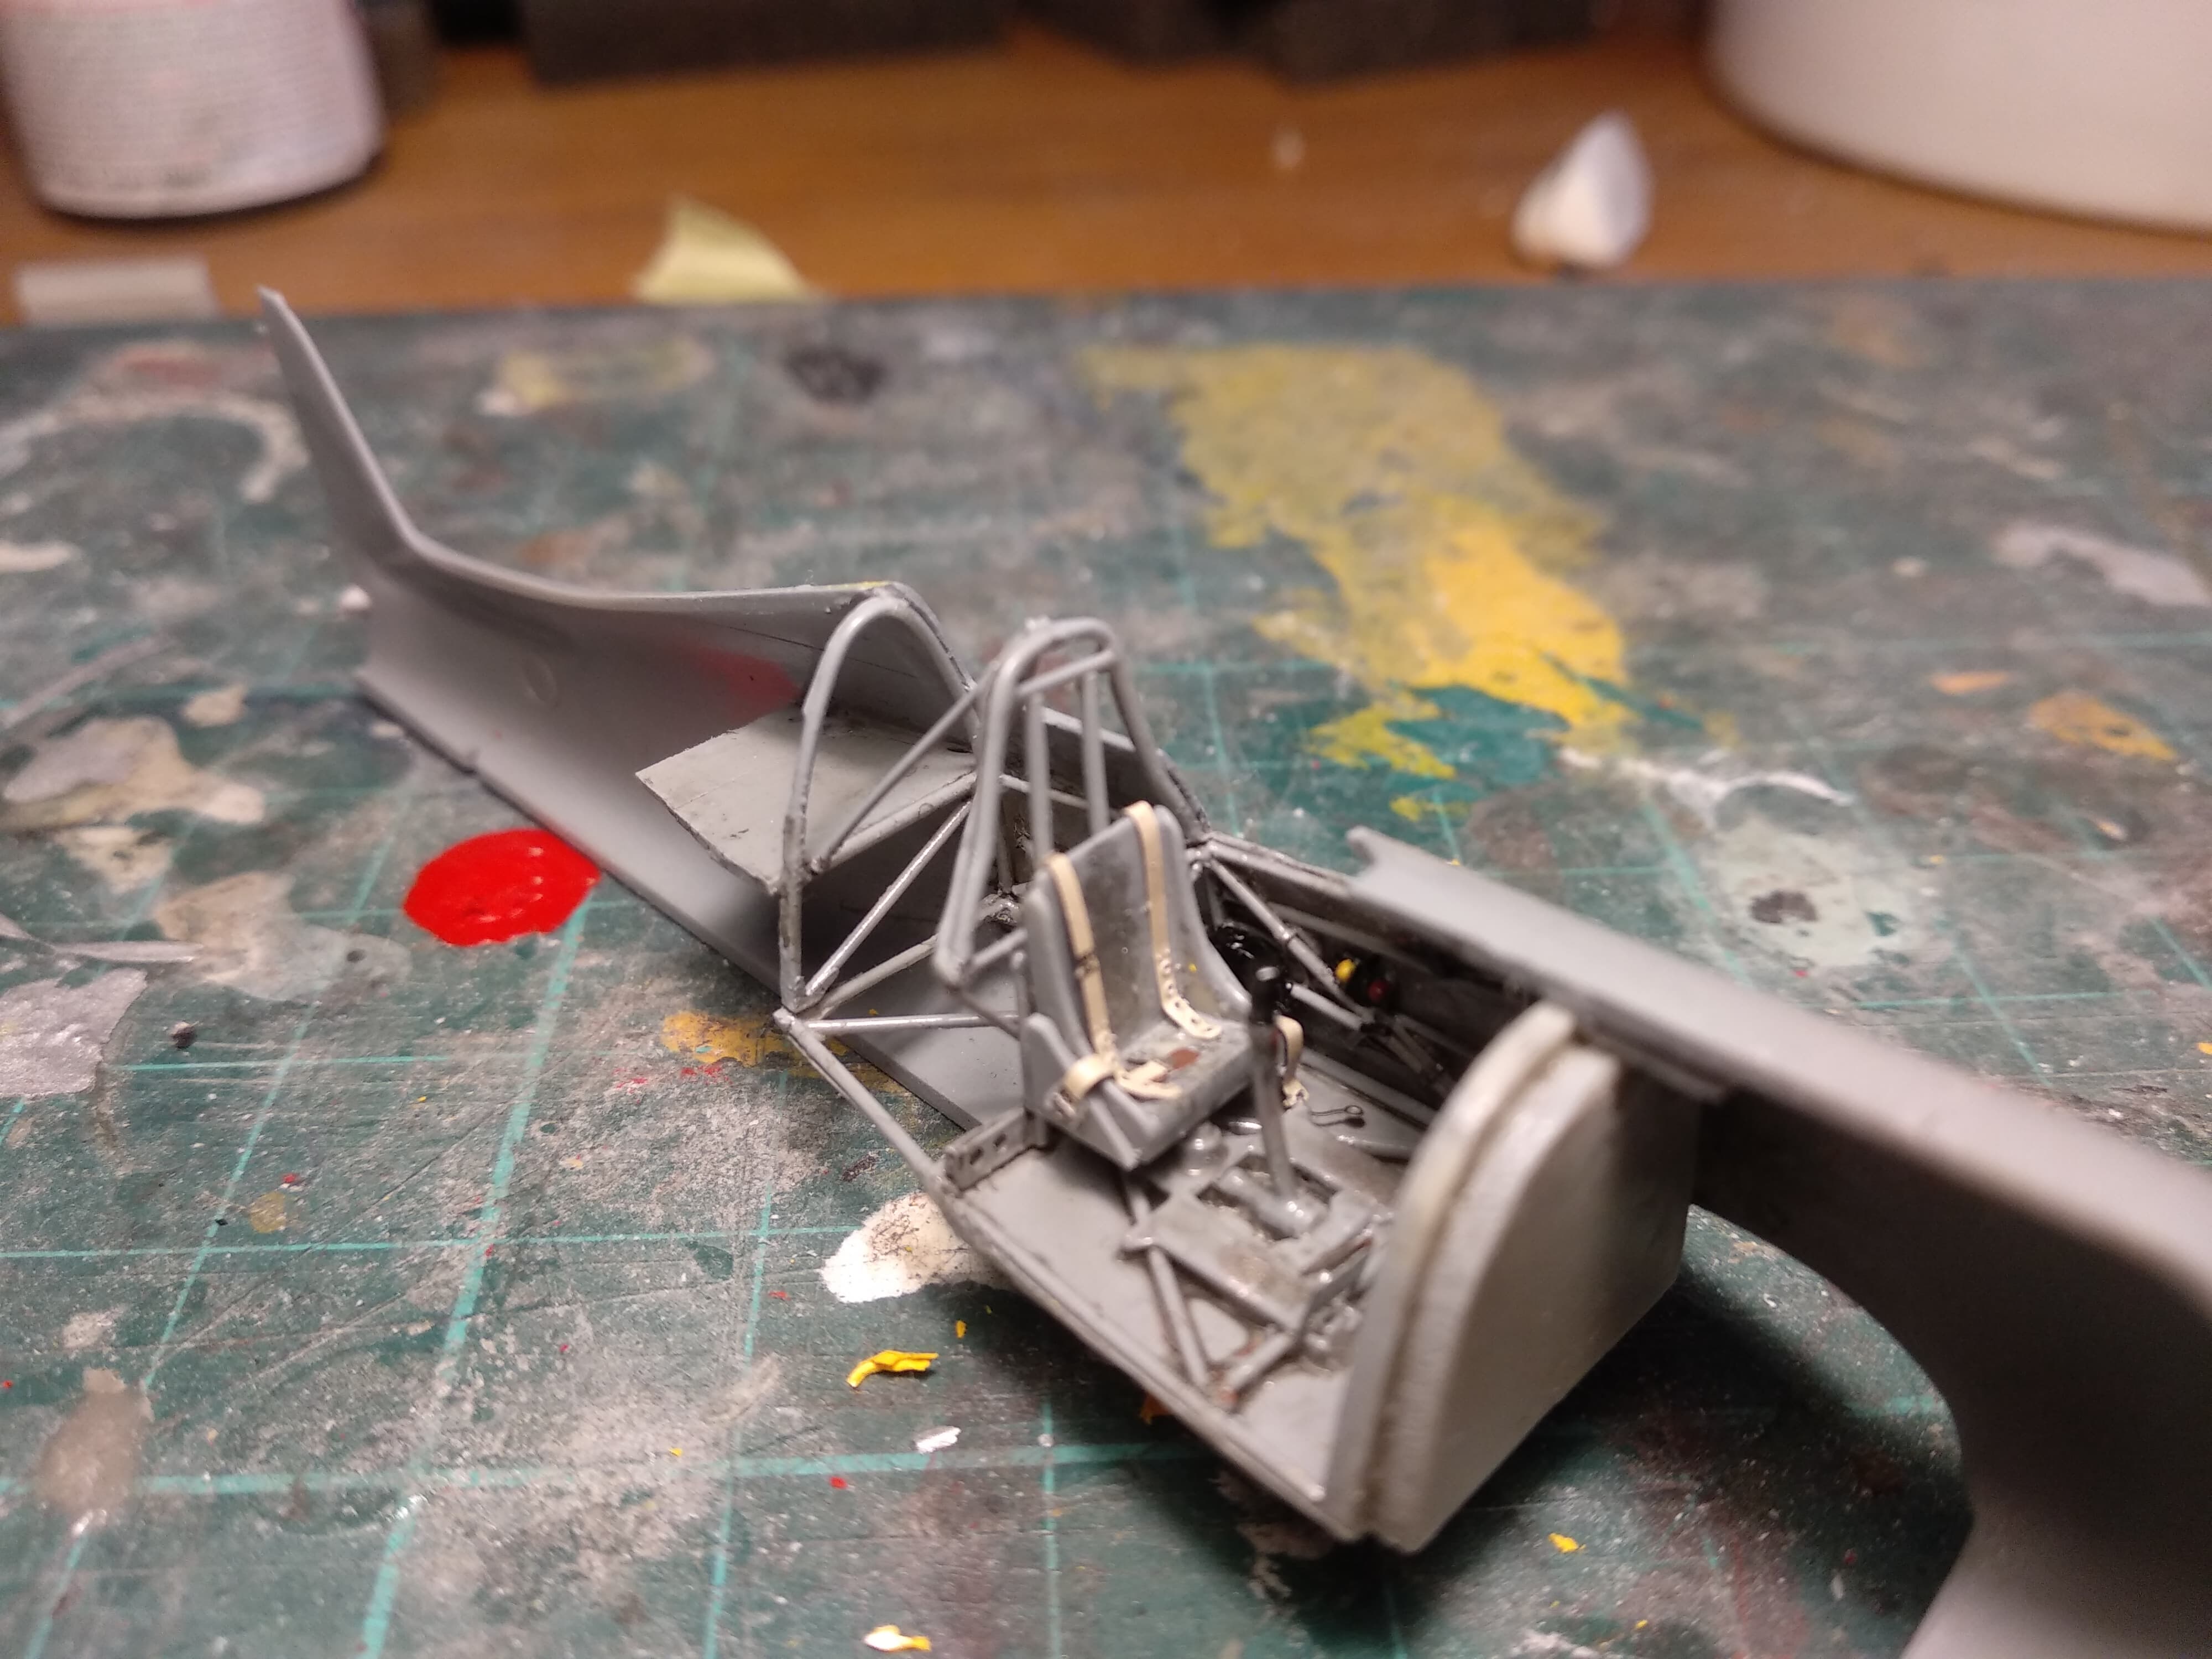
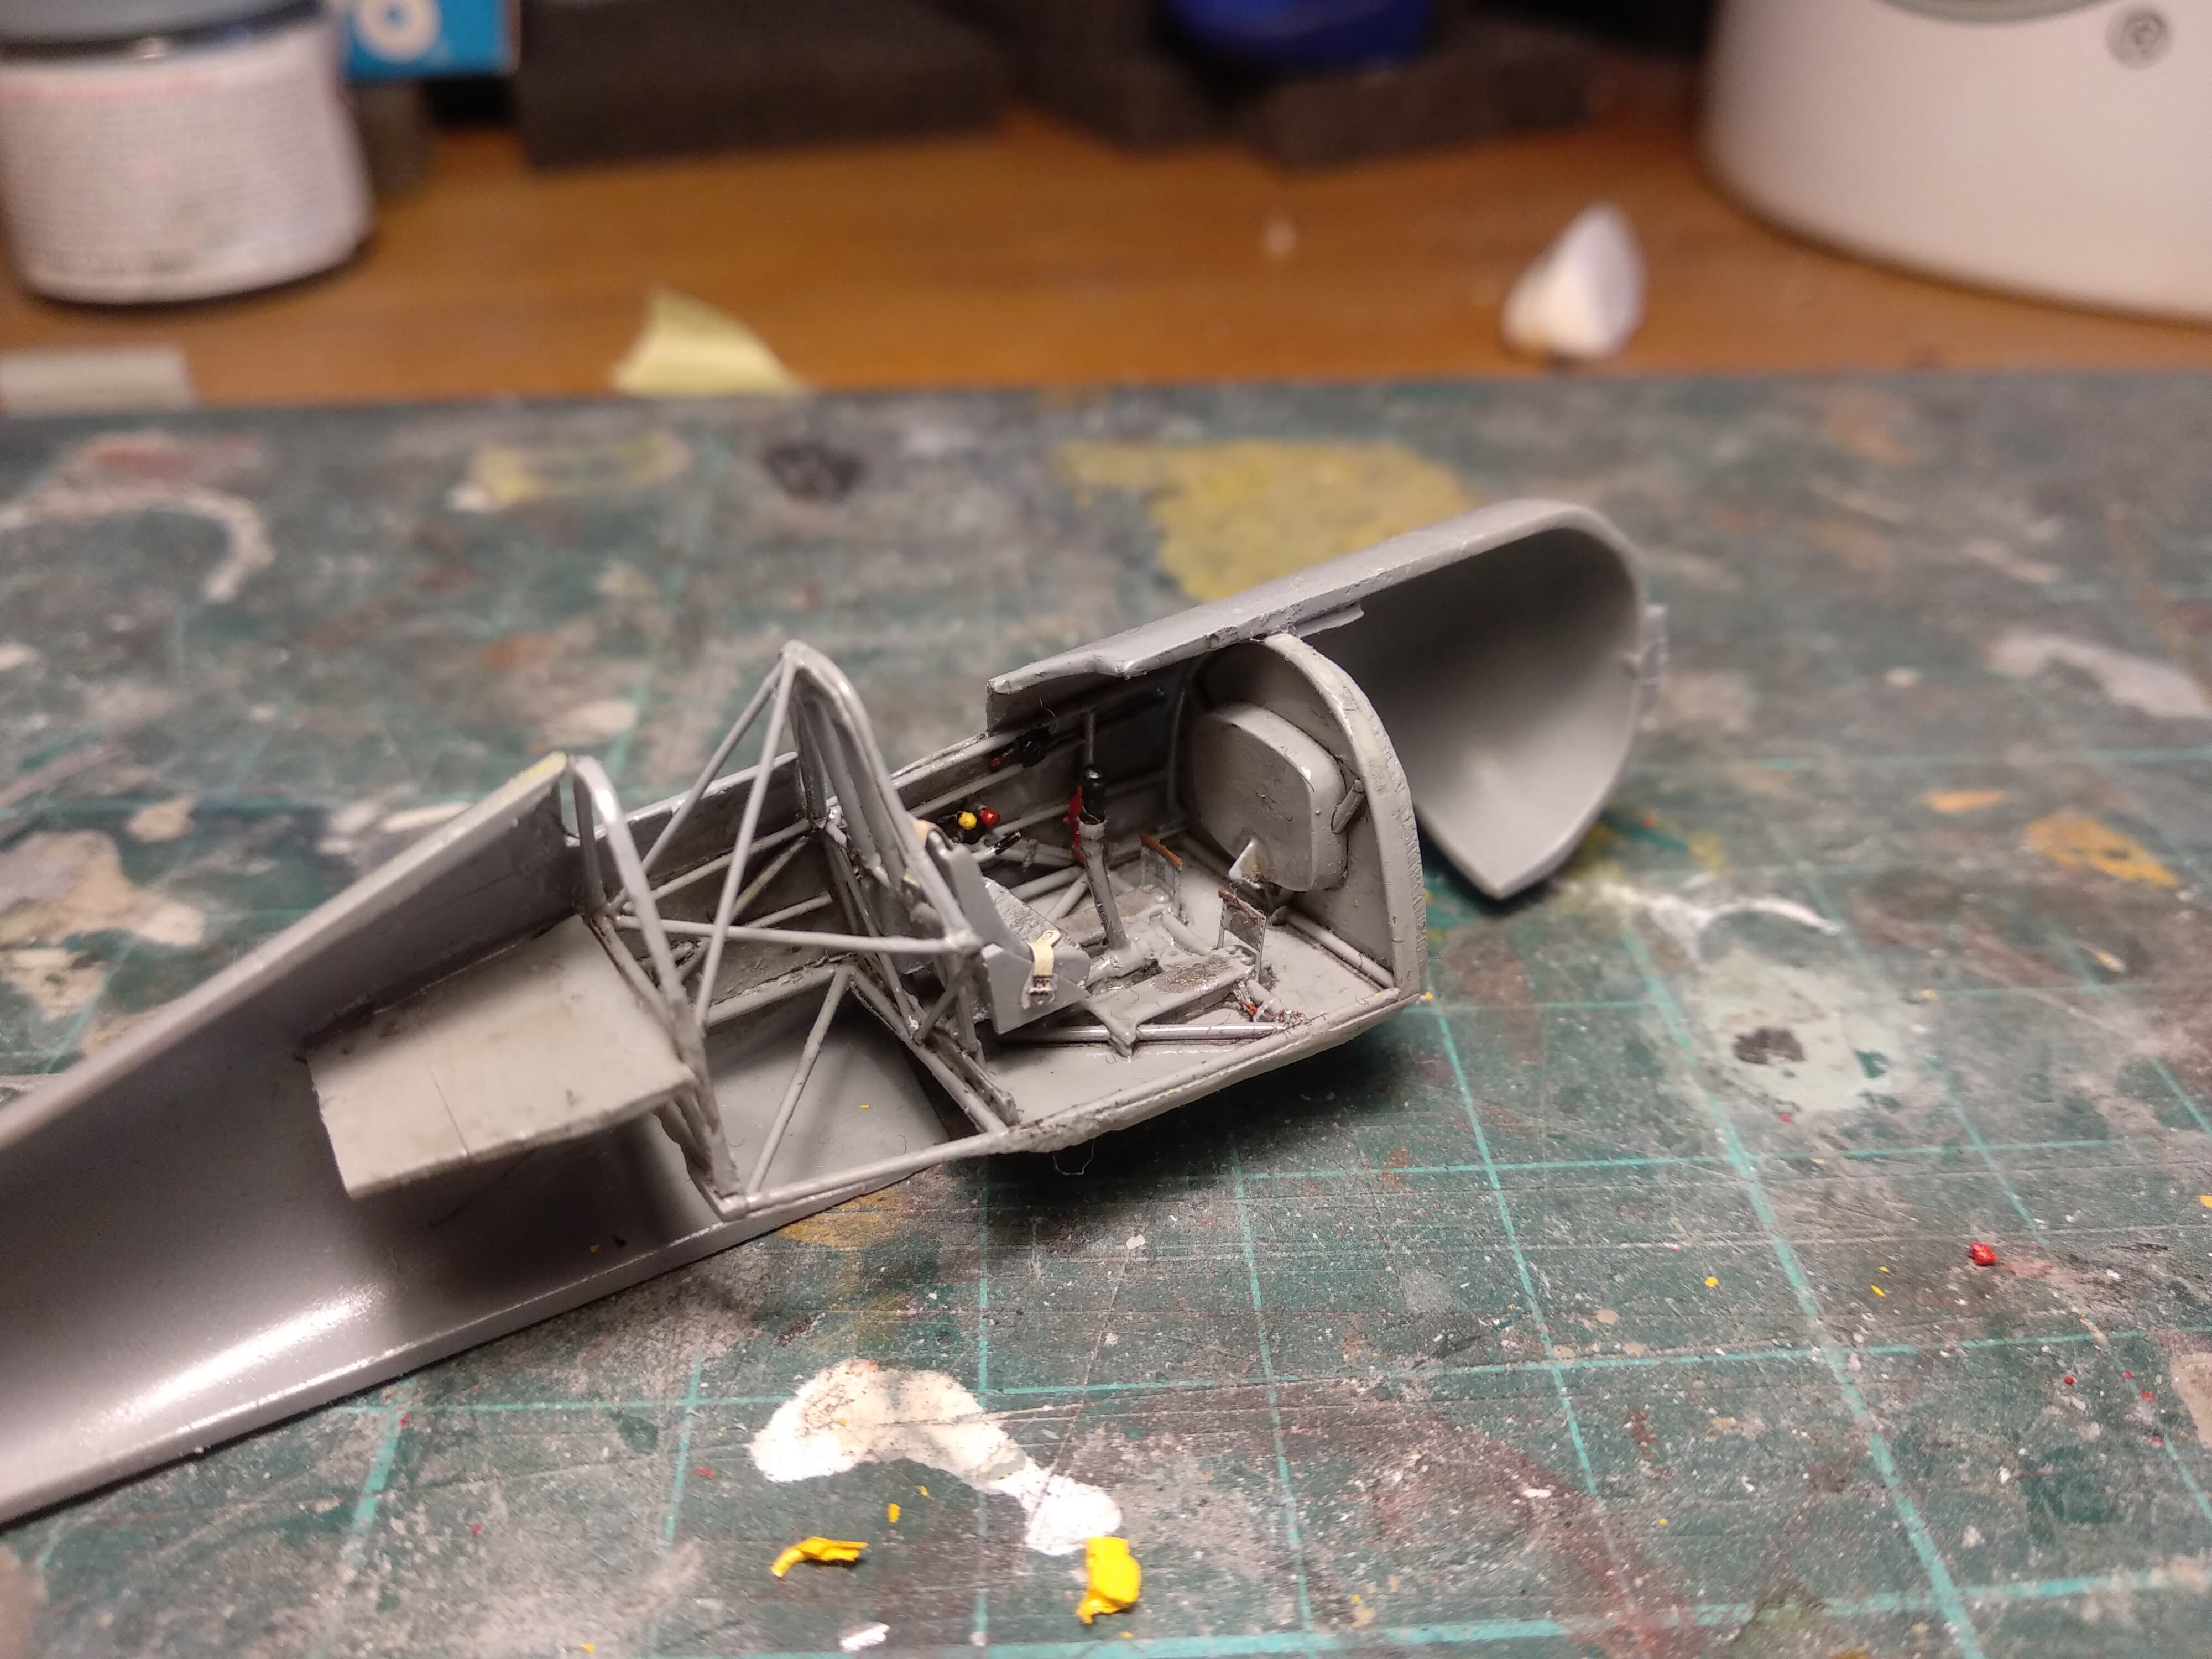
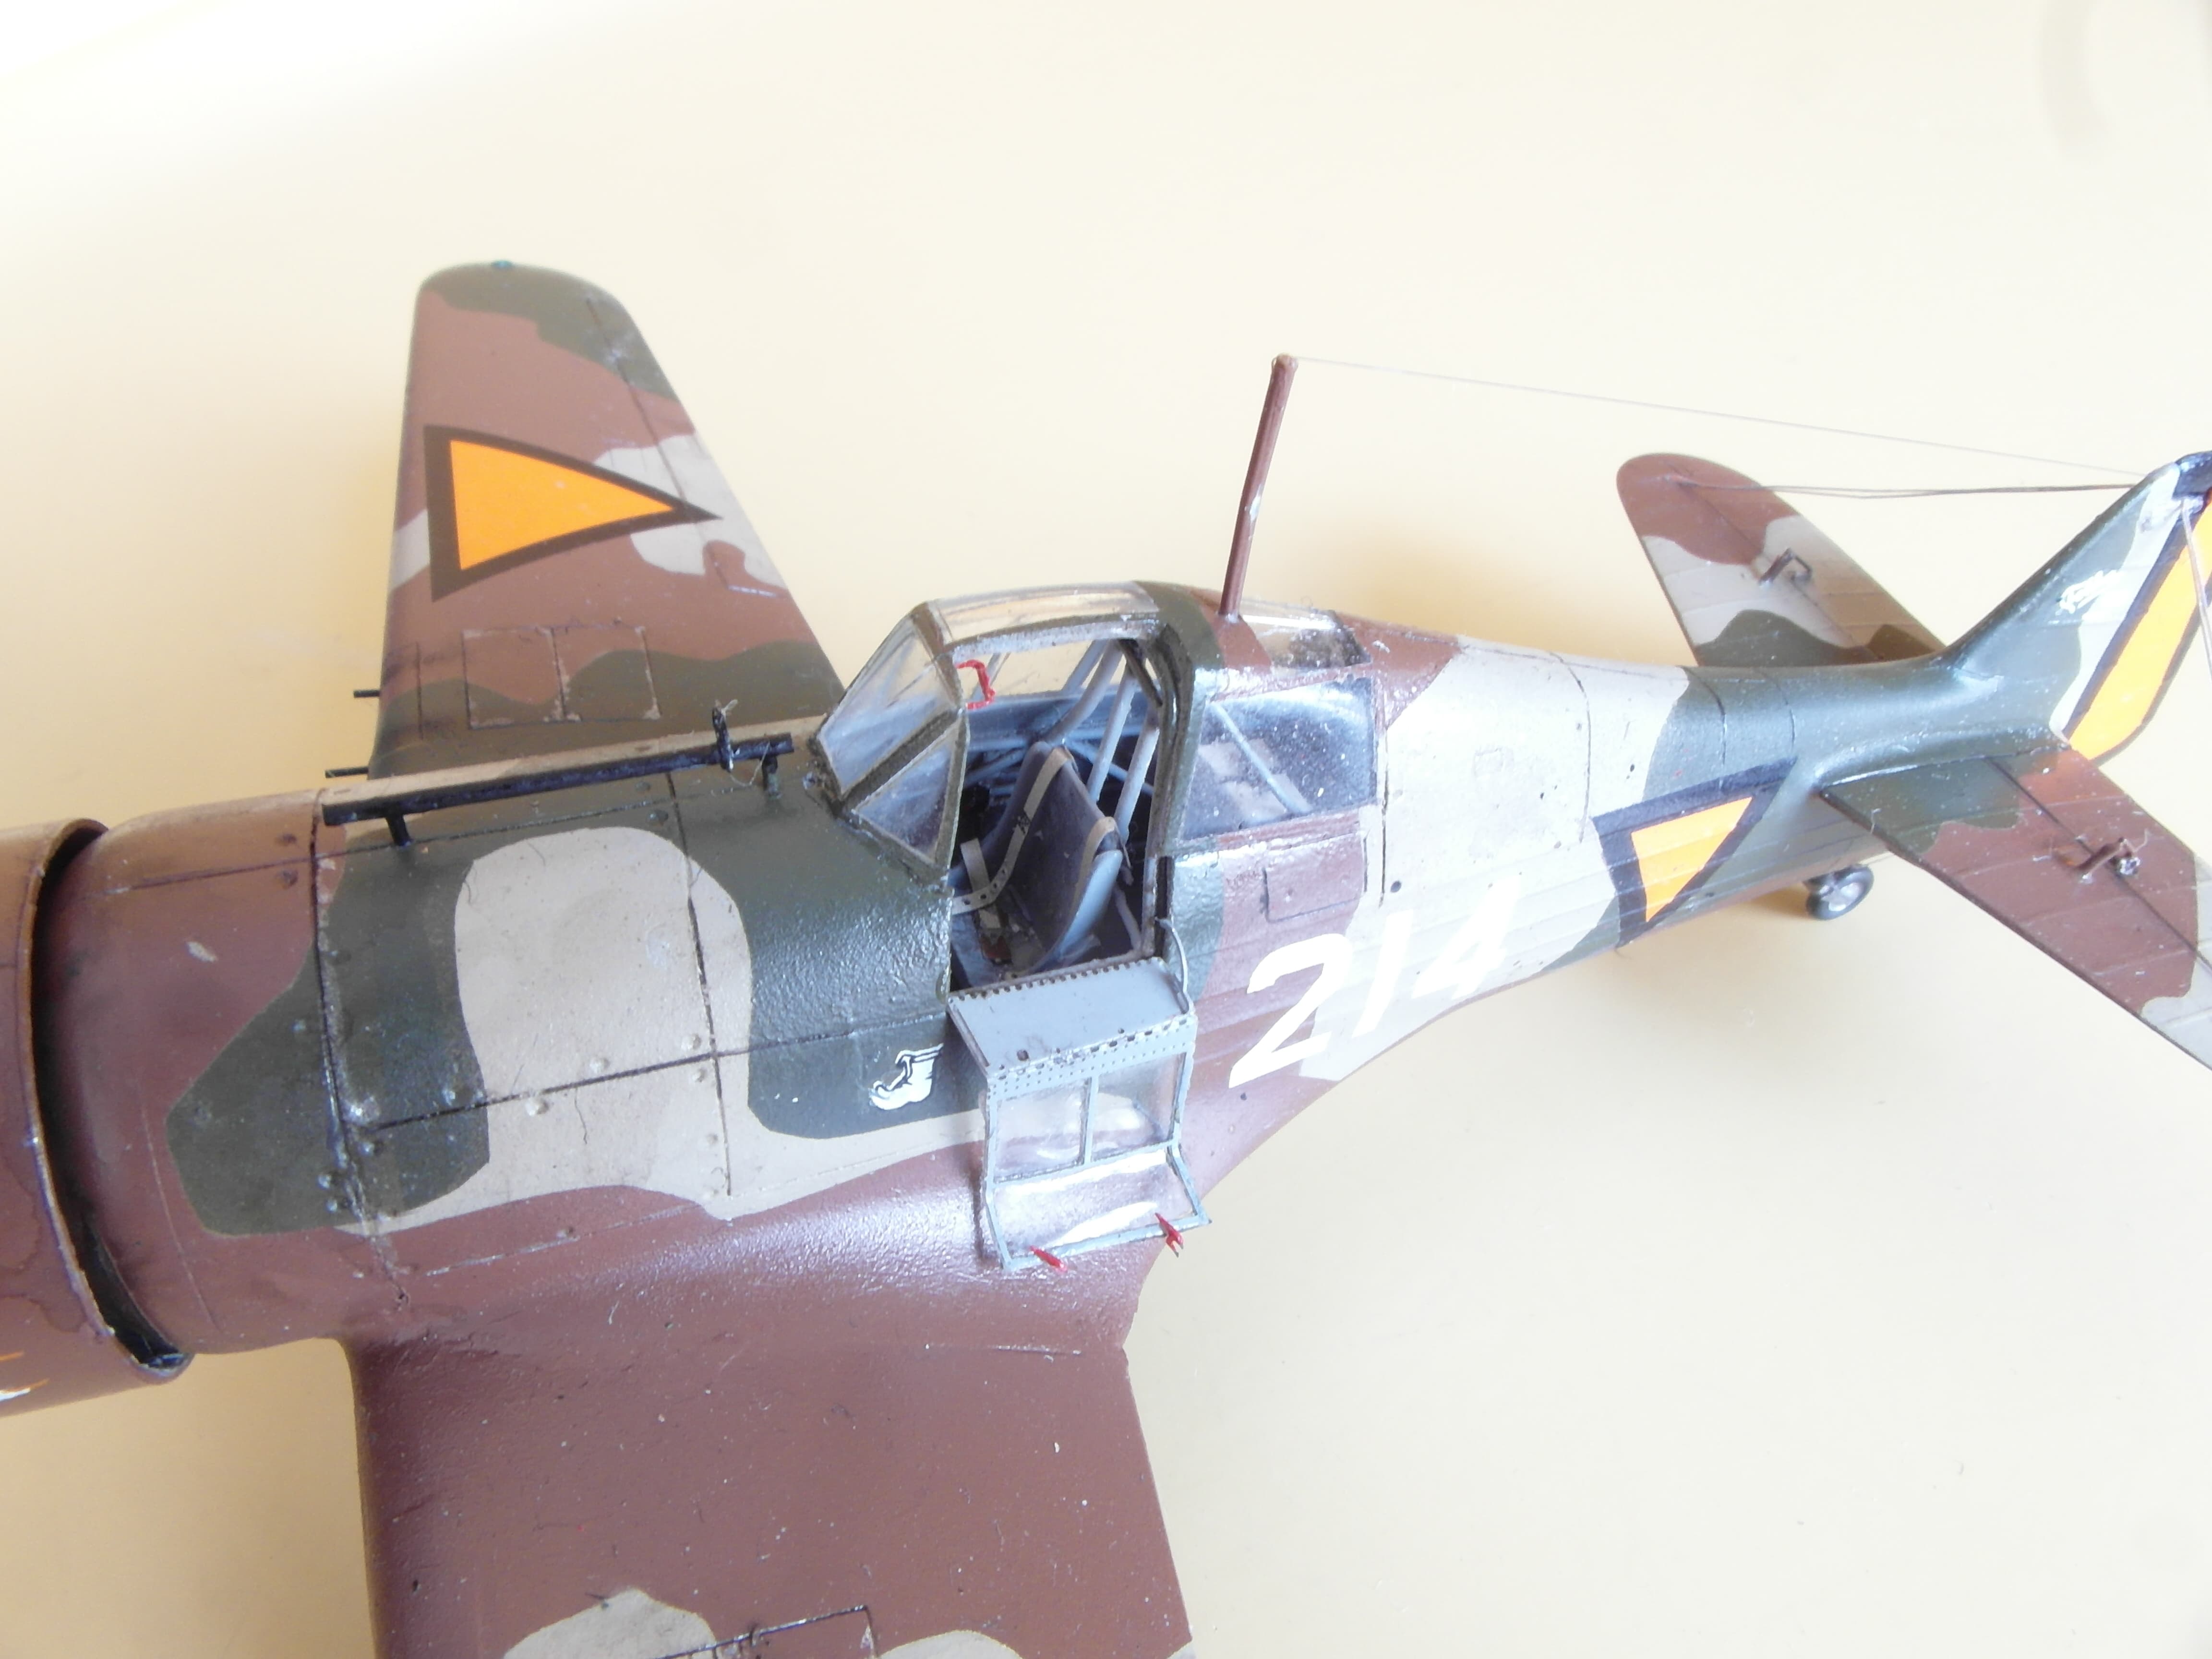
As usual, I started with building the cockpit. The resin parts fit decently well, but there is quite a bit of extra resin to support the delicate framework, with the exception of the frame behind the pilot’s head, which is quite a bit thinner. The side walls of the fuselage also needed to be thinned a lot to make room. Scratch building was left to a minimum, with the exception of some framing, which was recreated with copper and lead wire where the original was insufficient. The entire cockpit was painted with Gunze H-317.


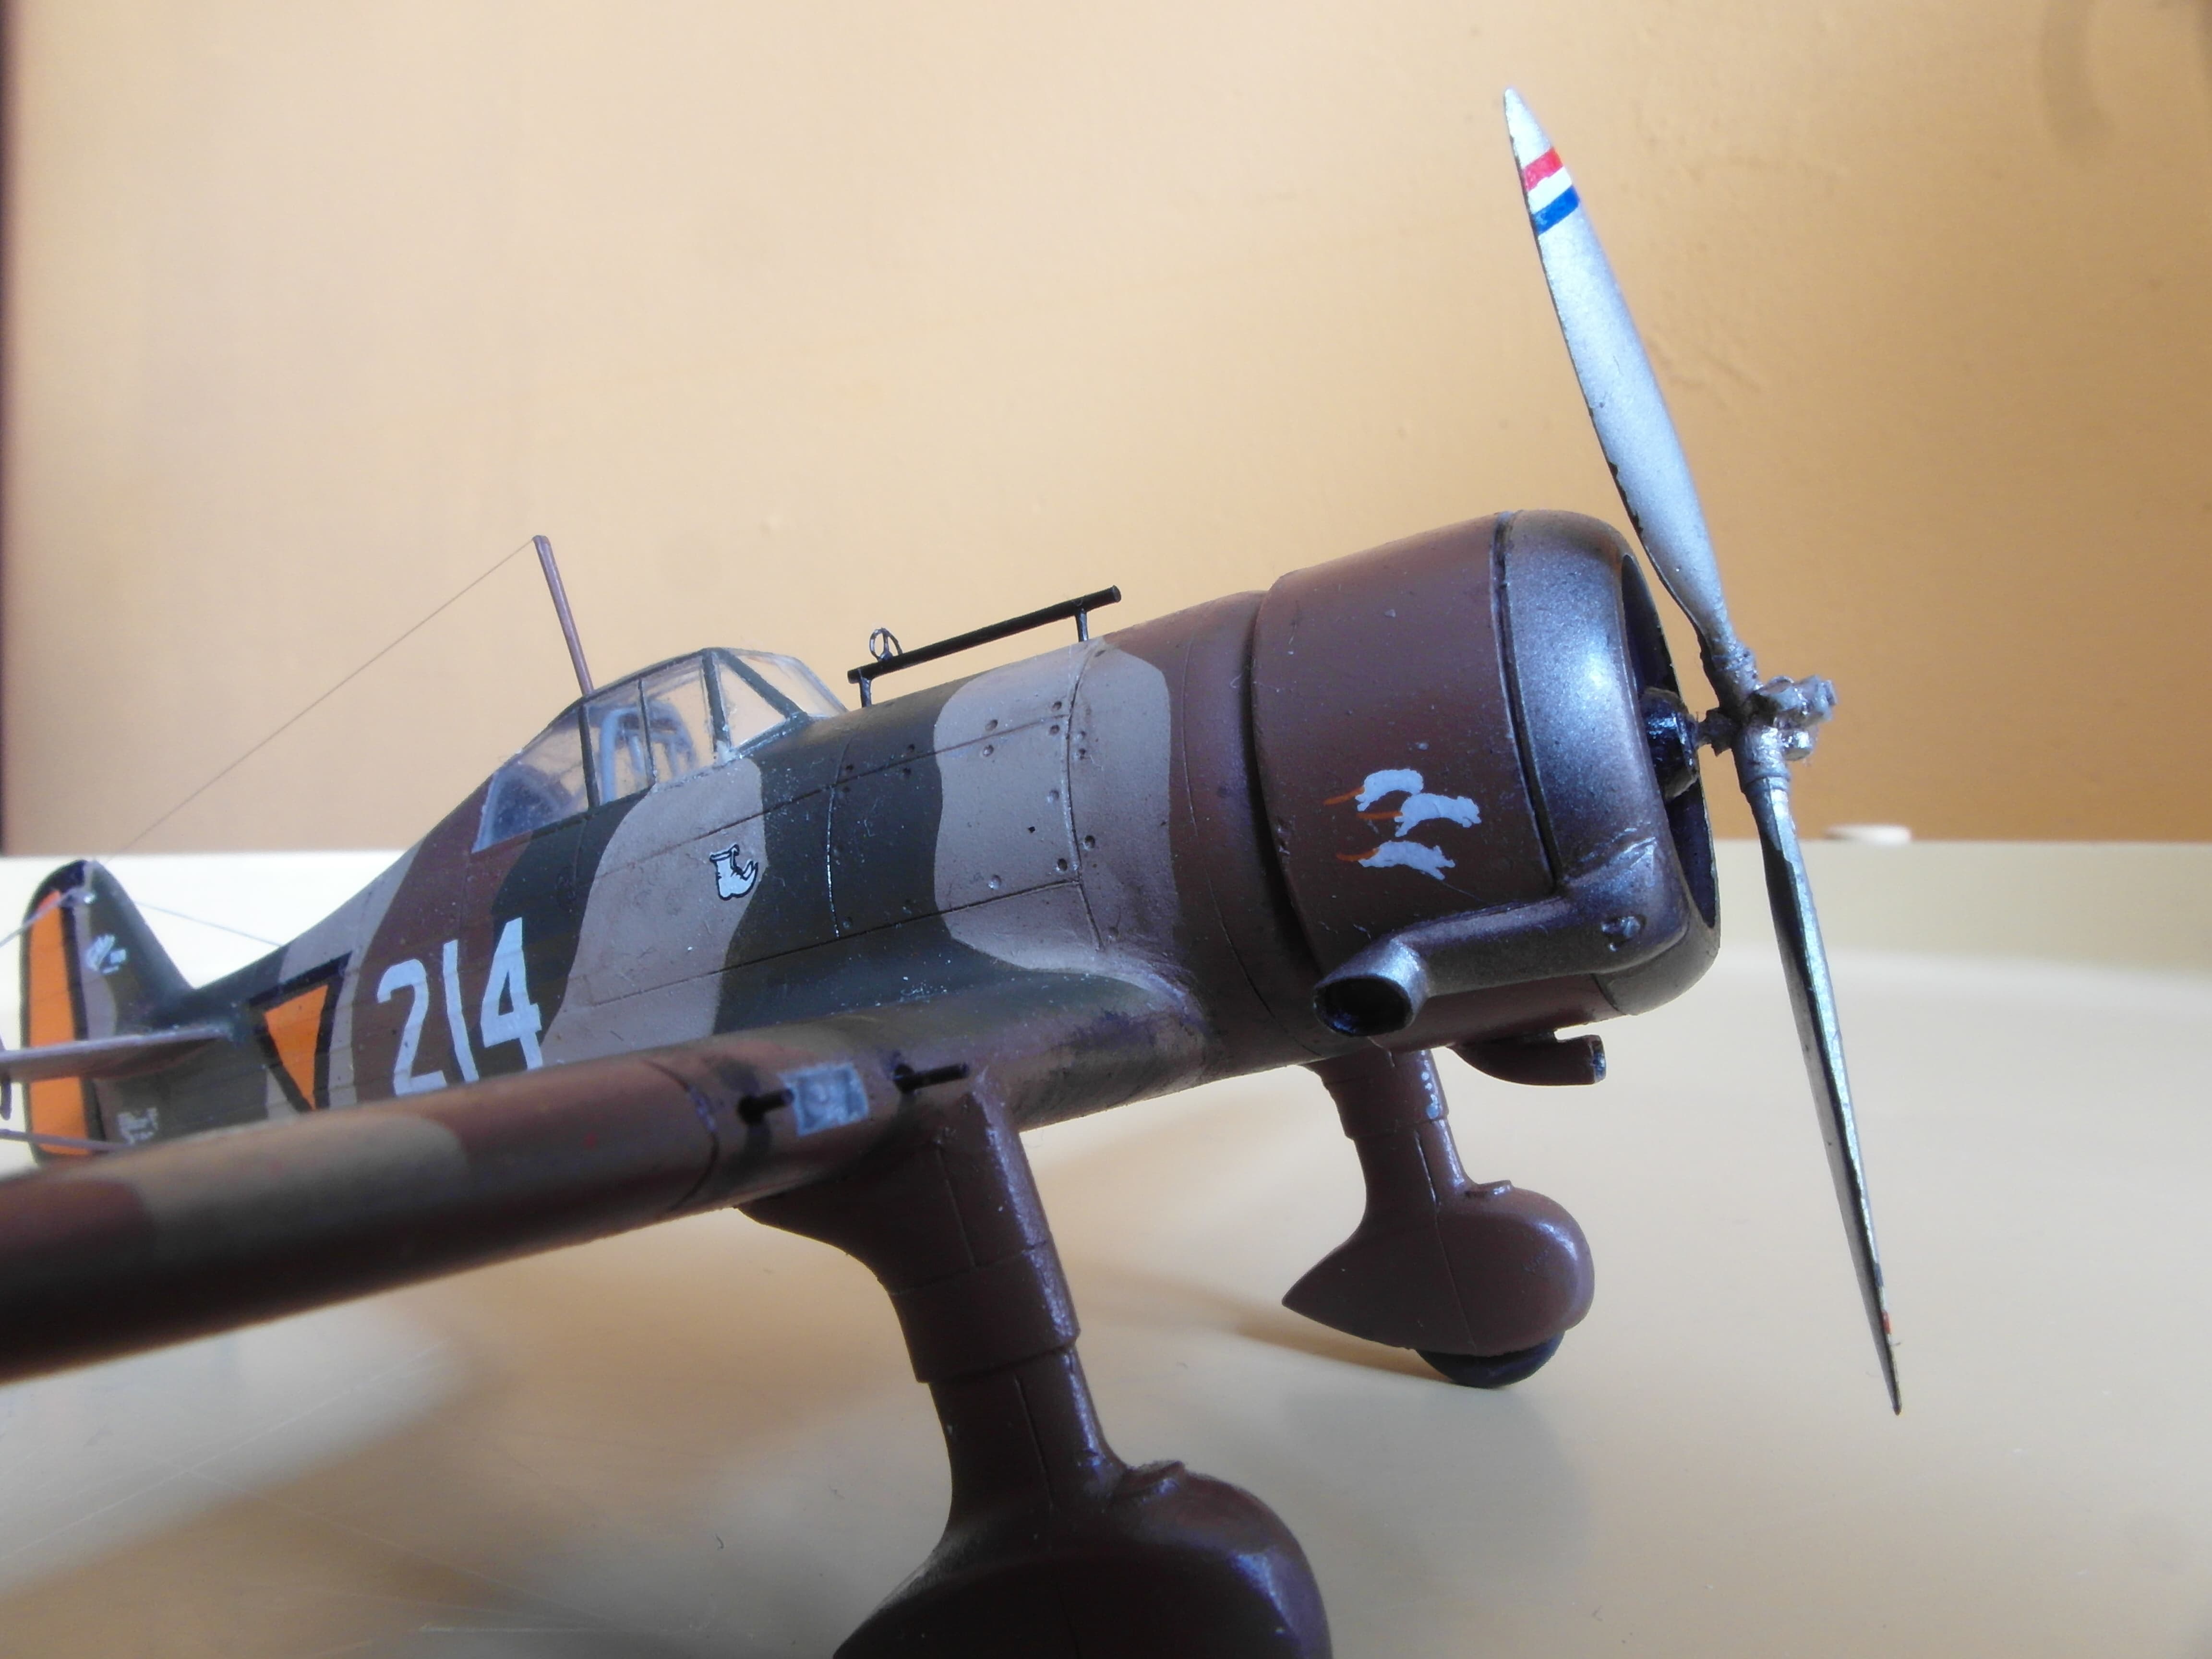
Exterior details
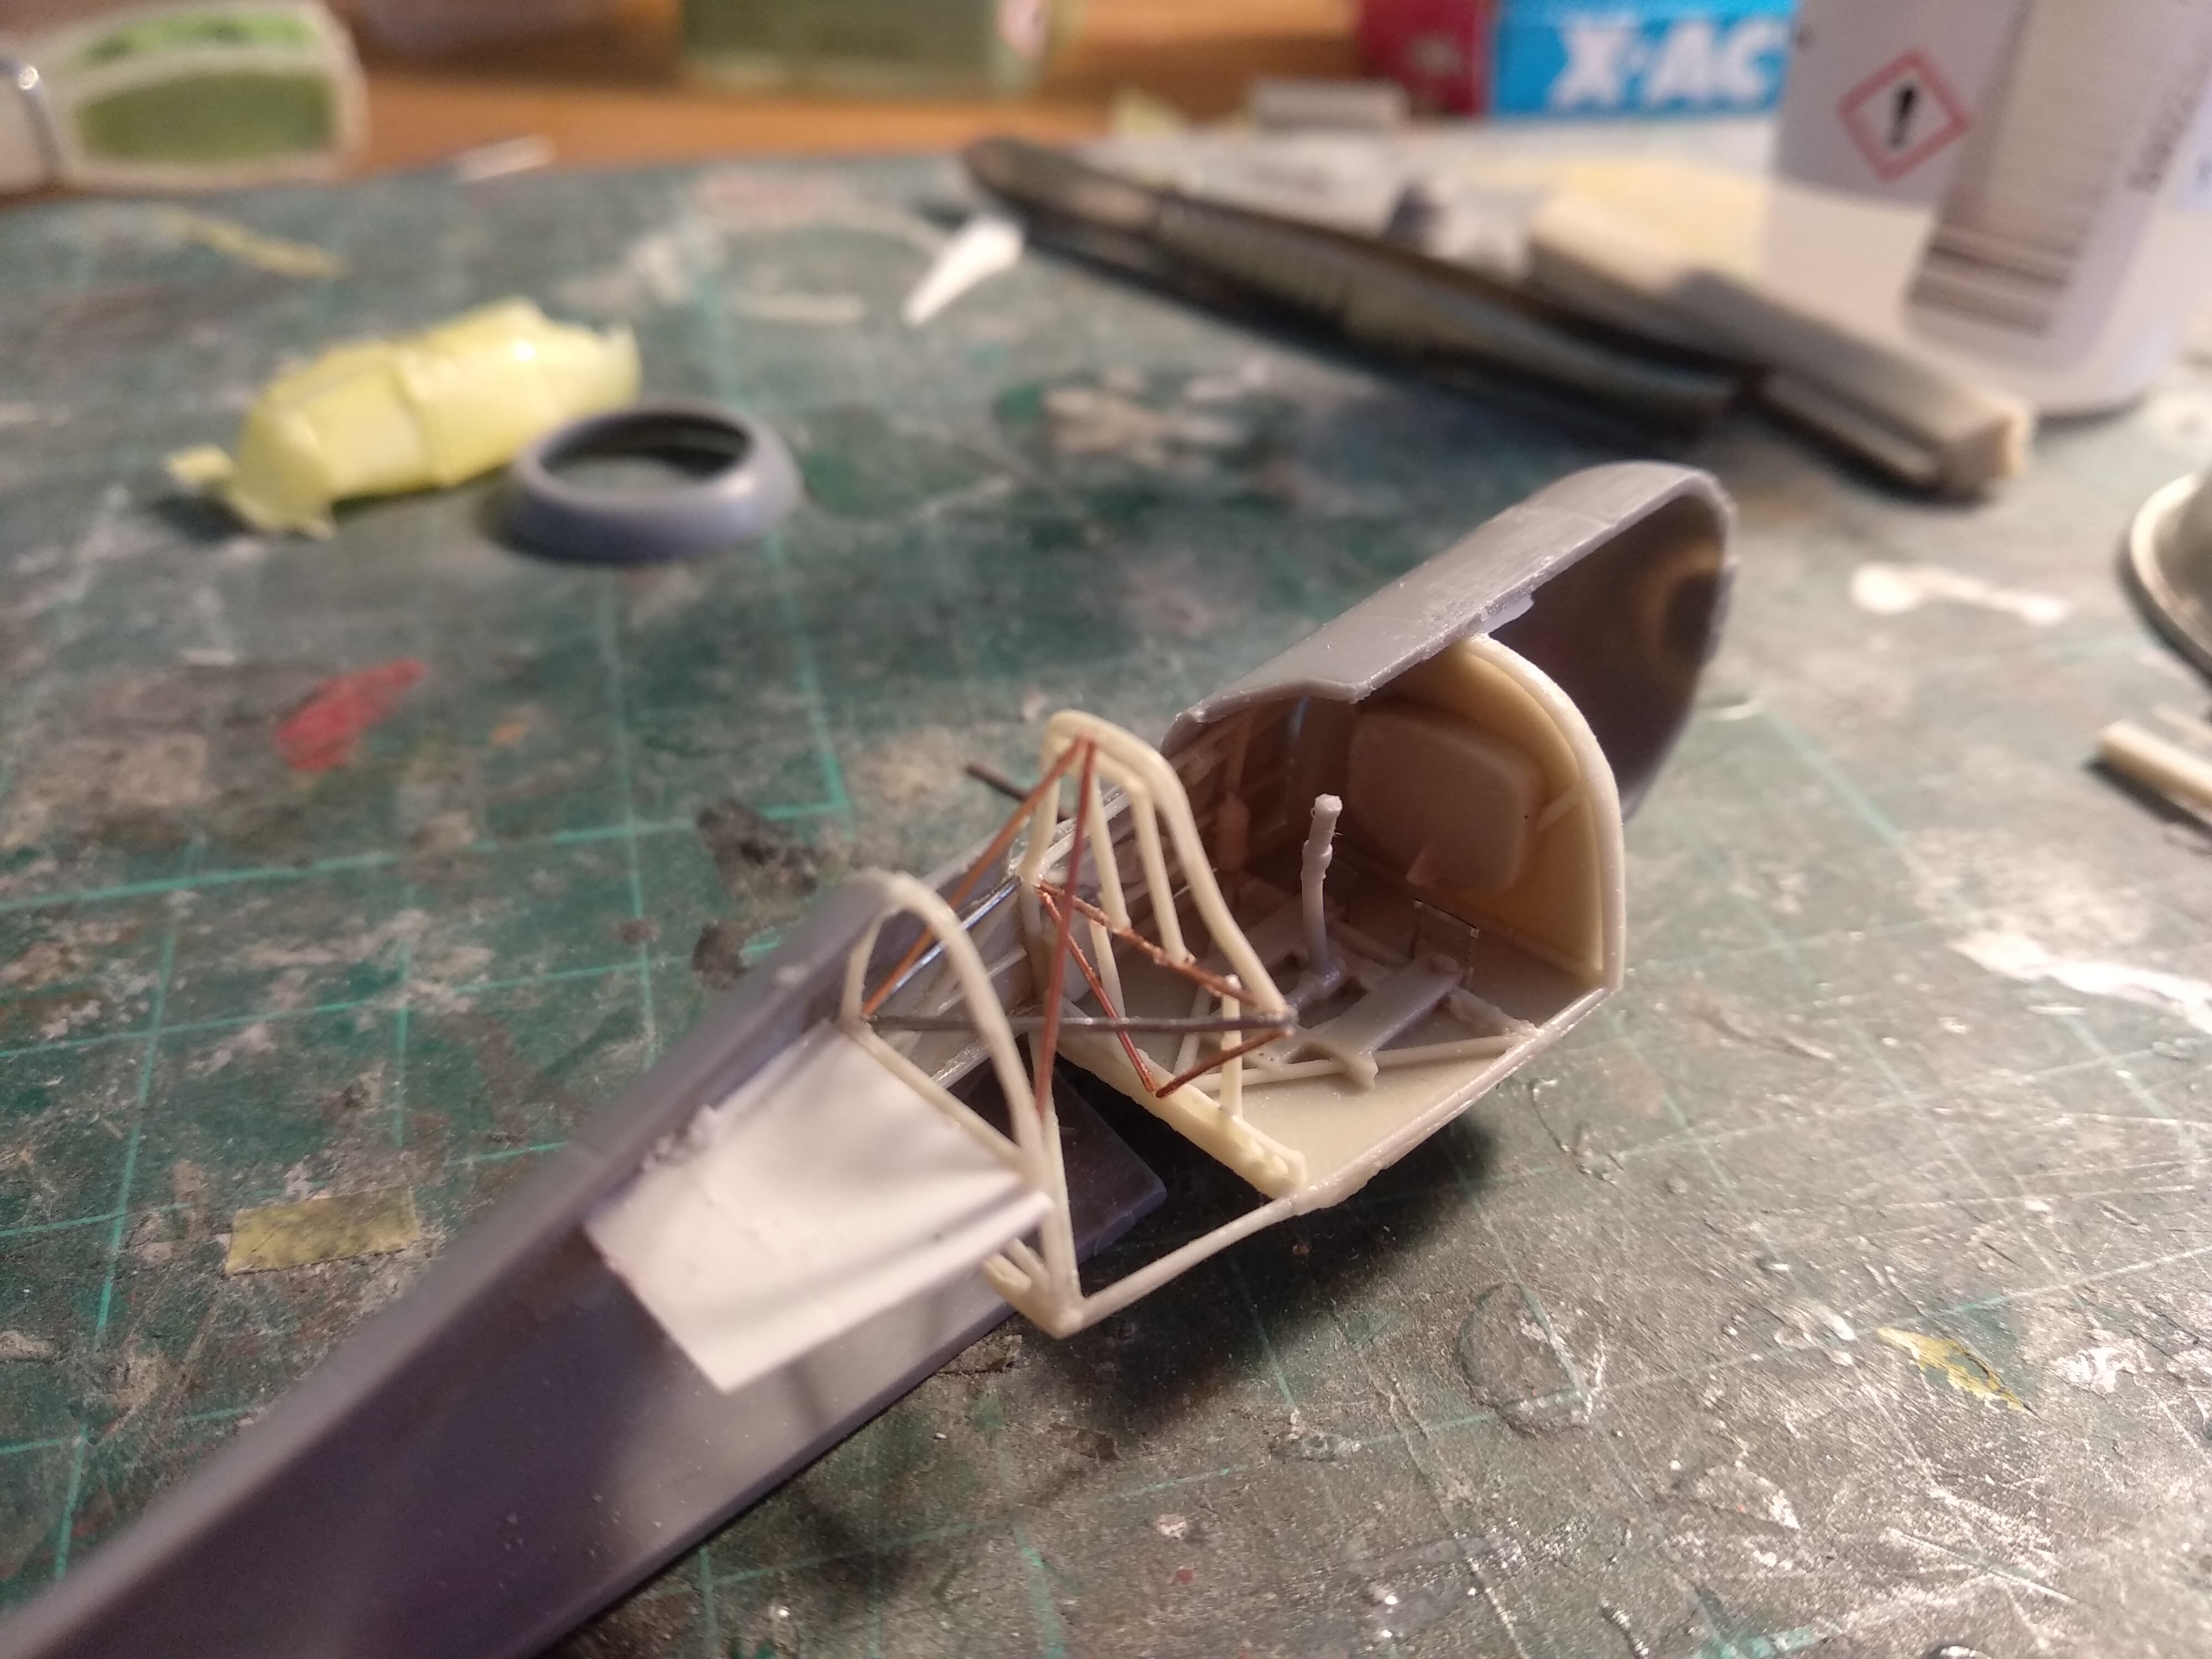
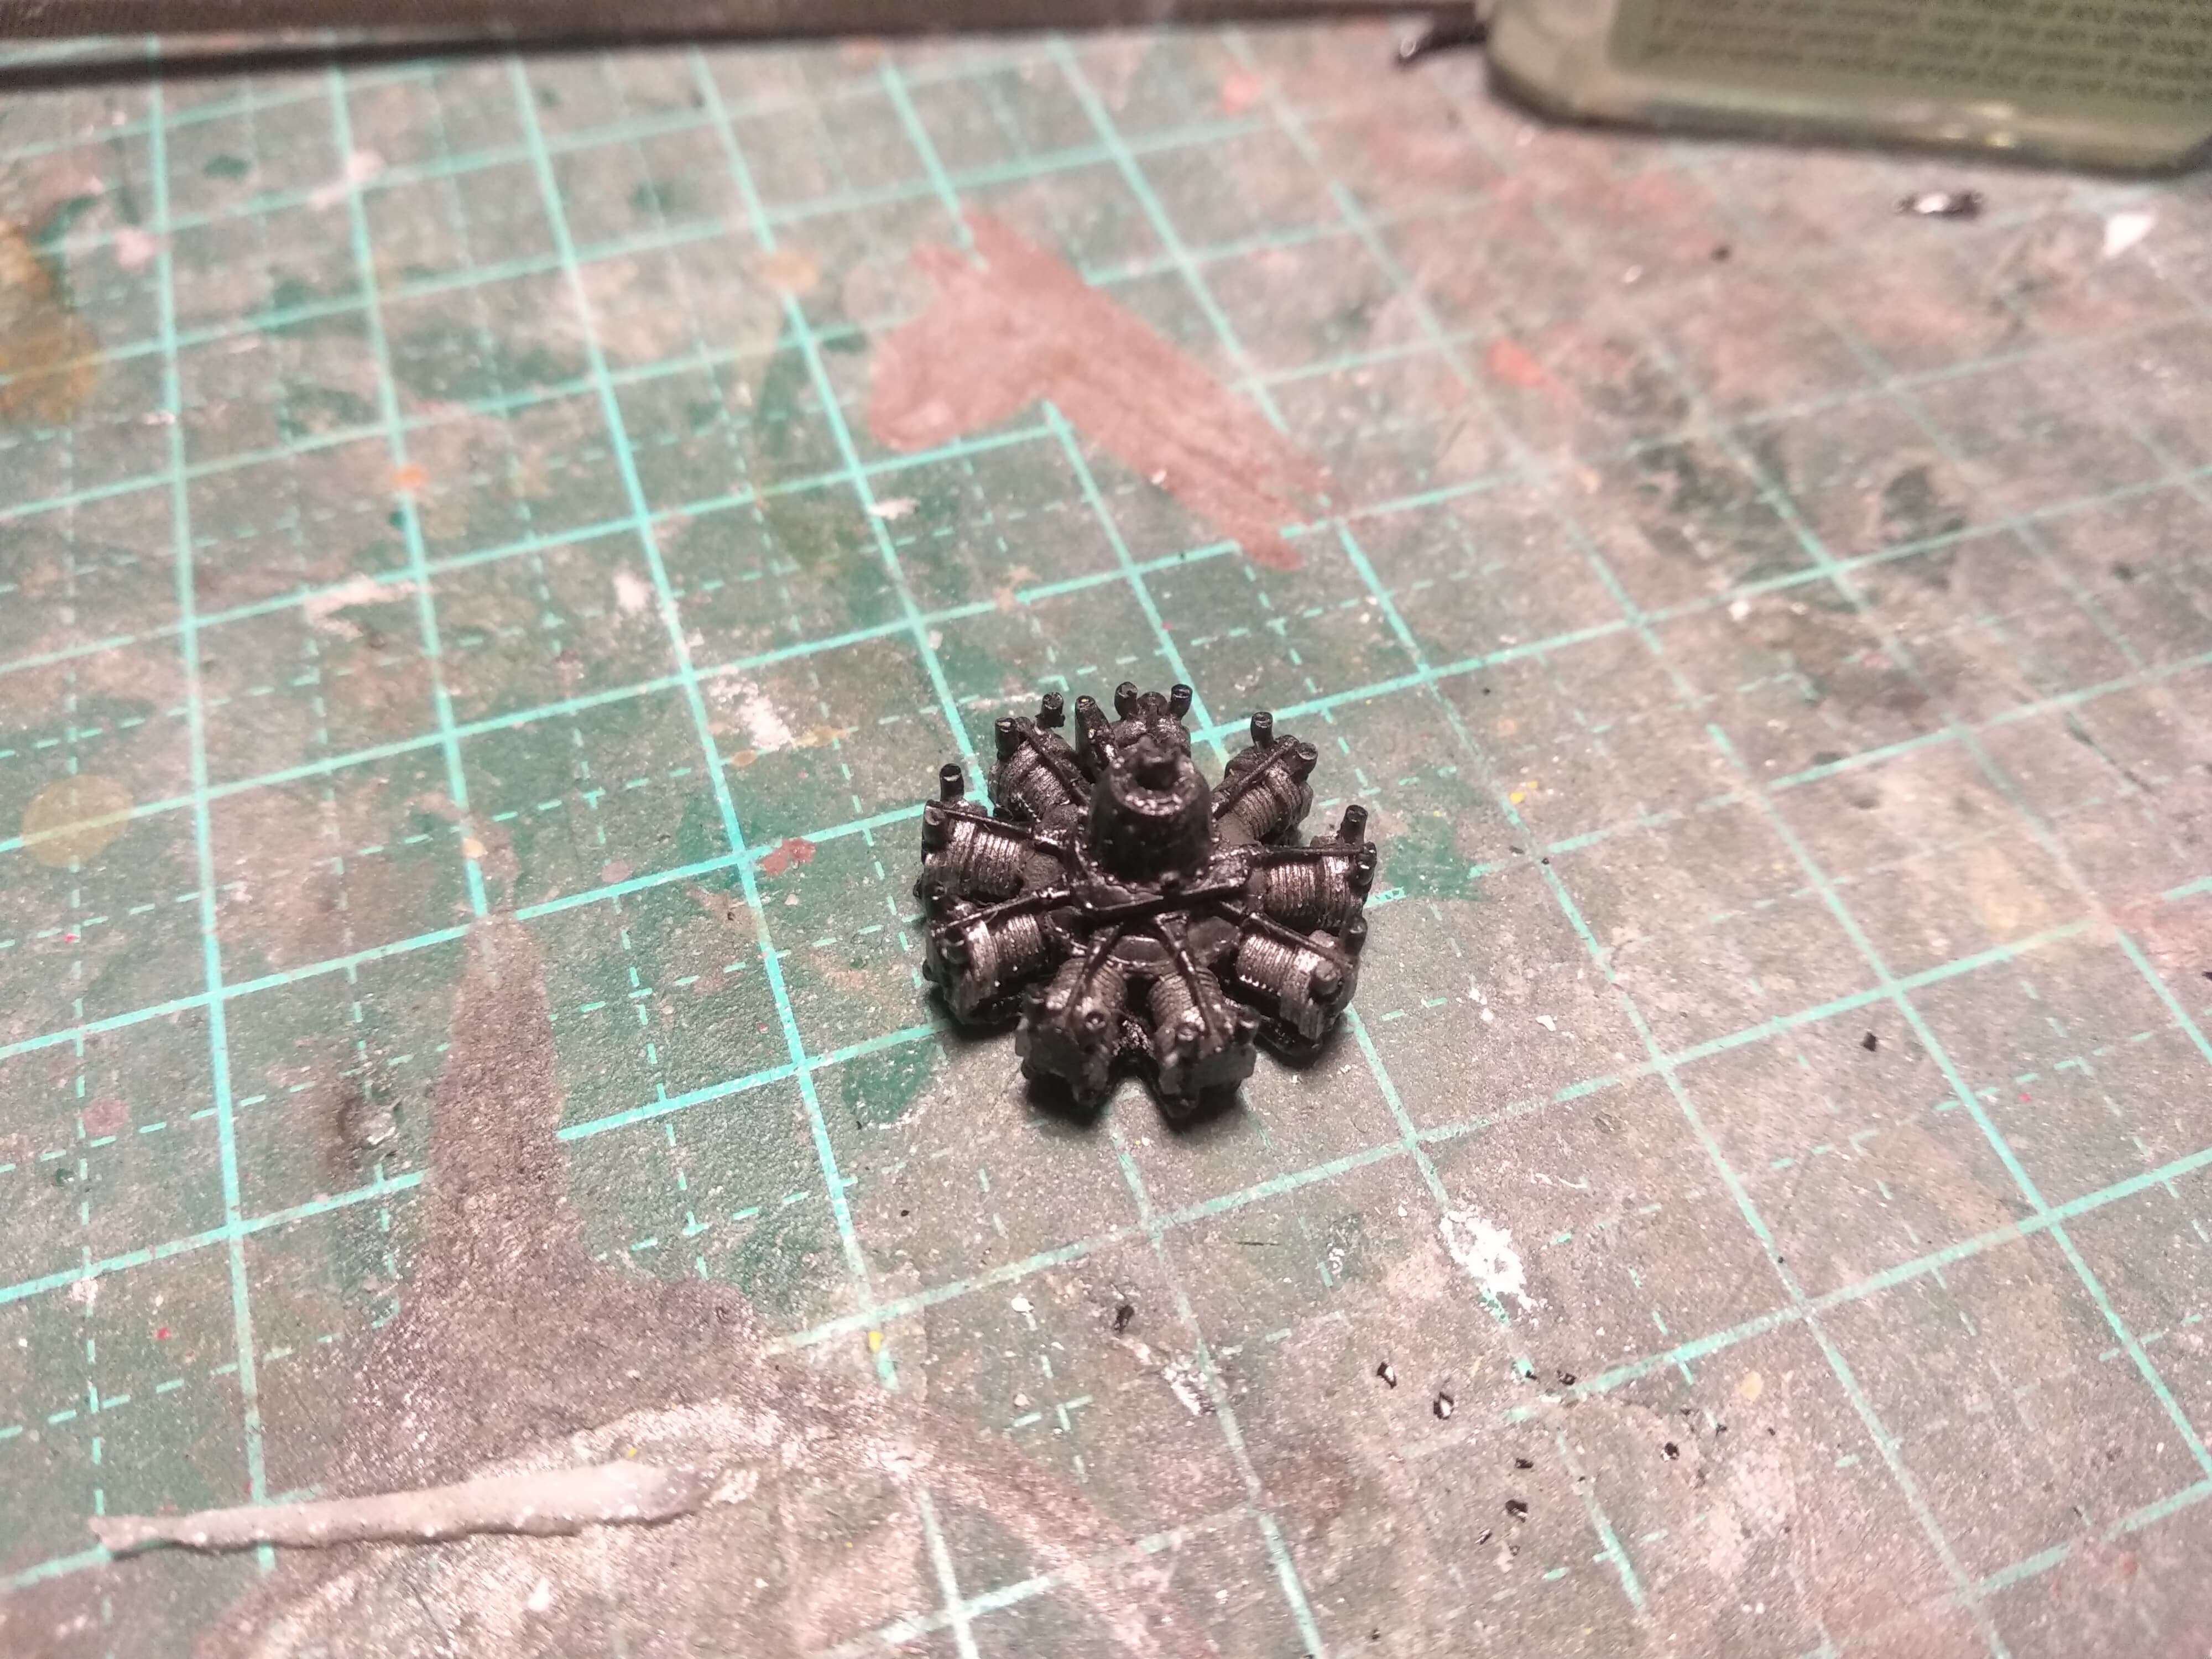
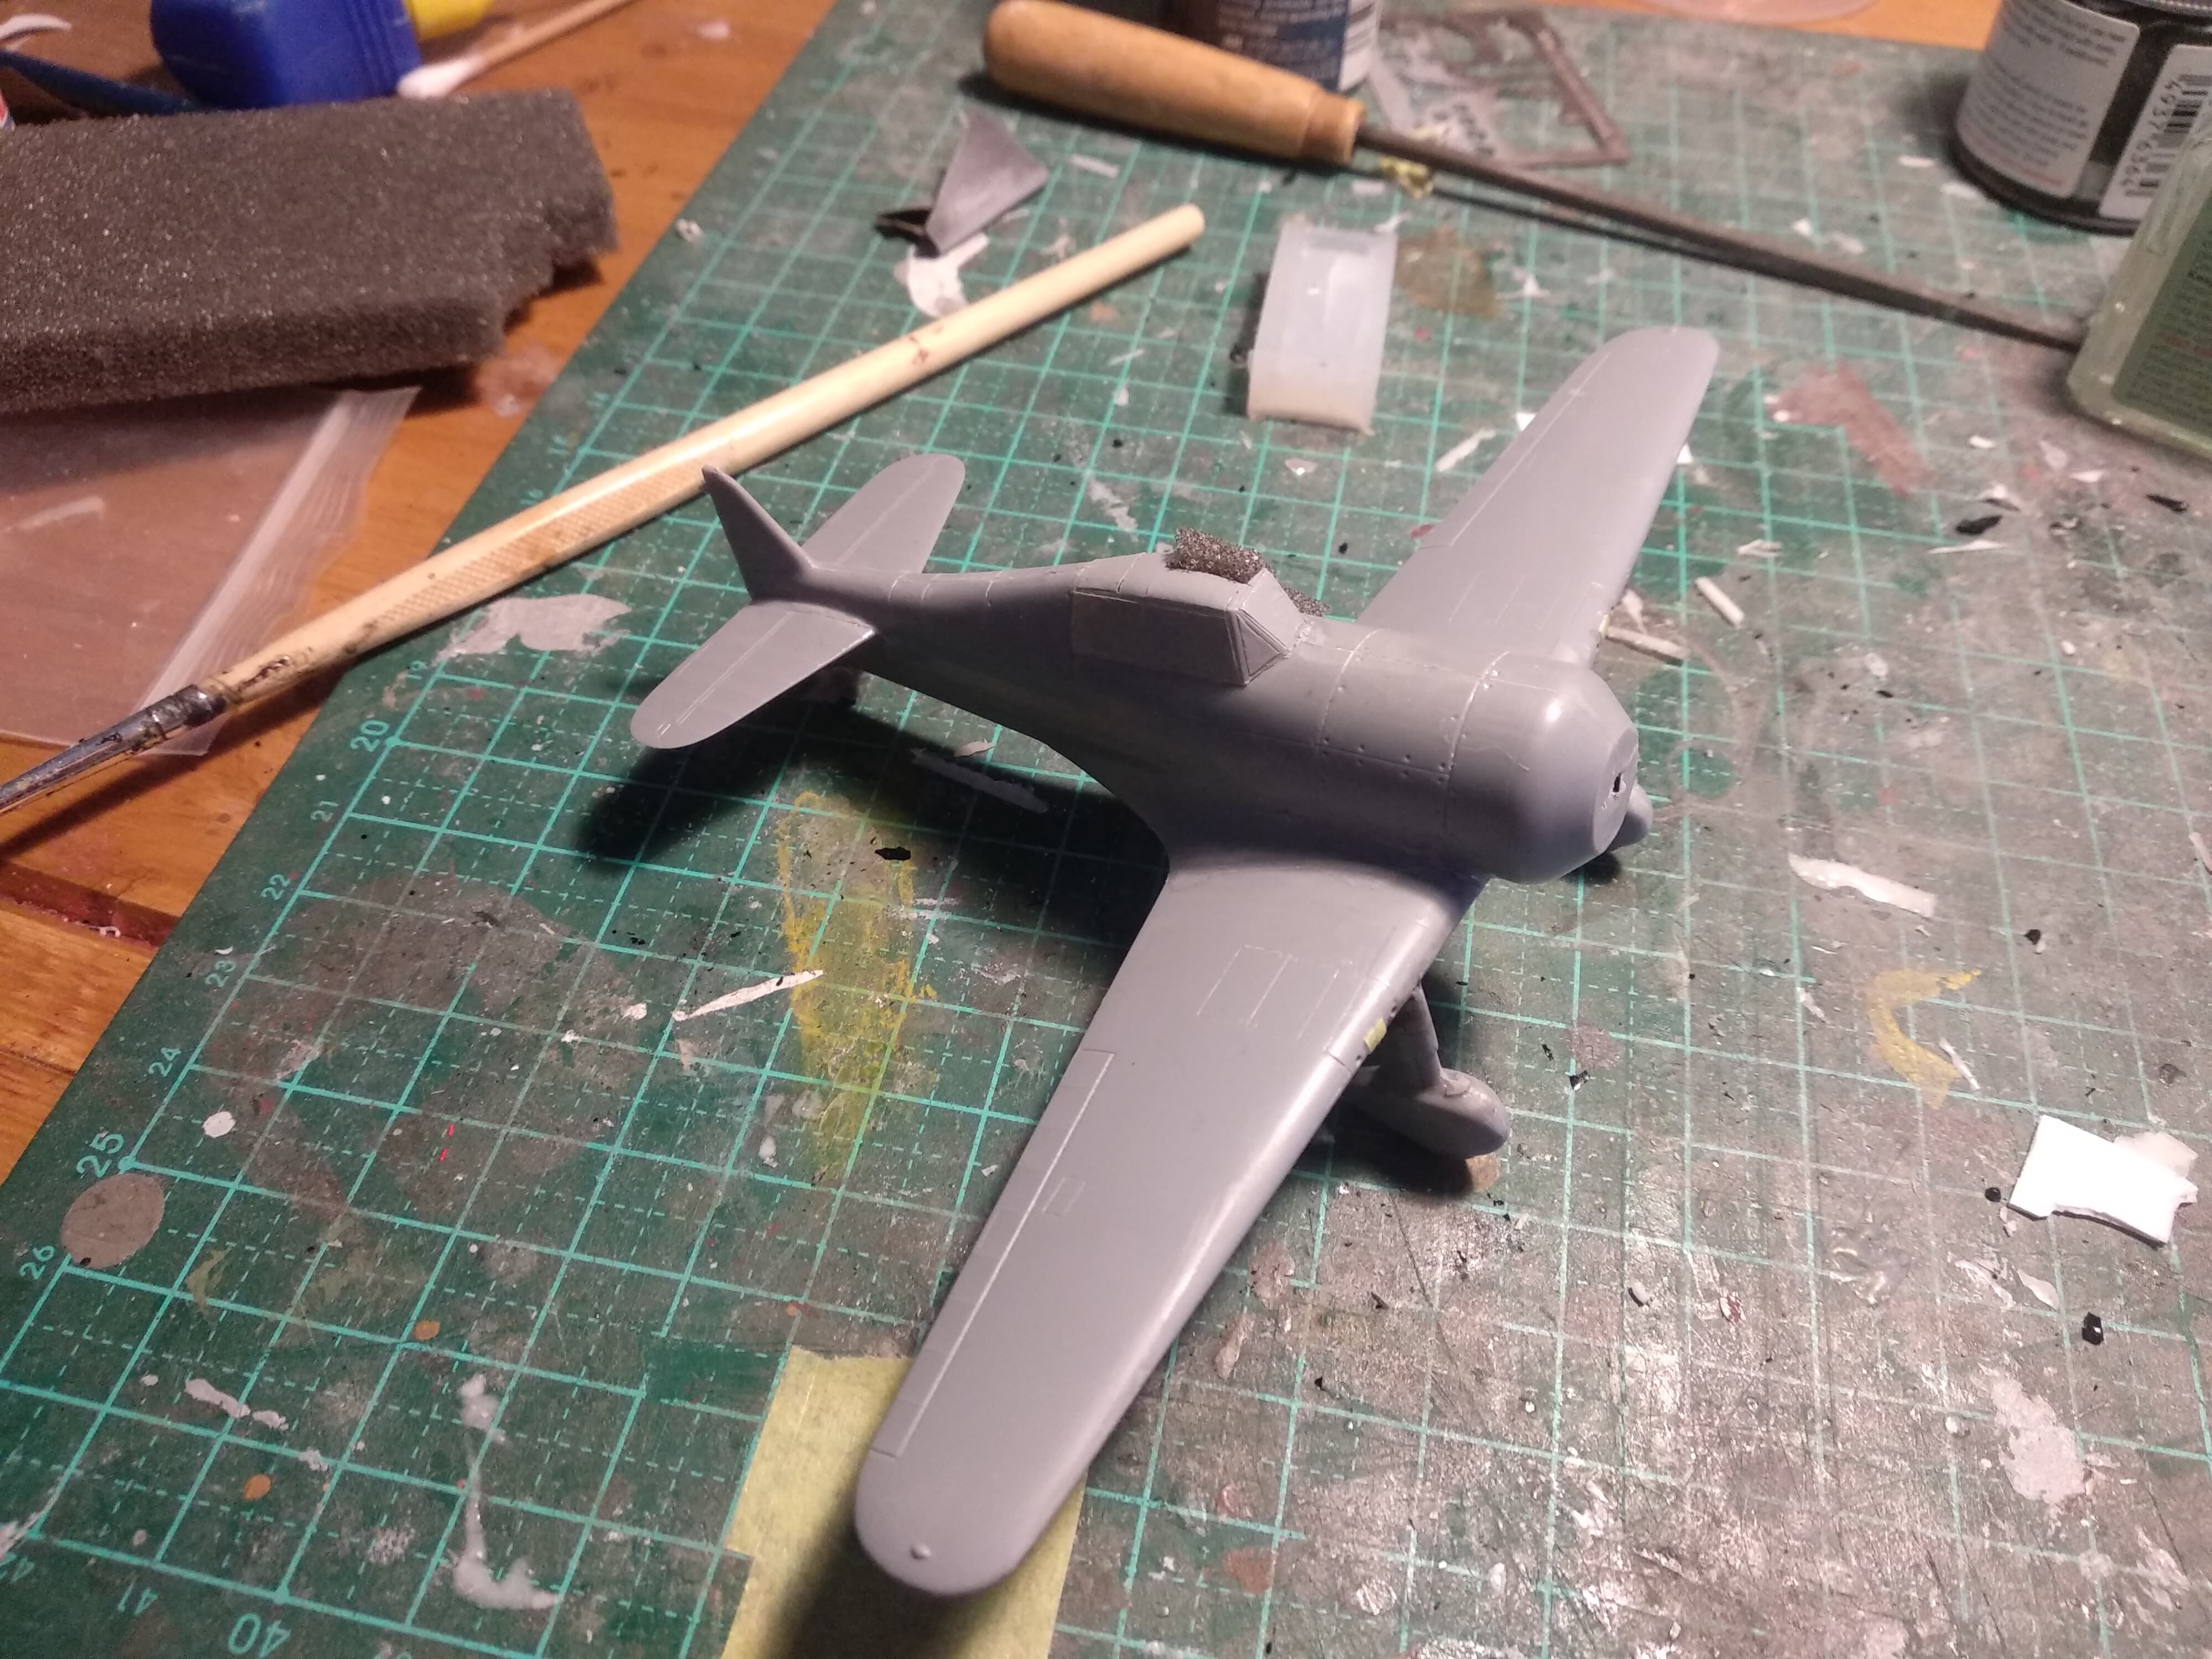
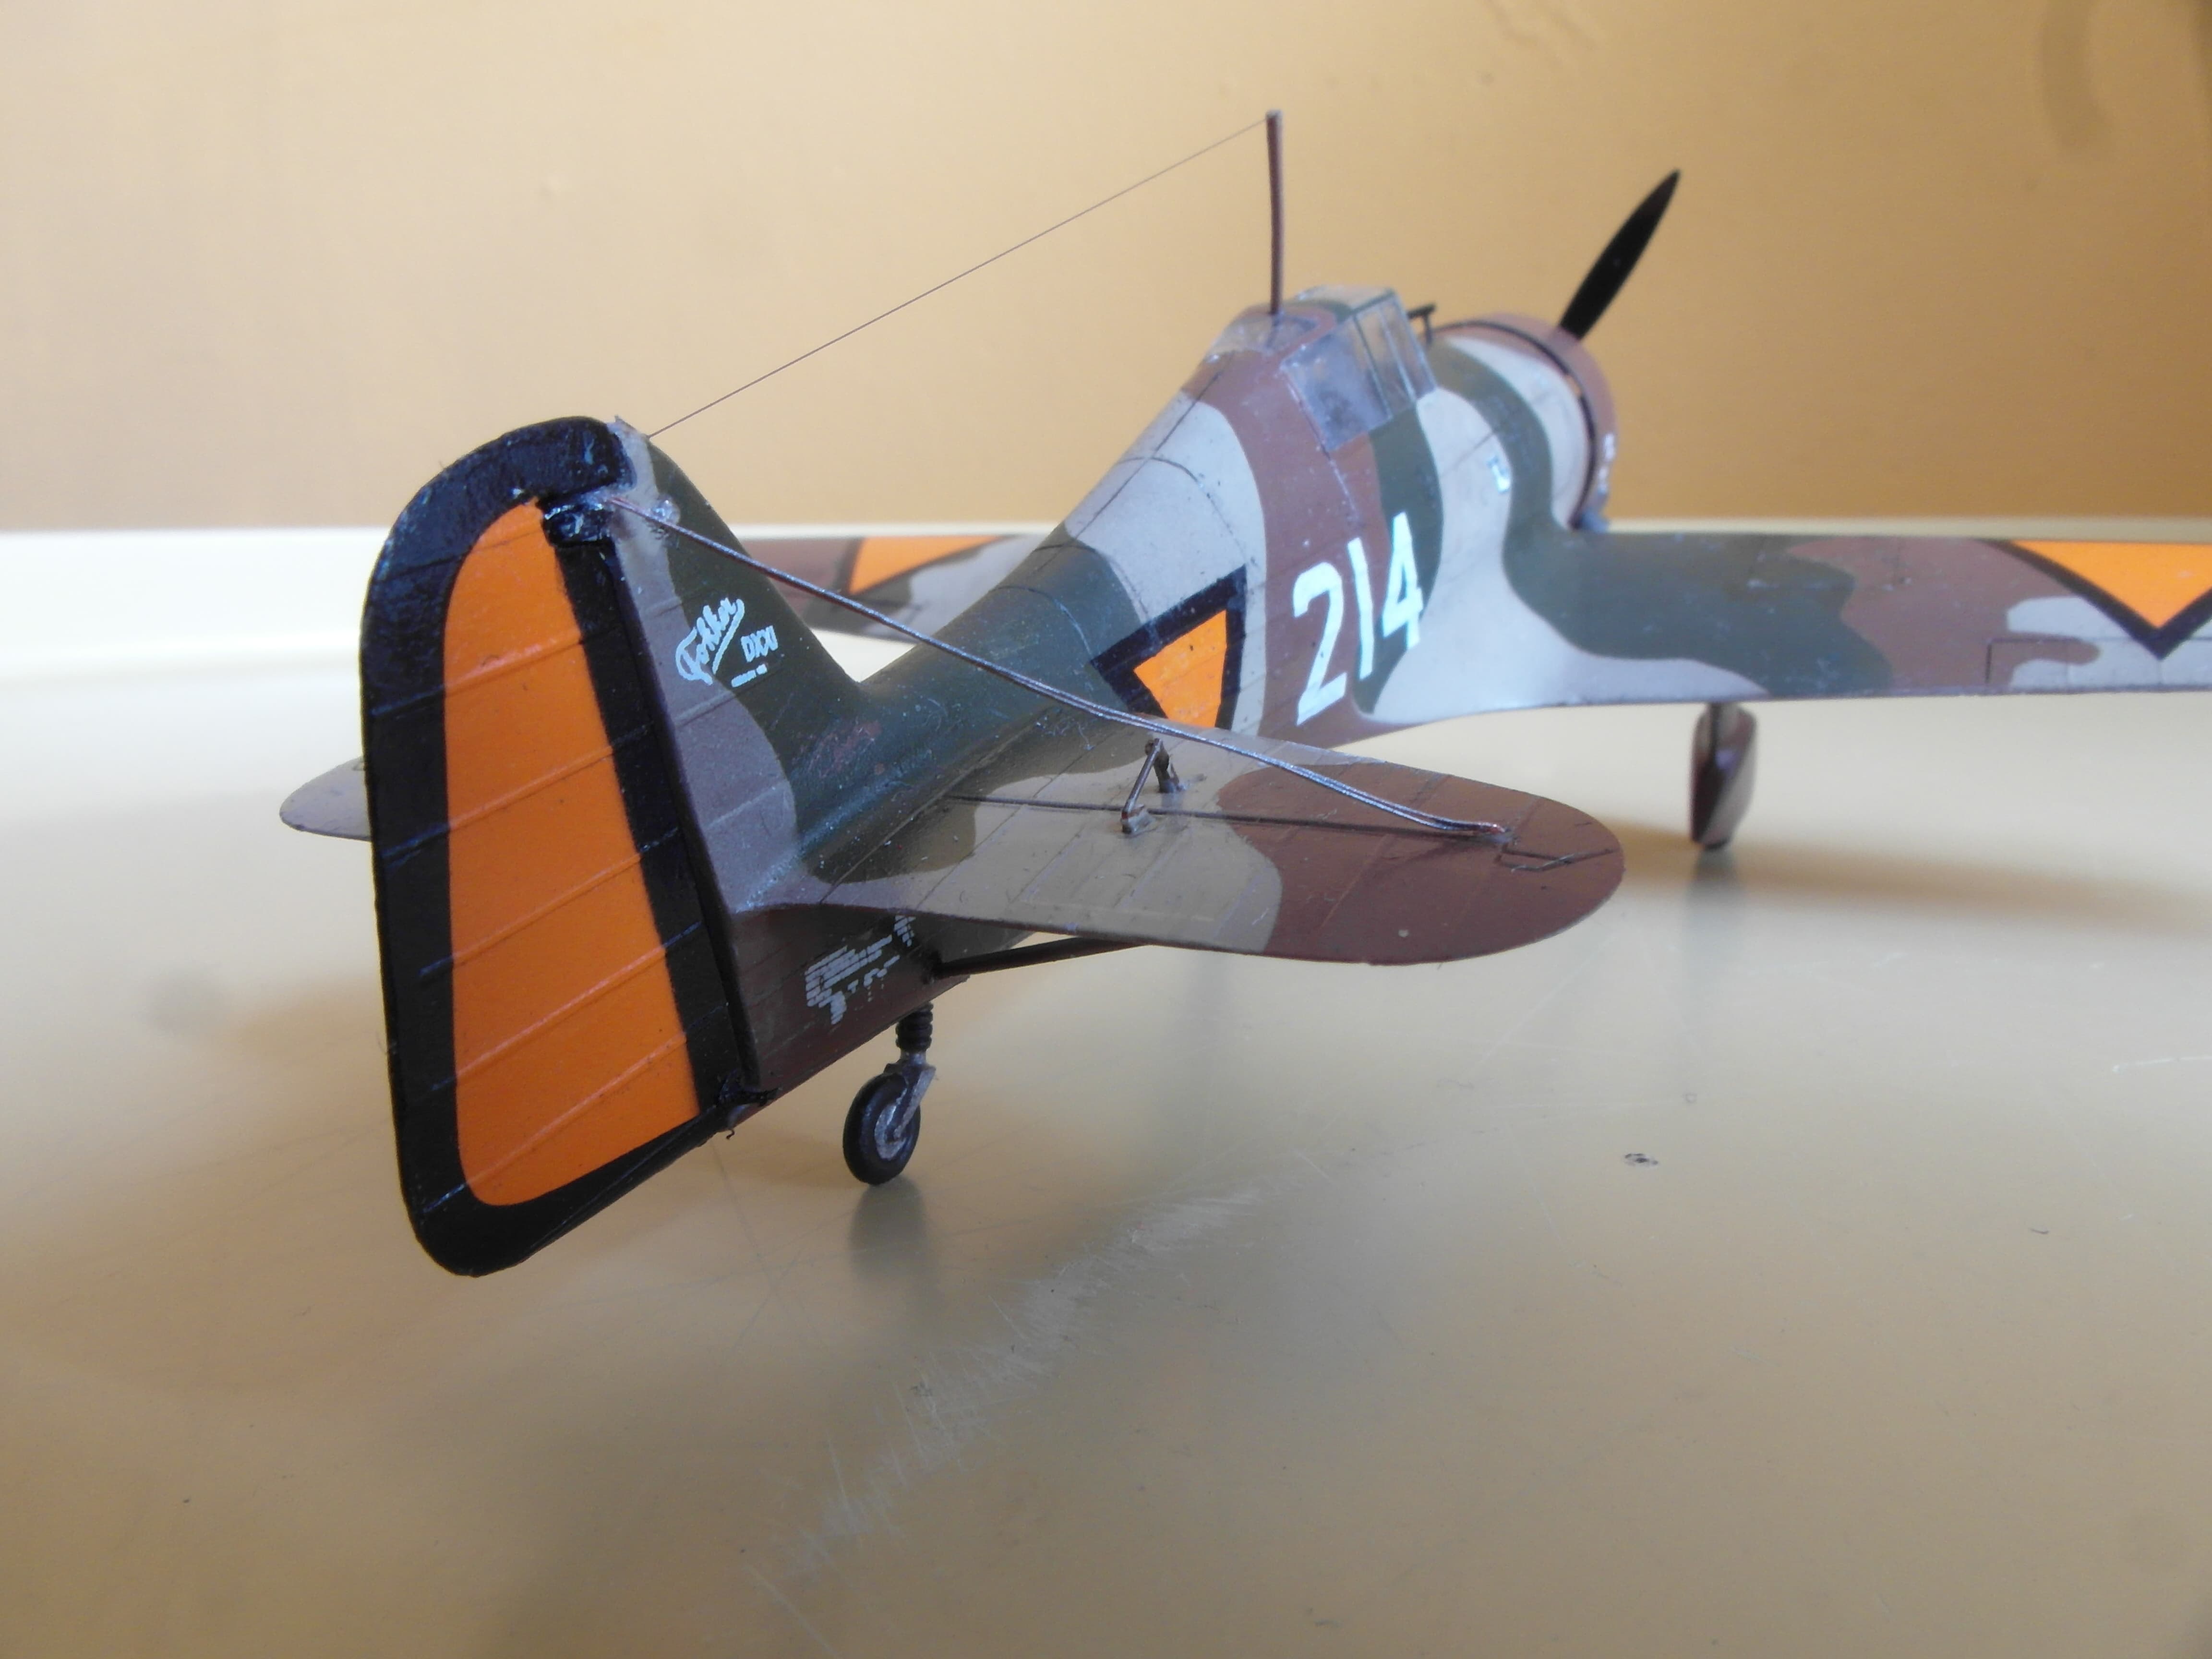
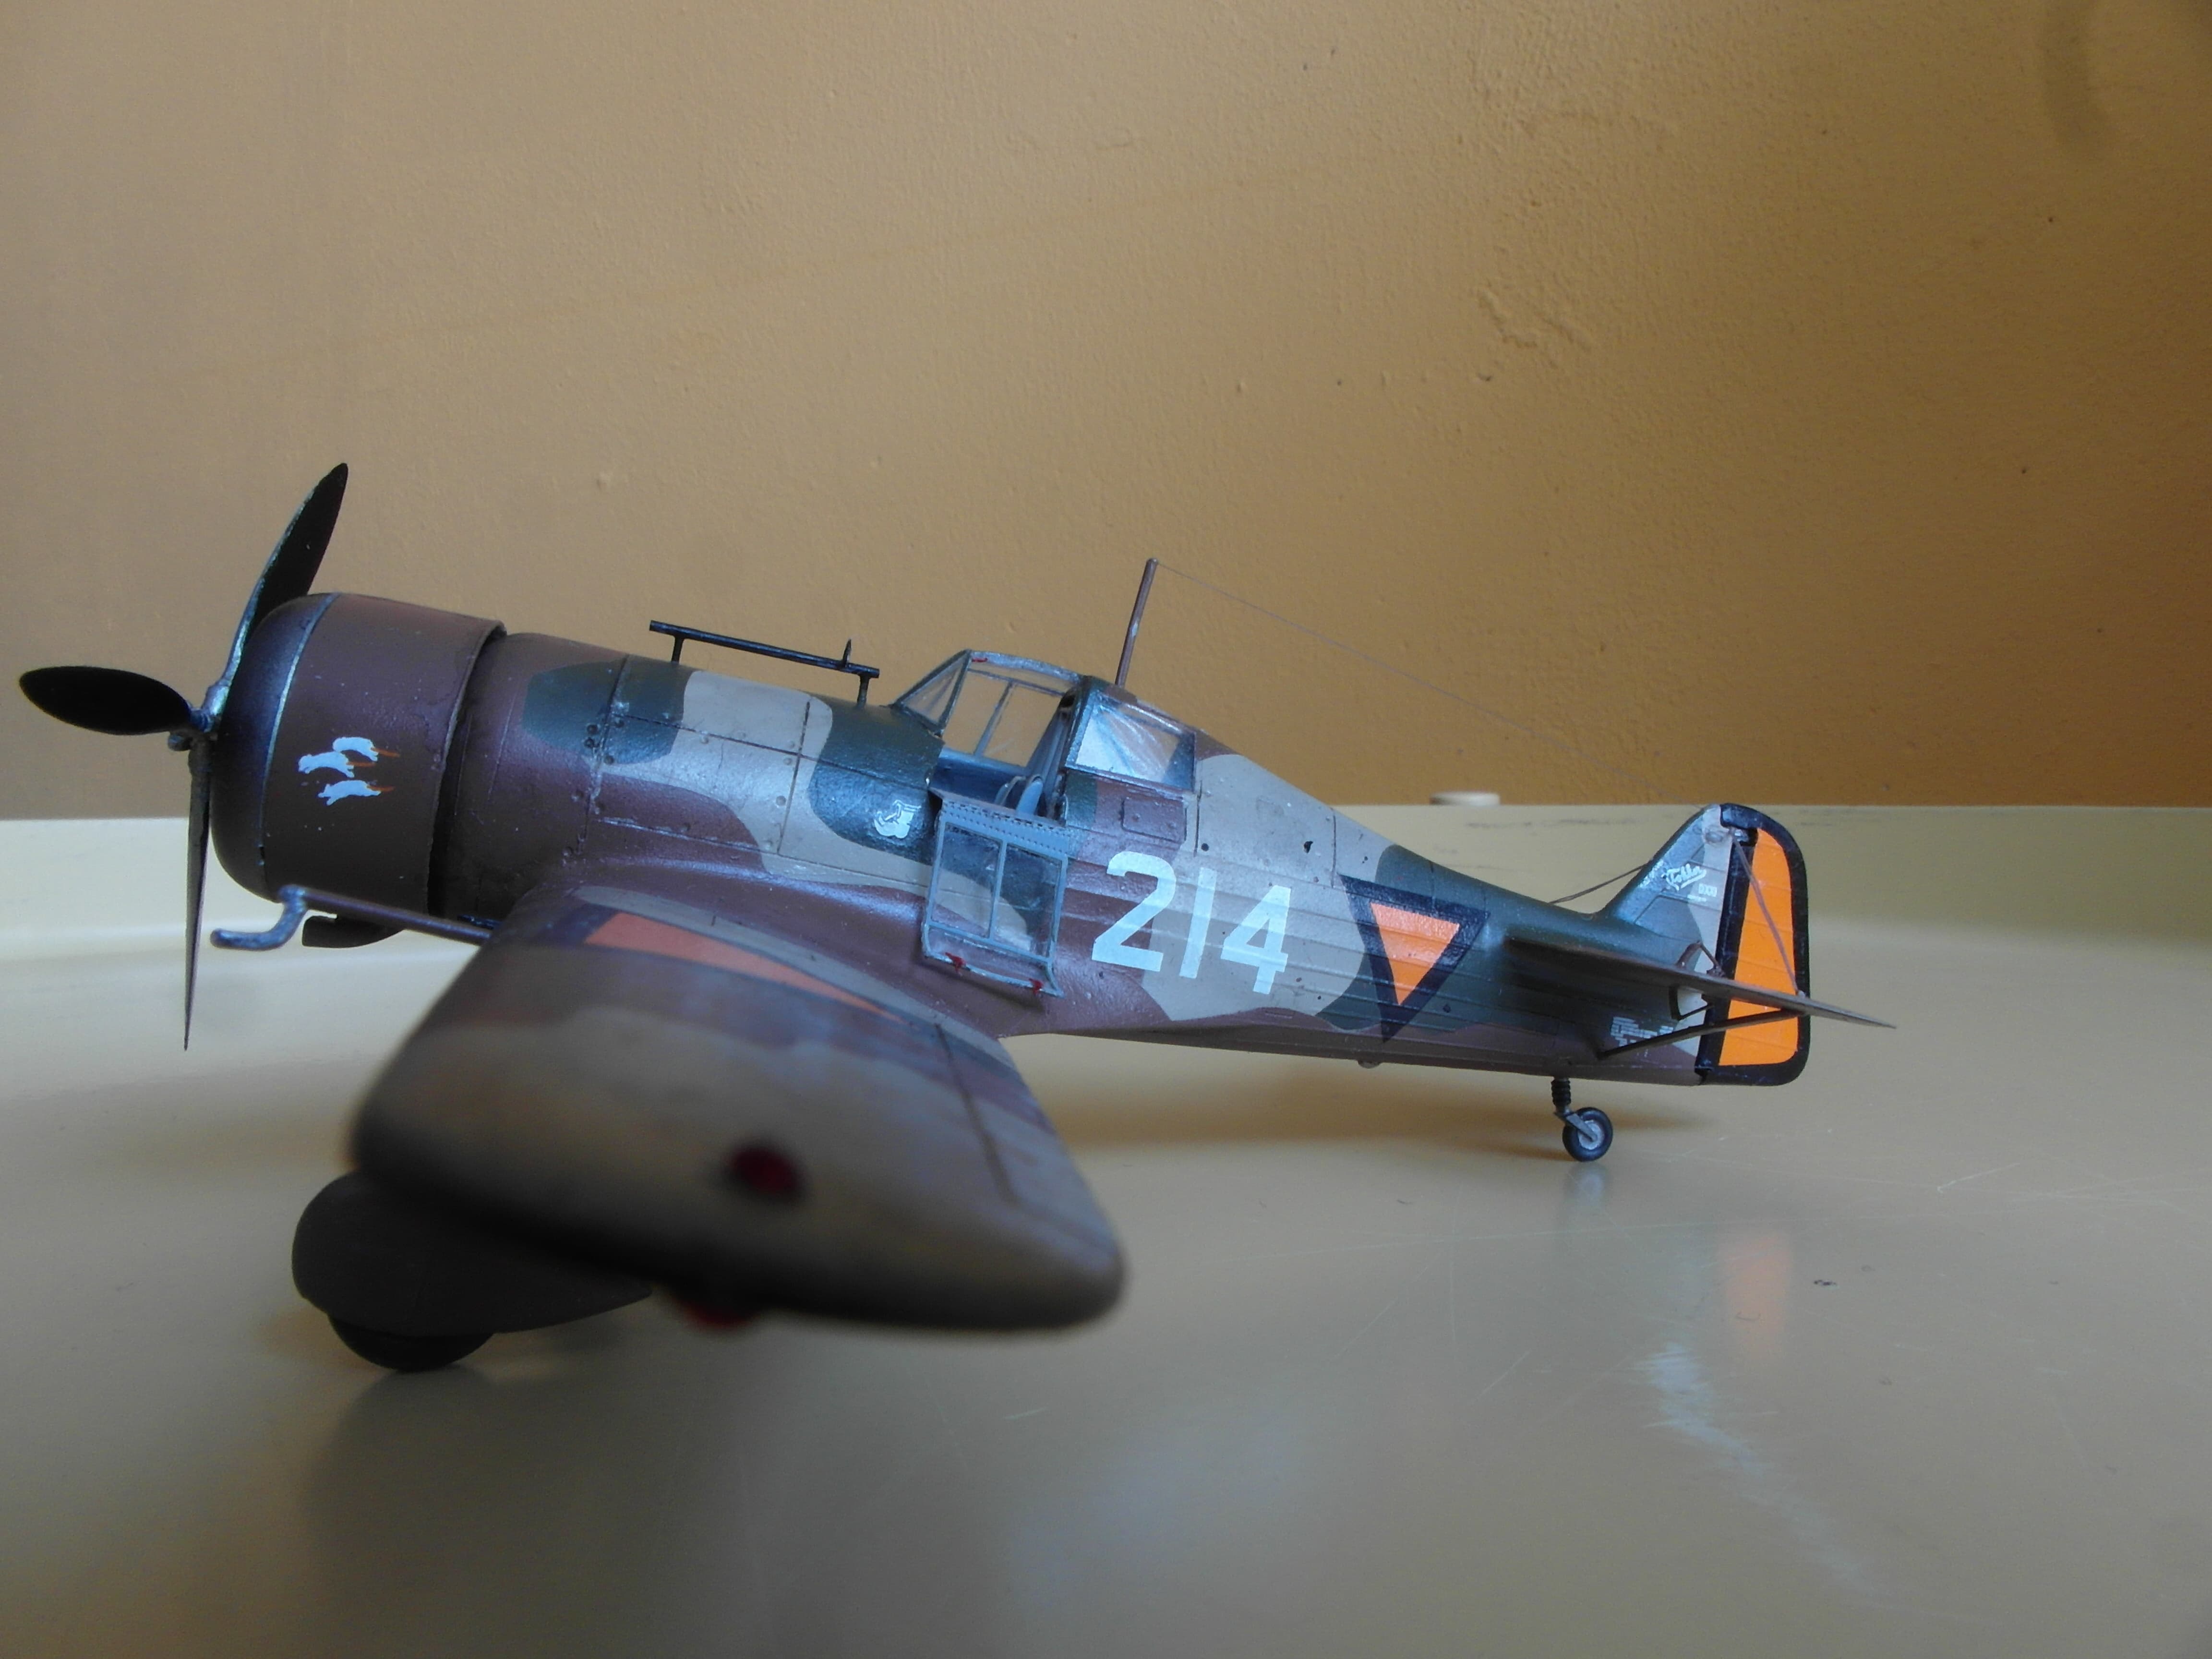
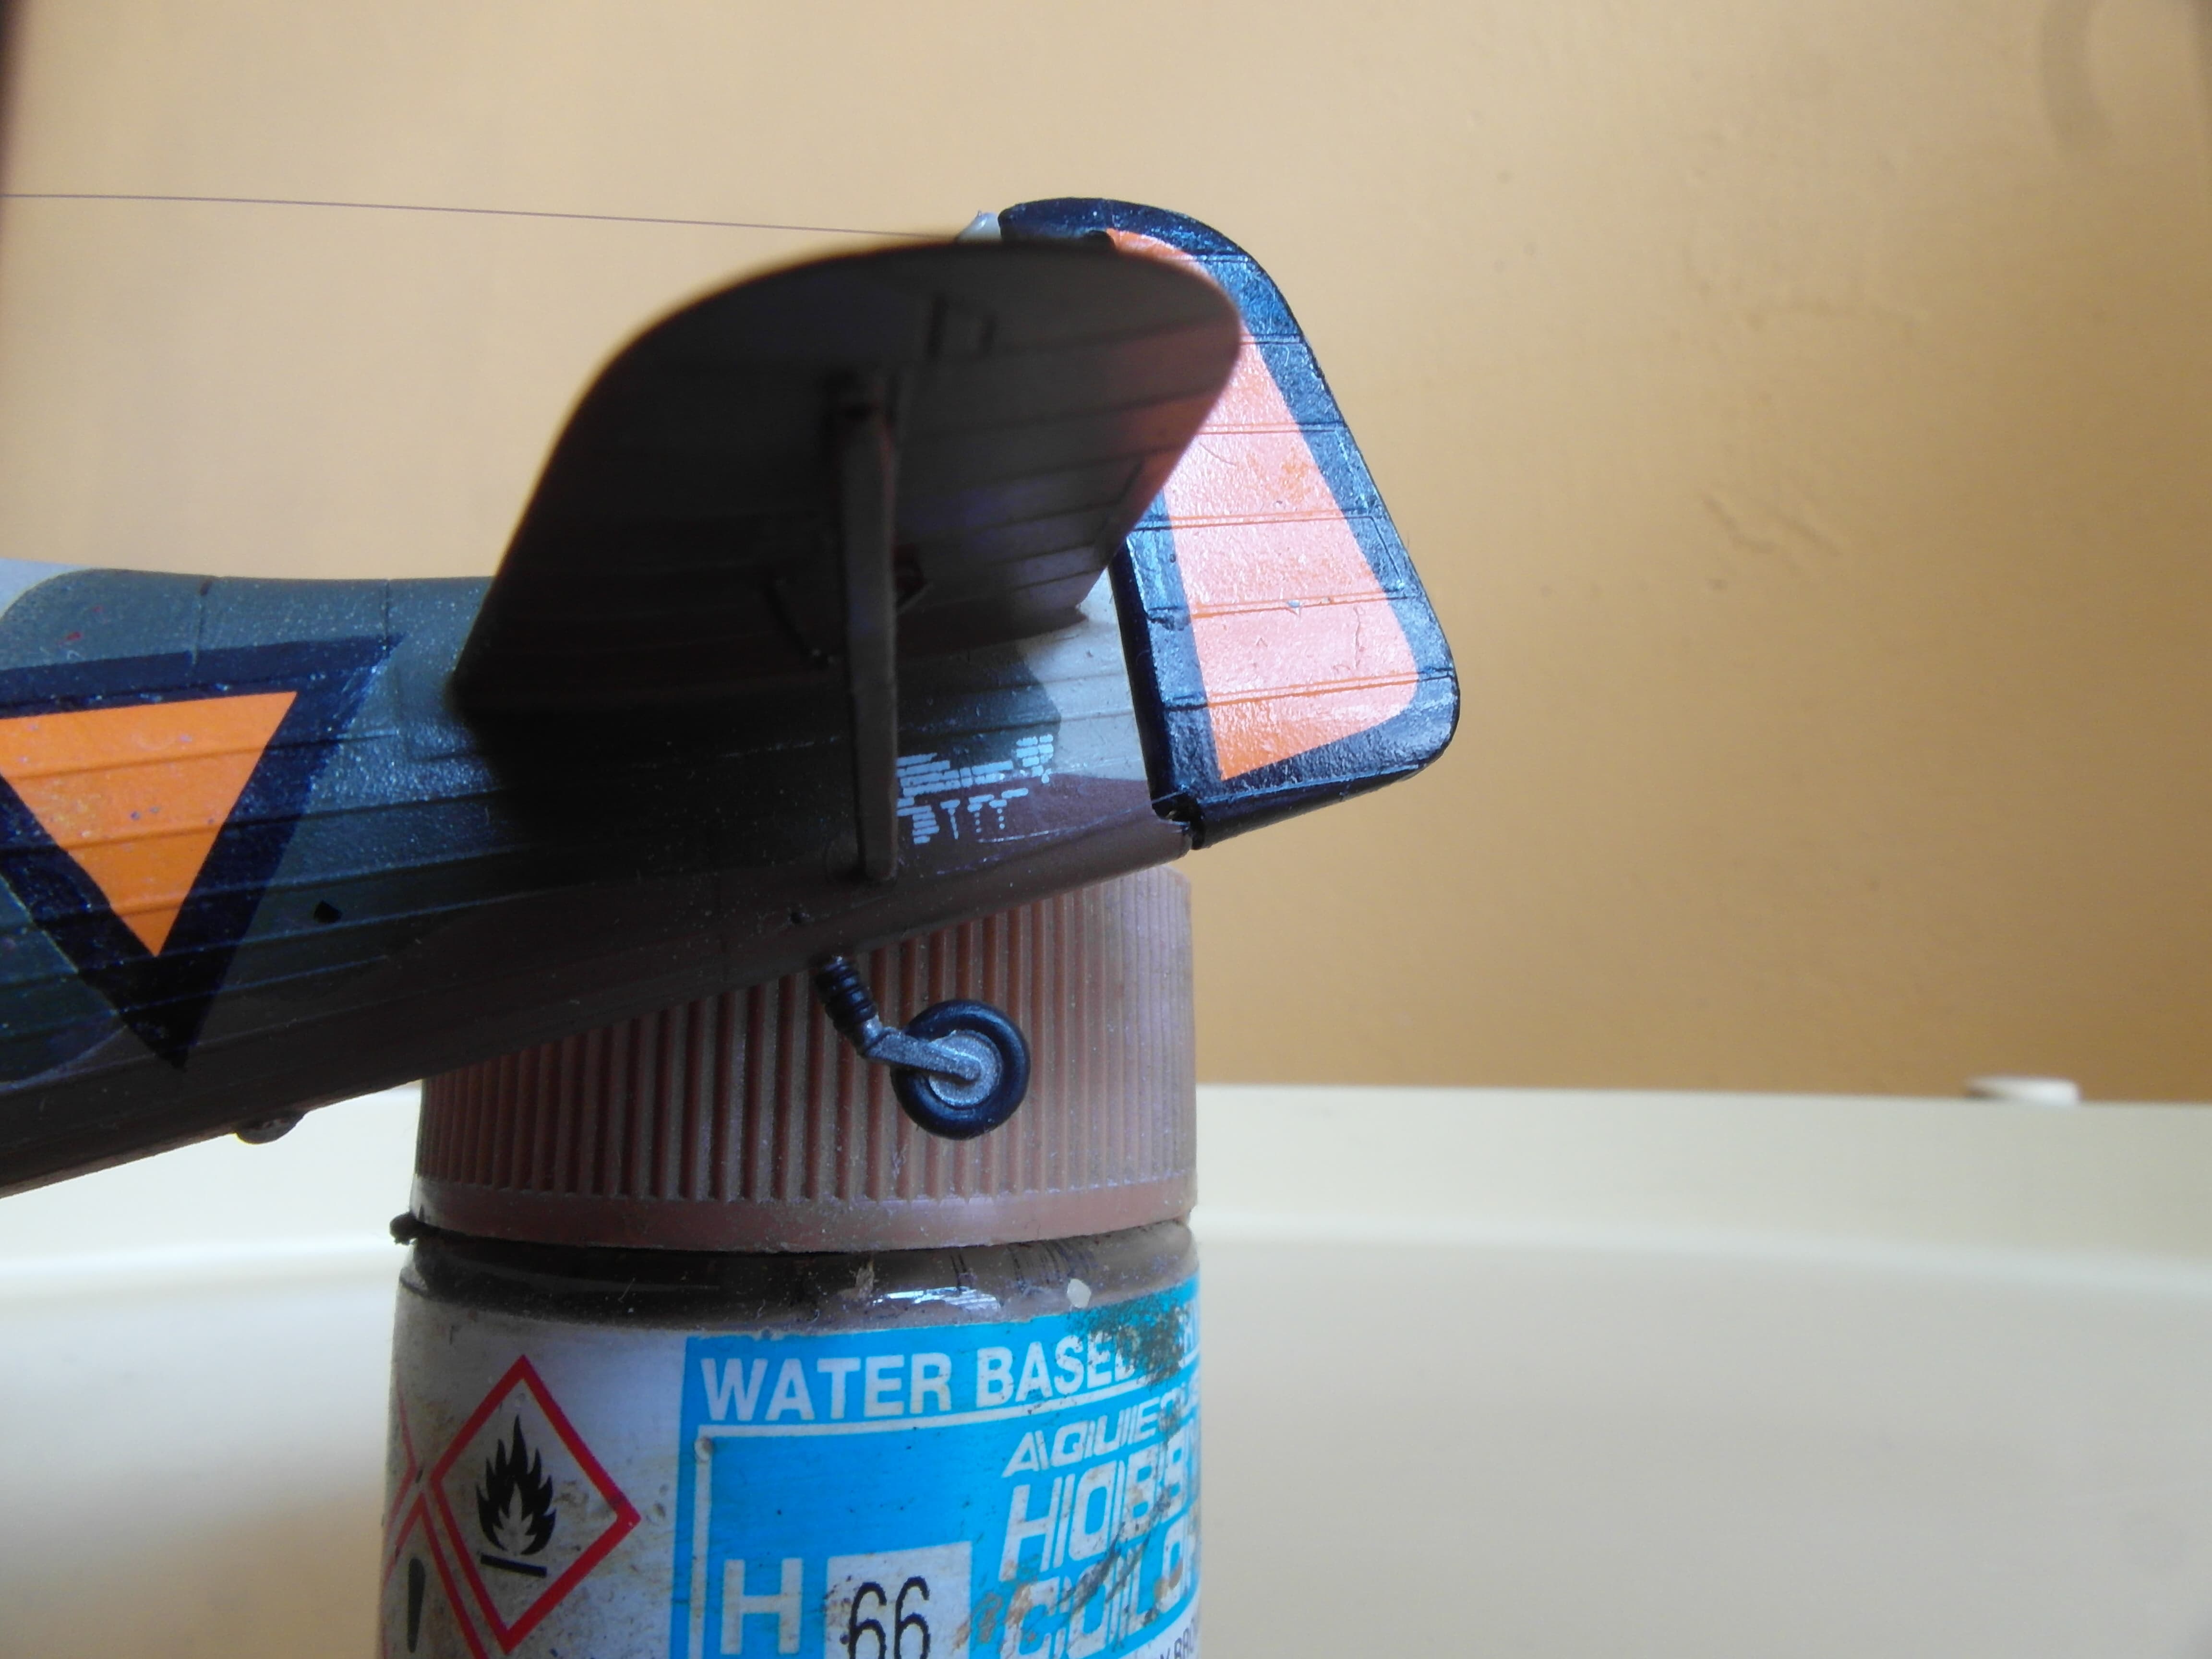
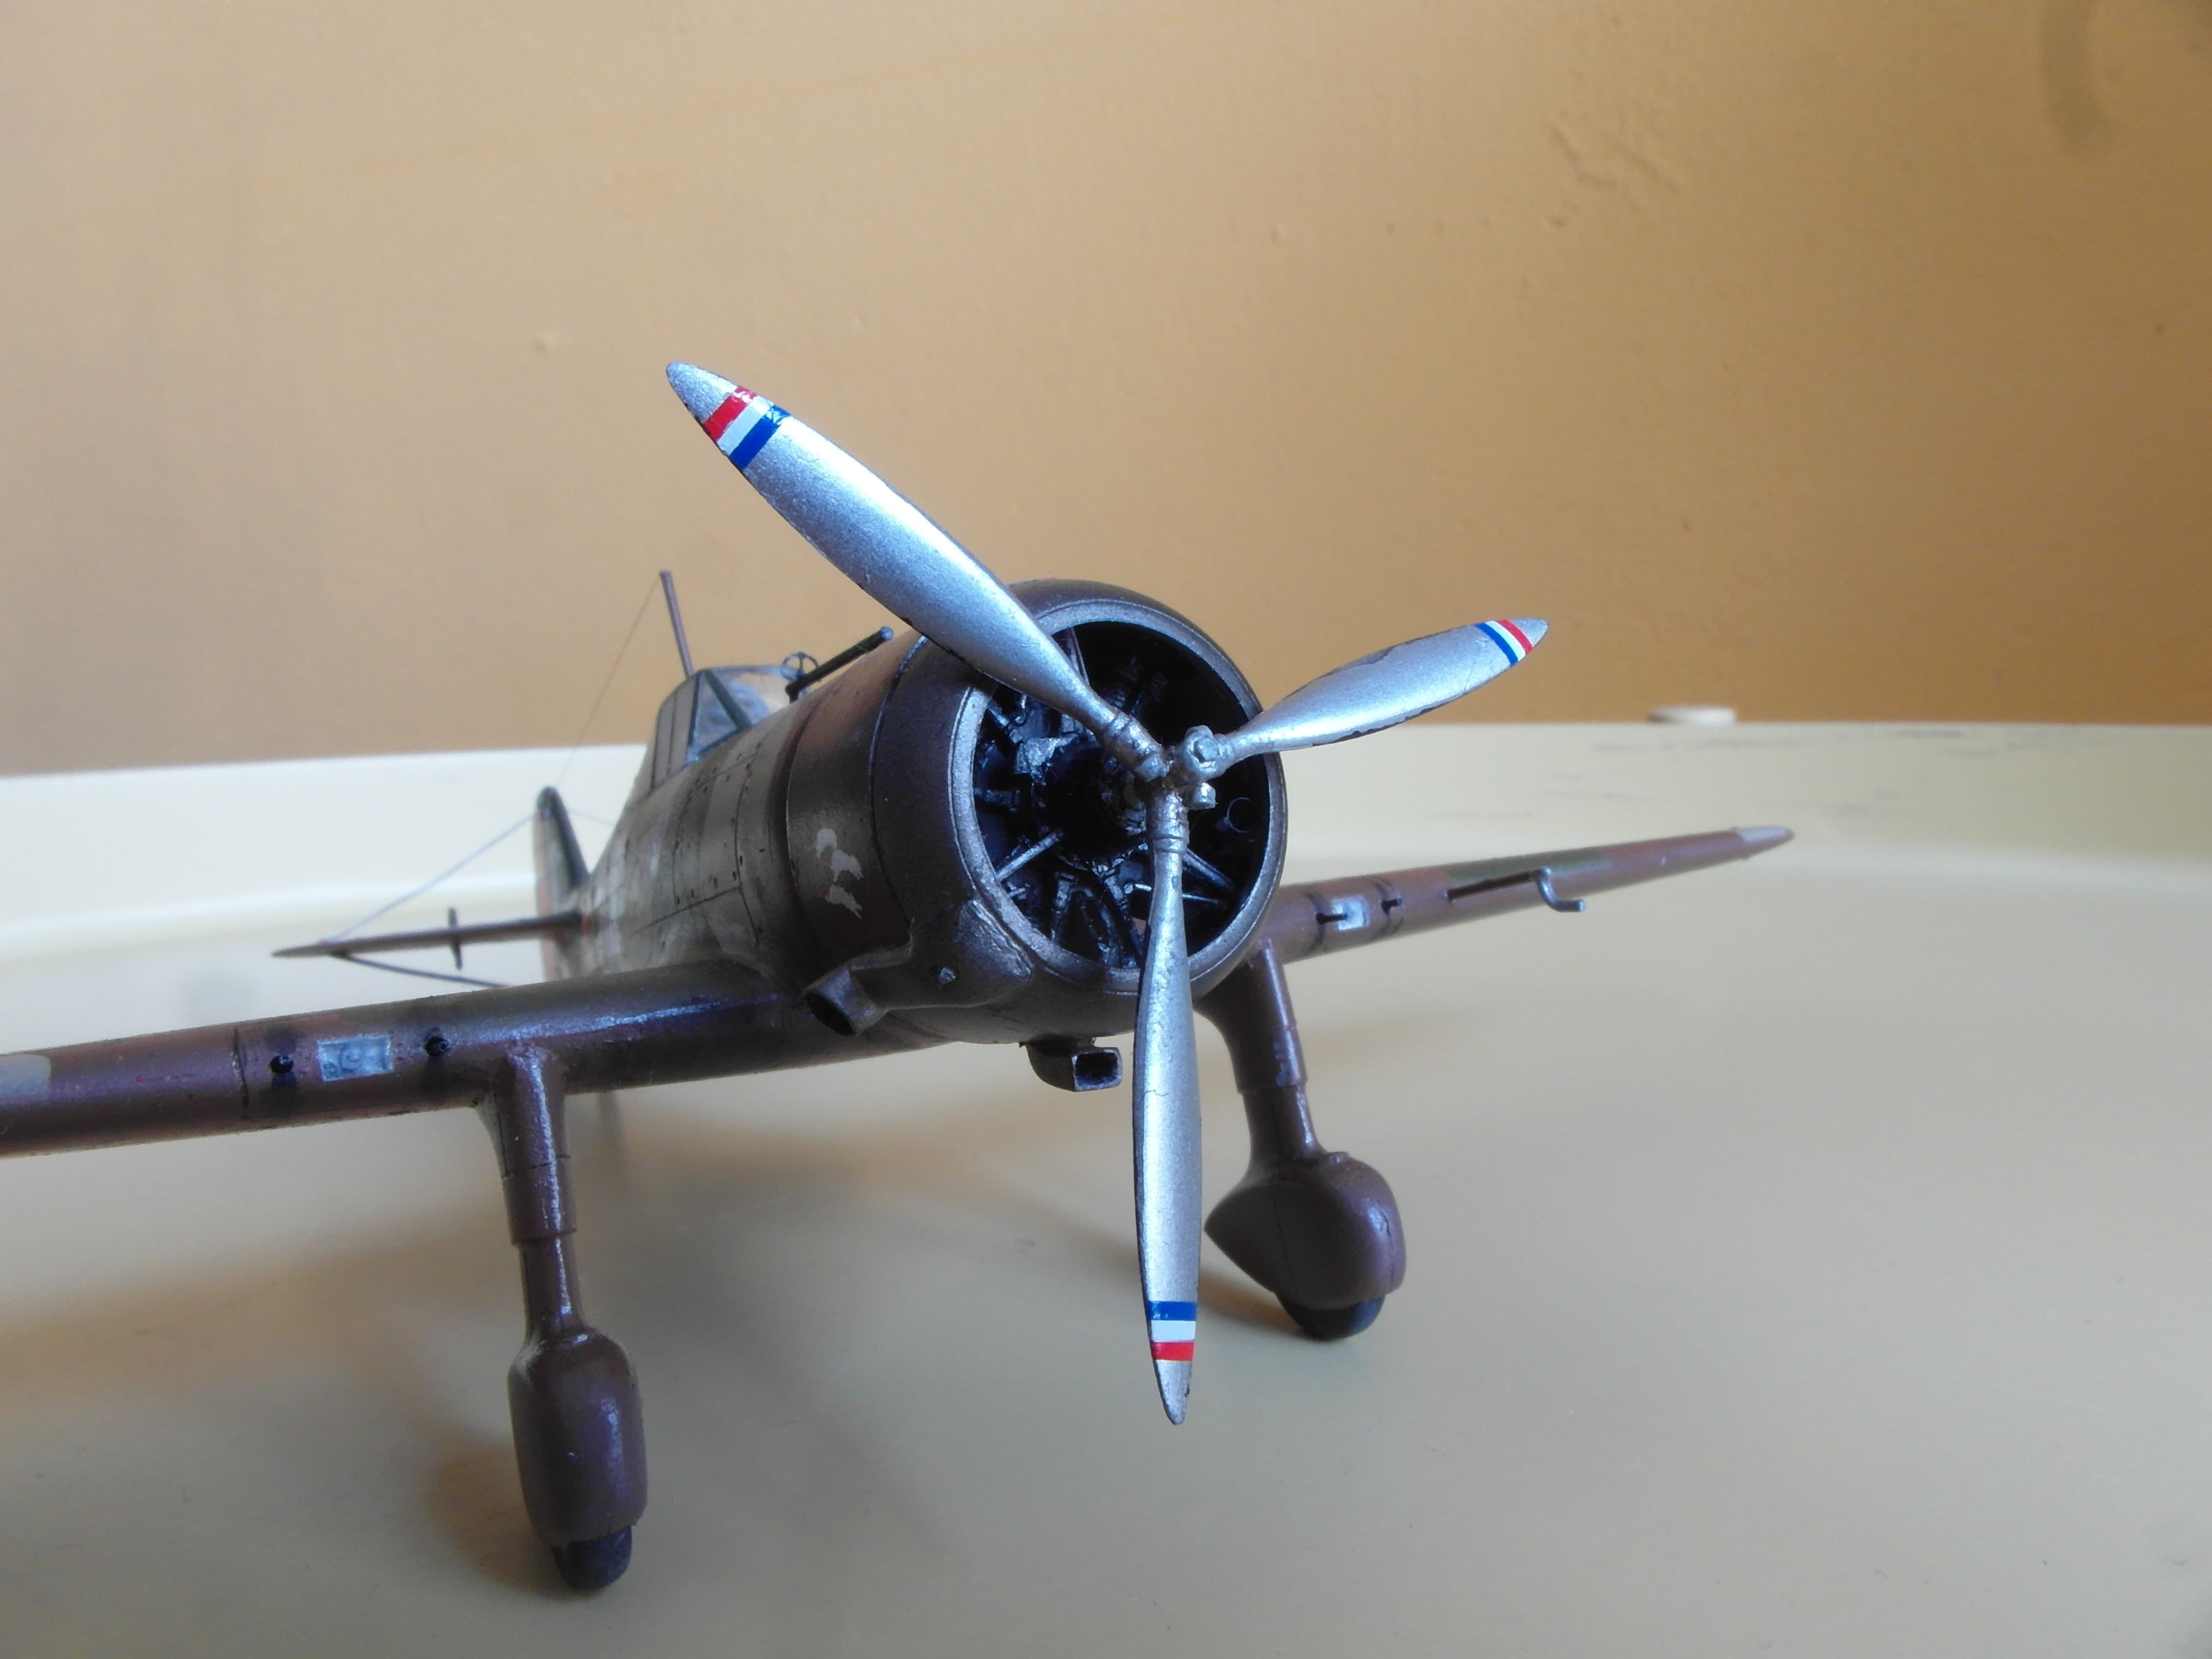
The Fokker D.XXI used a Bristol Mercury engine. The plastic one included is somewhat close, but lacks detail. As I still had an resin variant by SBS lying around from a previous build, I created another copy and used that. The kit contains rudders for two different variants. The instruction manual however tells you to use the wrong one. I also replaced the gun barrels with injection needles. Their shape isn’t perfect, but as there are no after market FN-Browning M36 machine guns available, needles are the best alternative. Small diameter, hollow and perfectly round. What’s weirdly absent in the kit are the thingies to control the elevator pitch. They’re quite big, at least more so then the rudder controls, which are included. So I also recreated those. As finishing touch I added a radio cable and rigging for the rudder control.

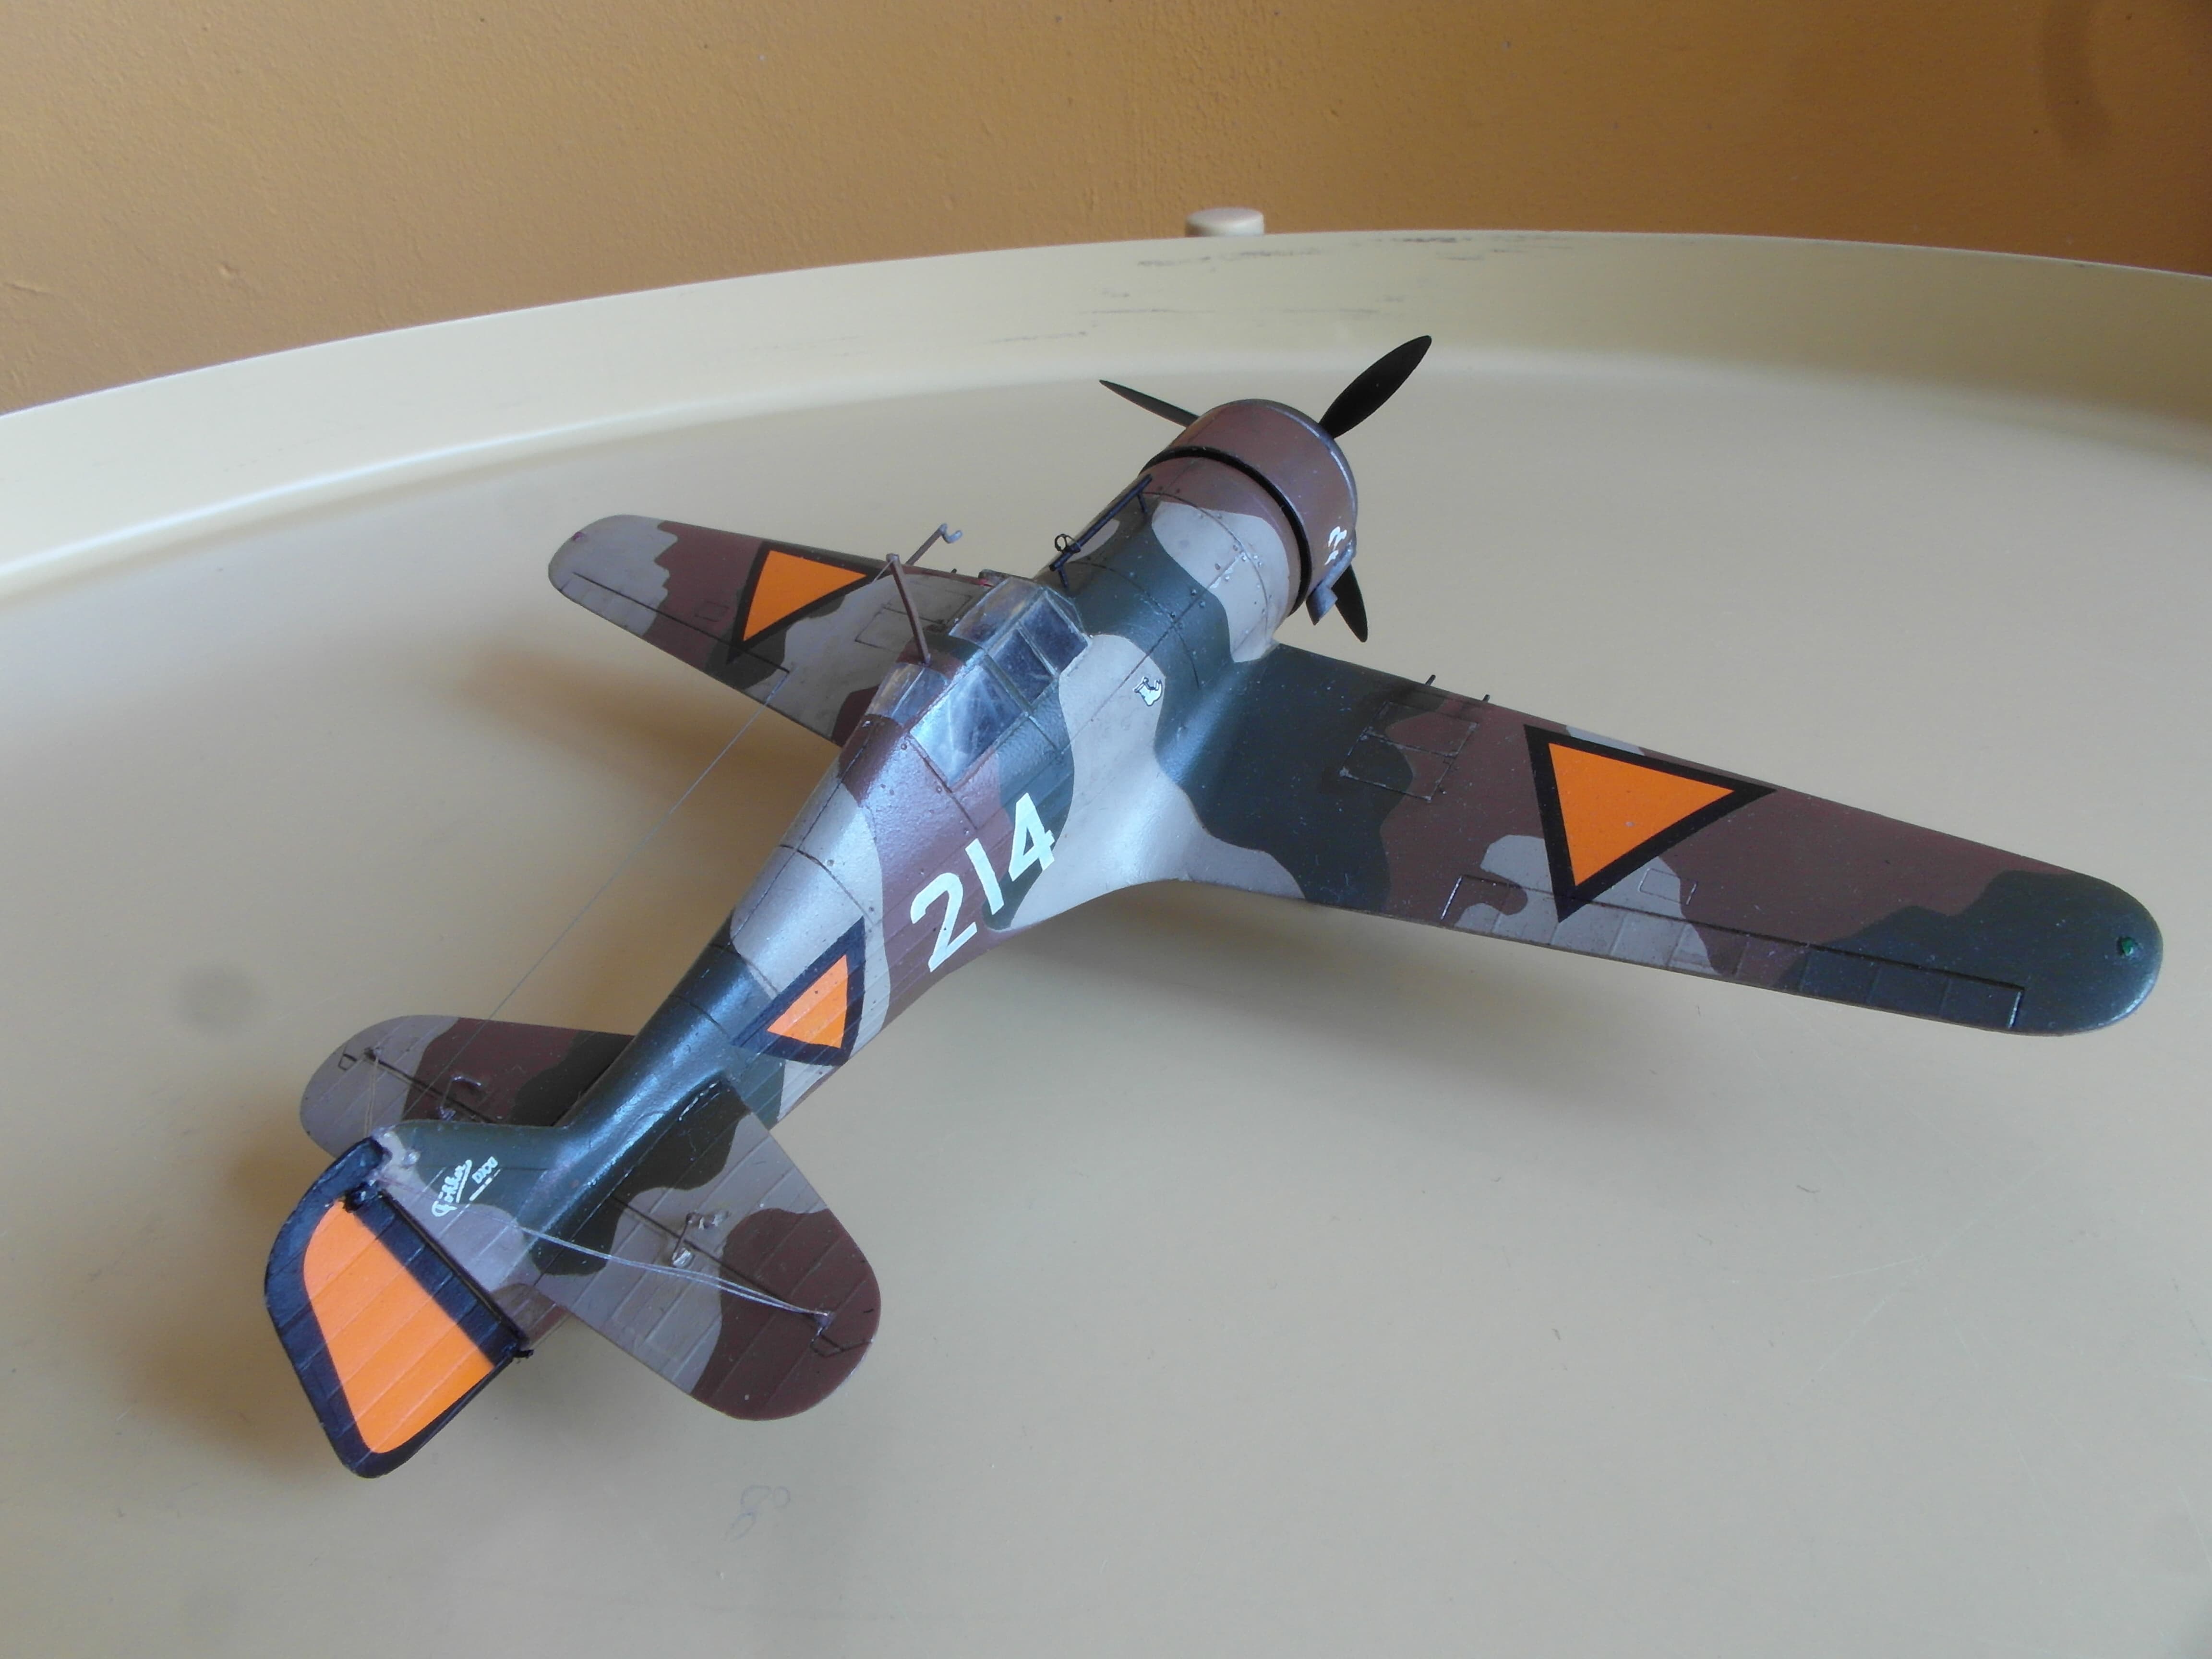
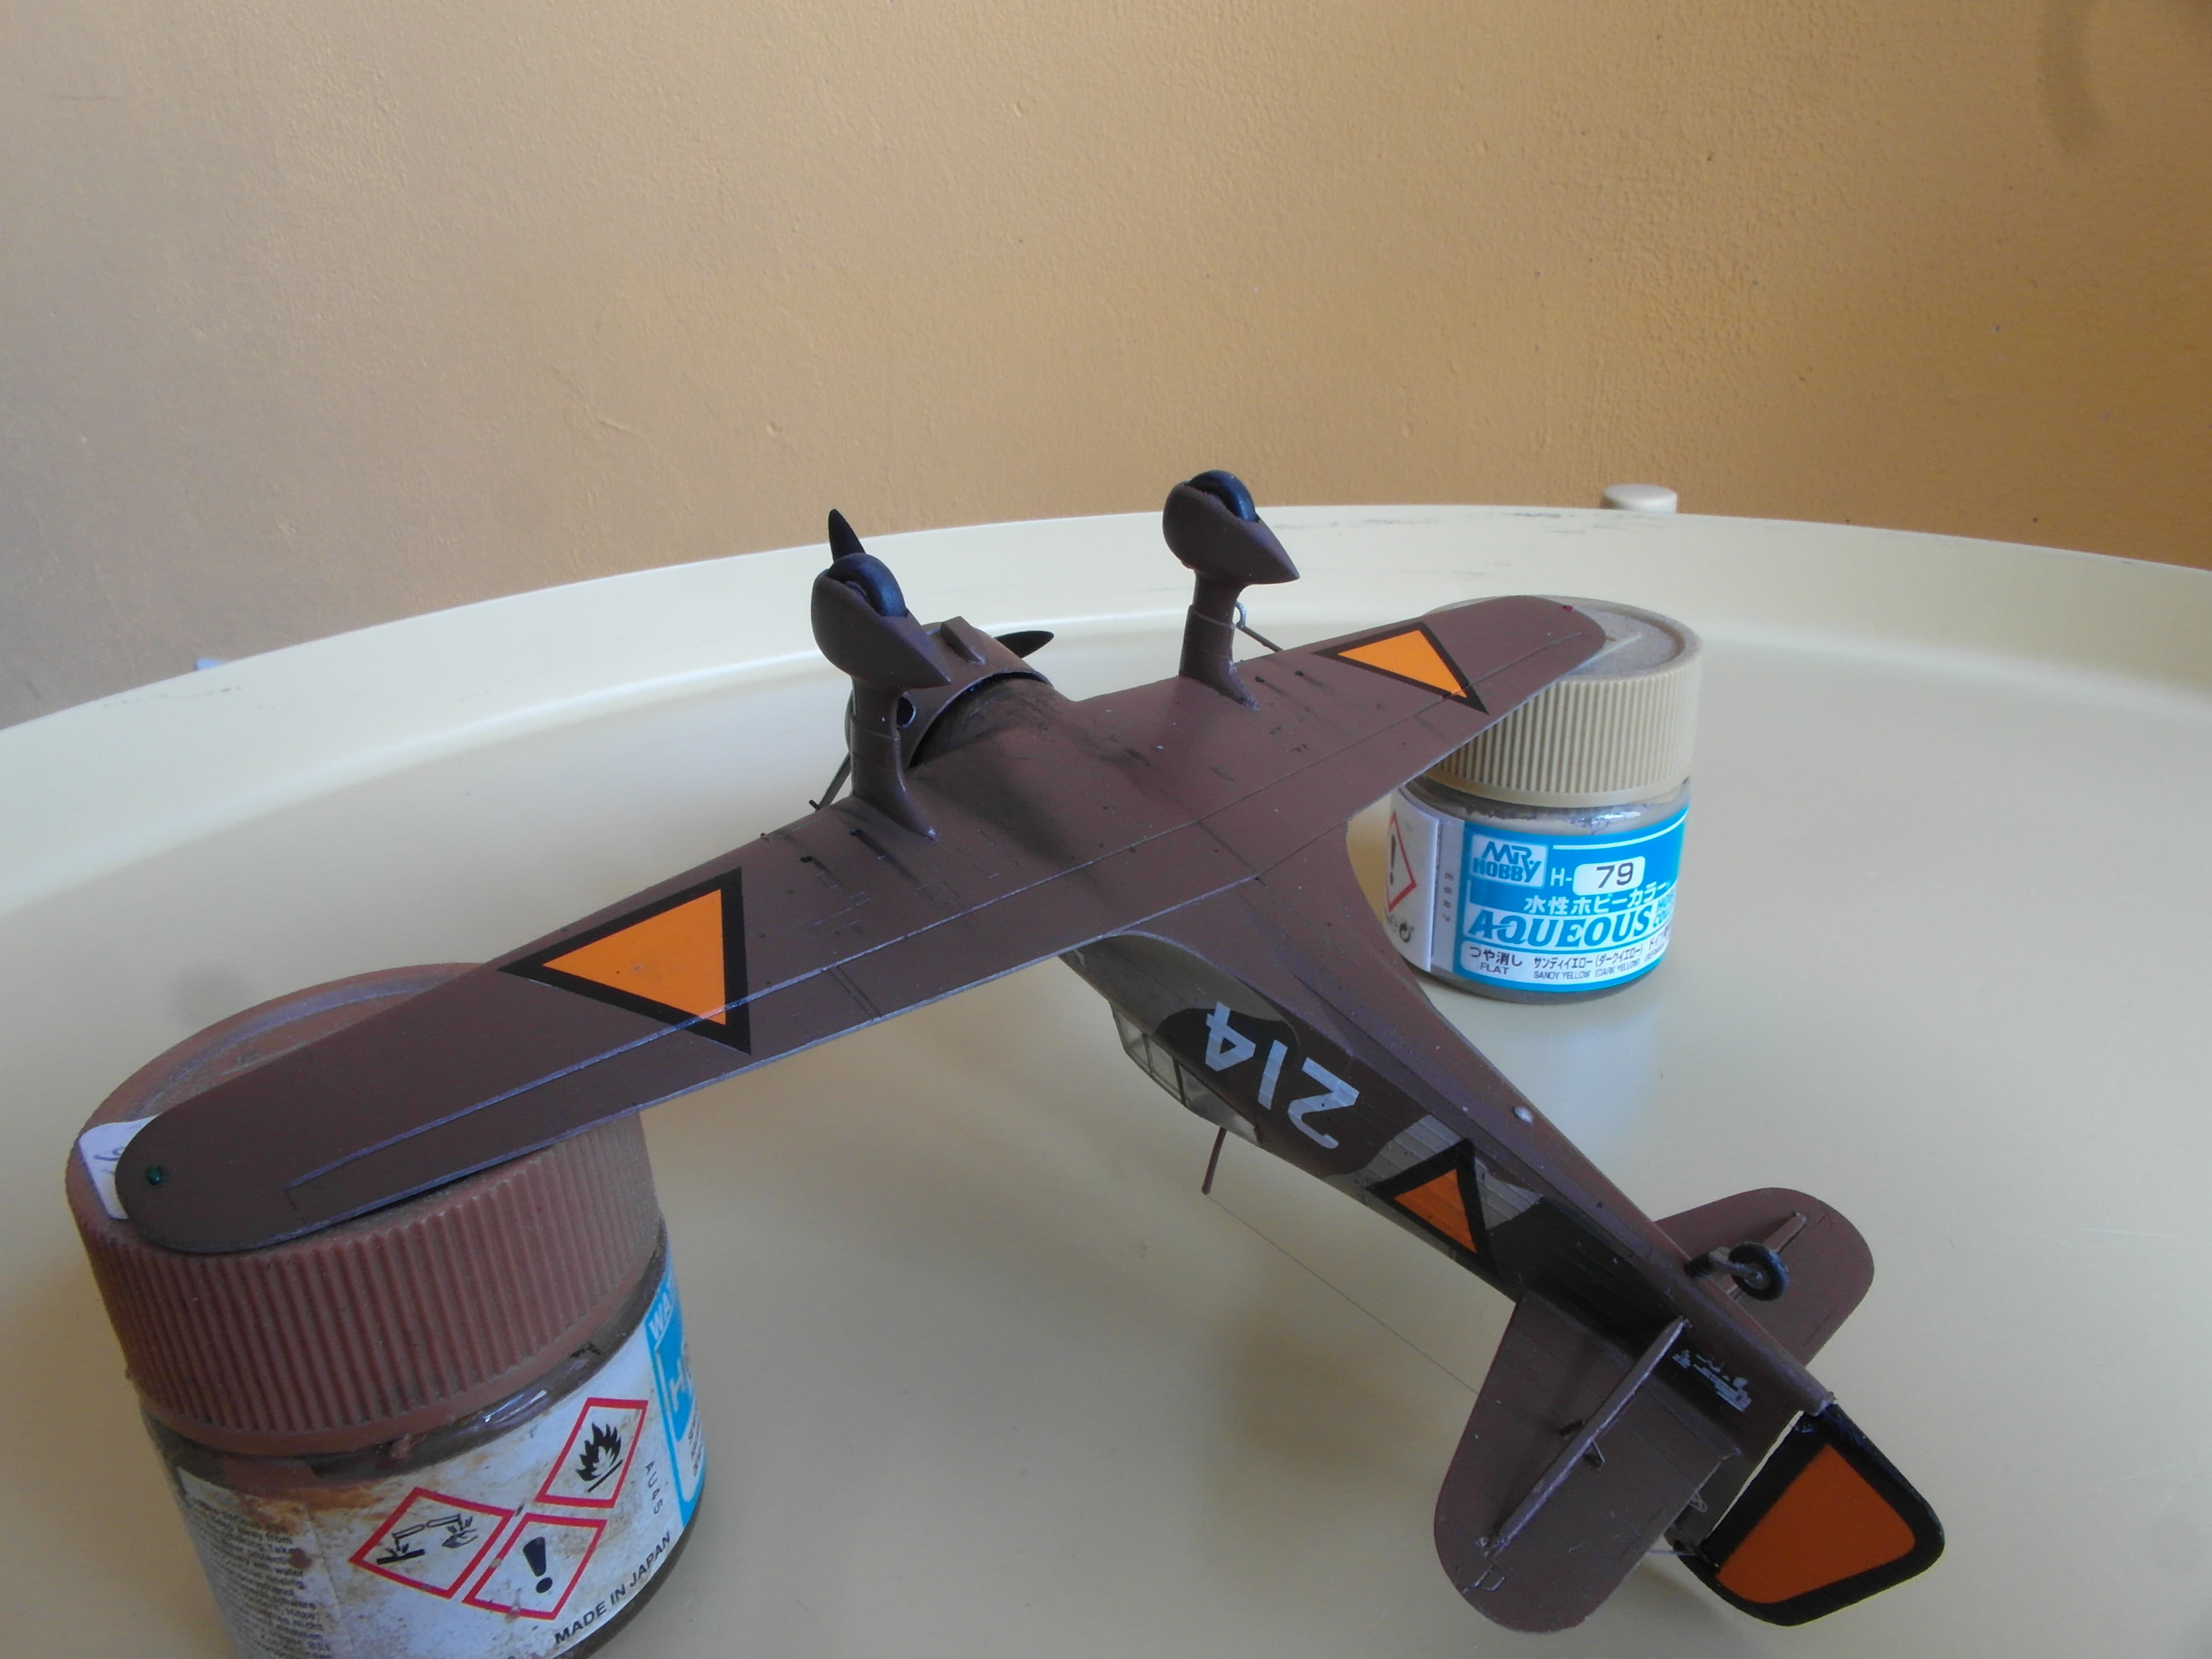
Camouflage
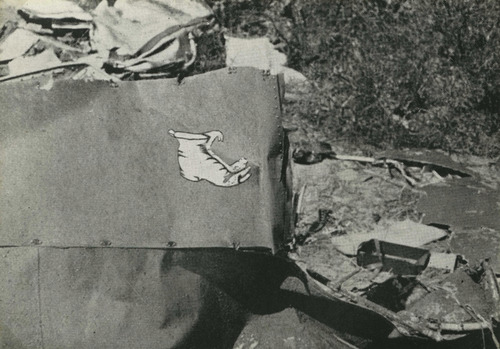
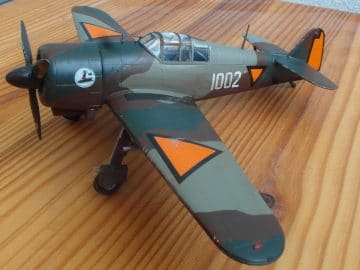
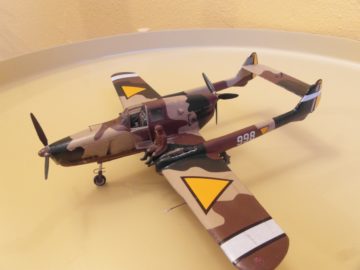
Deciding the camouflage pattern was easy enough, as the Dutch used the same one on all aircraft (some with the colours inverted, but that’s beside the point). There is some discussion about whether the mice and boots are on both sides of the aircraft, or just the left. However a picture of the wreck of the 223 clearly shows them on the right side. The picture could be mirrored, but I decided to but them on.
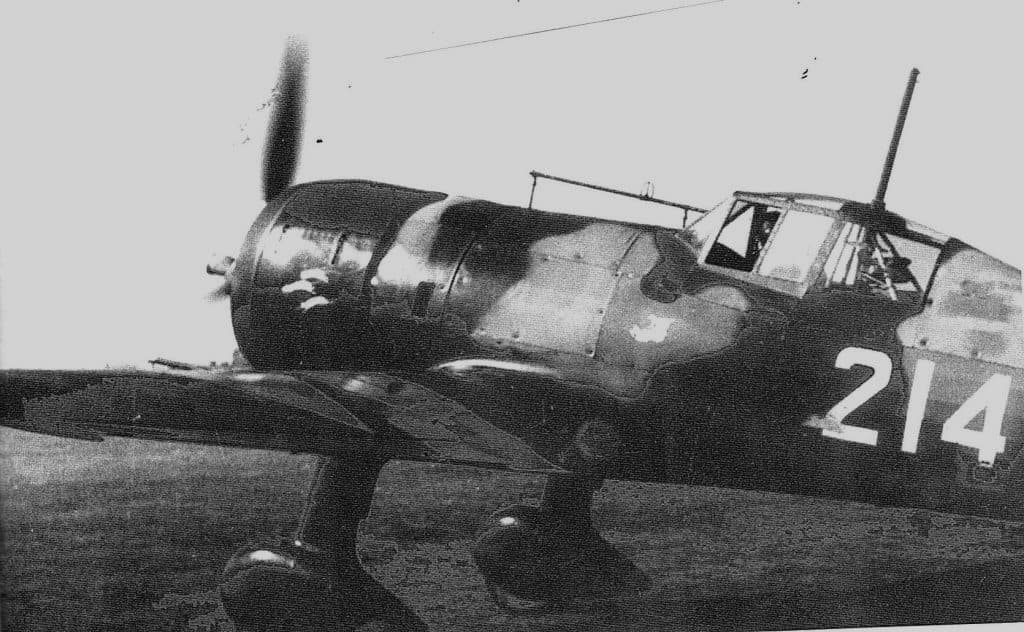

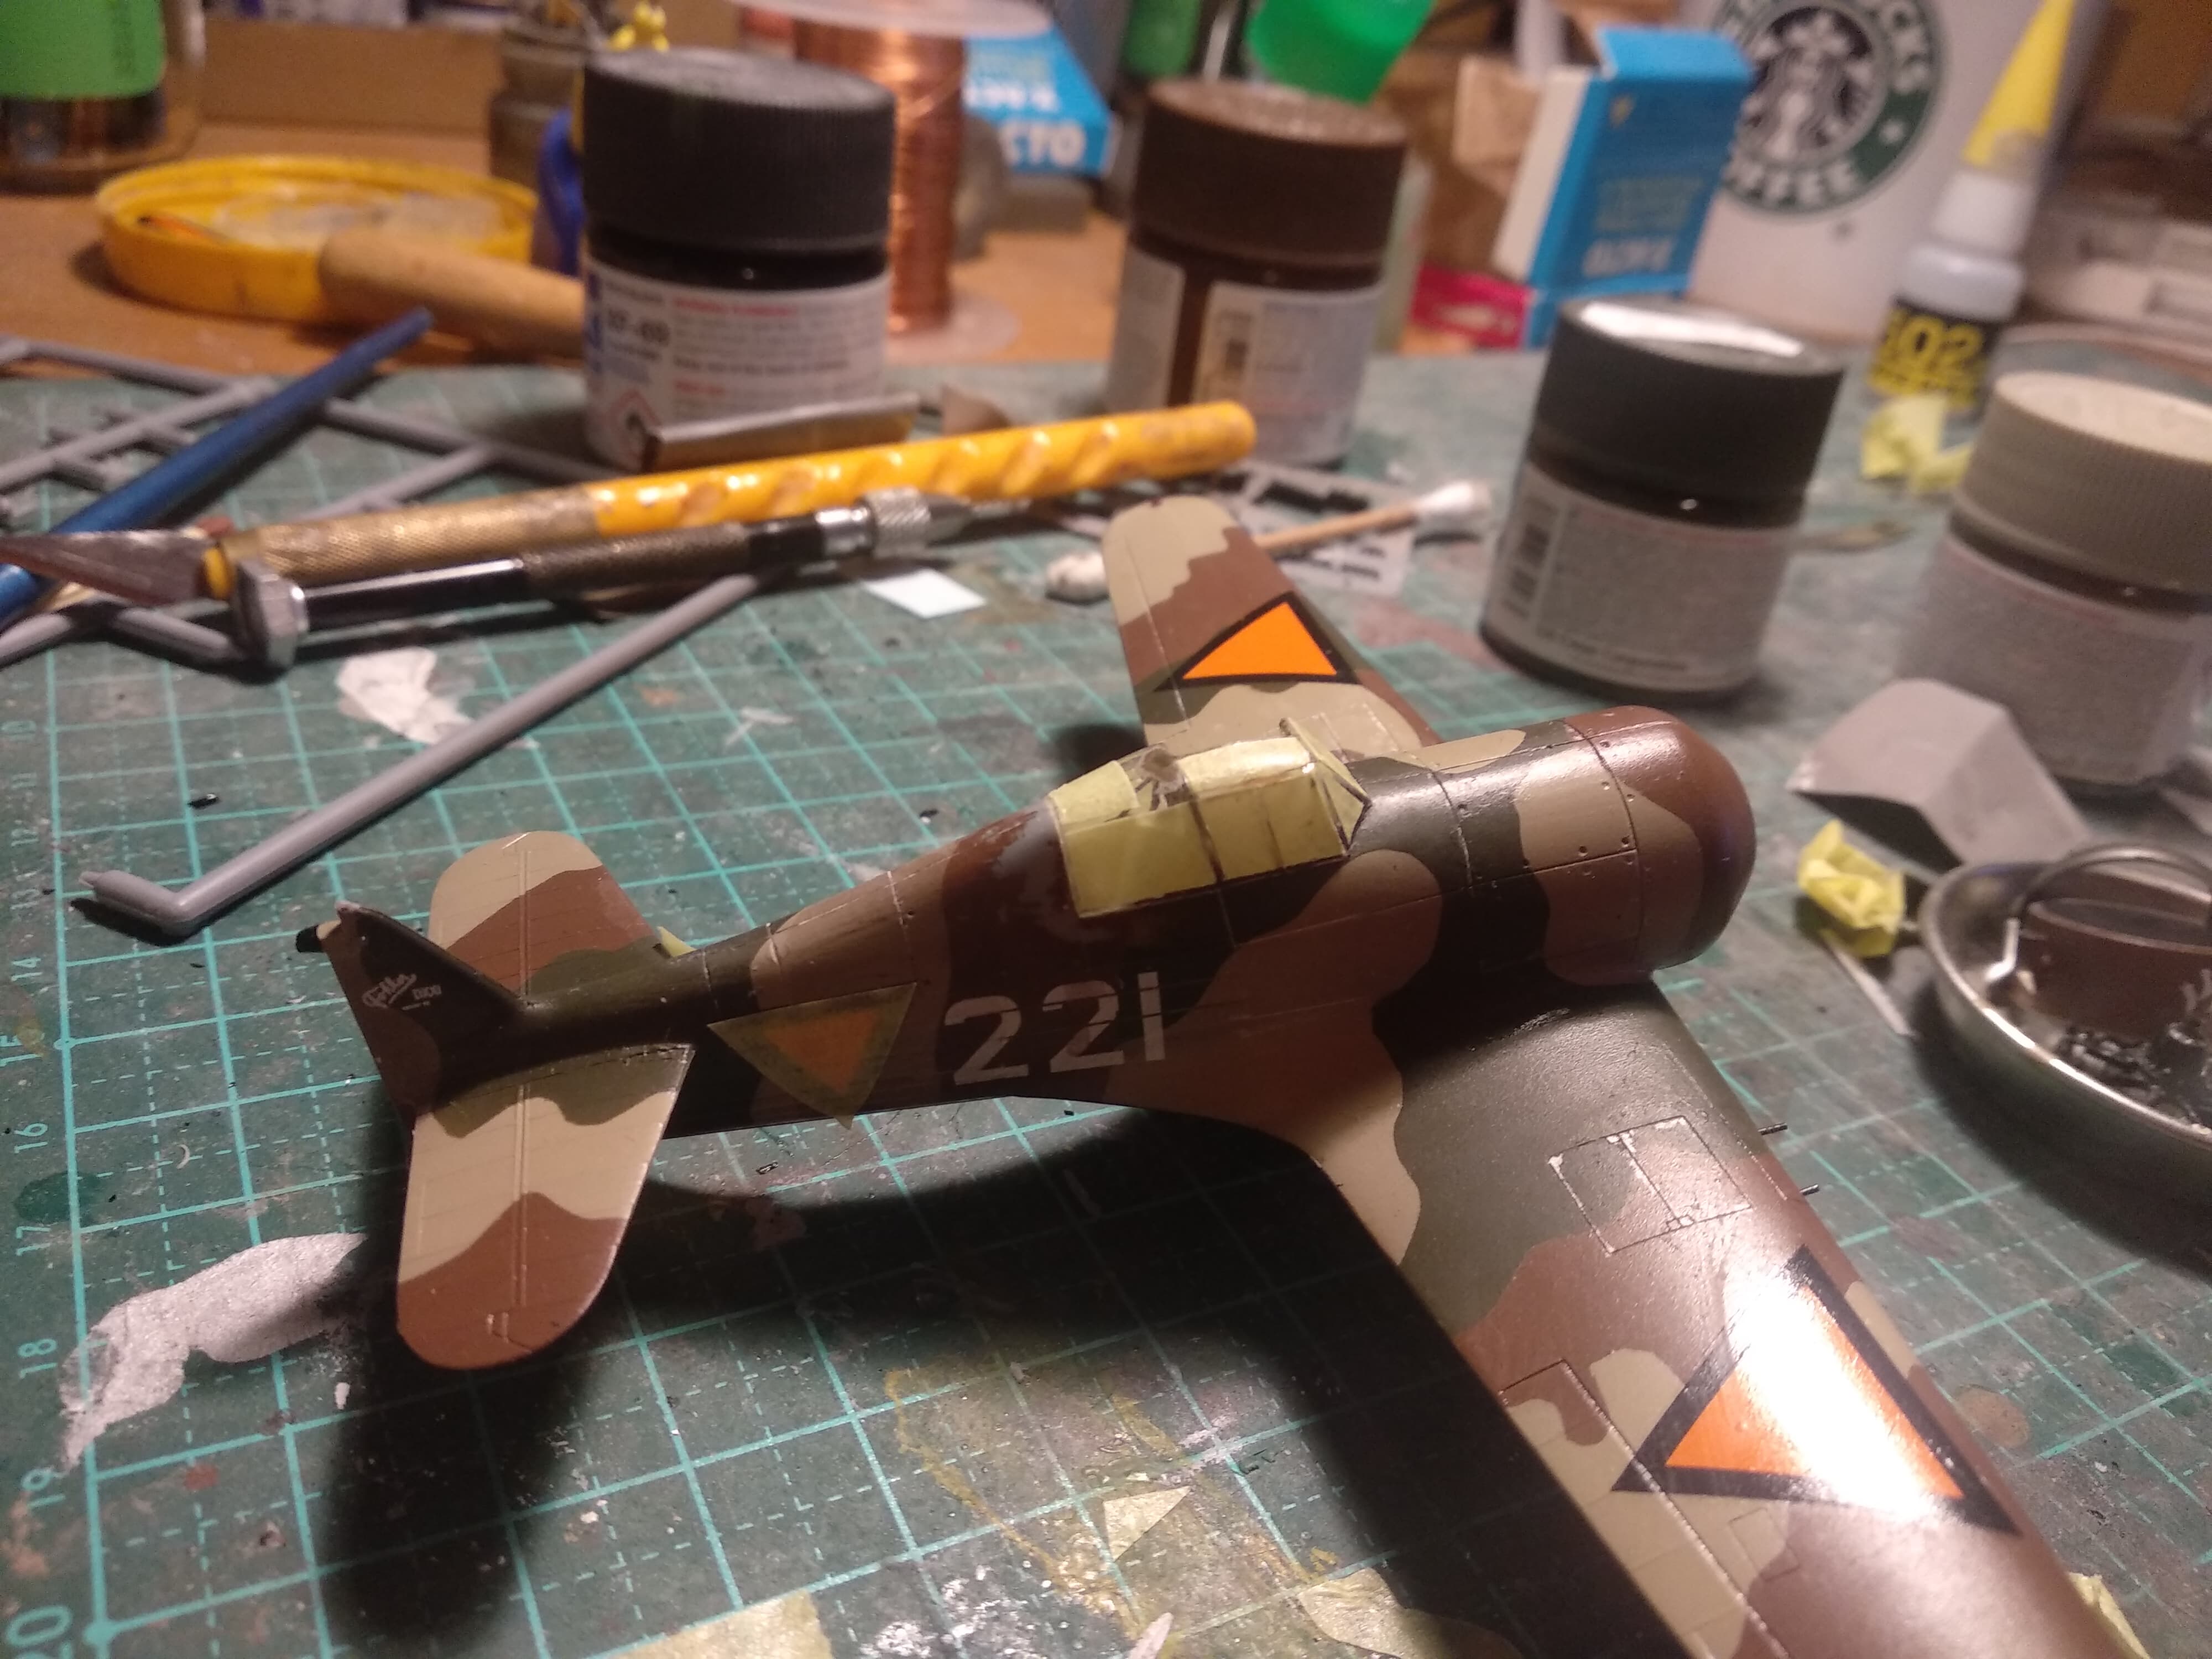
I actually did manage to ruin the camouflage after applying the decals. I’m not sure what i did, but I think i dropped some glue onto it. The damage wasn’t anything unfixable, but it did get onto the canopy so I had to polish that back up again. The identification number and paint were also ruined but luckily the roundel was fine. The spare numbers allowed me to recreate another machine which also flew with the white mice and boot markings, so I managed to keep it historically accurate. Some machines had the Dutch flag painted on the propeller tips. I haven’t found any photographic evidence whether “214” had those or not, so I added them as I think they look nice.
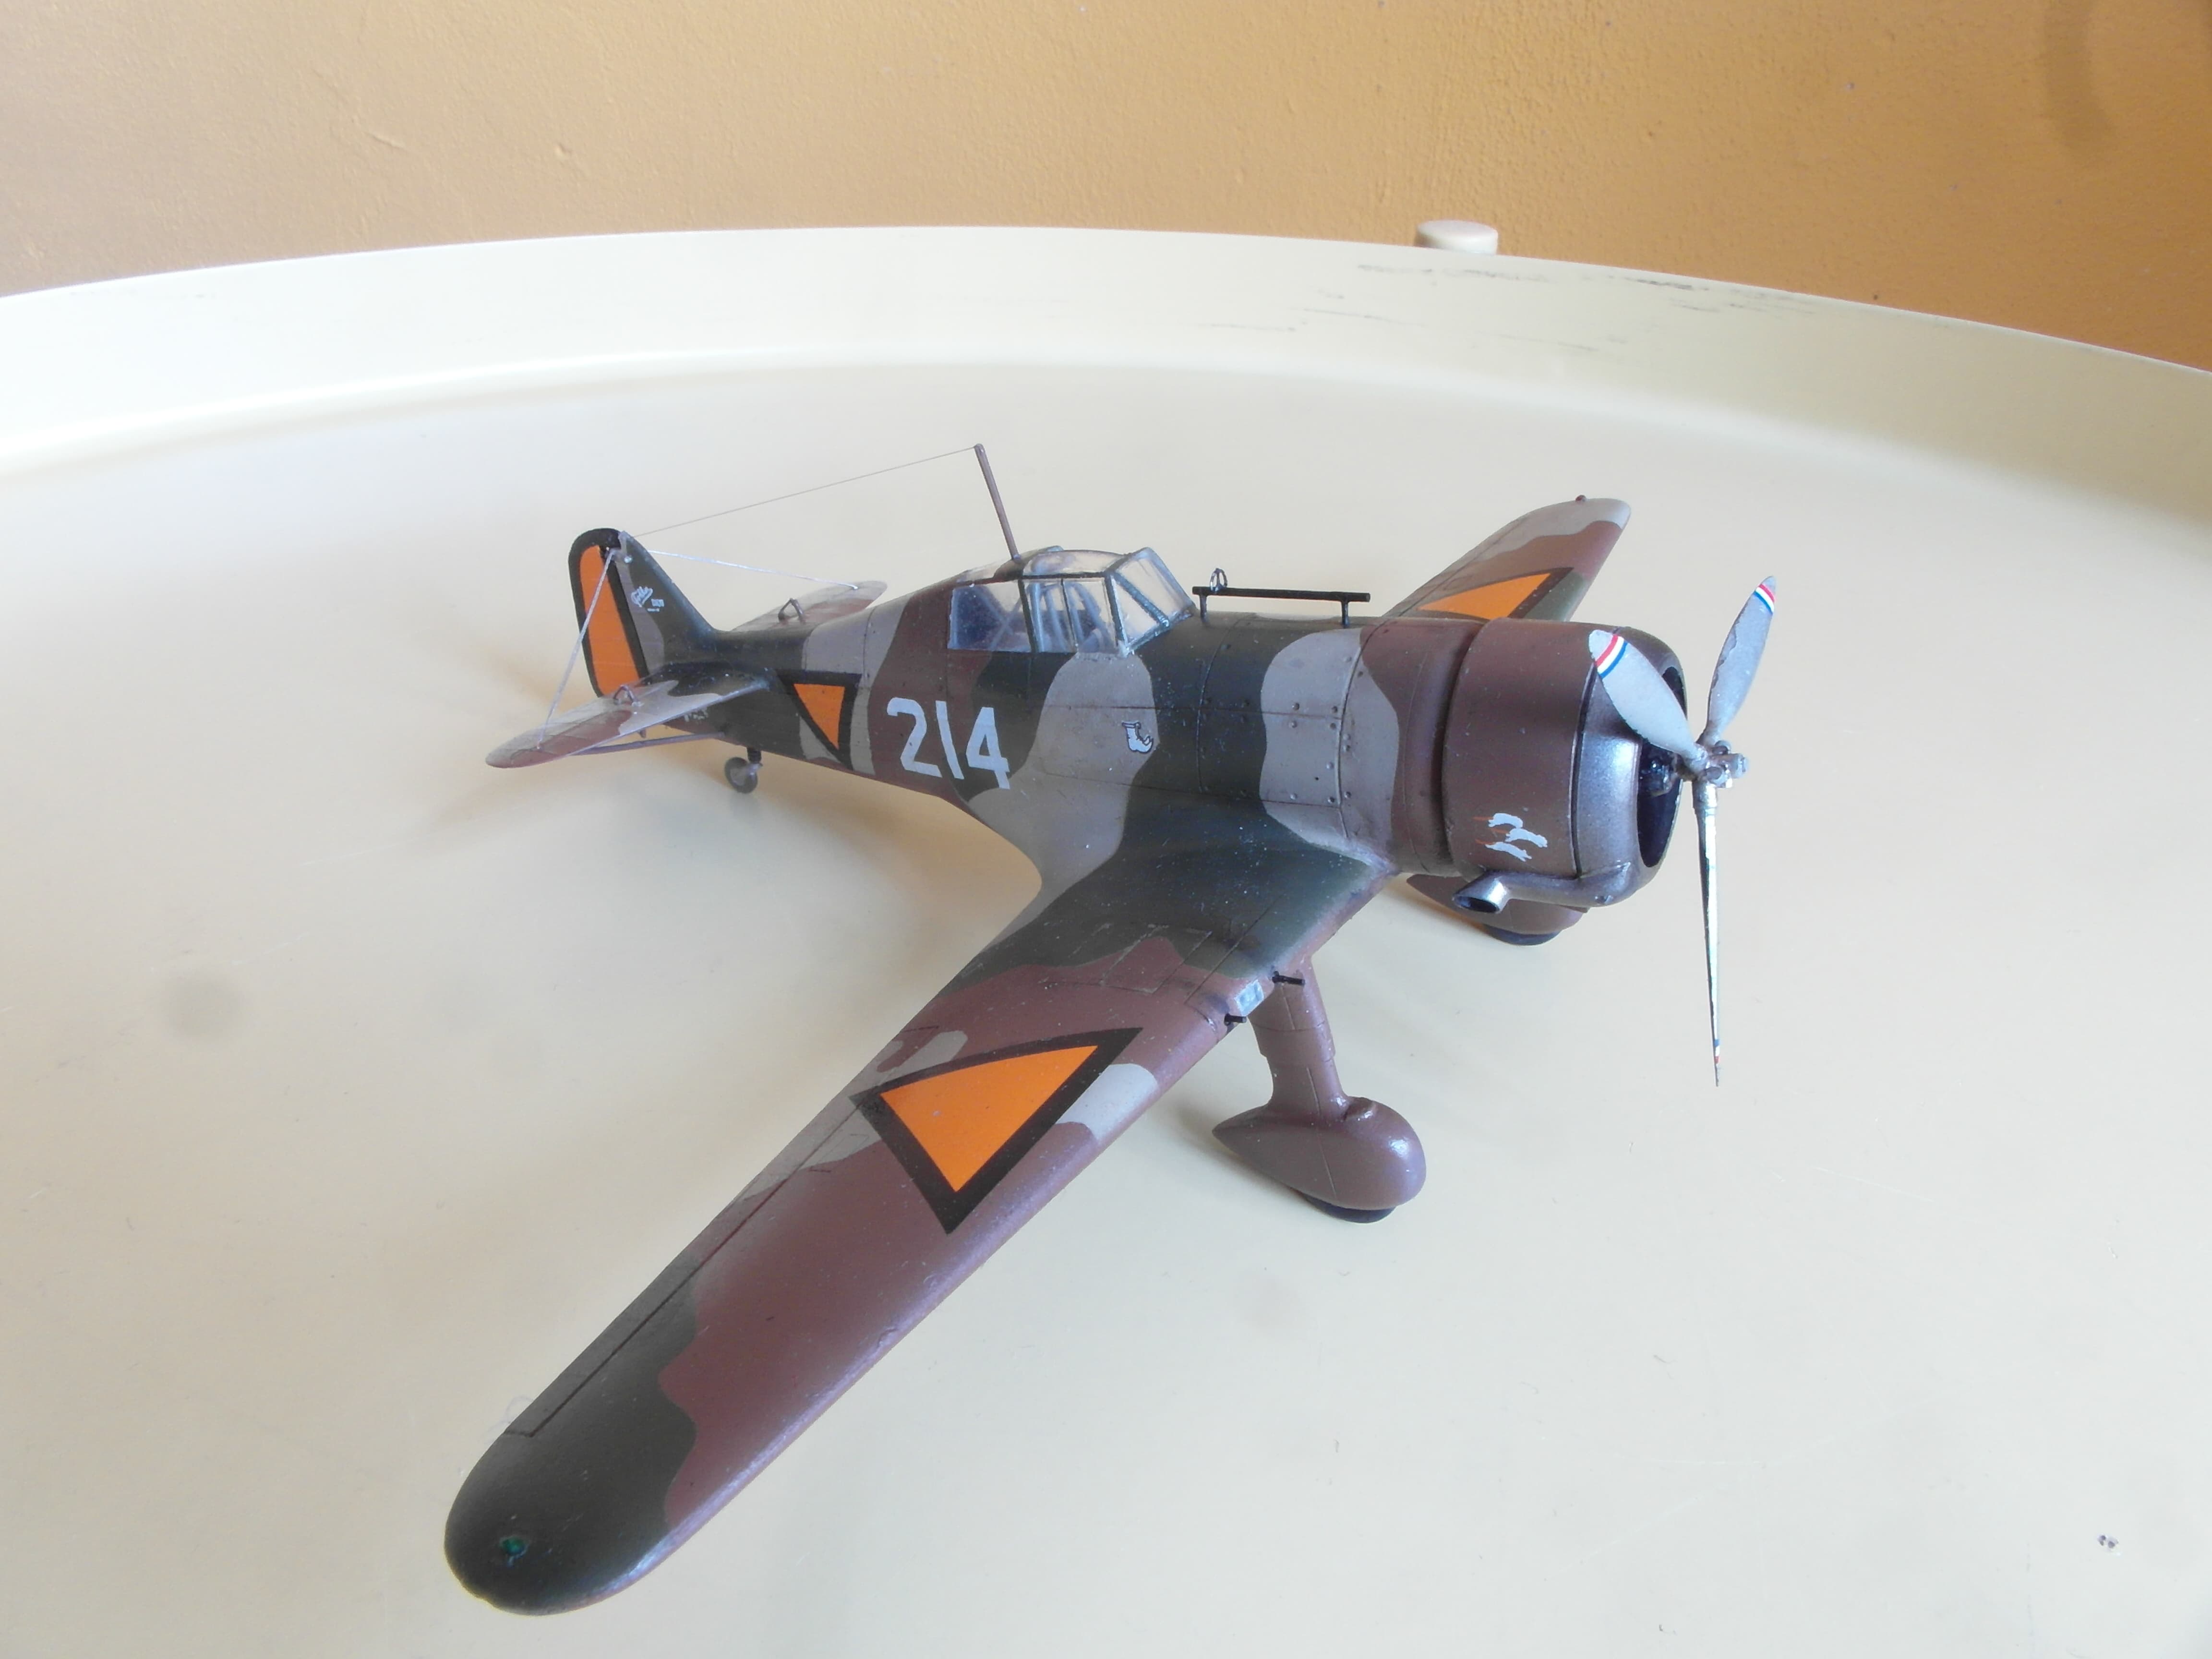


Again a nice model added to the collection.
Excellent end result despite the hick-up. What colours did you use?
Thanks! I’ve used Gunze H-307 grey for the interior, and H-336 beige, H-330 green and Tamiya XF-64 brown for the camouflage.