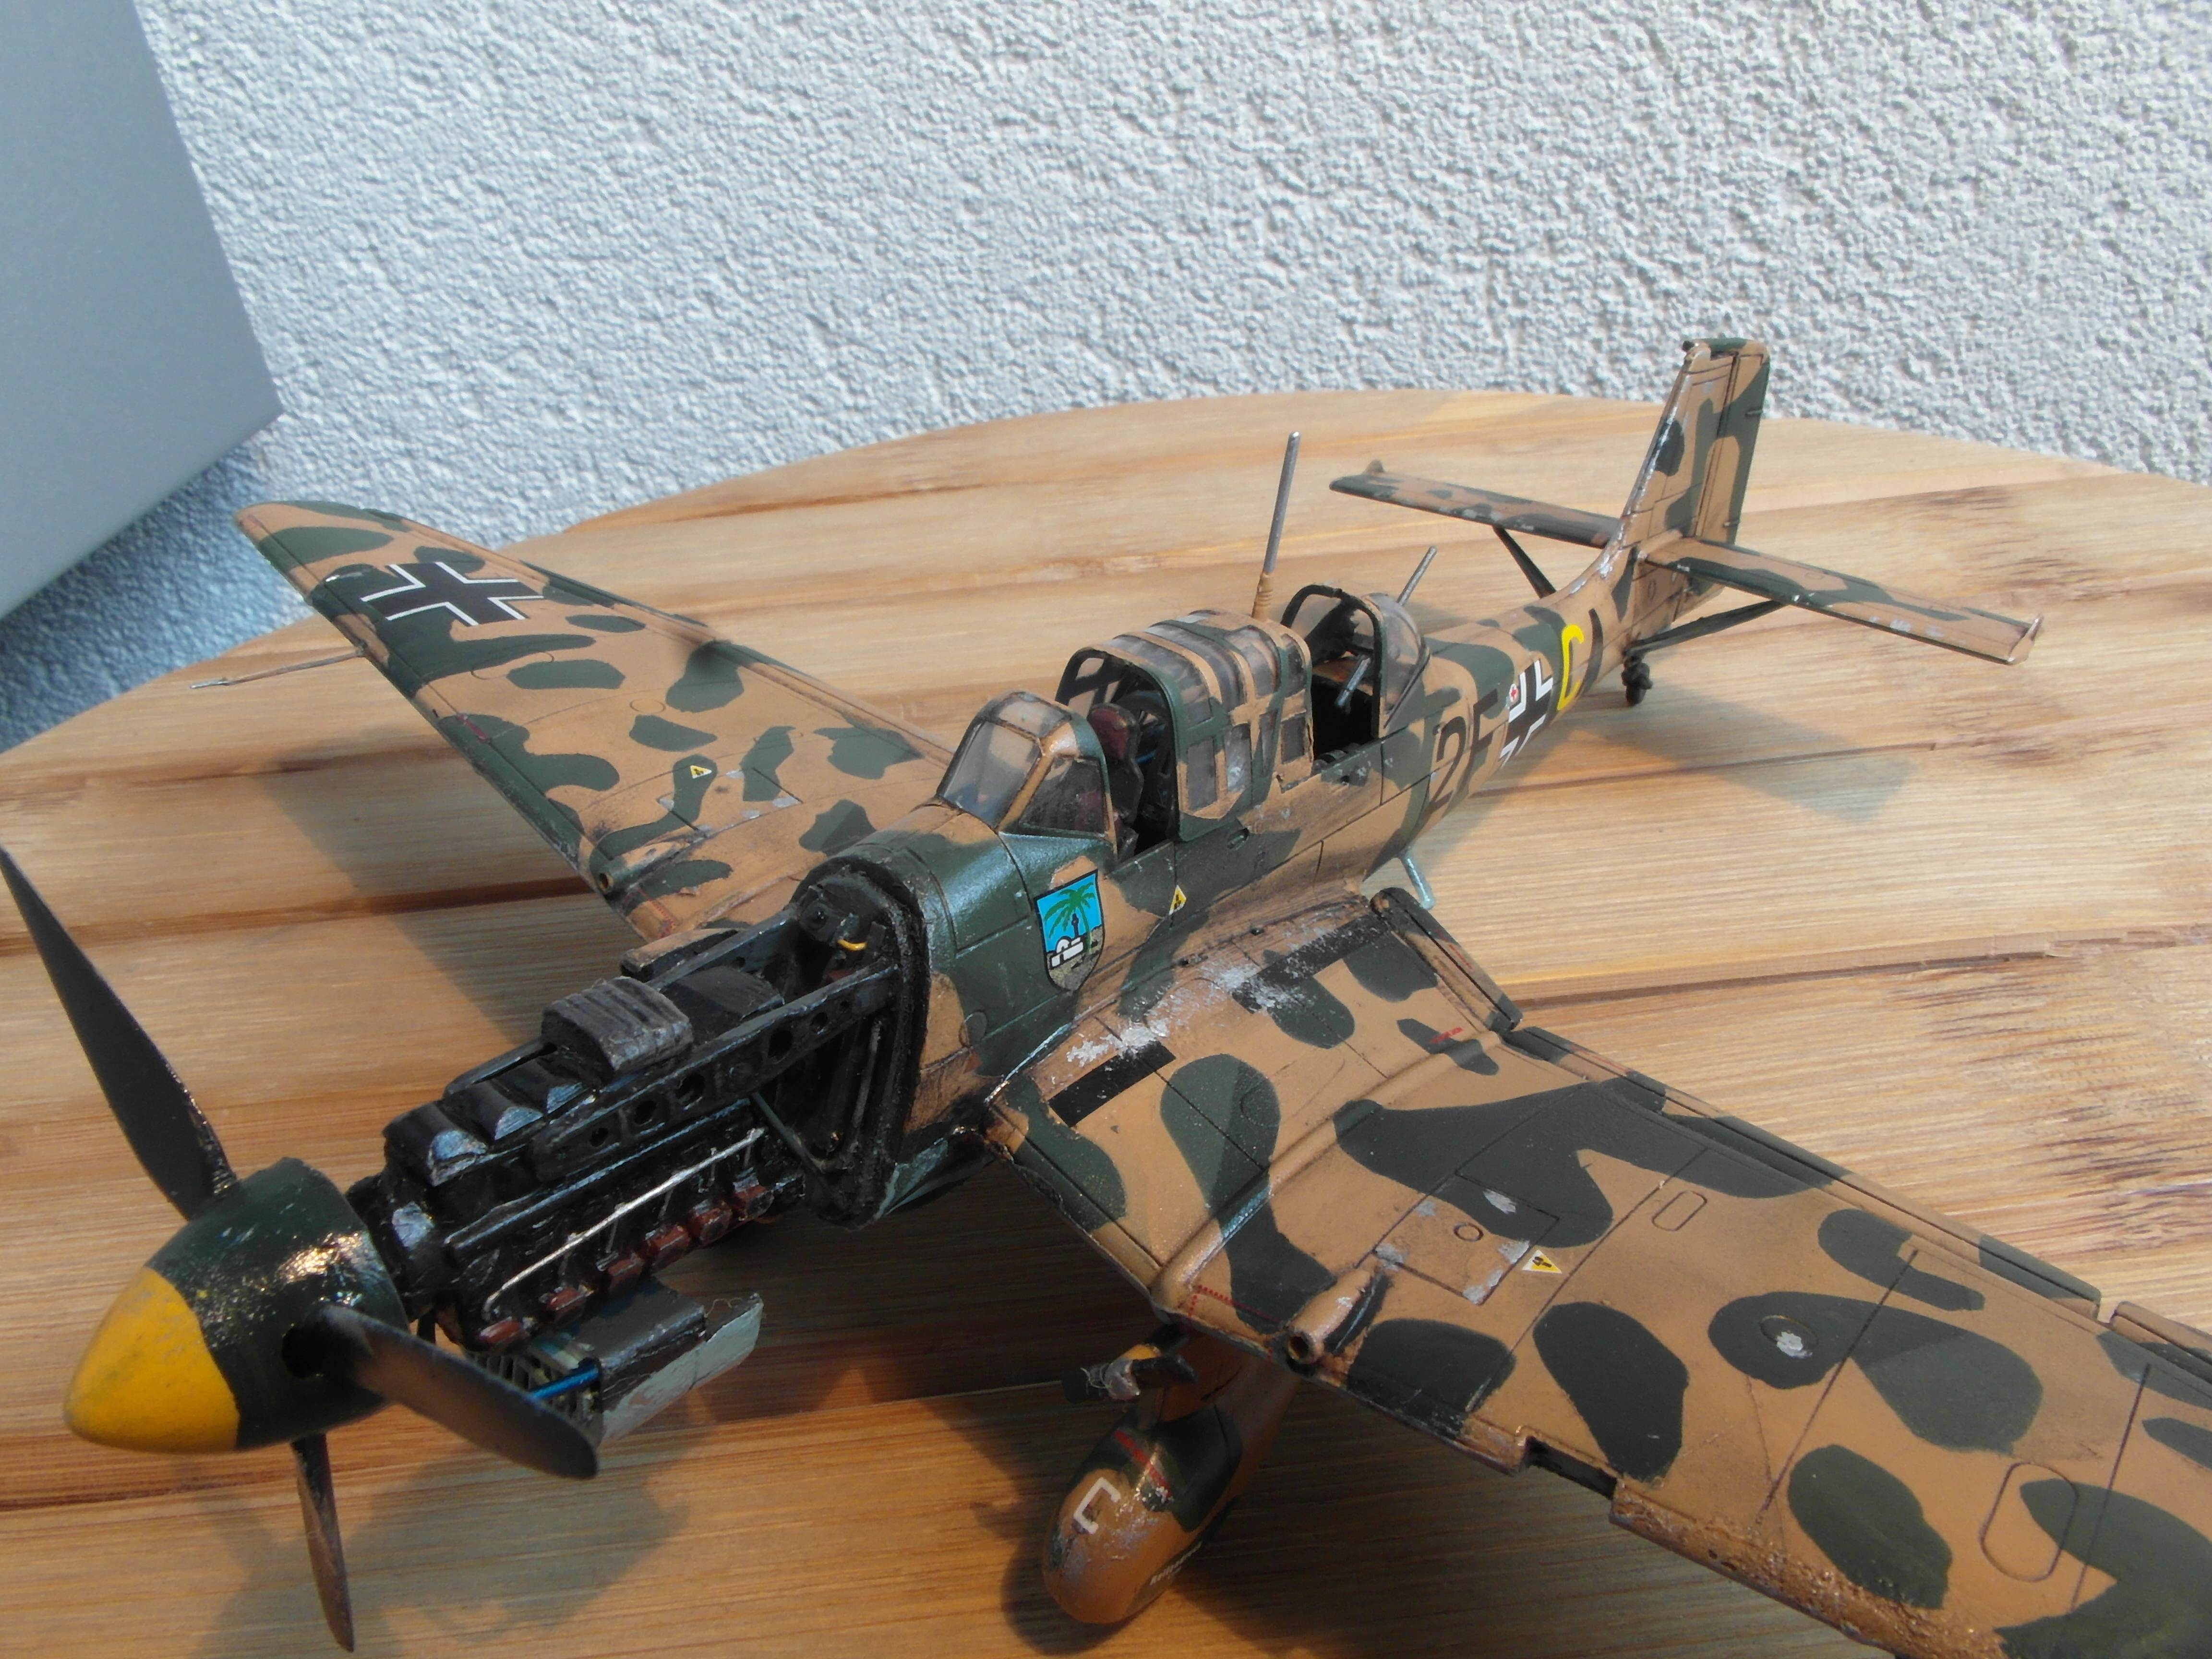
Sometimes it is time for something different. No perfectly molded kits, no fancy photo etched parts, but a basic, crappy kit where you have to make the details yourself and repair the rest. This time, the 1:72 Revell Junkers Ju-87 B2 (04620)
First Impression


At first glance the kit isn’t so bad. It has engraved lines, some cockpit features and some nice, detailed decals. However when dry fitting some parts it becomes apparent that they don’t fit. At all. The wings and fuselage are deformed and don’t fit probably together. The engine nacelle is bad on a whole different level. For some reason Revell decided that is was a good idea to split the part up in 6 different parts, each the wrong size and shape.
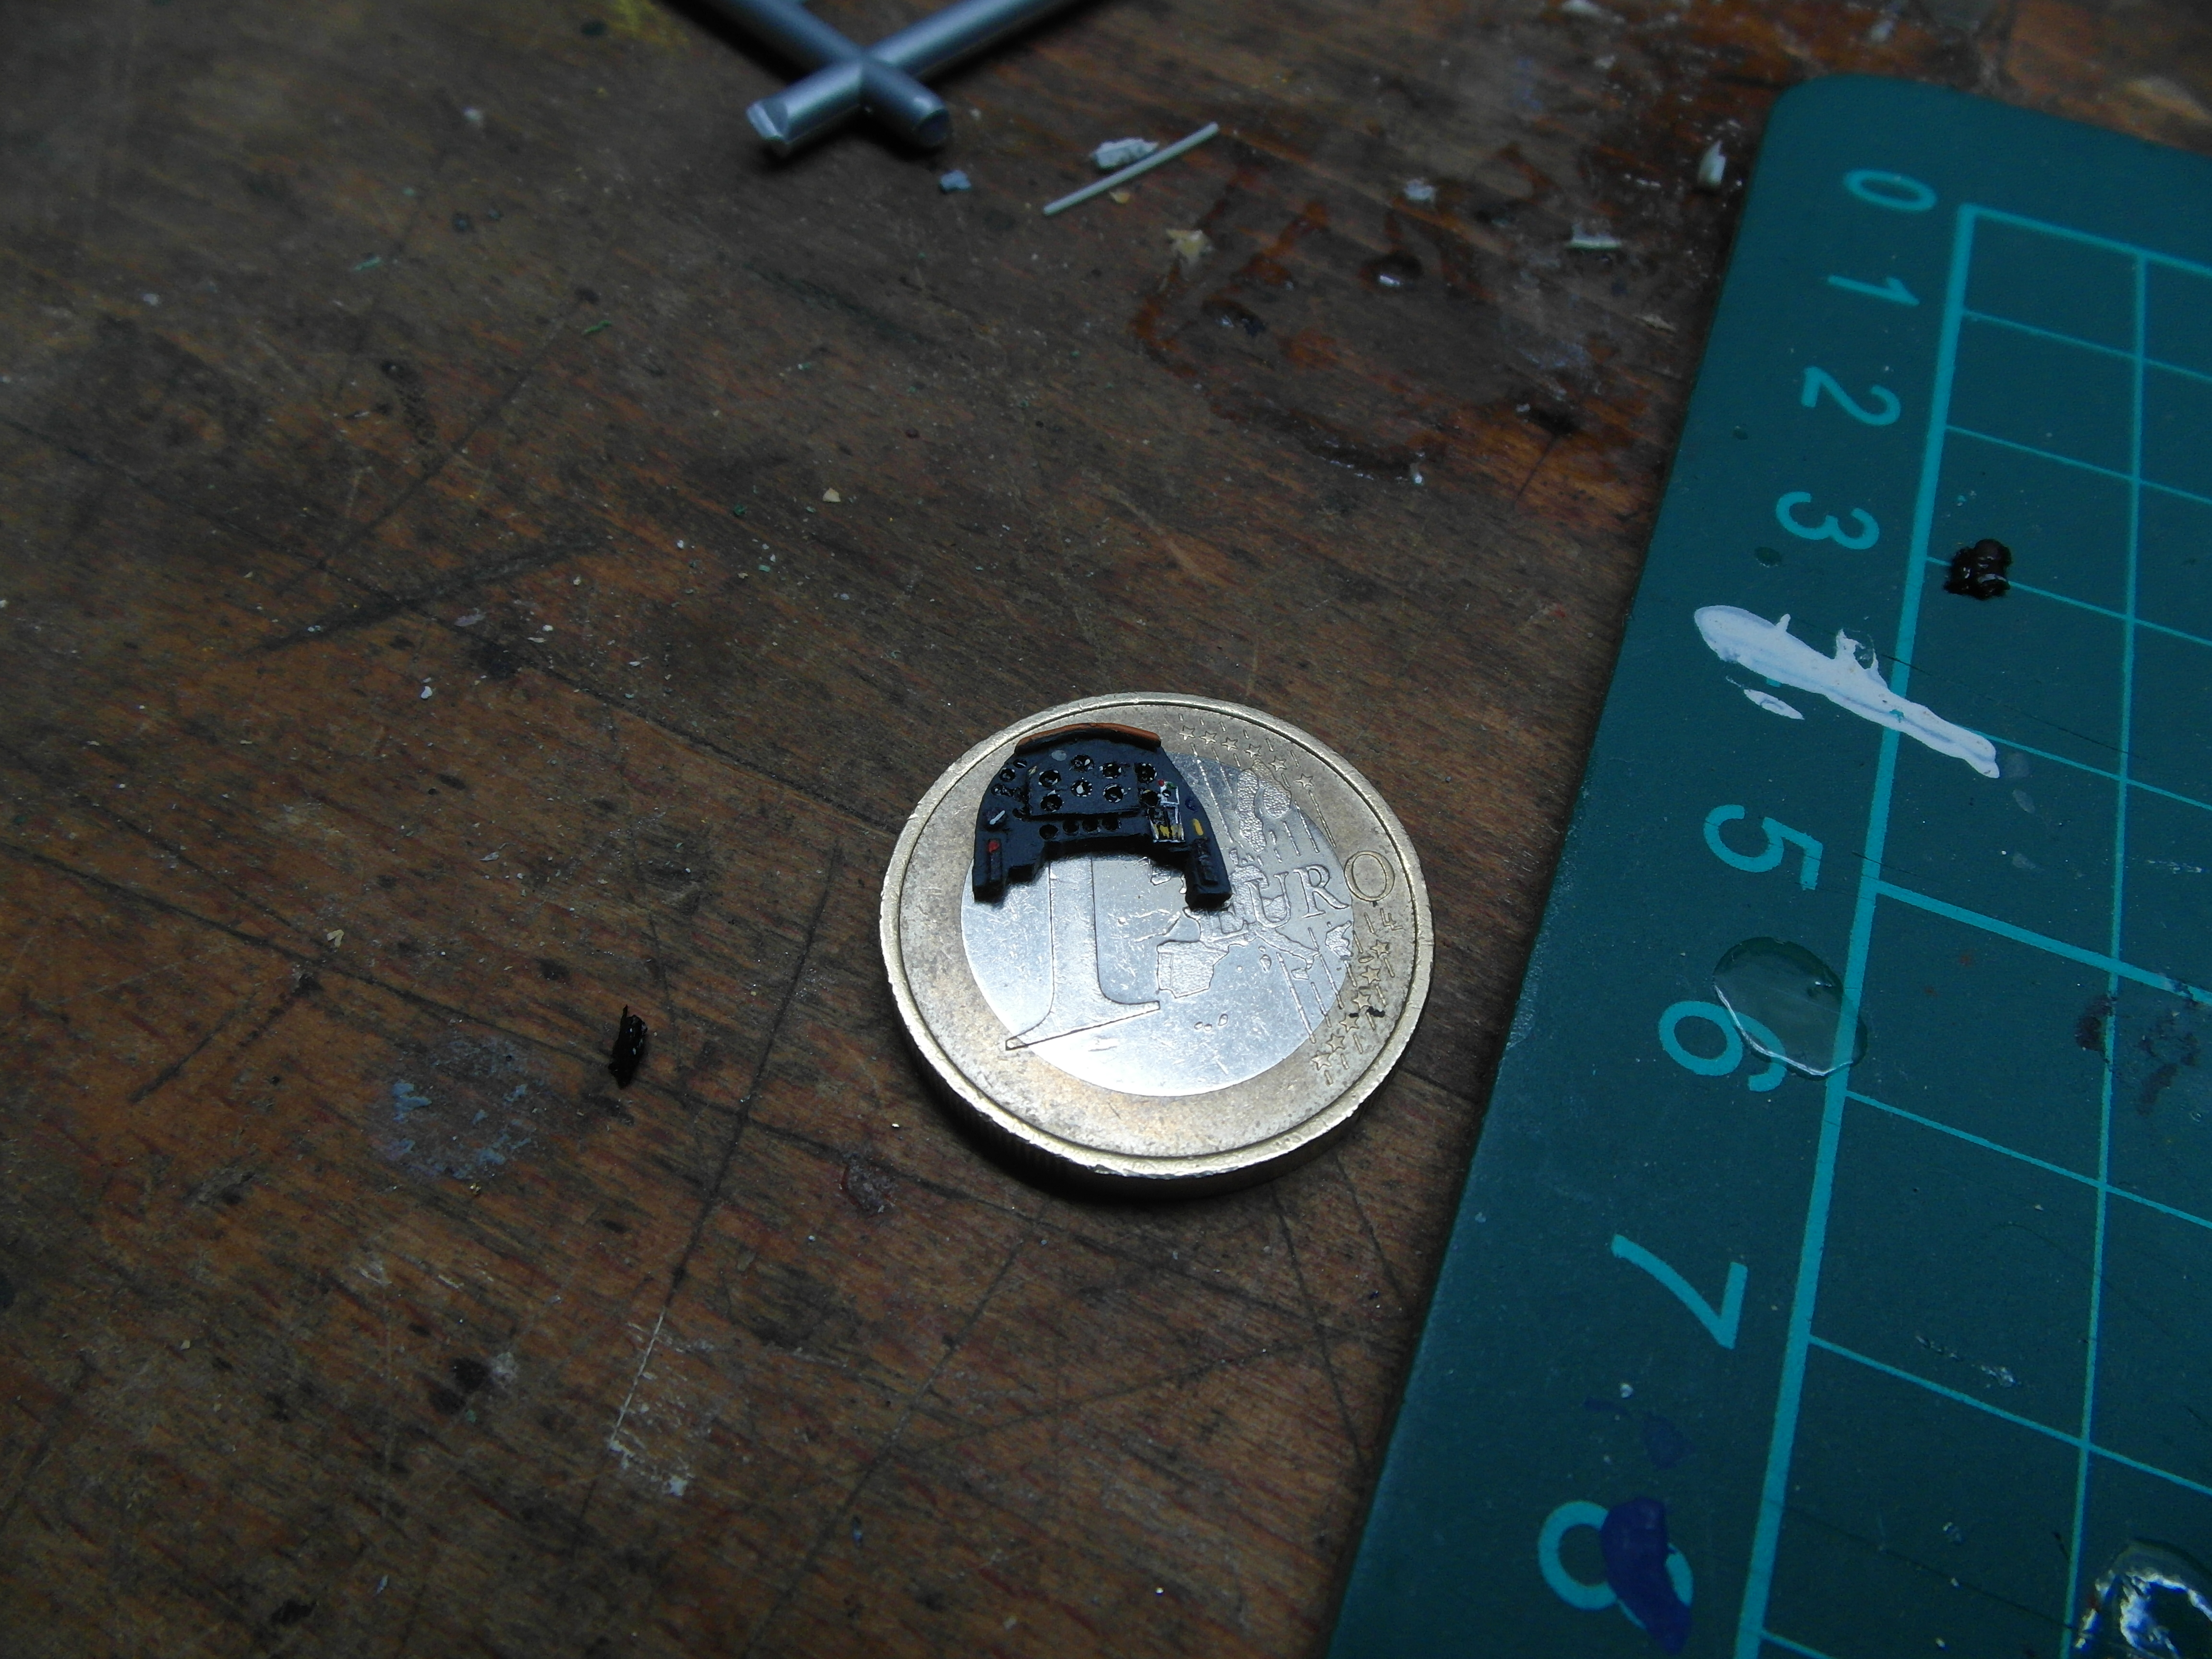
The cockpit, while decent at first glance, reveals some terrible issues upon closer inspection. The instrument panel is detailed with individual meters, but is some generic panel with little to no resemblance to the instrument panel of the actual Stuka. Same with the front seat, which is for some reason extremely well made.It has some very fine details with the seat belts and cushions. Too bad this part also bears no resemblance to the actual seat.
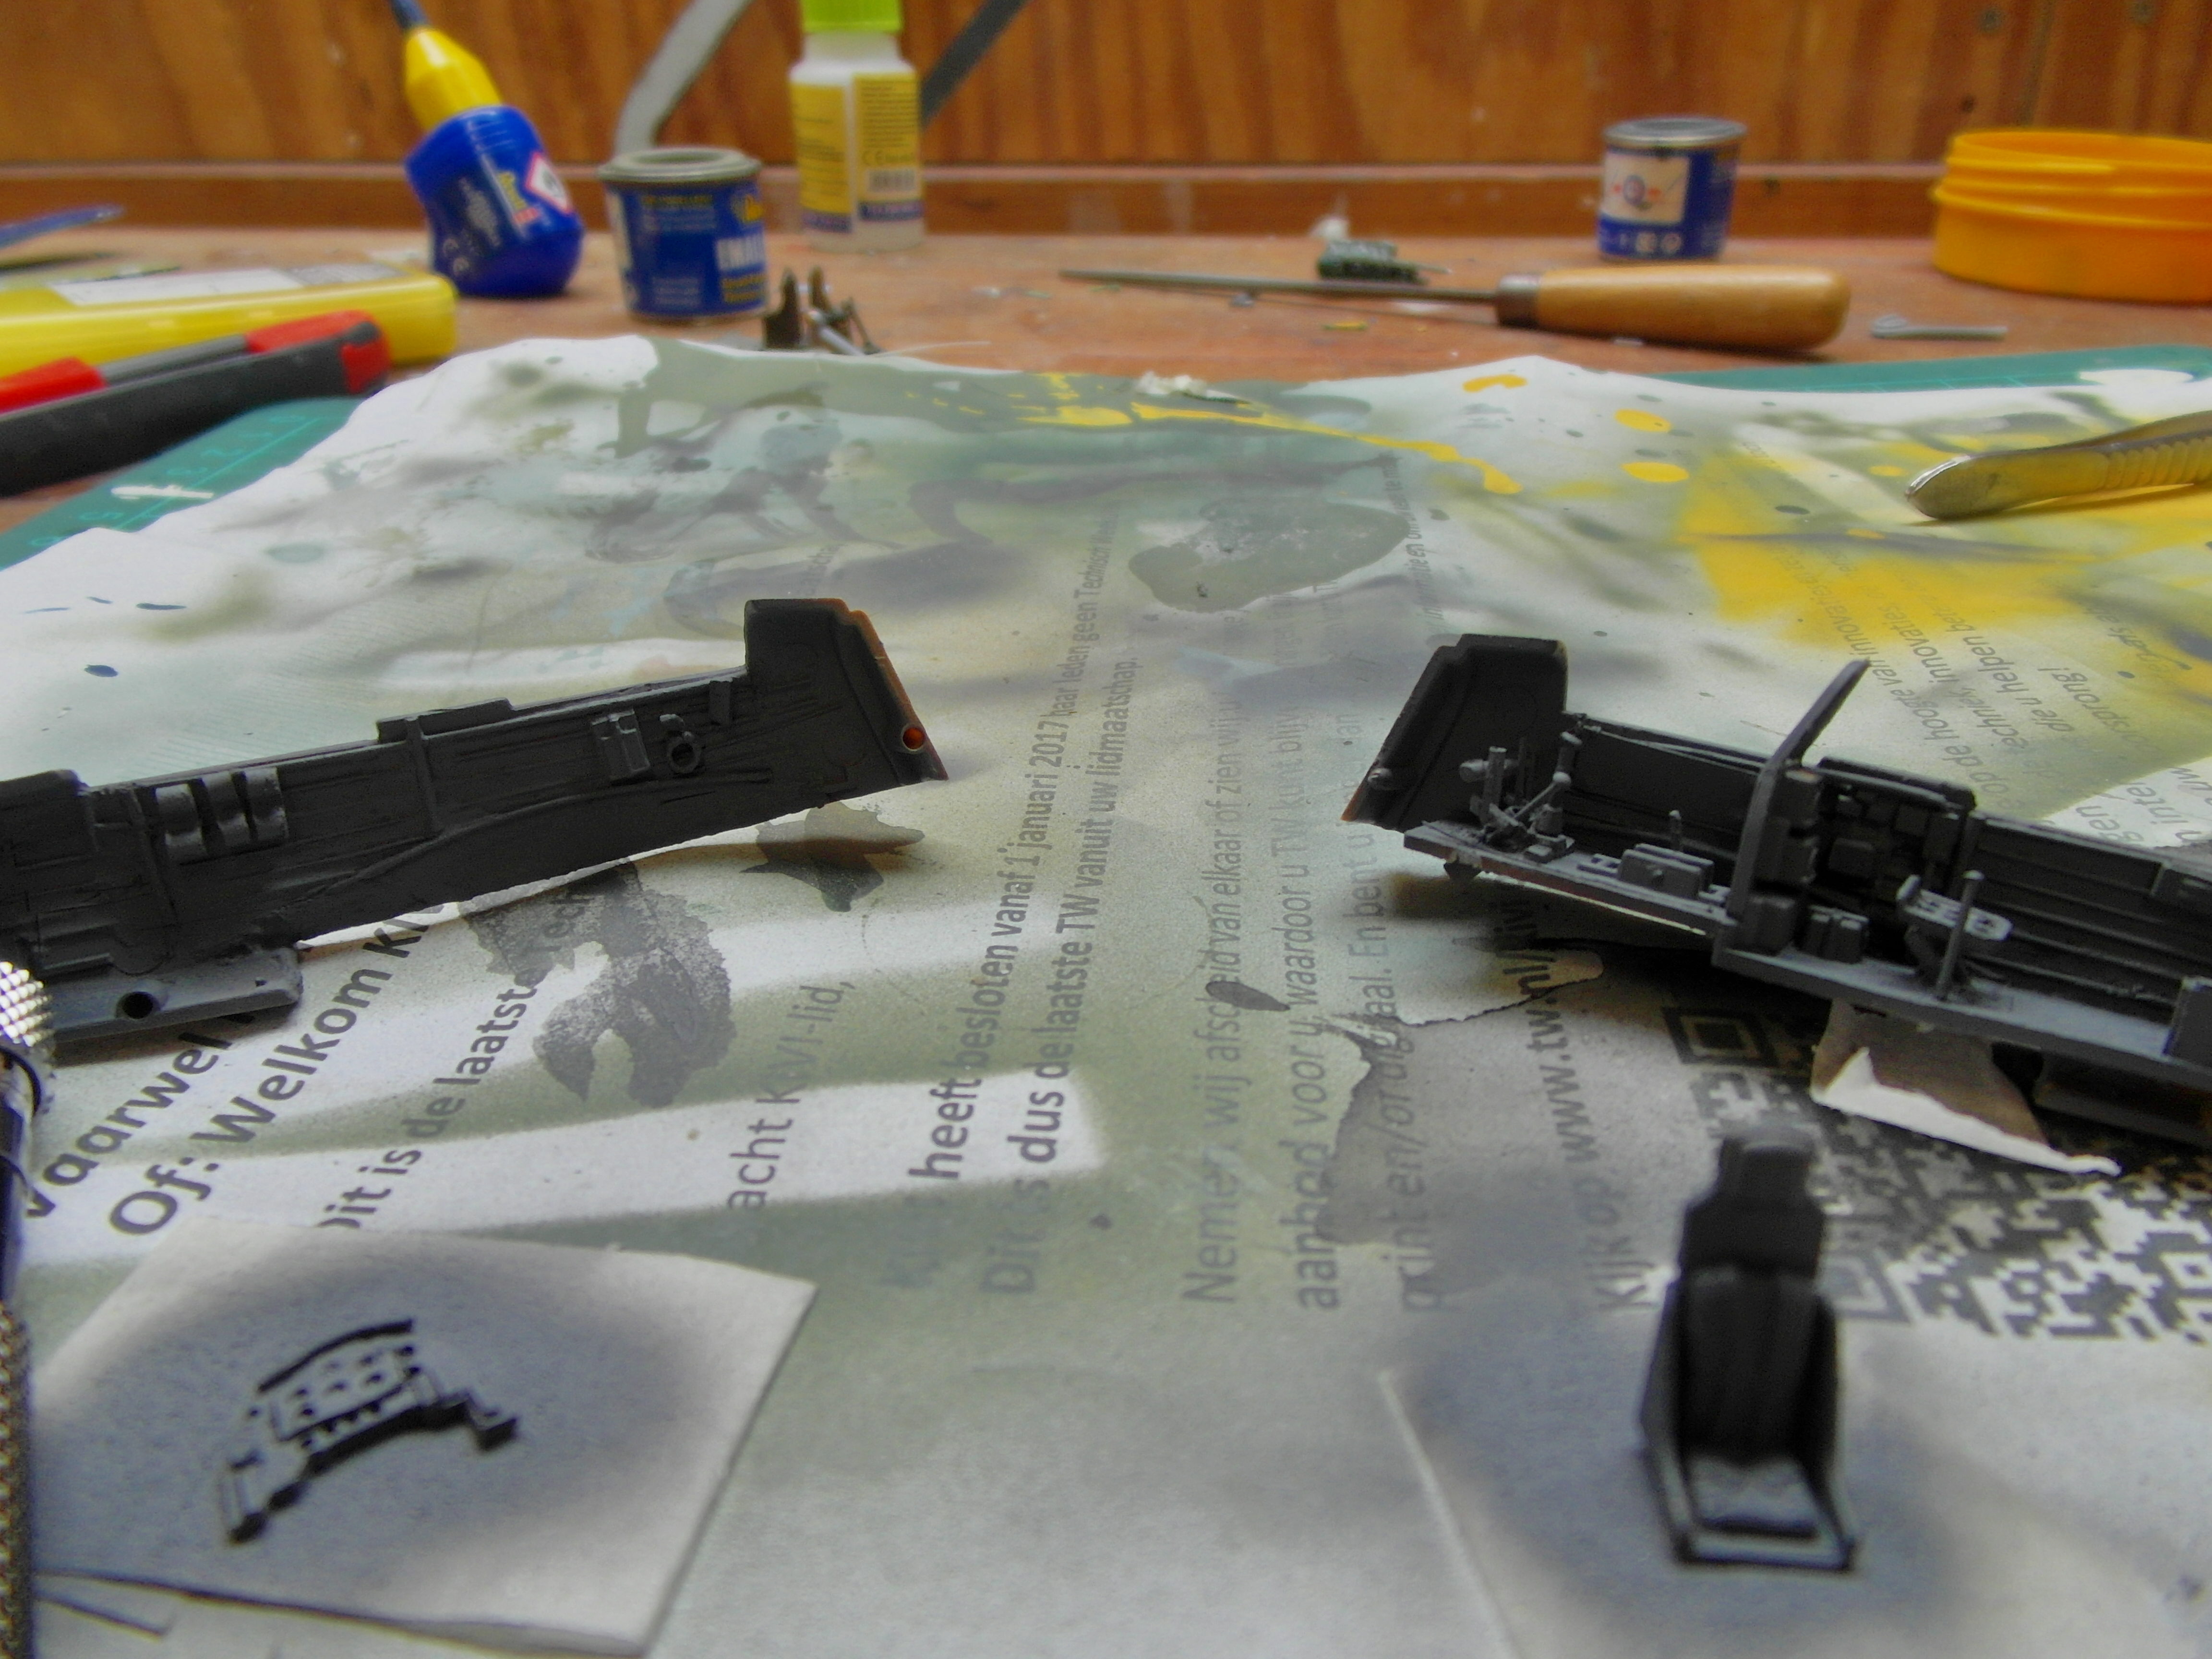
Most obvious are the side panels, which lack any detail whatsoever. No framework, no meters no wires. Nothing.
But that is what makes this horrible kit good for this project. Lets get to work.
Cockpit
I left the front seat in its cushioned state, but rounded the corners with a file. The structure beneath was surprisingly accurate too, albeit lacking details. Because this part isn’t visible when the model is completed, I decided that is was enough to add the lever used to change seat position.
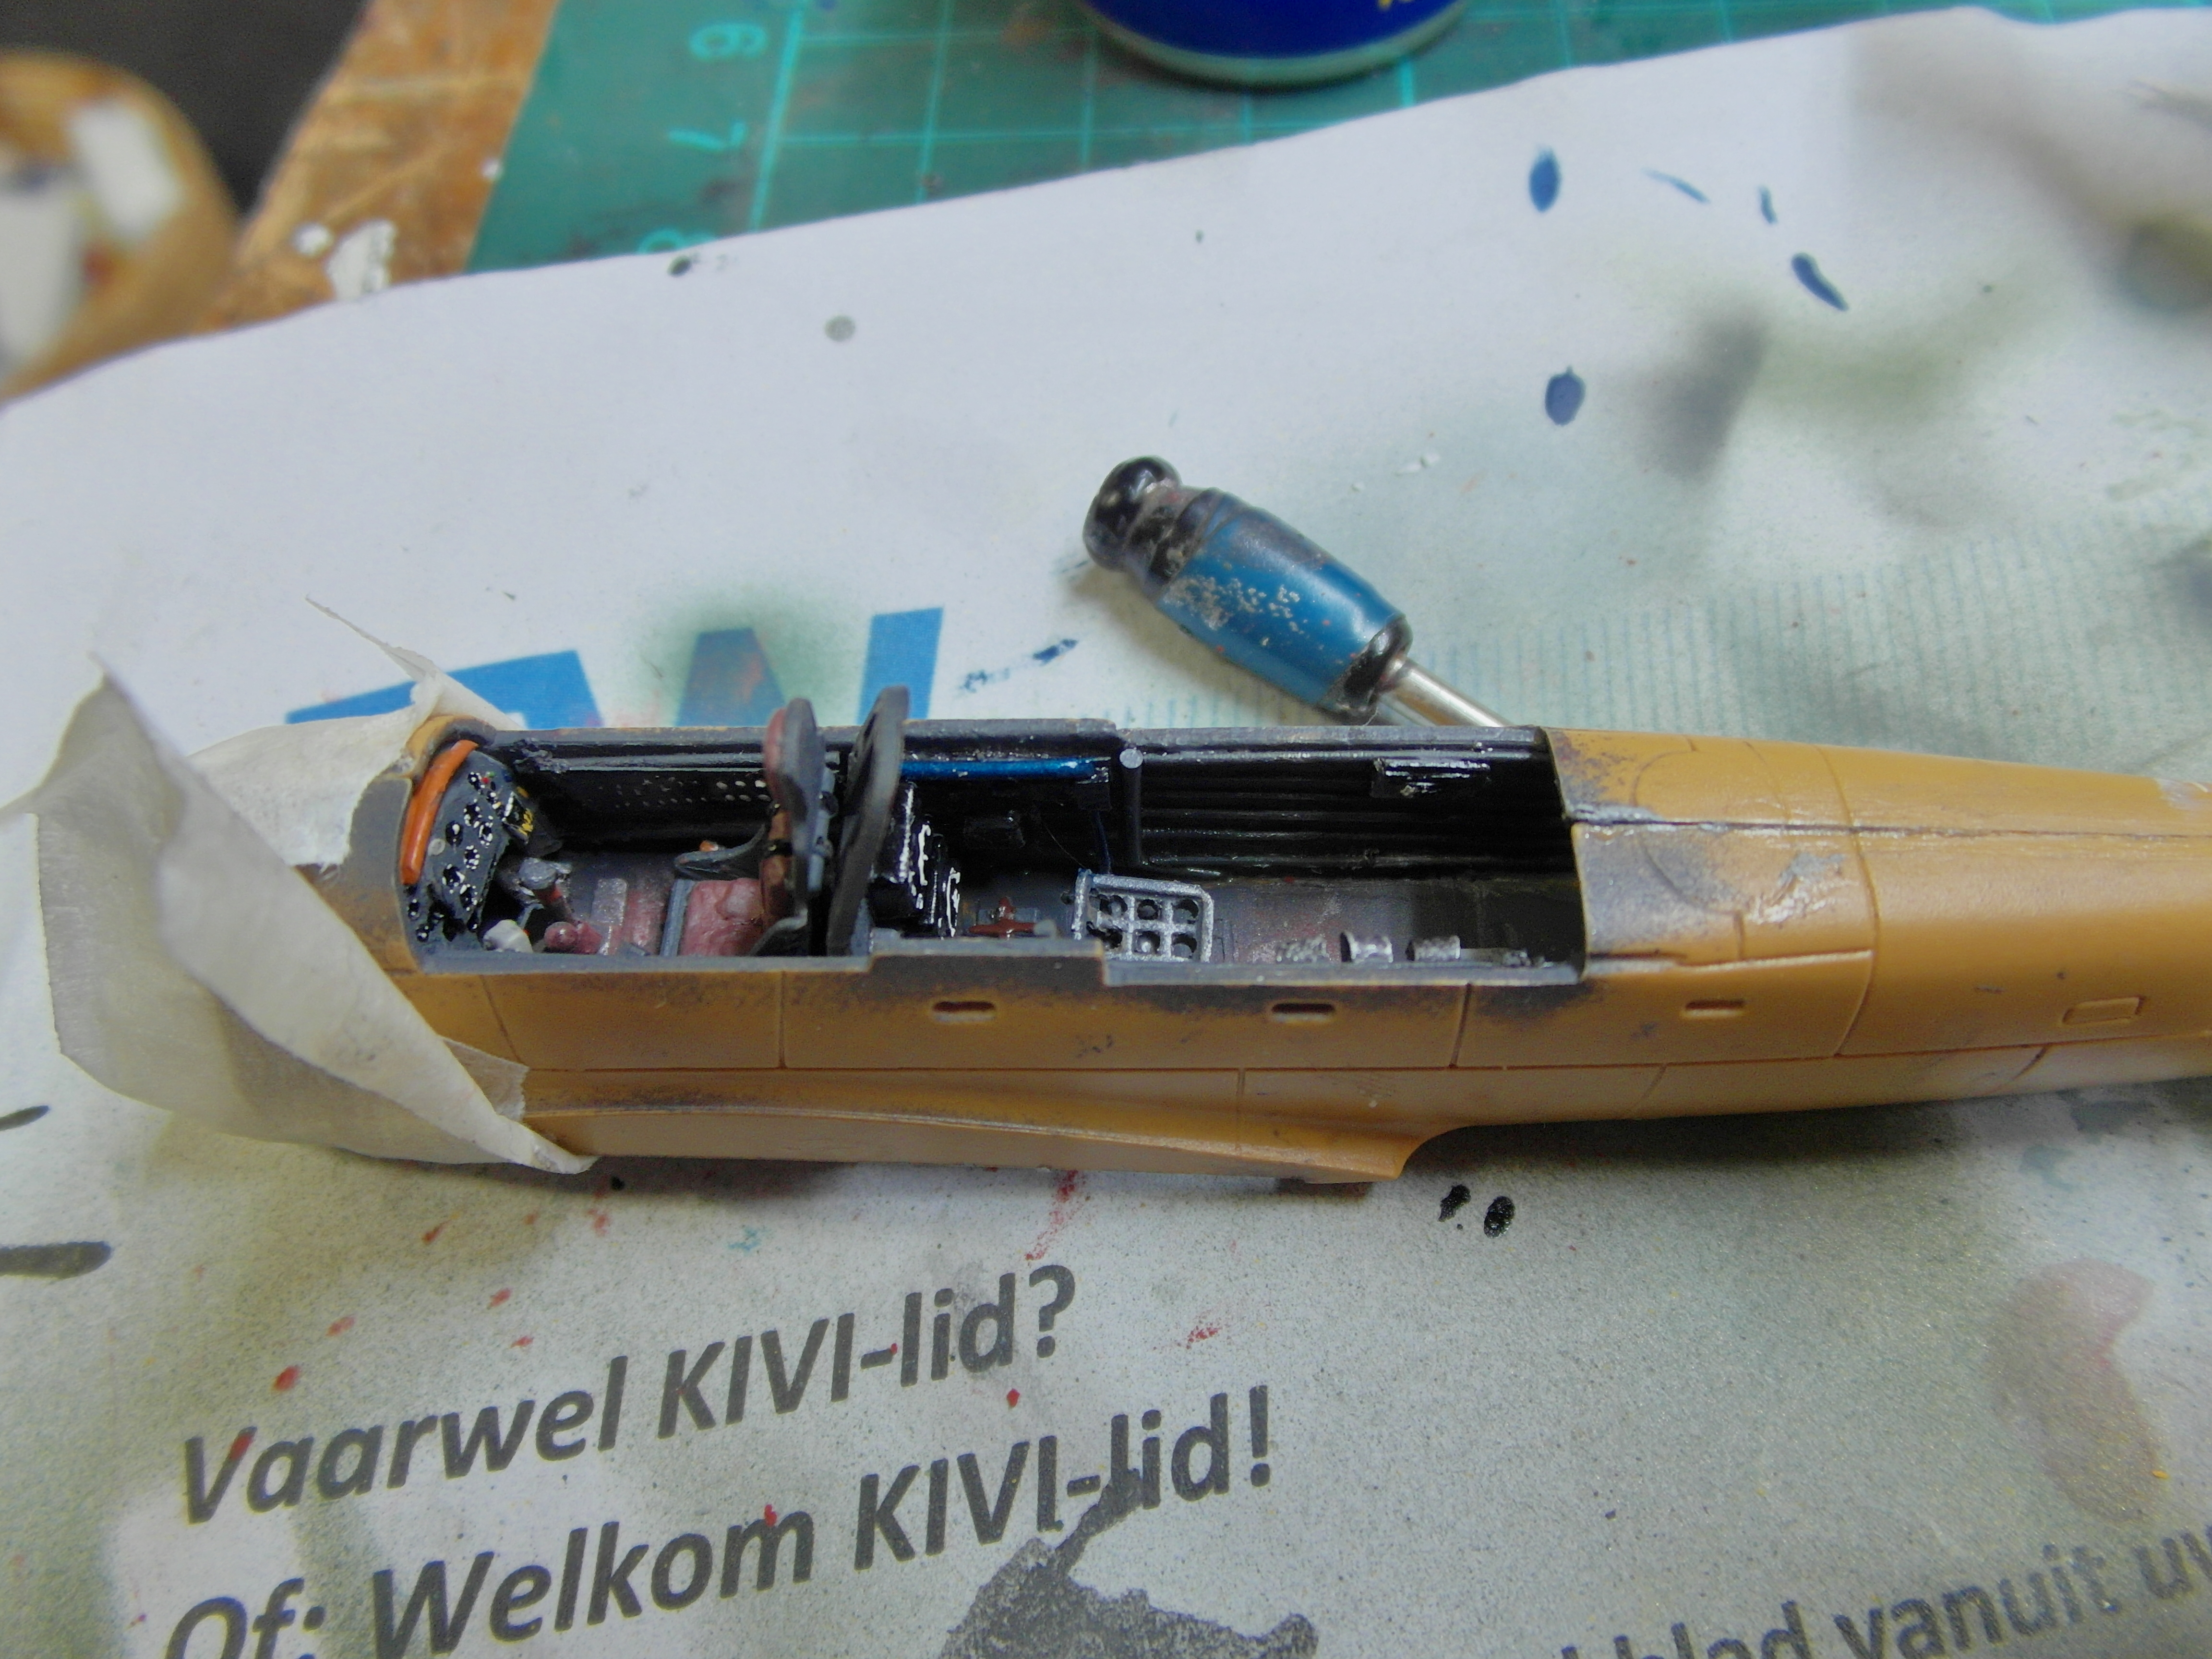
The floor window is completely missing, but some cutting creates a nice hole in the floor between the pedals. A small rod representing the handle operating the window and some sheet metal as protectors? anti glare? The box thingy around the window.
At least that’s the idea. Of course I cut the hole too big, so that requires some repairs. Also I have to make sure the window doesn’t interfere with the pedals. Tamiya putty is probably going to make a mess, so out comes the putty for walls.
Probably the hardest part were the rudder pedals. In the original kit they are represented by 2 wedges molded on the floor. In reality they are metal pedals hanging from some bars. Some cut up plastic plates and rods create a nice miniature of the original.


The manual states that the cockpit must be painted in RLM 62, but all reference photo’s depict the cockpit as grey. I opted for RLM 42, since that seemed to be the closest. (Sources are all over the place concerning the actual color).
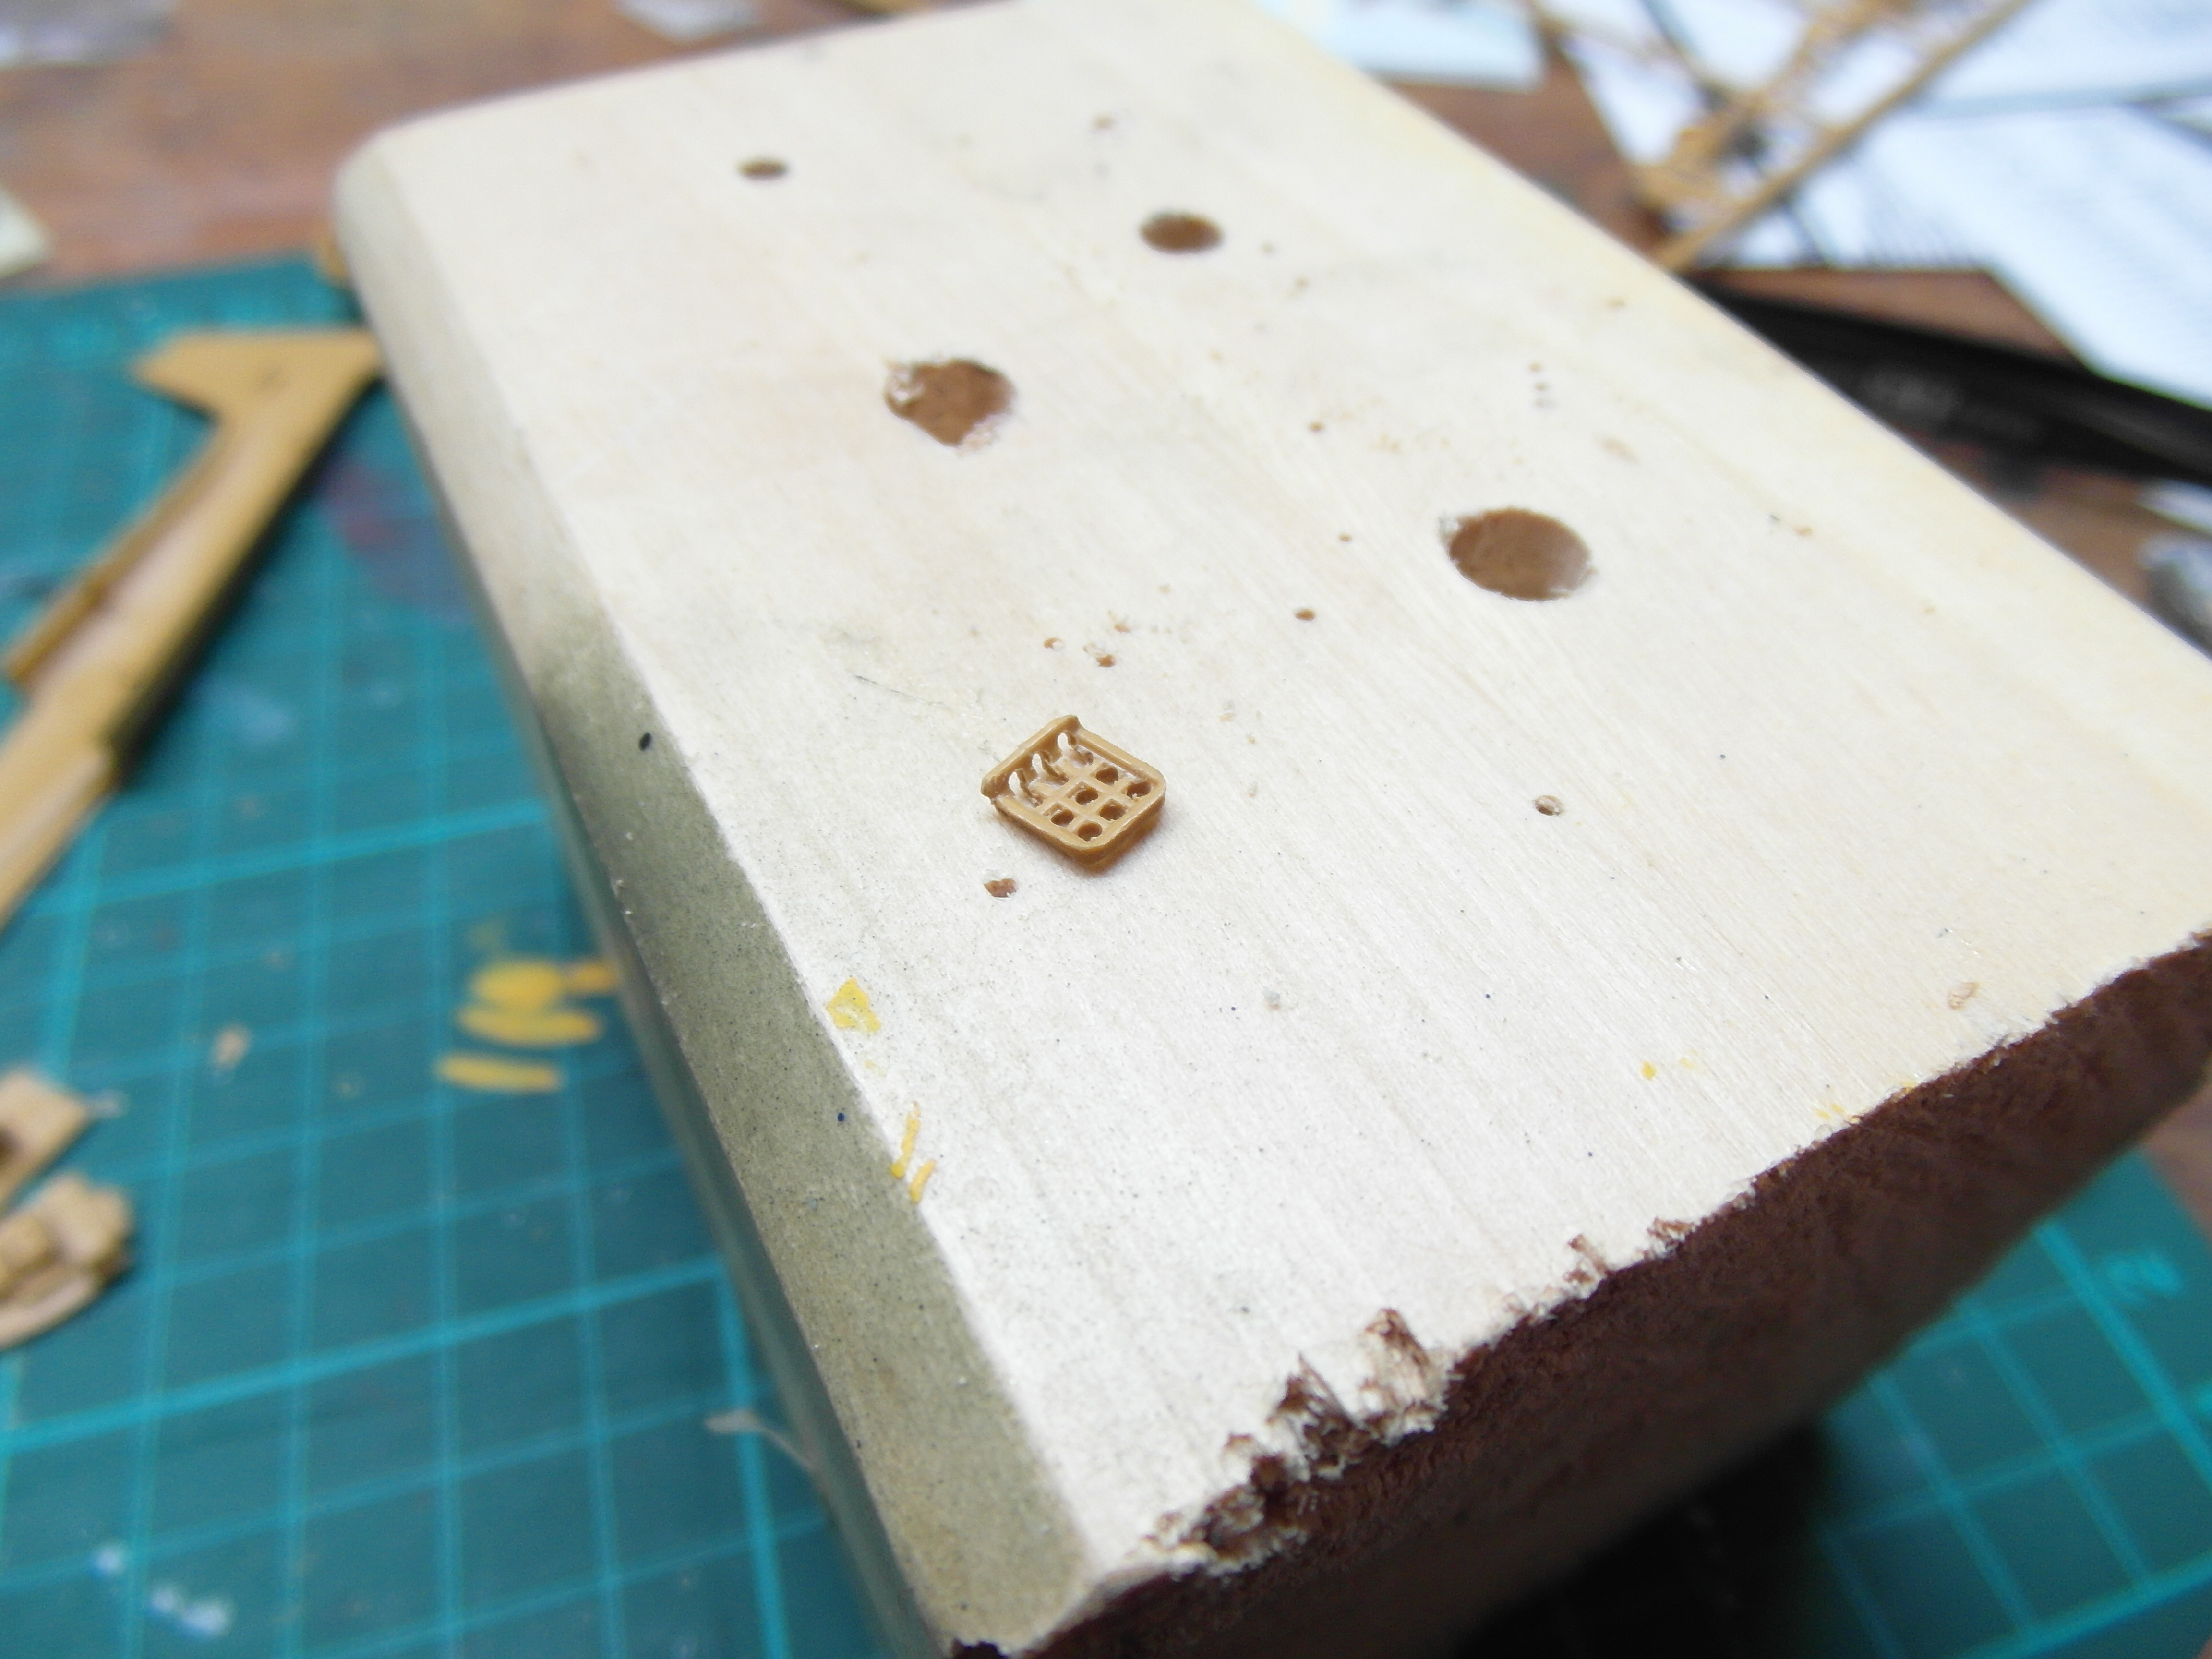
The details were fun to do, especially the instrument panel.
After some weathering with metallic paint and brown pigment, and shading some Tamiya line accent, I think the end result is pretty good.
When gluing the two fuselages together it becomes apparent that the floor isn’t big enough, so I hope the gap isn’t visible when the wings are attached.
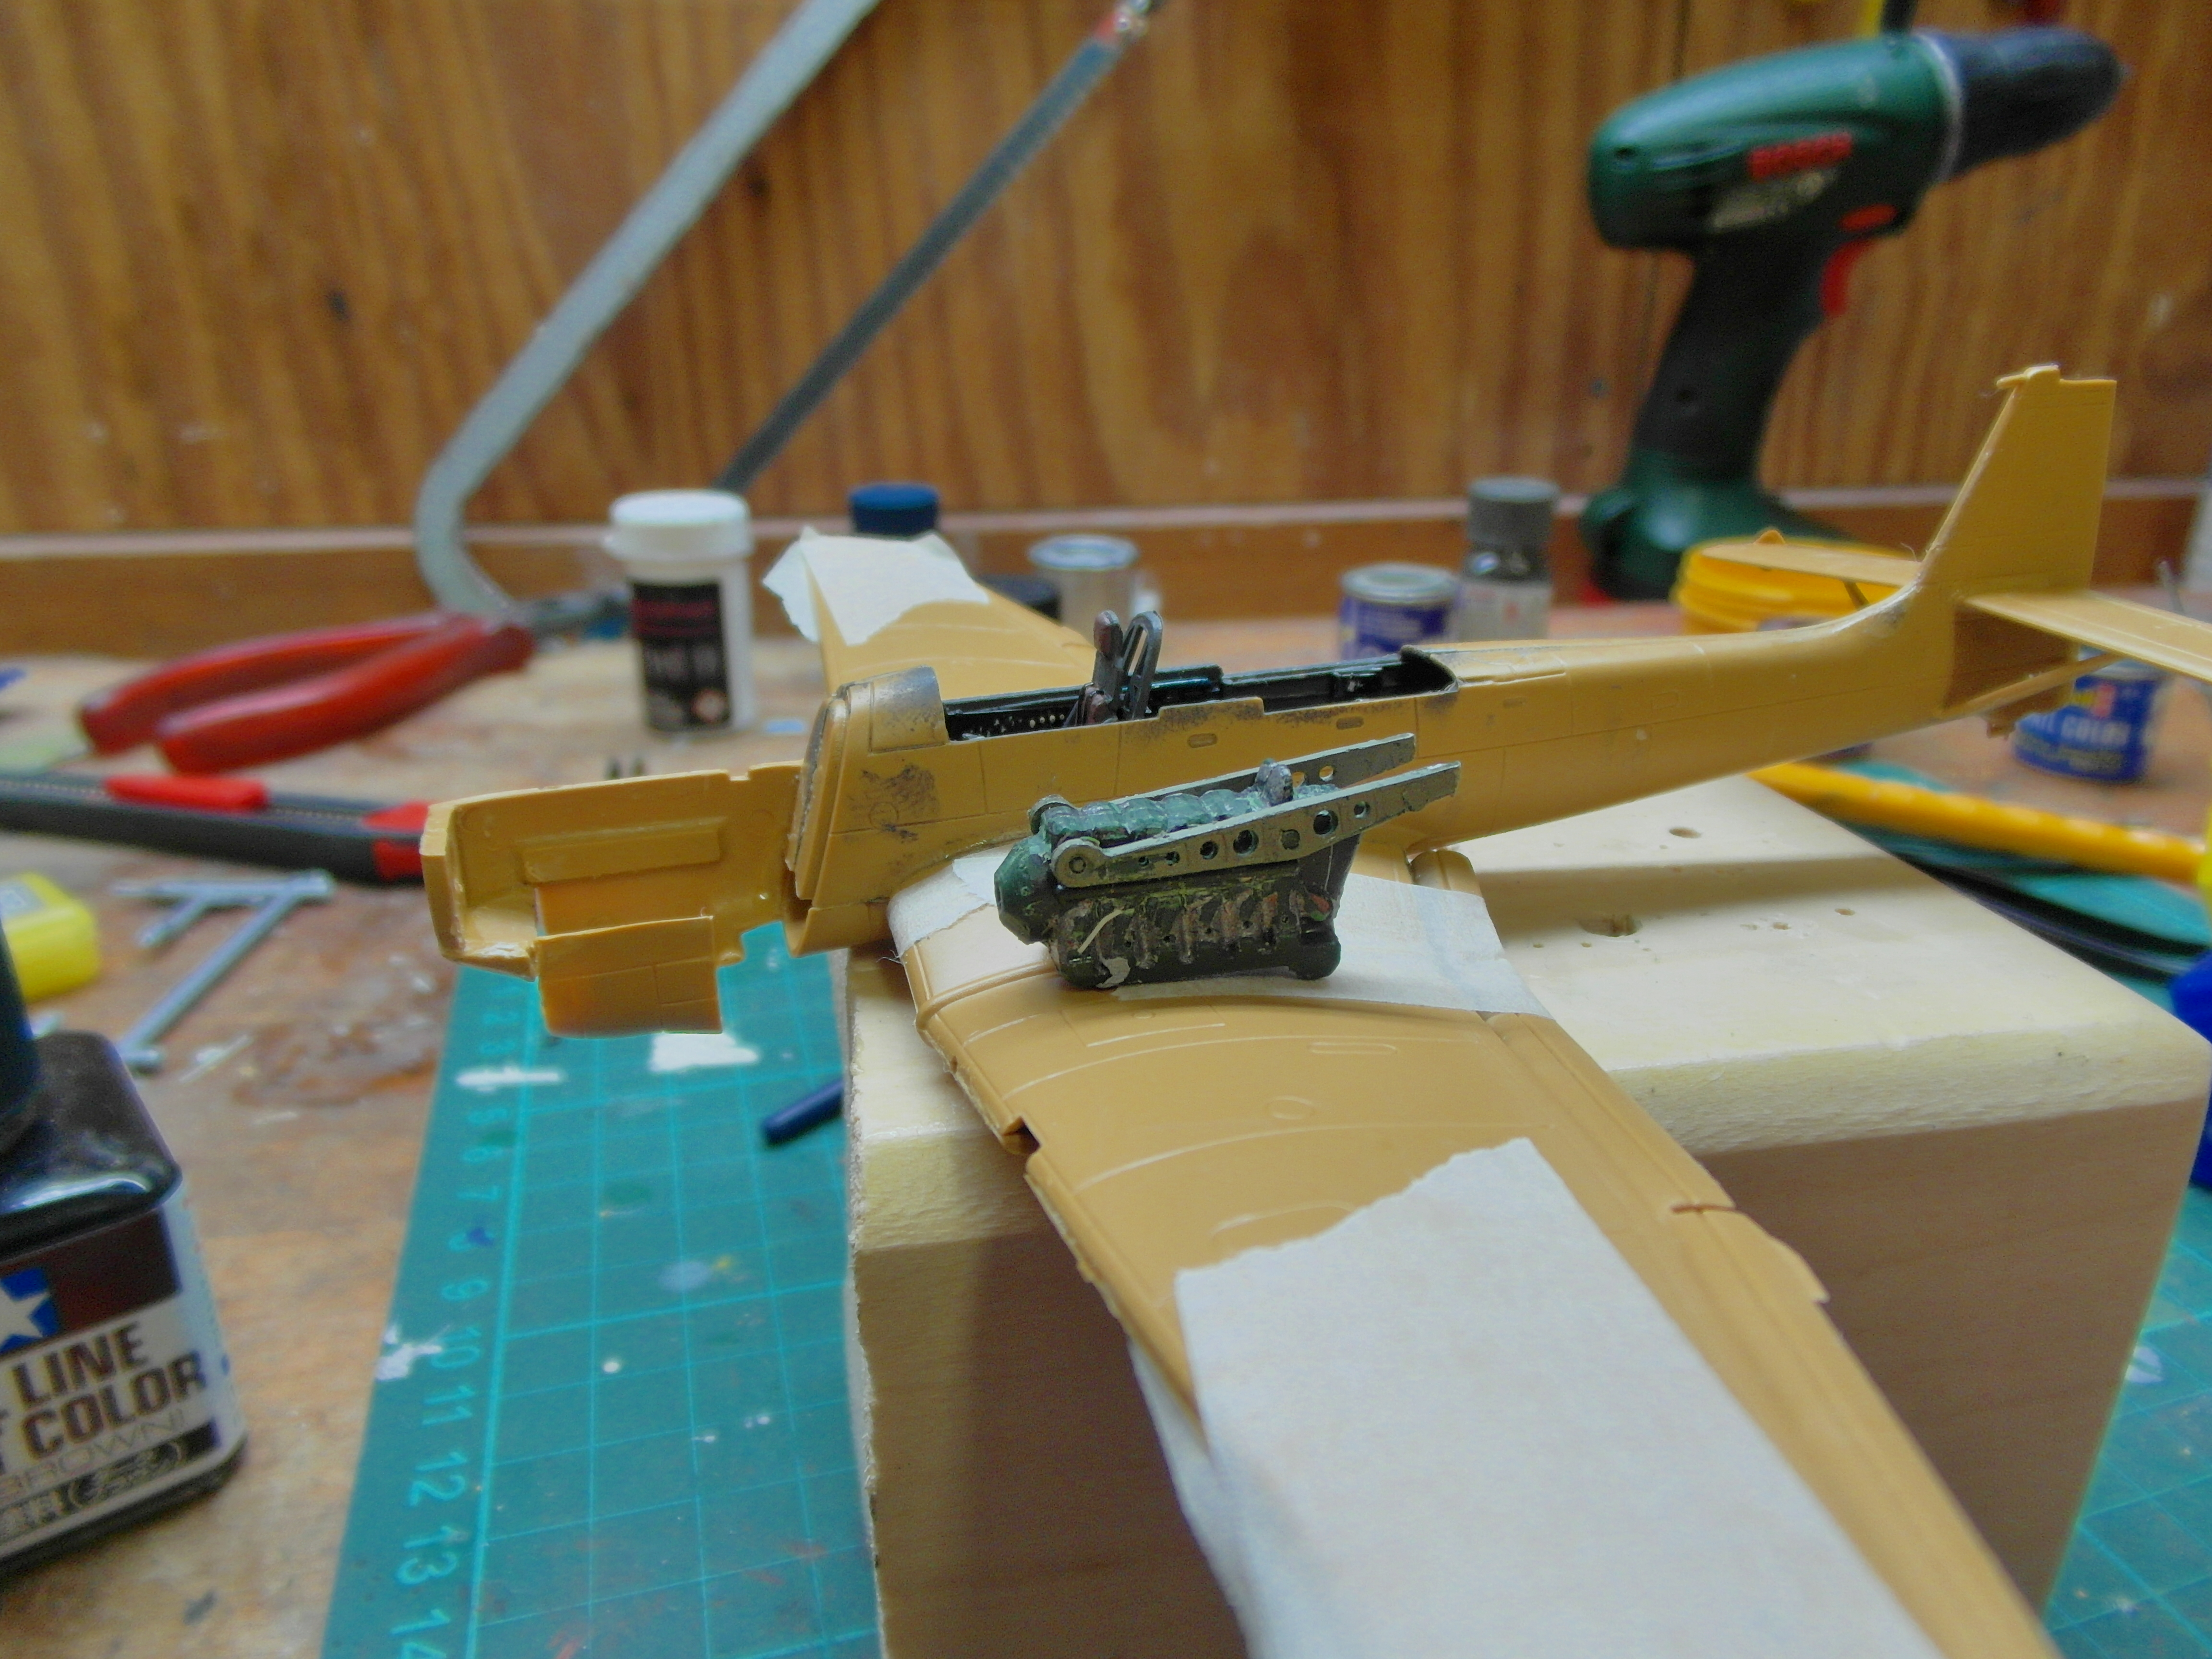
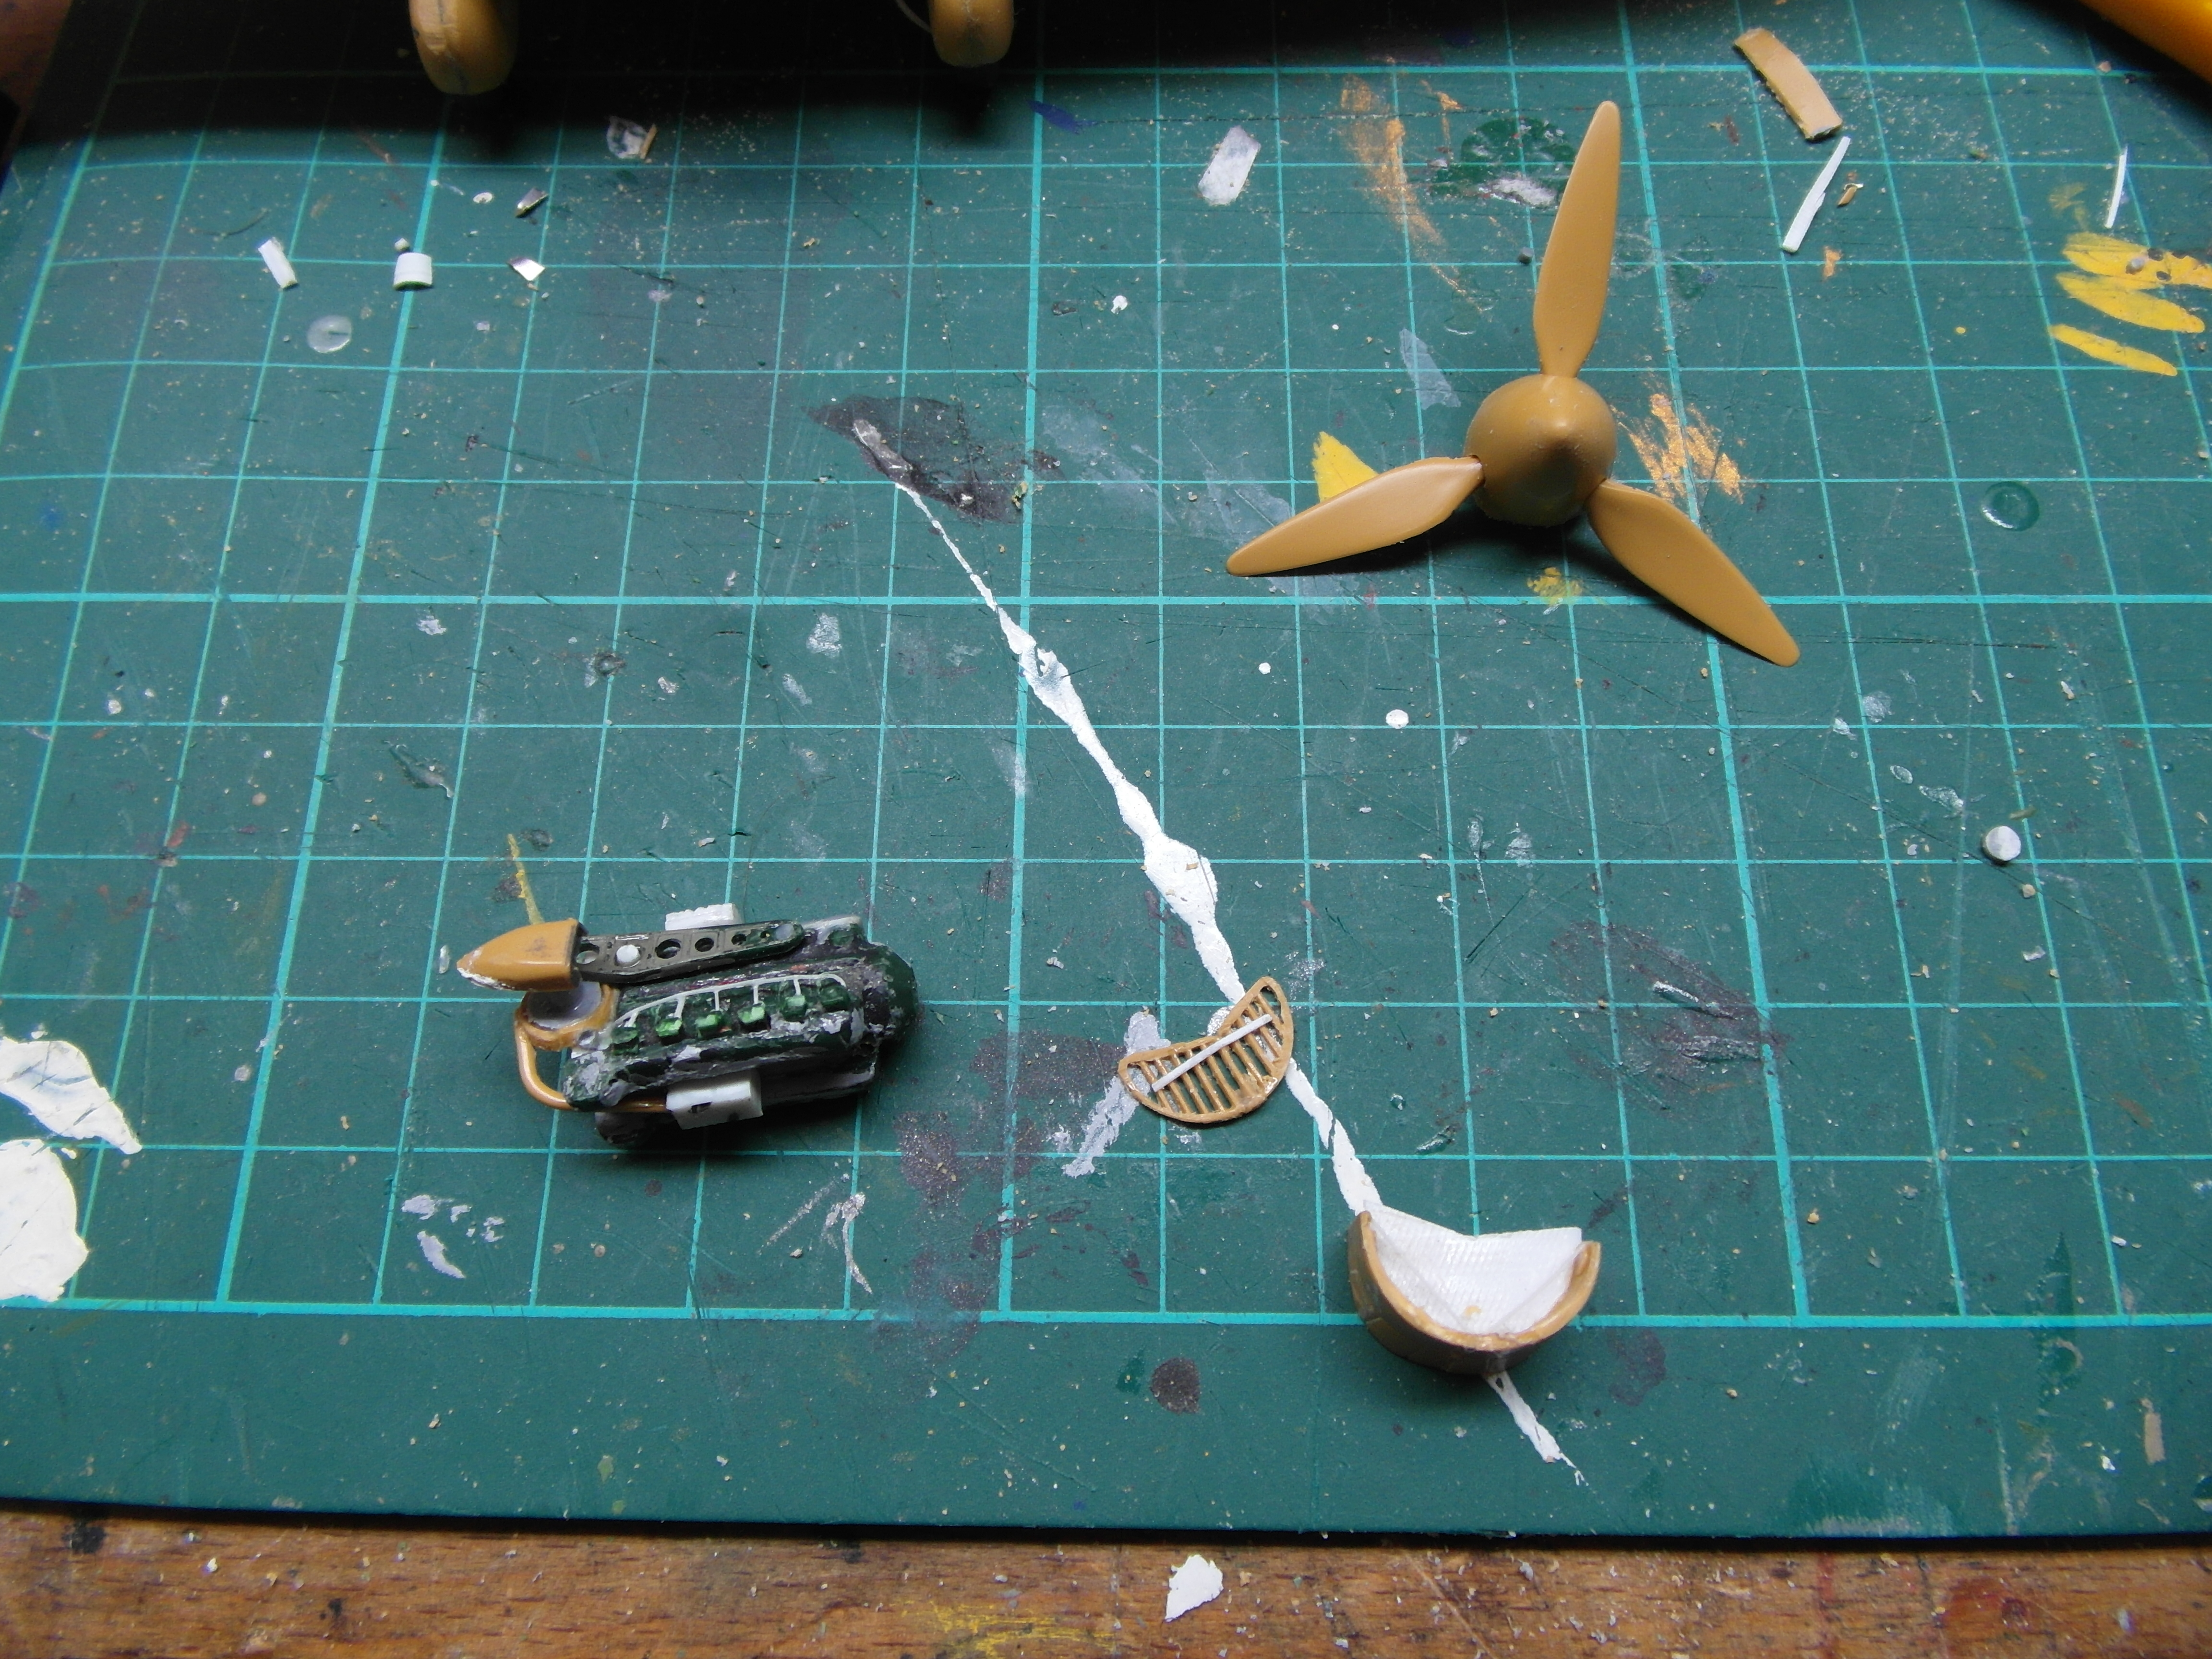
Engine
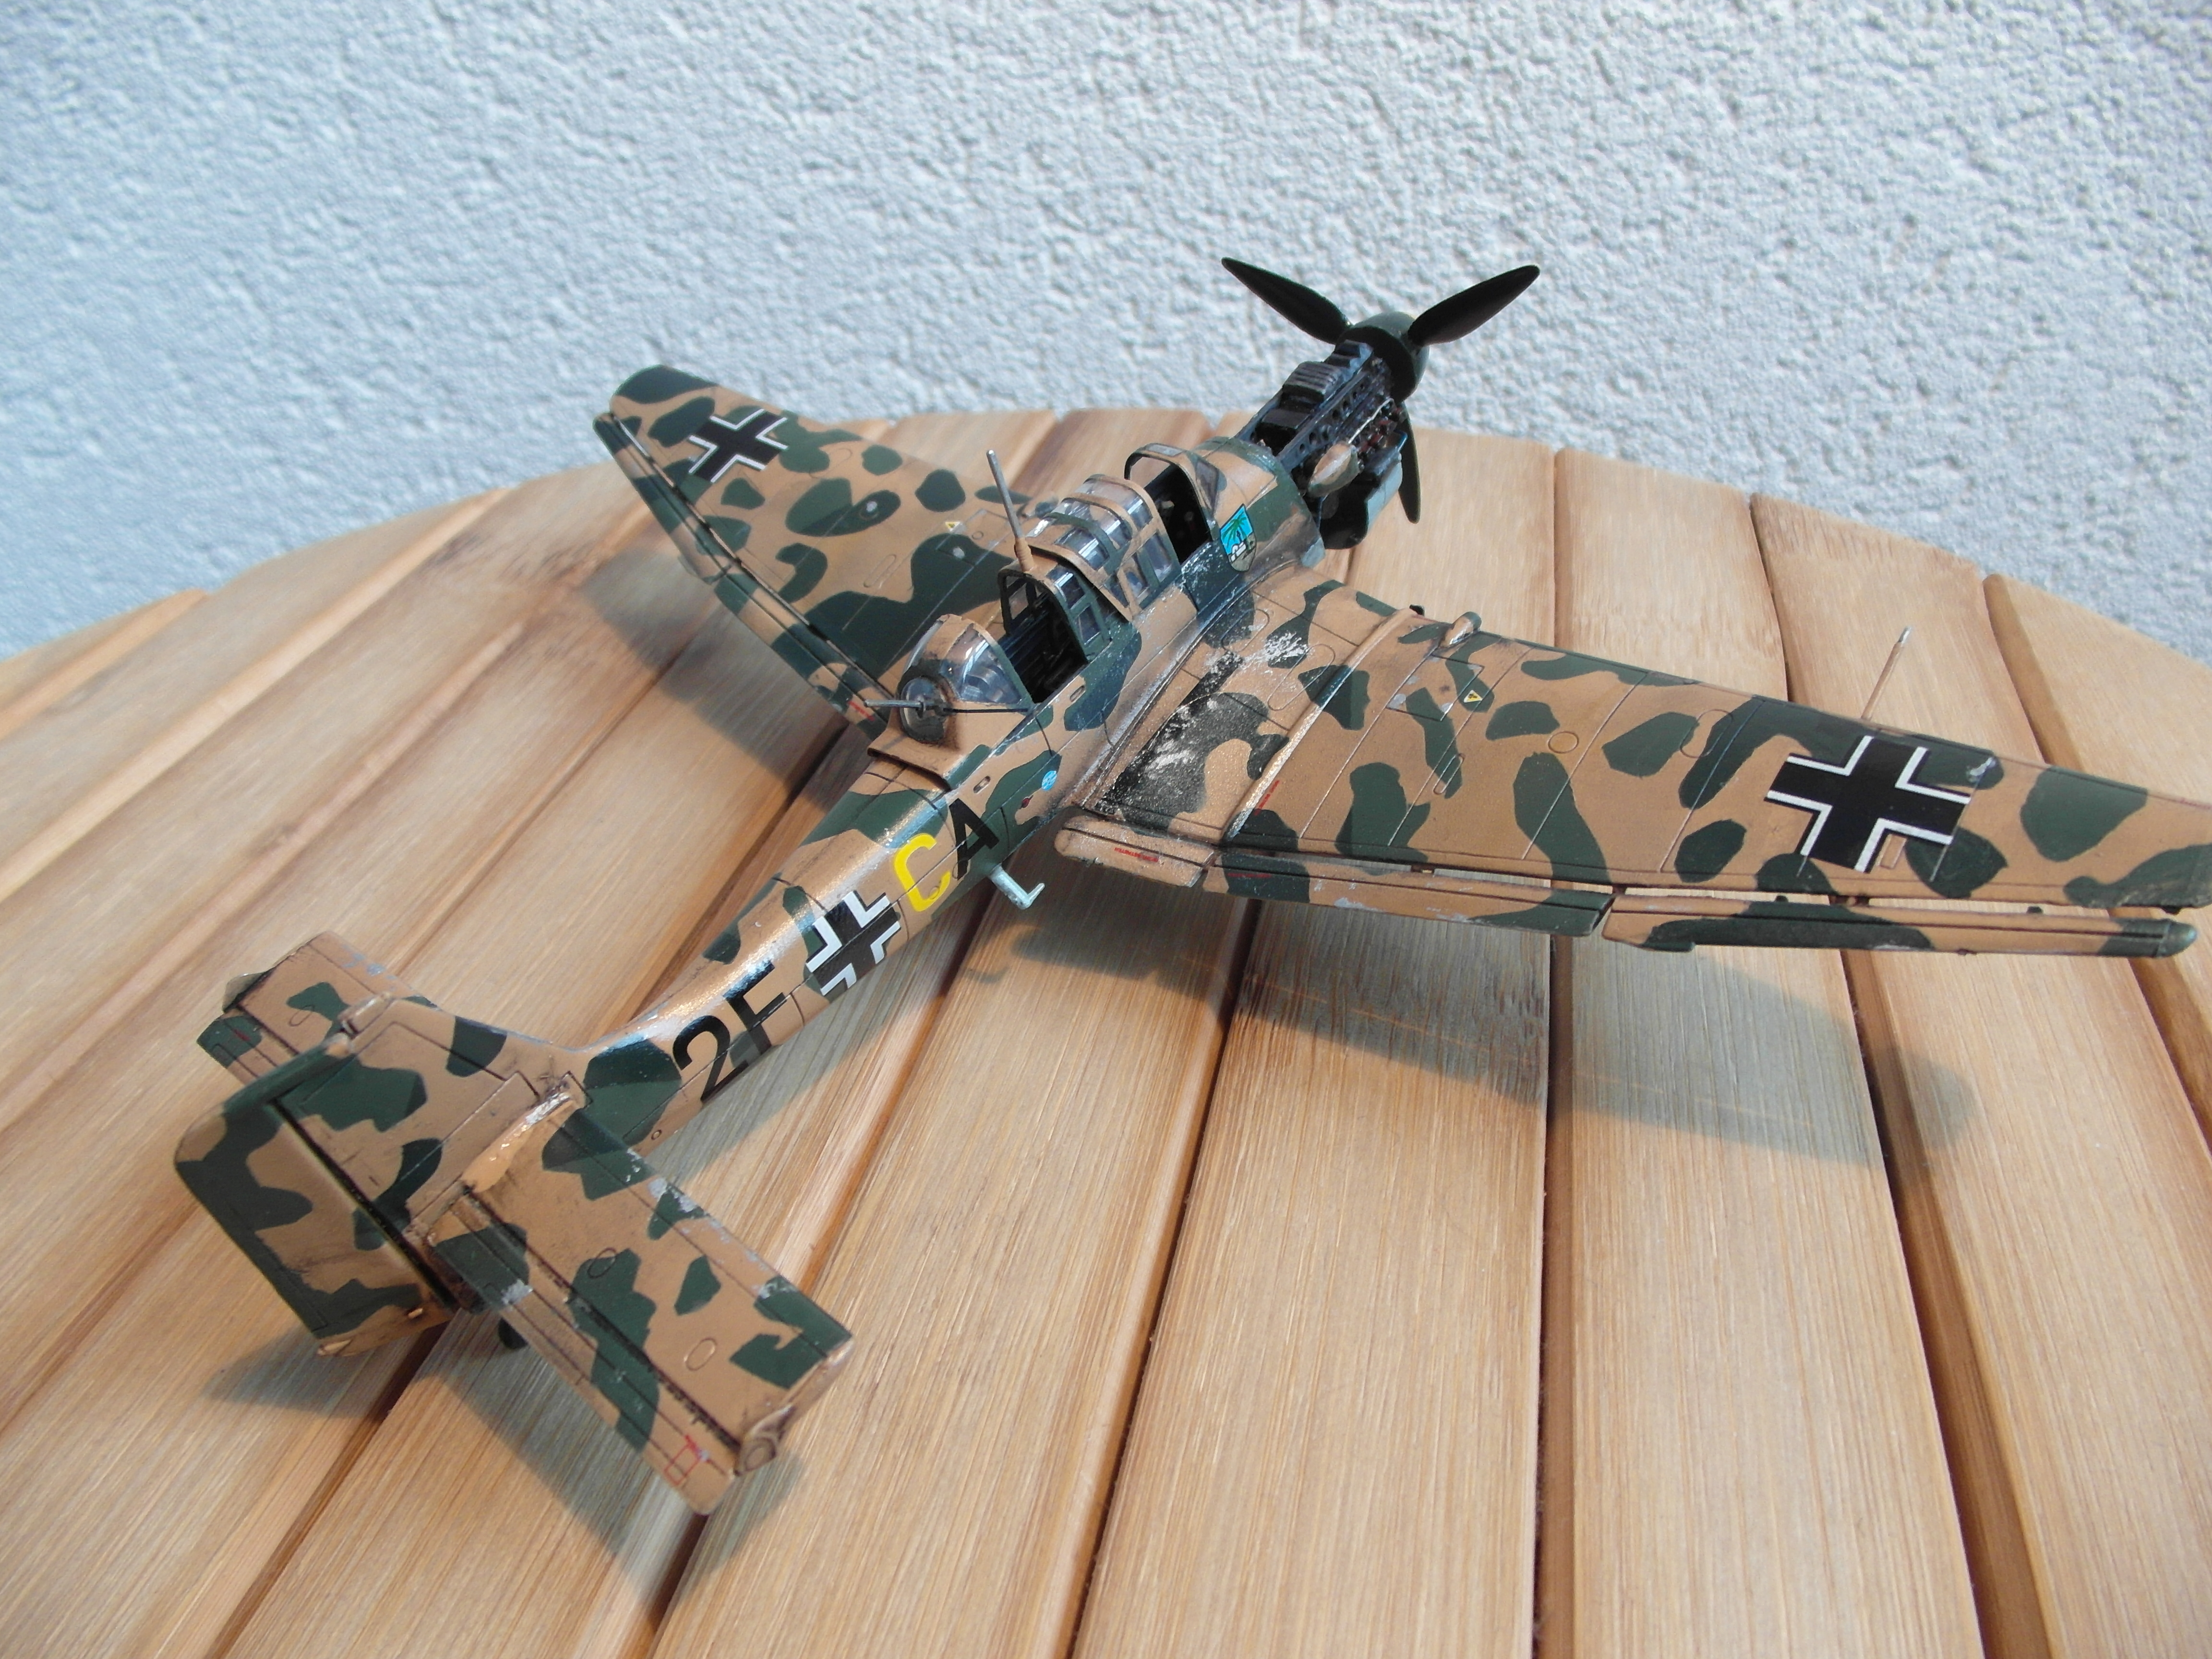
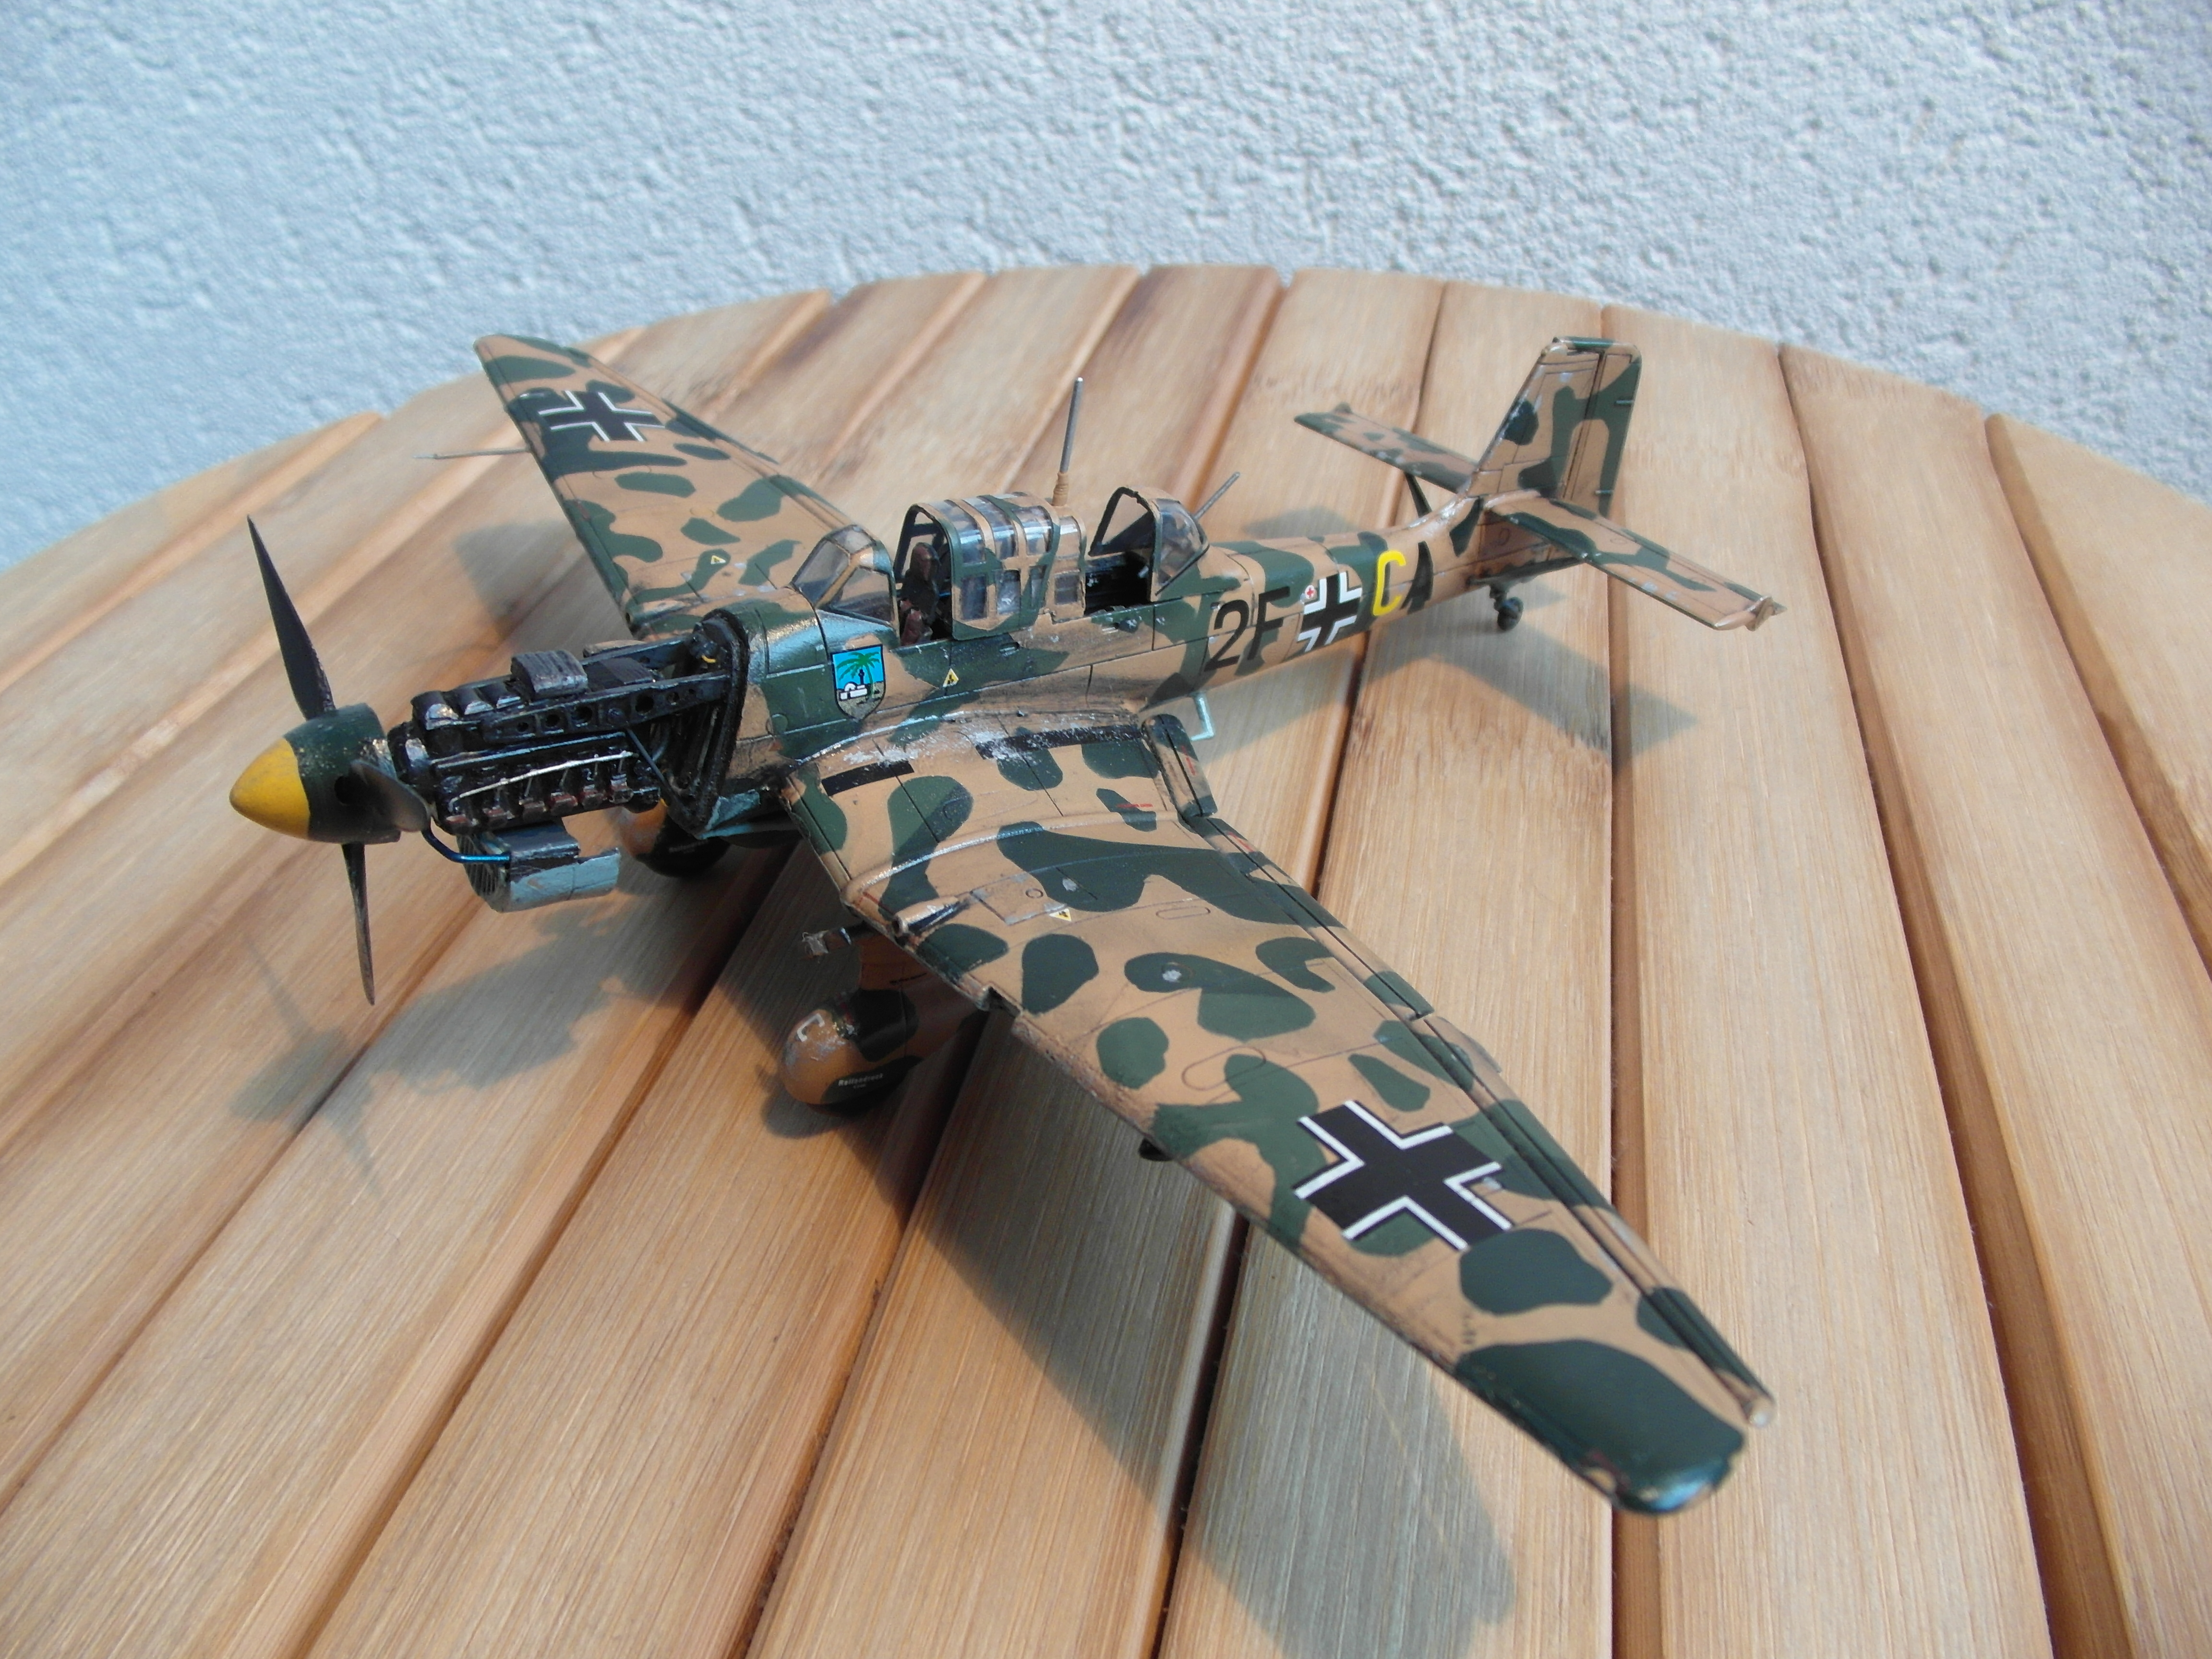
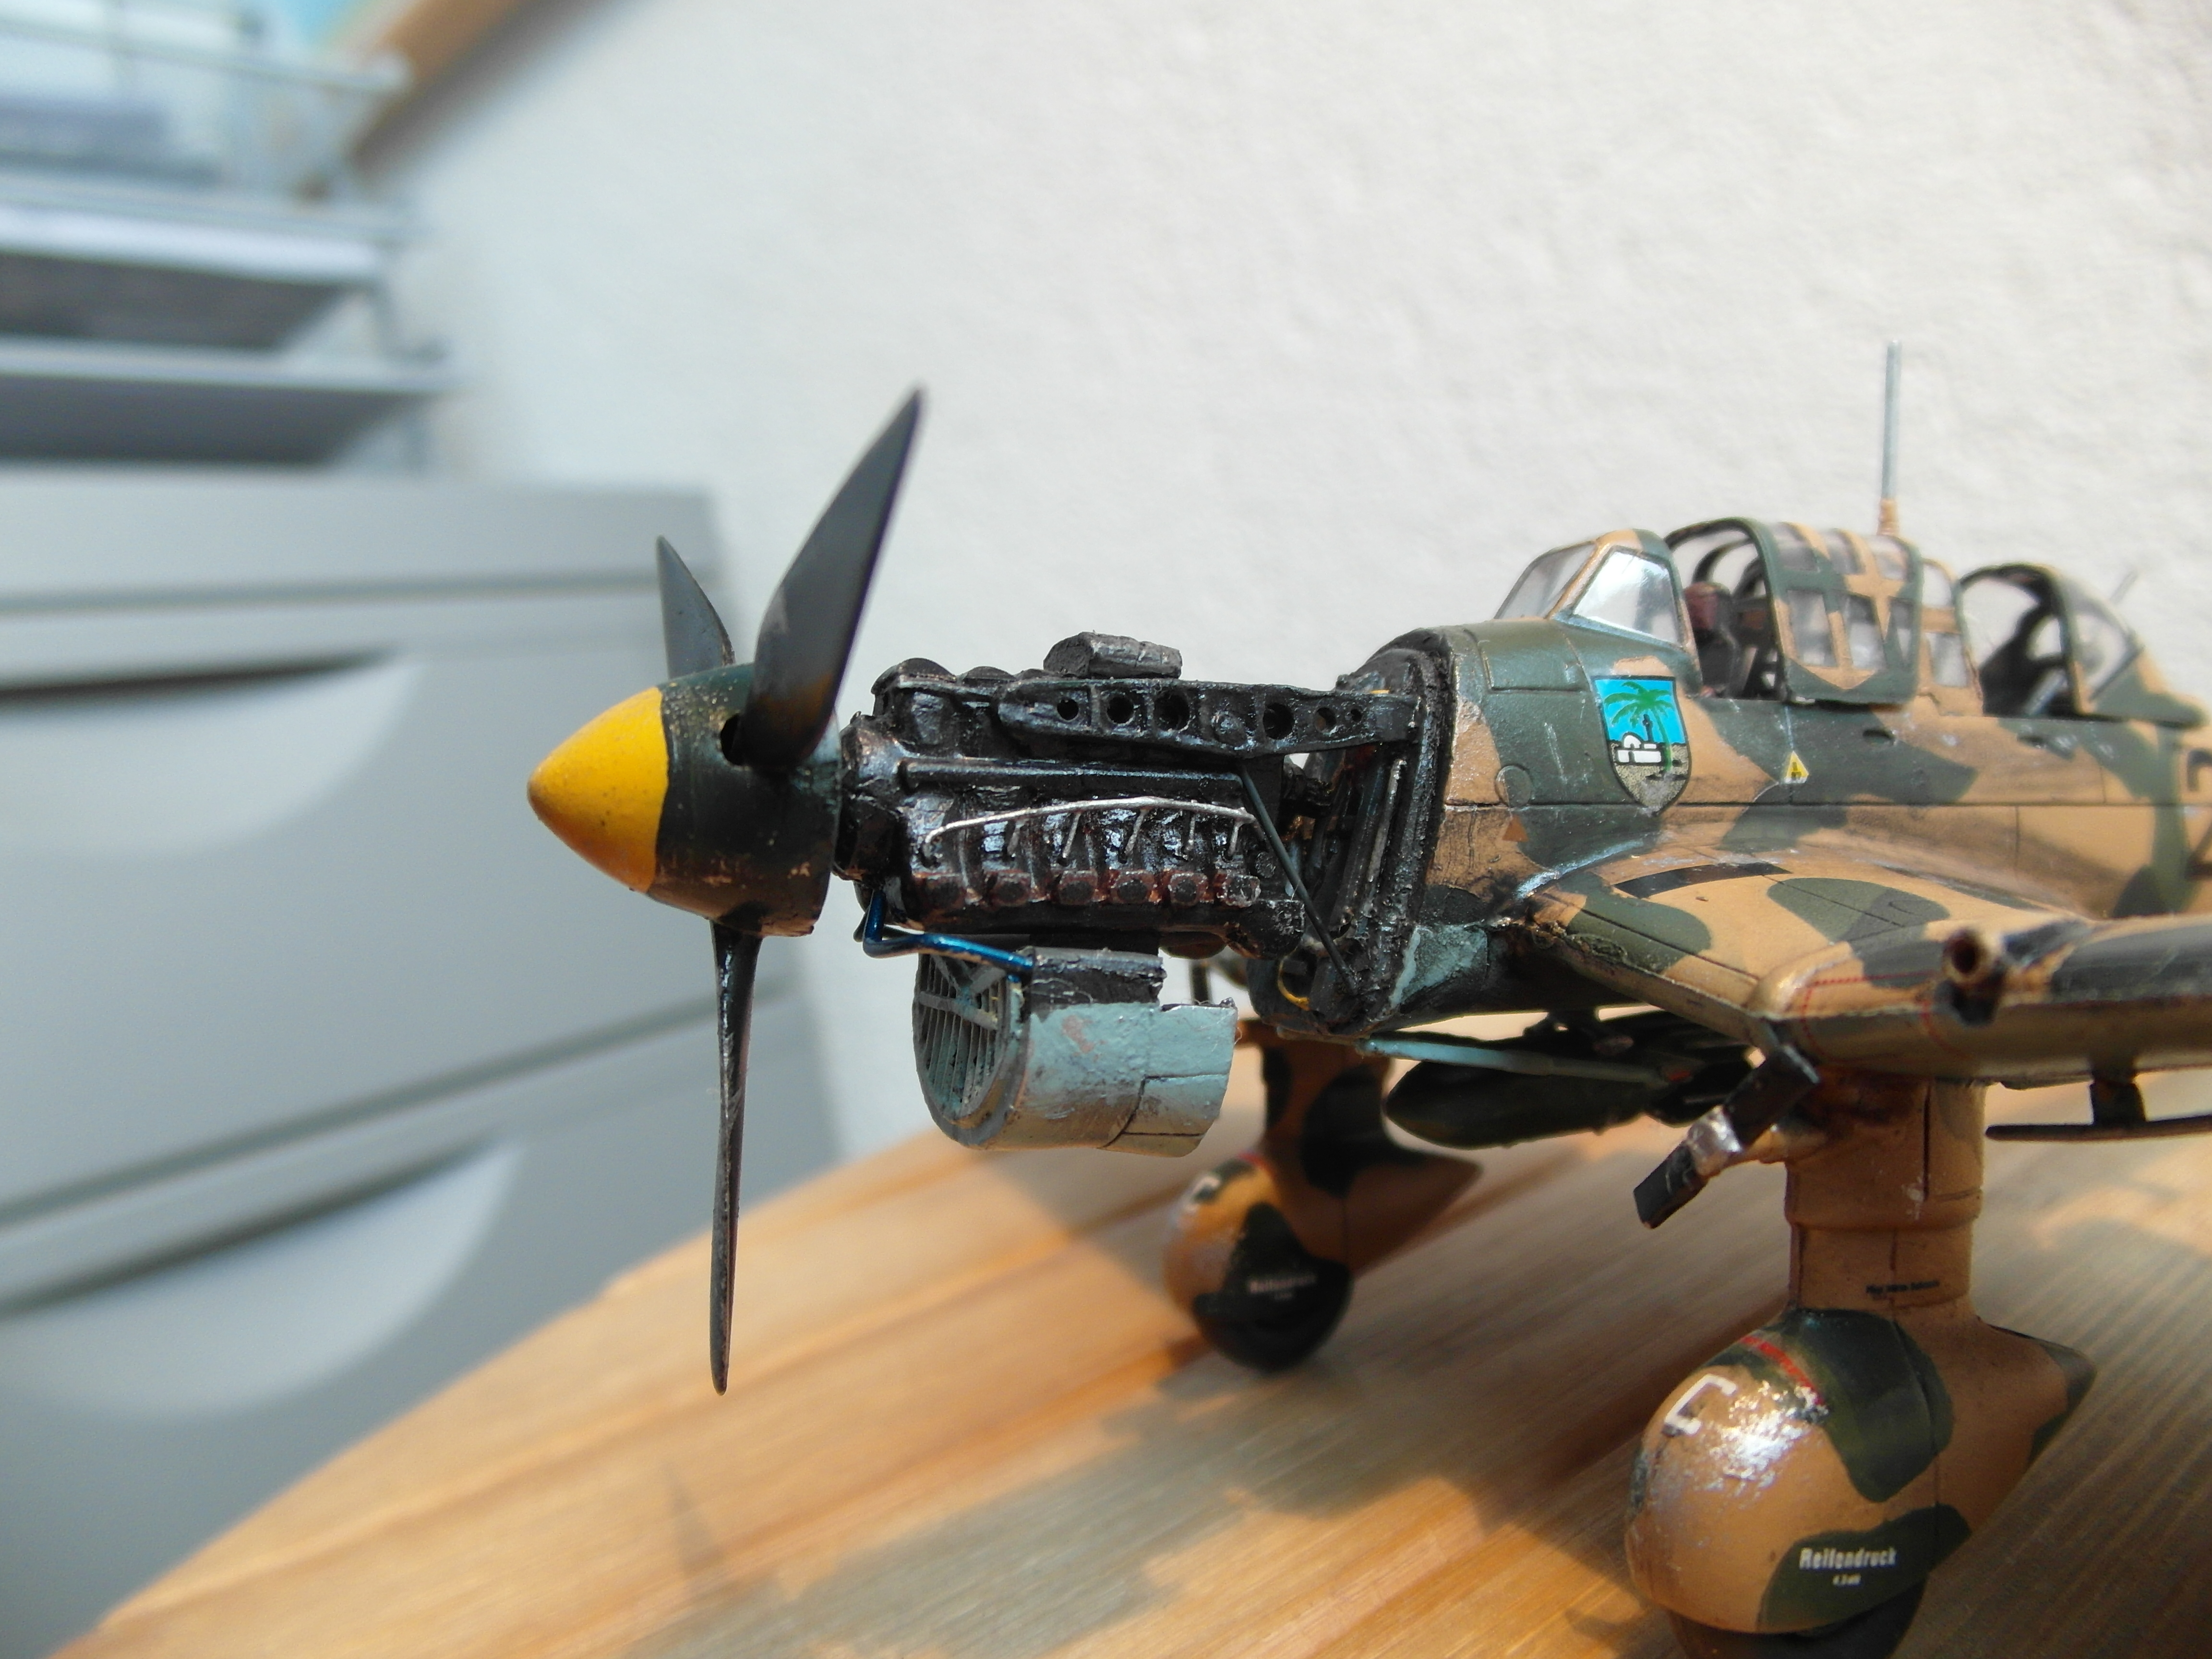
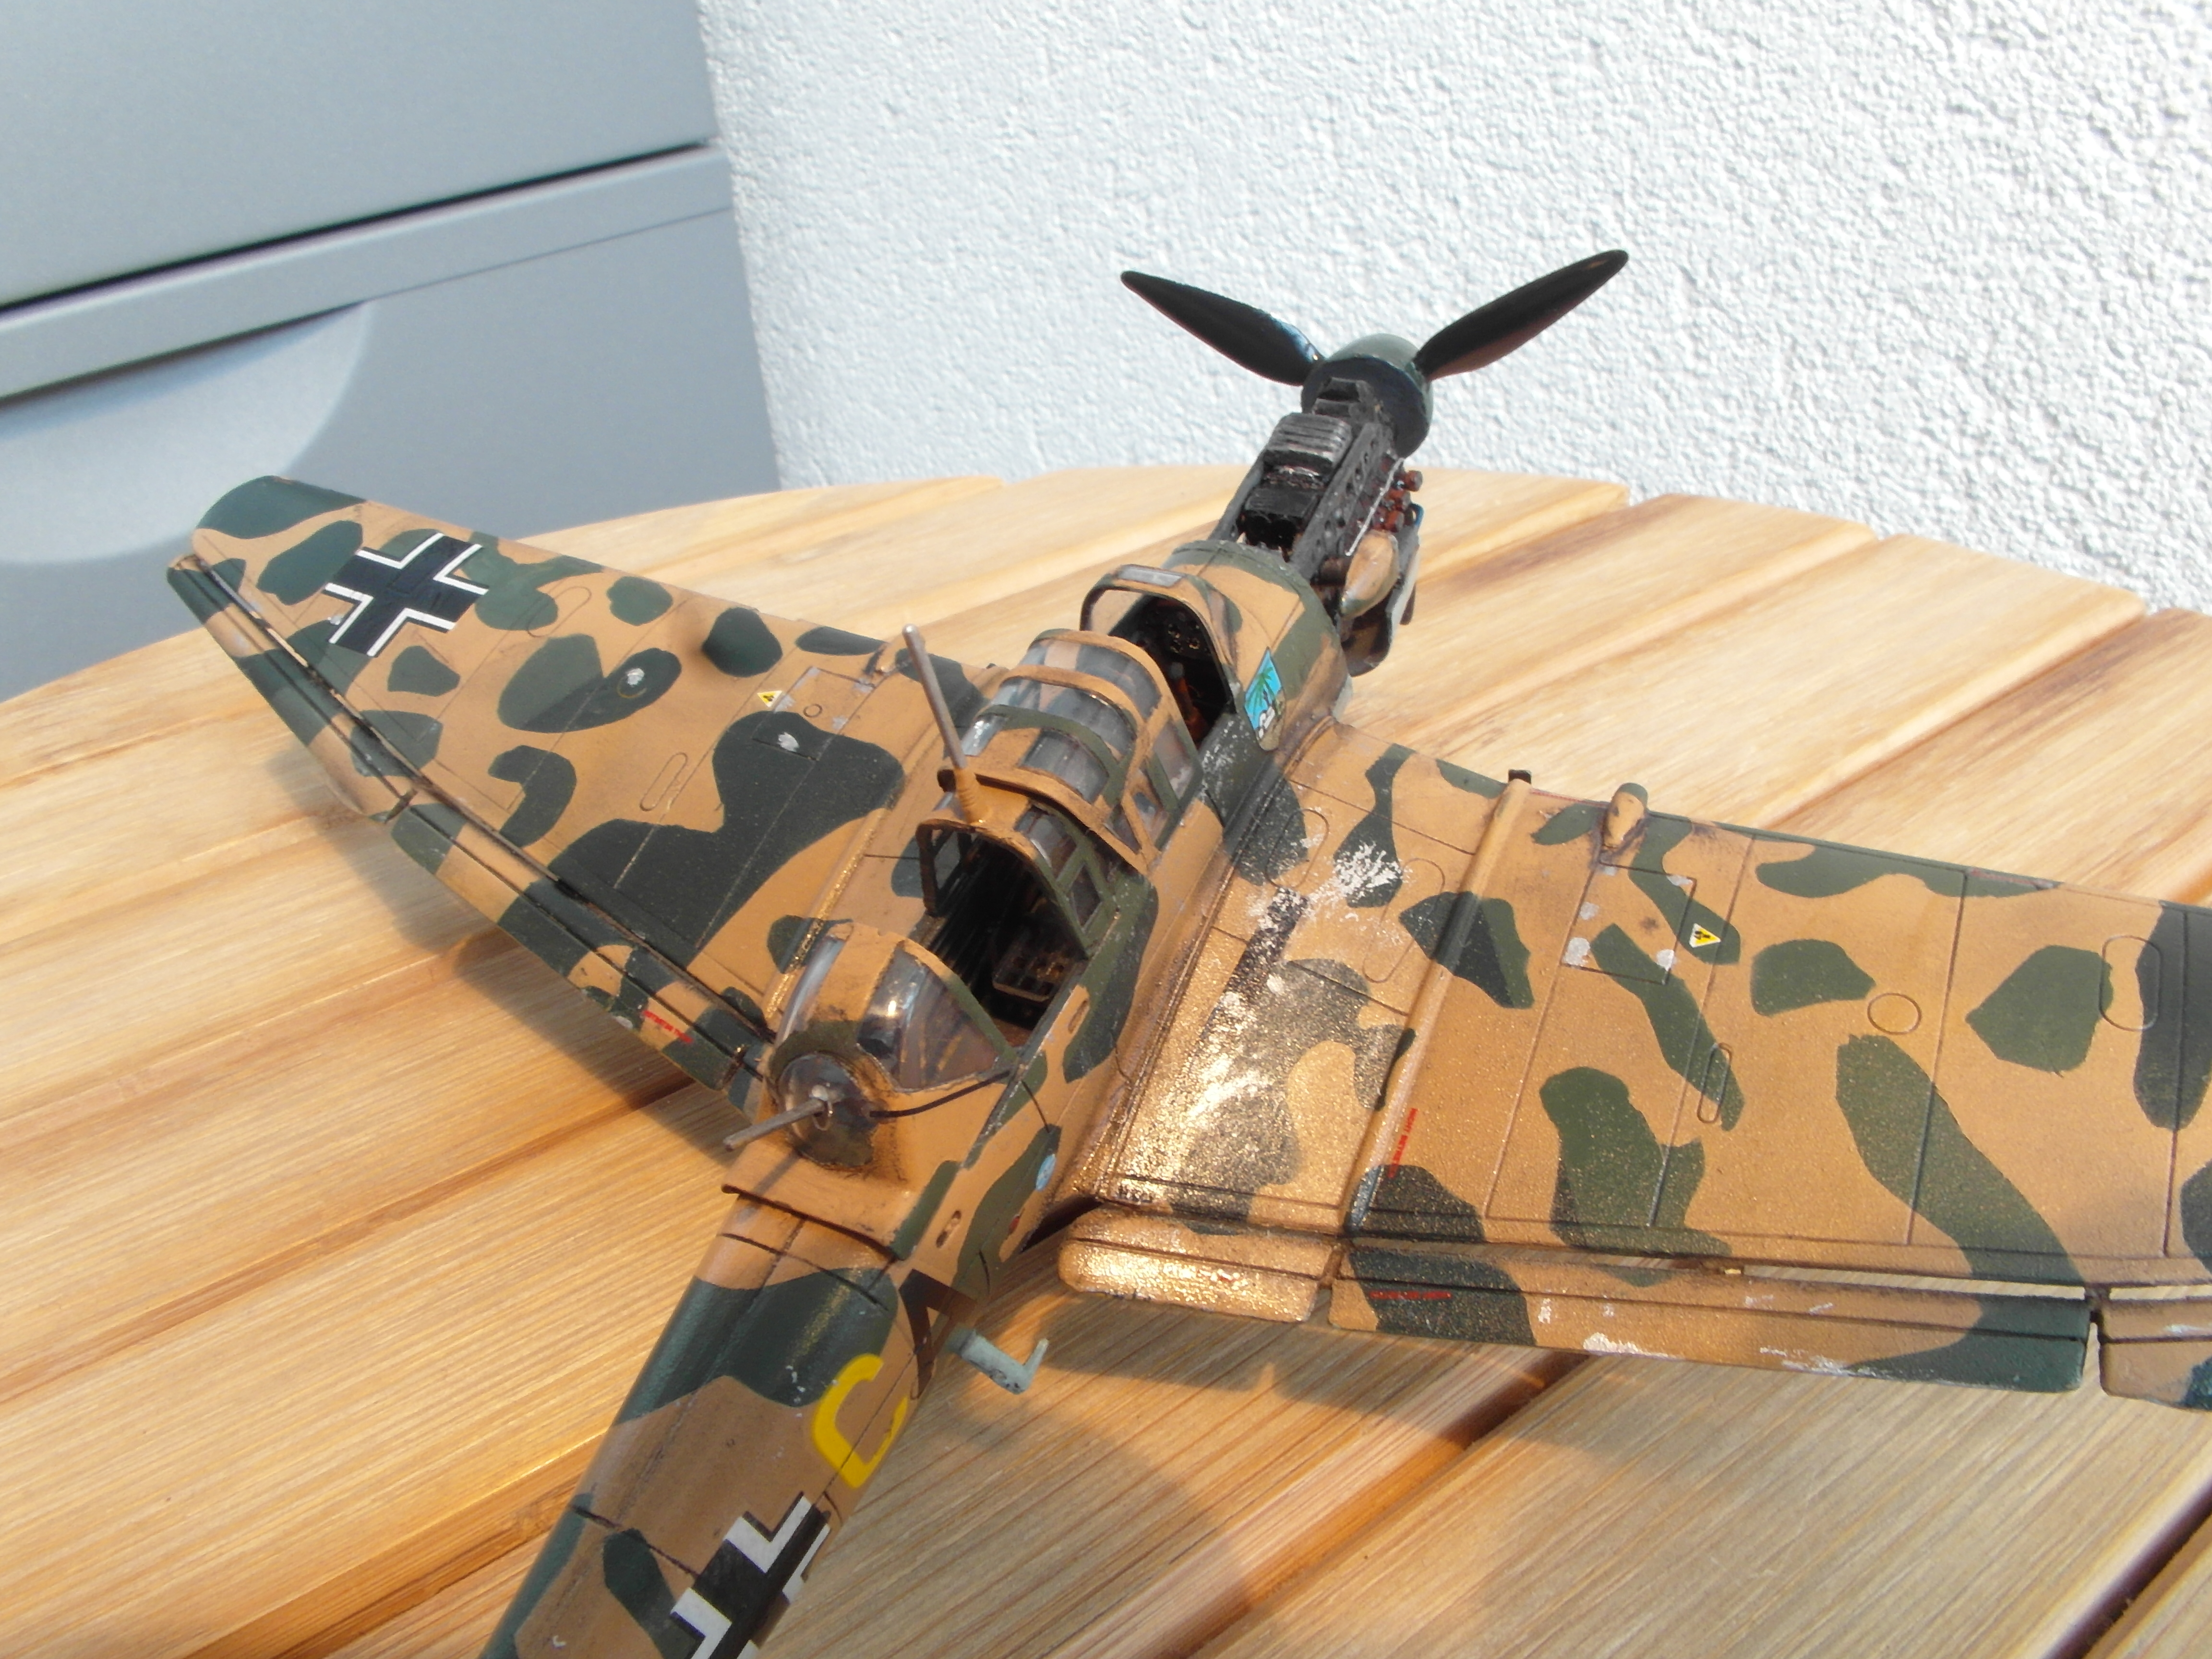
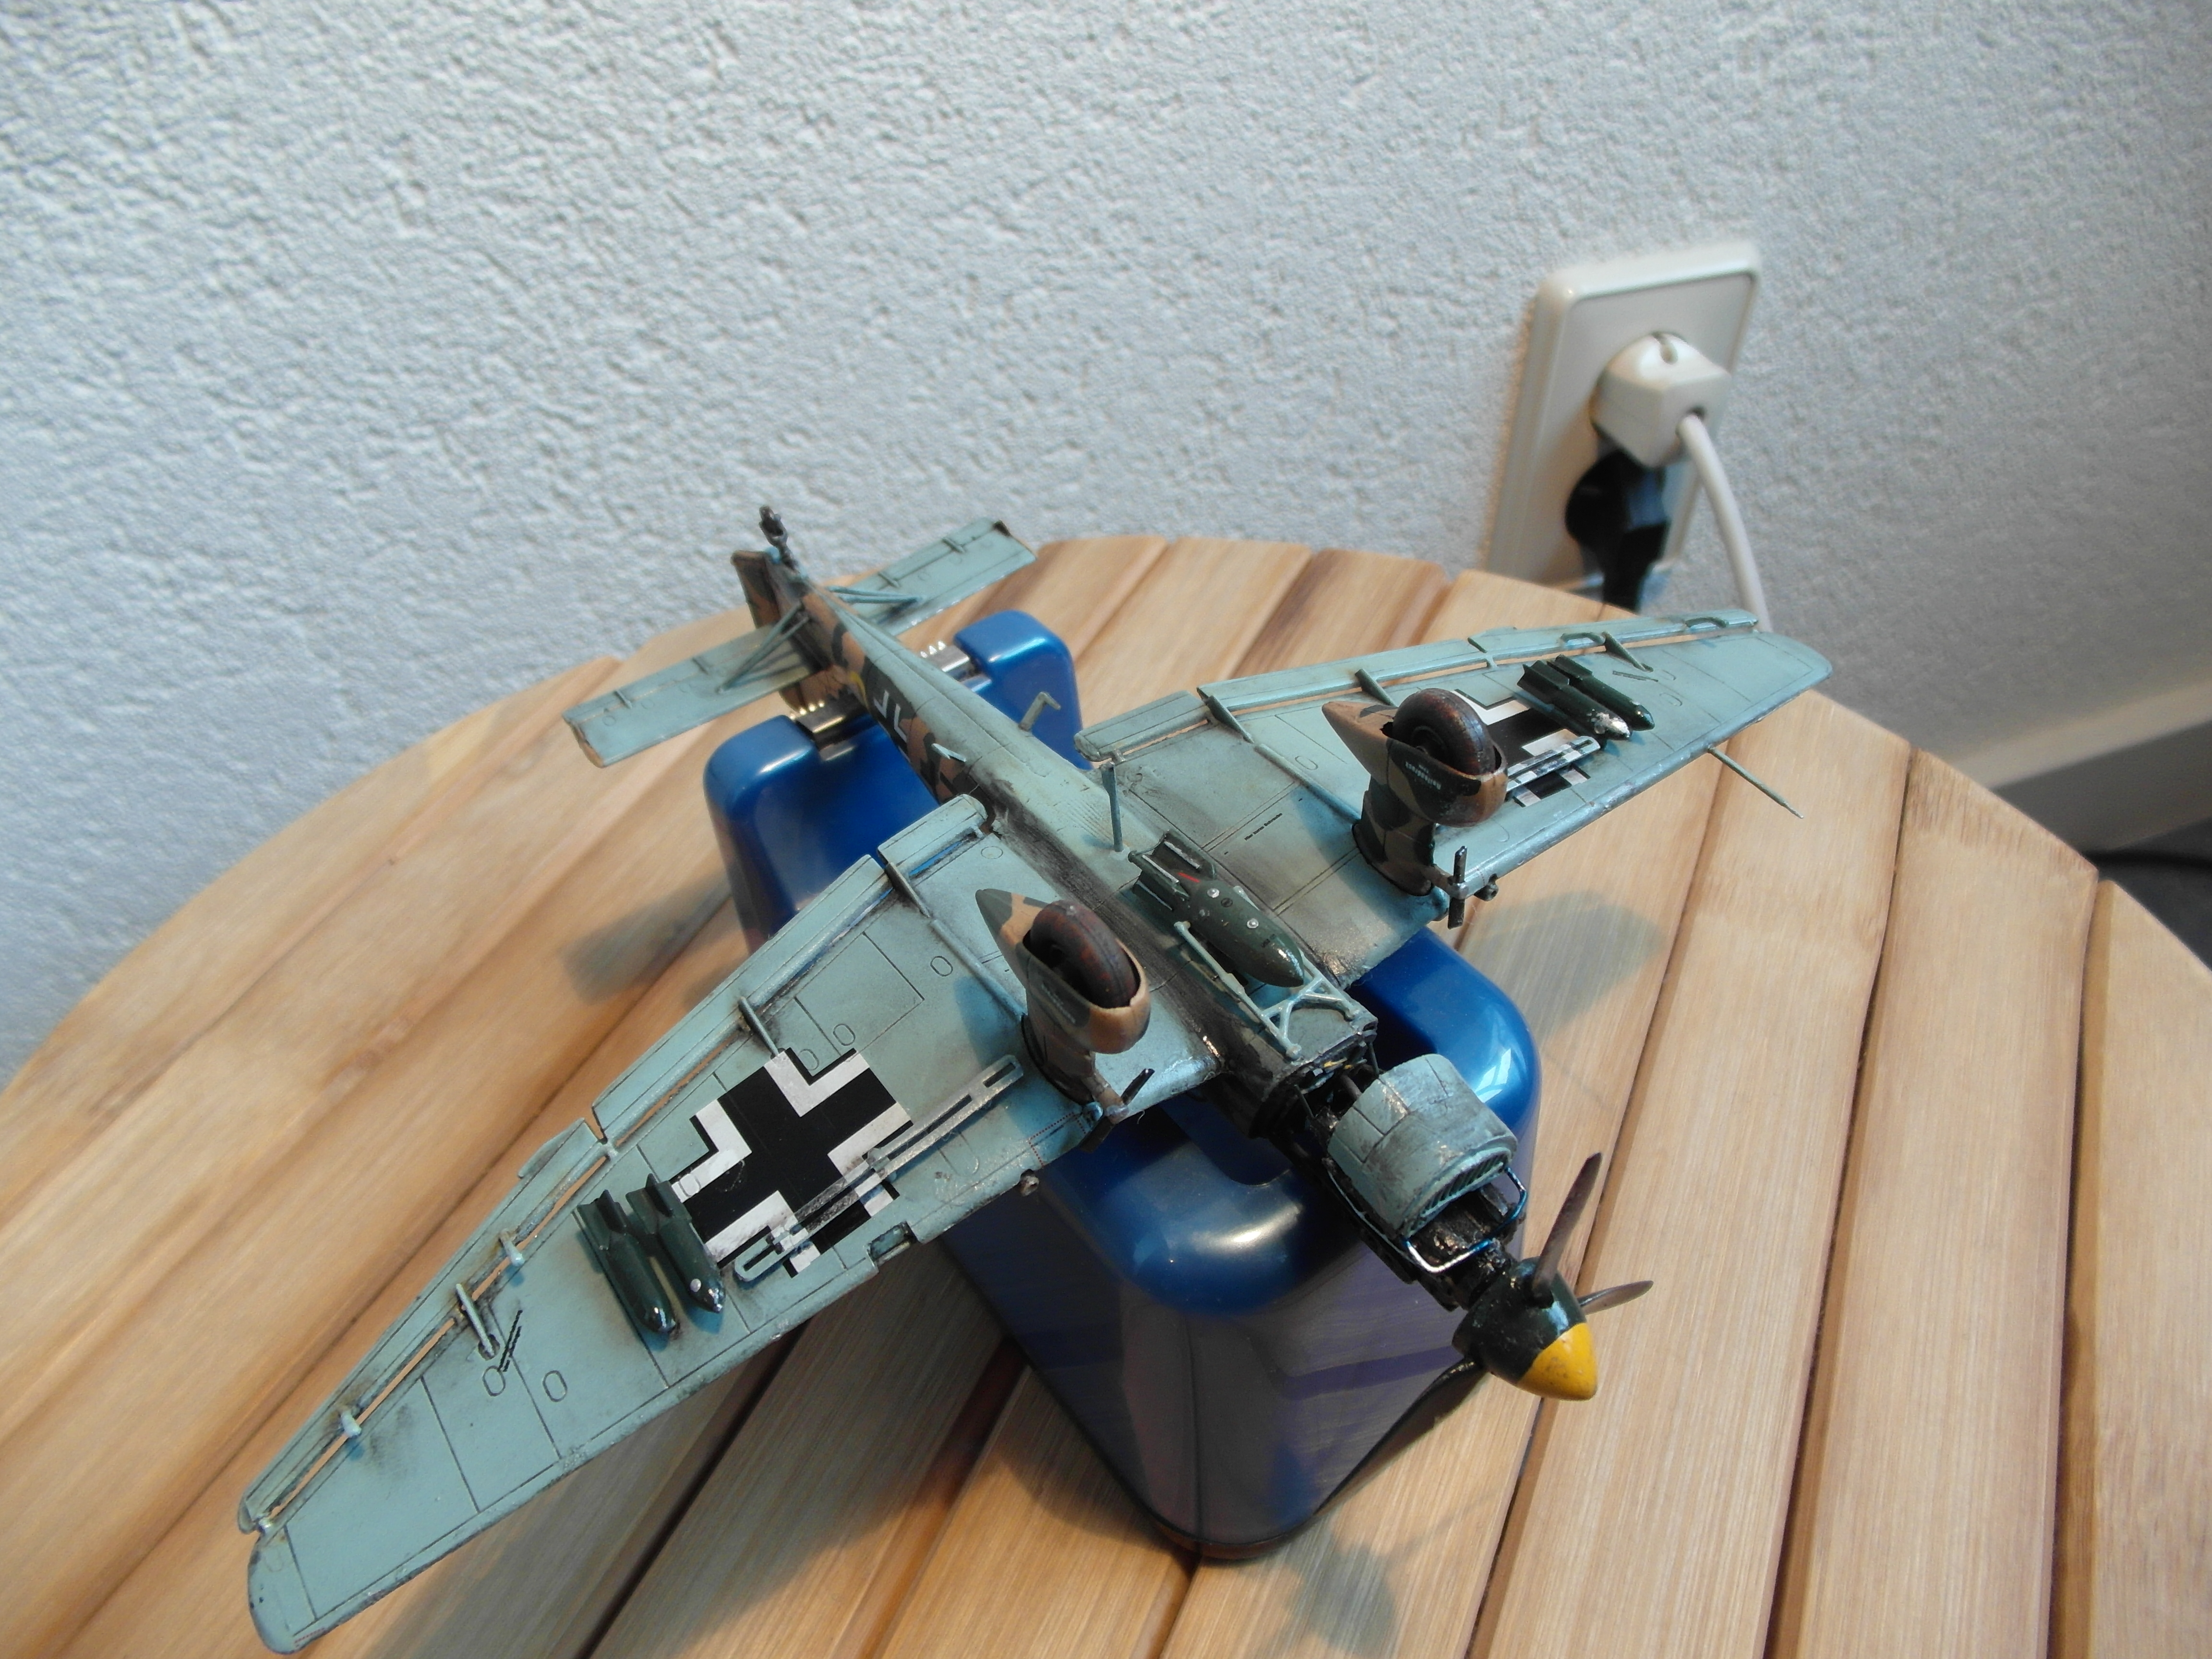
While I didn’t plan to include an engine, an even older, uglier Revell Junkers 87G-2 kit I’ve build before does in fact contain an engine. It is very ugly, but is is accurate. An uncut gem so to speak, so maybe I can make something nice with it. The nacelle itself is very deformed, made up of unnecessary many parts so it doesn’t fit at all. Maybe with an open nacelle I can hide some of these issues while improving the model. Its worth a try at least. During dry-fitting it became apparent that the either the cowling or the engine are wrong. The engine is slightly too long and the exhaust vents don’t line up. I suspect they are both off, because both kits are absolute ass. So there are four options. Get a aftermarket engine and/or cowling. This goes against the spirit of this build. Fix the cowling and engine. This is going to be really difficult and will probably result in an ugly aircraft. I can also go back to the full cowling, but i already have my eyes set on the engine and completed some work on the engine and firewall. The only option remaining is to completely remove the cowling. Can’t have a bad cowling when you have no cowling. In reality Stuka’s had their entire cowling removed during engine maintenance, so this option won’t break immersion.


Others
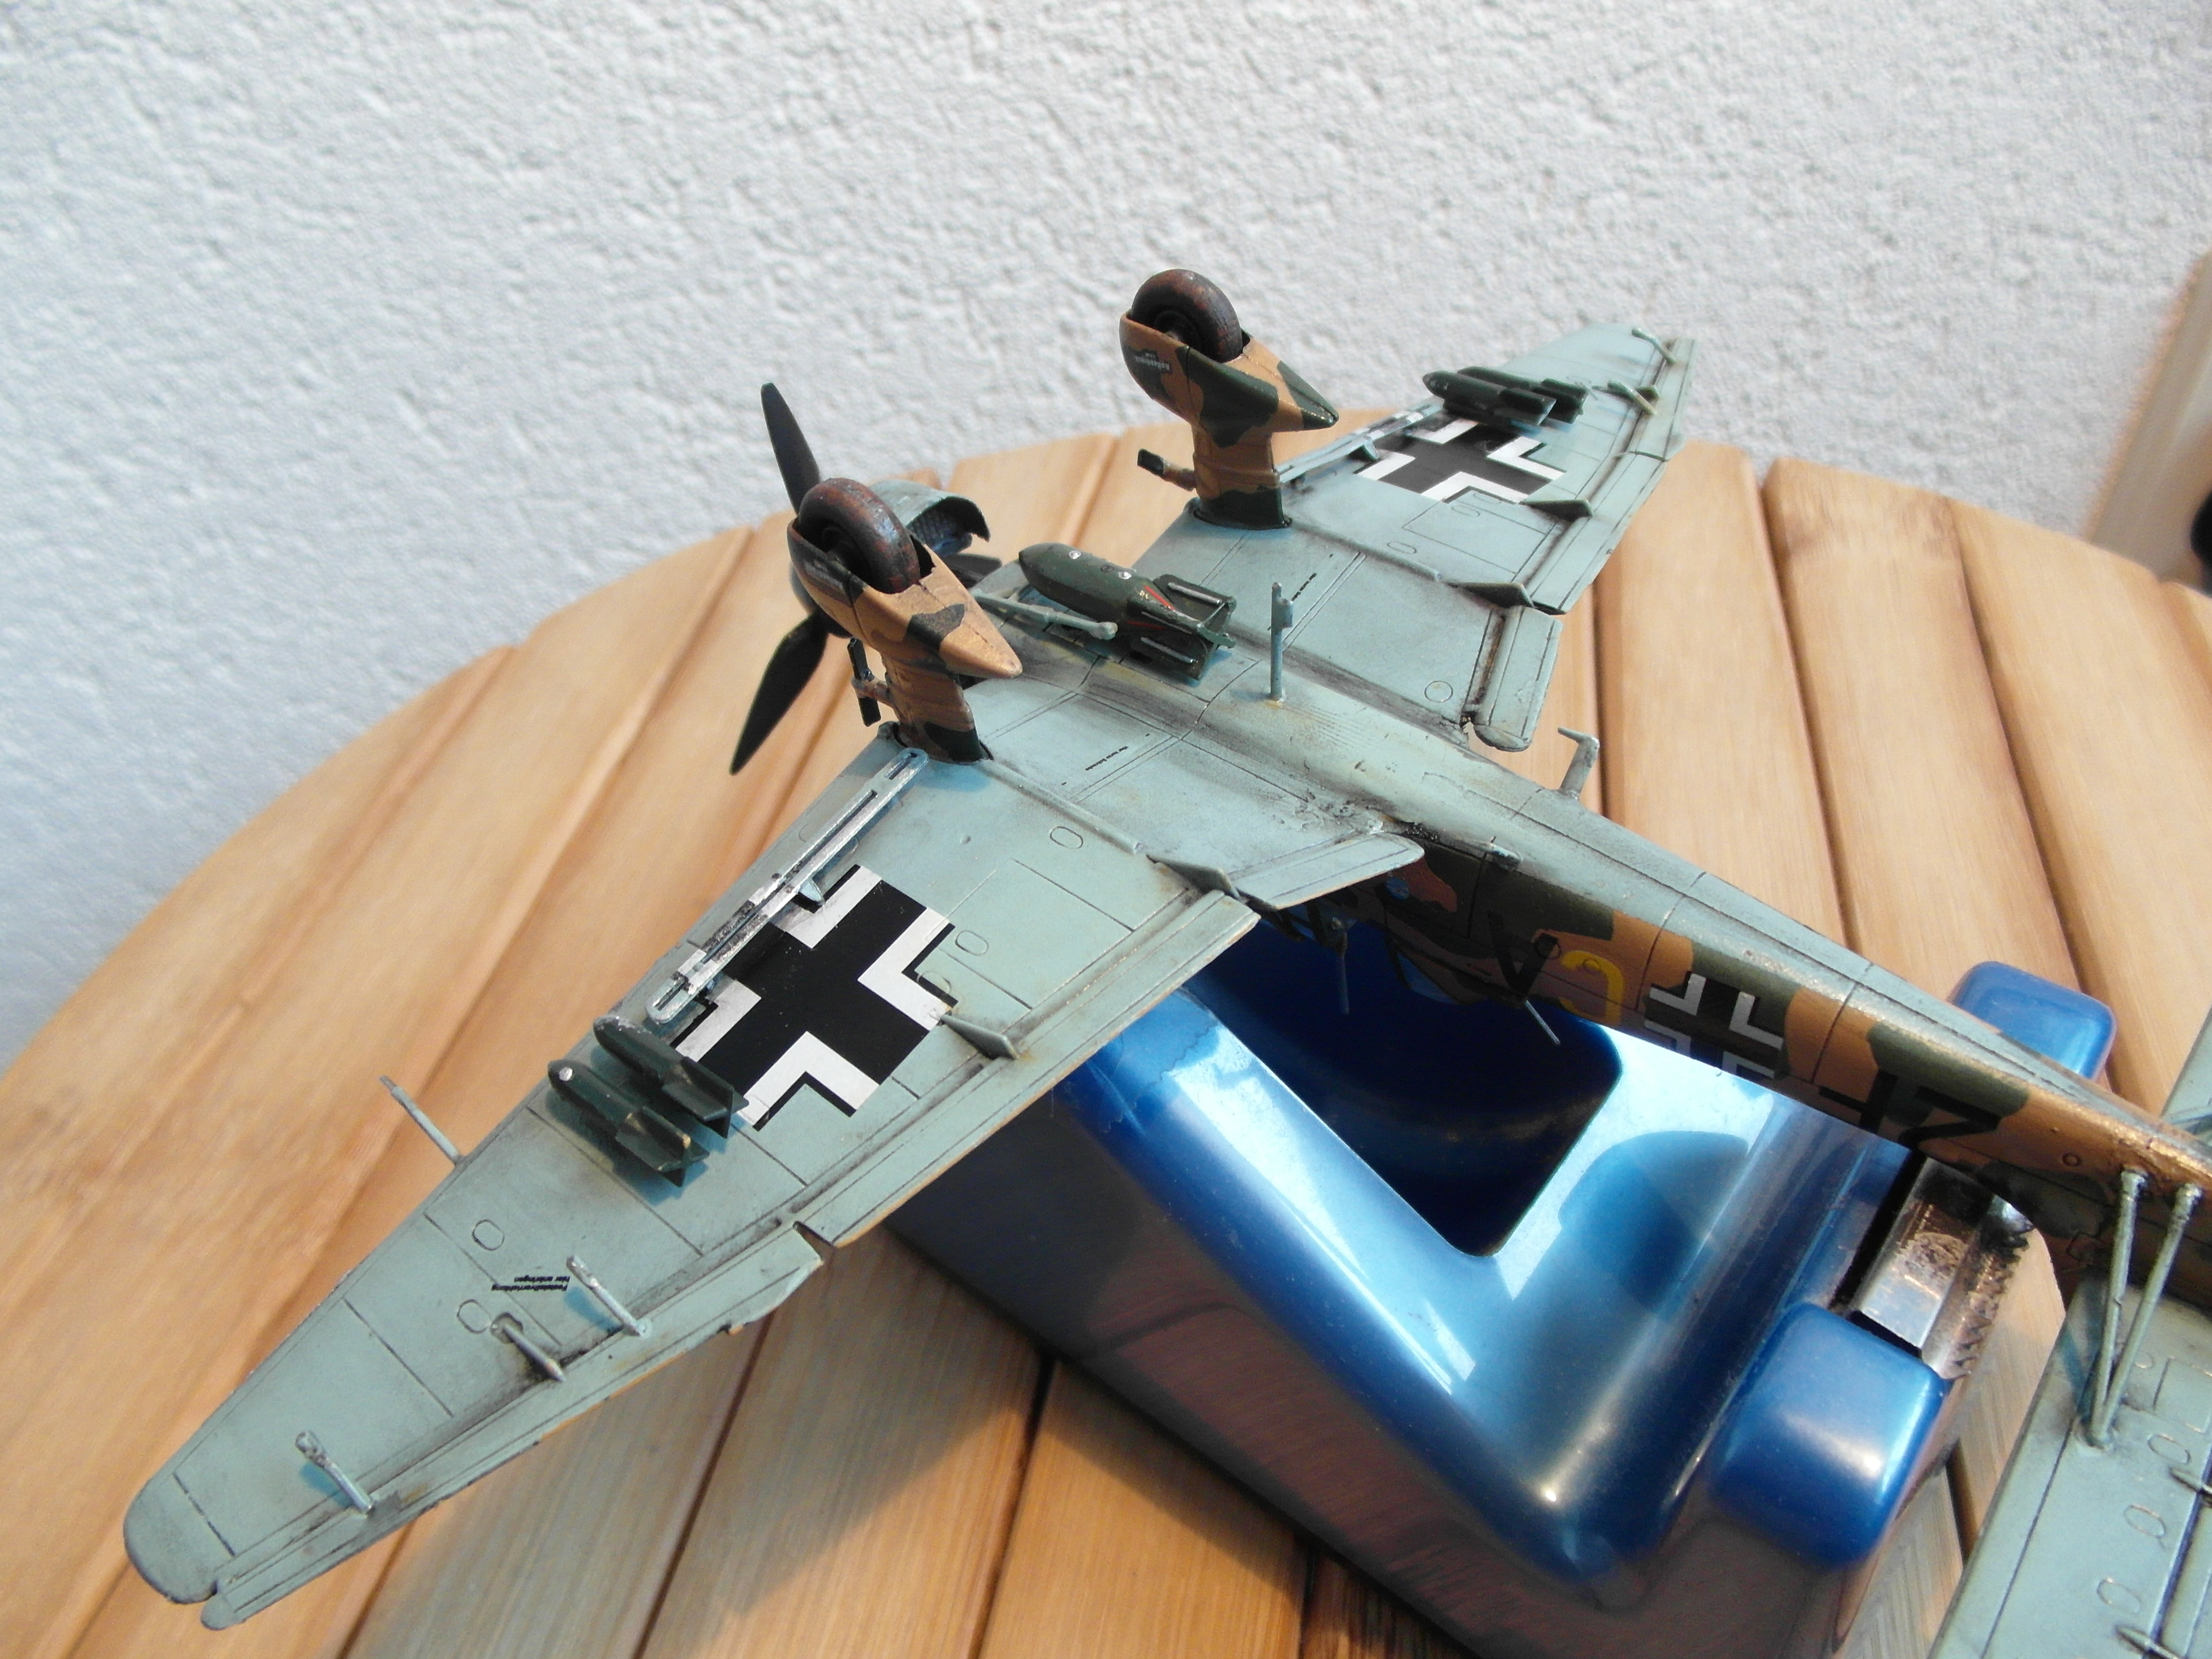
One advantage of the Stuka is the simplistic landing gear. No wheel bays, no hydraulics, just two metal constructs with the bottom of the tire sticking out. Except the usual sanding the weels required very little work as a result.
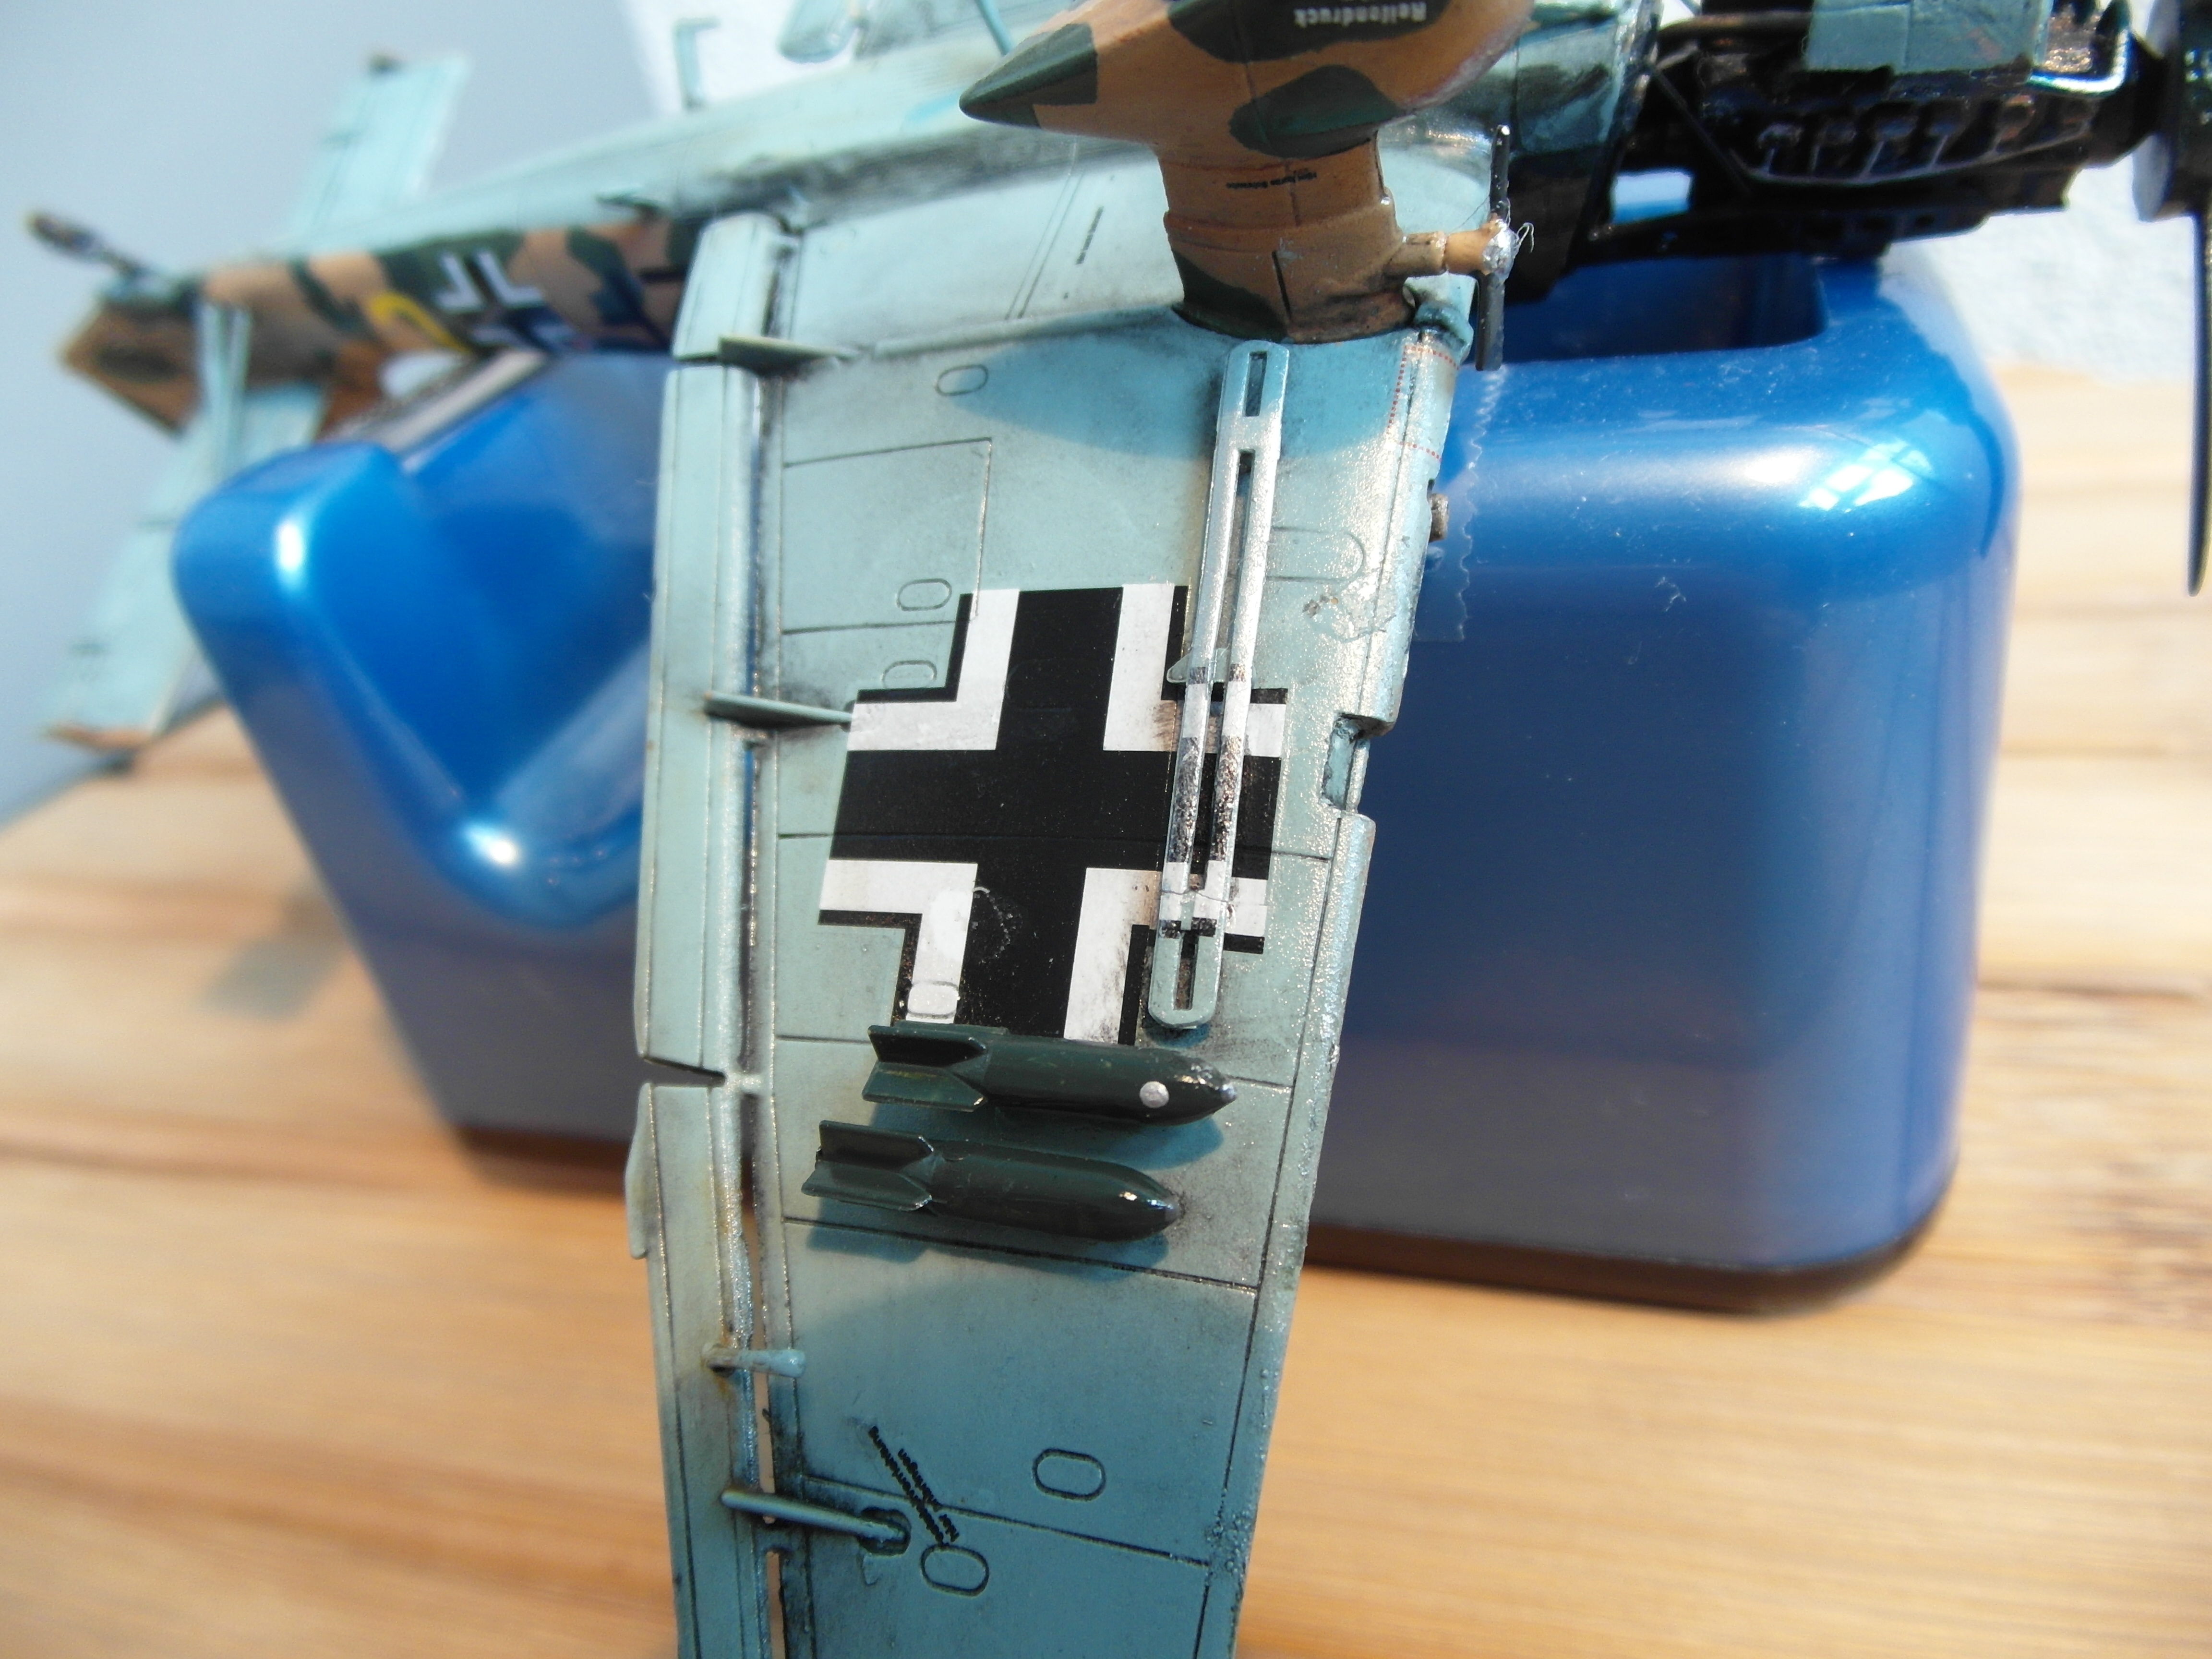
The bombs were surprising lacking details, and the supplied 250 kg bomb doesn’t bear any resemblance to any German bomb used. It is way broad and the tail fin is in the incorrect shape. Luckily I still have some unused SD-250 bombs left over from the junkers 88 kit. So i put those together with some whistles and small support beams between the fins. Funny enough the smaller diameter of these bombs also meant they fit properly in the harness.
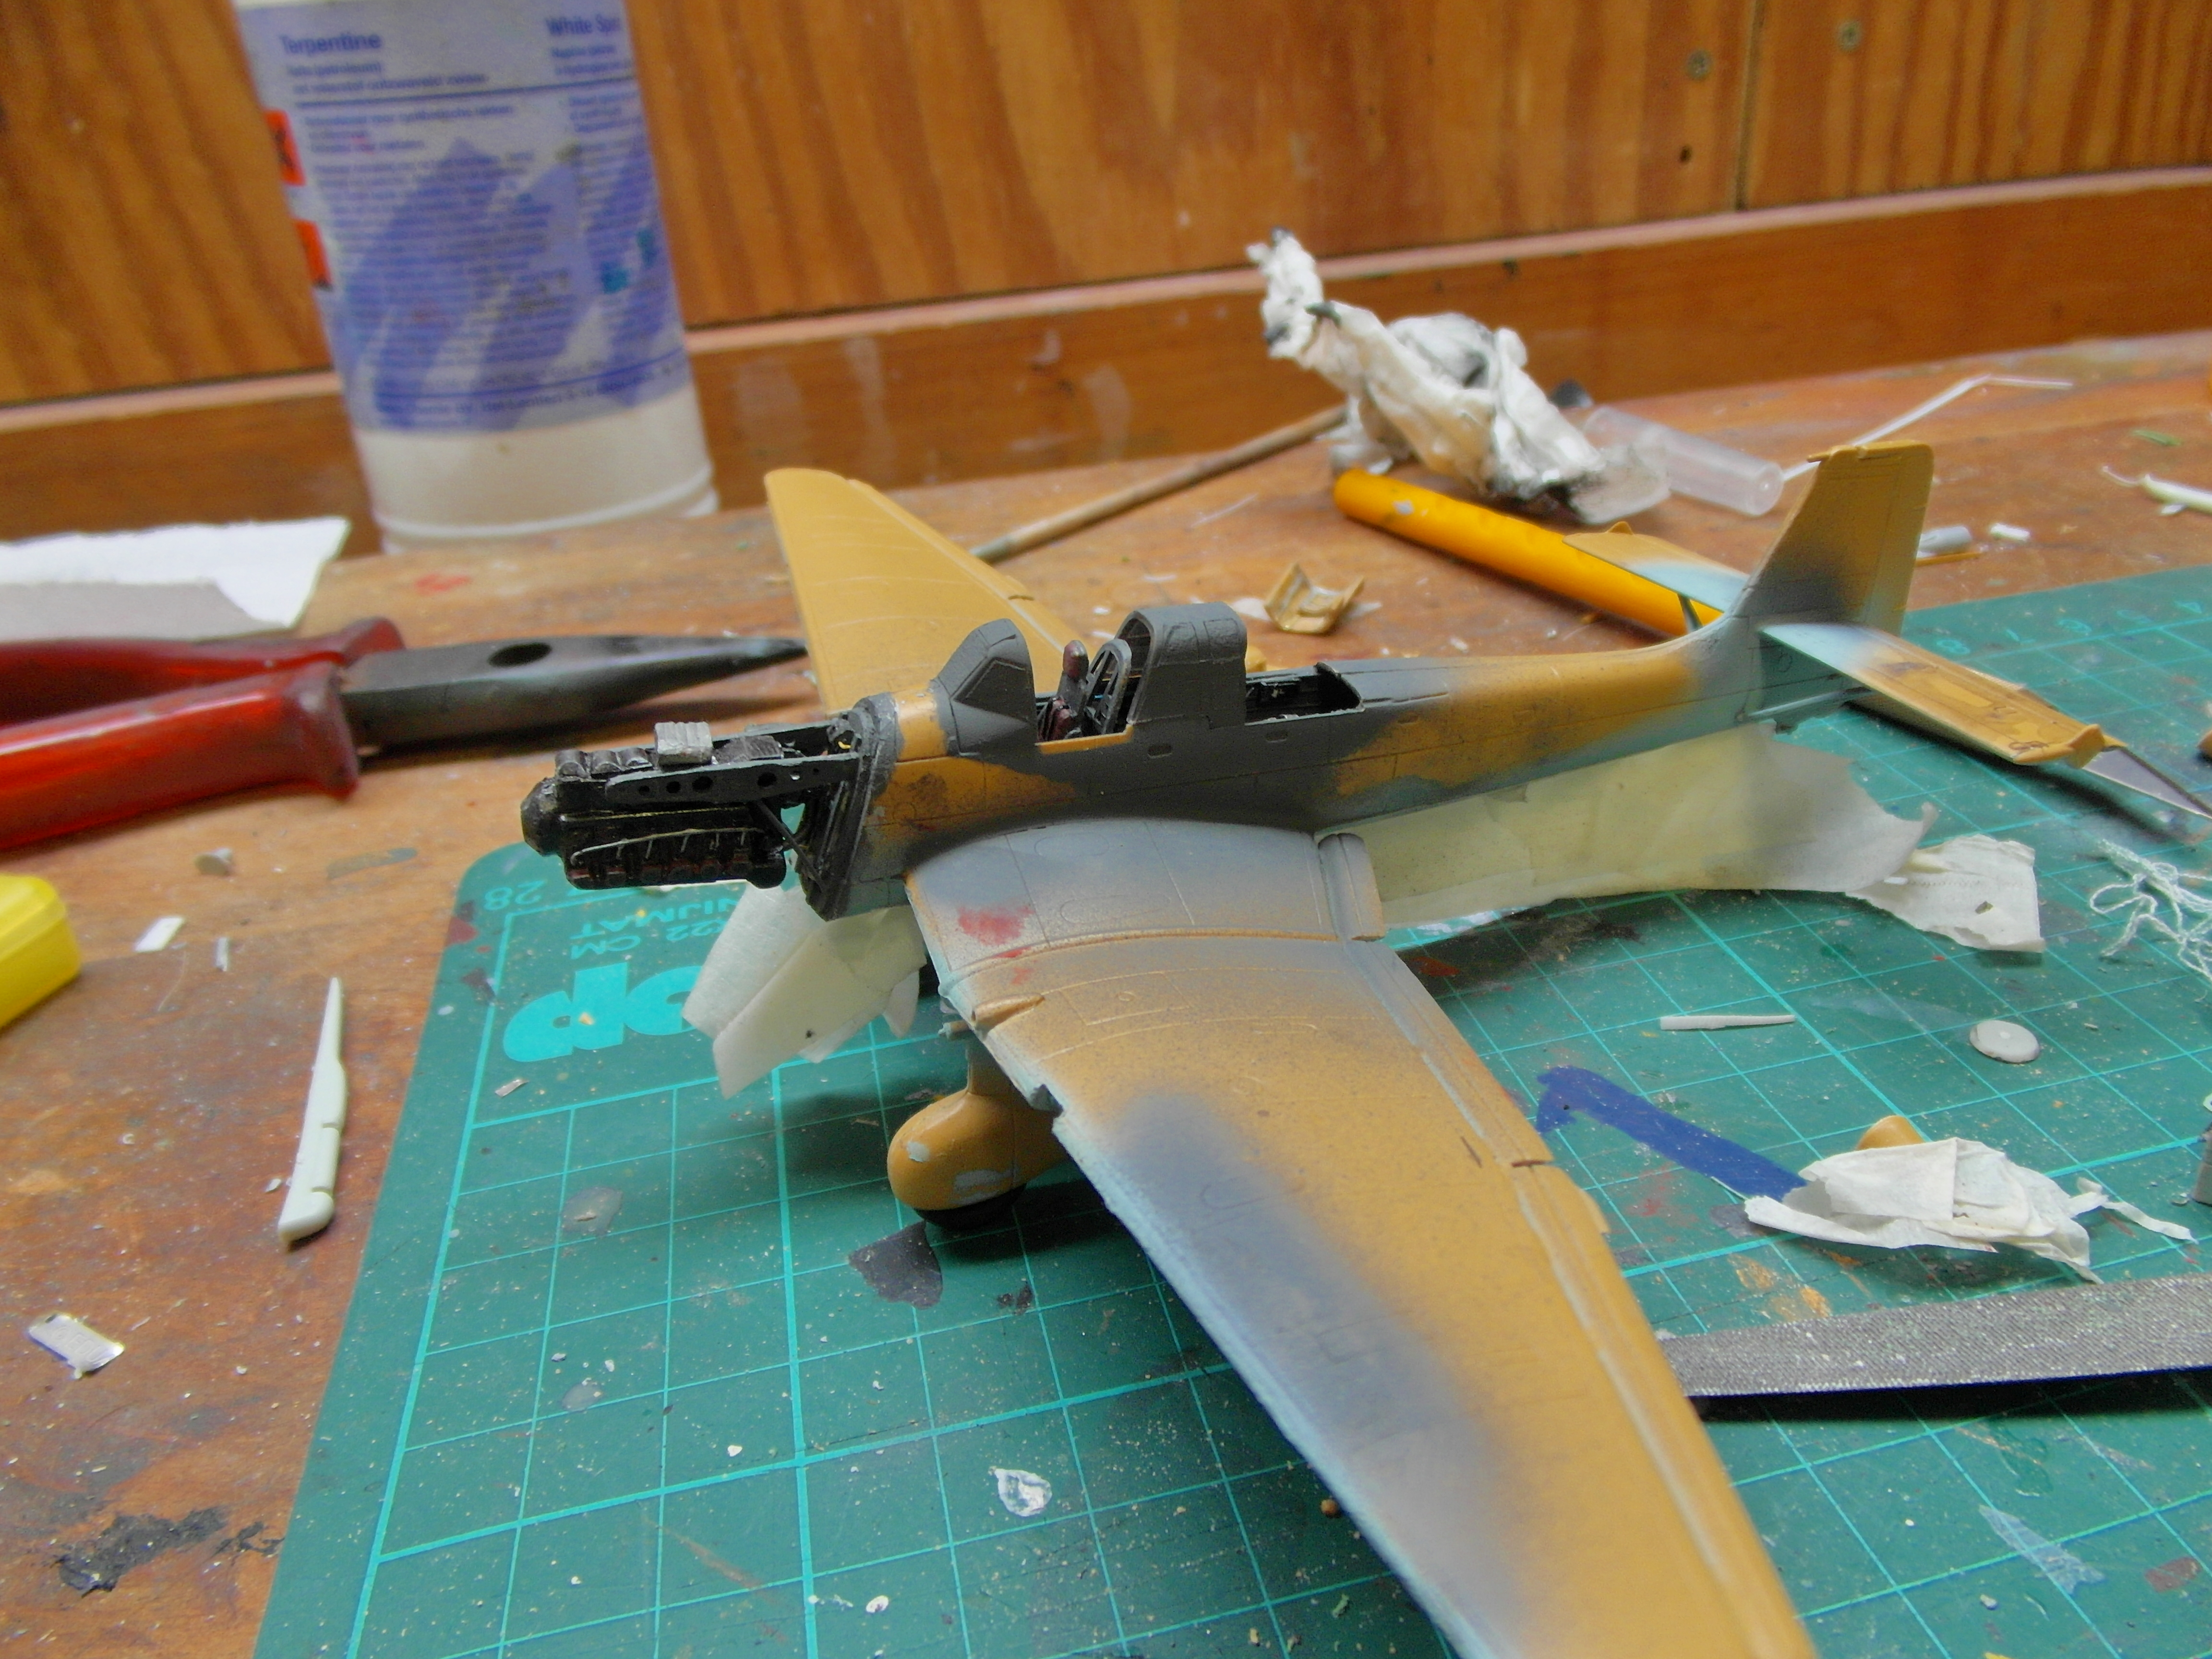
Painting
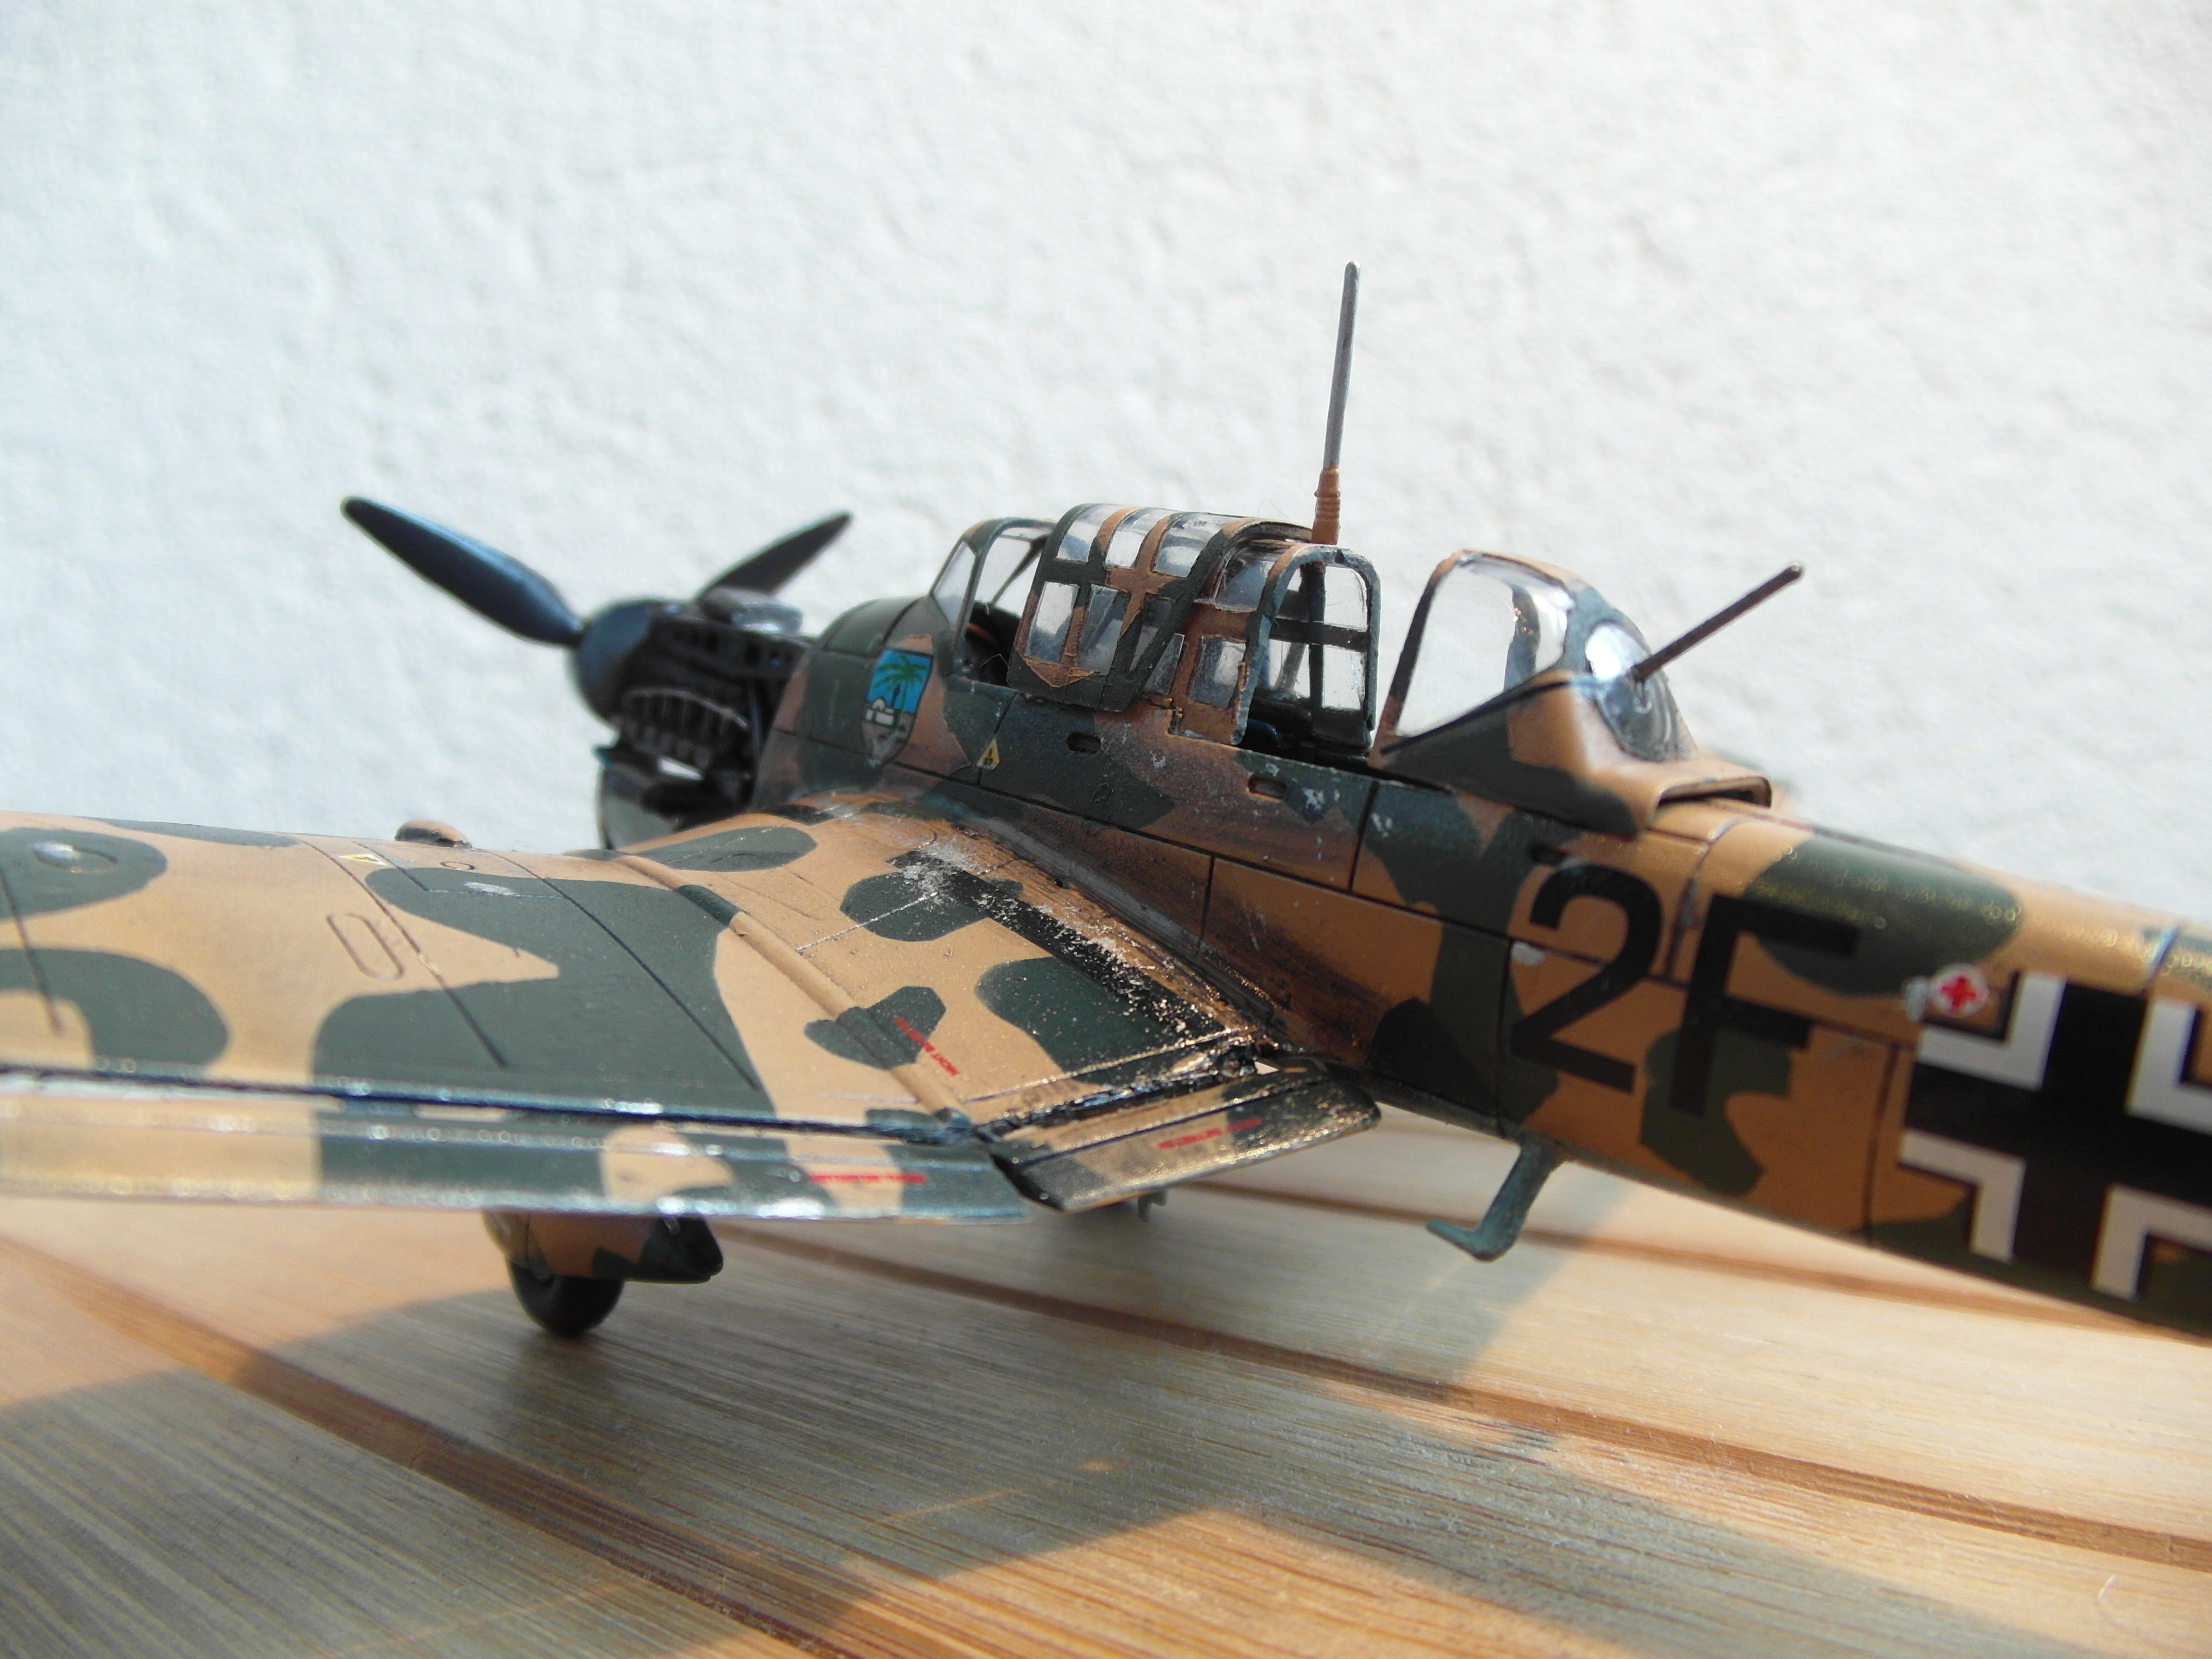
I’m going with the box art color scheme, a light brown base color with a green pattern, which, according to the manual, would be 2F-CA, a Ju 87R-2 from Sturzkampfgeschwader 1 Gruppe 3 in north Africa, 1941. This squadron was indeed stationed in Libya during this period, so that seems to be correct. The pattern is the result of painting the yellow-brown cheese pattern over the regular European theater pattern of RLM 70/71. After a coating of Tamiya X-35 Semi gloss it is decal time.


The decals are very detailed, but in true Revell Style the swastika is missing. Considering it is a German company it is understandable, but obnoxious nonetheless. Maybe i should stock some aftermarket decals. However the build quality of the decals is quite low. They are very thick and refuse to slide nicely into place, even with Microsol. The large balkenkreuz on the bottom of the wings was quite obnoxious to place, because it is in the same place as the air brakes, so it required some cutting for it to fit. After treating the decals with Microset they don’t look too bad.
After washing the model with oil paint and weathering it a bit i think it didn’t come out too bad considering the kits quality. After a clear coating as protection I removed the window masks and called it finished.