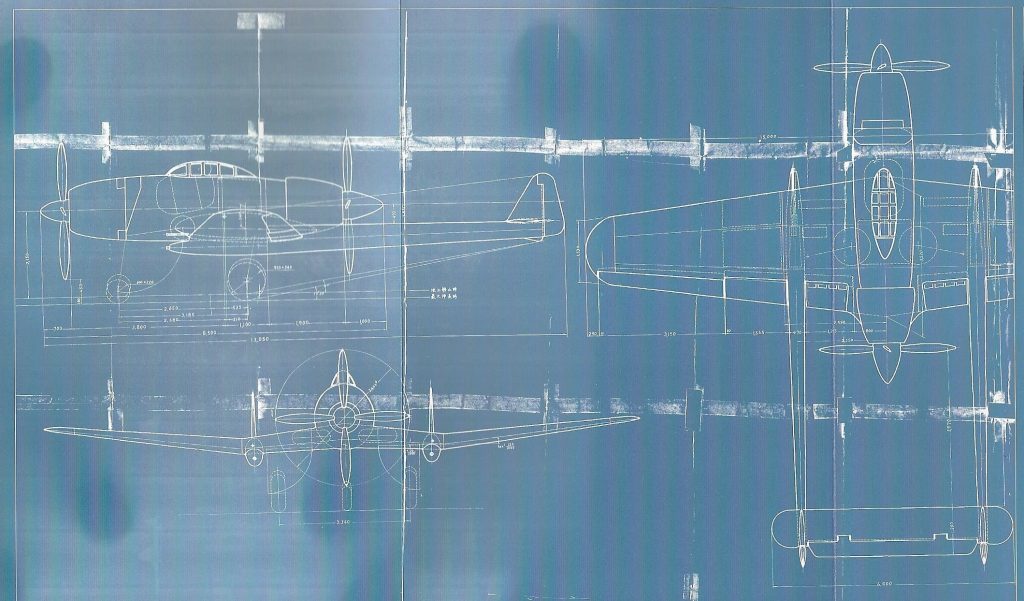
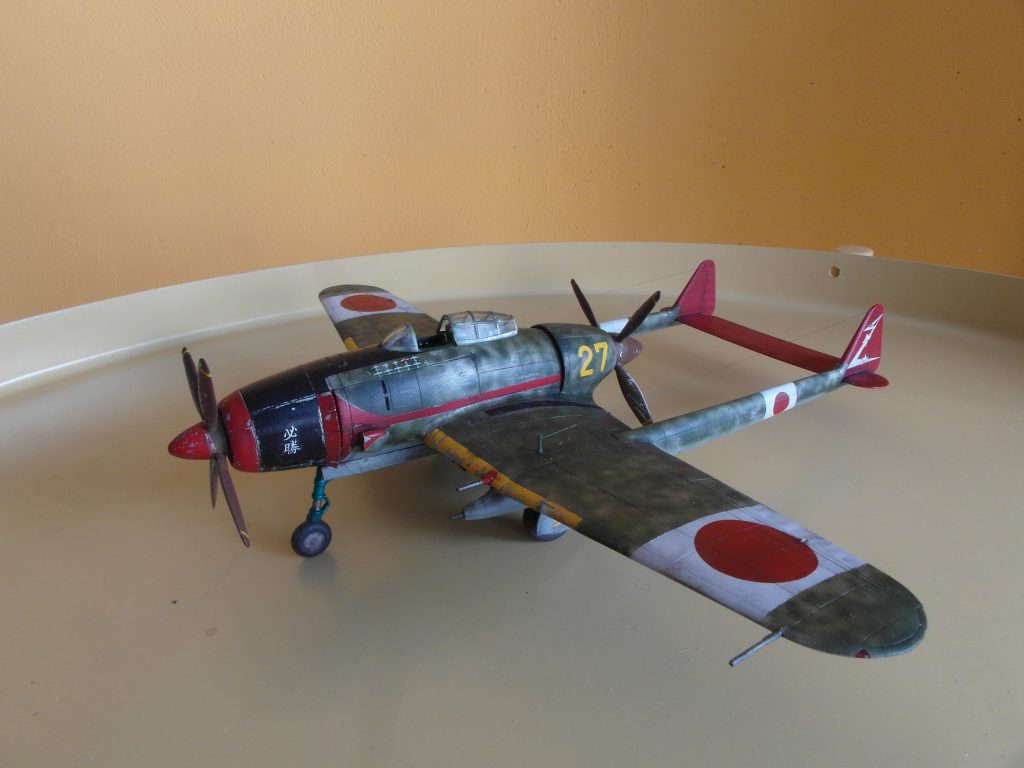
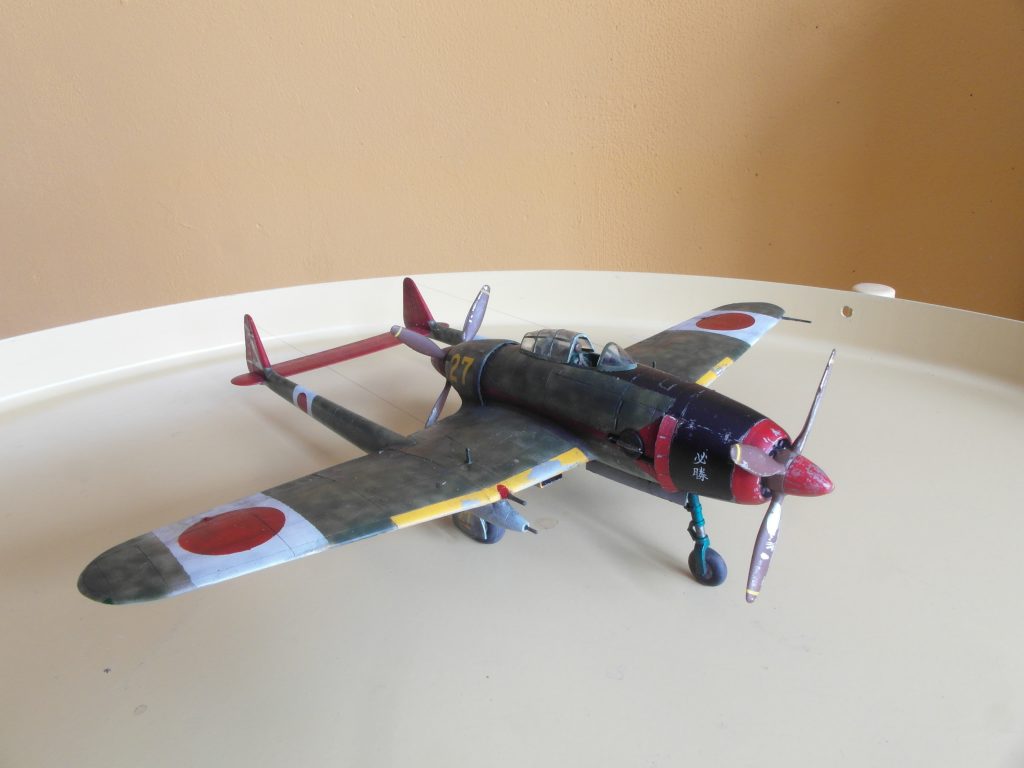
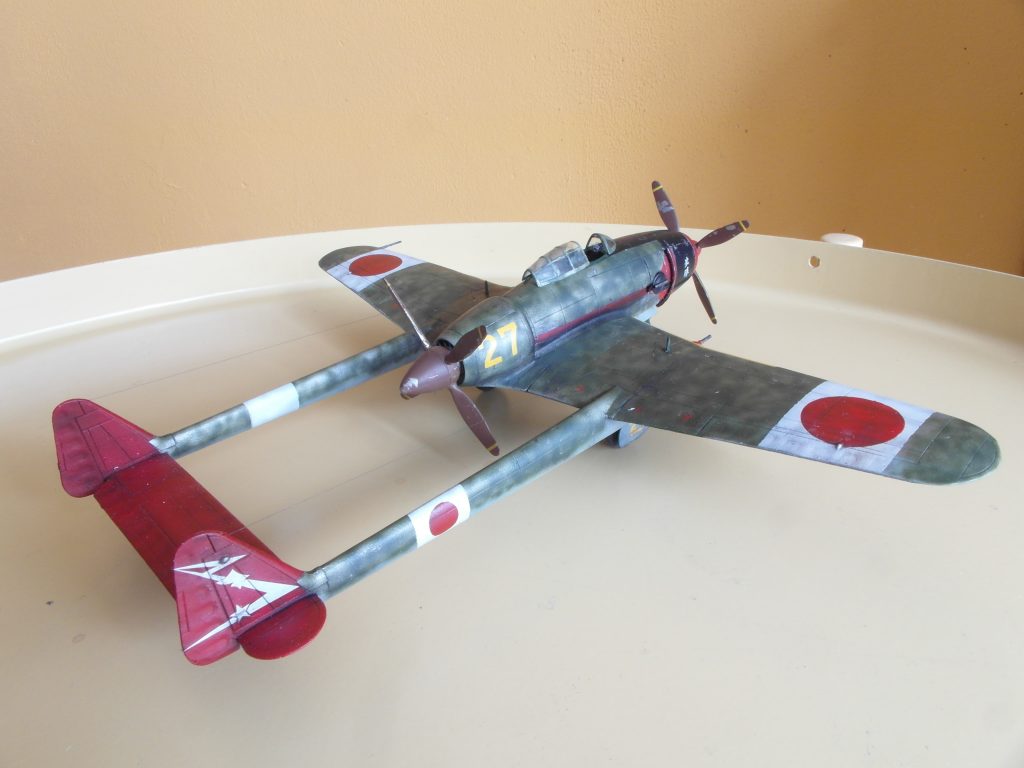
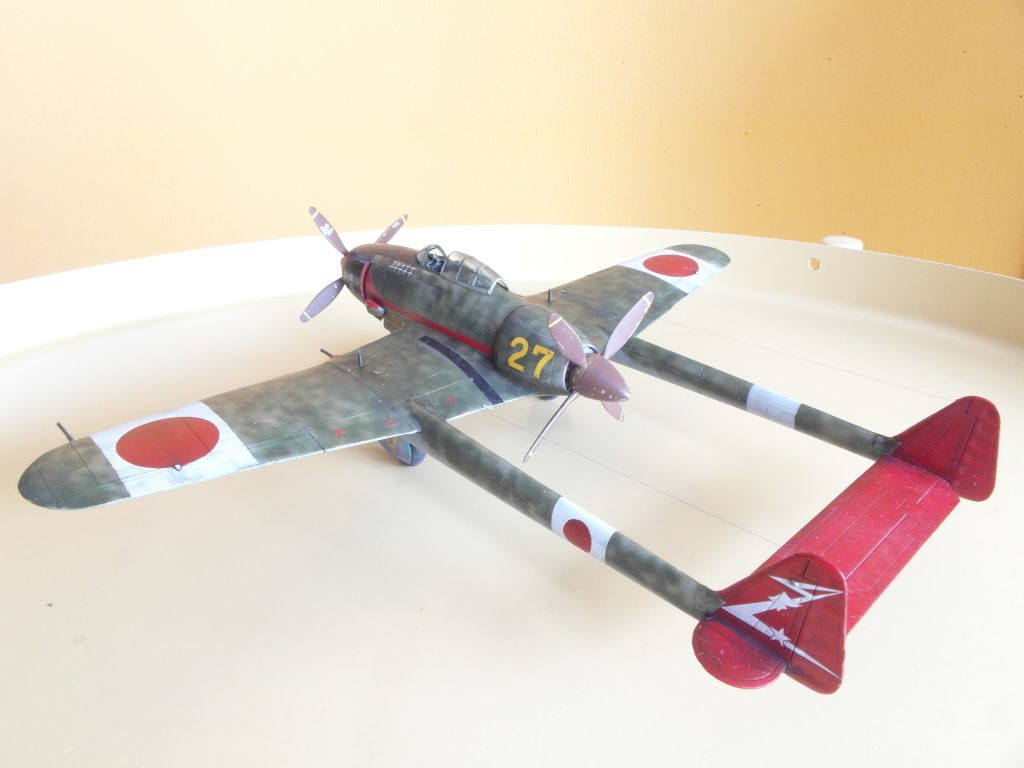
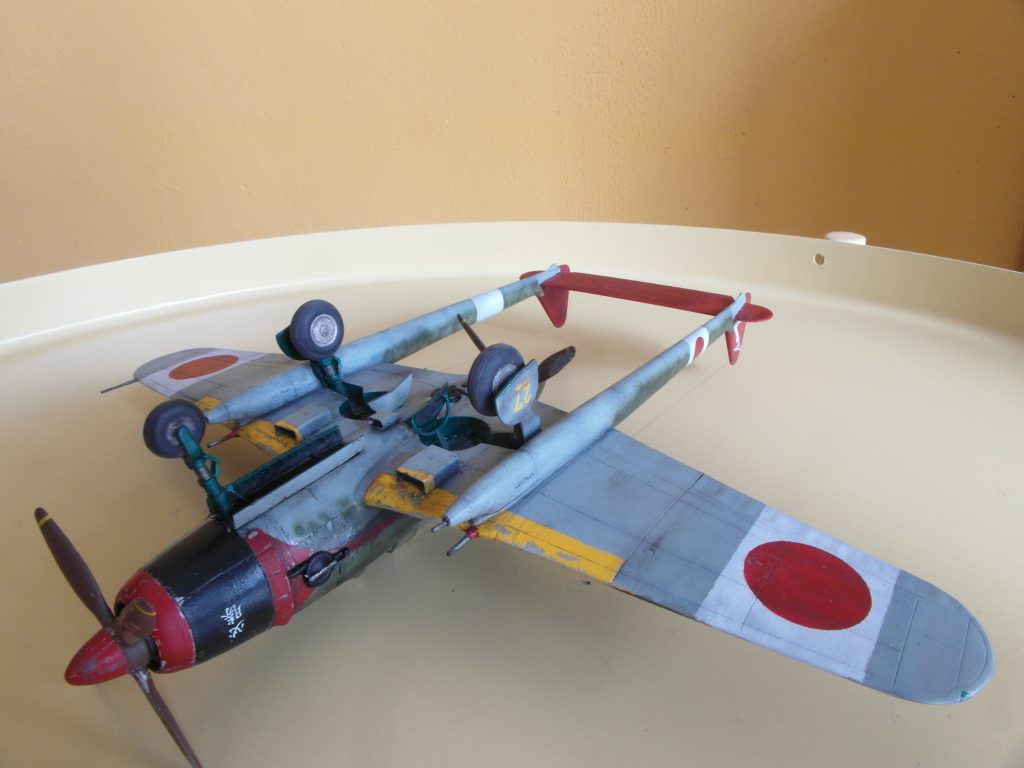
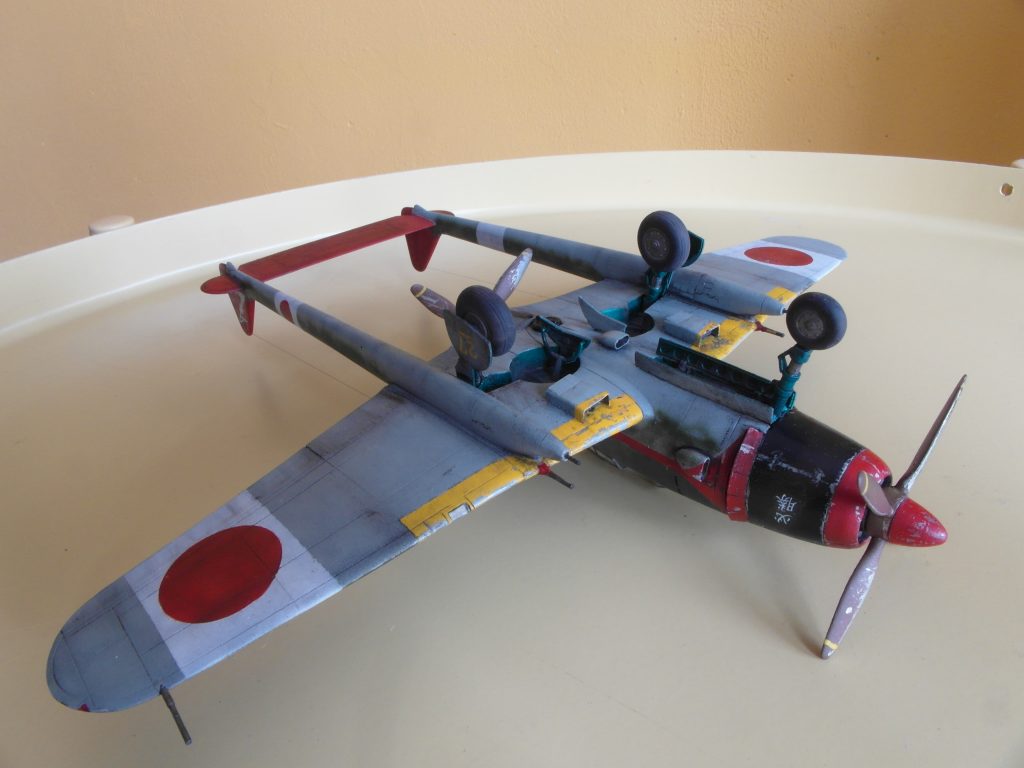
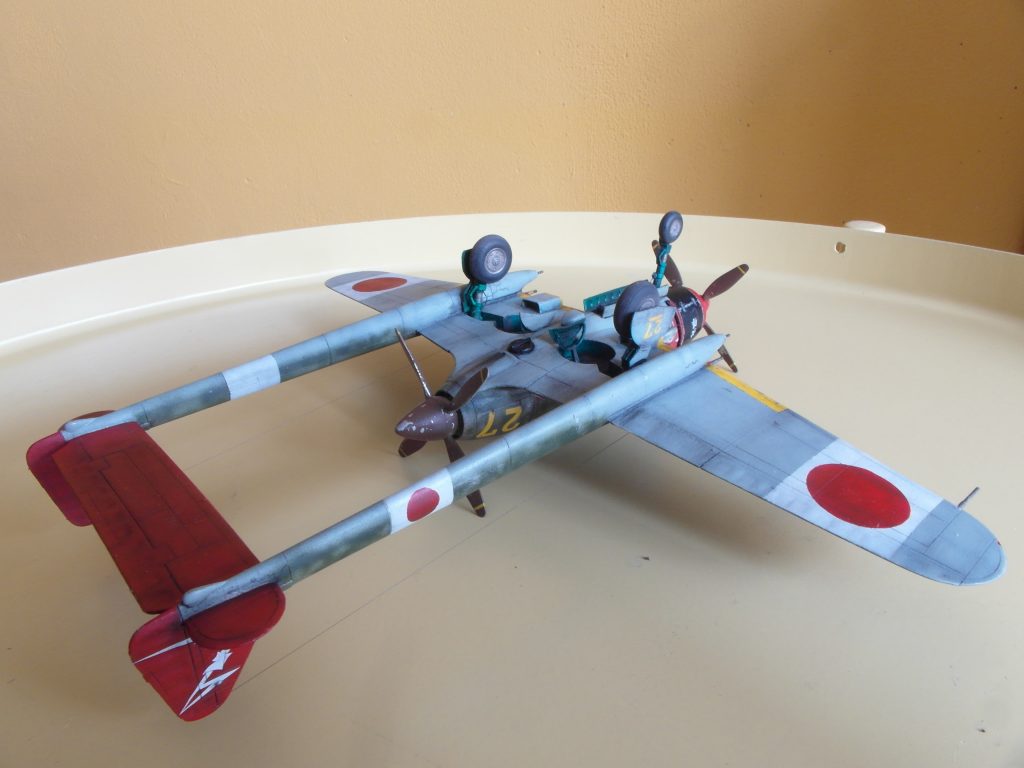
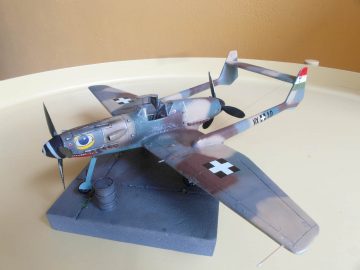
I’ve always had a weak spot for twin boom aircraft, and I think the Ki-94-I is the embodiment of what I love about world war II aircraft. Big, Bold, unorthodox and experimental. A dream from a simpler time. It would probably have flown like a brick and indeed it would have been expensive to build. But it looks lovely.
The Ki-94-I is one of those relatively unknown aircraft, with only a wooden mock-up produced. Japan also isn’t as popular and well know as the wild paper world that is luft ’46, so it kind of slips under the radar. An older resin kit from A+V models did exist, but it’s already 15 years old and long out of production. Maybe it sometimes pops up on Ebay, but I’ve never seen it.
Until recently, when Ushi Models started making a kit of this plane in 1:72 scale. And while expensive, bought it as a sort of Christmas present for myself, even though it arrived after new year.
history
The development of the Ki-94 started in 1942 when the need for a high altitude interceptor arose. The Koku Hombu approached both Tachikawa and Nakajima to develop a pressurized aircraft which could fly with 800 km/h and had a 3000 km range.
After review in February 1943, the Koku Hombu deemed the aircraft too unorthodox and too difficult to produce and cancelled the project.
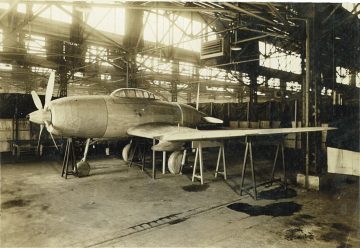
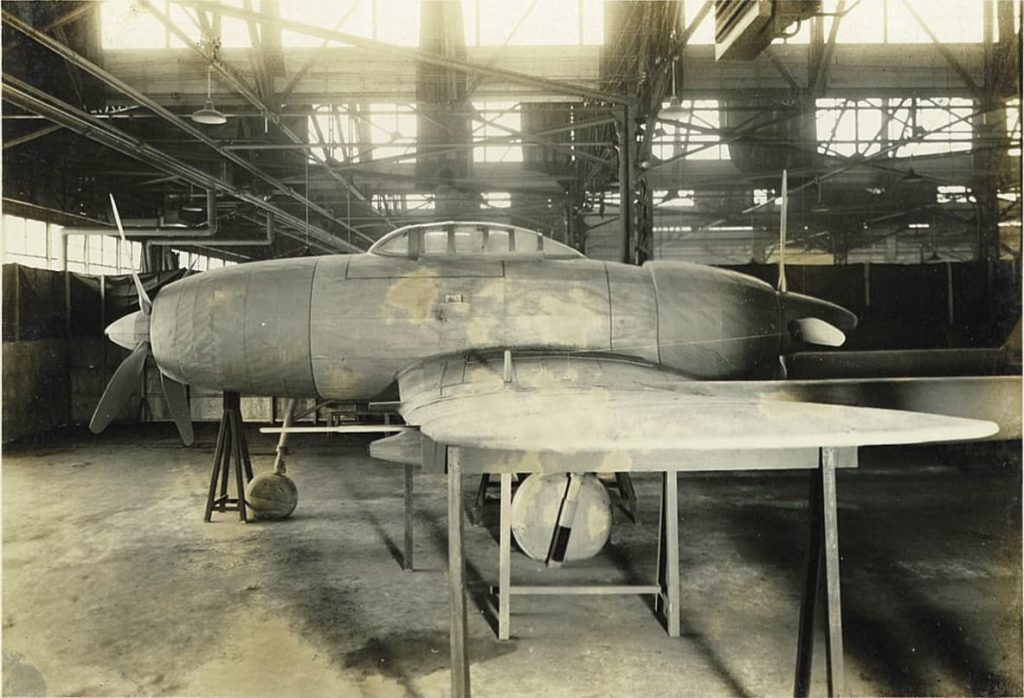
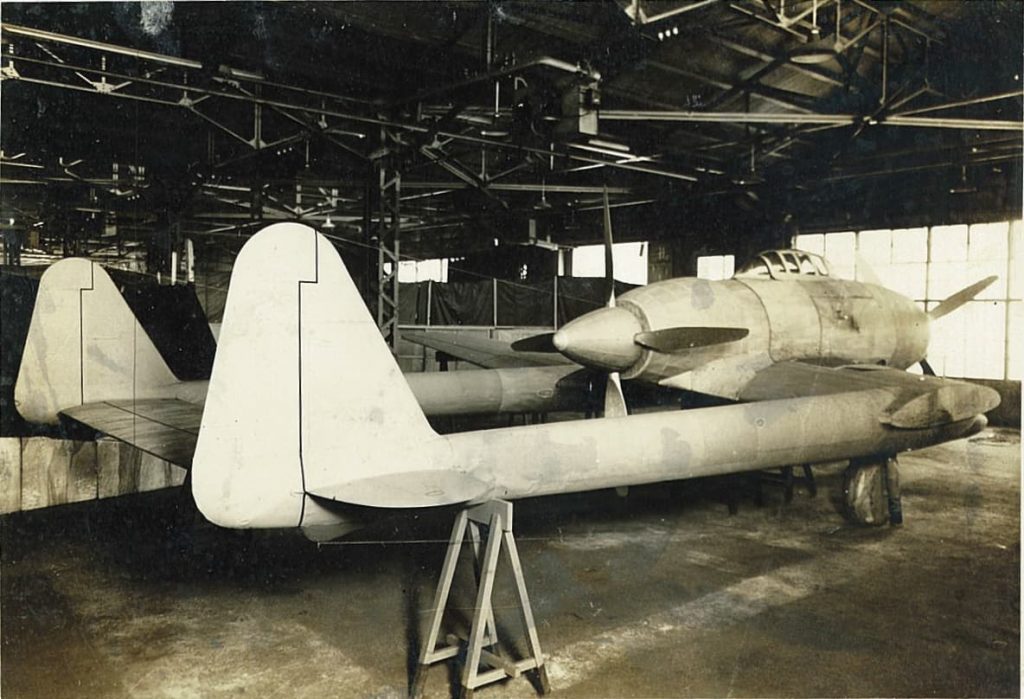
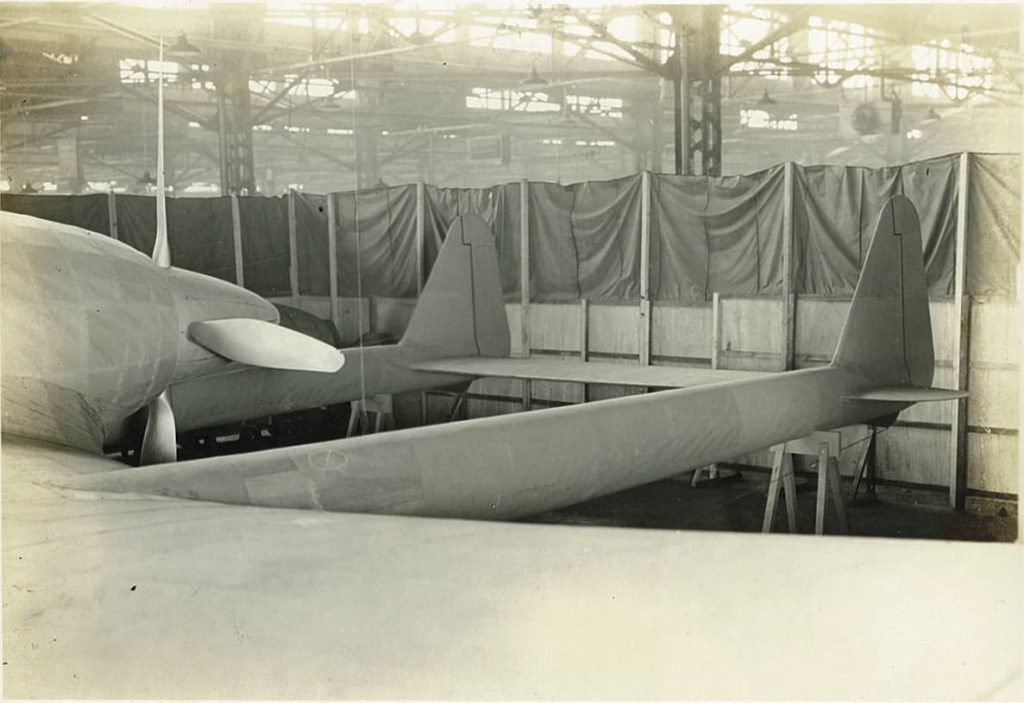
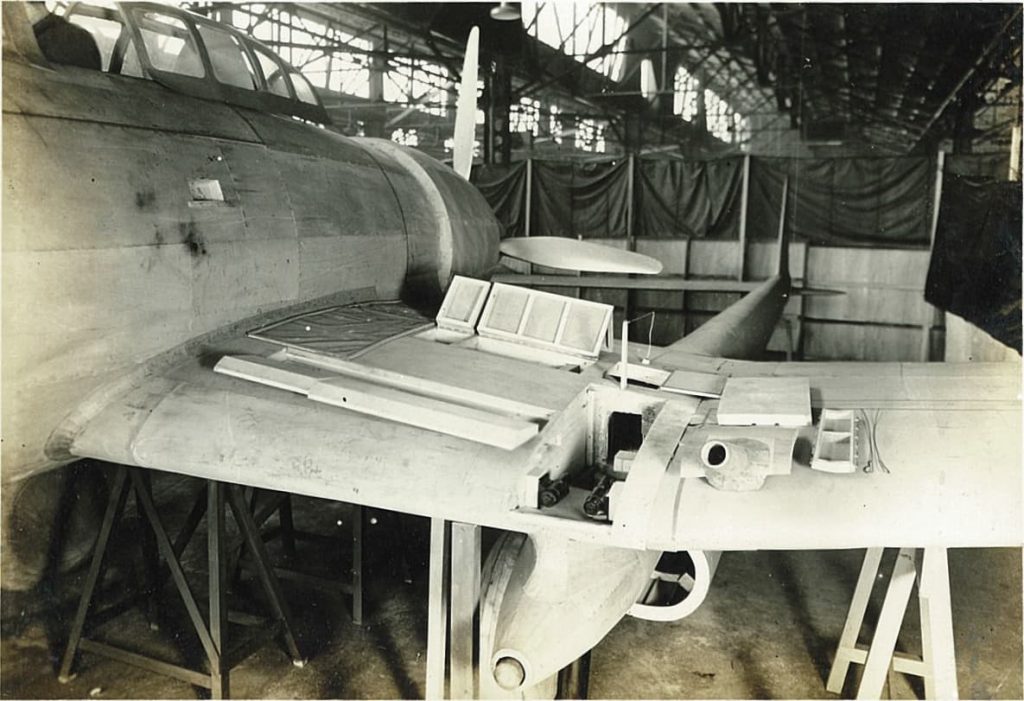
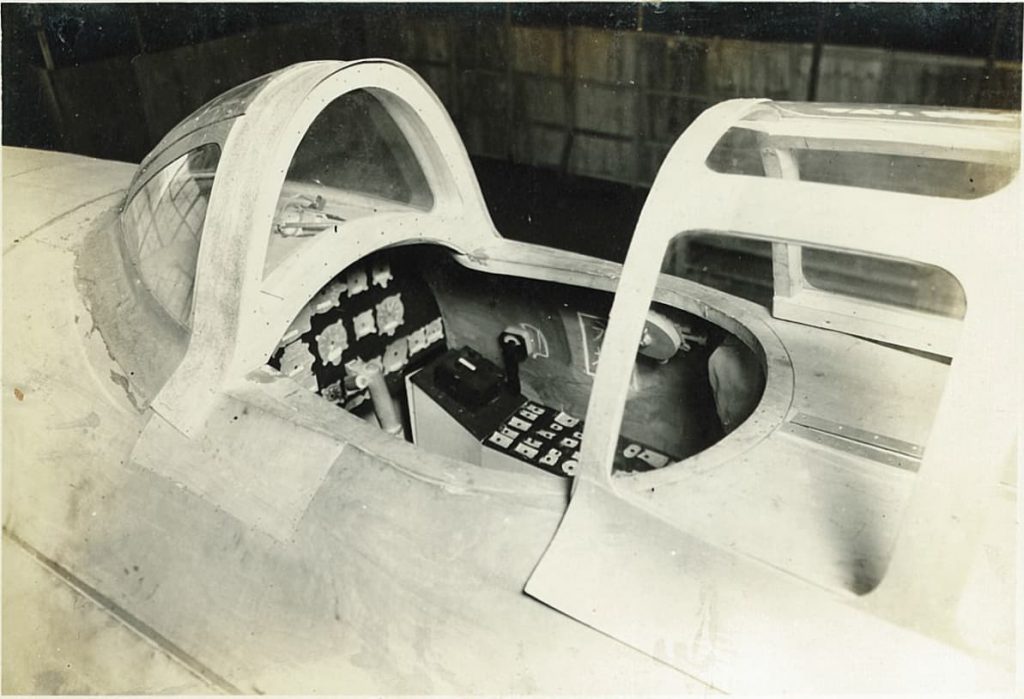
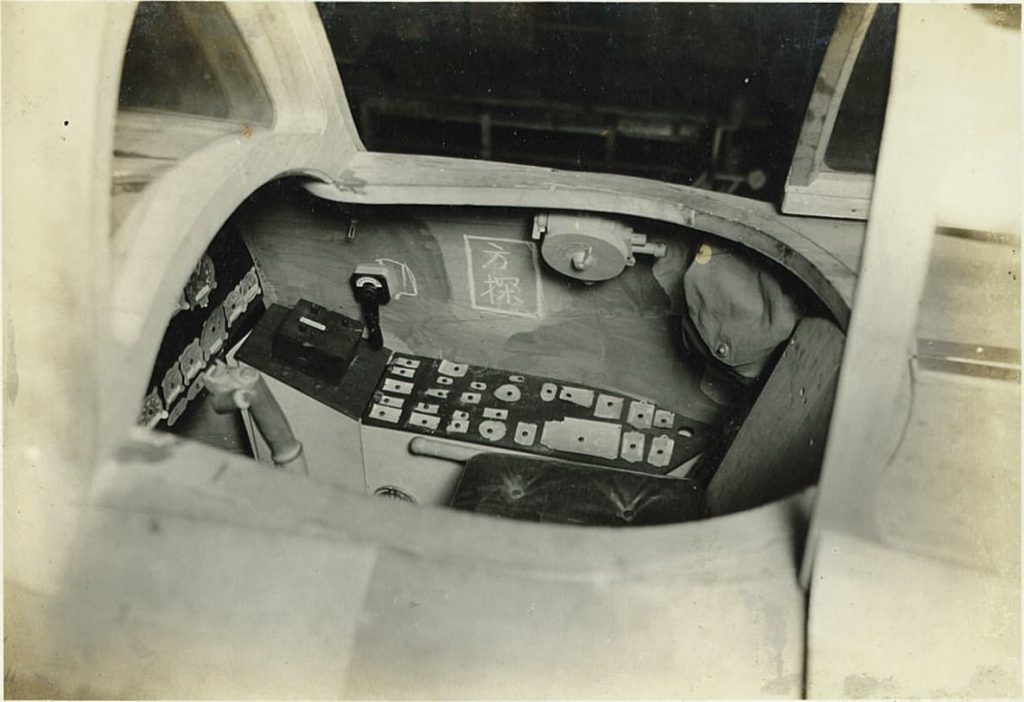
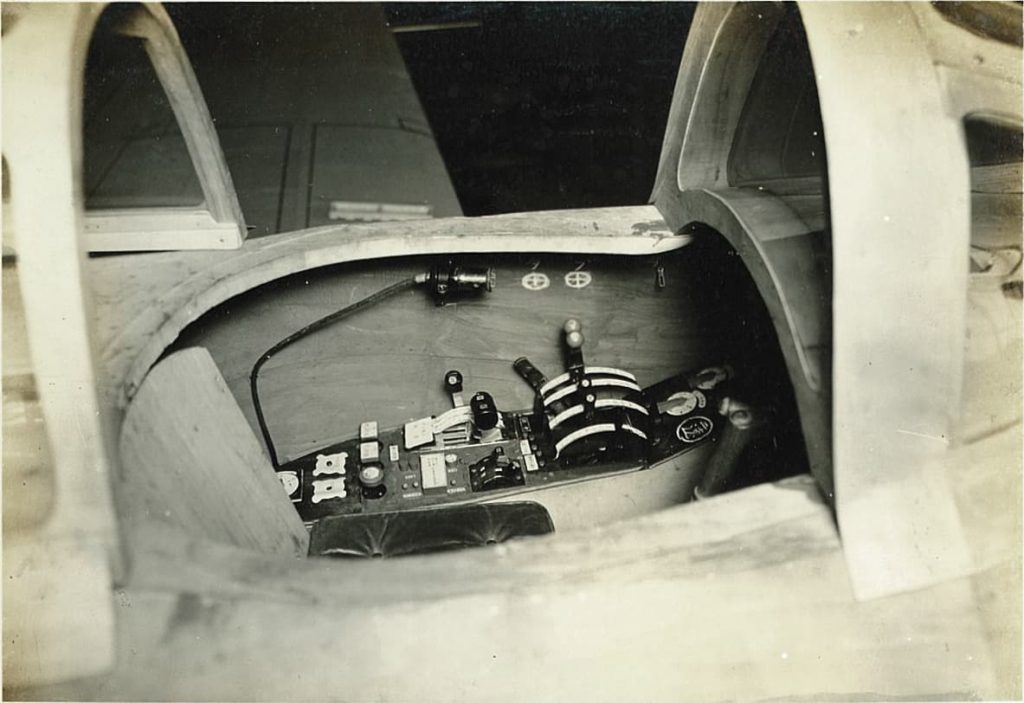
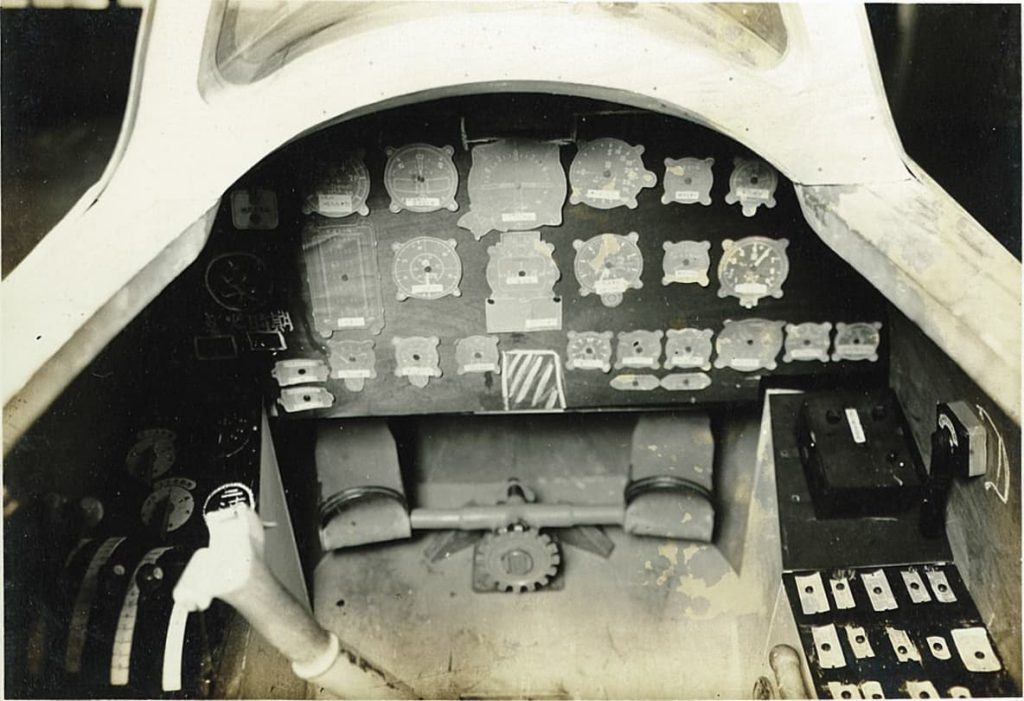
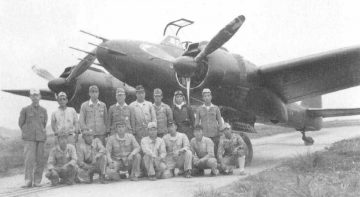
Pictures of the wooden mock up.
Source: http://drhasegawa.sakura.ne.jp/tatsuo/tatsuo.htm
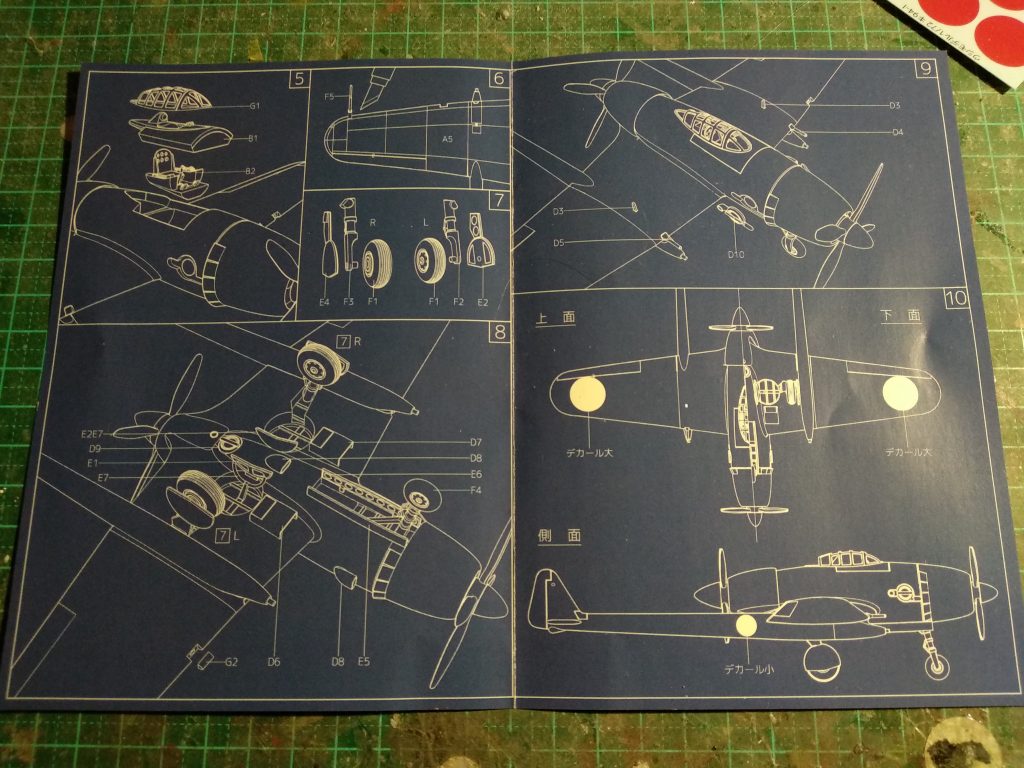
Kit Review
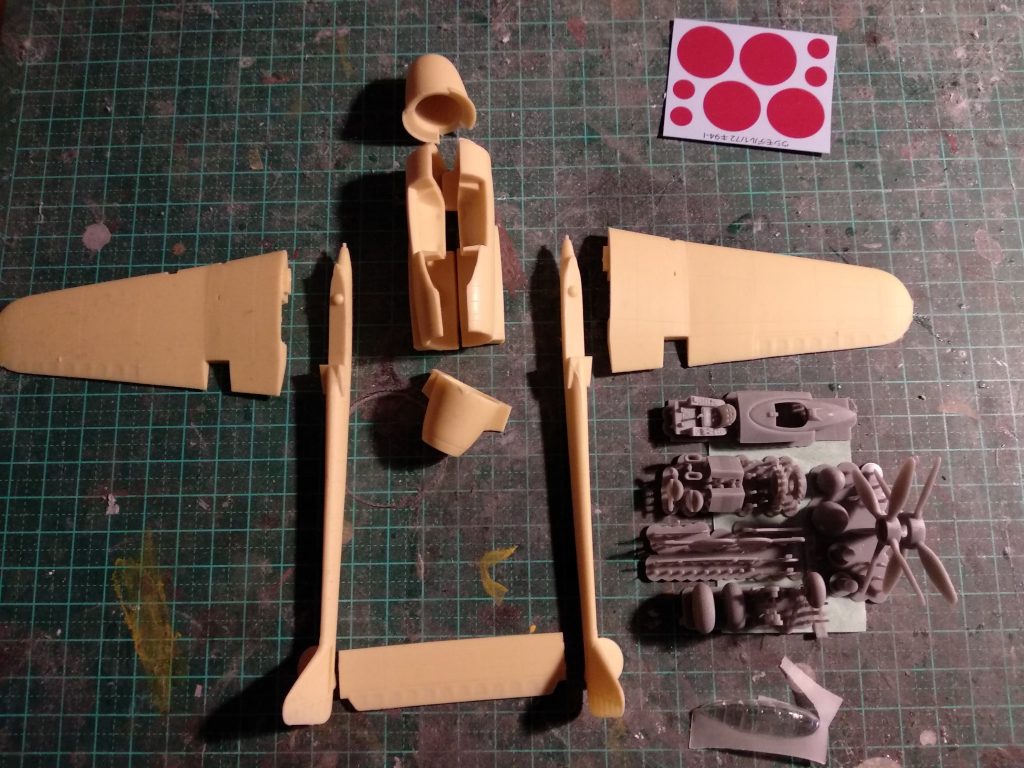
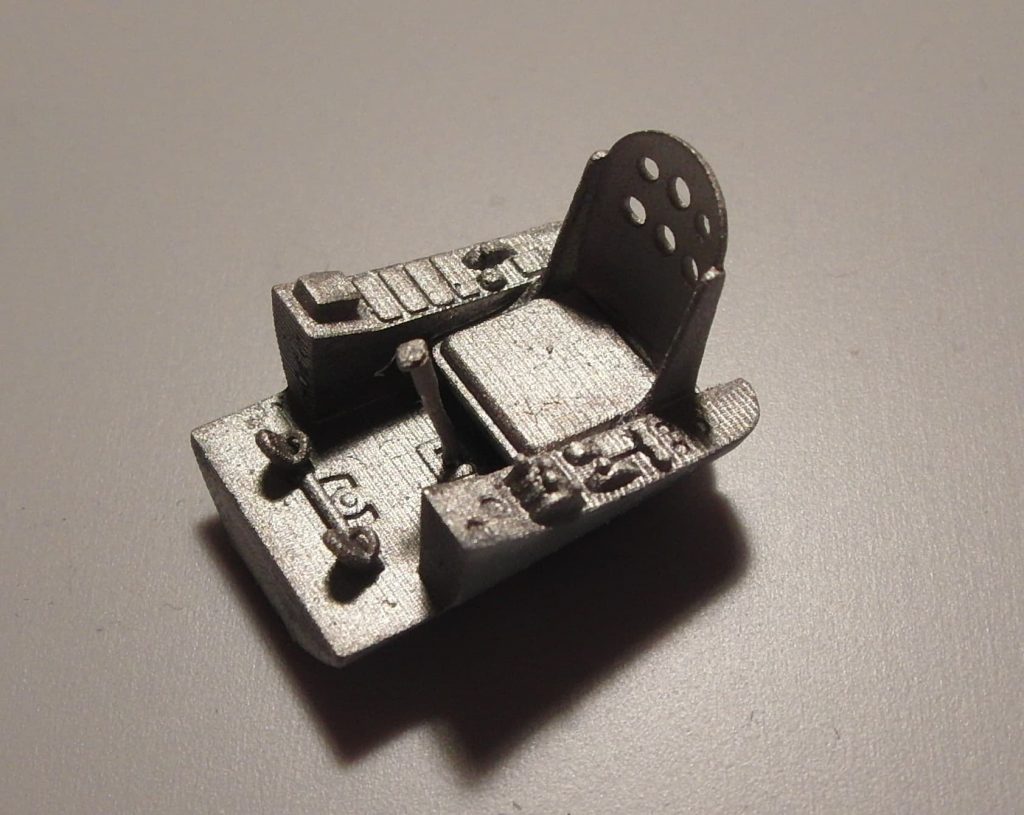
The kit consists of a resin body and 3D printed details, such as the cockpit and landing gear.
I’ve never really seen 3D printed parts before in a kit, let alone worked with them, so this will be a new one. They look stunning with fine details. However as is common with 3D printed parts they have this slightly layered look and need to be sanded down. They’re also very brittle so be careful when handling them. I’ve broken them a few times but luckily they break very clean and can easily be glued back with superglue. The instrument panel forms a solid piece together with the upper fuselage, which is going to make painting a pain. I don’t want to try and separate the two as I don’t know how the 3D part is going to behave and I don’t want to destroy it. The front landing gear also has the nose wheel moulded to the frame, and the retracting strut is rather crude.
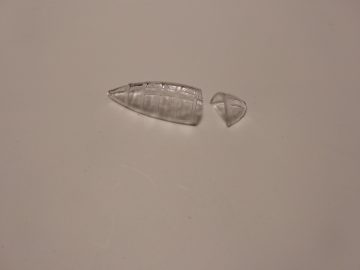
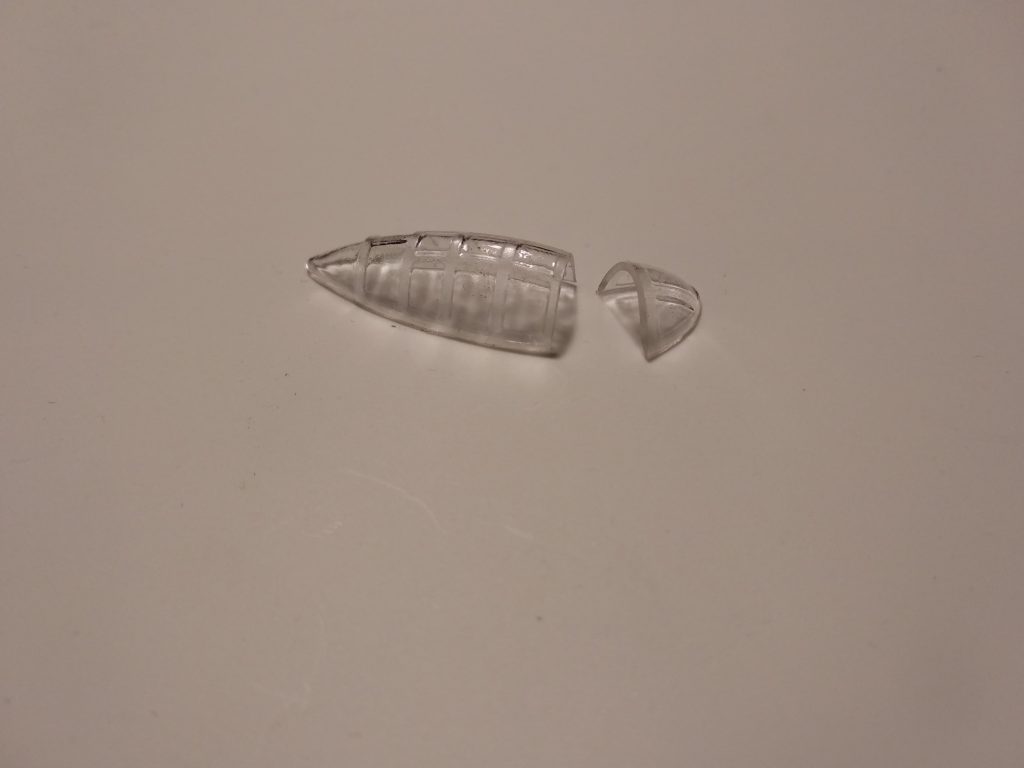
The canopy consists of a single vacuformed piece. The plastic is very thick with super thick frame. It’s also not very transparent. What I’m most likely going to do is sand it down completely, polish it and overlay my own frame. I’ll also try to make it in an open position to show the cockpit interior.
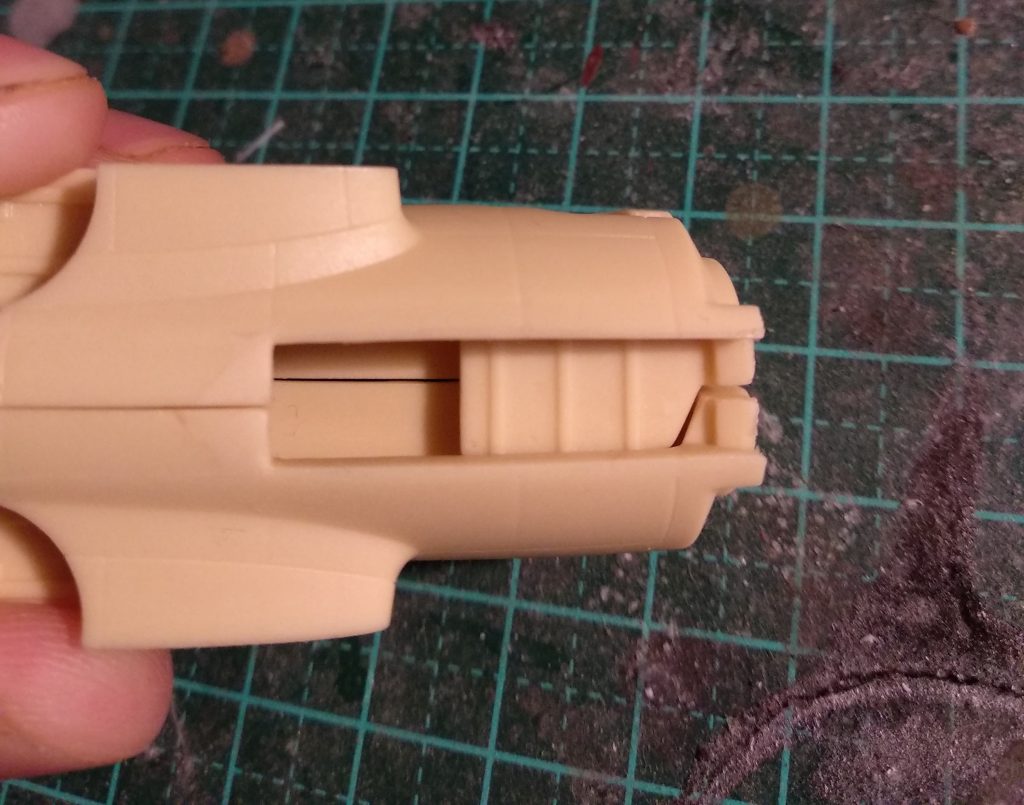
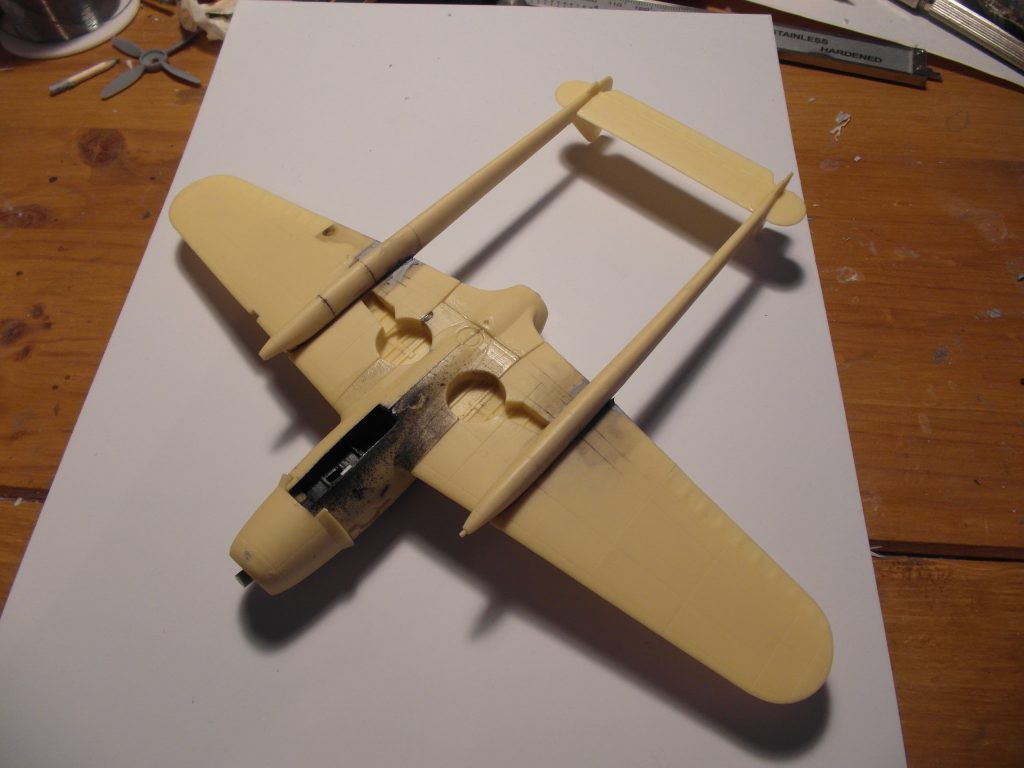
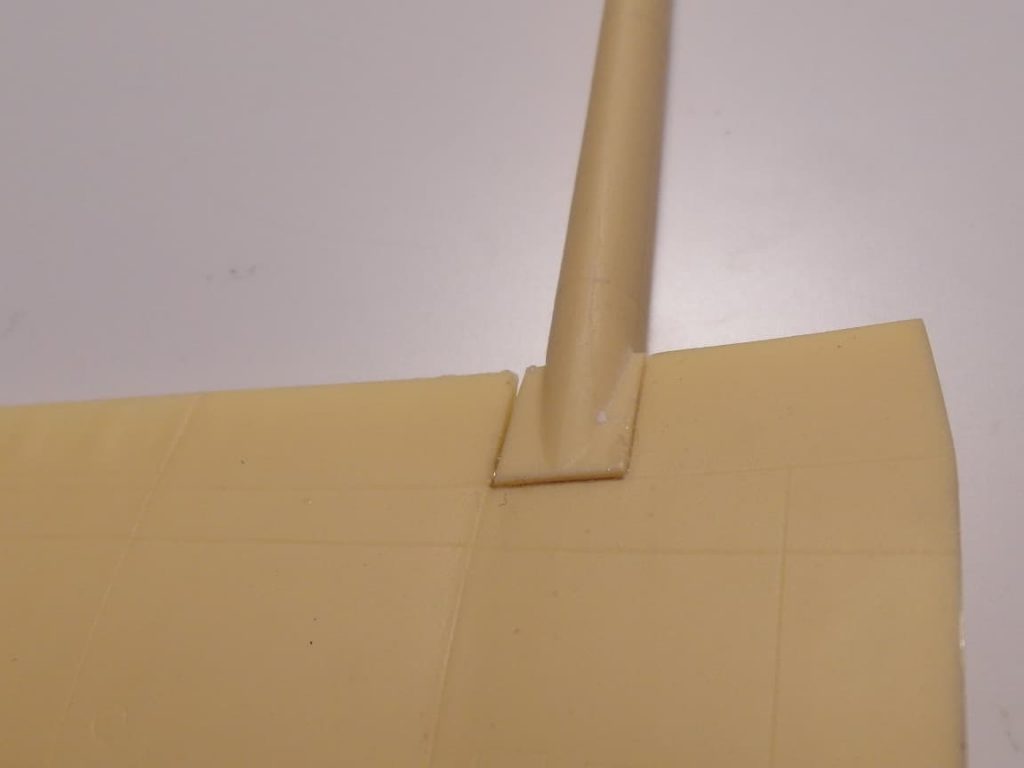
The resin parts look nice as well with fine panel lines and a lot of detail. However the front wheel bay stands out compared to the rest of the kit, as it is partially just a hole in the fuselage where you can look into the entire front part of the plane. The booms are also going to require a lot of putty to make them flush with the wings.
The decals included are rather simple with only a few uncut Hinomaru’s. Personally I prefer to air brush them on.
Conclusion
A very nice kit of a uncommon and rare aircraft. It generally has very good details, but with some areas standing out like a sore thumb. It’s also quite expensive.
Cockpit
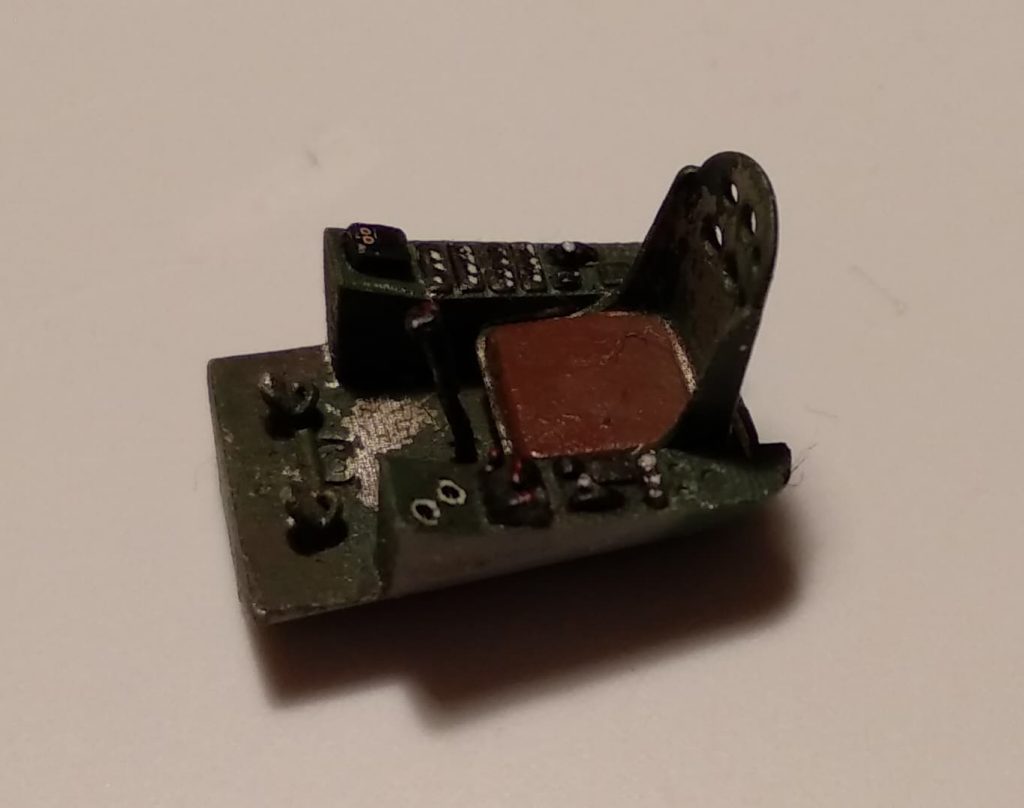
As usual I started this build with the cockpit. It consists of only two parts, excluding the fuselage. A top cover including the instrument panel and side walls, and the tub, with the seat, control stick, pedals and side consoles. They’re both 3D printed parts and have great detail. The only thing is that they have this layered build-up typical for 3D prints. First thing I did was sand down the seat and upper fuselage, as those would be very visible. Then I painted the tub part with AK Extreme metal aluminium as a basis for chipping. Ordinary hair spray was used as a chipping fluid.
The interior colour is a mix of 50/50 Tamiya XF-26 and XF-71. The instrument panel was painted with Tamiya XF-62 Olive drab. These colours are of course semi-historical, but could resemble colours that could’ve been used.
The instruments were created with a bunch of old instrument panel decals i had laying around.
Wheel well
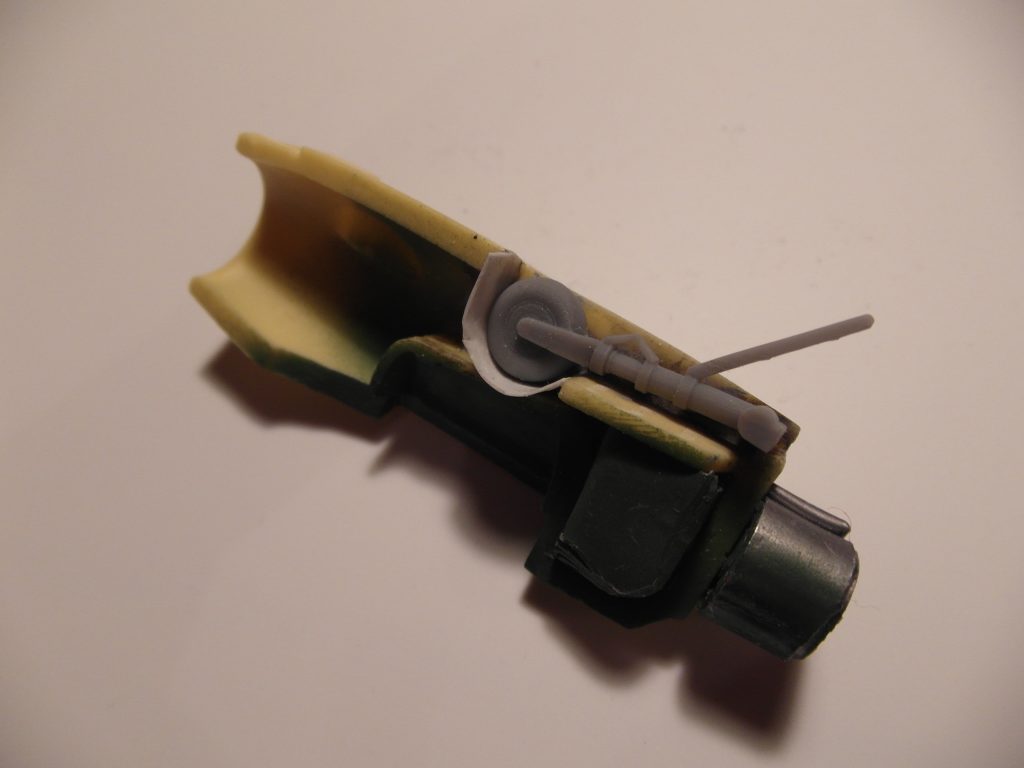
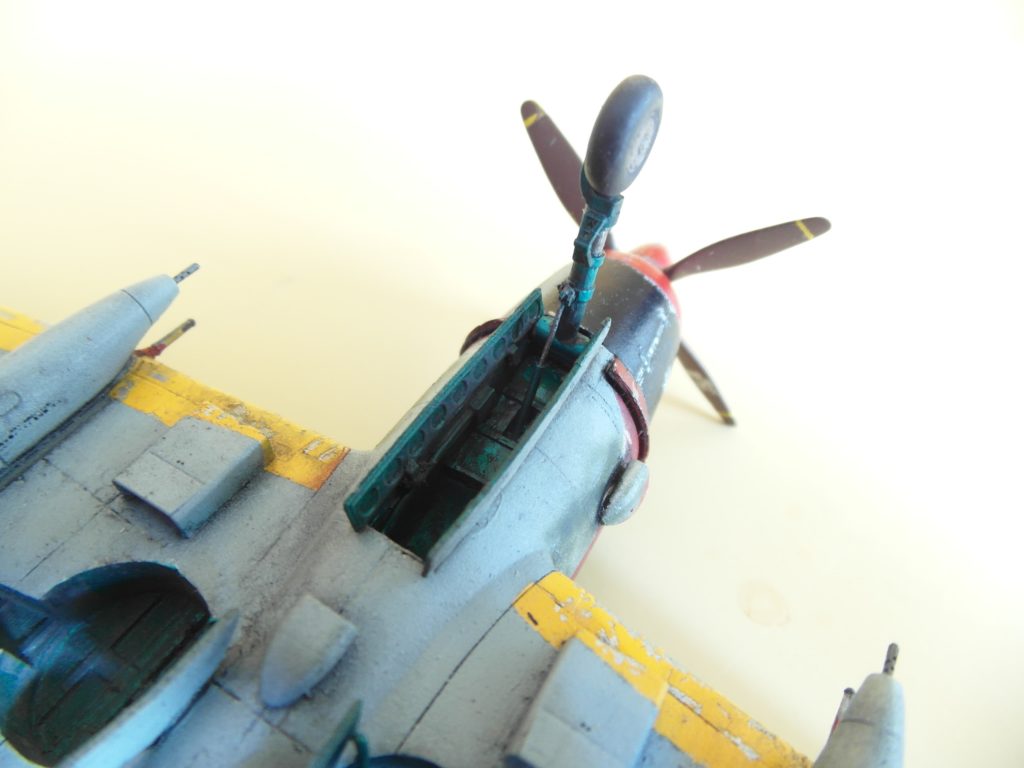
Before it was possible to close the gondola, some attention was needed for the landing gear.
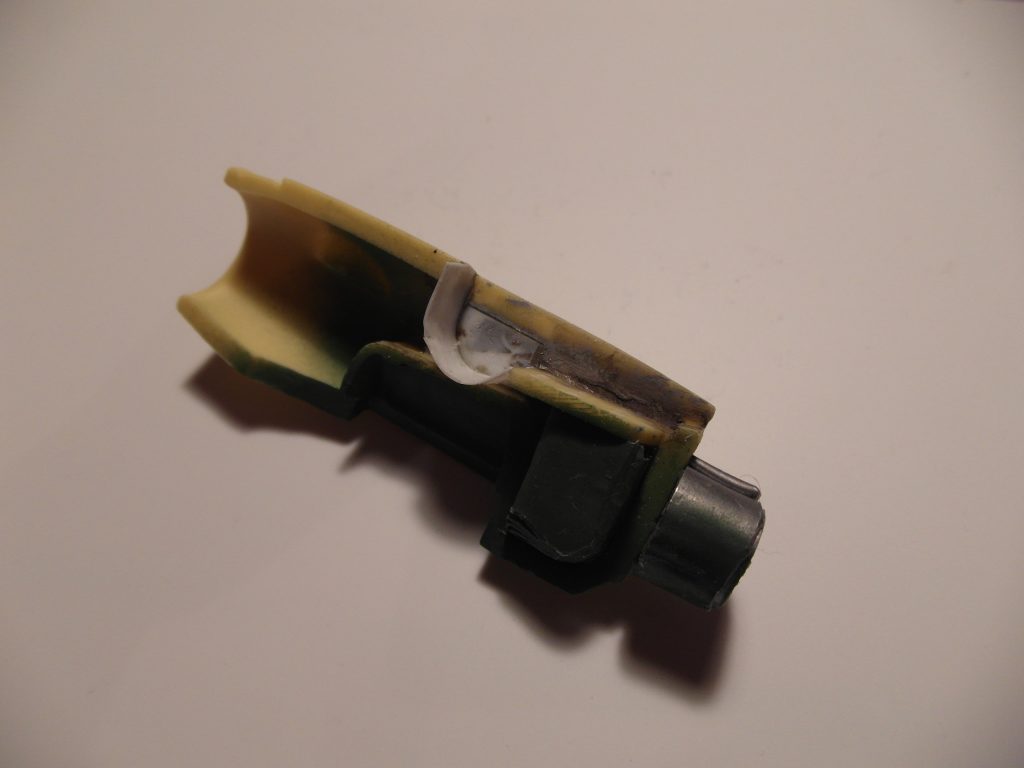
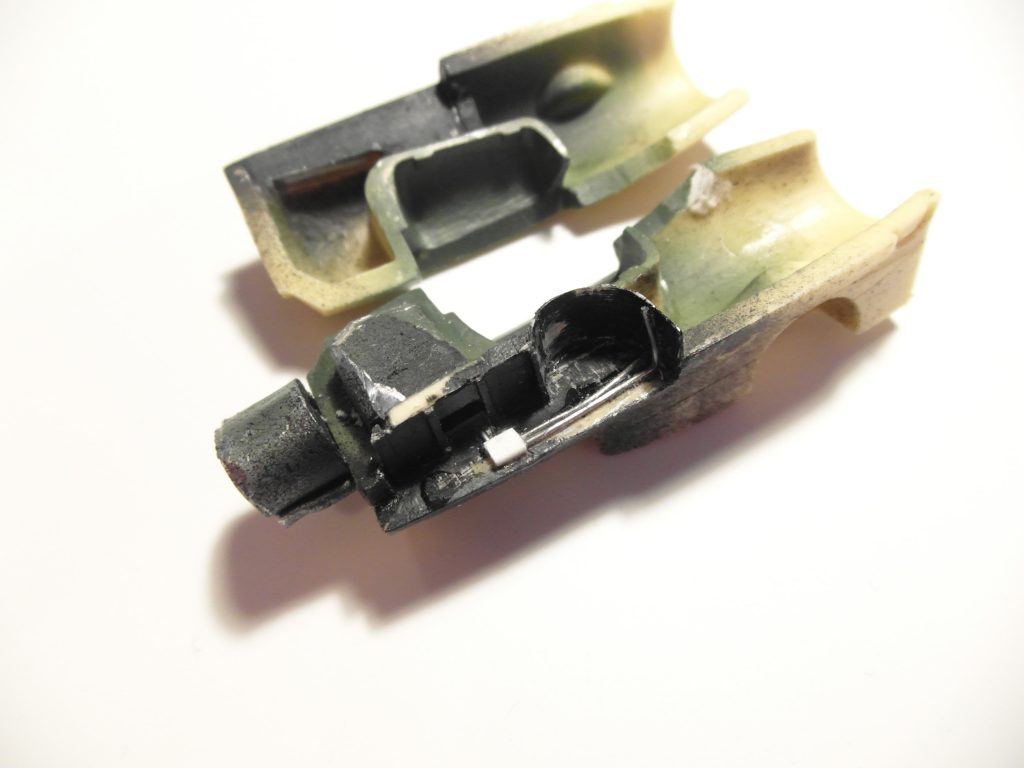
The nose wheel bay, or lack thereof is kind of a sore eye compared to the rest of the kit. It’s just a hole and it’s possible to see the rear of the plane from it. With polystyrene sheets I constructed the missing parts of the construction. As no references exist of this, it’s pure fantasy. I added some wiring to the side walls as well.
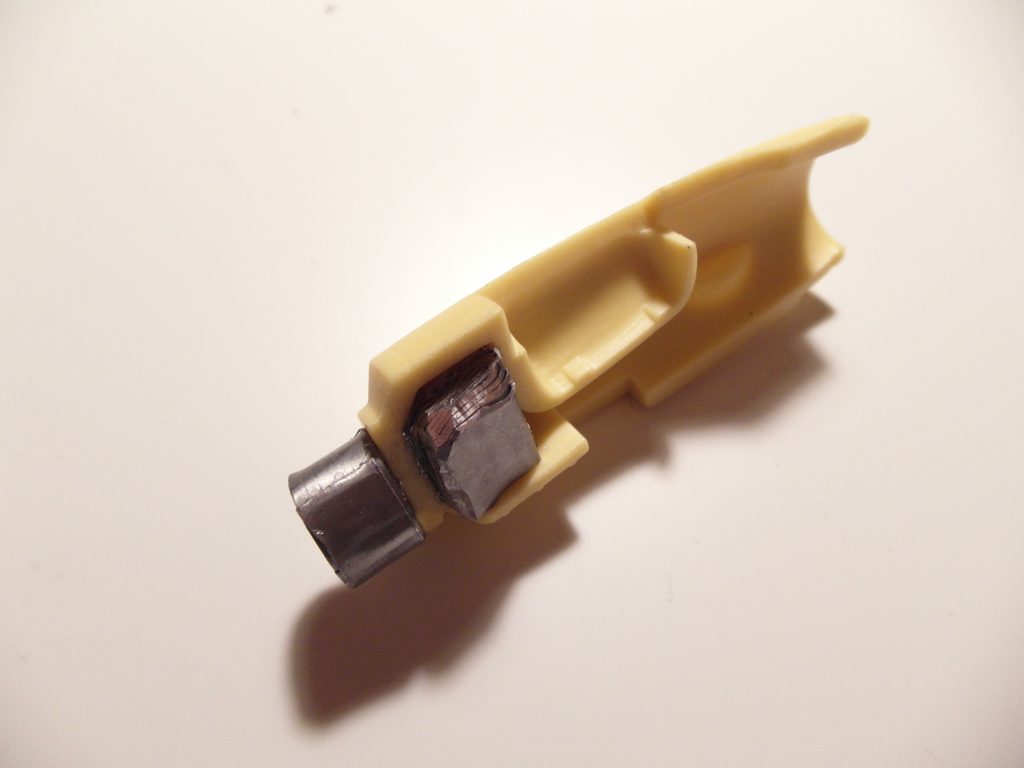
To prevent the aircraft from being a tail sitter some lead was added to the nose.
Fuselage
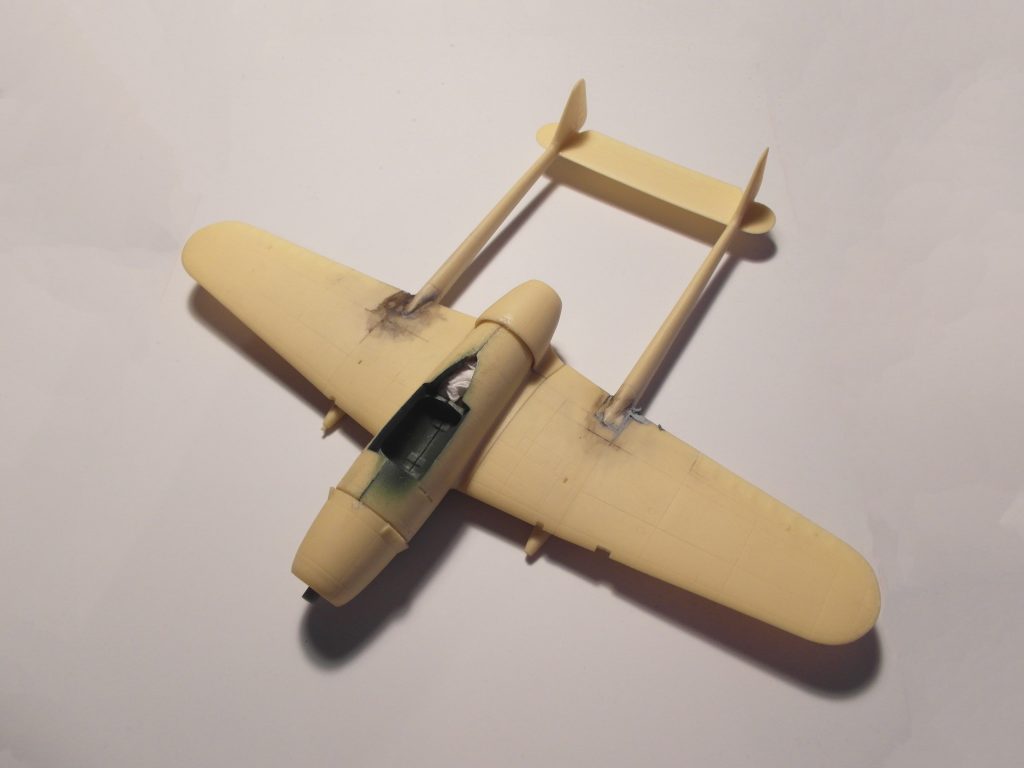
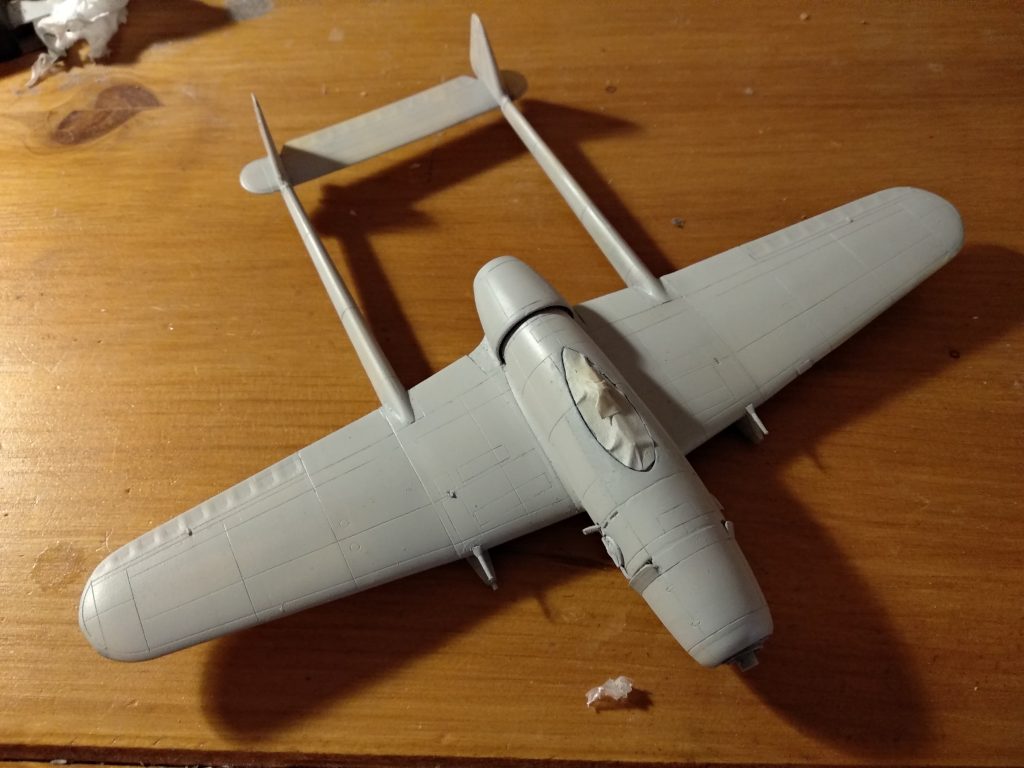
With the gondola glued shut, it was time to glue the rest of the resin fusulage together as well. The wings fit nicely too the wing roots and the nacelles have no problem as well. However the tail beams have some fitting issues and require some attention. Also note the piece of paper in the rear fusulage. This is to keep the axle of the rear prop in place. The additional 3D air intakes were also placed, together with the cockpit.
Canopy
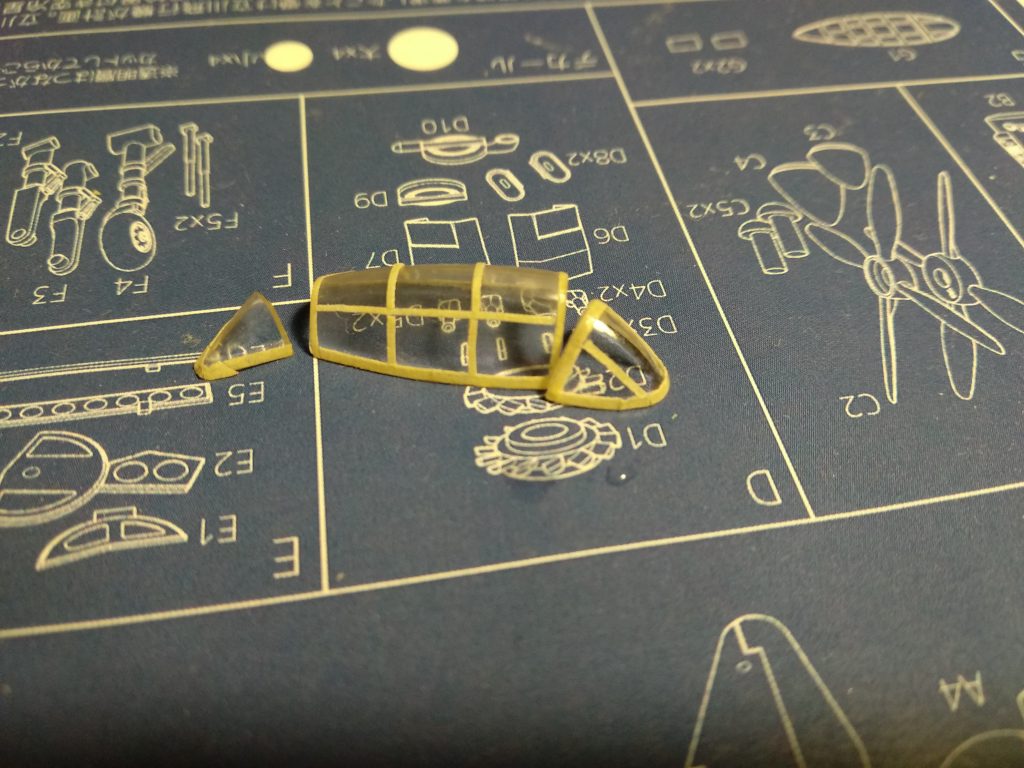
The canopy is vacuformed, based on a 3D printed master. This results in a canopy that’s quite foggy. The picture doesn’t really show it but it’s almost impossible to see anything trough the glass. I sanded the outside down and polished it back up. This revealed some ugly lining on the inside, which I also removed. The new framing was created with some masking tape. After this I created a resin copy of the canopy.
Camouflage
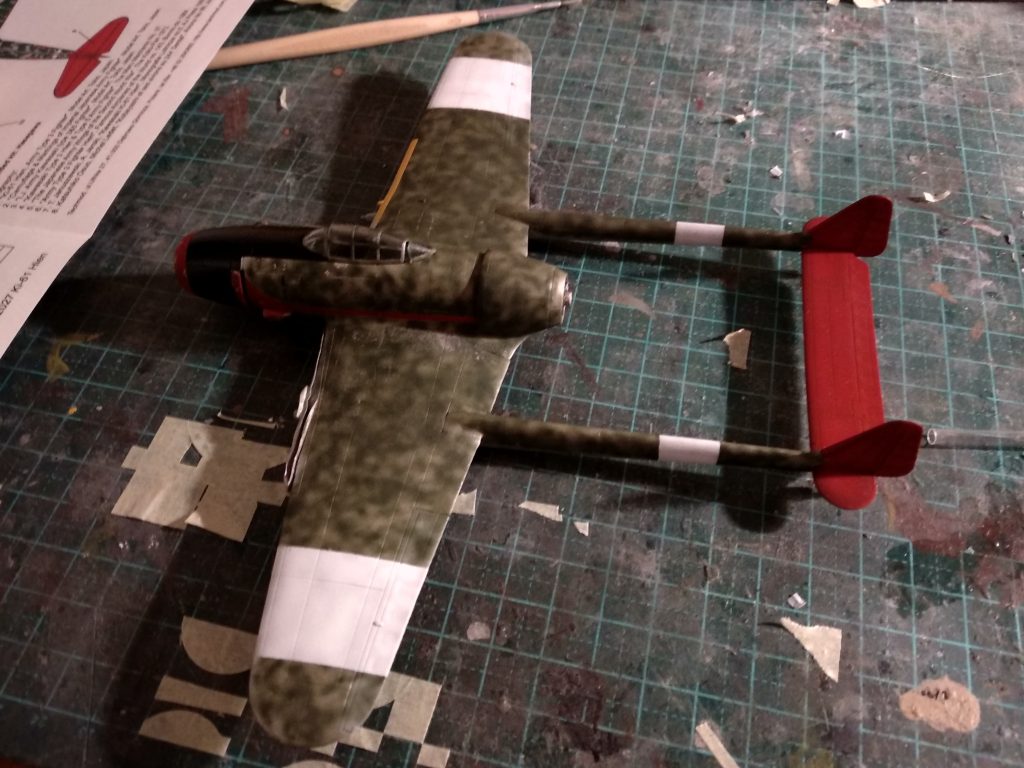
As this plane never flew, It’s possible to take some liberty with the paint job. There were three options I considered.
First one being a Manchuoko air force camo. There is however the Mansyū Ki-98, which has a similar layout, which would fit such a scheme a lot better. If I can get my hands on the Meng kit that is. Then there is the prototype camouflage option. Green upper side and yellow underside. Last there is the what-if style camouflage. Paint it in a style that is plausible if it would be pressed into service.
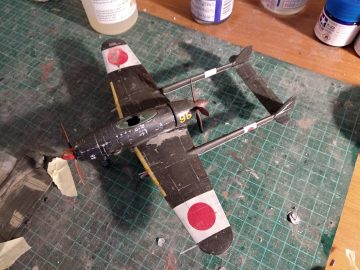
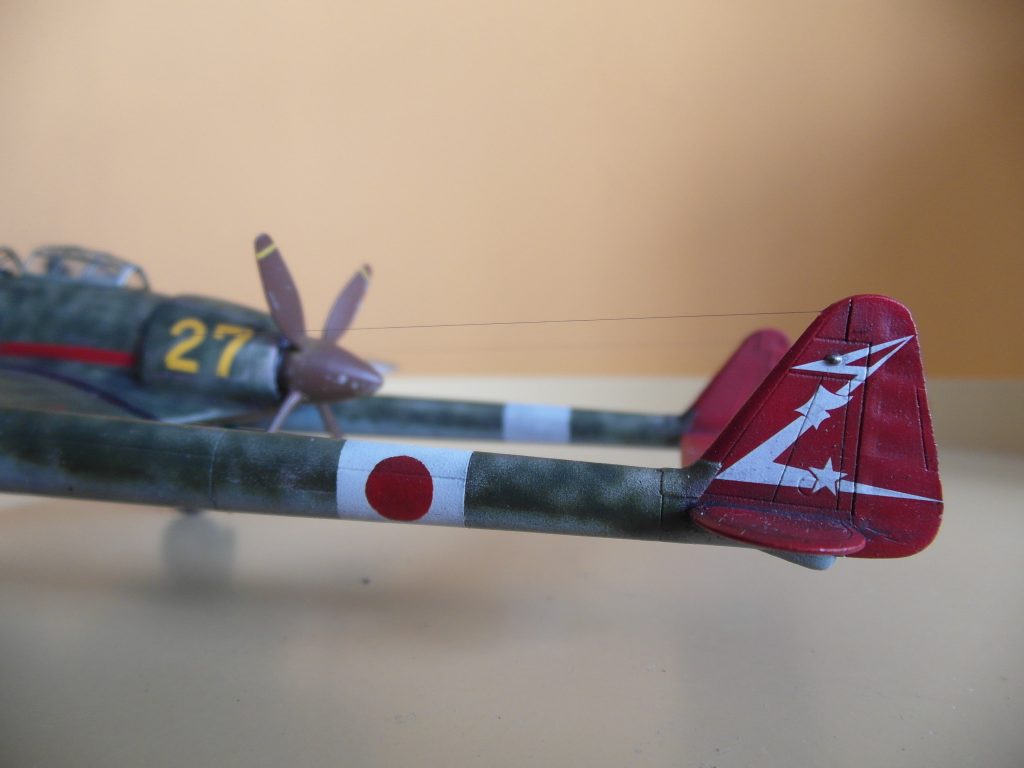
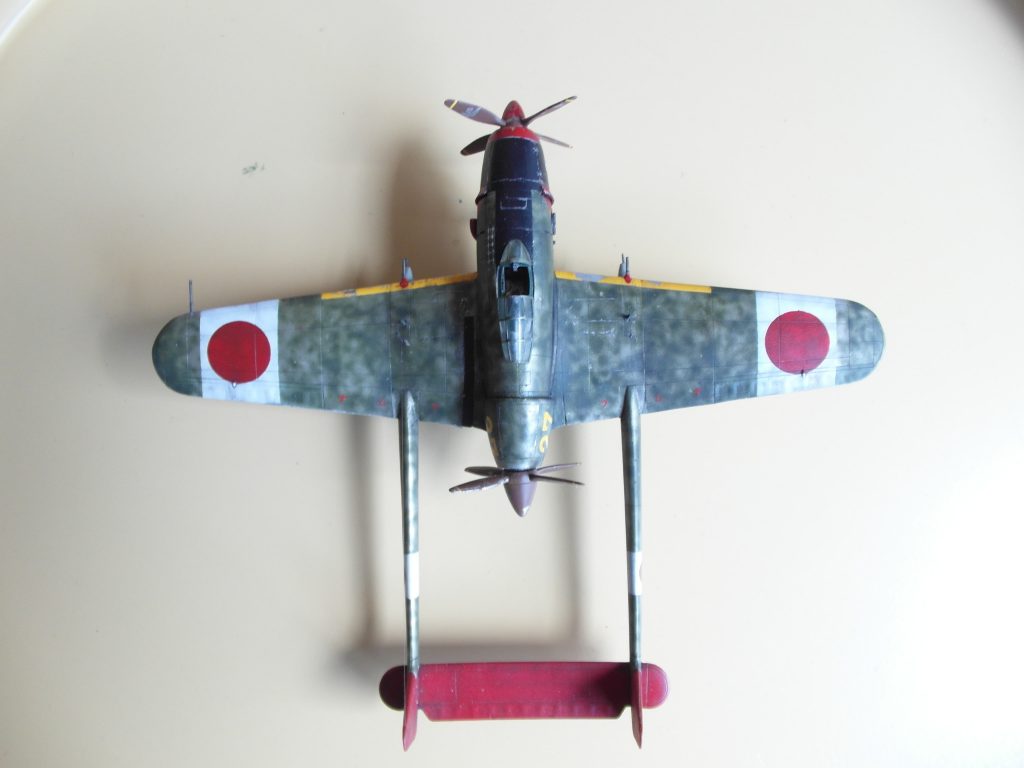
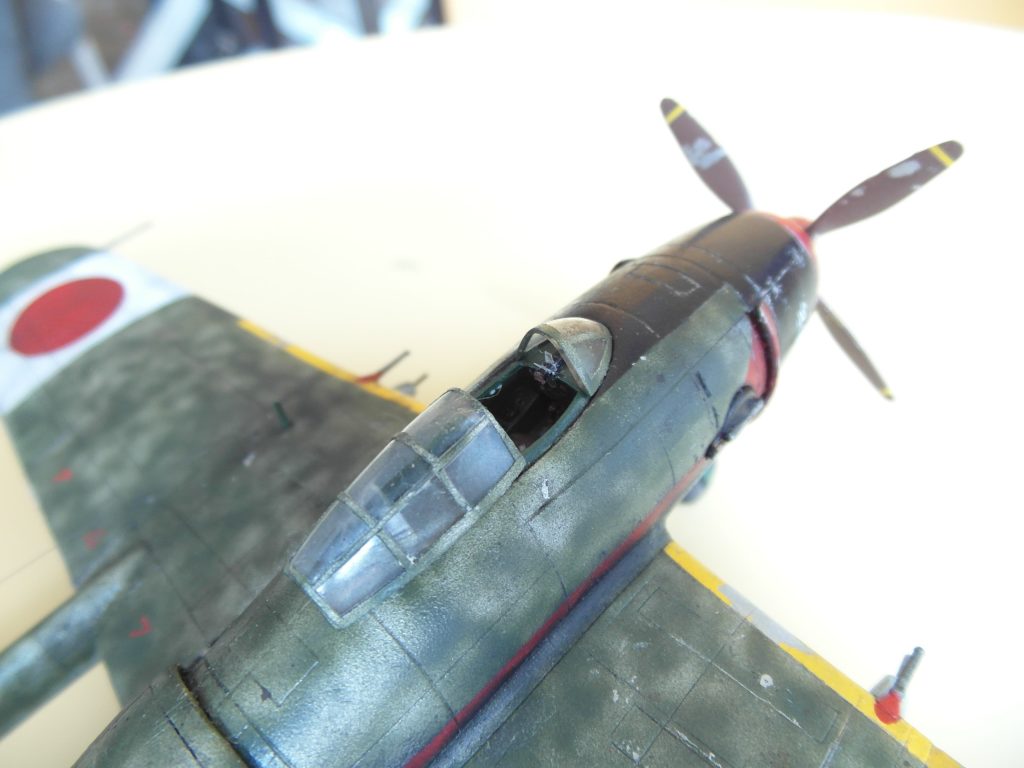
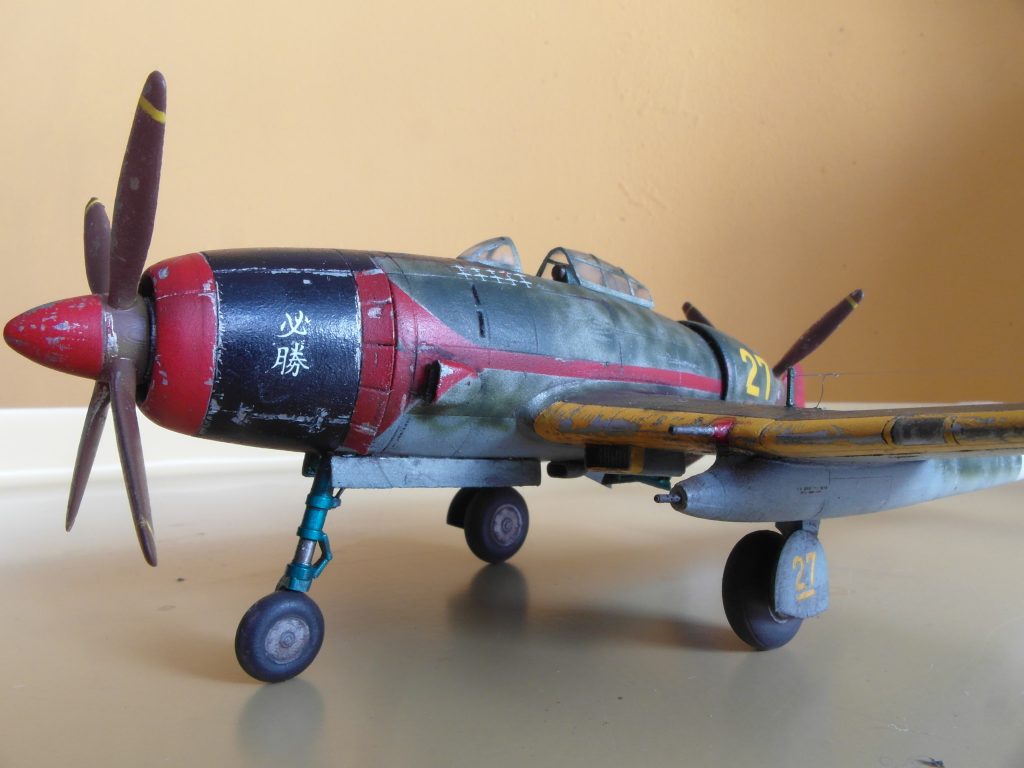
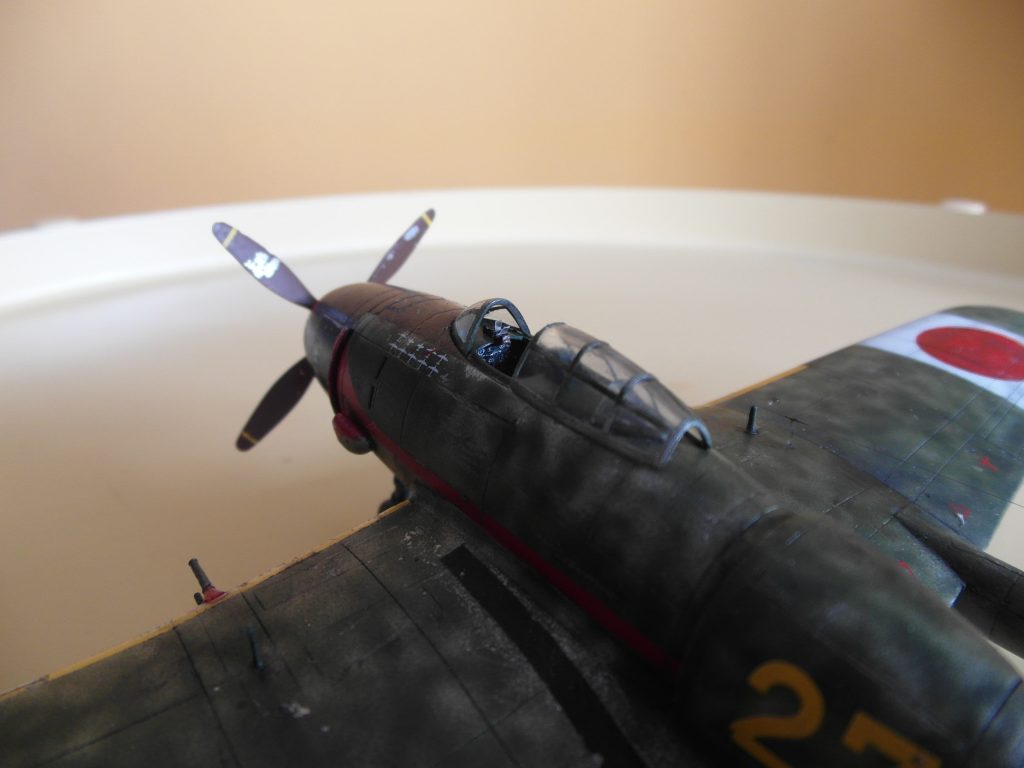
I actually painted two variants, both of the 244 Sentai. The first variant was a XF-13 J.A Green upper side and XF-12 J.N. Grey. It hover came out rather dark, so when I butchered the paint job when weathering, I stripped it clean and started from scratch.
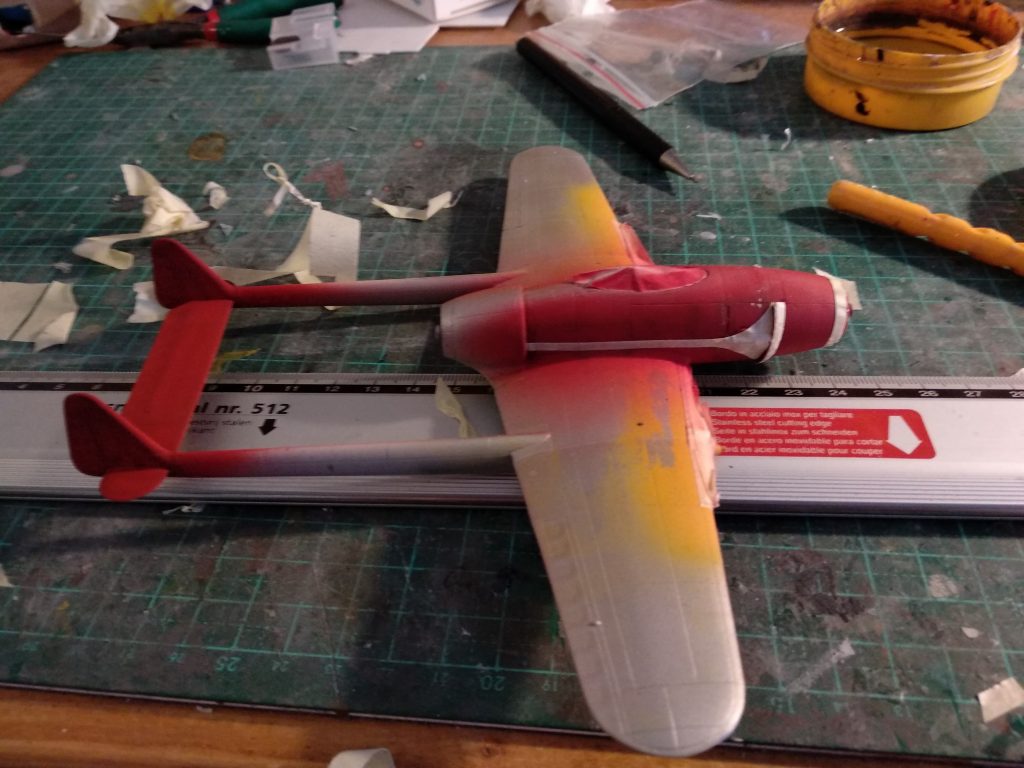
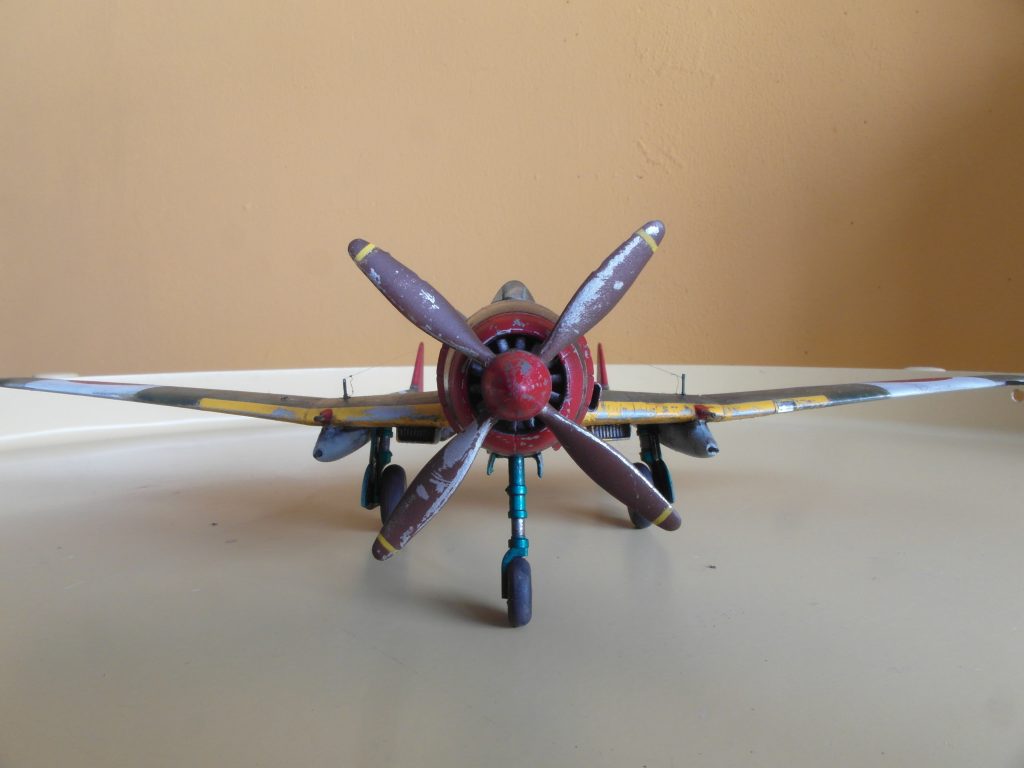
For the 2nd paint job, I kept the camouflage and decals about same, however the upper side is mottled over an aluminium base. I also painted the tail section red and added a red stripe to the side, closer matching the Ki-61’s the 244 Sentai actually flew. Because the decals were rather lacking, I ordered a set for the Ki-61 from Techmod, which incidentally fit this kit nicely as well. The numbering is from some old sheets I had laying around.
