Background
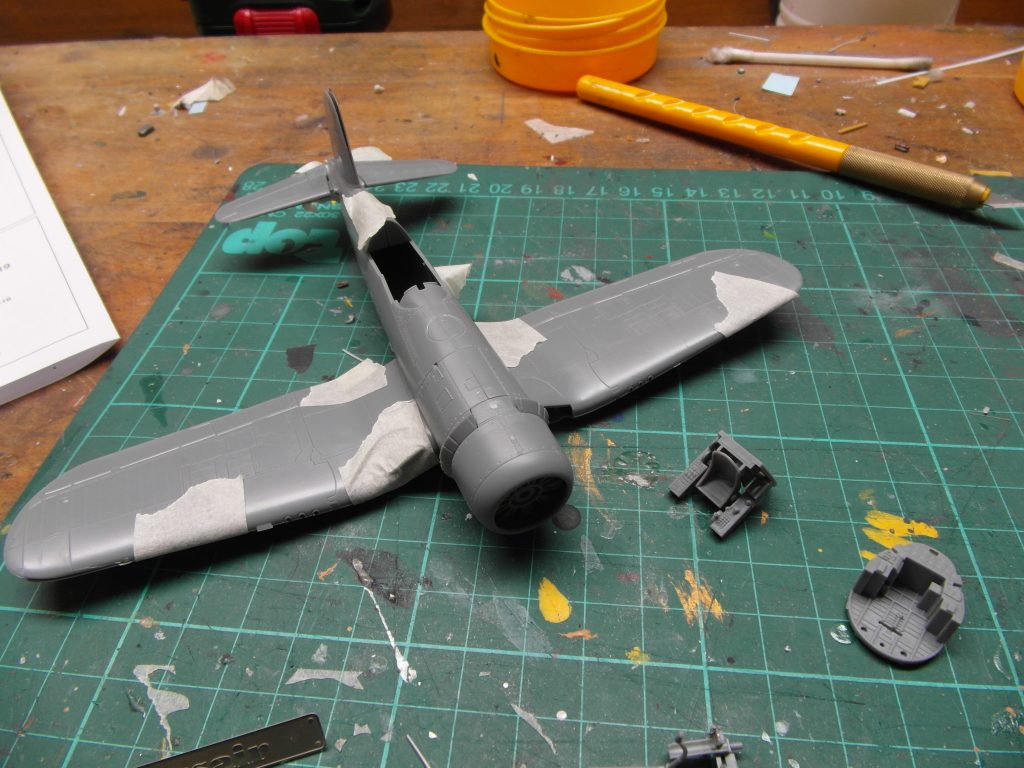
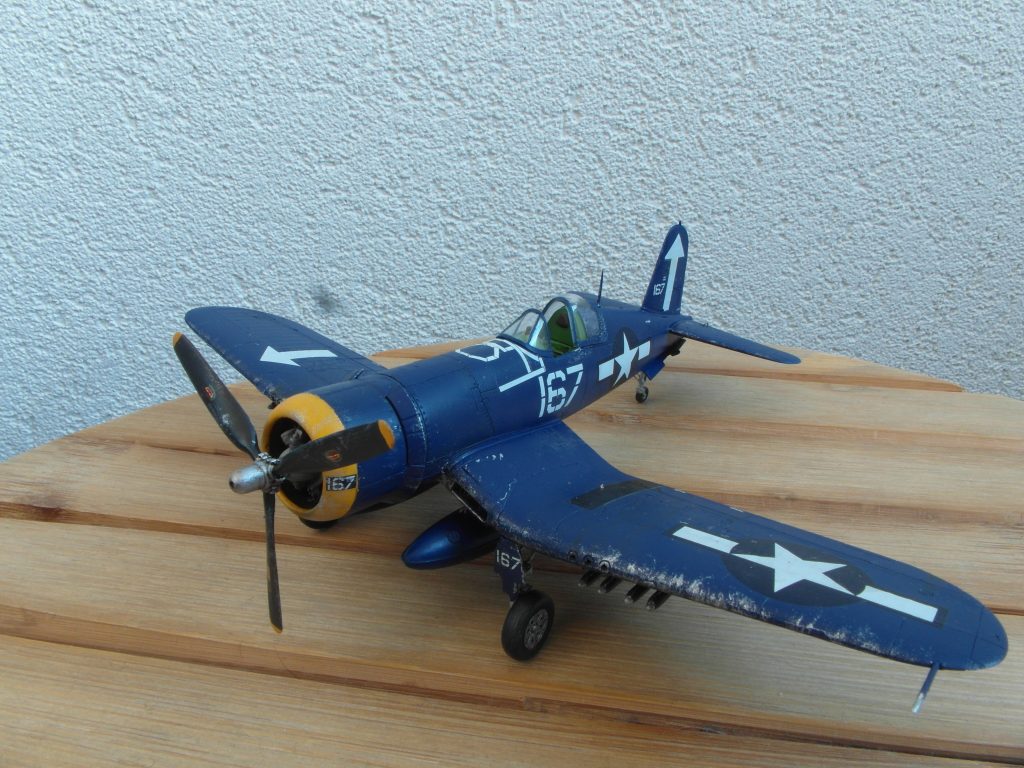
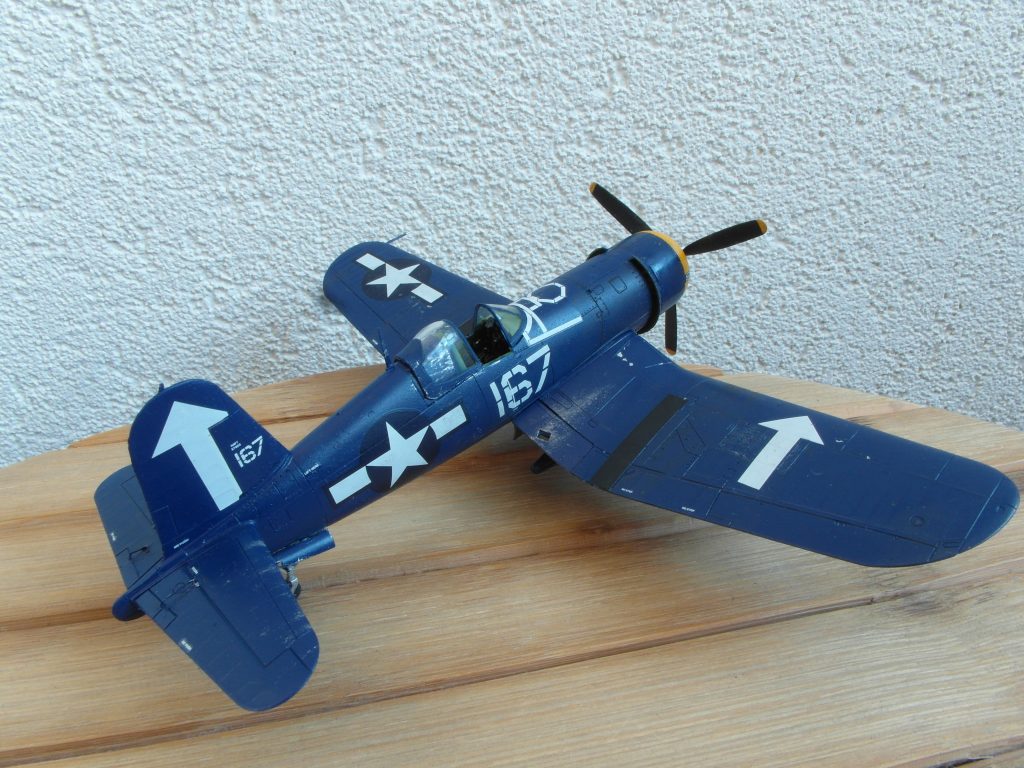
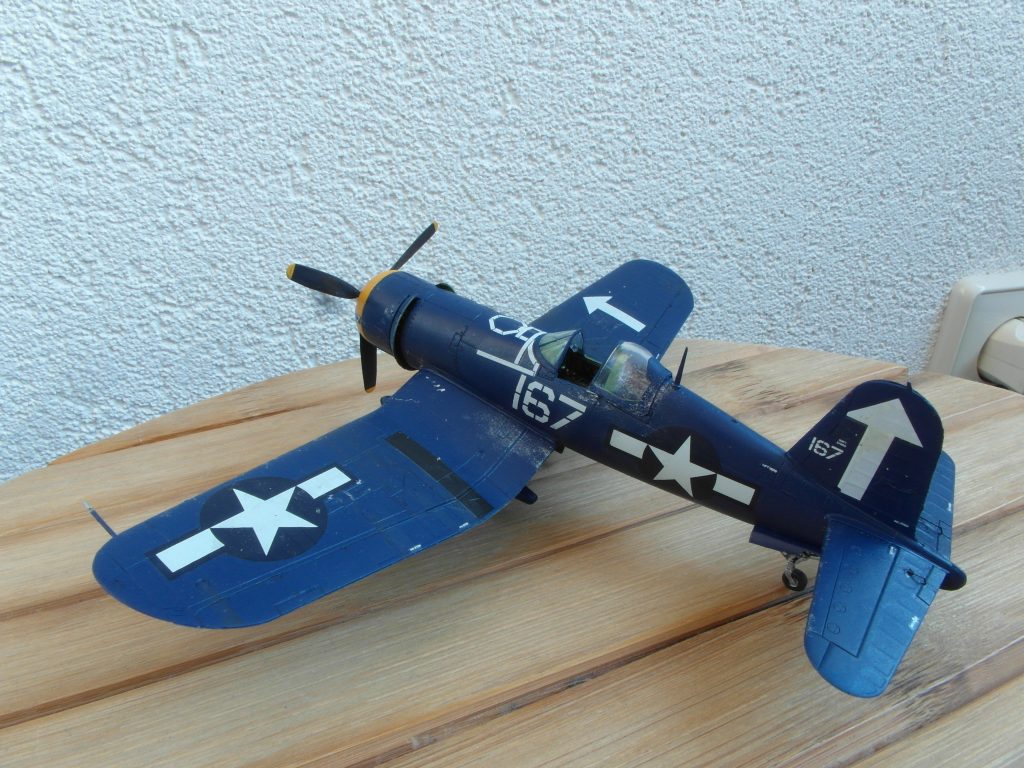
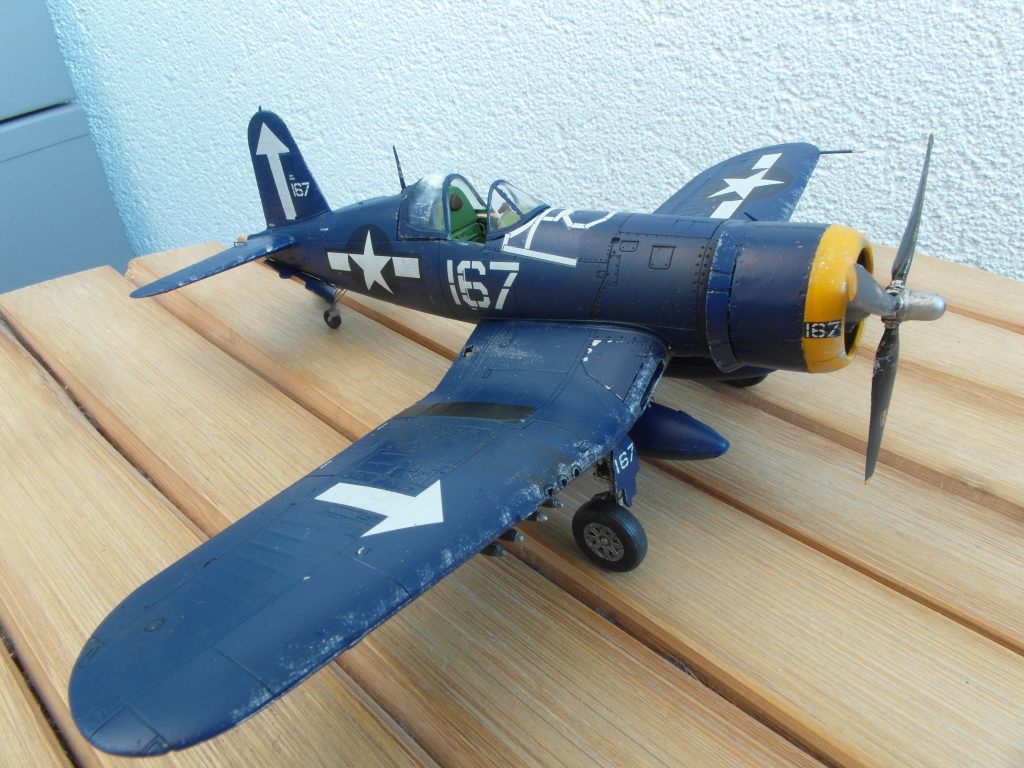
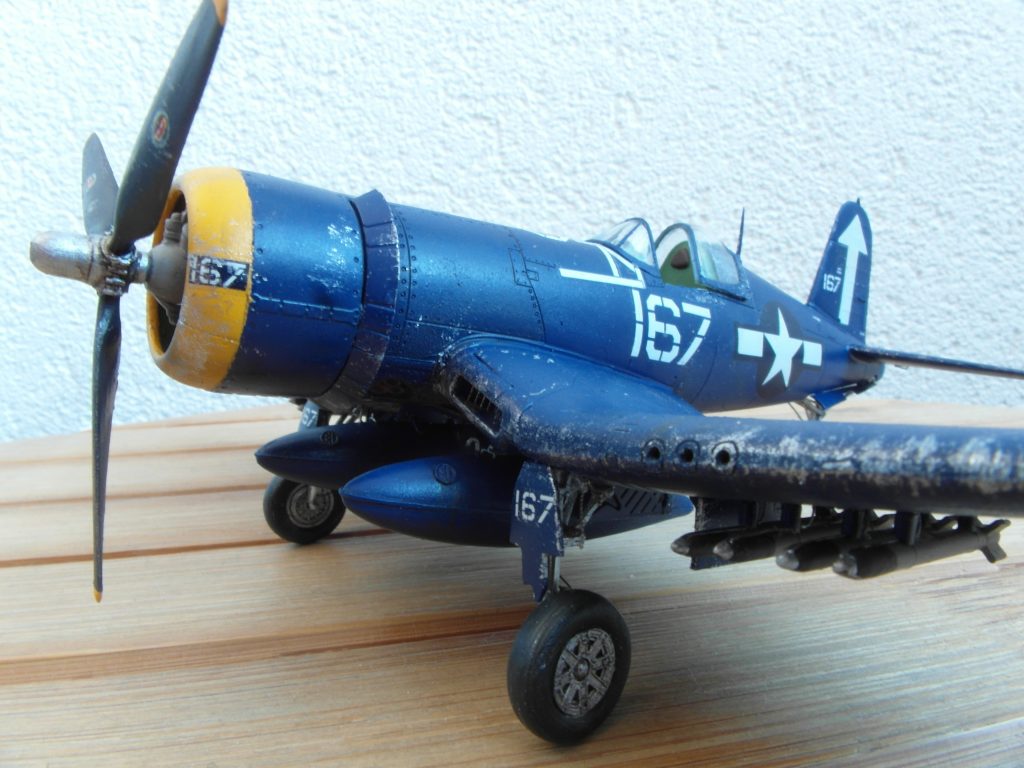
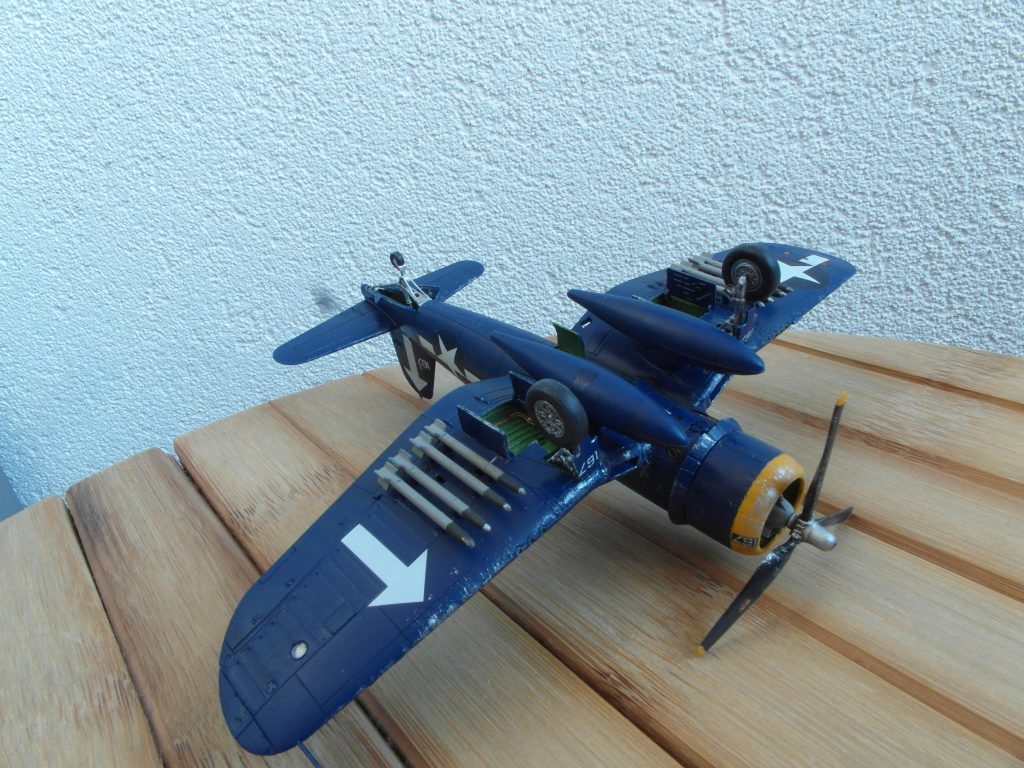
The Corsair was one of the first kits I ever build. That was an old tool Revell kit from what propably were the ’70 with matching quality. It was bad, but so was I so out came a crappy build crappy kit of one of the better looking planes of WWII. It was out of the box, unpainted, no sanding, filling whatsoever, but it had decals. Later when i got a bit more into the hobby, I somehow got my hands on the same kit again. So i build it again and threw the old one off the roof to see how well model kits fly. Hint, they don’t.
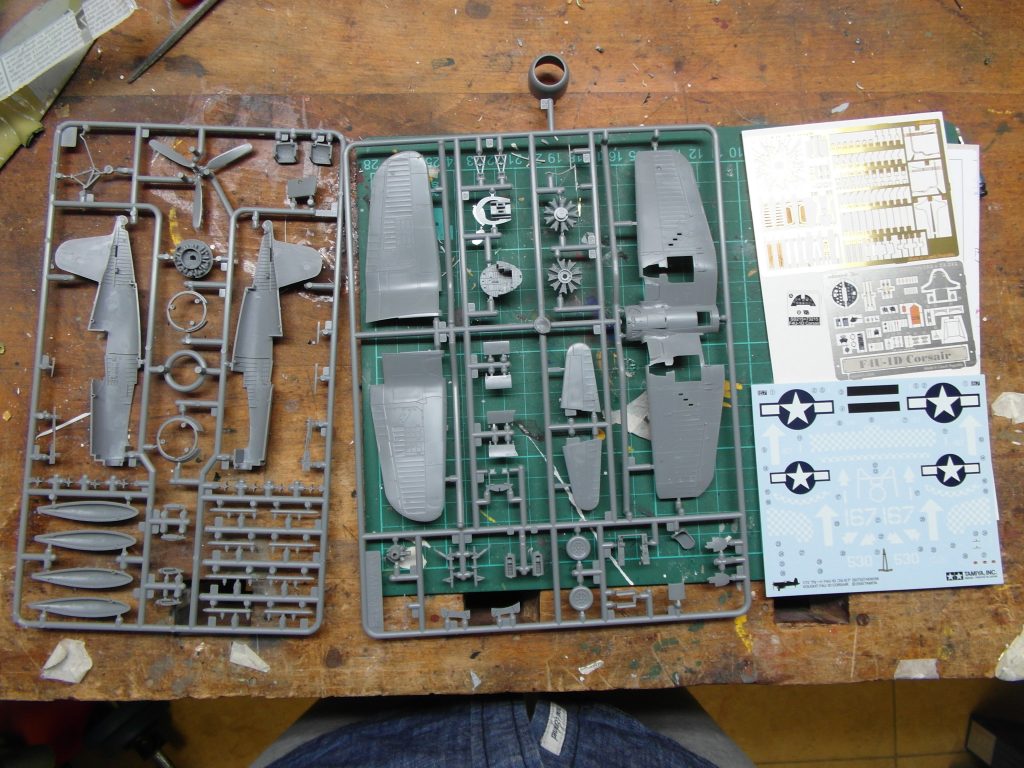
So this airplane also became one of my first painted planes. Because i started replacing old kits recently and this being one of my worst aircraft in my collection, i bought a new kit, this time a quality Tamiya kit with Eduard photo etched parts. Now it can be a centerpiece once again.
Prepping
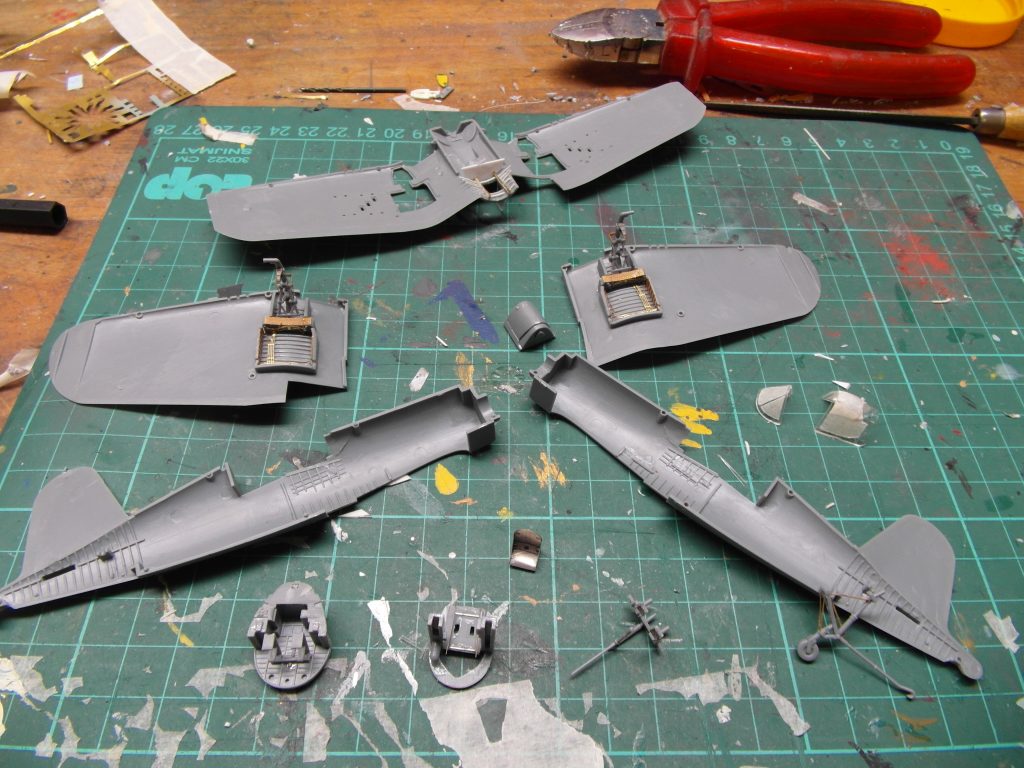
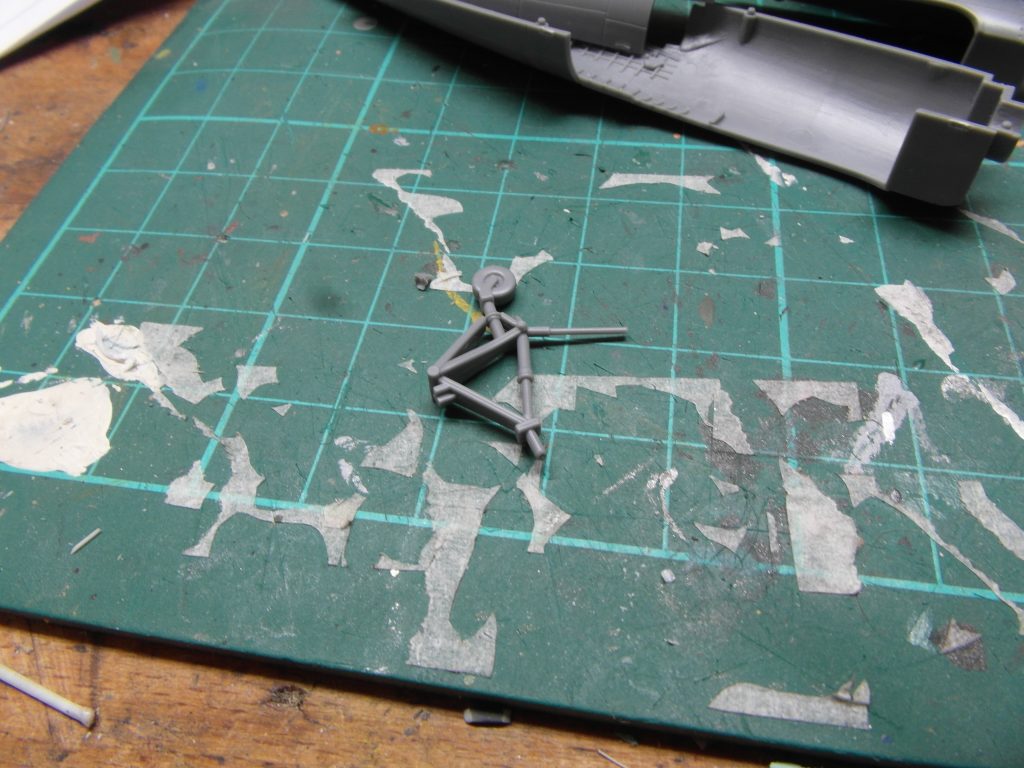
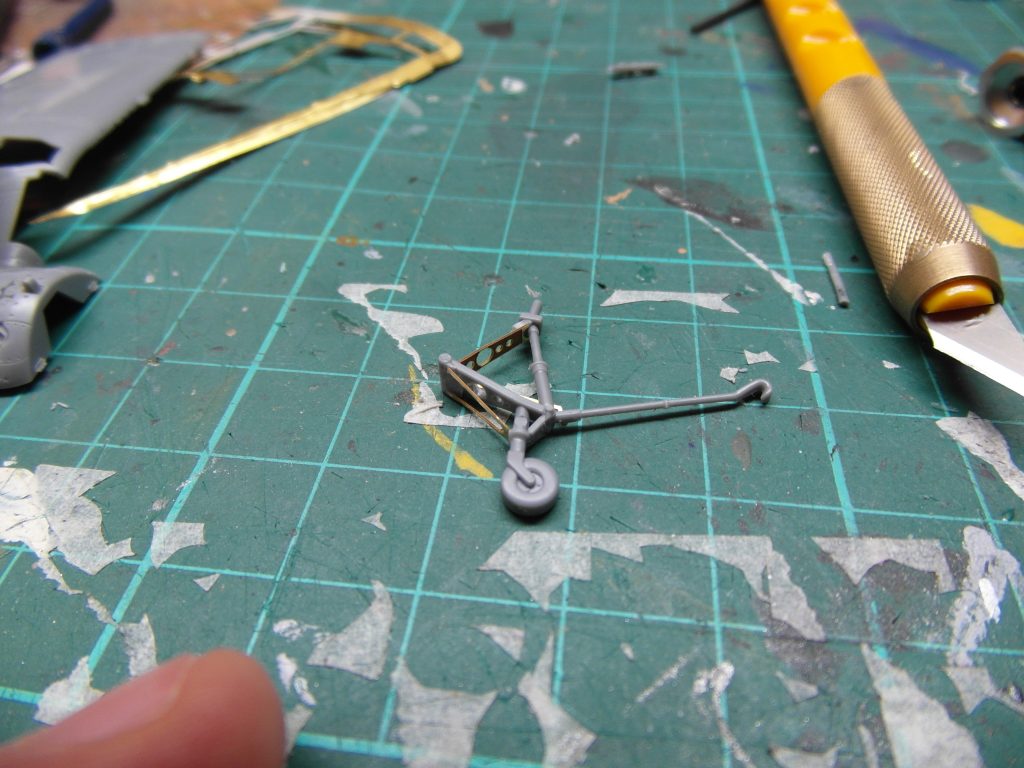
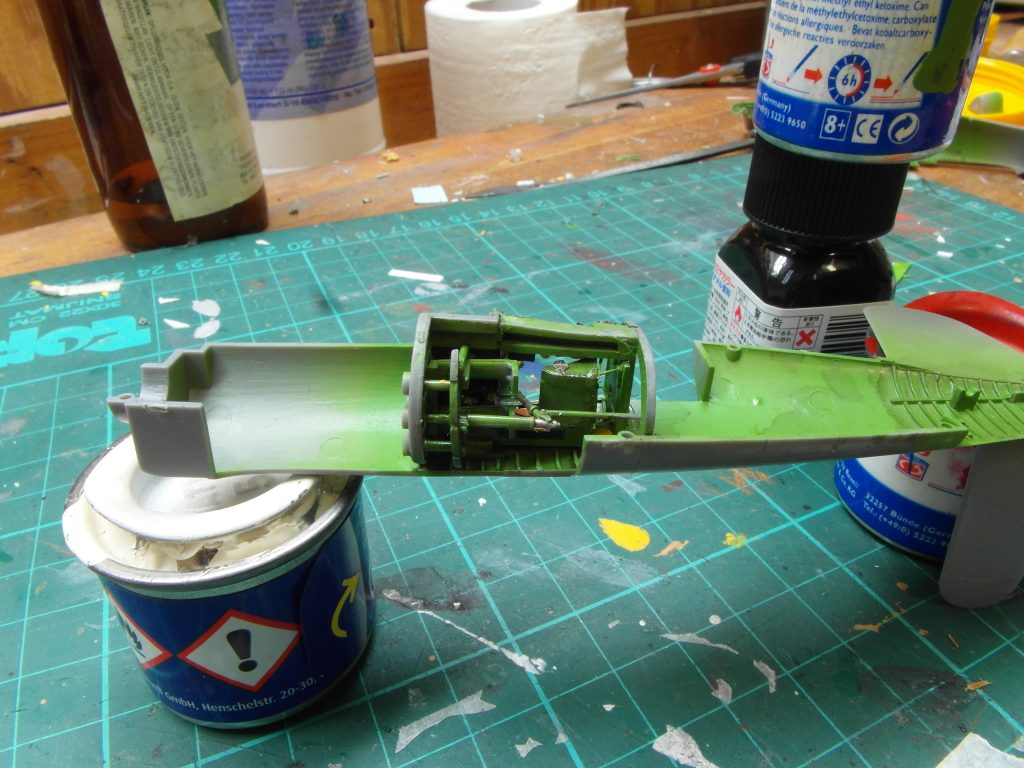
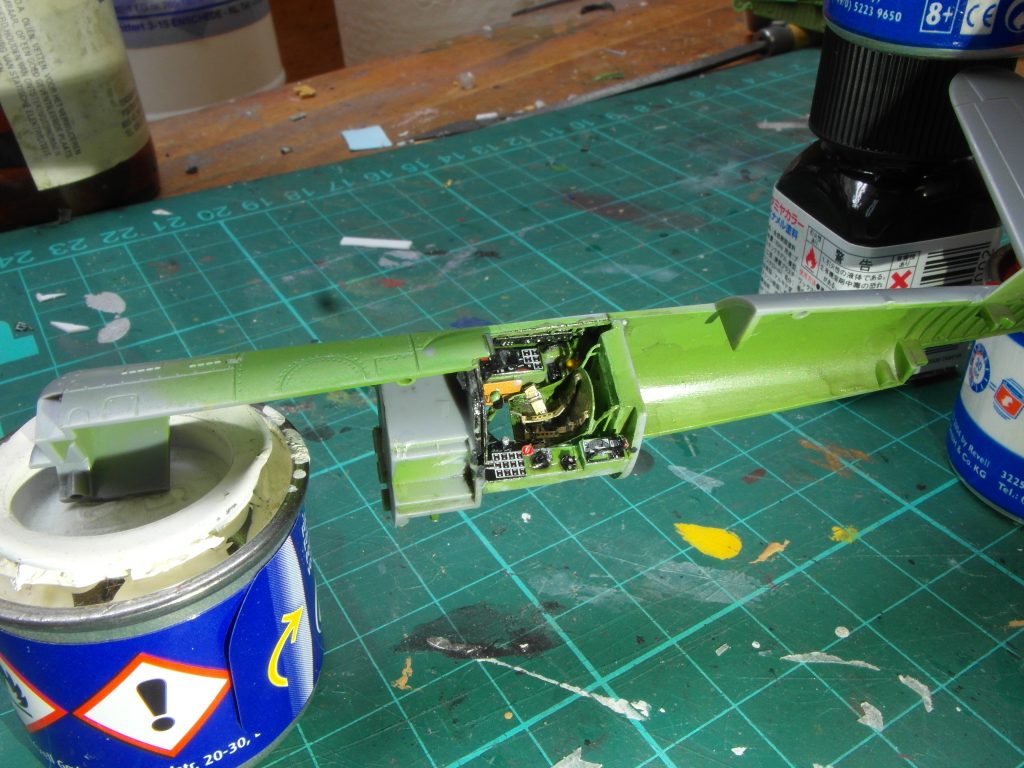
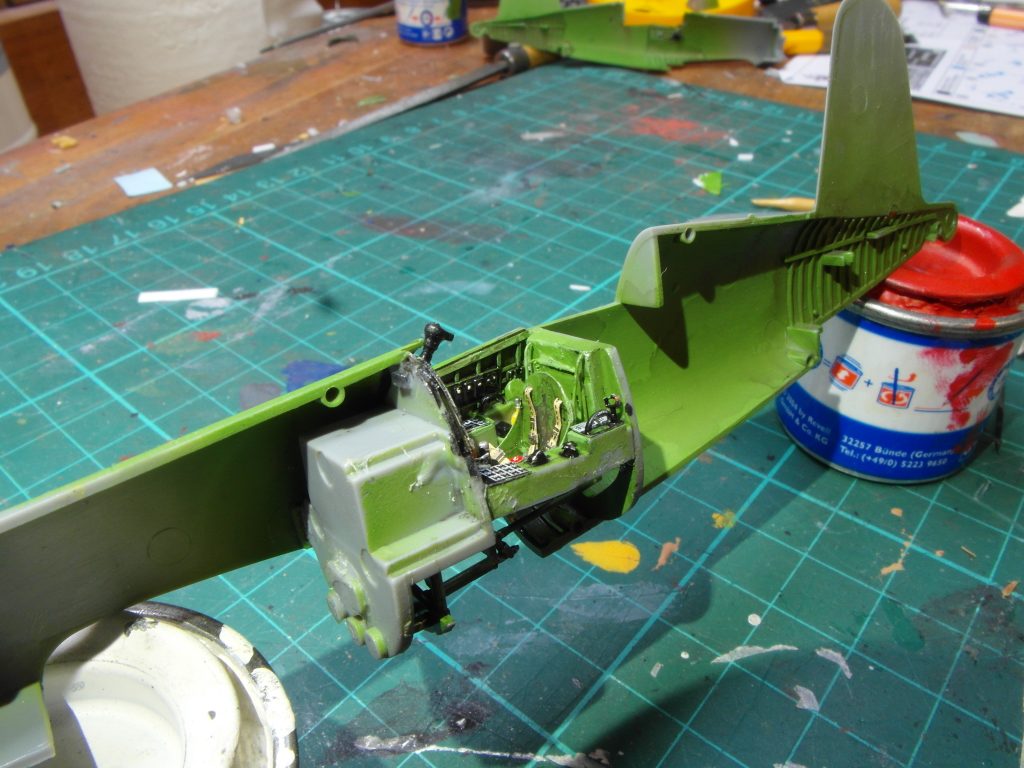
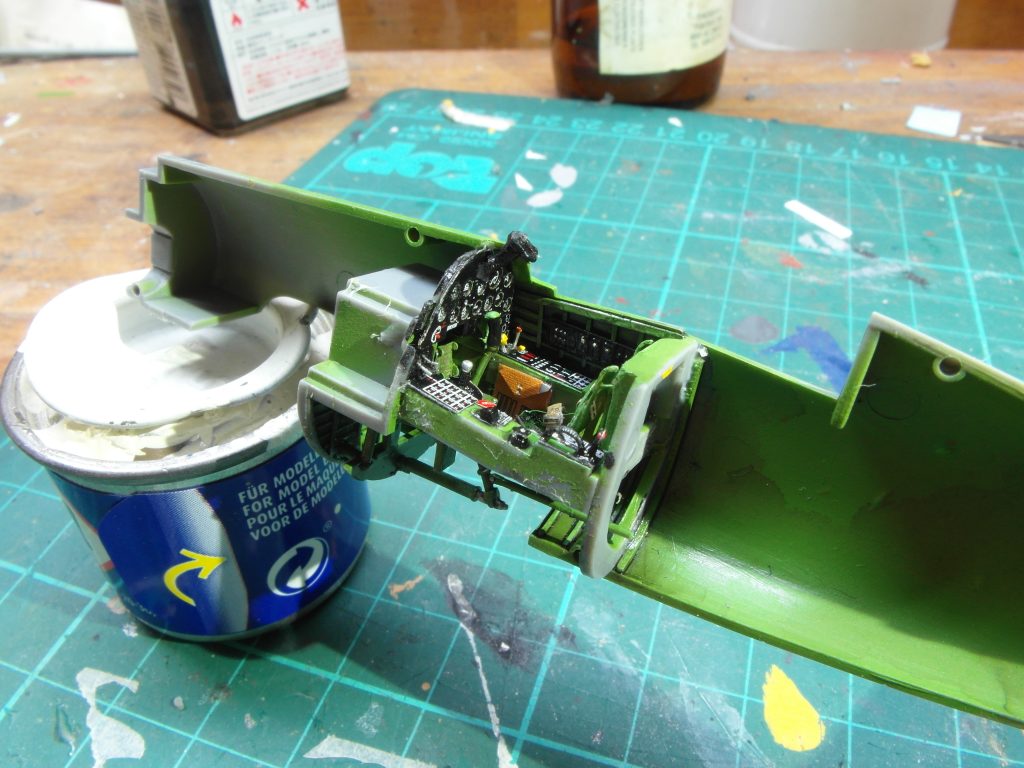
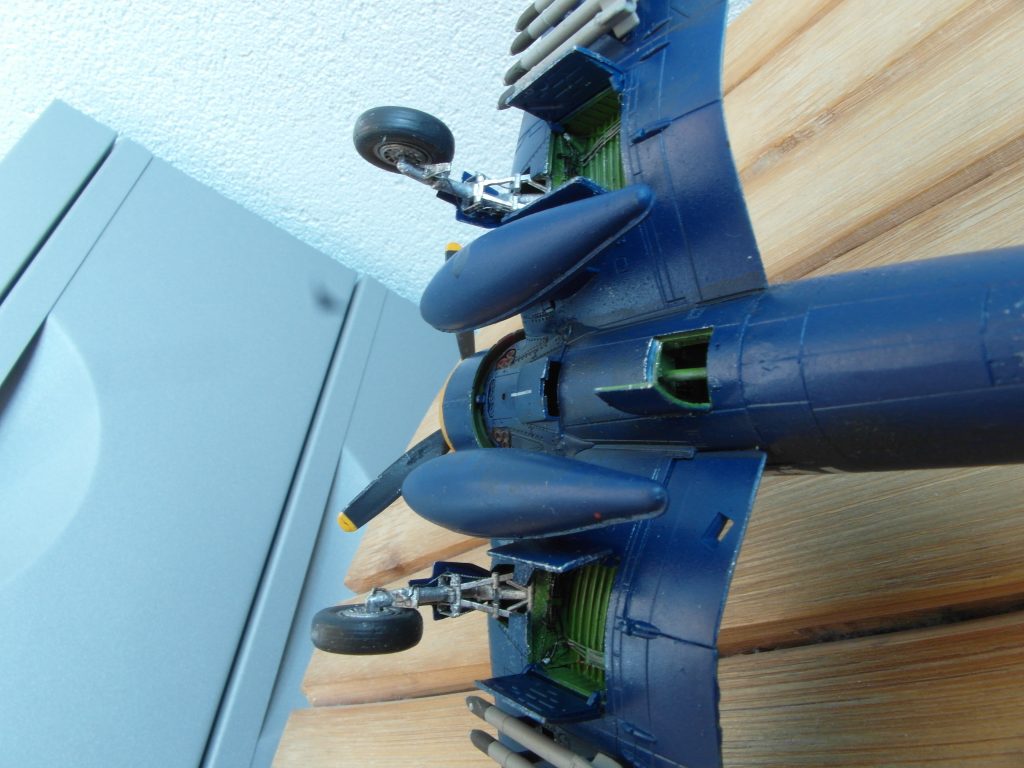
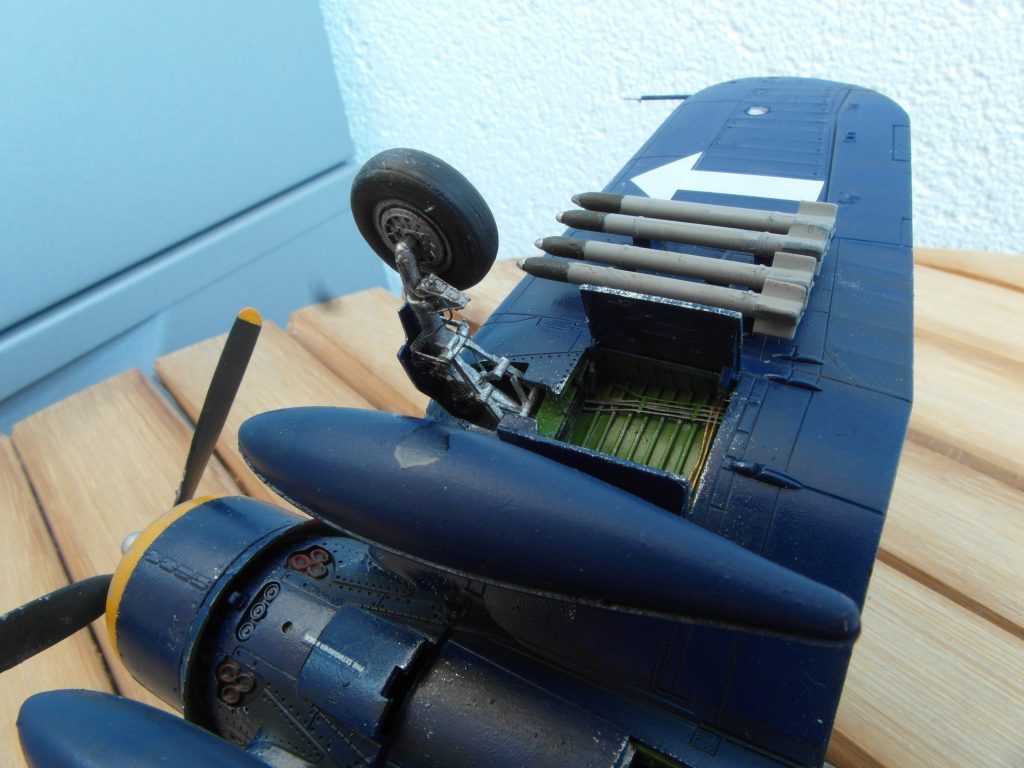
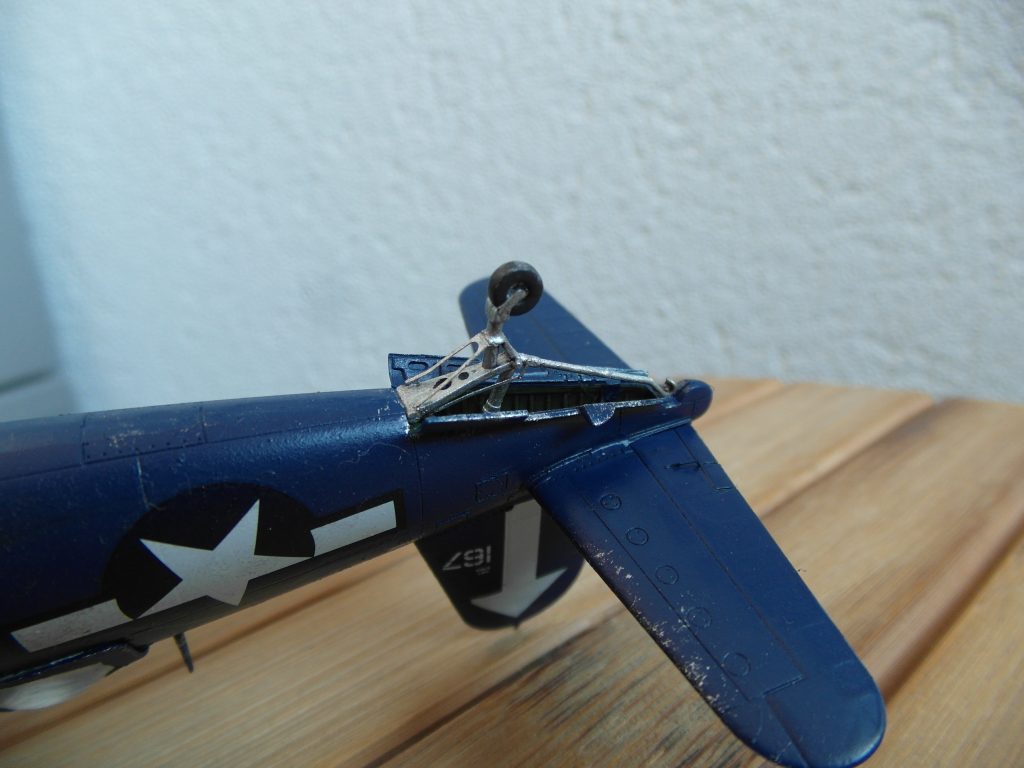
I started this model with pretty much going over the entire kit and doing things i could do without paining the model. Mostly gluing PE parts onto the kit, and scratch building the inside. Here I also noted that the model has the “option” to make a glass window in the floor. It isn’t described in the manual, but there is a hole in the floor, and a clear piece that is marked as unneeded. This vertical window was present in very early models of the F4Ua, but was later scrapped, and removed from existing planes. A maintenance hatch was put in place. So an open hatch it is. I created the framework around the hatch, and moved on to painting. There are also three cables between the engine control unit and the instrument panel, so i placed 3 small plastic rods between those two.
Painting
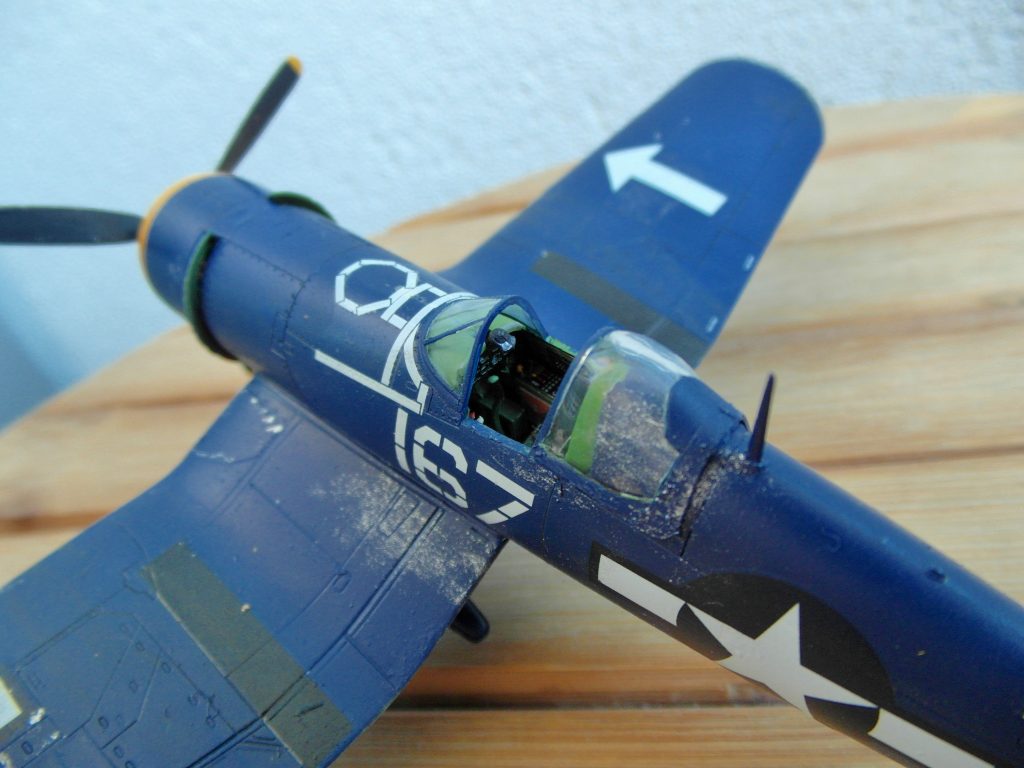
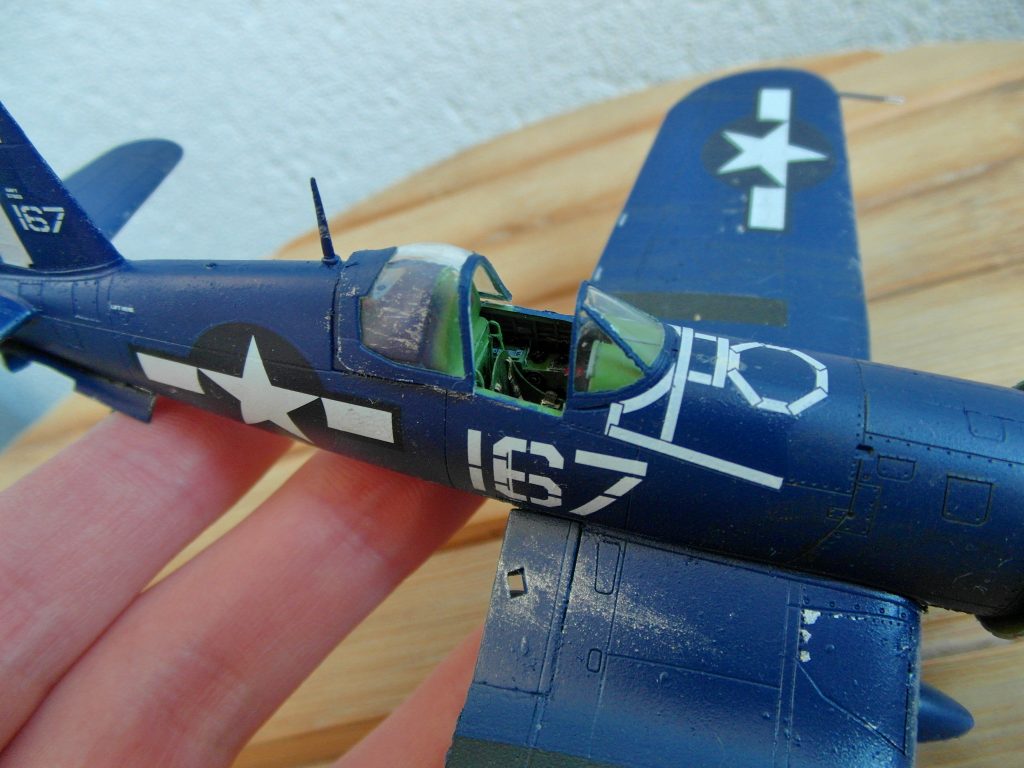
The planes cockpit is mostly painted in a light green tint, in my case Revell 360 enamel paint, and black instrument panels, Tamiya X-1. After that i placed the remaining pre-painted PE parts and (re)painted where necessary. After that some weathering, washing and highlighting. At the same time I painted the wheel wells in the same color.
Engine
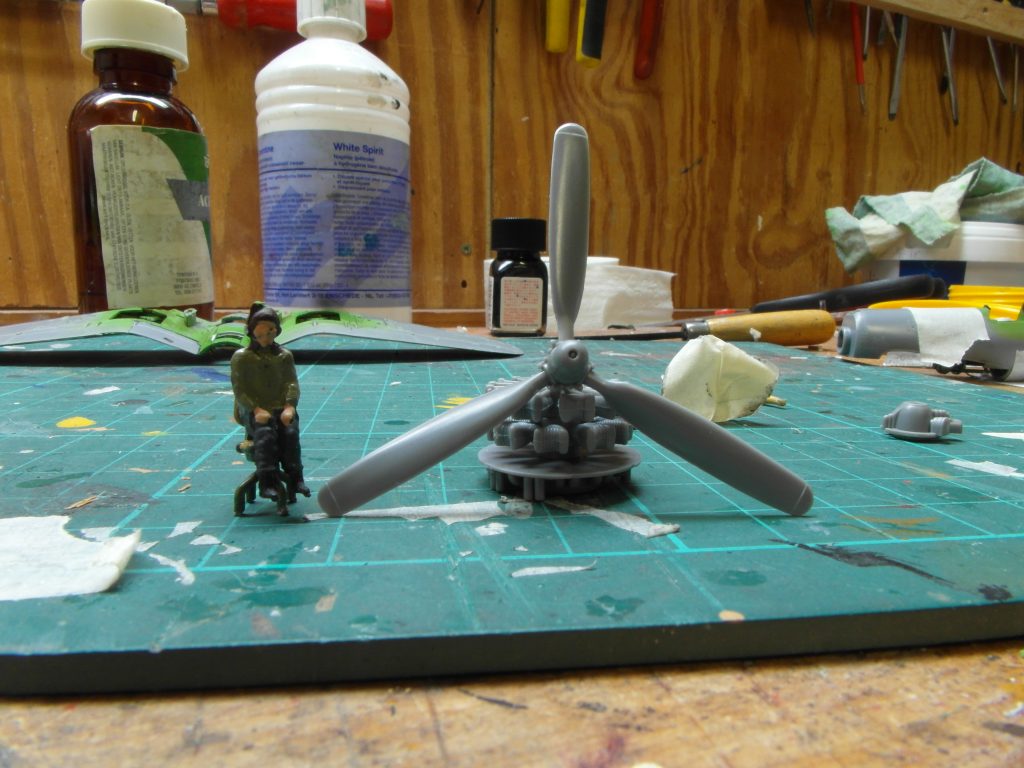
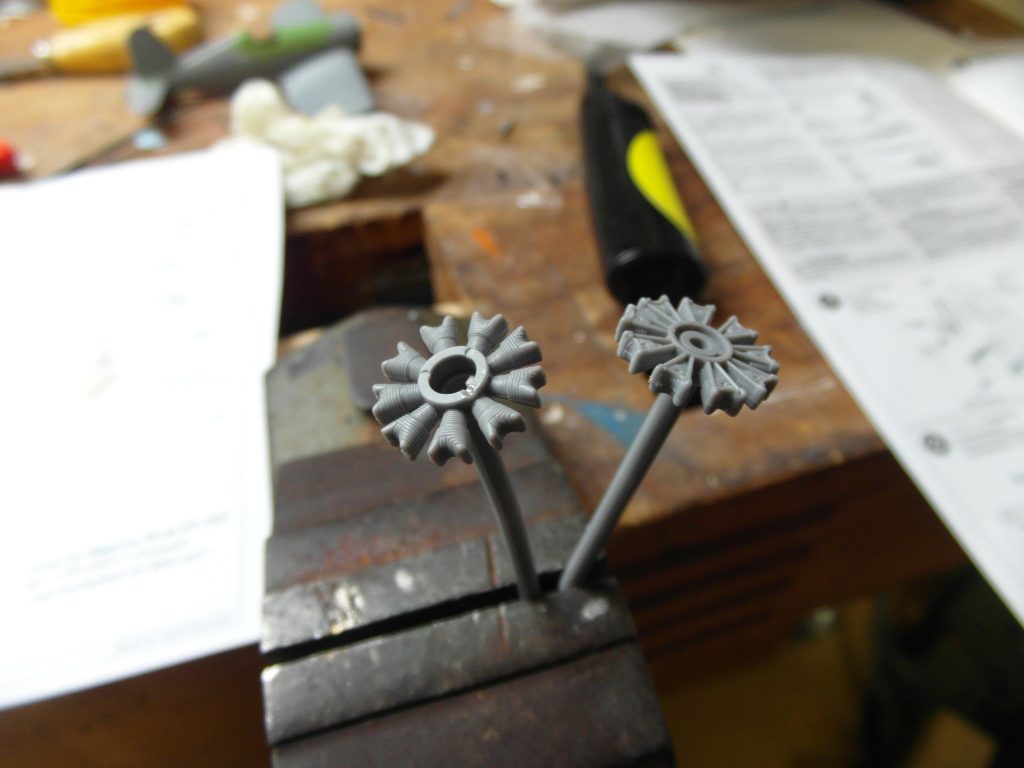
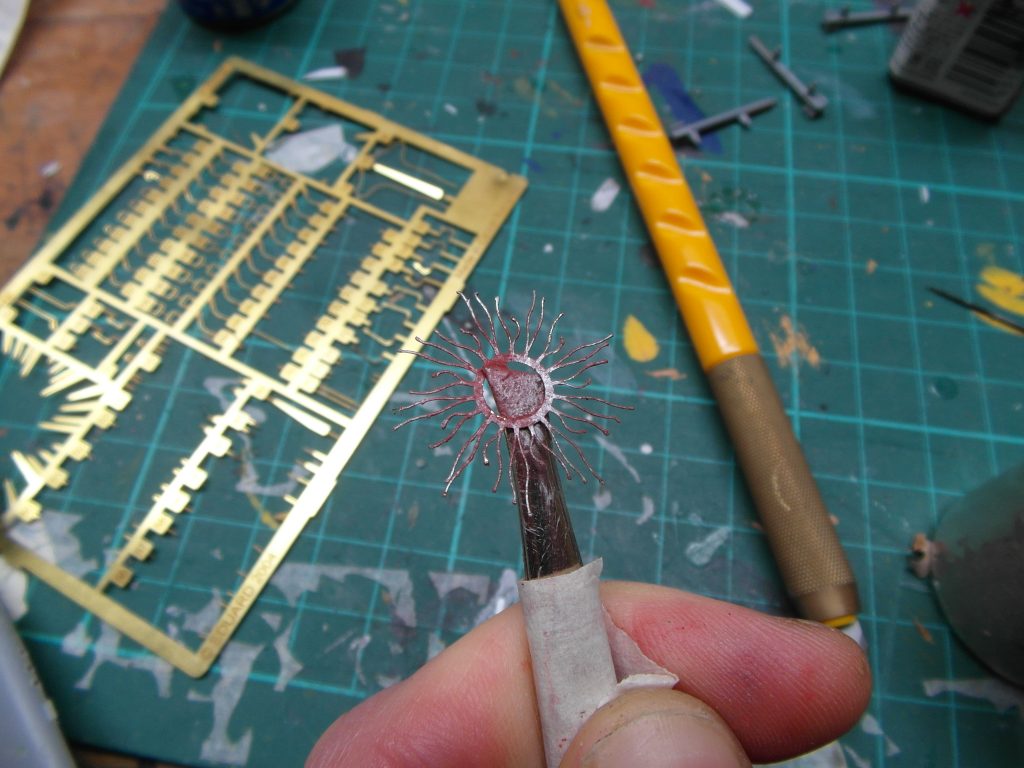
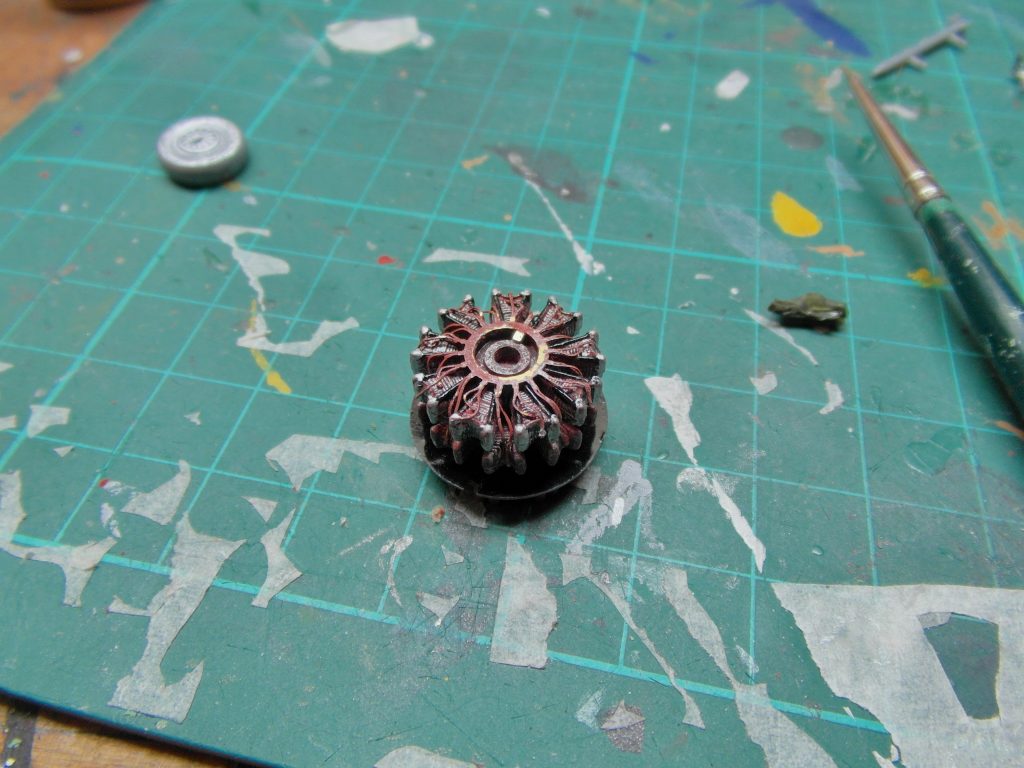
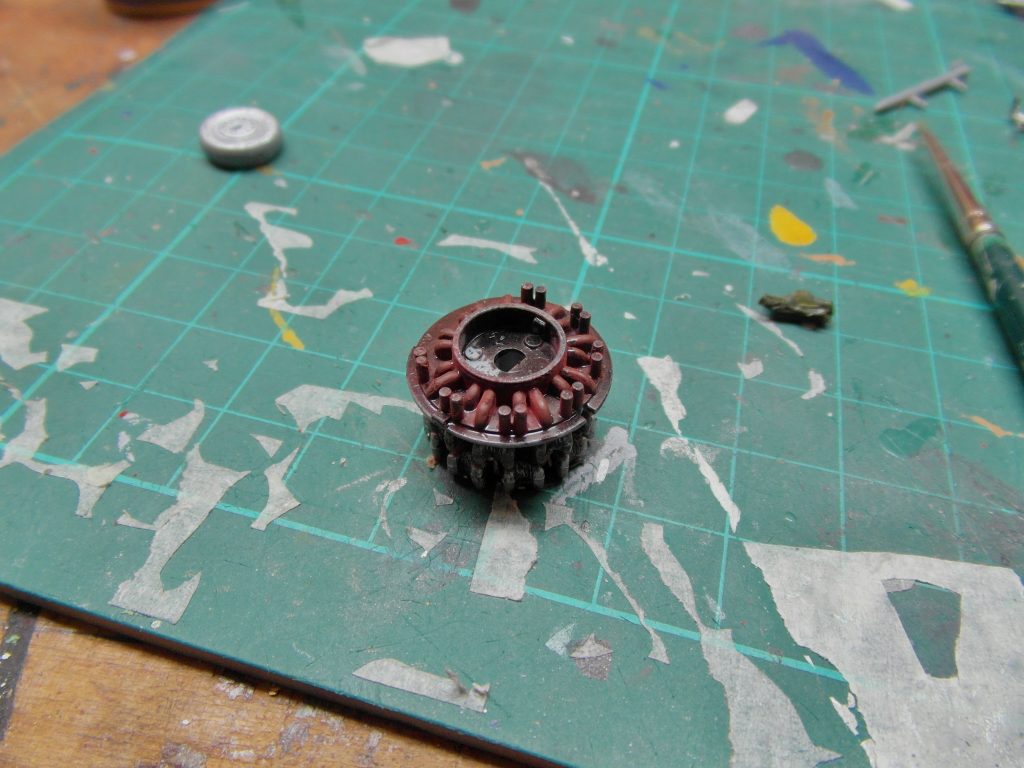
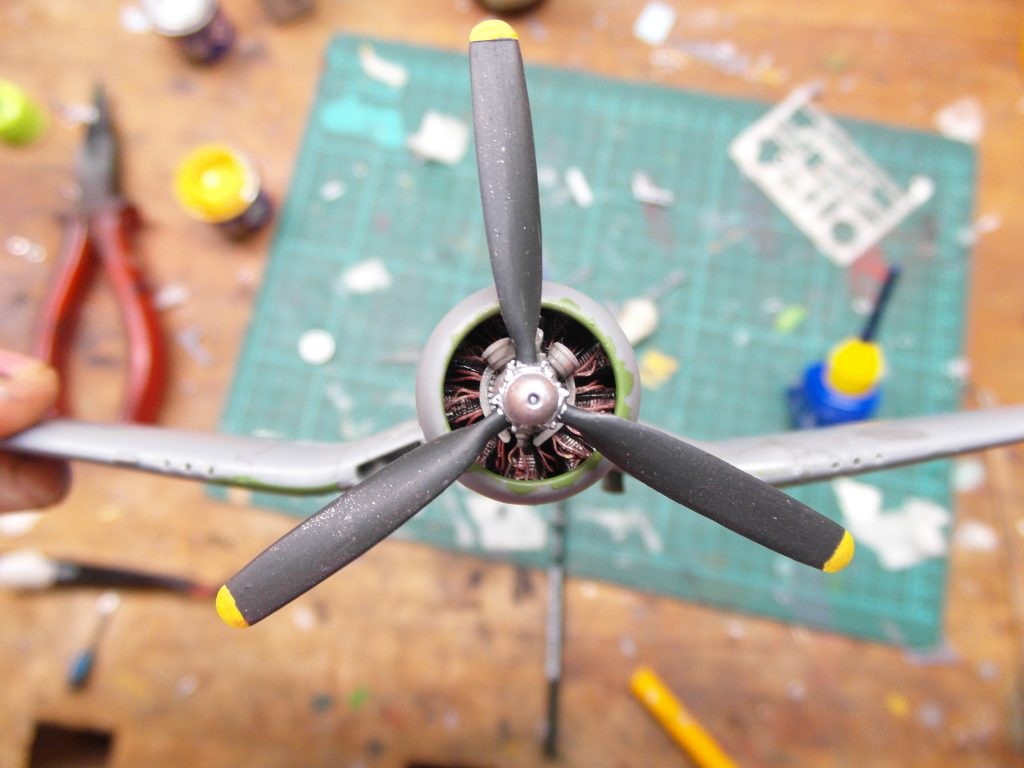
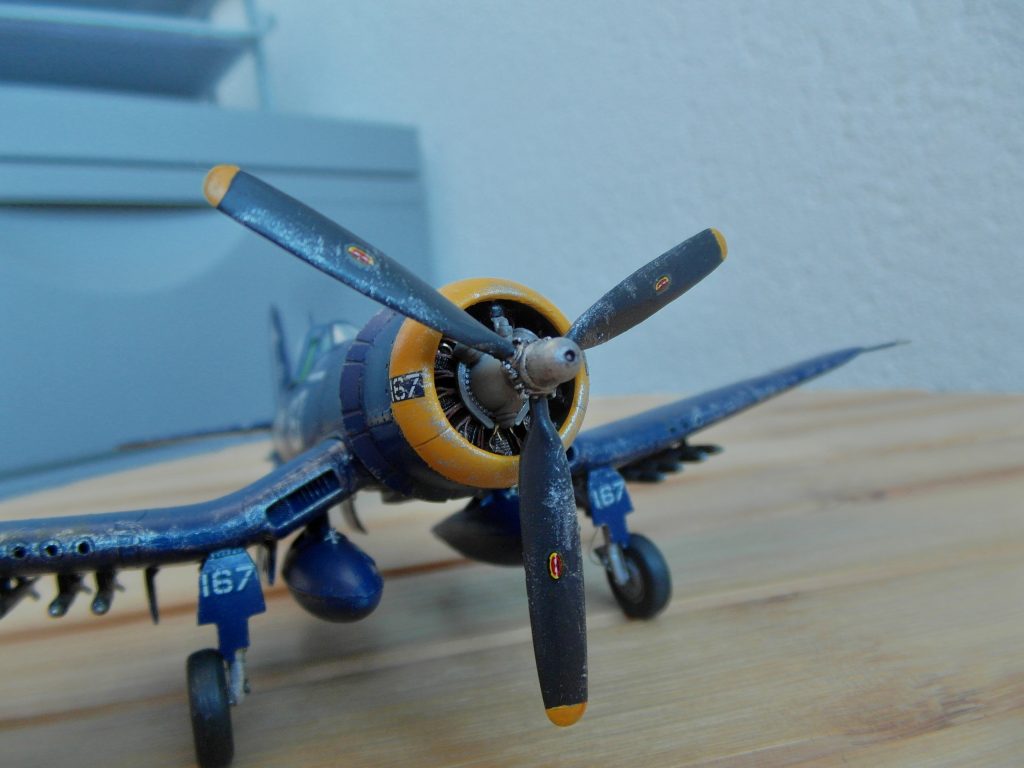
As the main body is glued together, i made the engine. A base coat of black, dry brushed with aluminium and then made the rods in front gloss black. The photo etched were painted aluminium, dry brushed with rust color and rust pigment.
it was surprisingly easy to attach because the engine cylinders contained a small hole where the tubing is supposed to go. Something to remember for future builds if those holes aren’t present is to manually drill them. This also meant i didn’t have to make a mess with the superglue to keep those into place, only requiring the top tubes to be glued into place.
