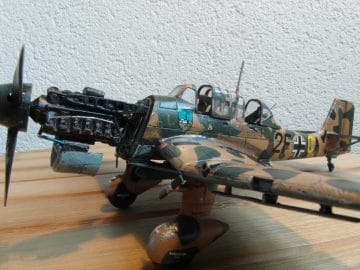
Sometimes I get struck by inspiration and start with a project that’s way too complicated for my own good and get burned out on a kit. It then stays on the shelf and might be there for quite a while. This project was one of them. For some reason I thought it was a fun idea to fully detail the engine bay of this resin luft ’46 kit. The idea is fine in theory; if there is no source material, the P.87 never went further then rough sketches, you can’t go wrong! But actually bringing the project to fruition is of course a whole different beast.
The plane
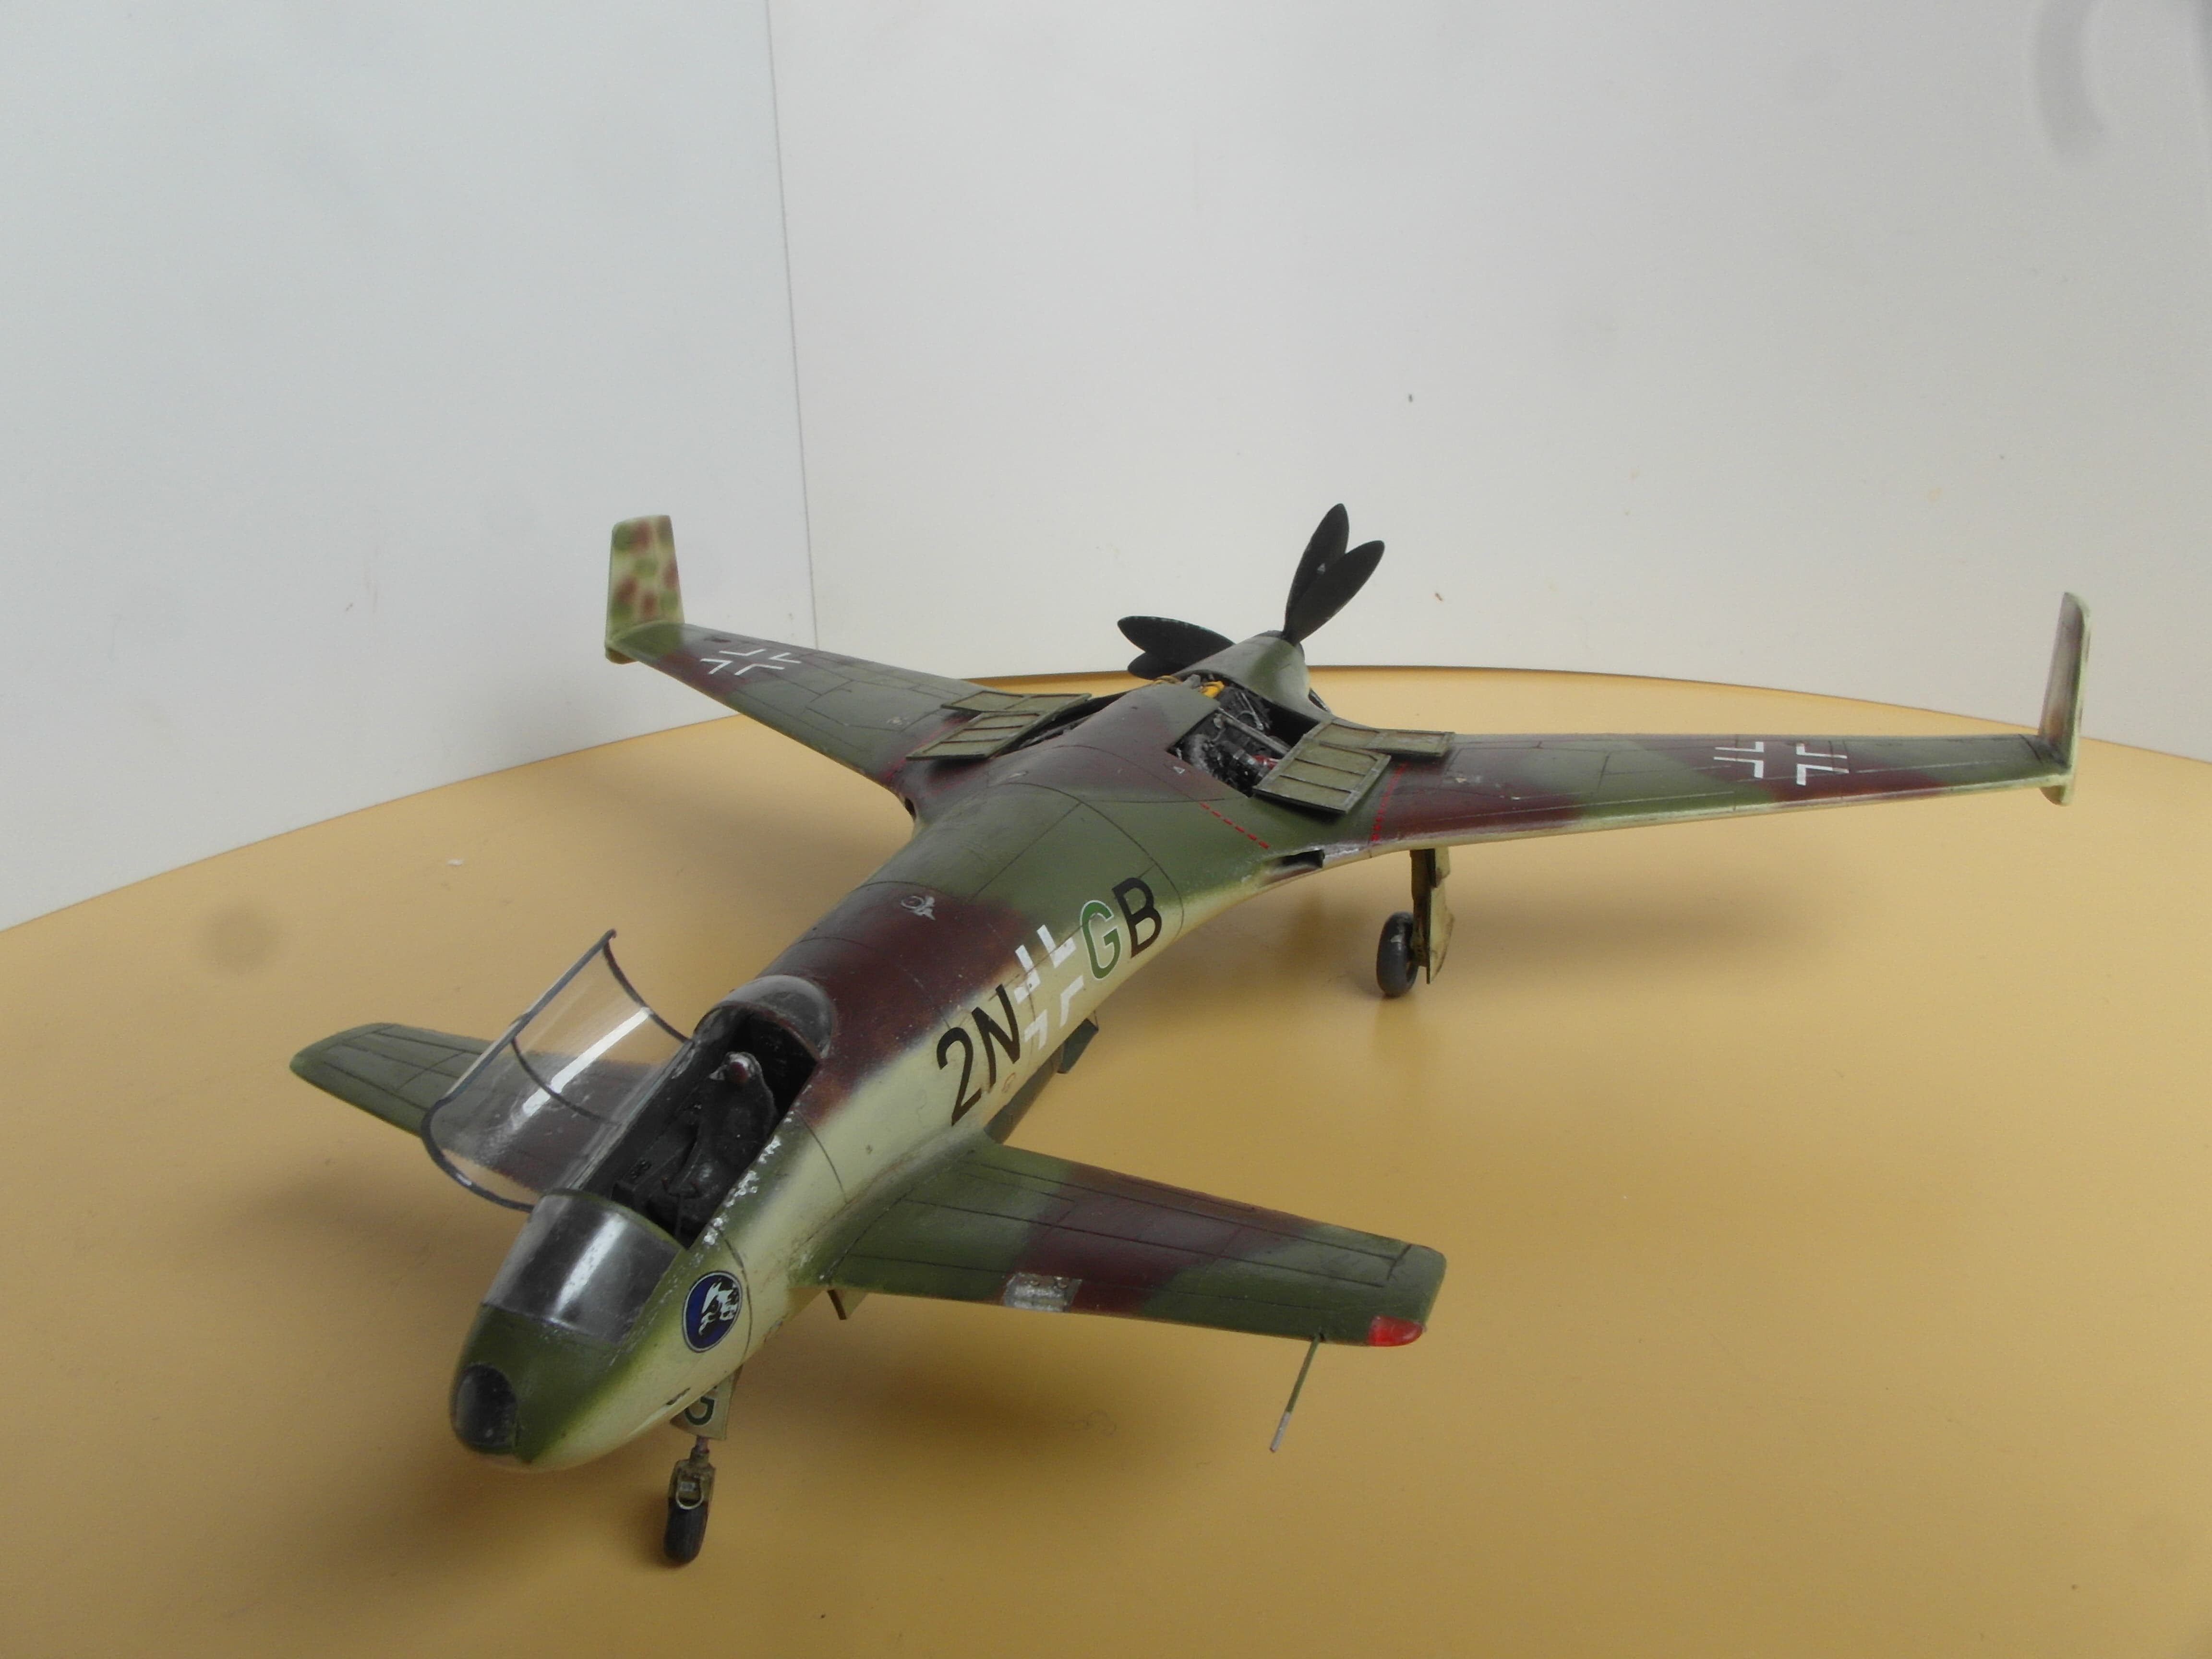
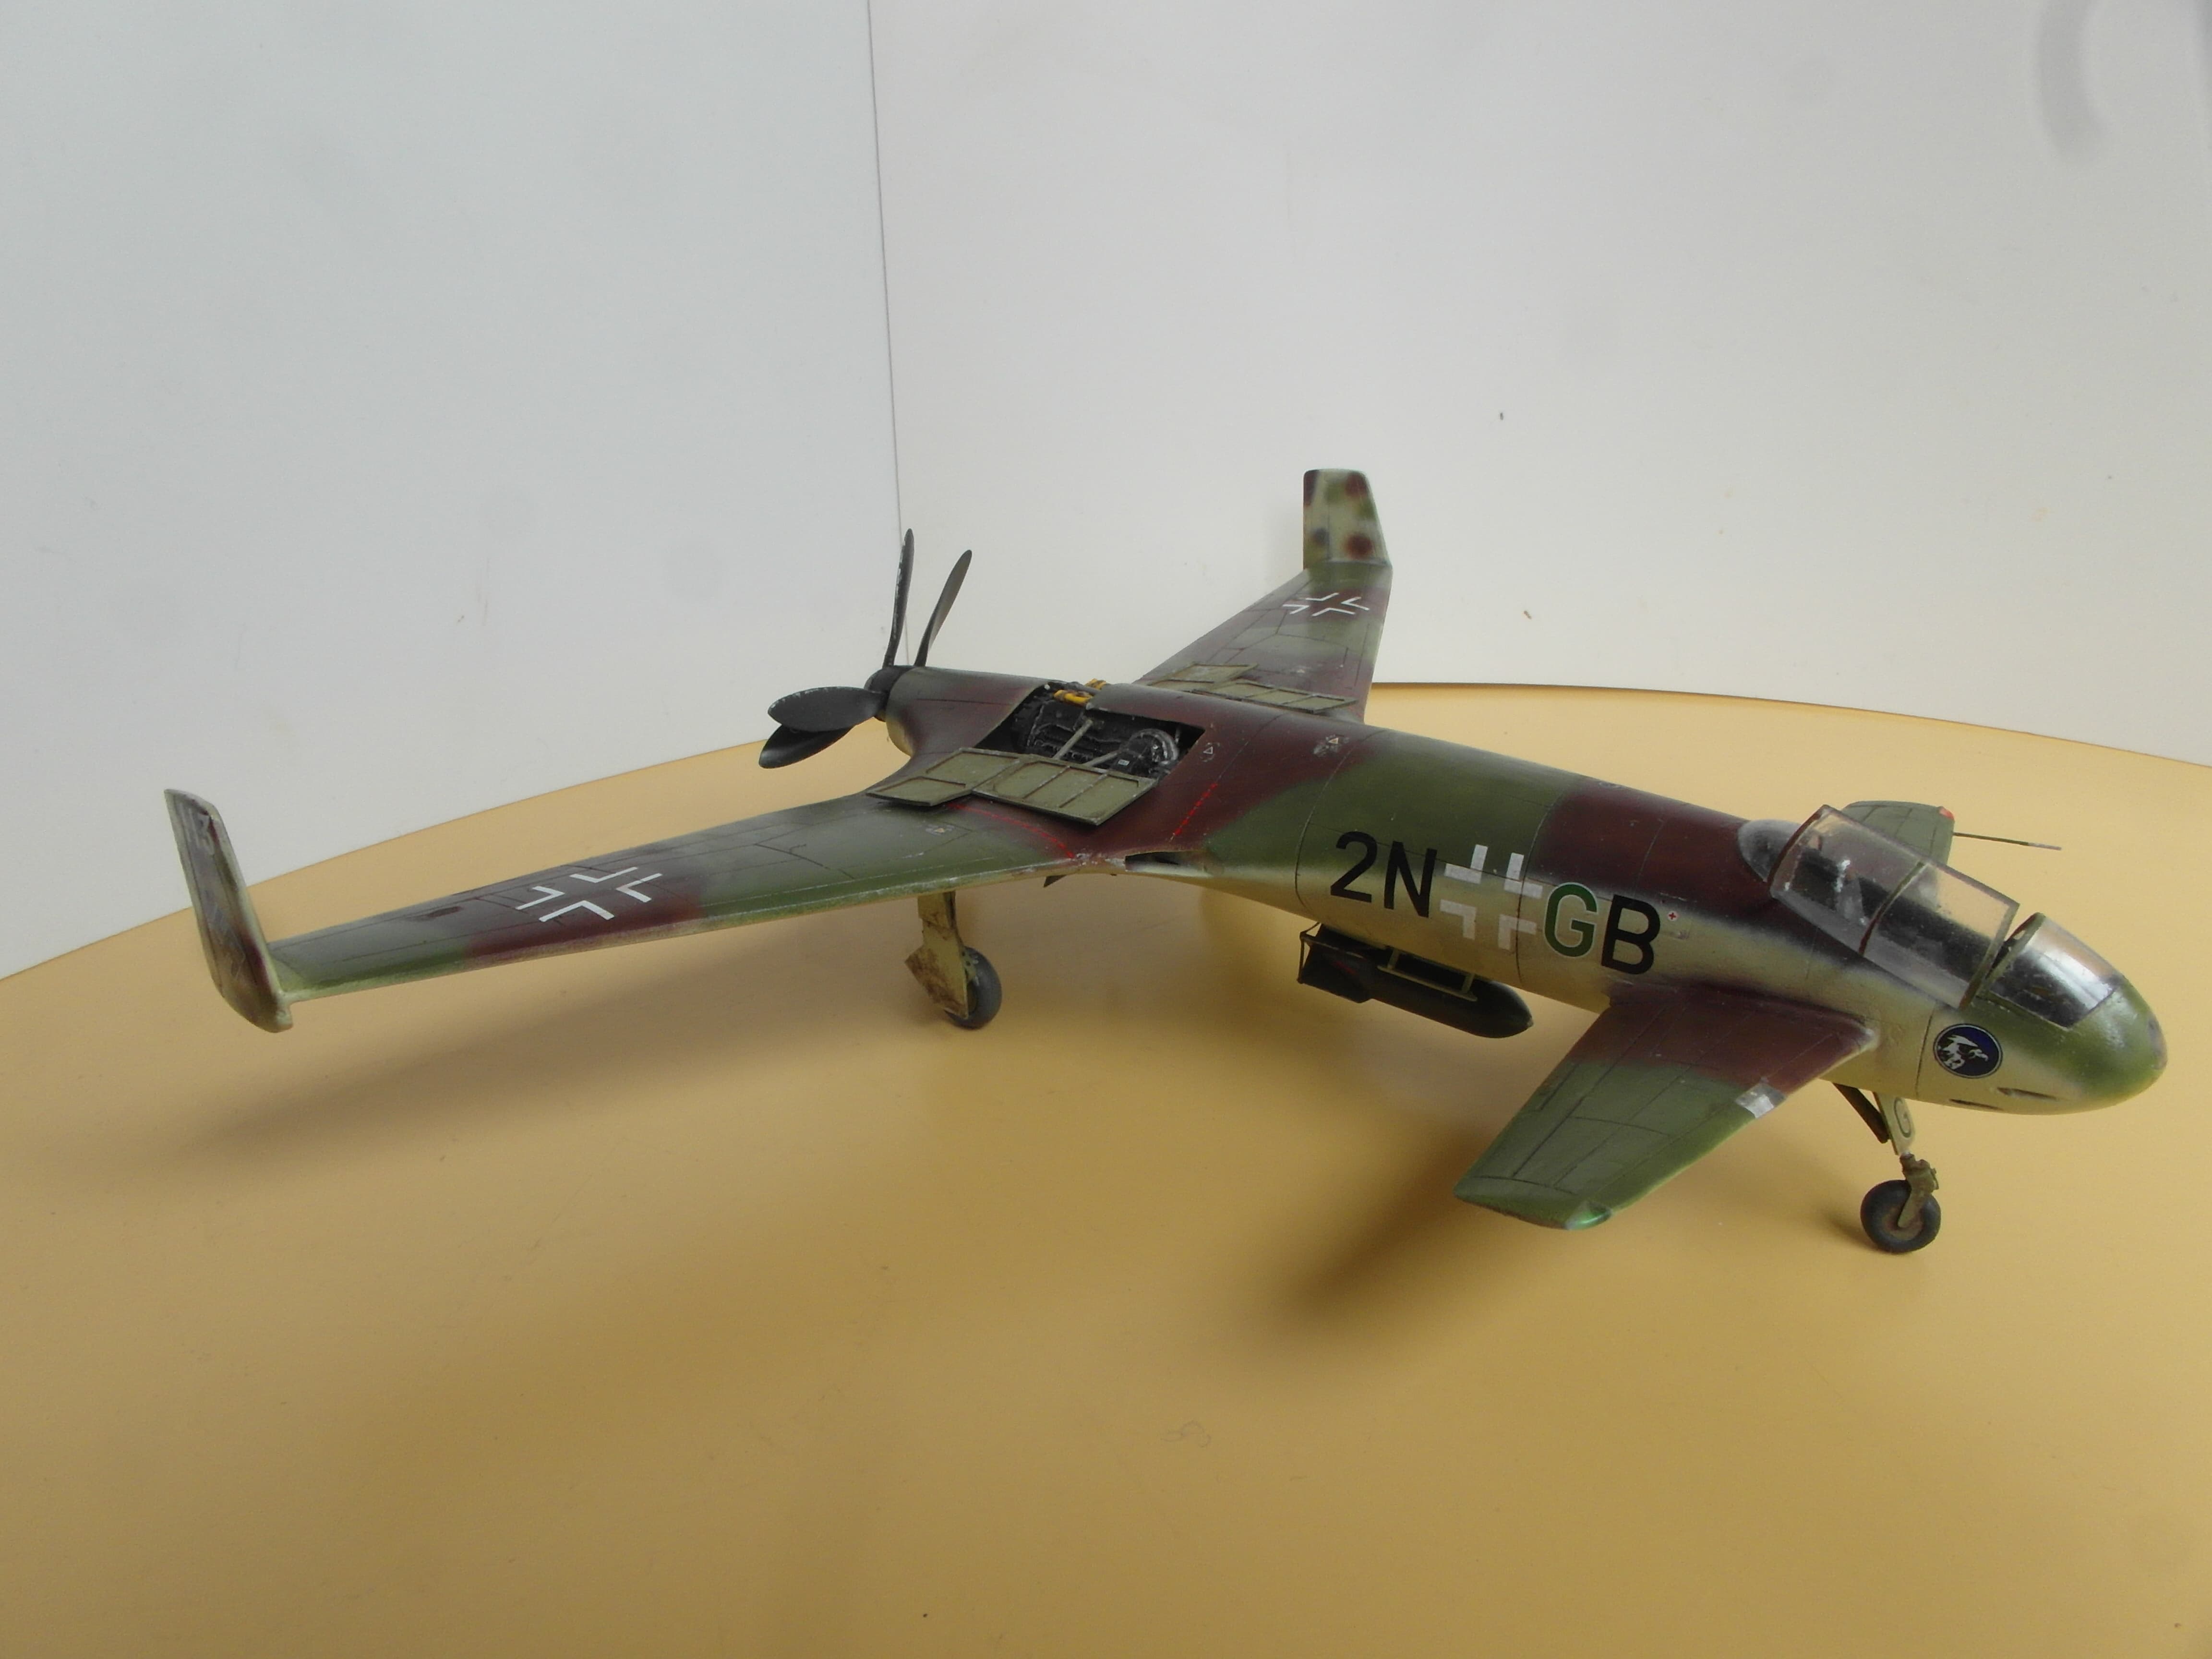
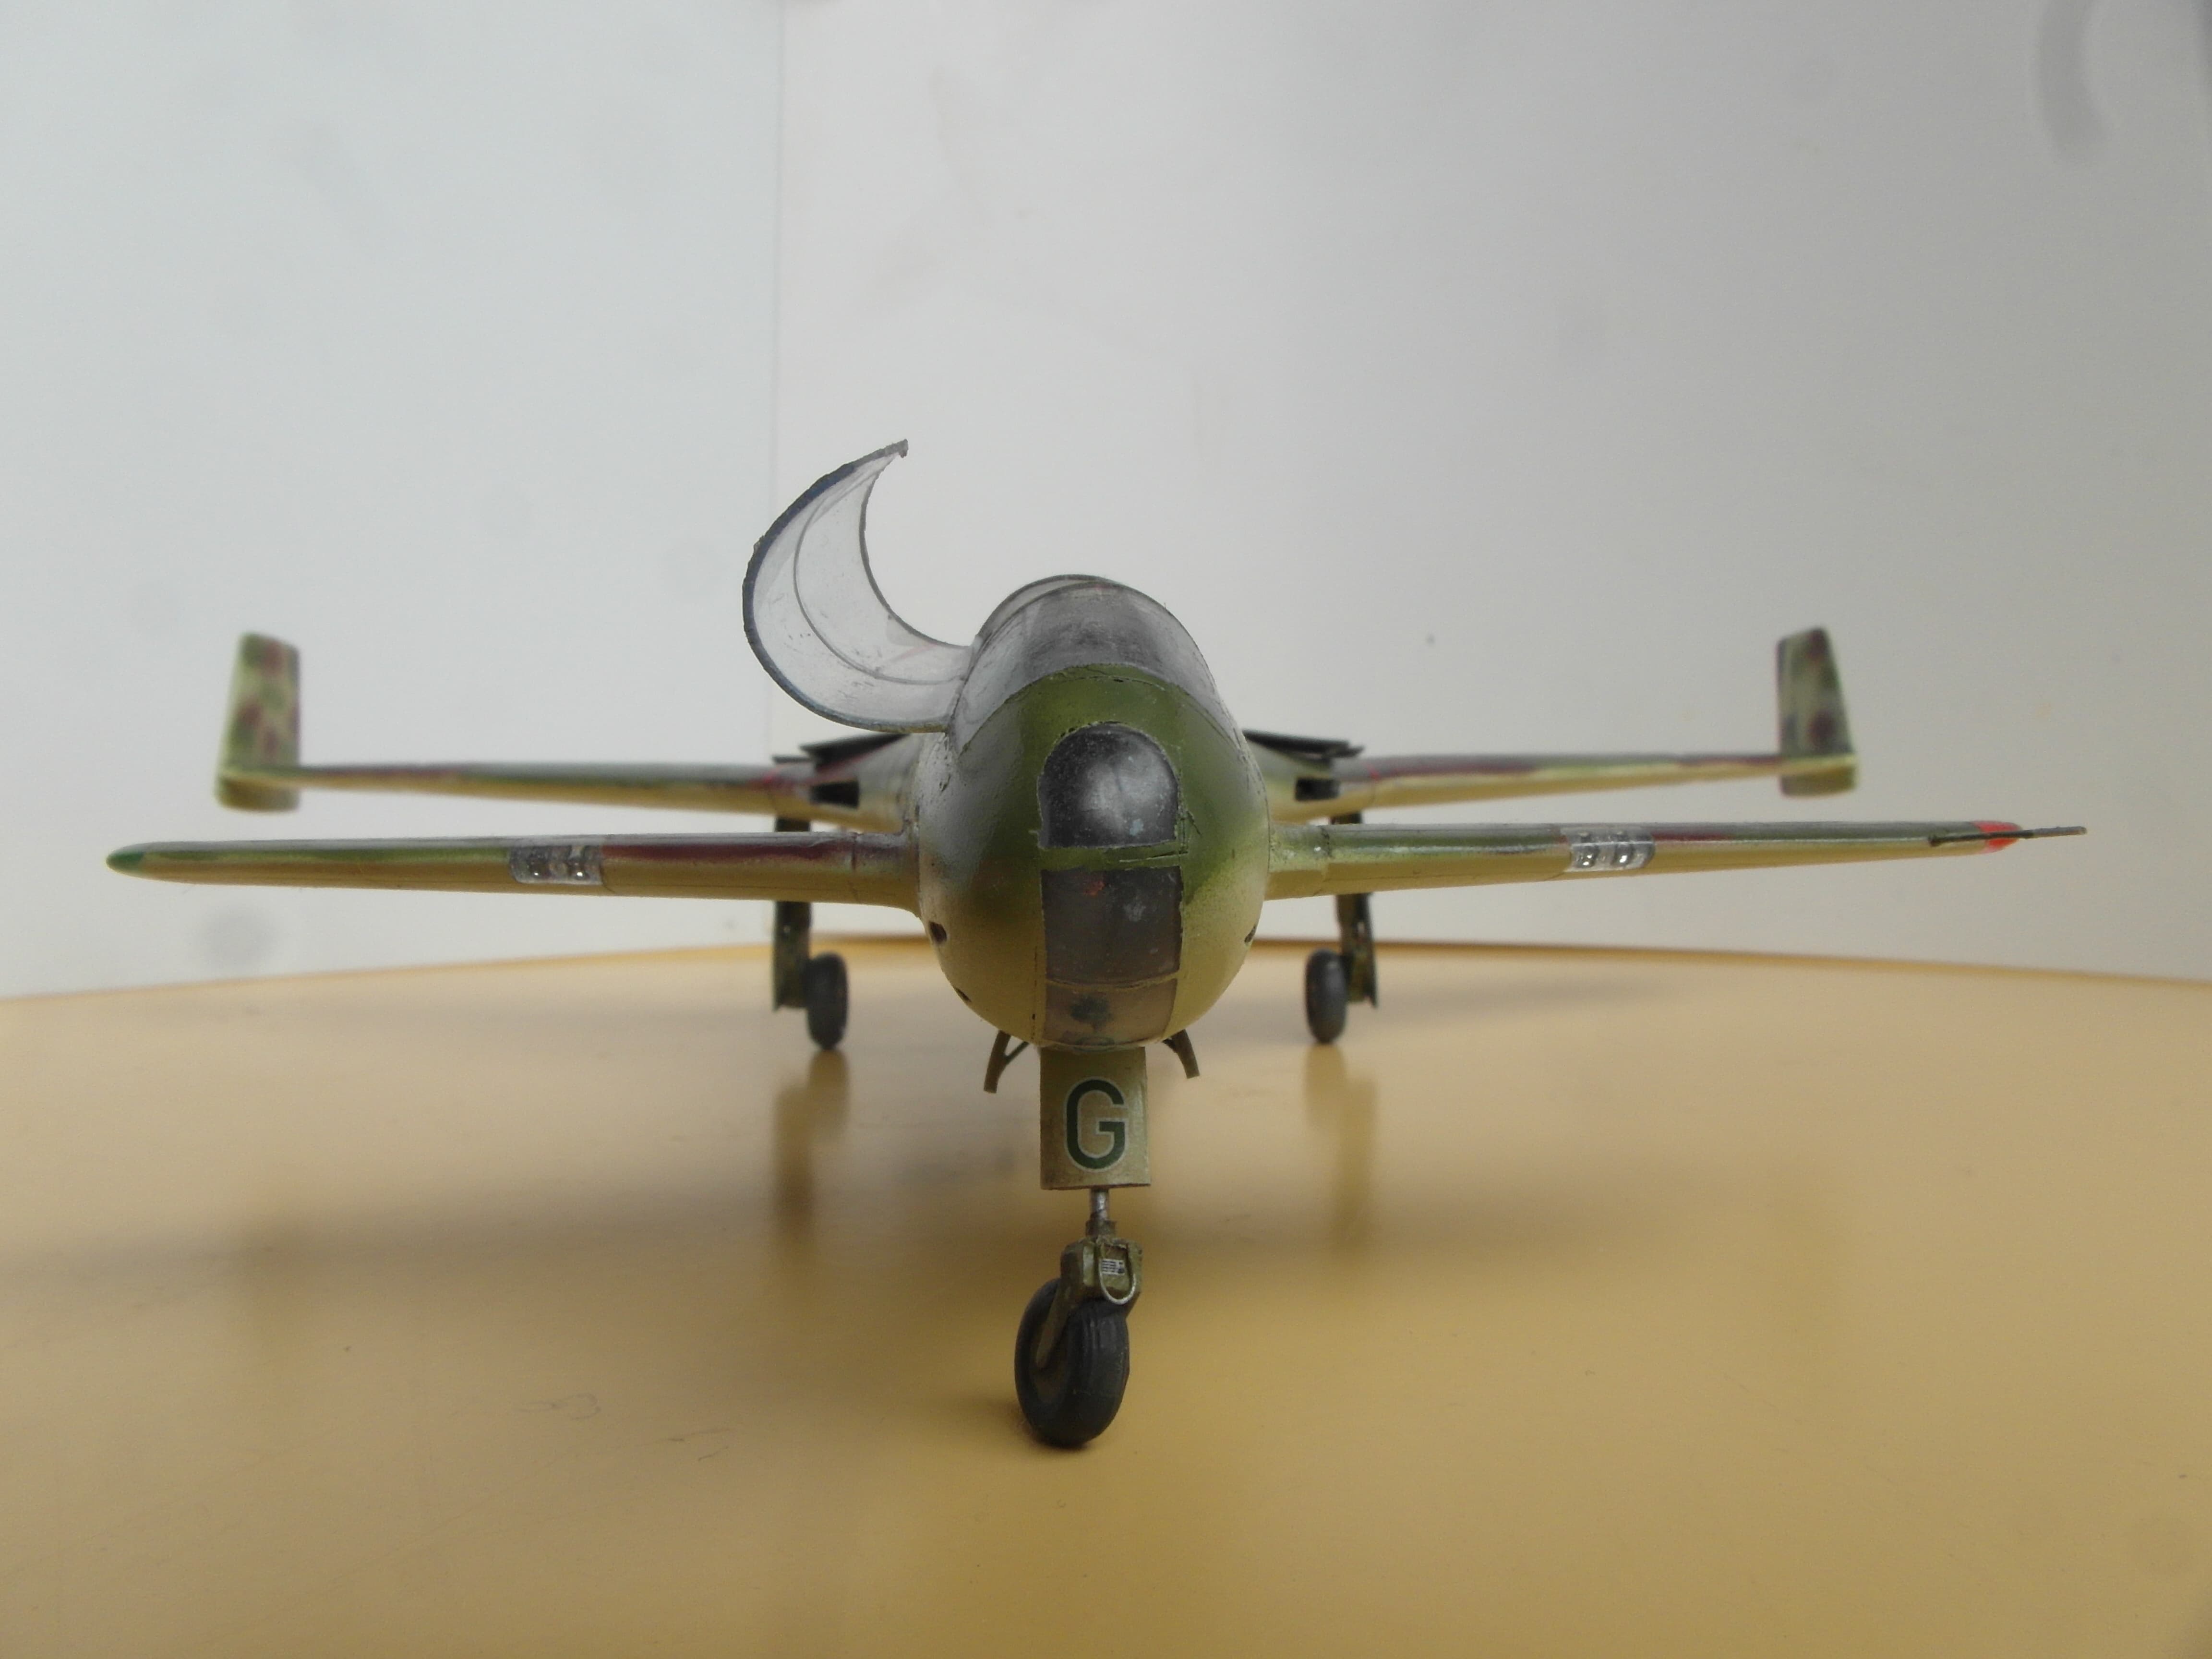
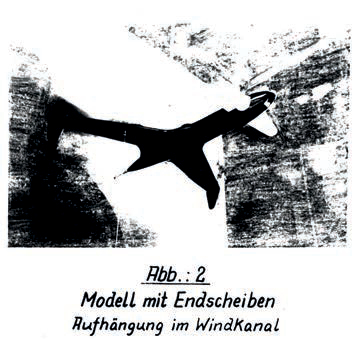
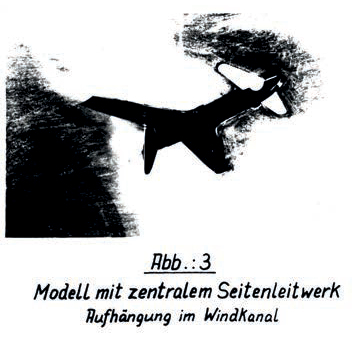
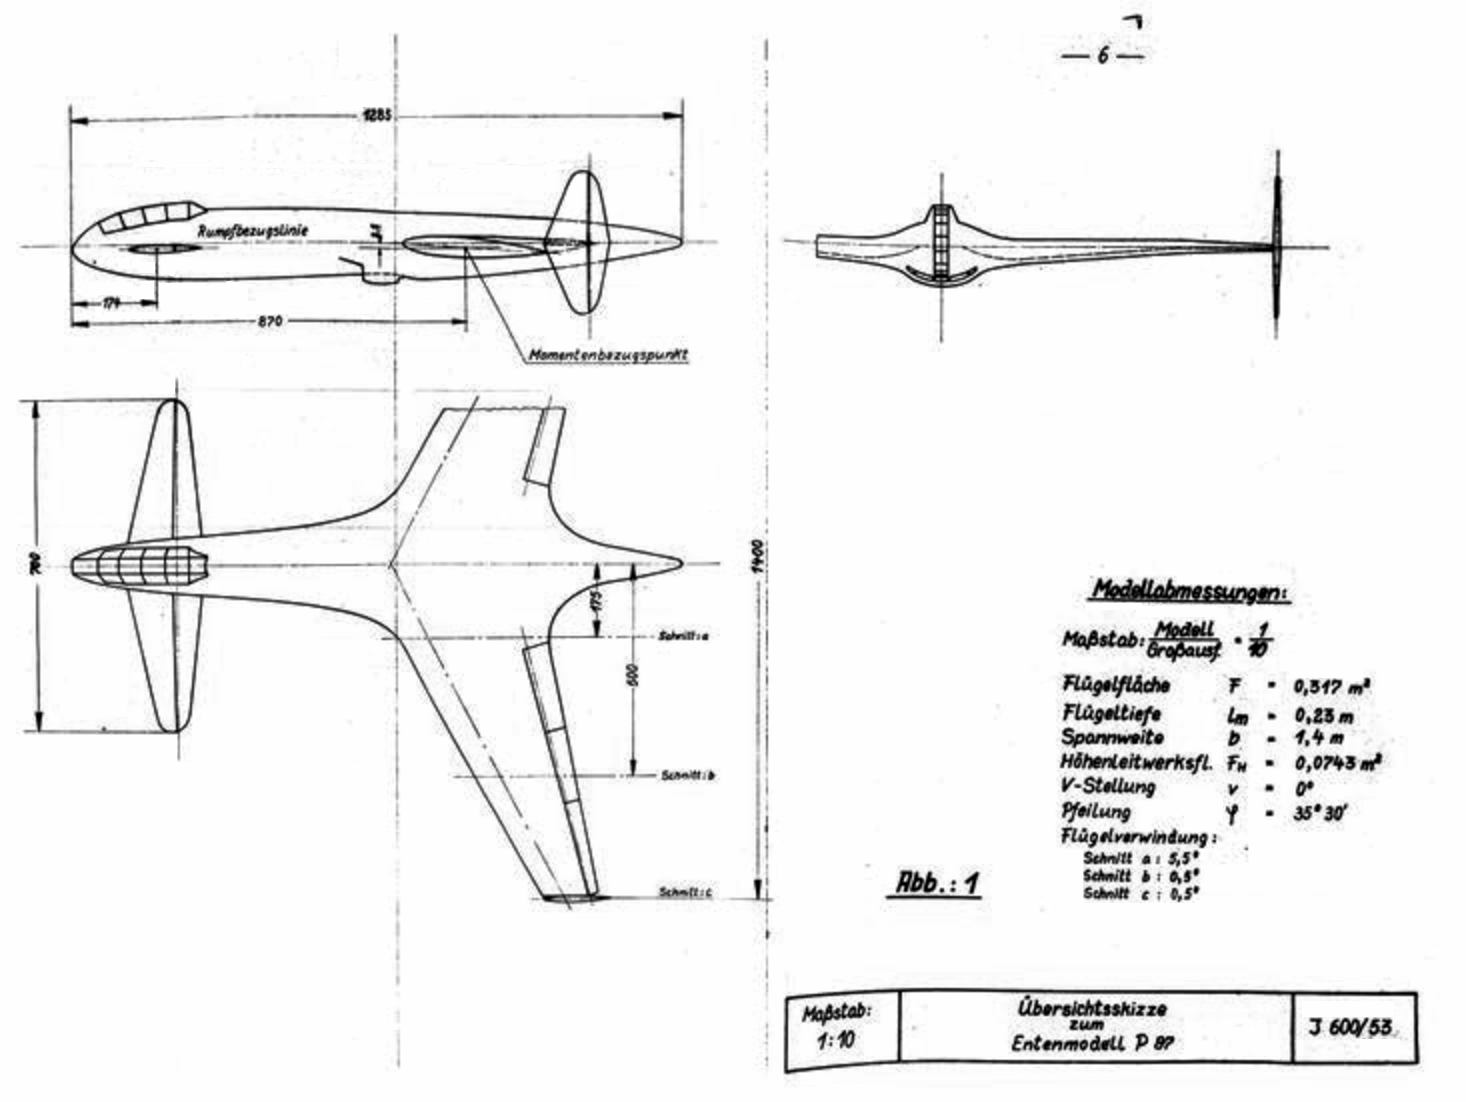
The Henschel P.87 was a proposed ground attack aircraft, featuring a unconventional canard setup driven by a contra rotating propeller in a push configuration. Not much is known about the plane. A wind tunnel model was tested by the DVL (Deutsche Versuchsansalt für Luftfahrt, German Laboratory for Aviation). The results appeared in UM 1126, Konto J 600/53 on November 22, 1943. Multiple tests were performed on a 1:10 scale model in various configurations, but only two were actually reported on in UM 1126; one with a single, central vertical stabilizer and one with wing tip stabilizers. The report also gives a single overview drawing, which matches neither wind tunnel model with large wing tip stabilizers.
A second drawing exists which matches the wind tunnel model closer, however I couldn’t find the original source of it. Some books also report on work on a mock-up, but I’ve found no evidence of that.
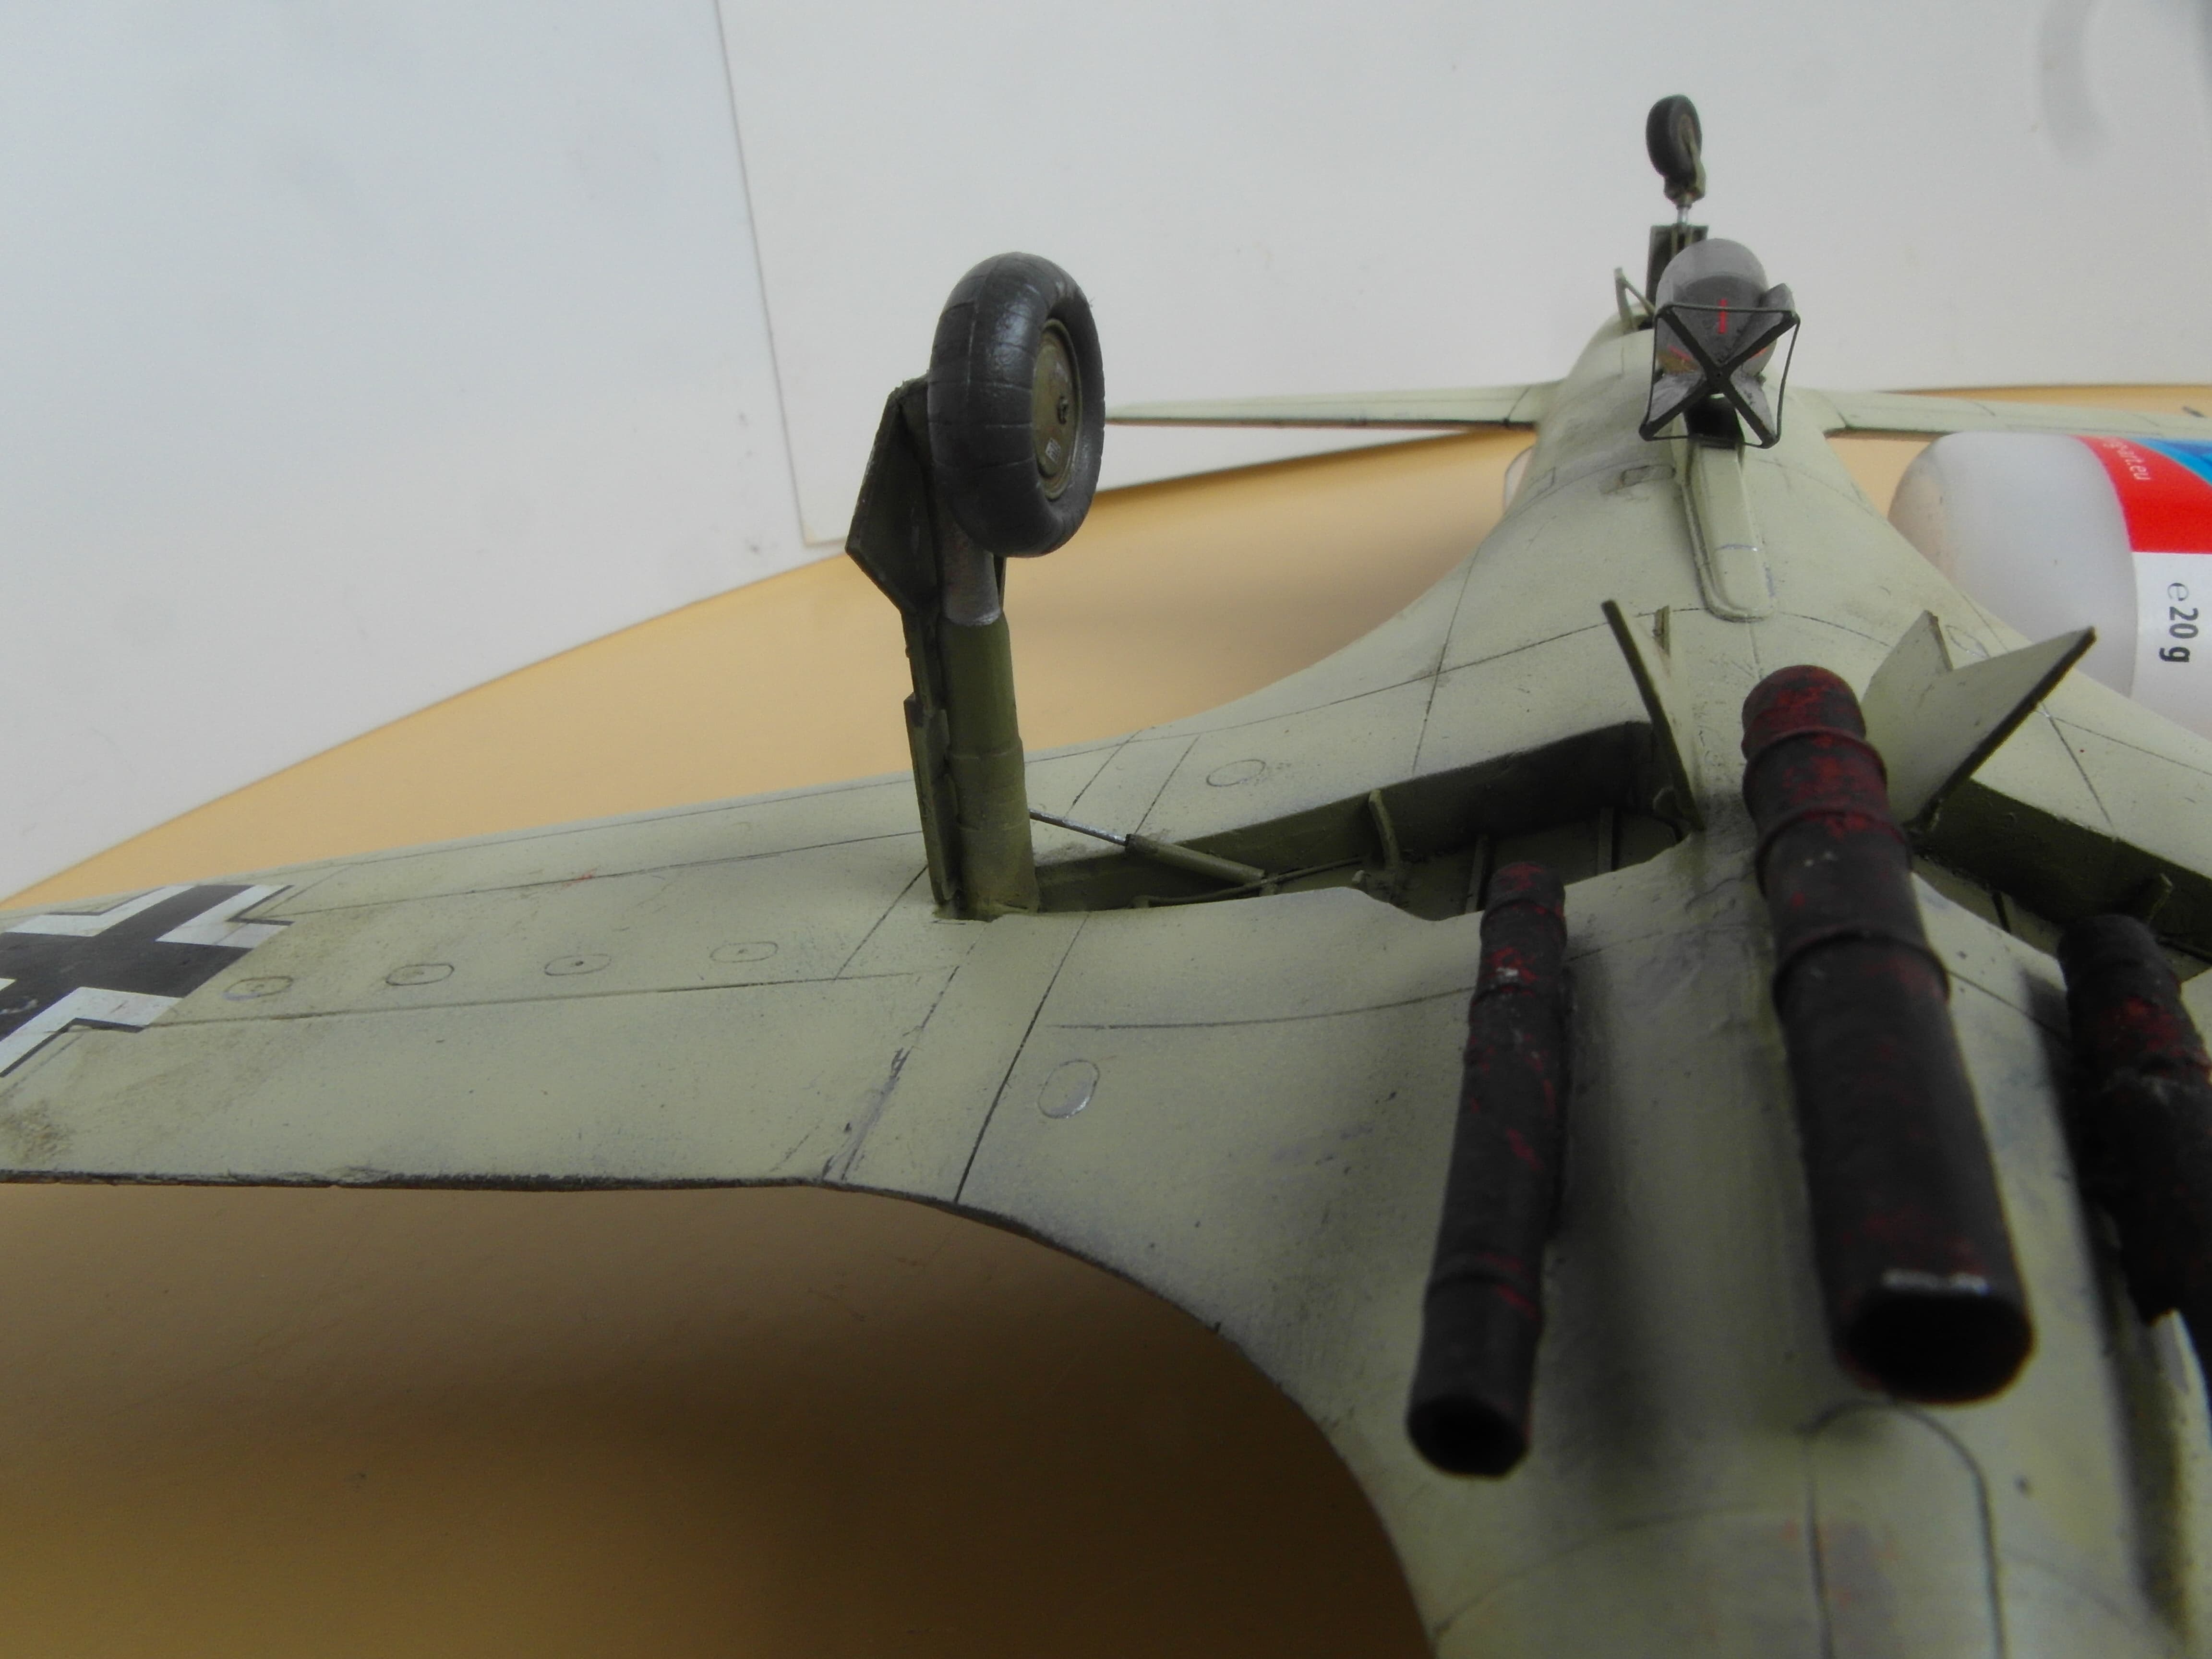
The plane was to be powered by a Daimler Benz DB 610 engine which would have driven a counter rotating propeller. It would have been armed with 4 30mm MK 108 cannons in the nose and would be capable of carrying ordnance under the wings.
The Kit
This kit by Planet Models is based on the wing tip stabilizer variant. It’s cast in grey resin of good quality. No warp and no bubbles with nice, recessed surface detail. They do require a lot of clean-up however as the wings are very sturdily connected to their casting blocks. The decals are quite basic, so I’ll use some spare decals for the warning labels.
The Engine
Opening up the kit 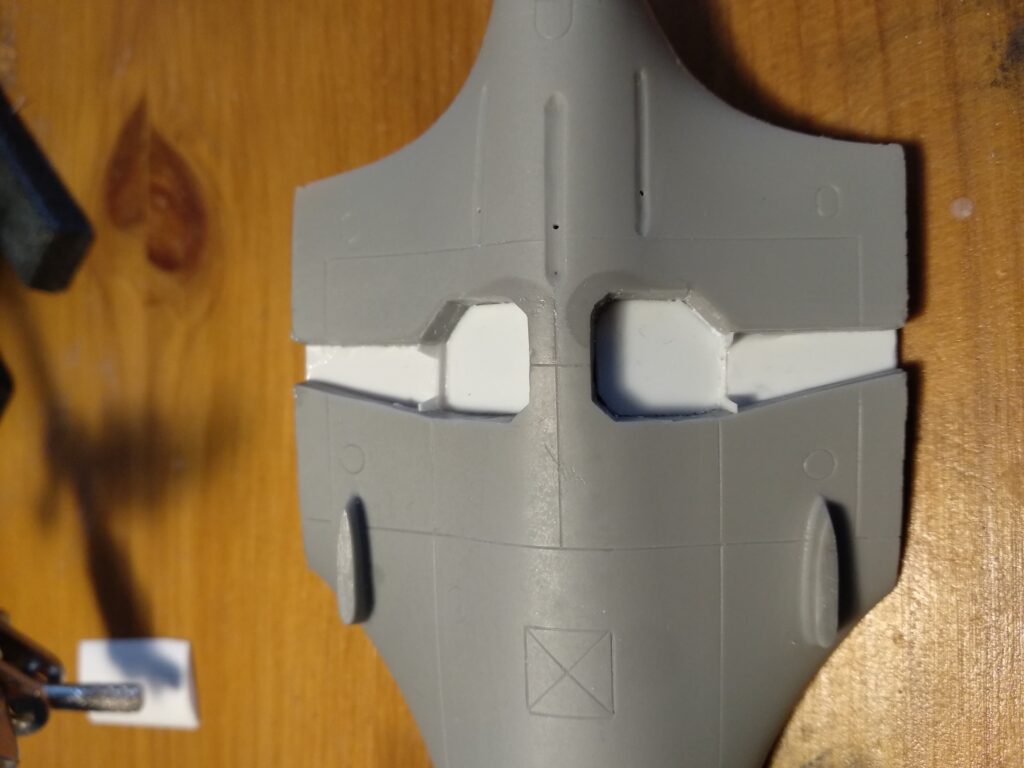
new, thinner wheel whells 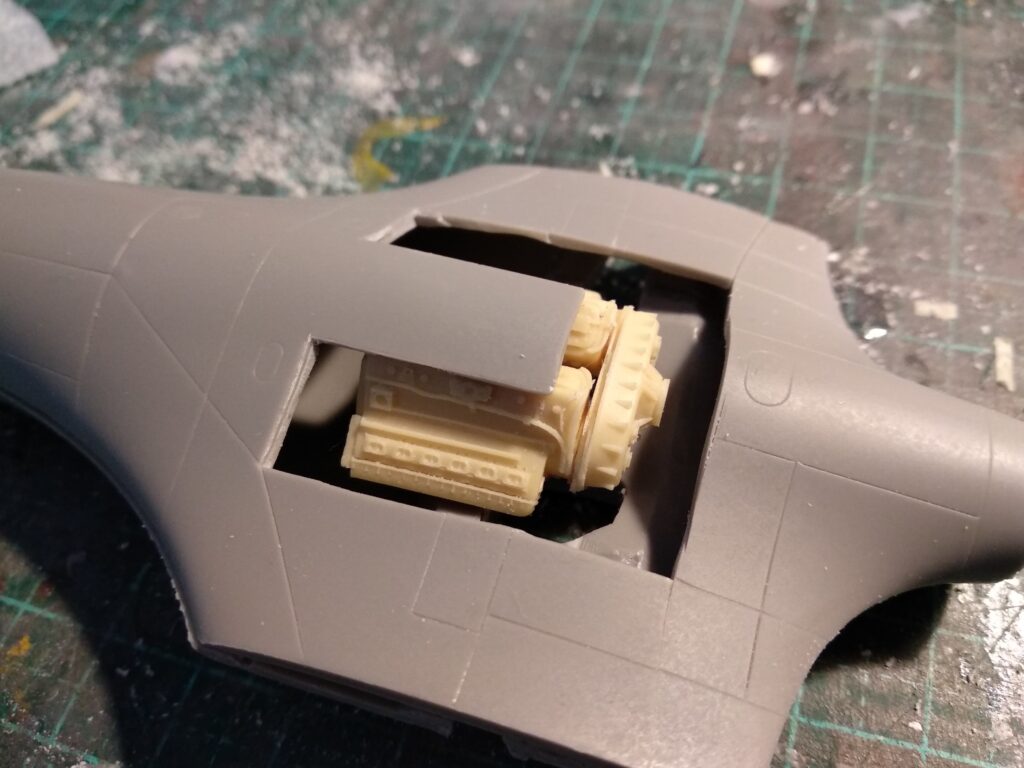
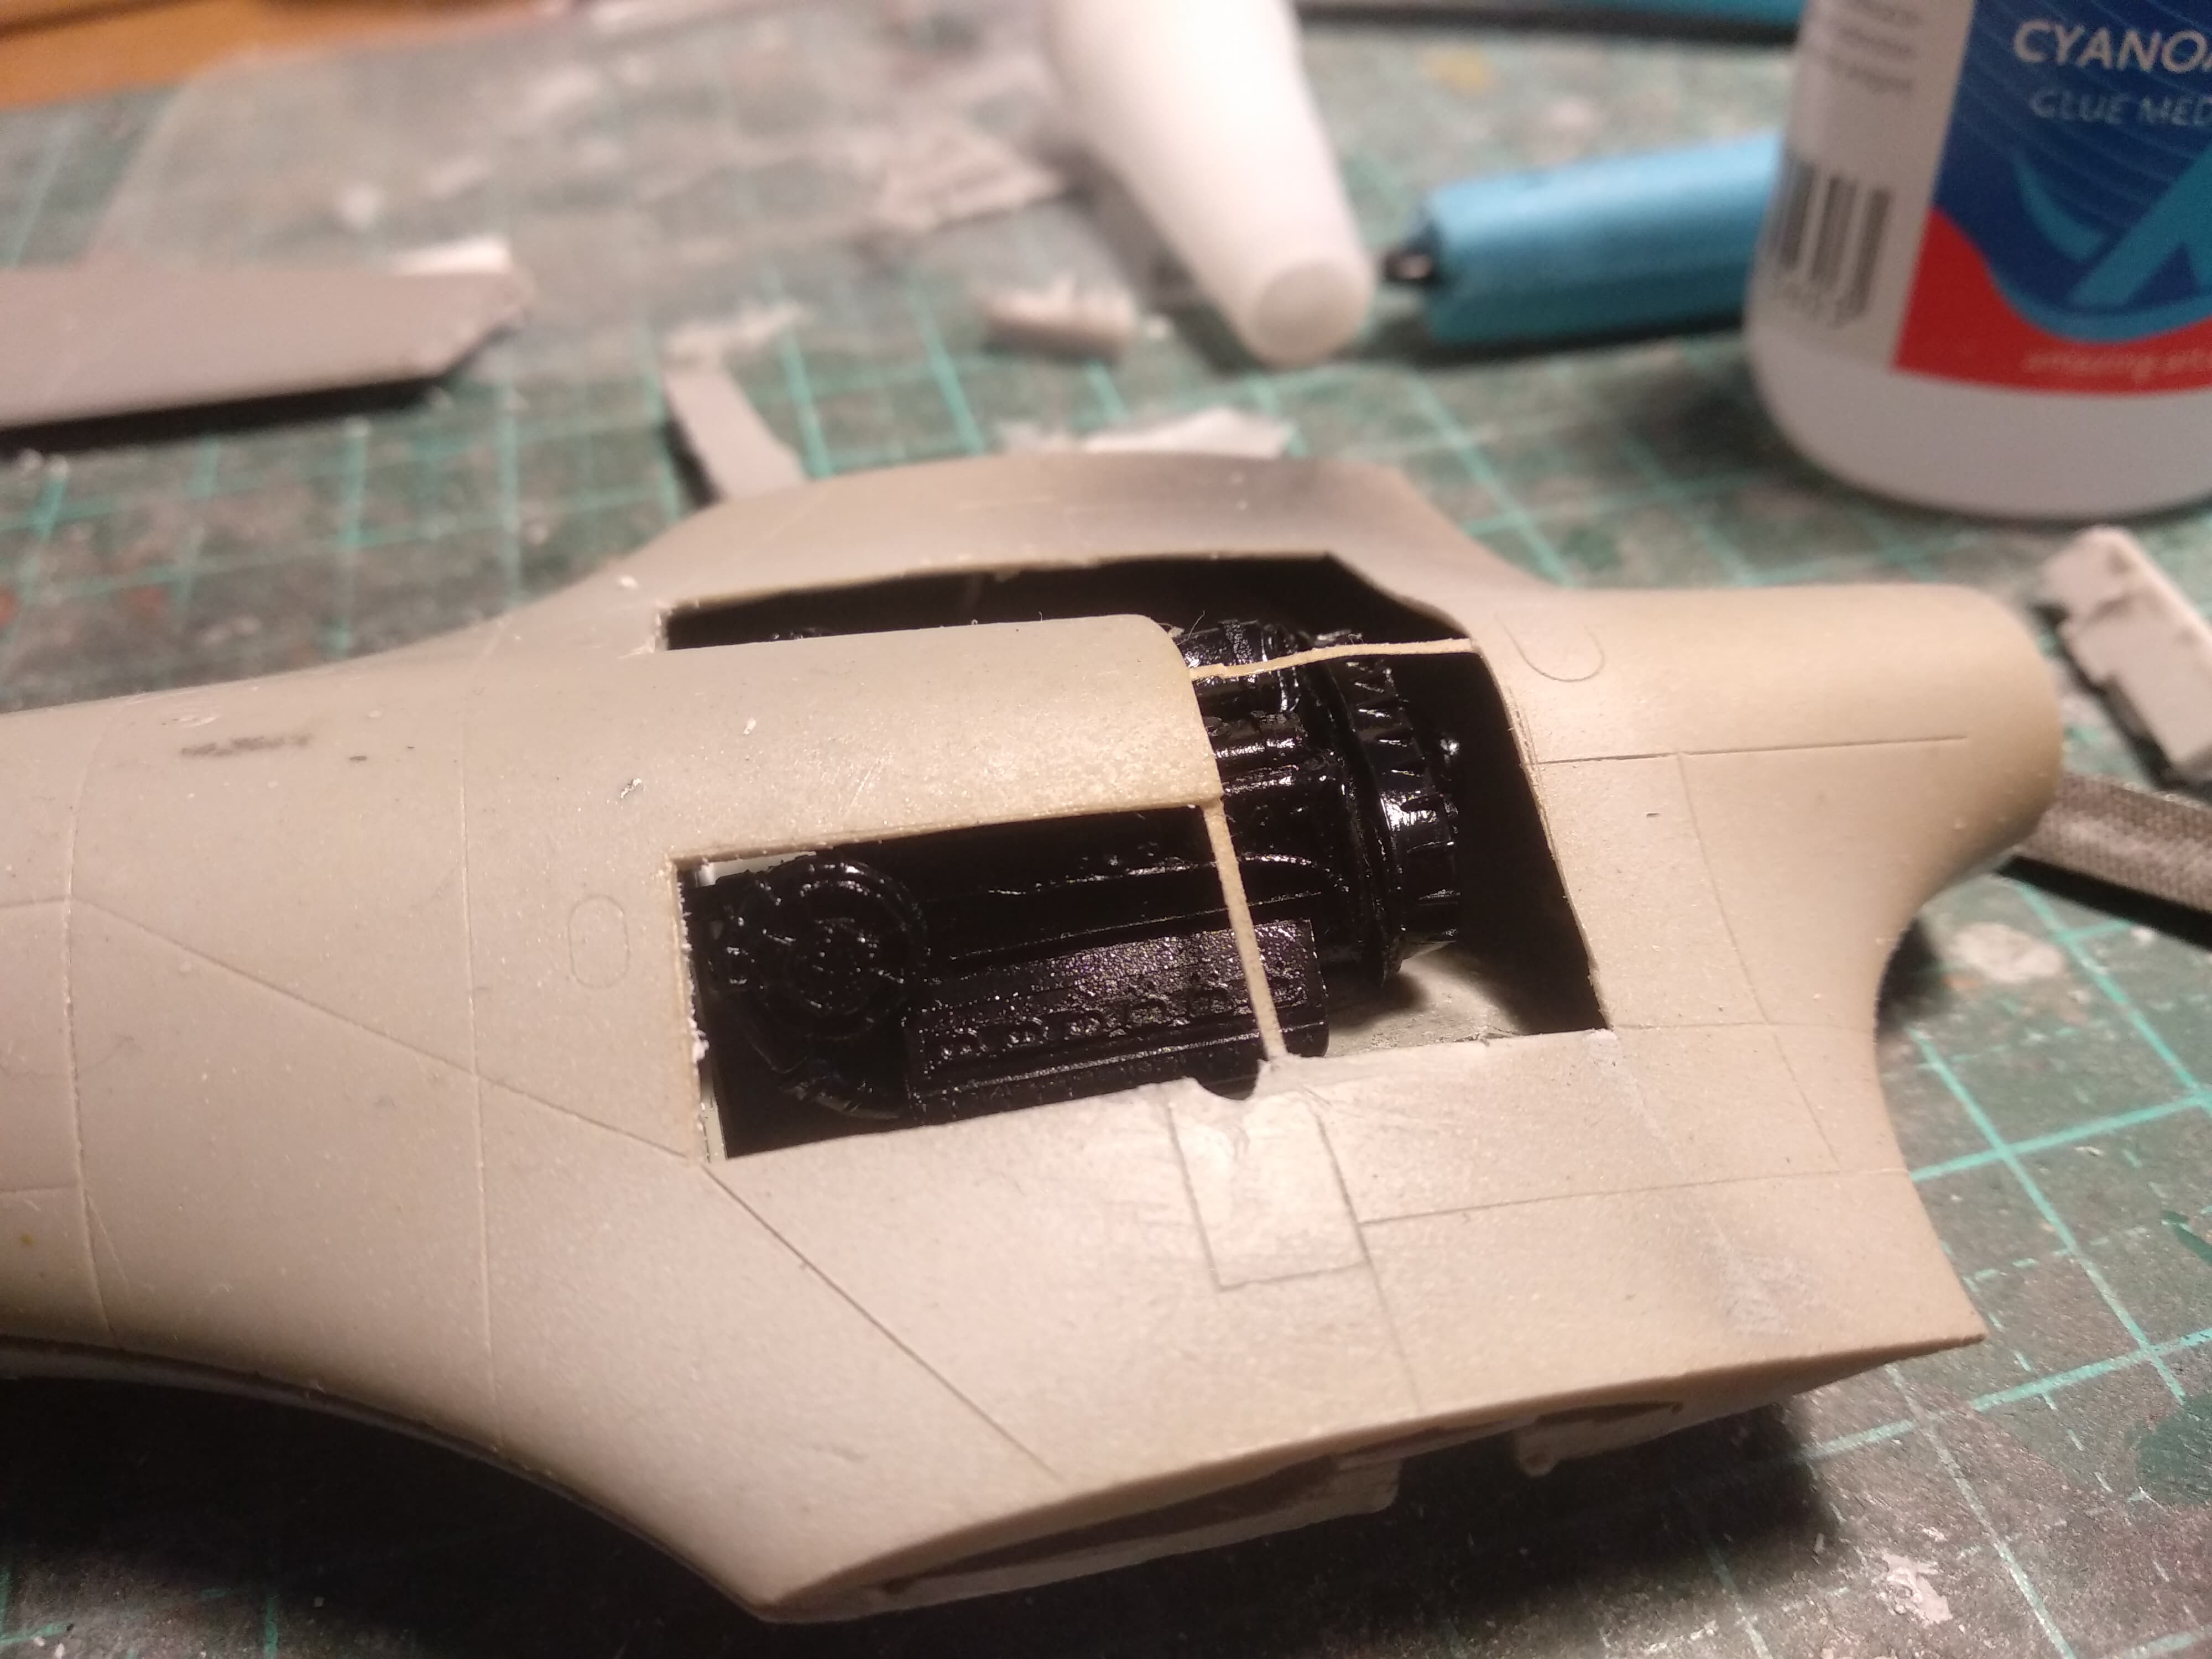
Test fitting the engine


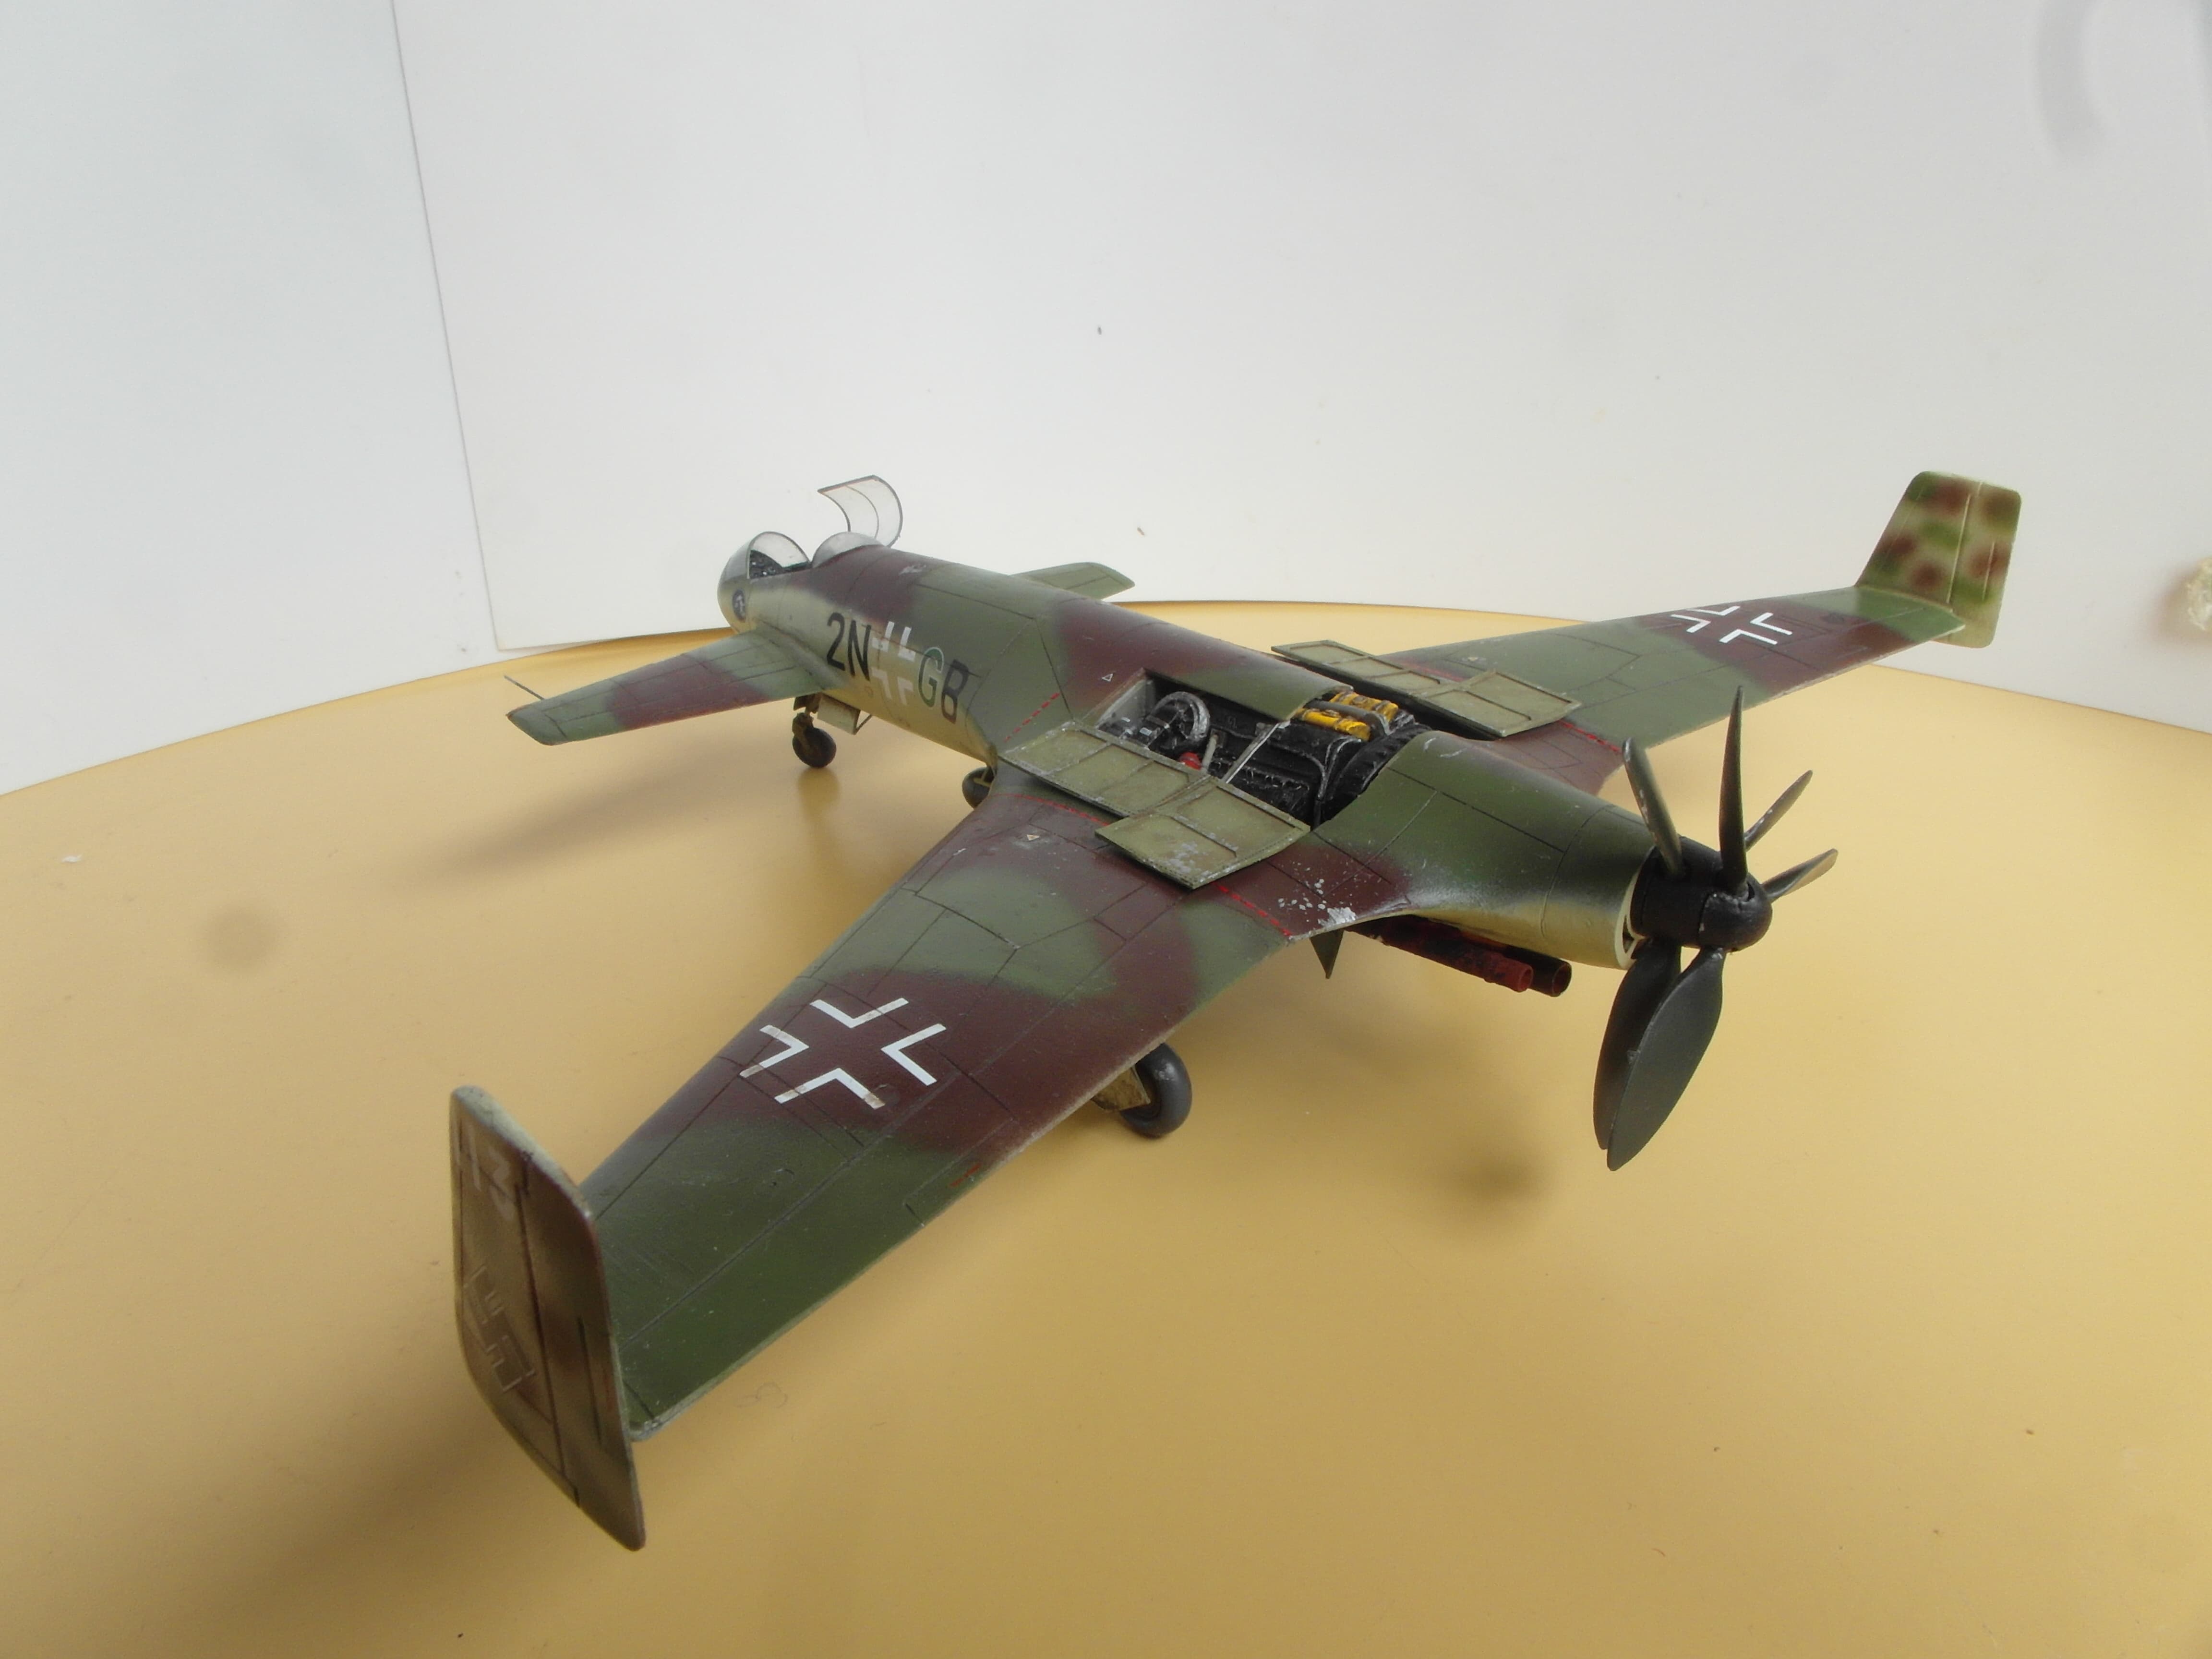
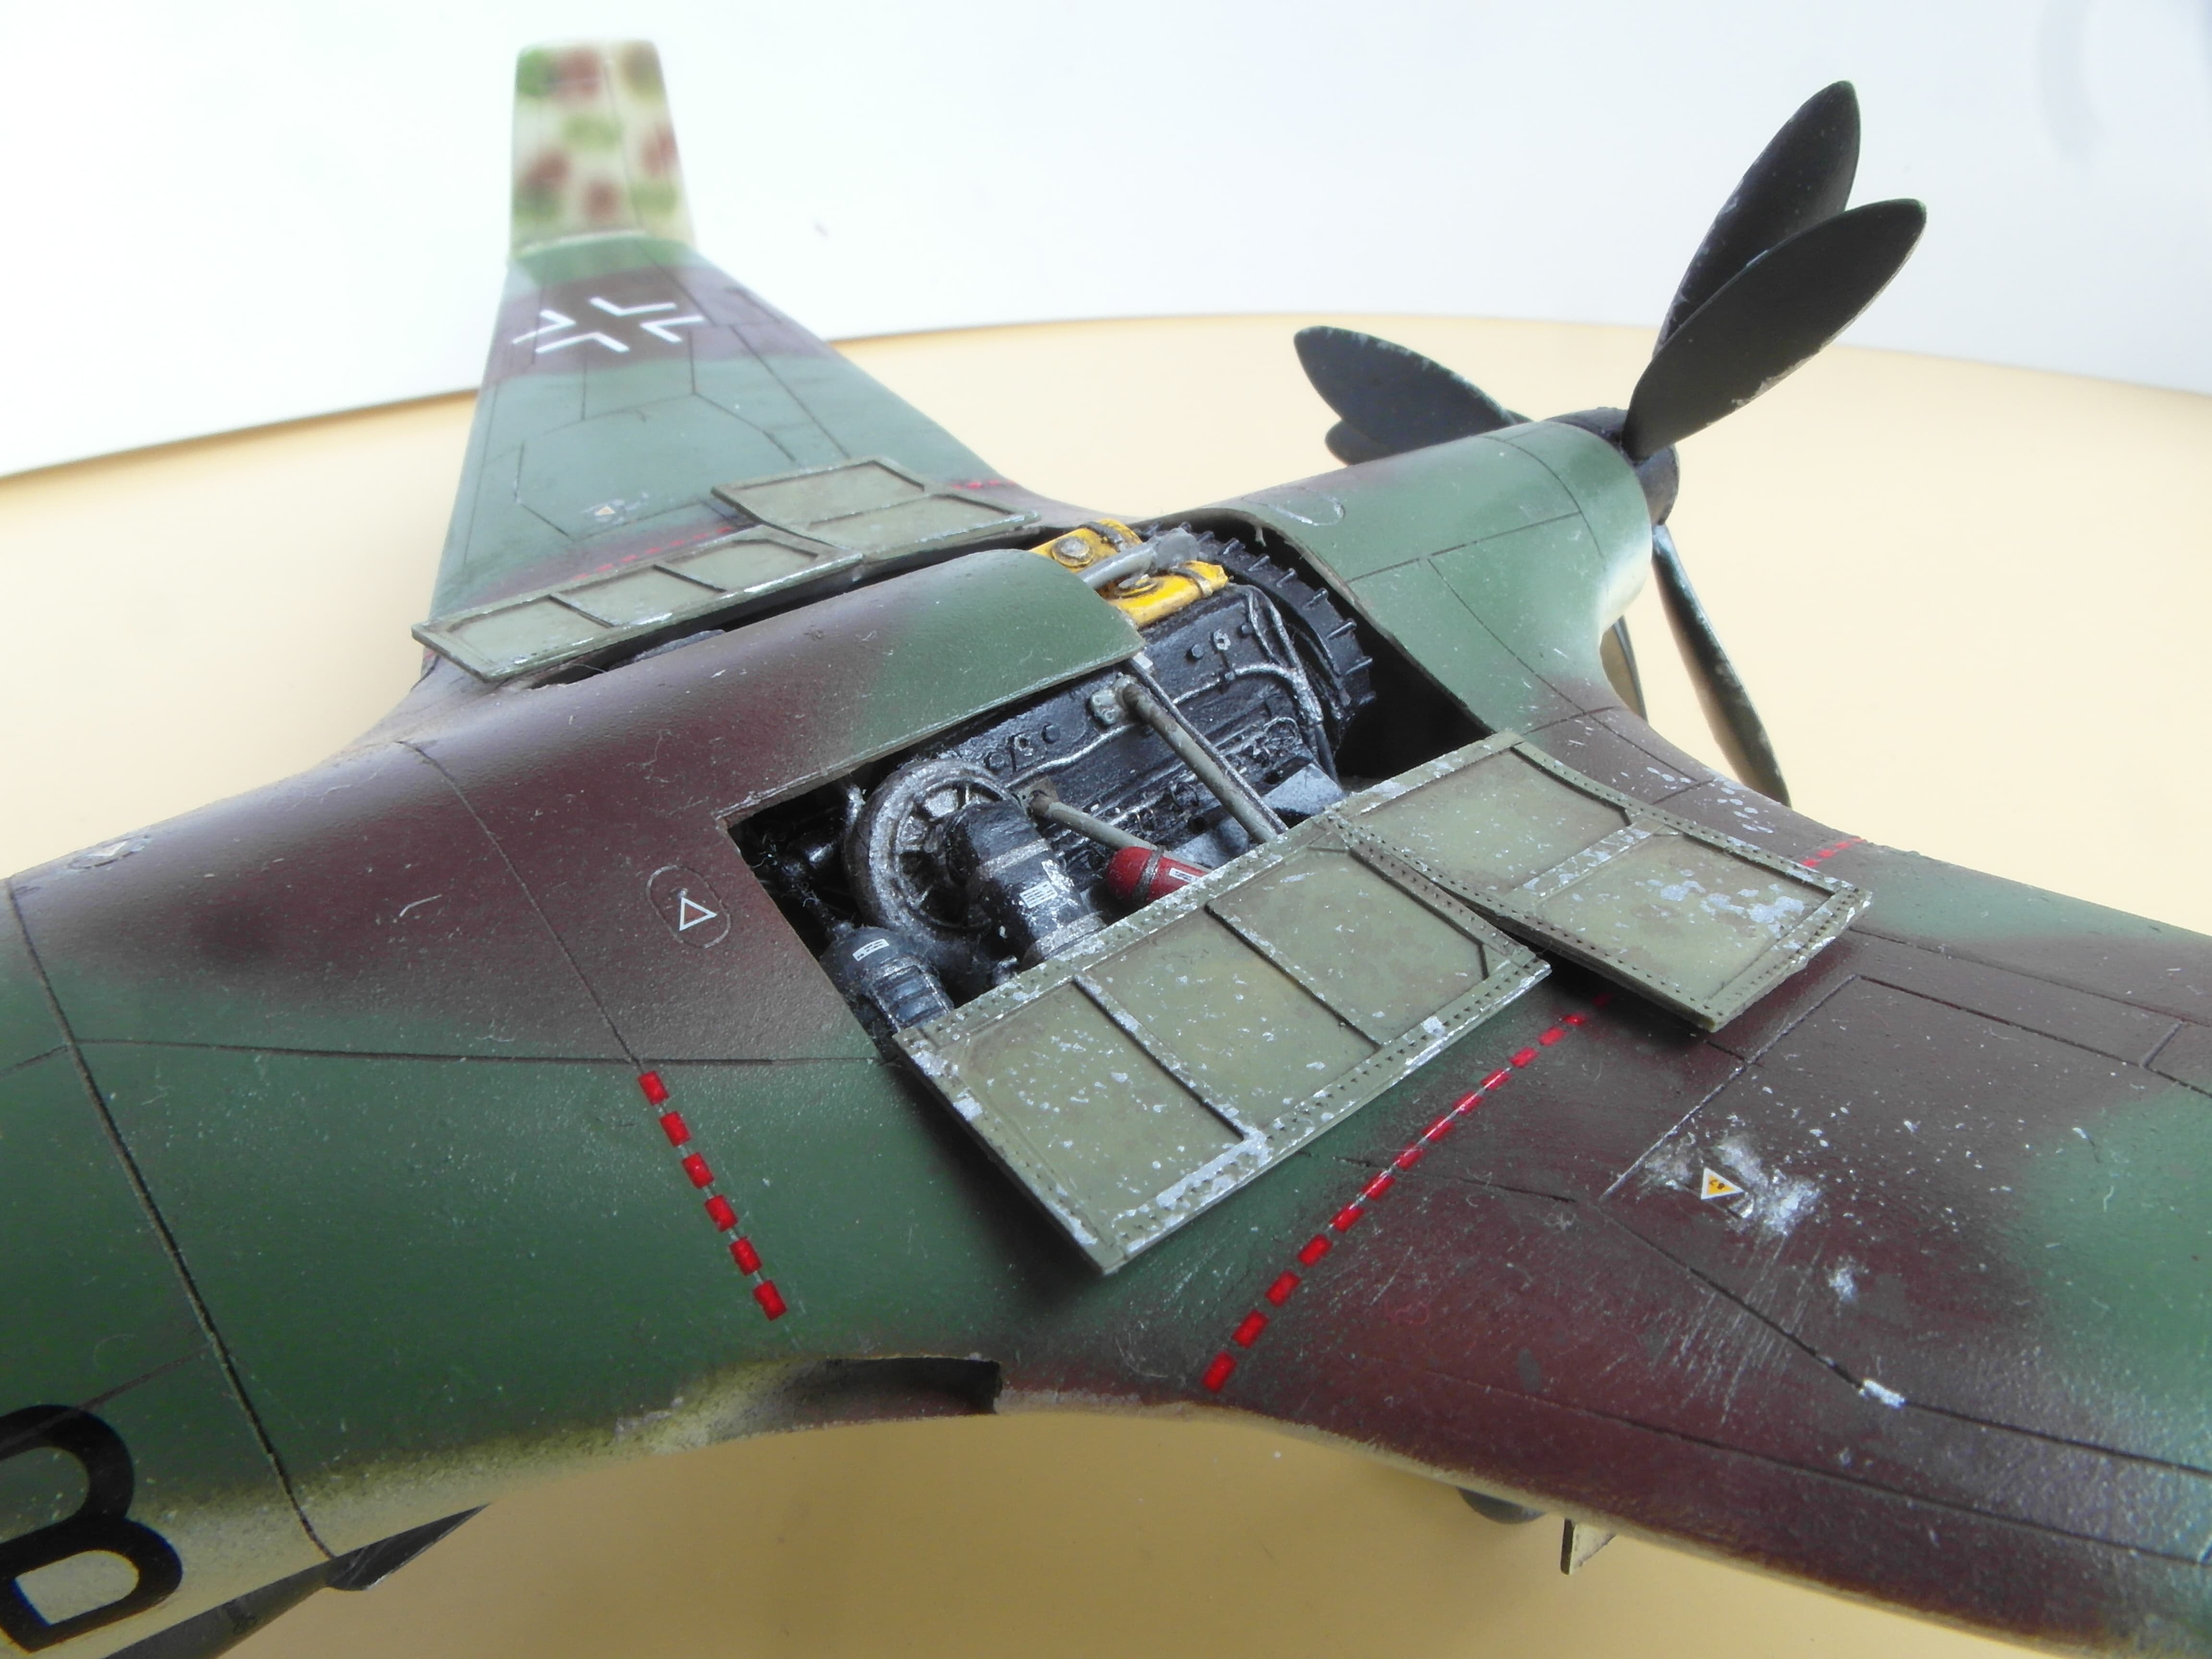
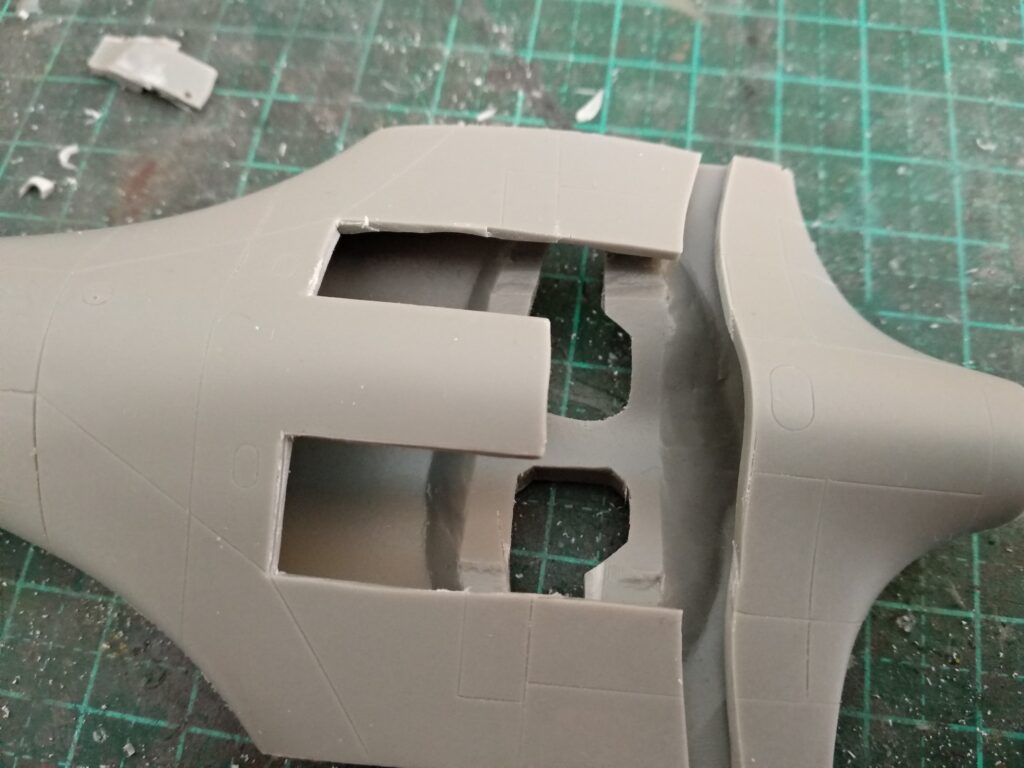
I choose to open up the engine bay and show the engine. CMK has a detail set for the He 177 which includes a DB 610 (but only the engine blocks and not the turbo), which I used as a basis for this project. I started by removing the maintenance panels, as well as the flooring as this was cast quite sturdy. A firewall was added to the front of the engine.
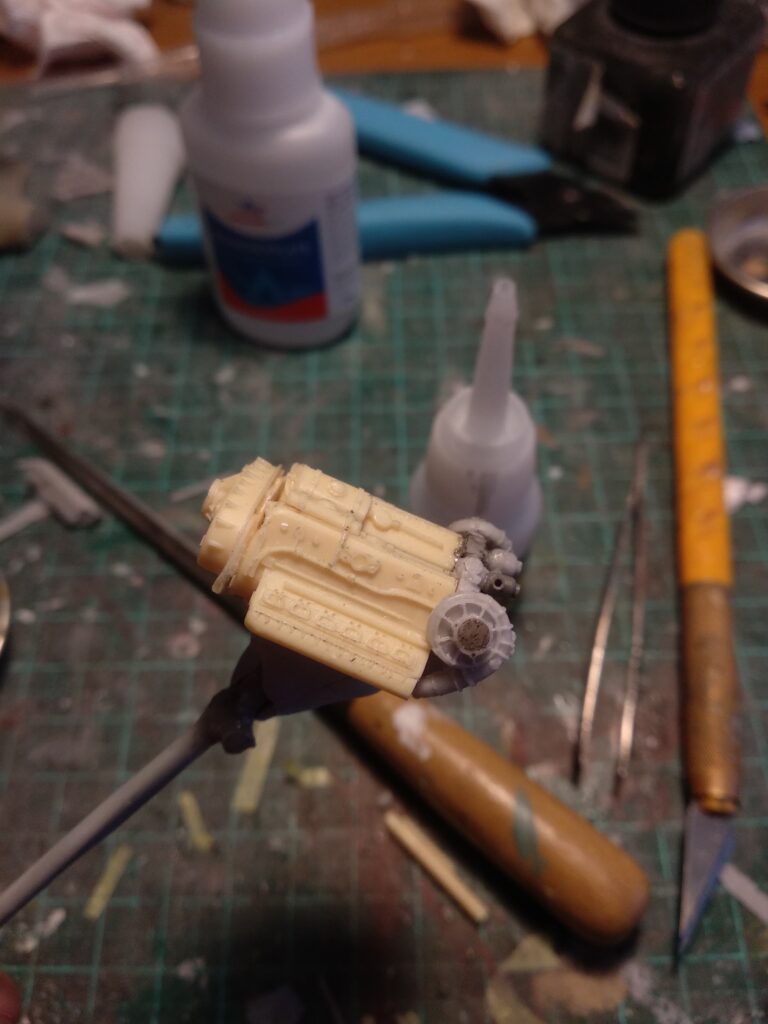
adding the turbos to the engine 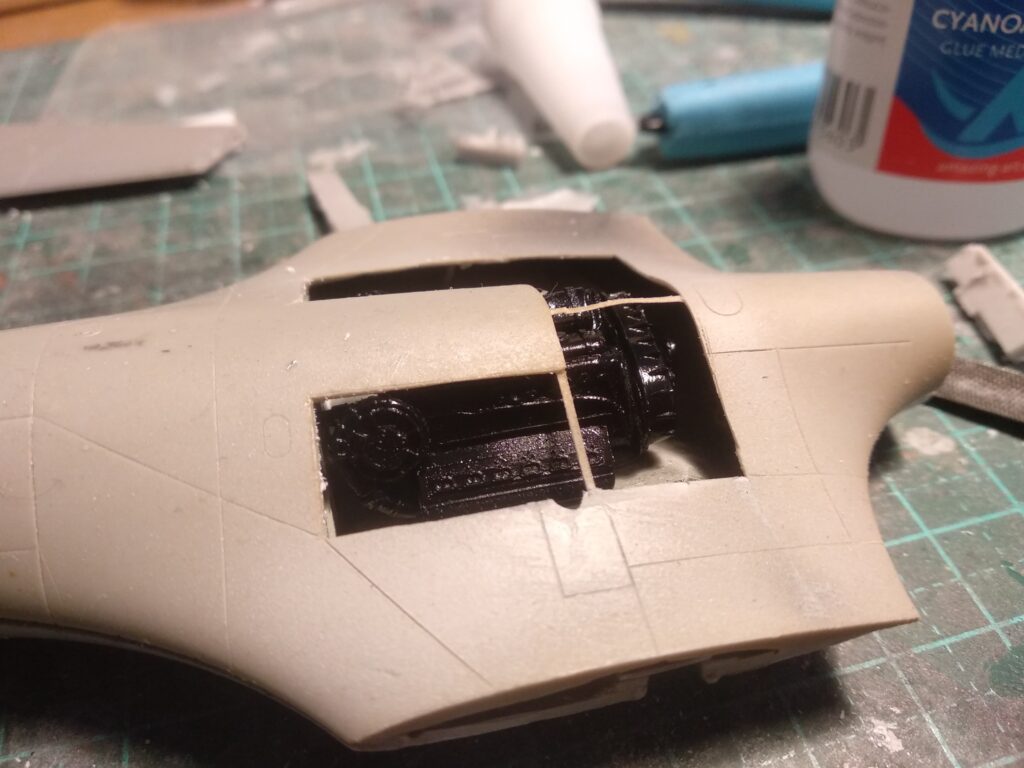
sits nice and snug 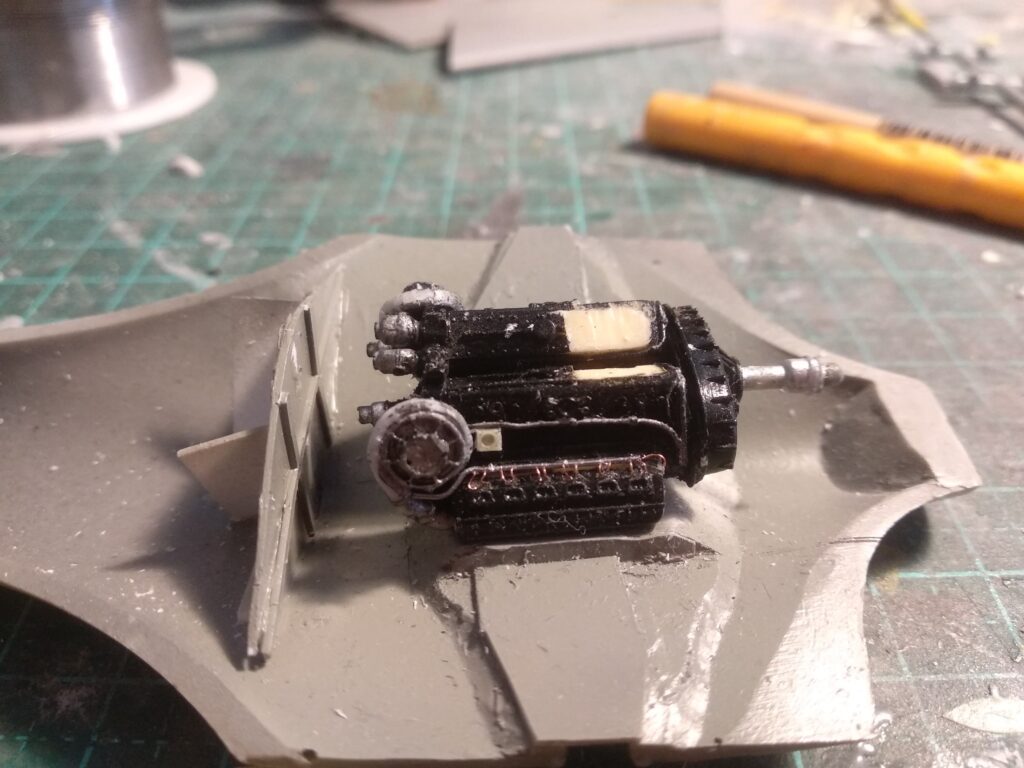
added some details


I then started detailing the engine by adding the turbocharger and rear tid bits such as the magneto, oil filters and fuel pumps. These came from a DB 603, but it’s close enough to the DB 605. I needed edit it anyway as I needed to mirror it for the left engine. So a lot of cut up resin casts glued back together I think it actually came out quite convincing.

Engine done and glued in place 
added exhausts 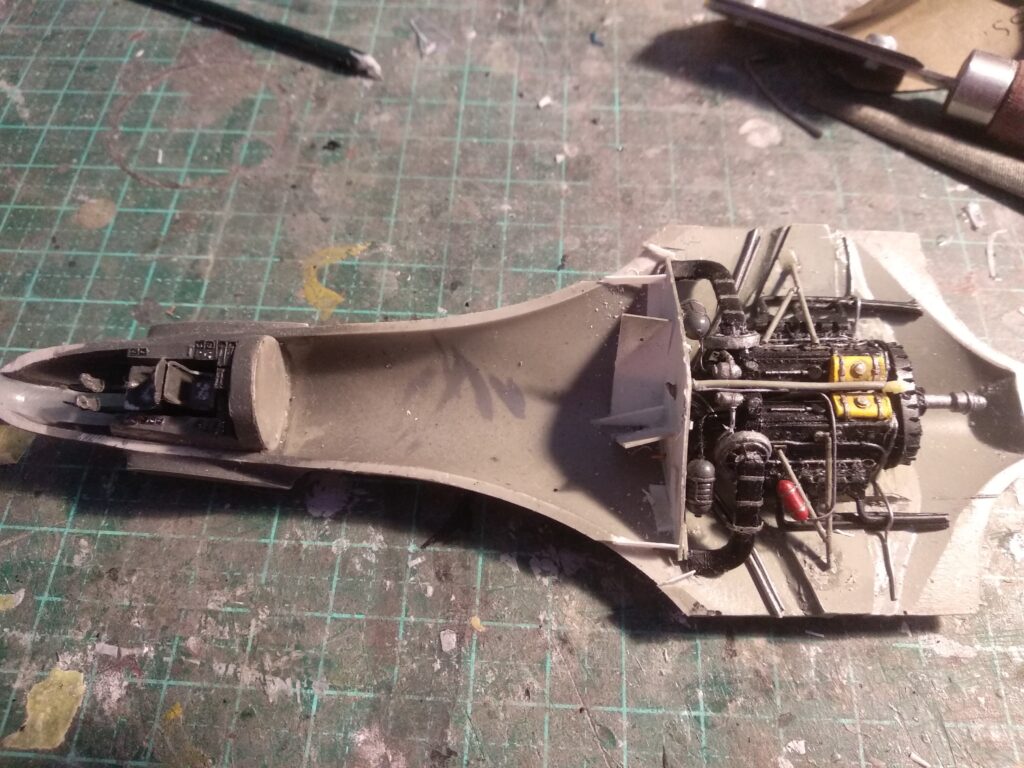
added framework, air intakes and various details
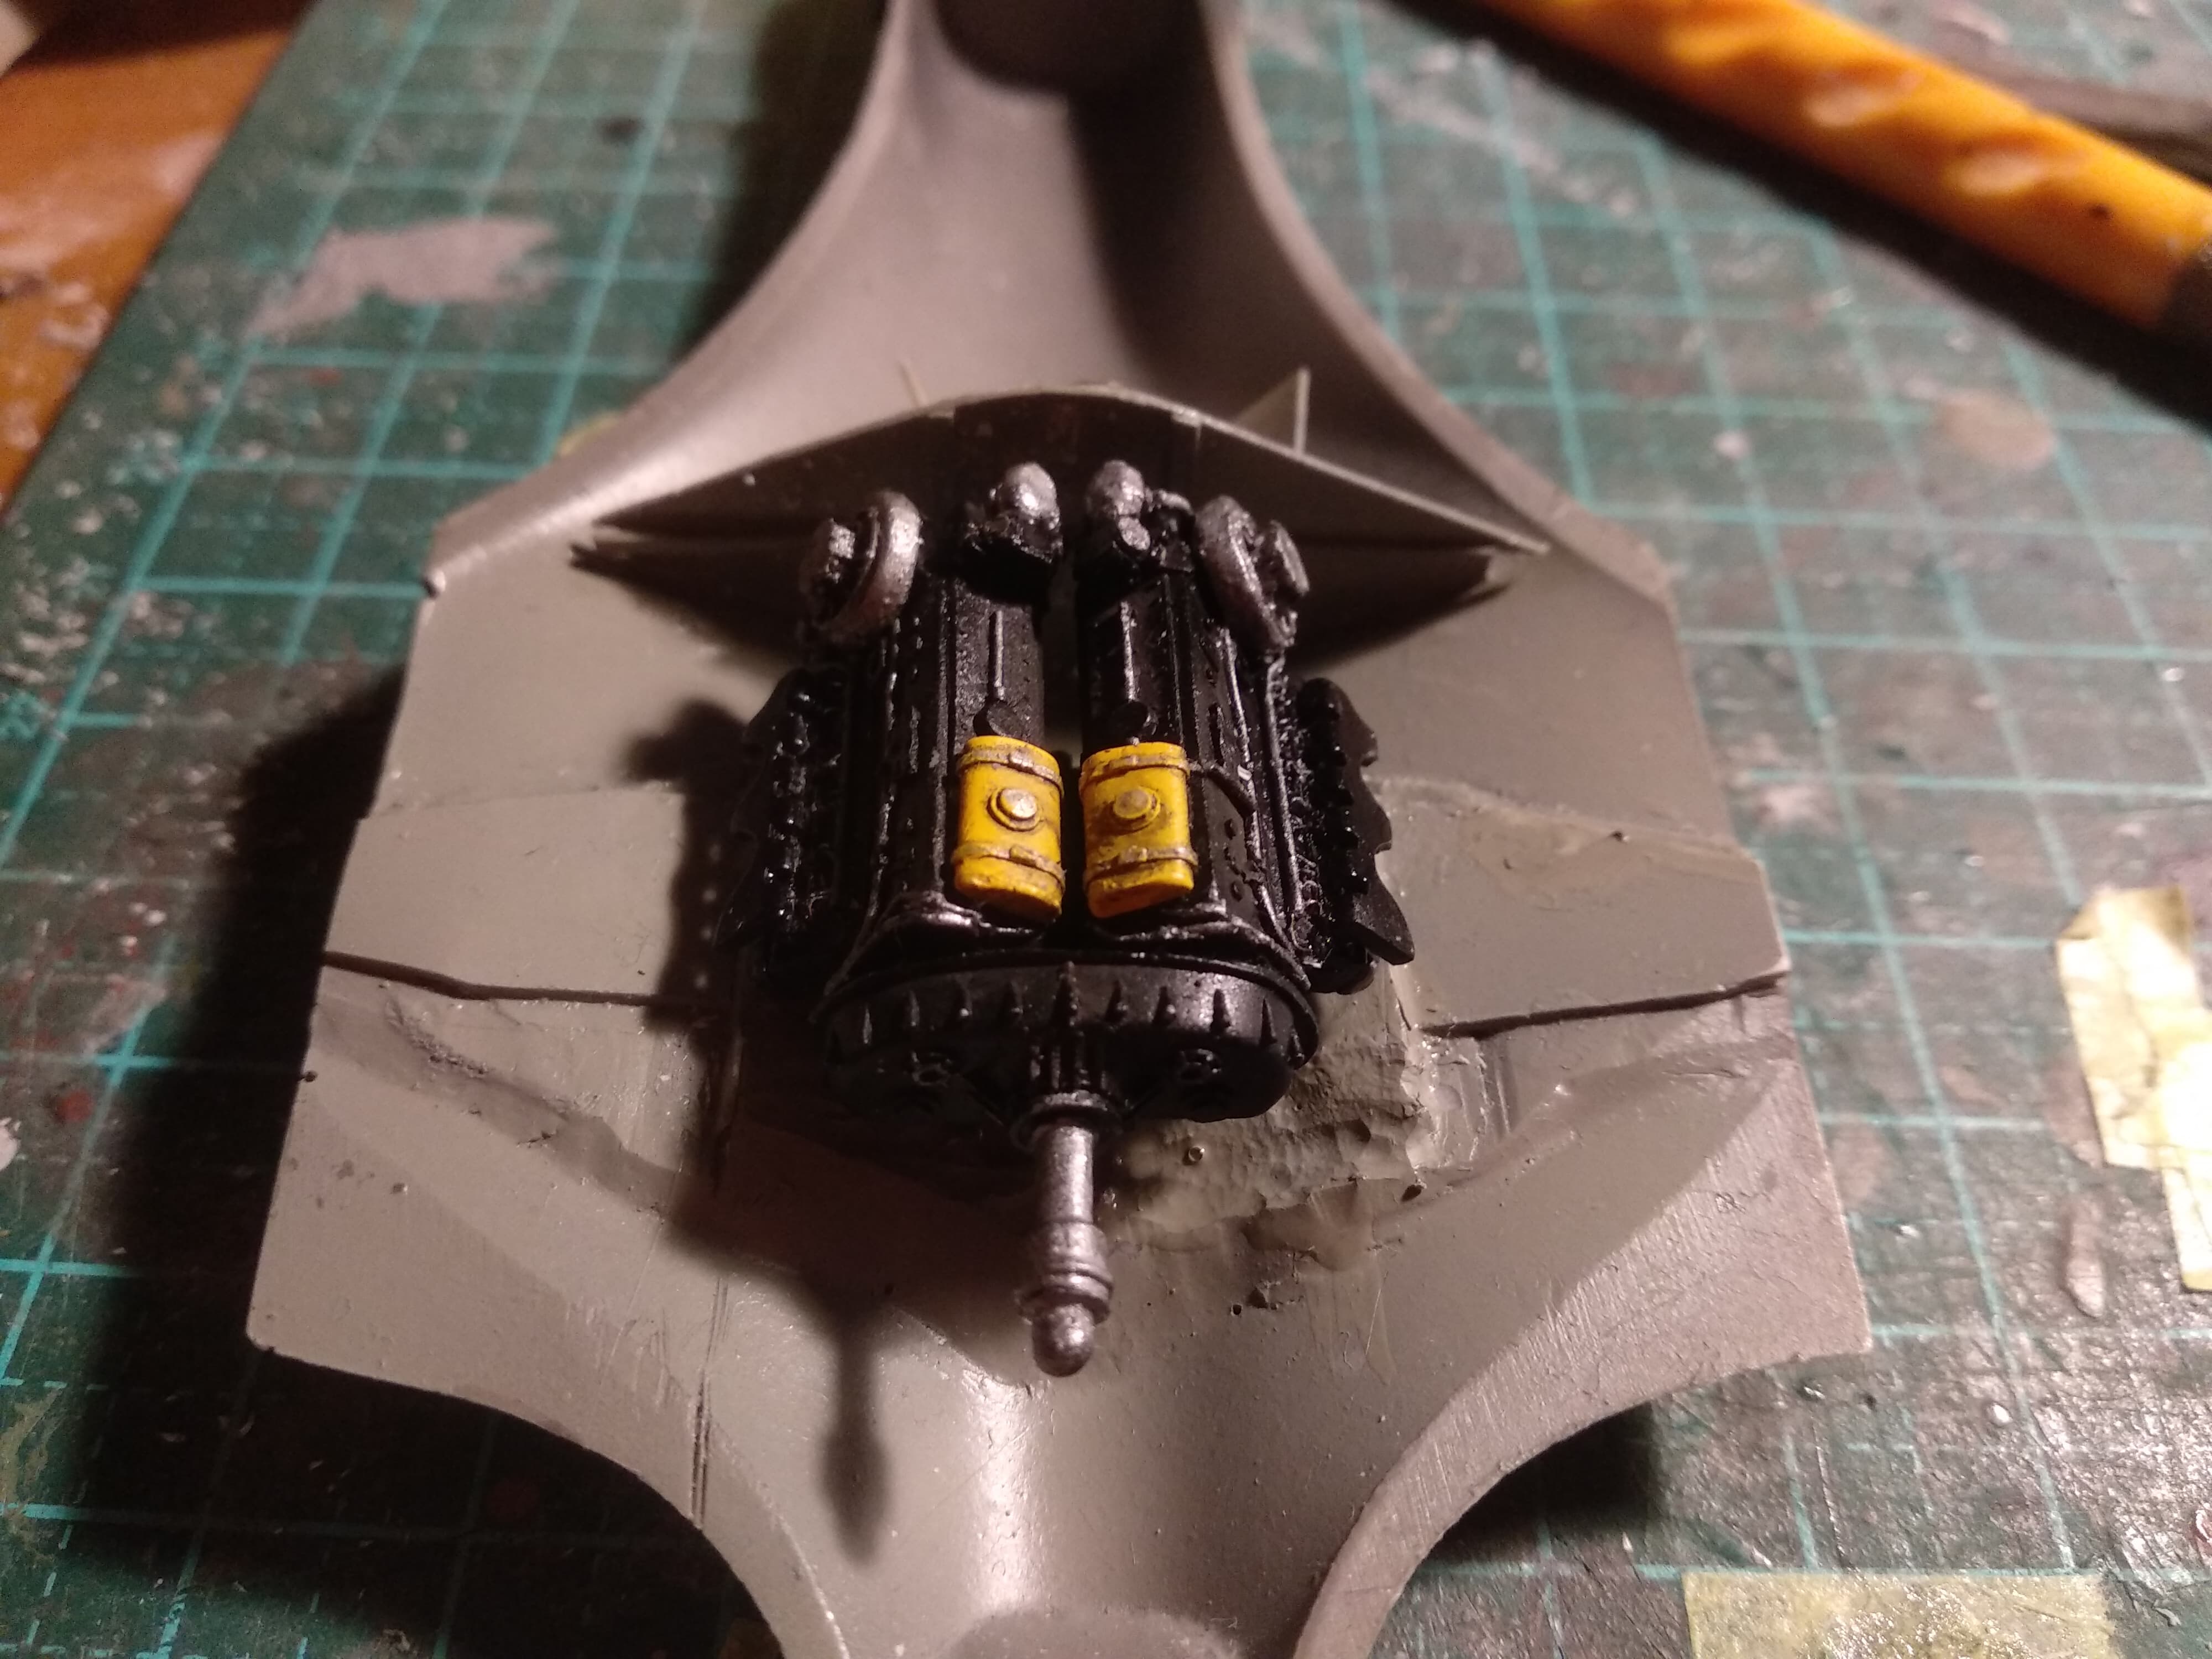
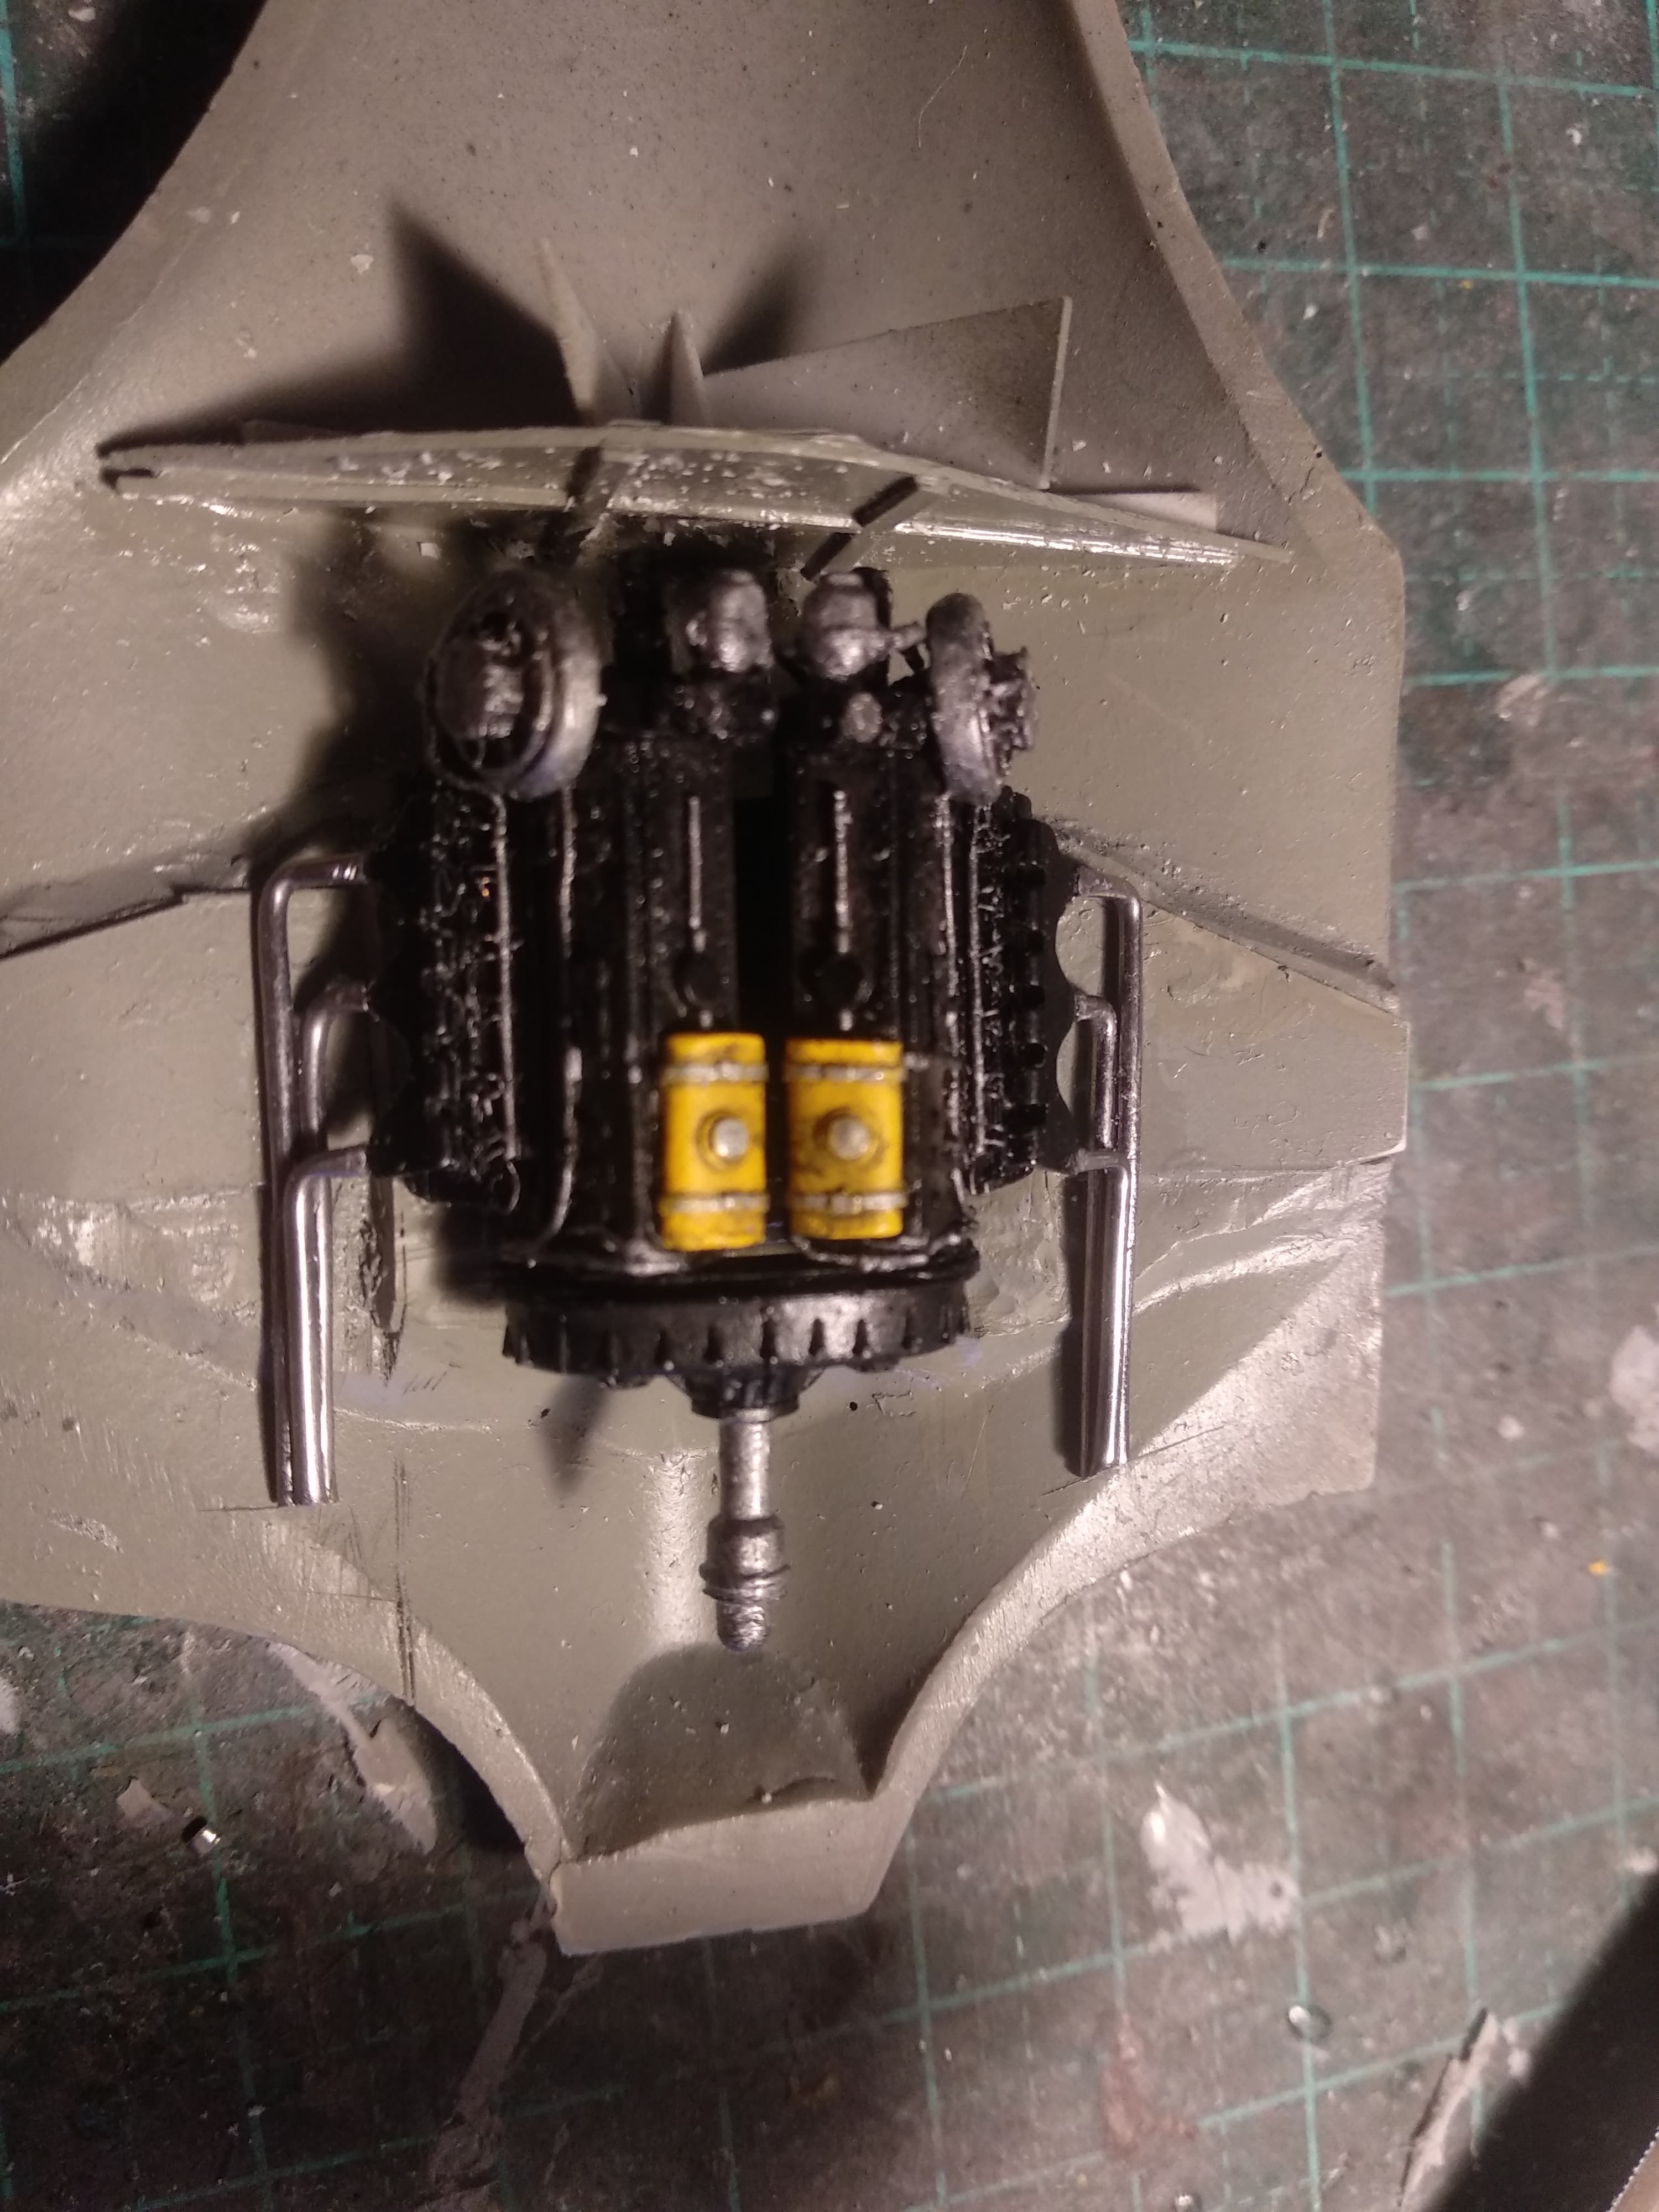

After the engine was finished and glued in place, it was time for the surrounding details. The drawing shows two air intakes, one on top and one on bottom. It doesn’t further specify what their purpose is, but neither are in a good position to serve as a intake for the turbo’s. So i added new intakes in the wing roots with air ducting tot the turbo’s Some other details such as engine support based on the He 177, various tanks and tubing was added.
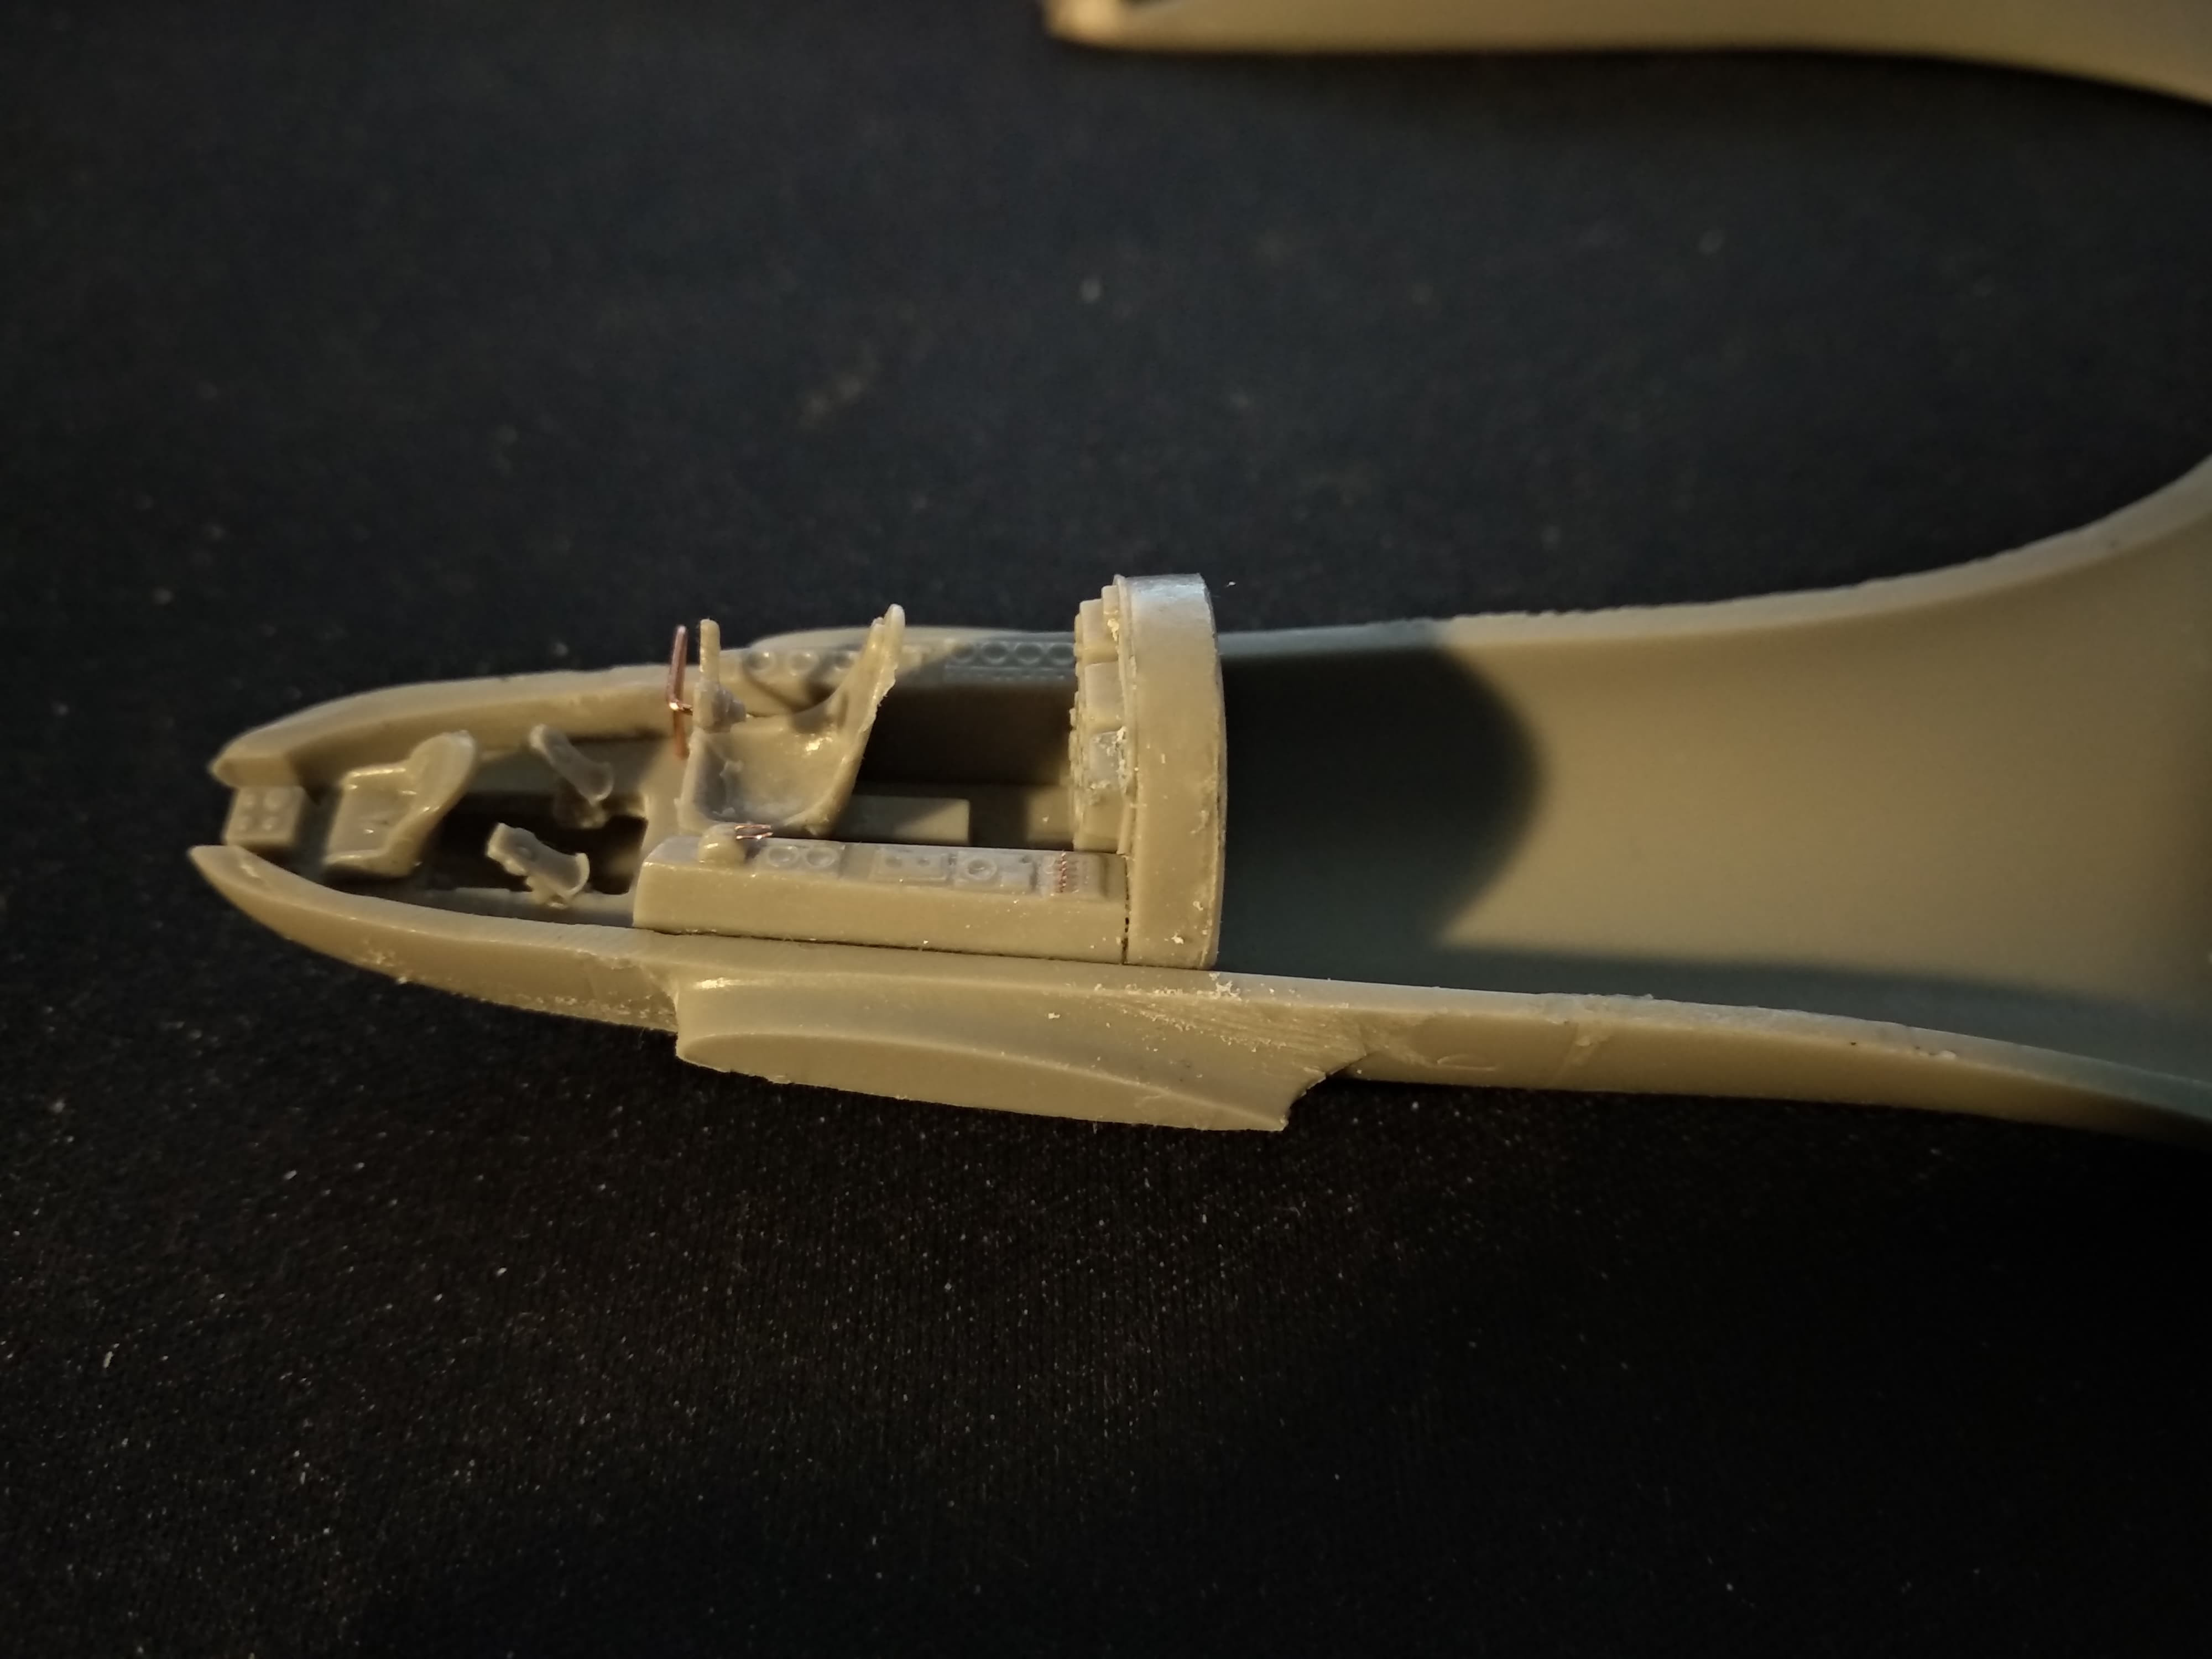
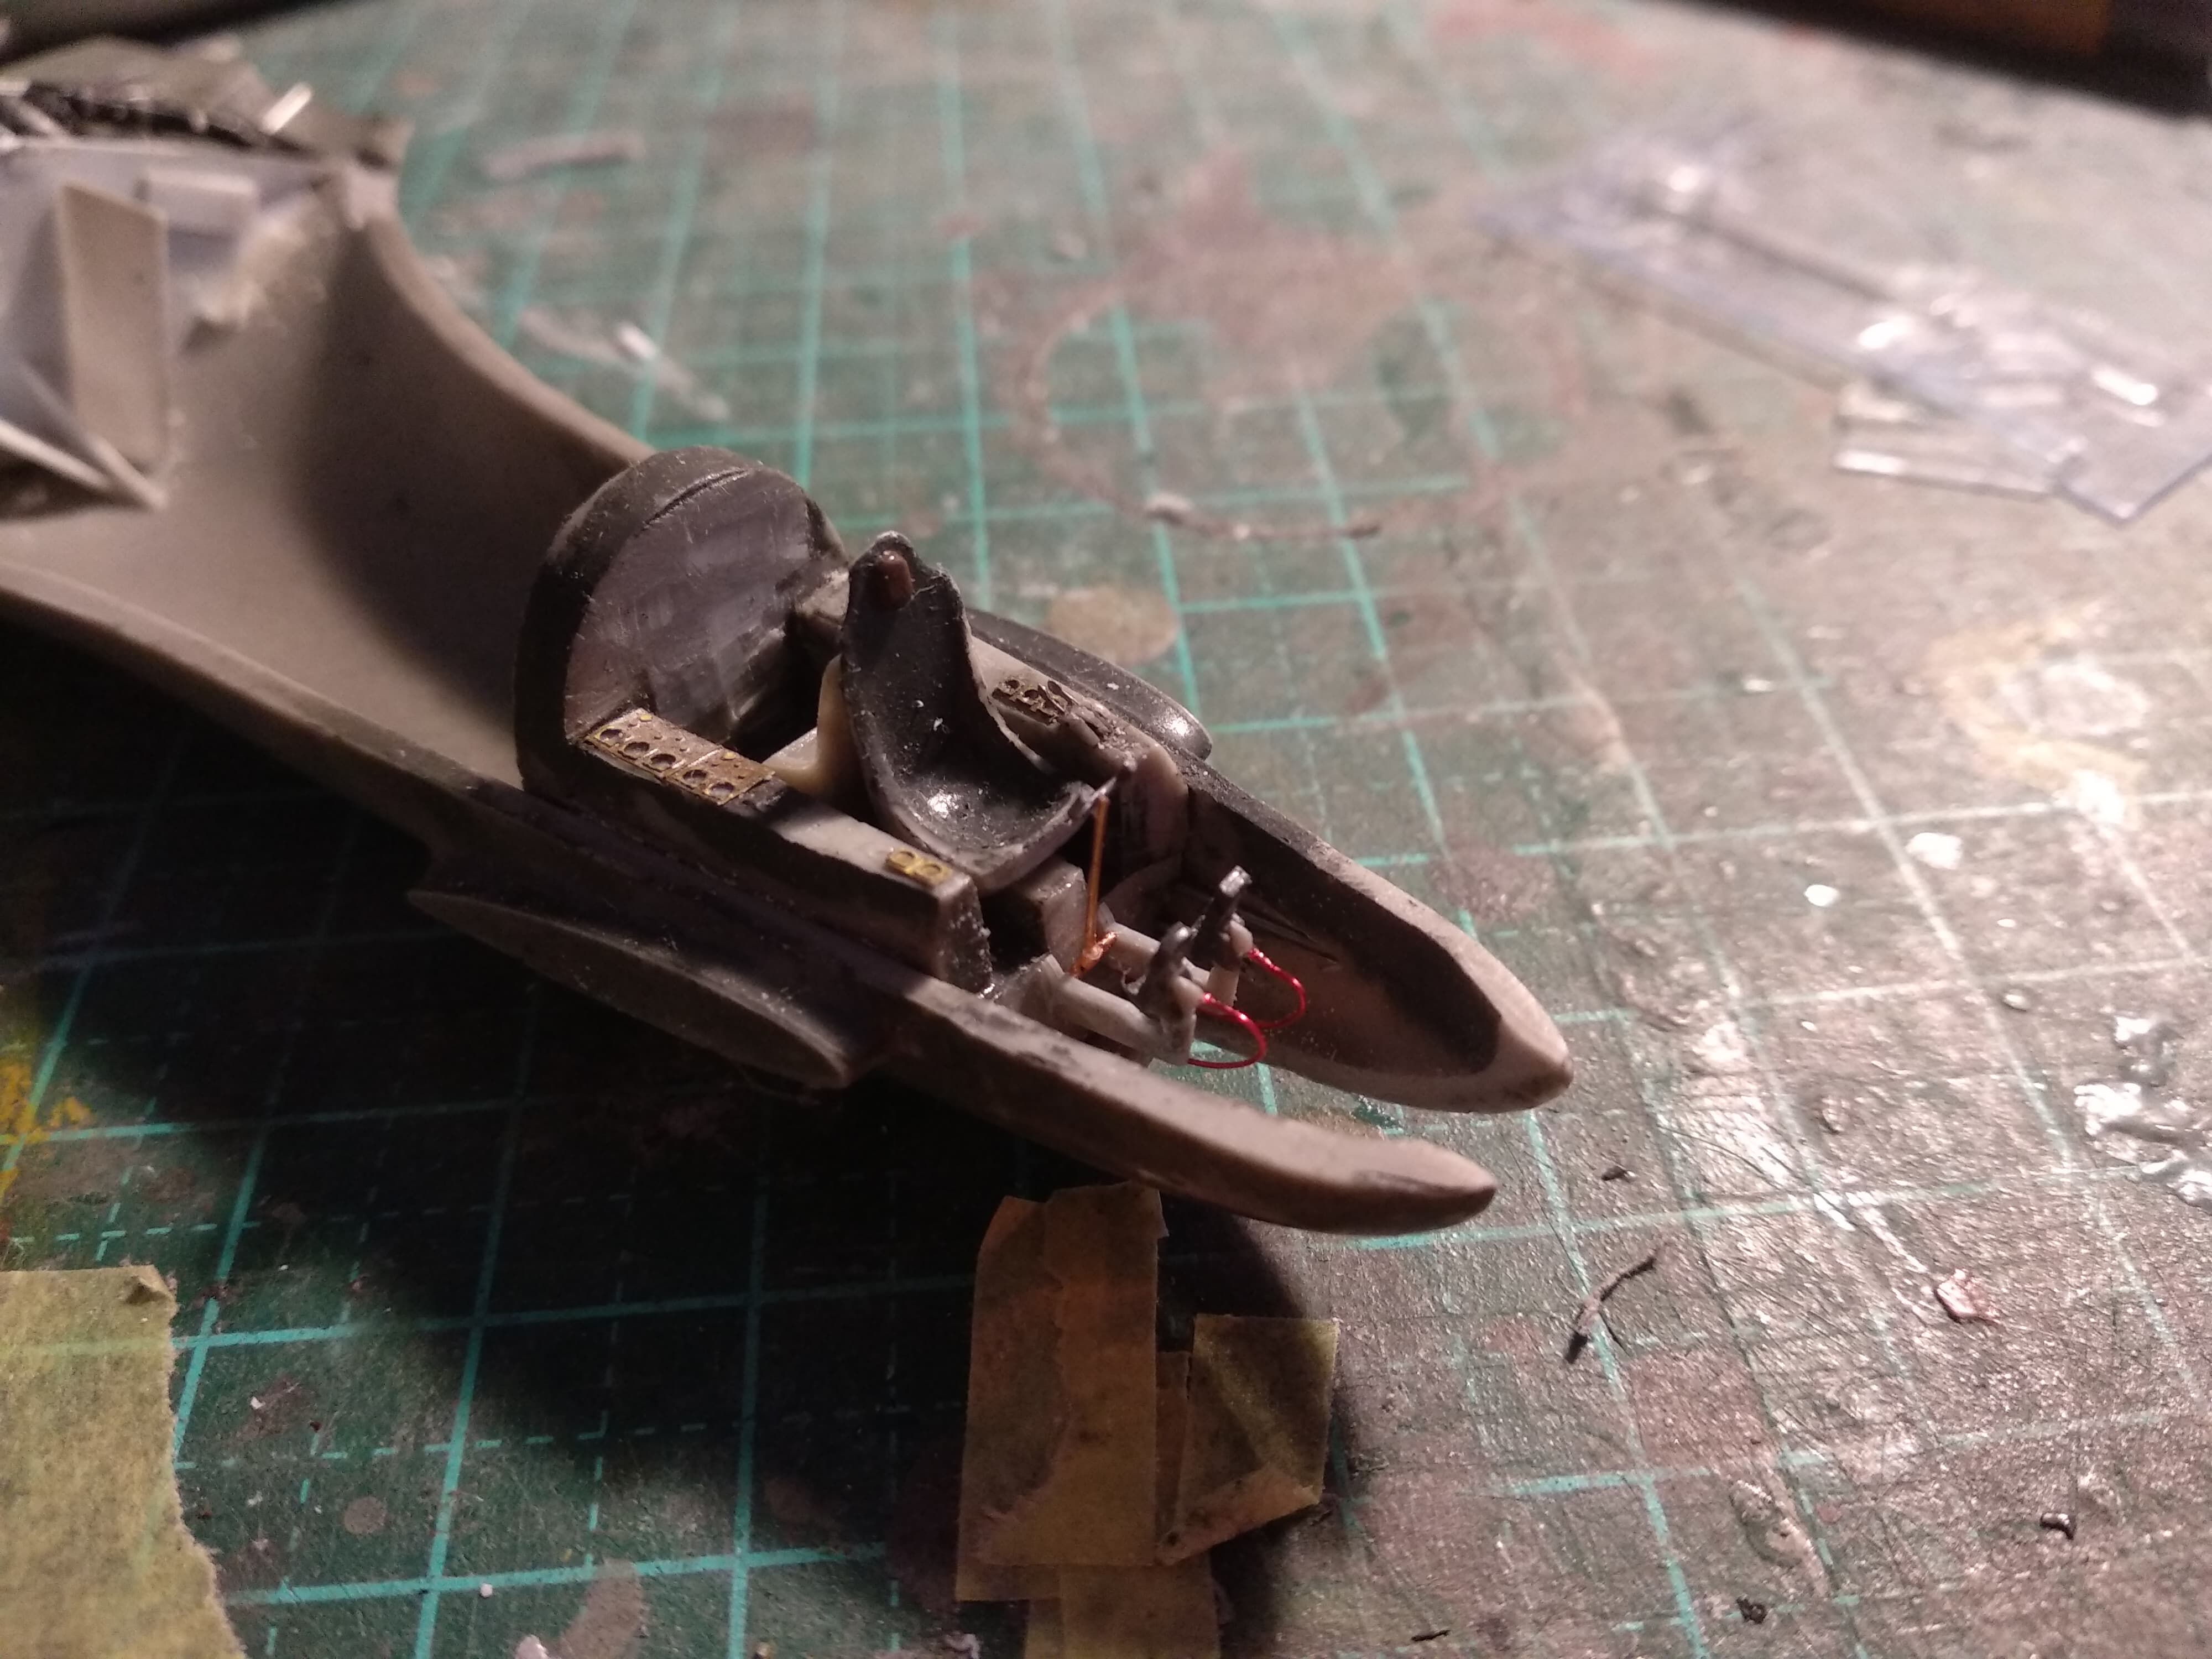
Cockpit
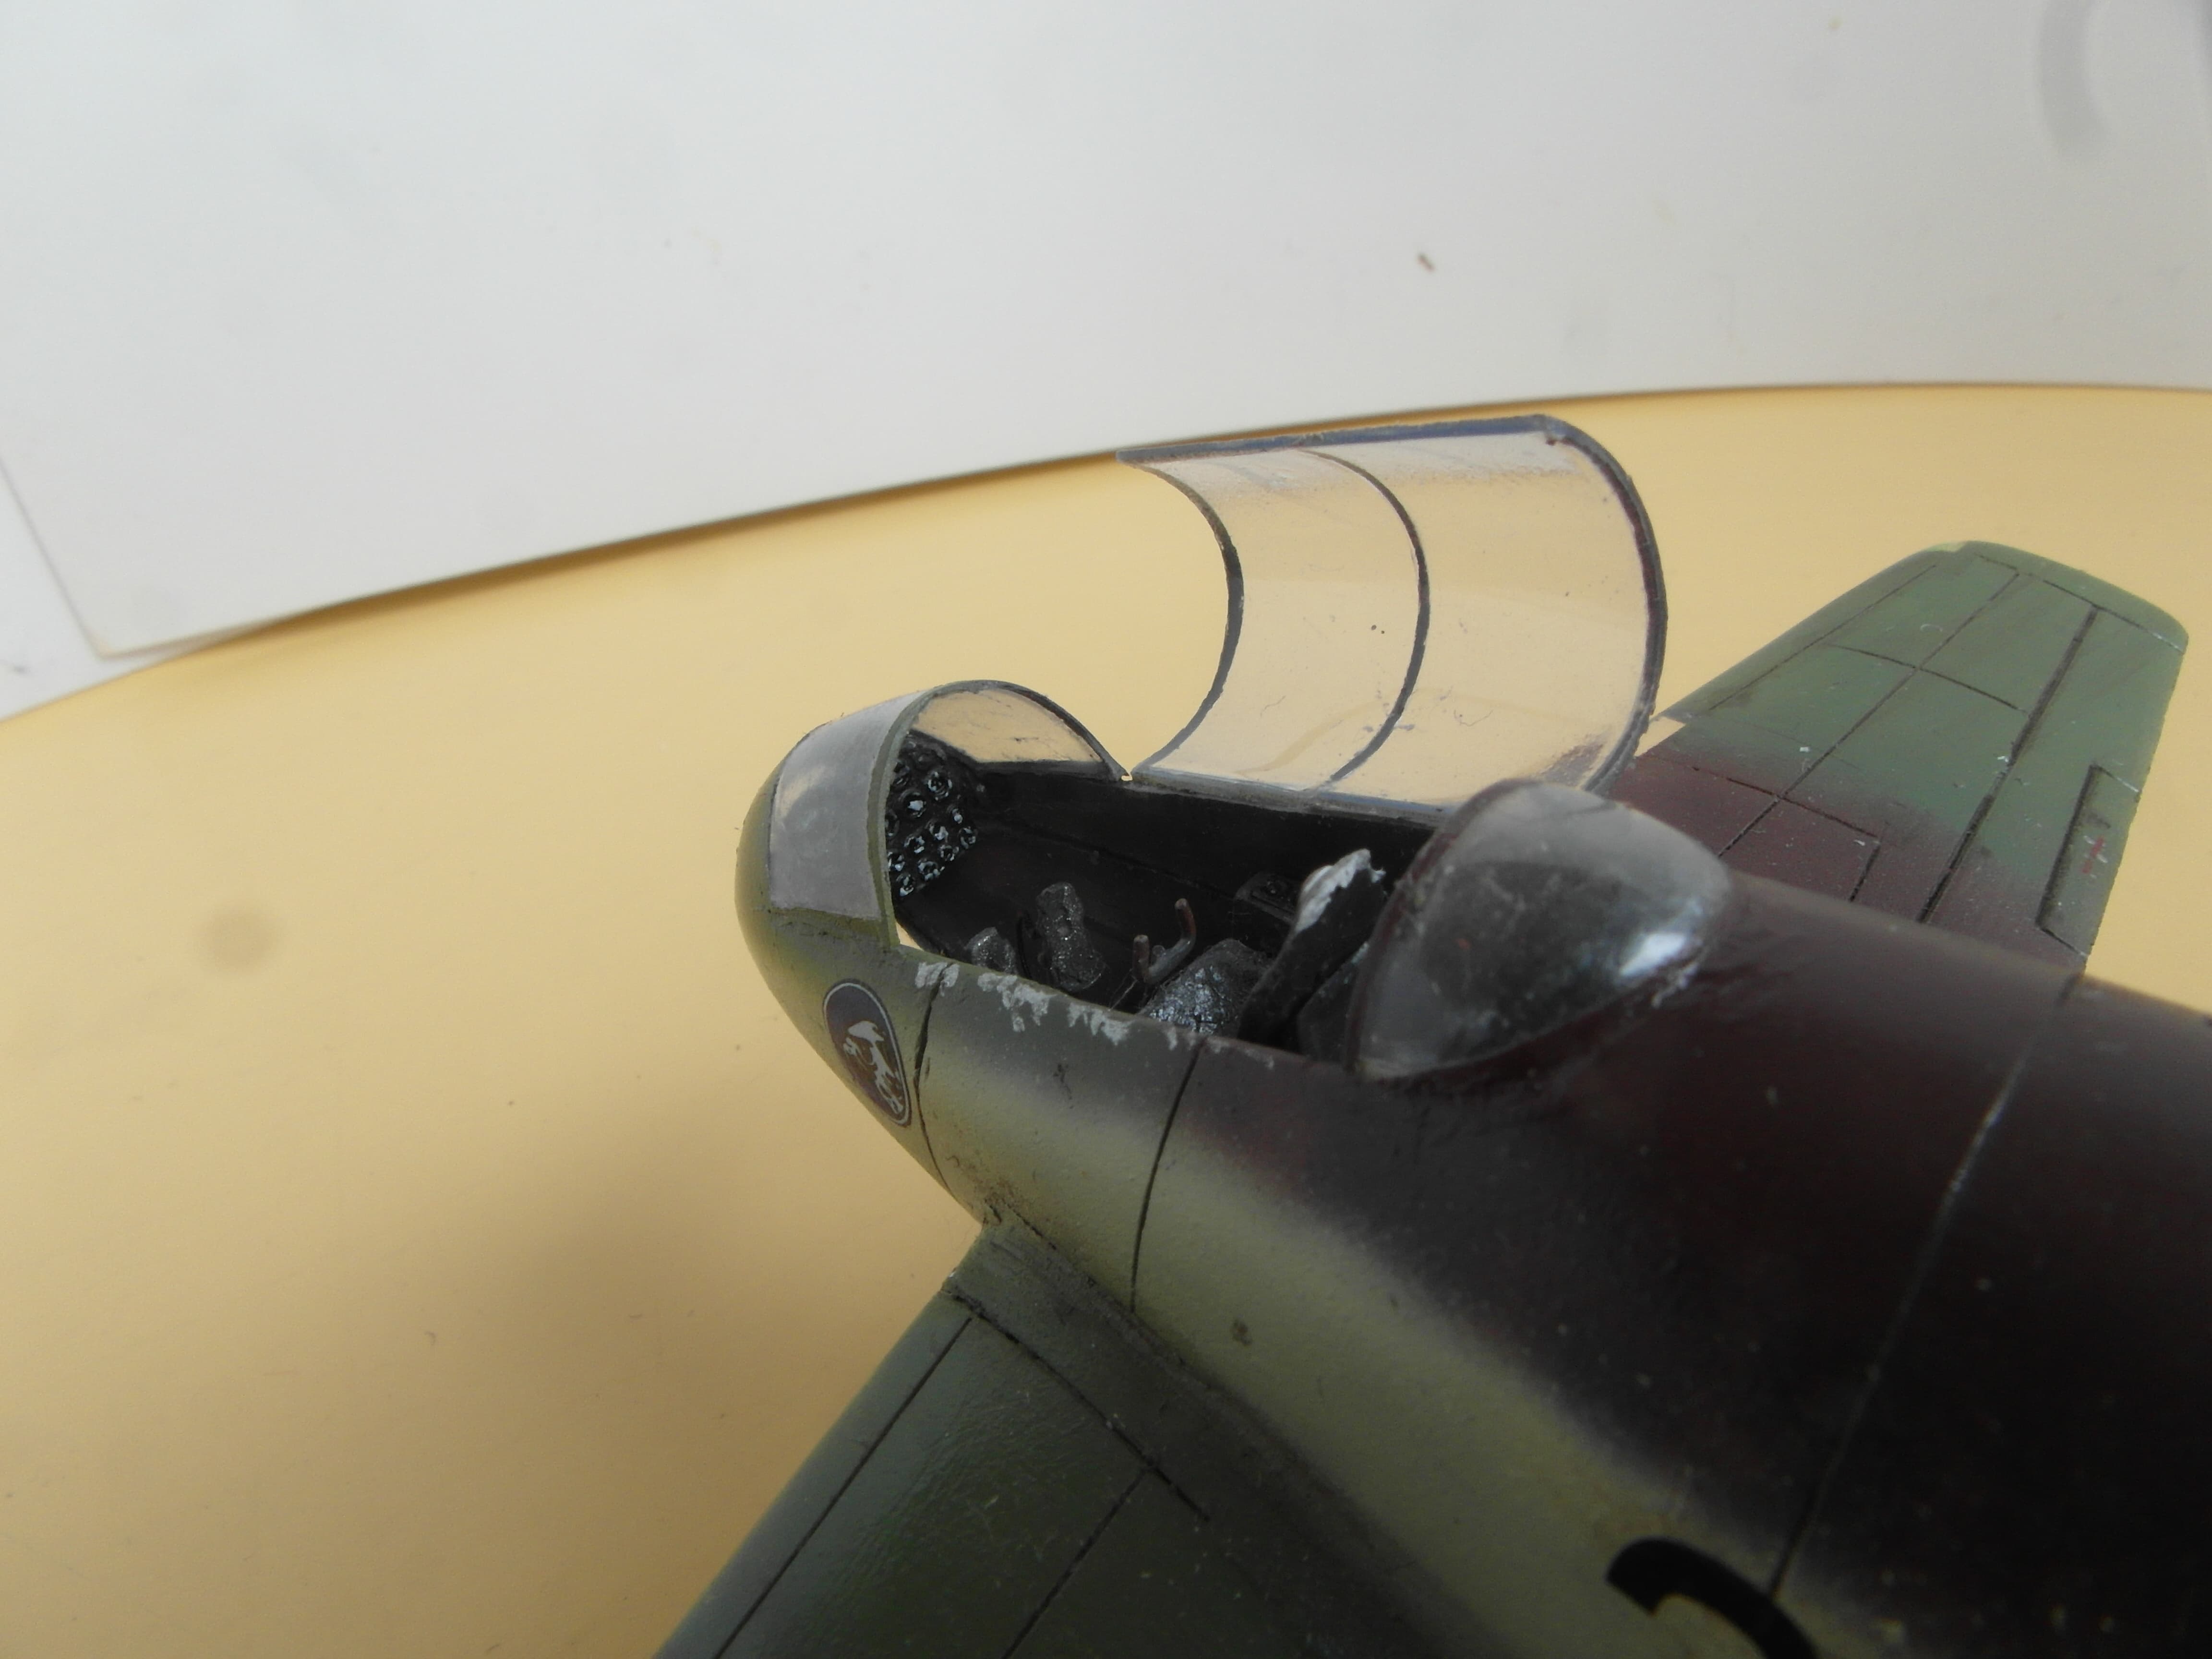
The kit has a three person cockpit, which becomes very cramped, especially for the bombardier (?). So i decided to scrap that position, giving the pilot a better view out of the bottom window as well. As the details were kind of soft I also decided to replace them with spare photo etch parts.
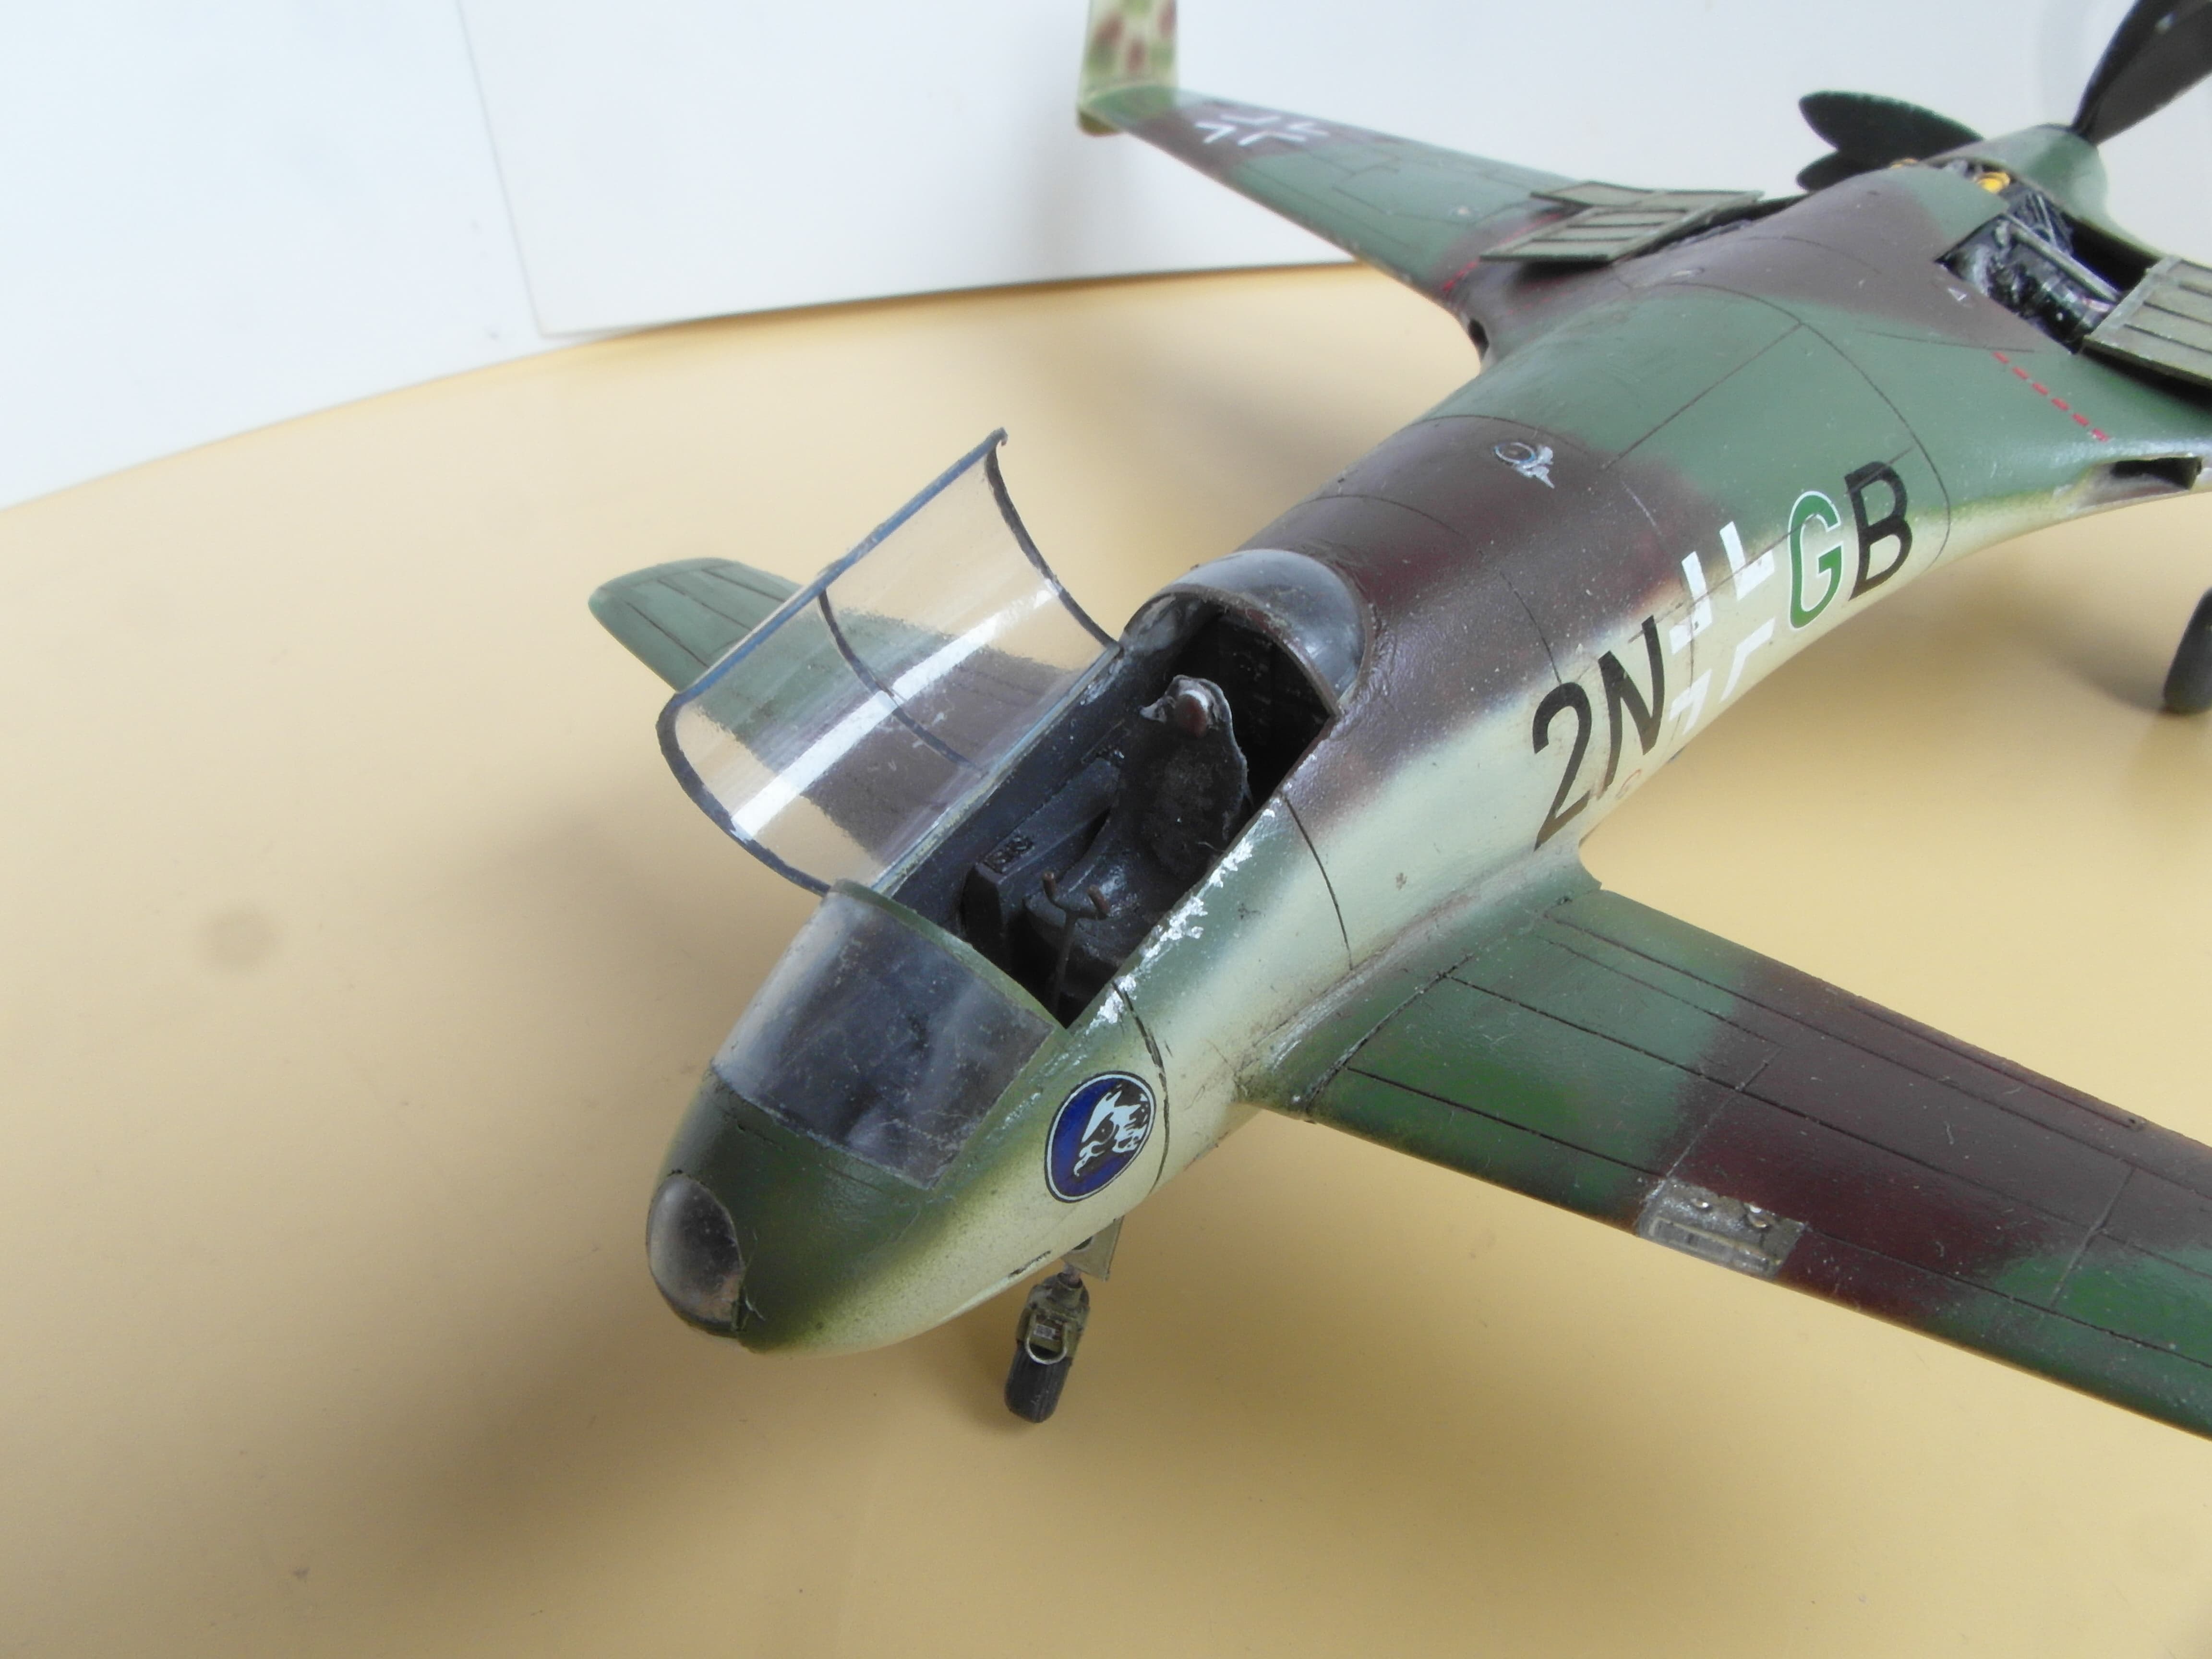
The canopy also gave me a lot of trouble, as it didn’t fit properly at the back. To fix this I used both canopies and placed it in an open position. To make the bottom part sit nice and flush I needed to sand it down and polish back up. In the end it’s not perfect, but good enough.

Original cockpit setup, before the shelving 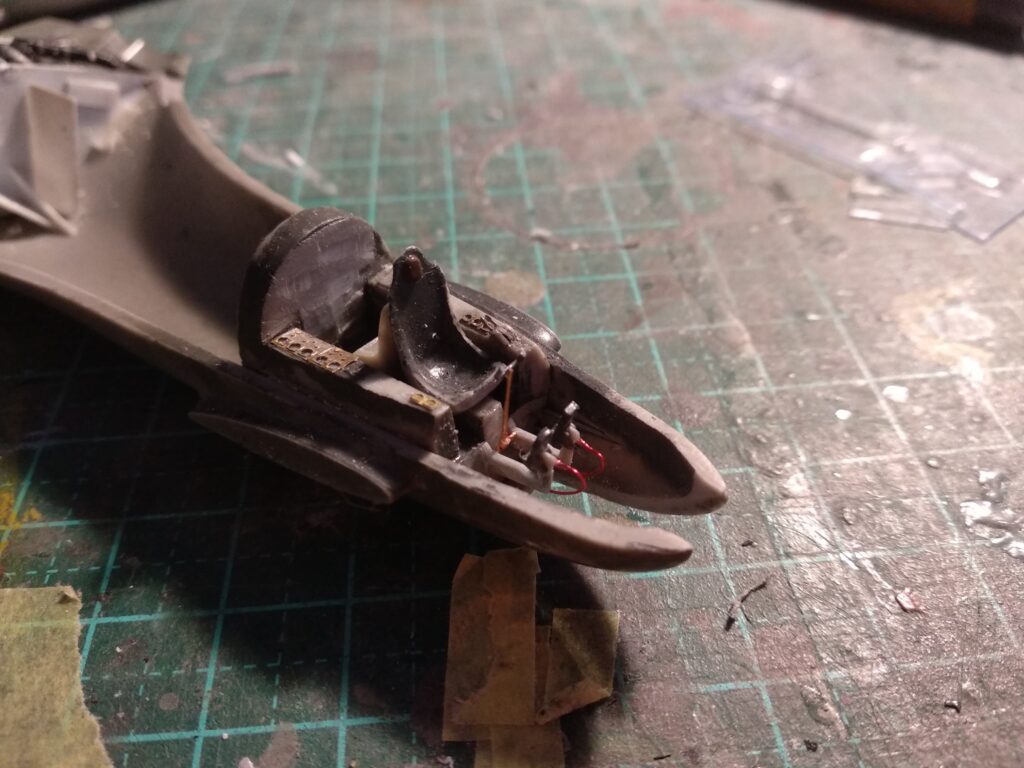
better cockpit 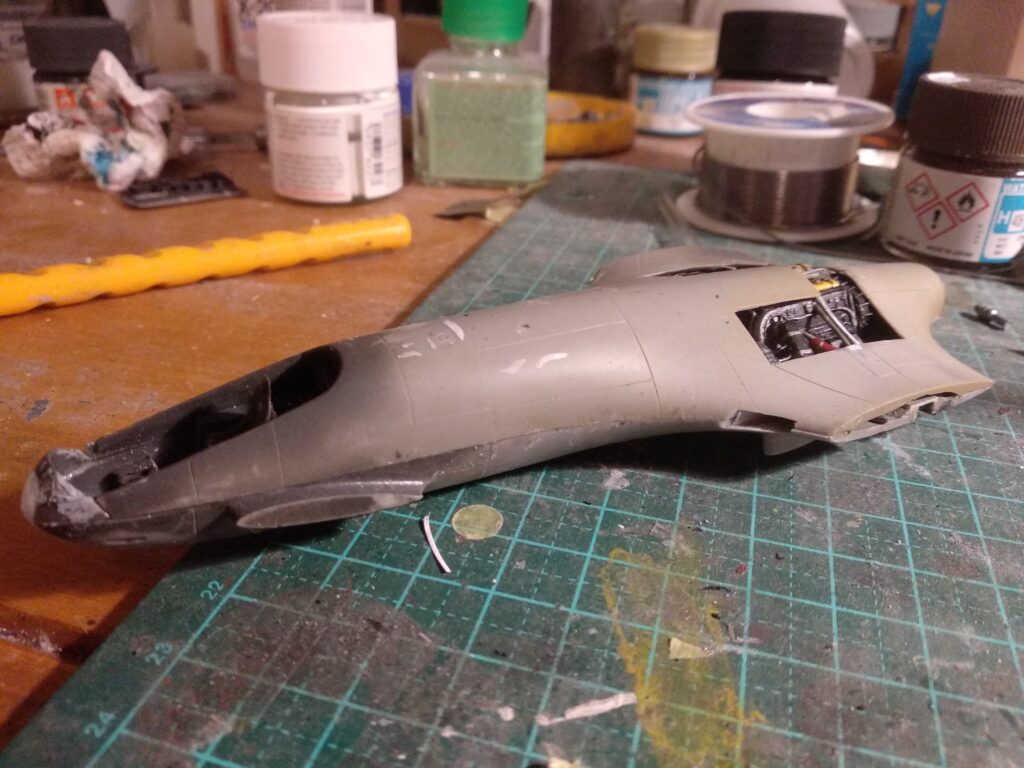
All glued together

Further details
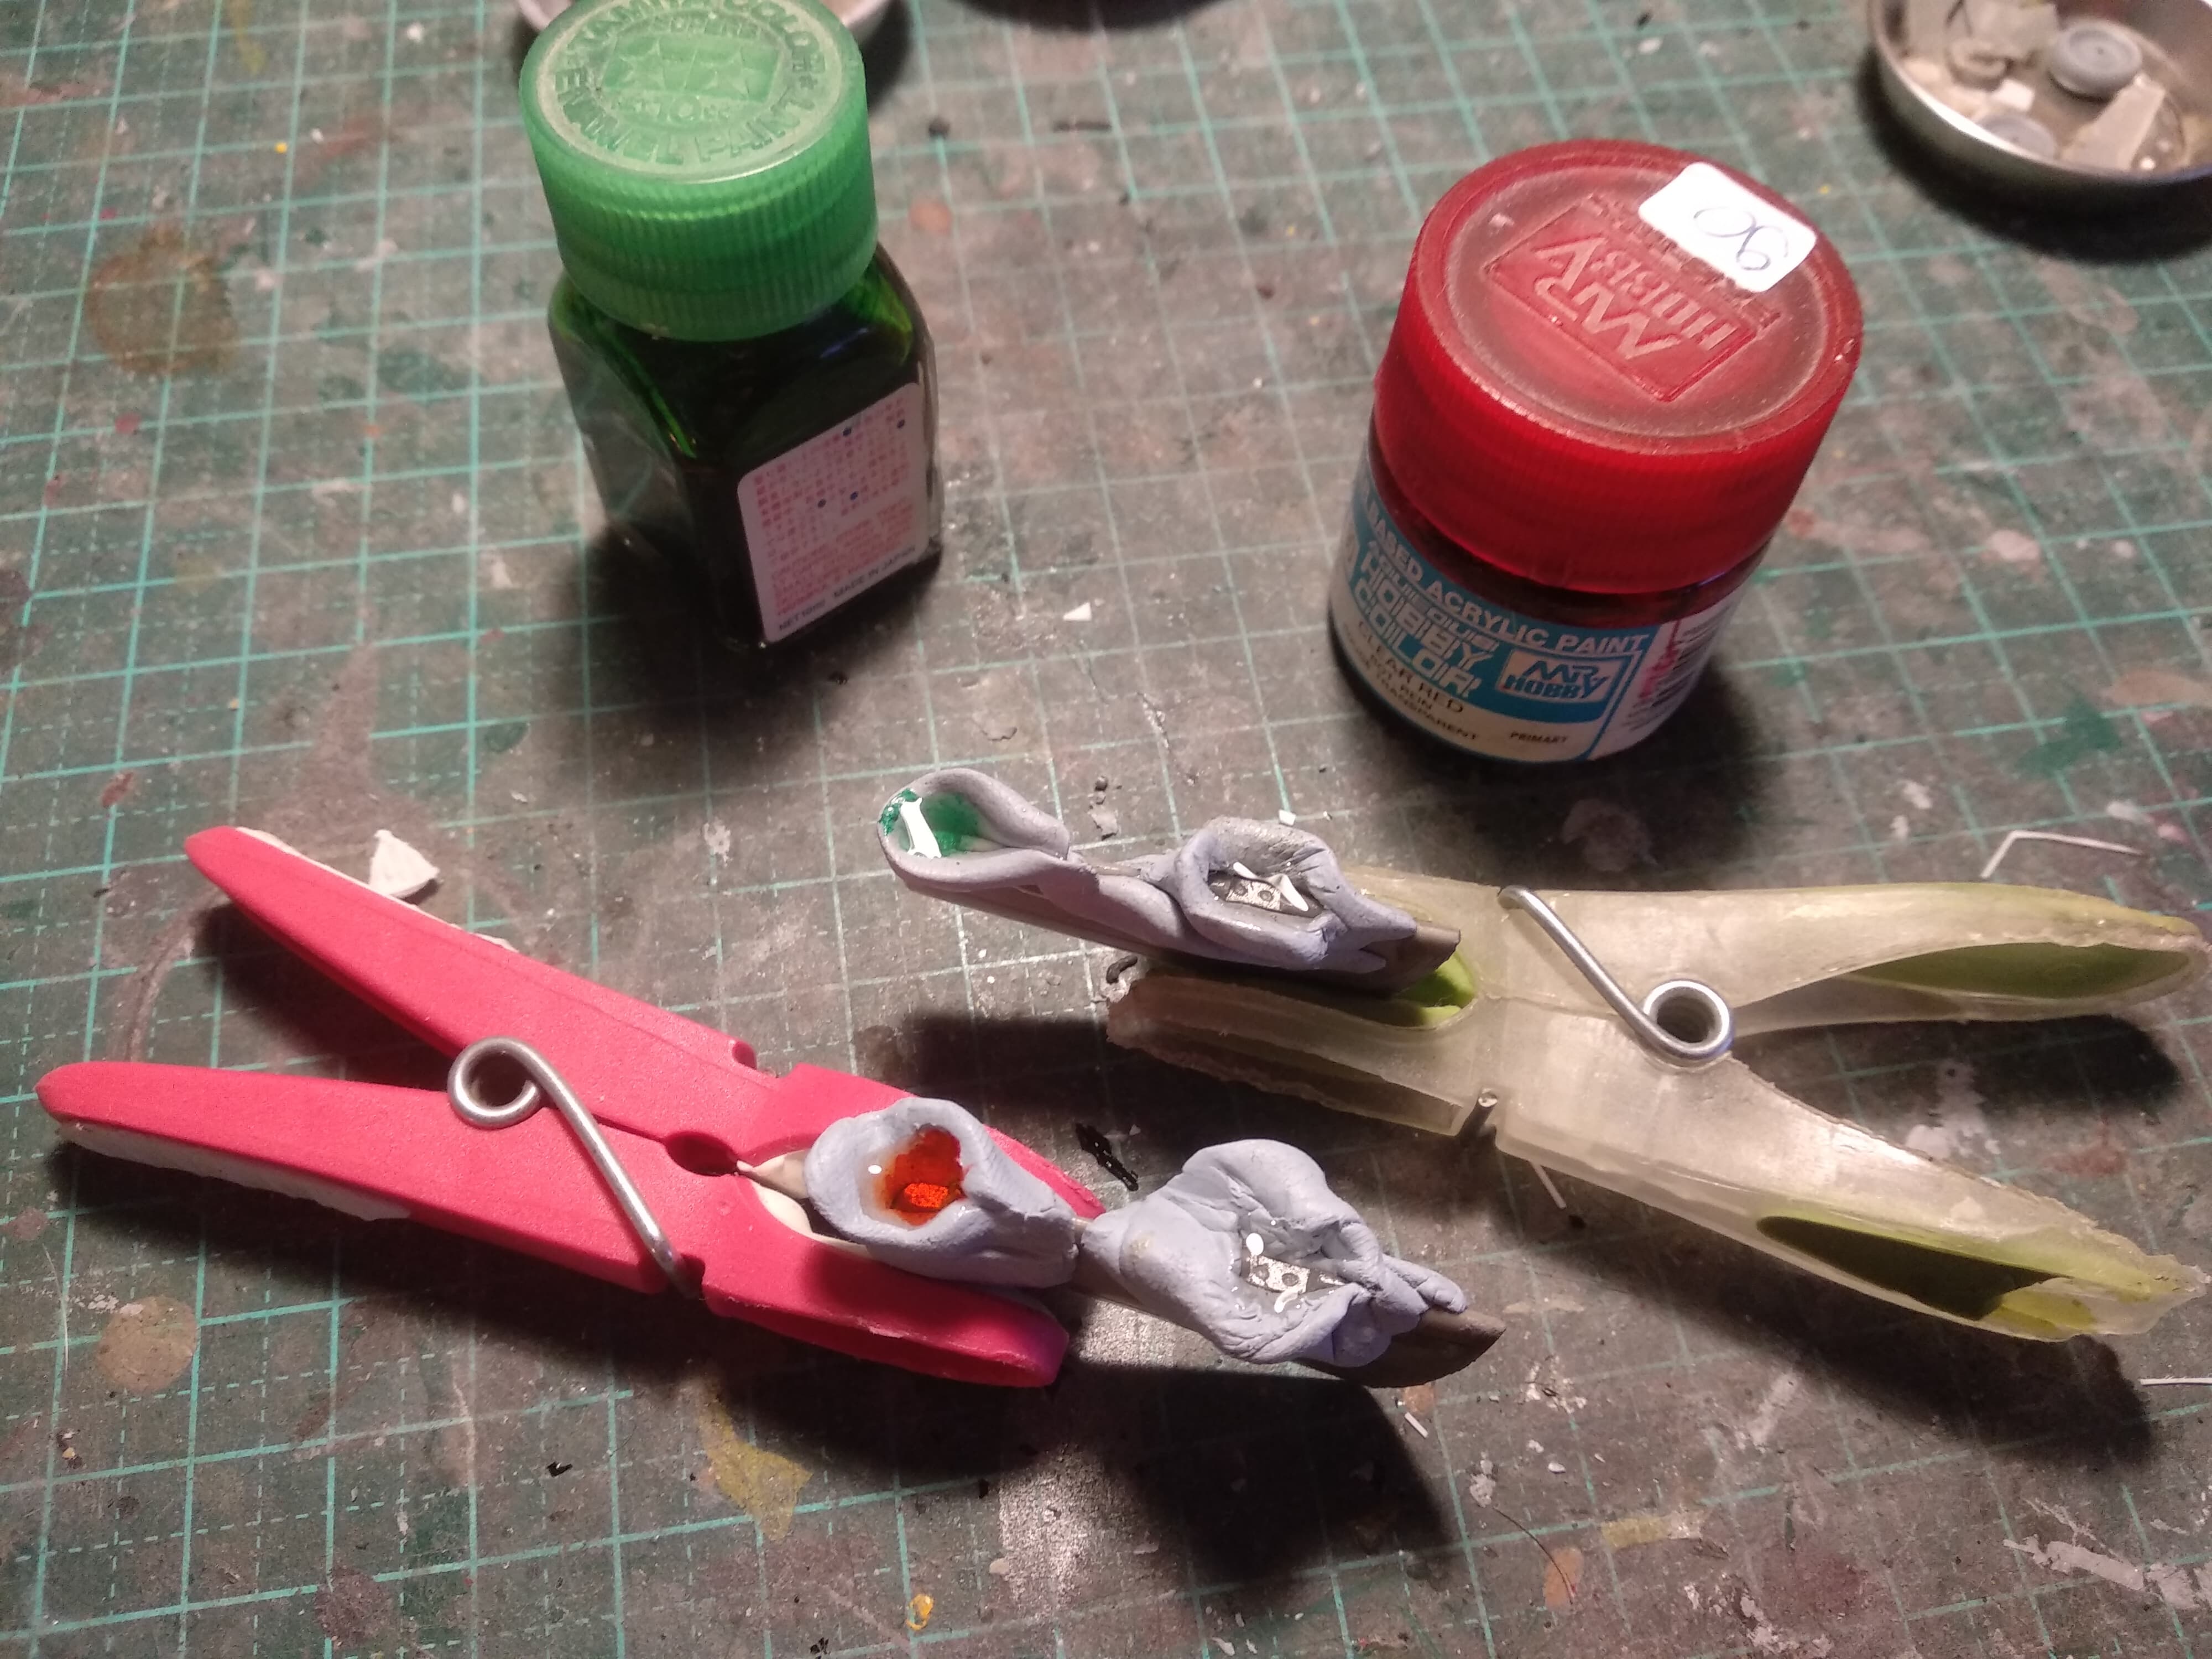
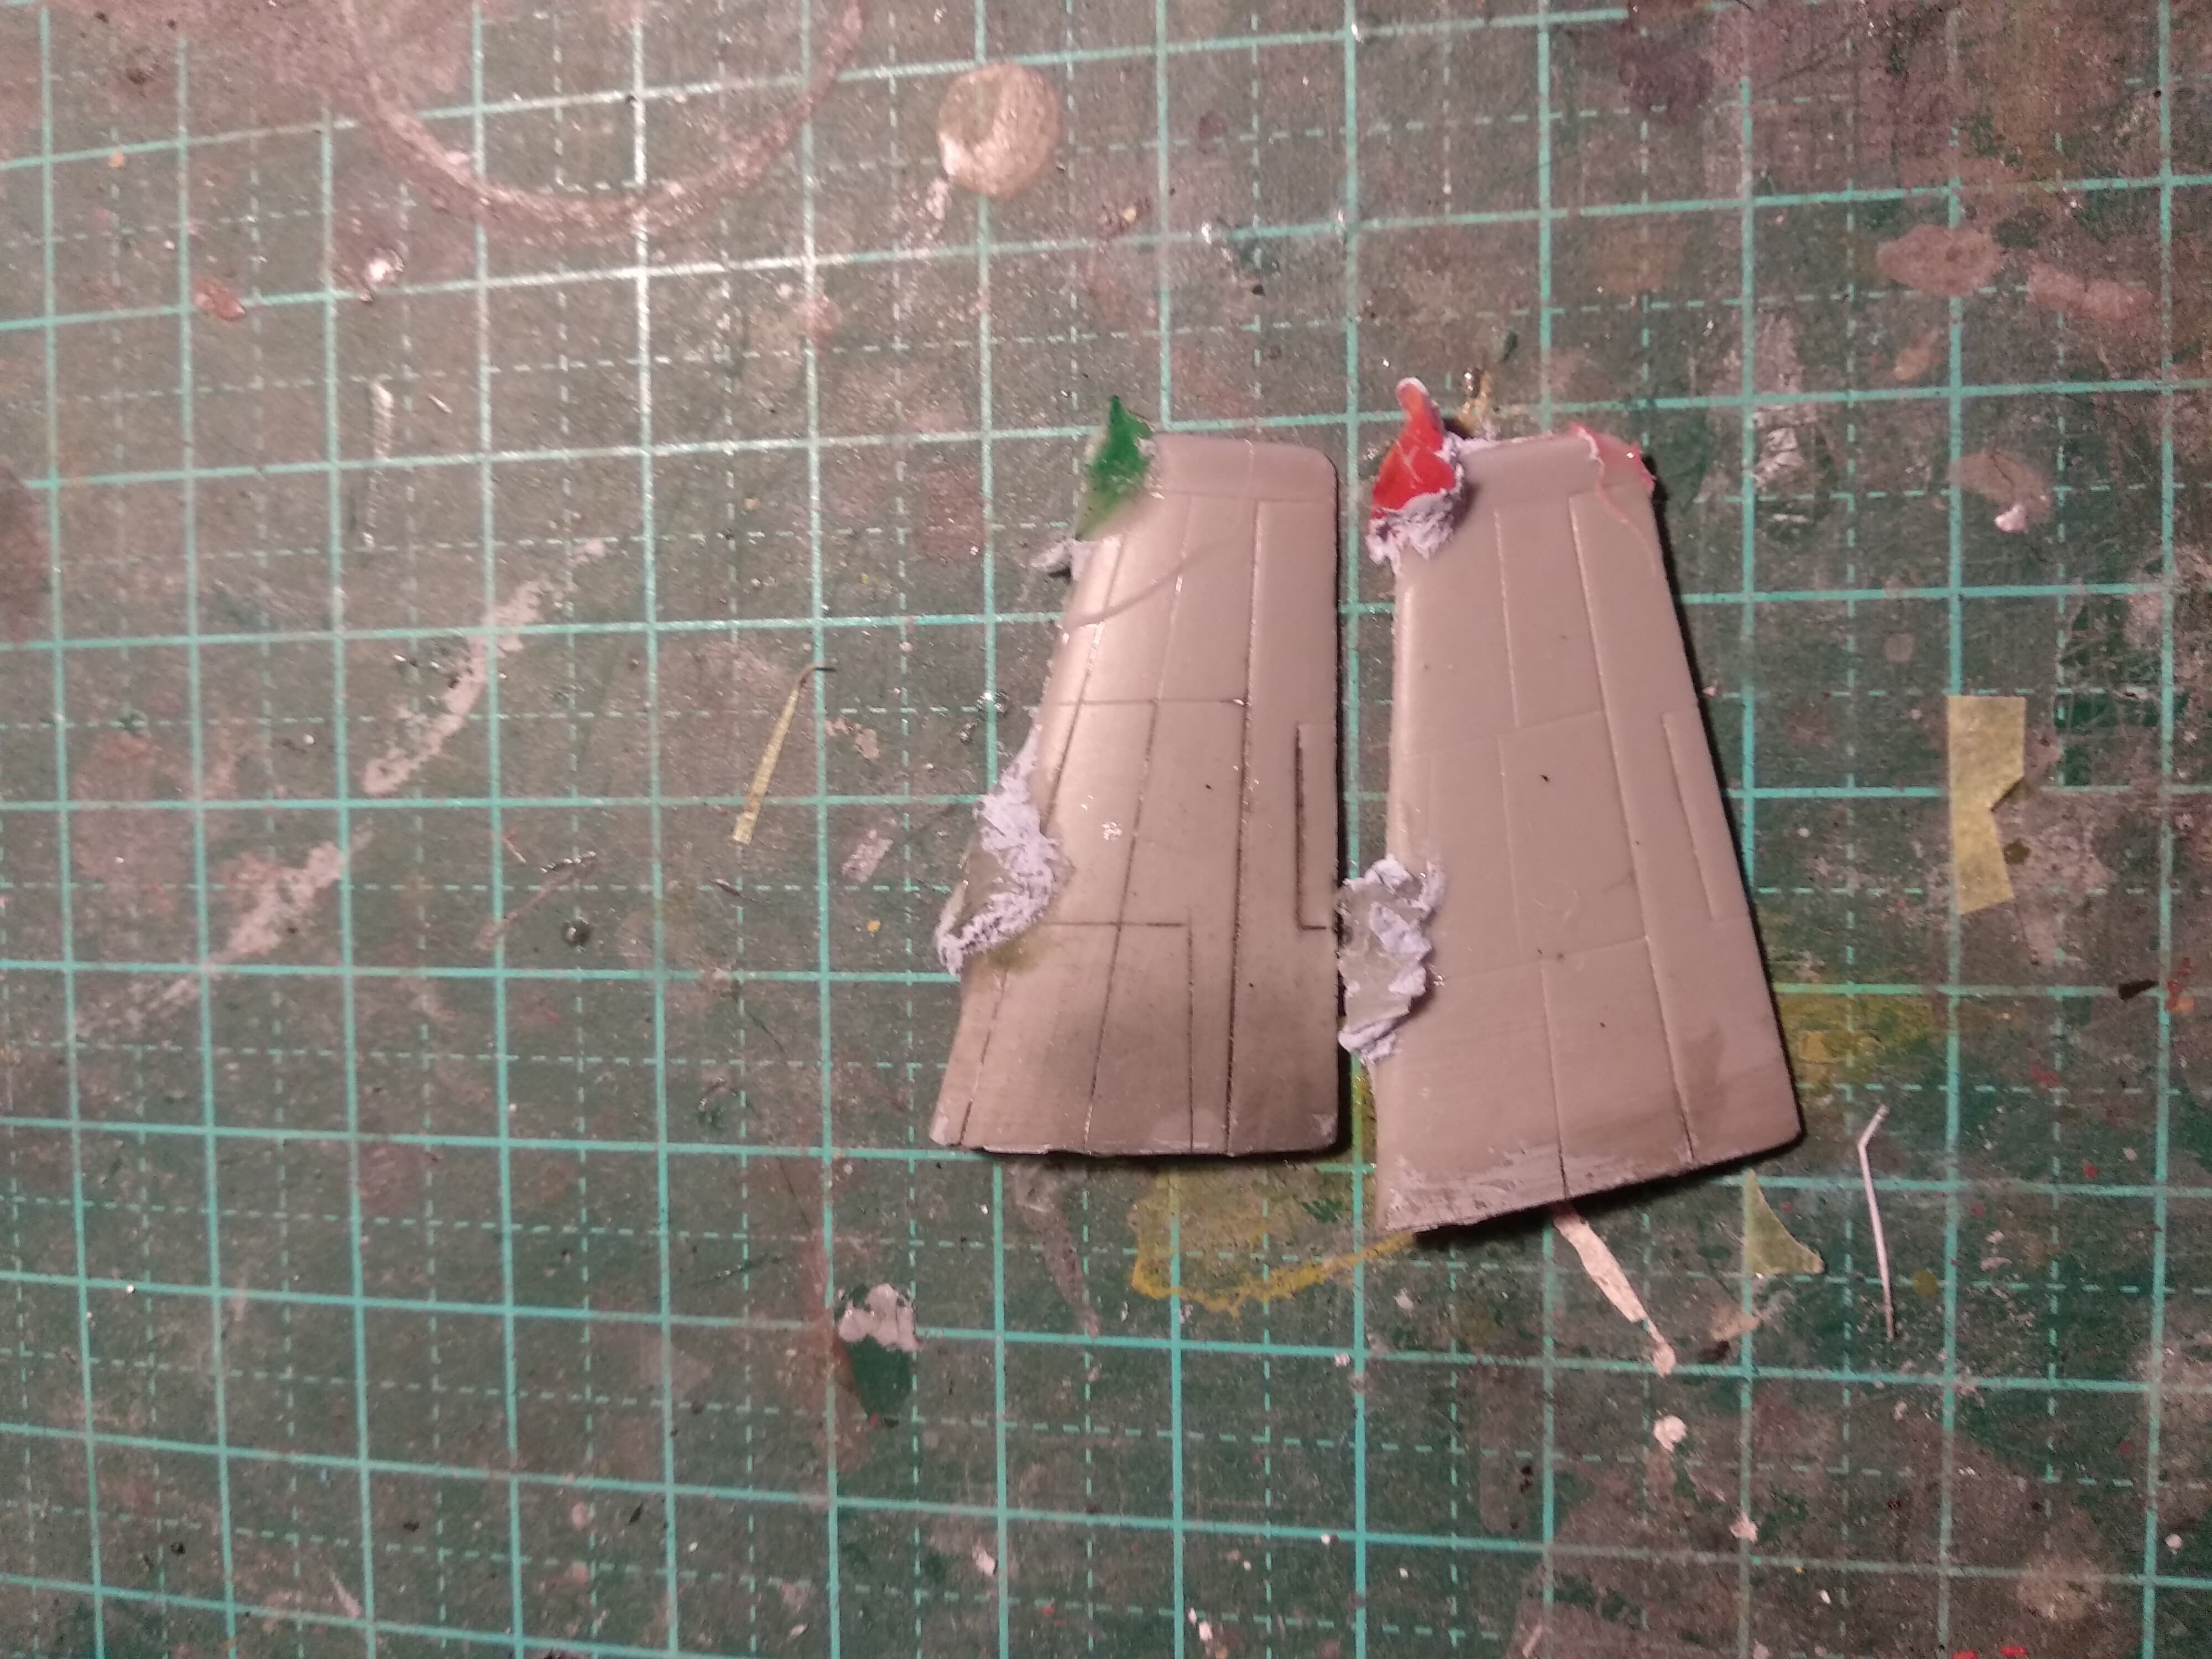
I did some more work on the model. I tried to add navigation and landing lights to the canards by casting them directly into them. Practical? No. But it sits very flush.
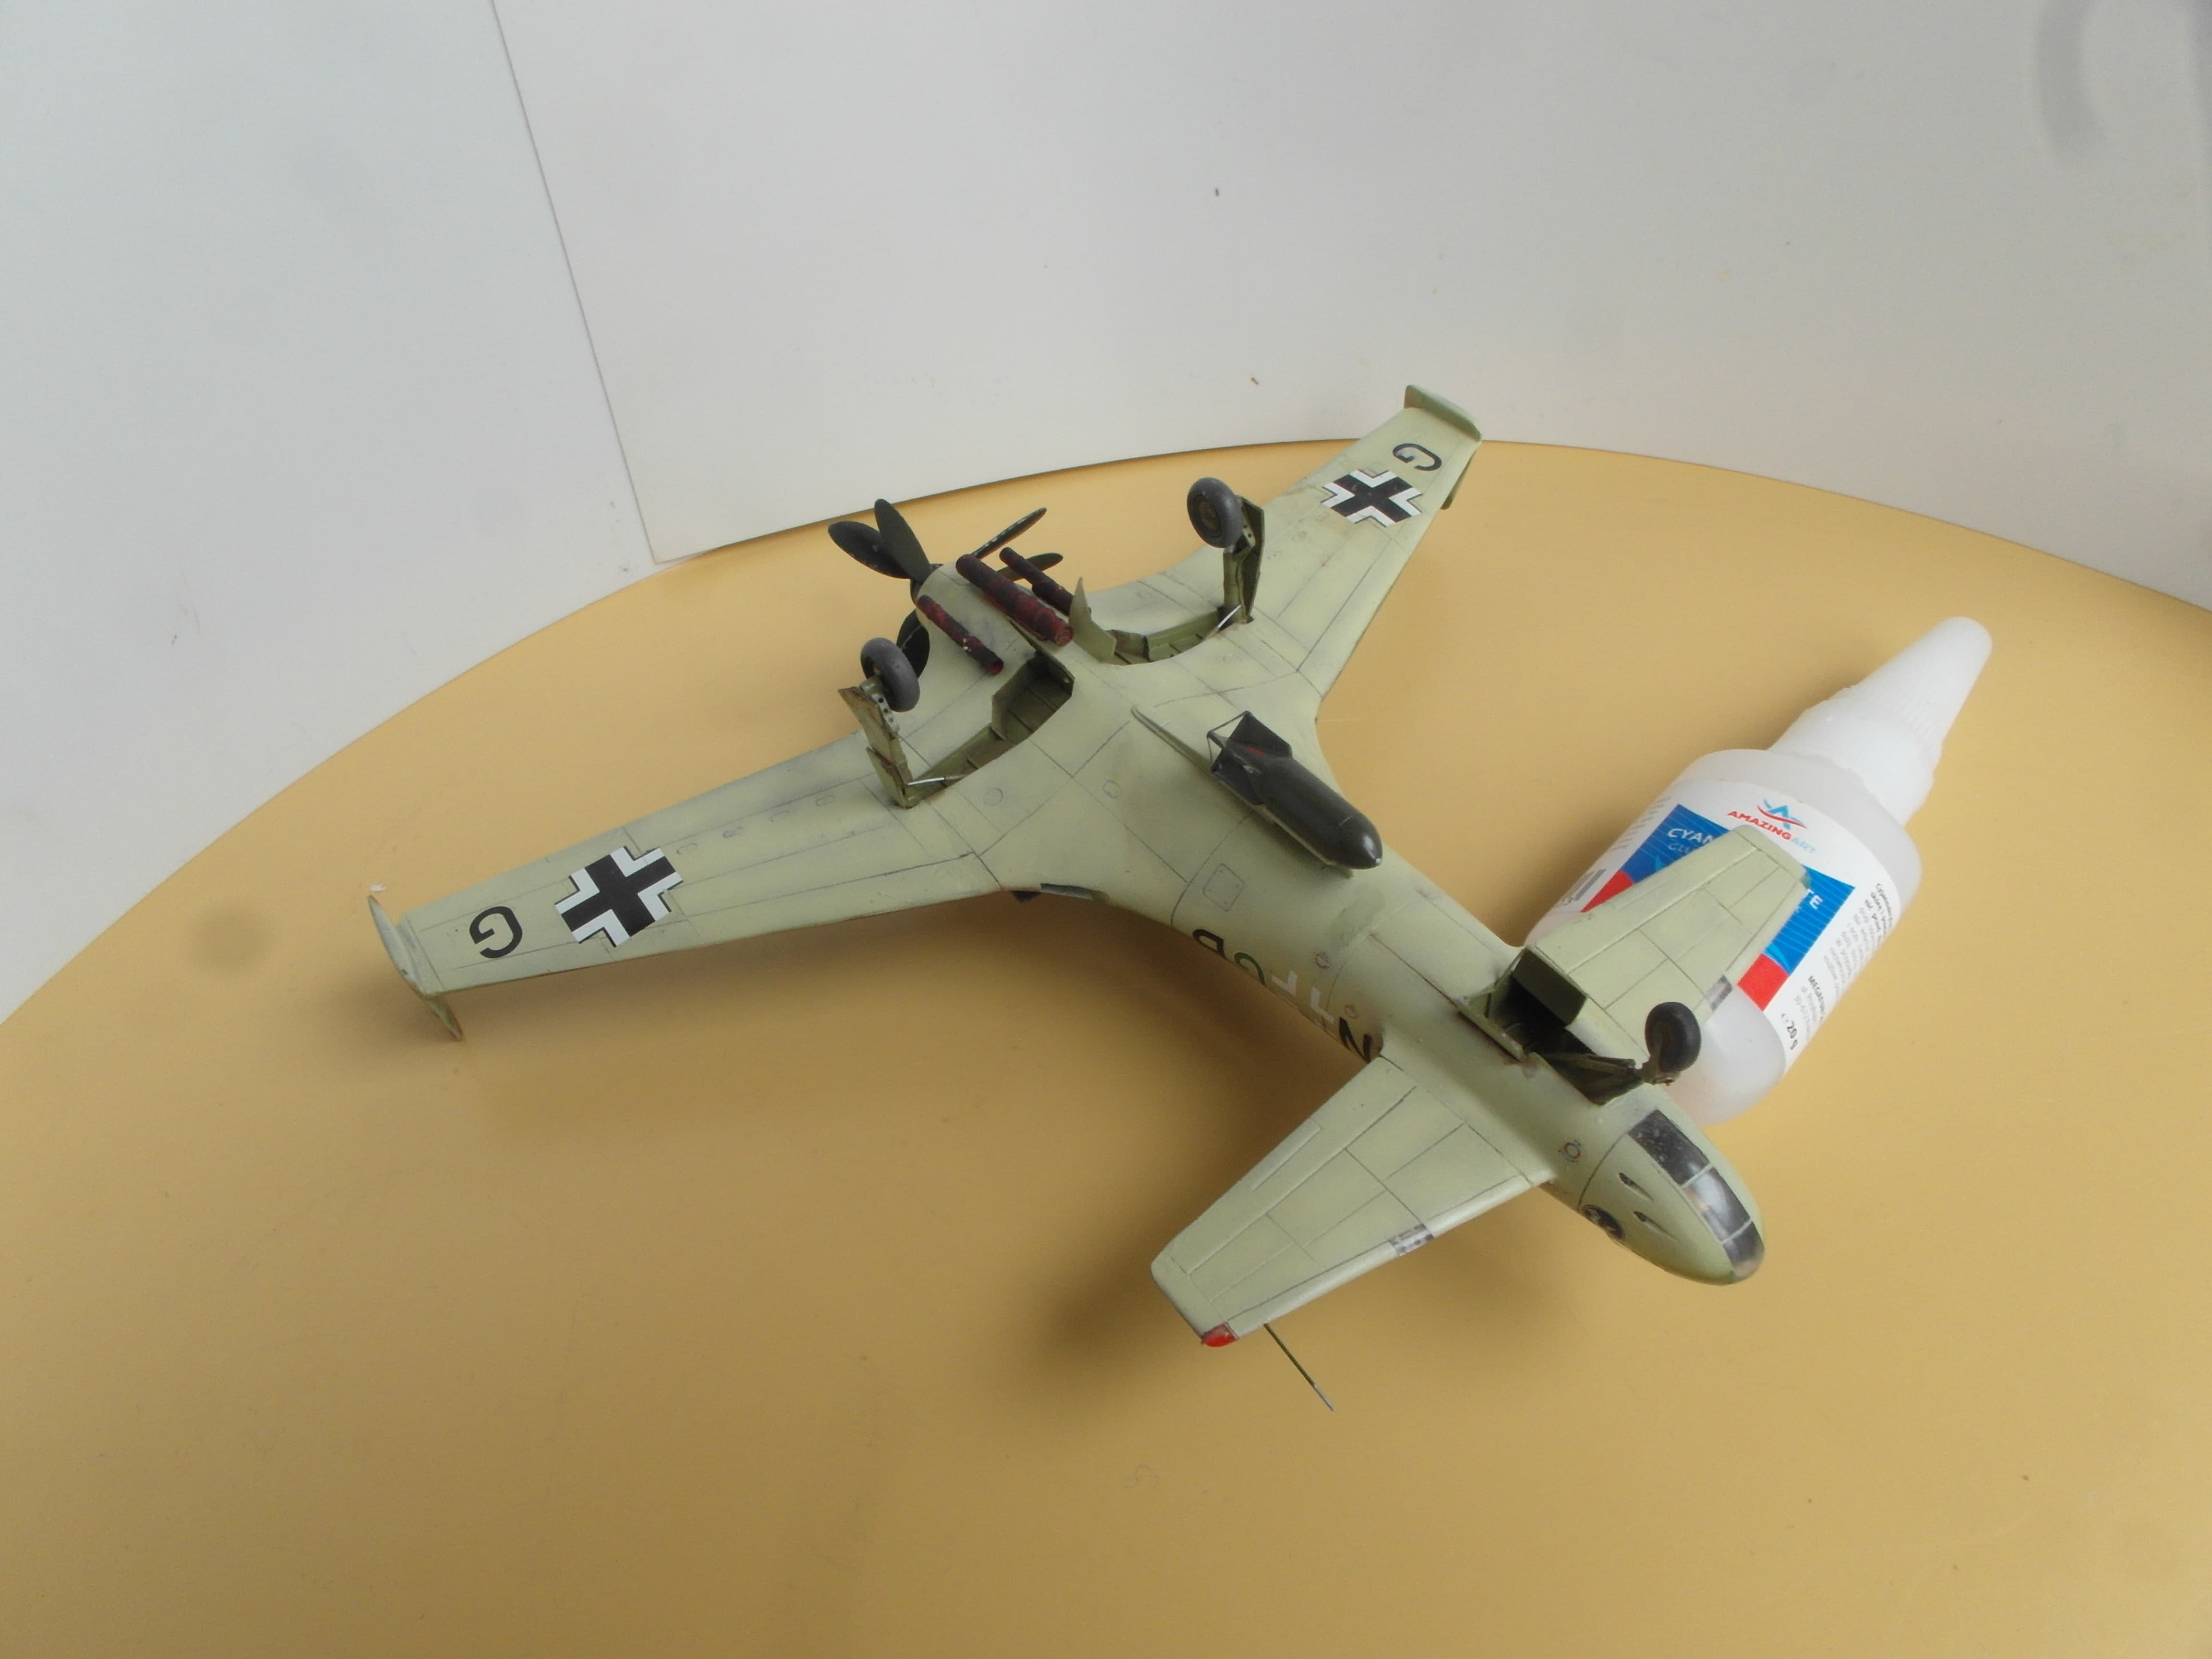
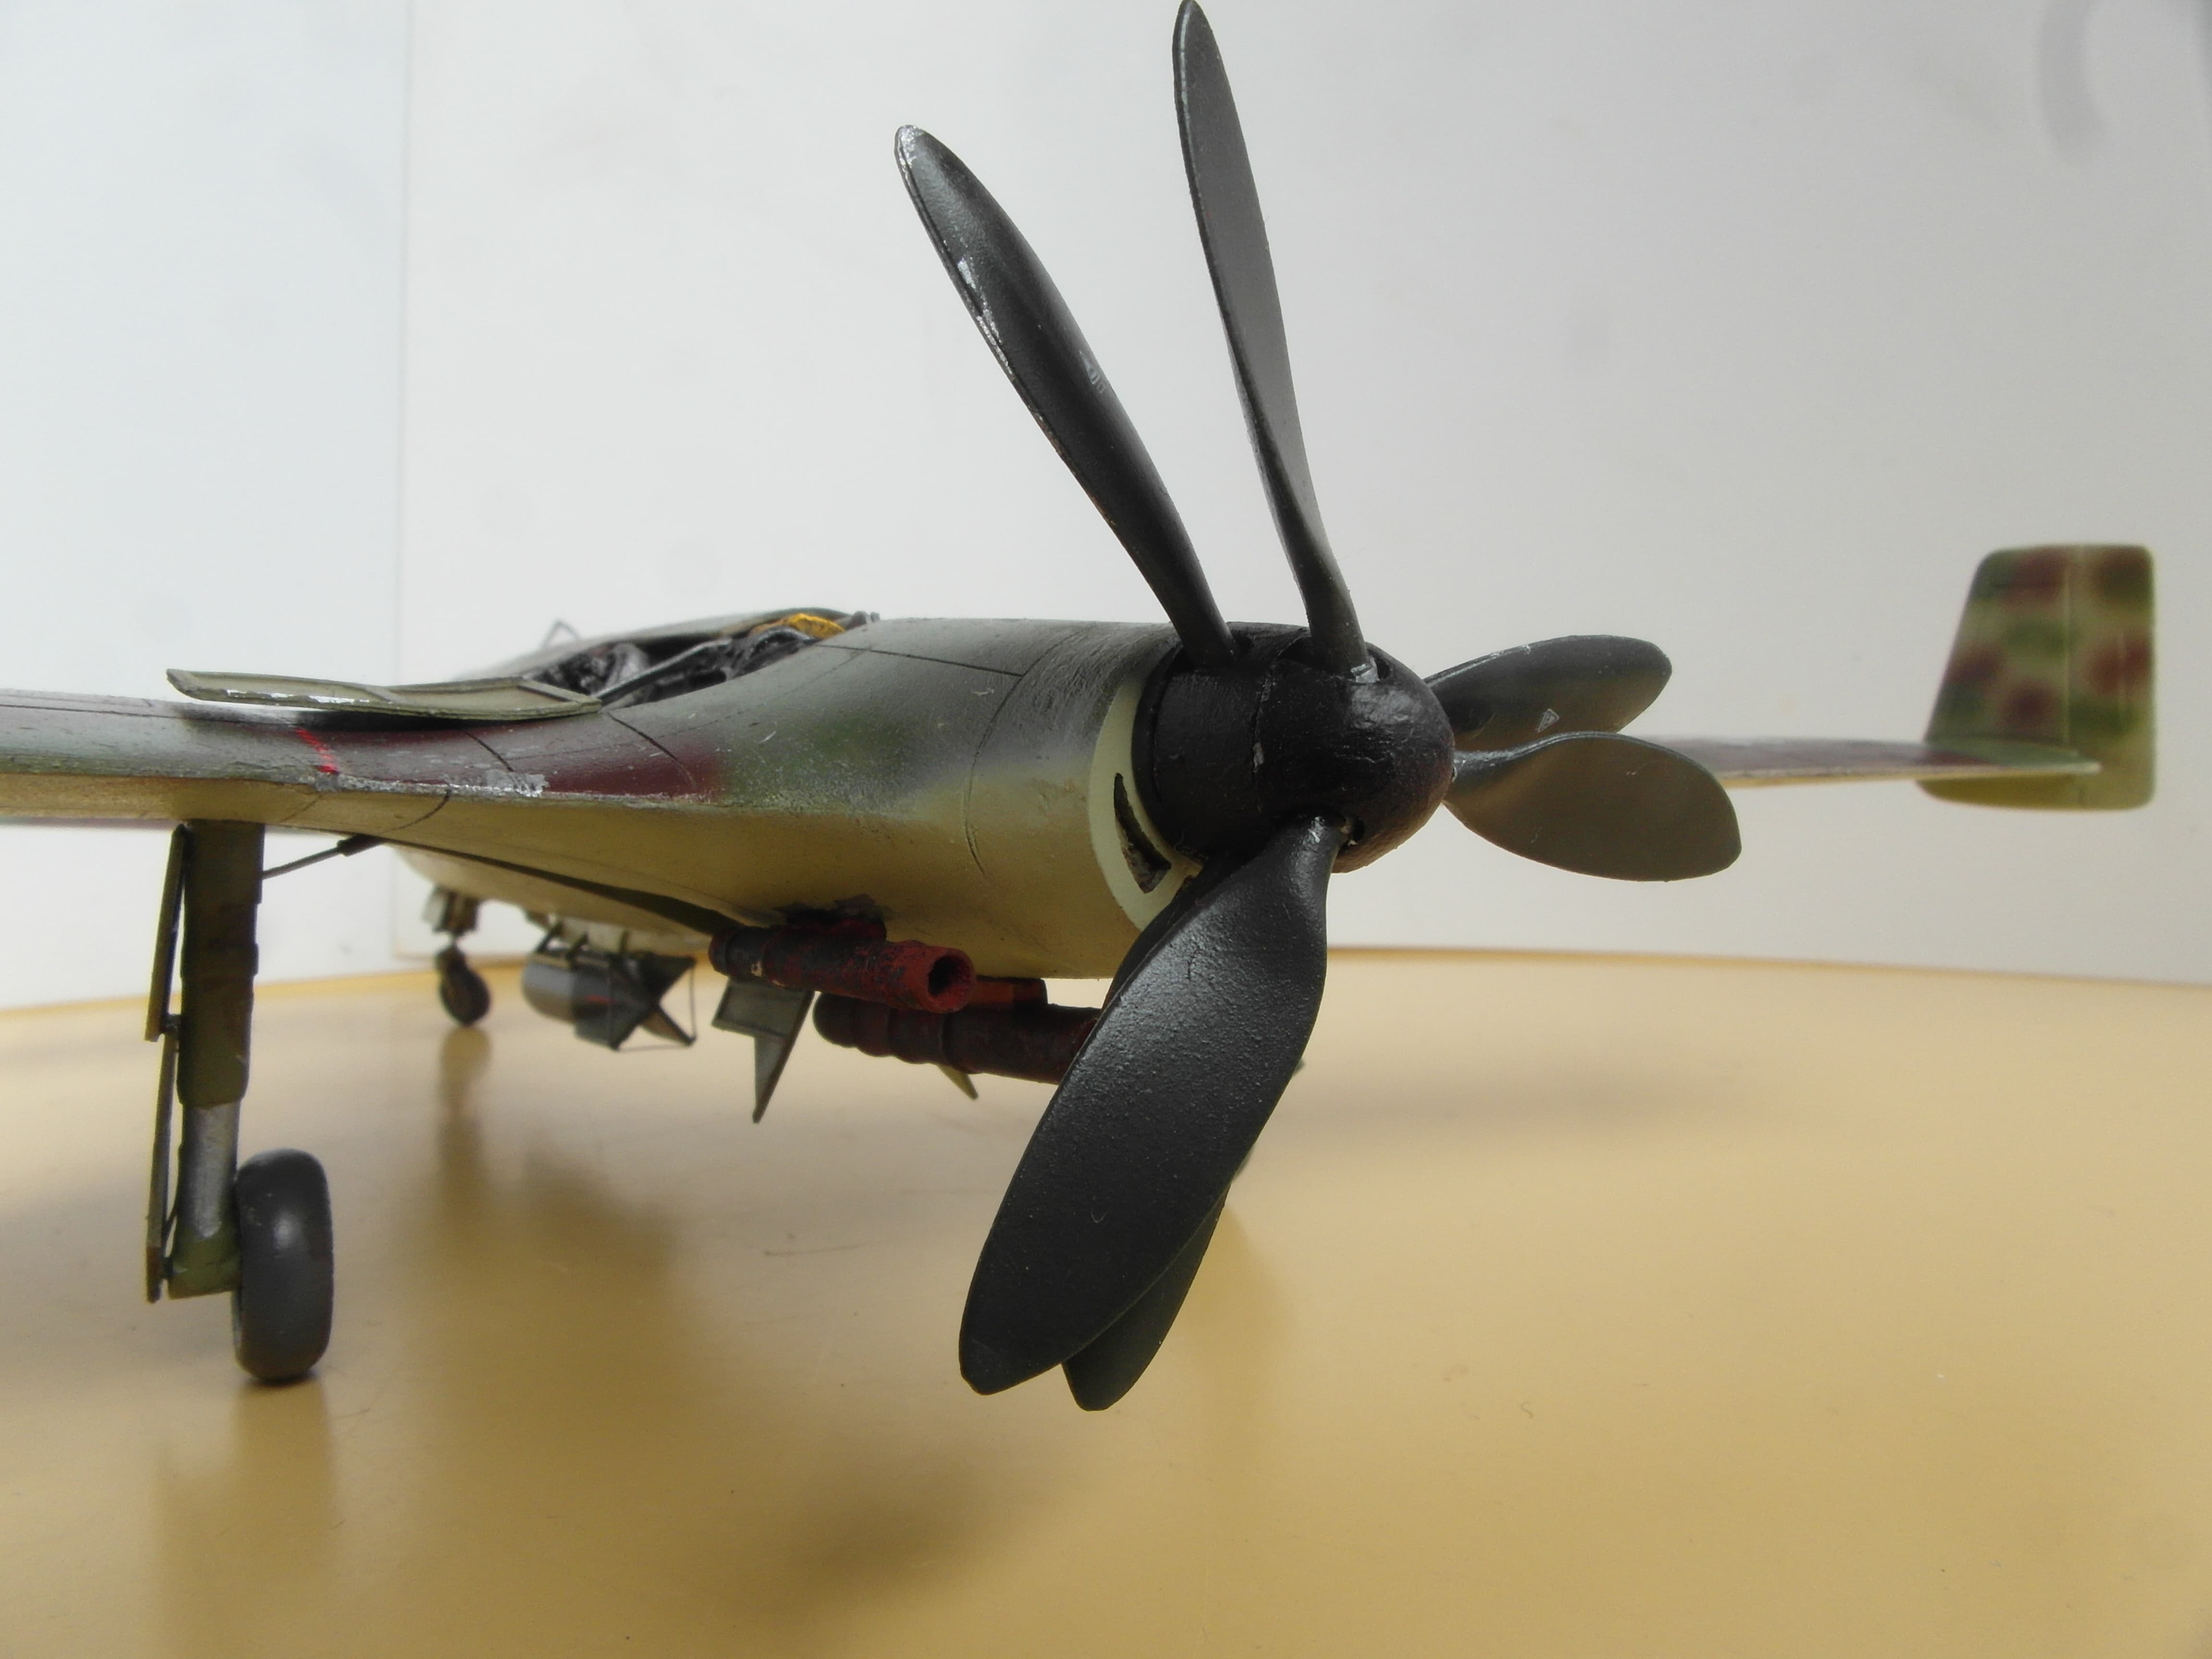
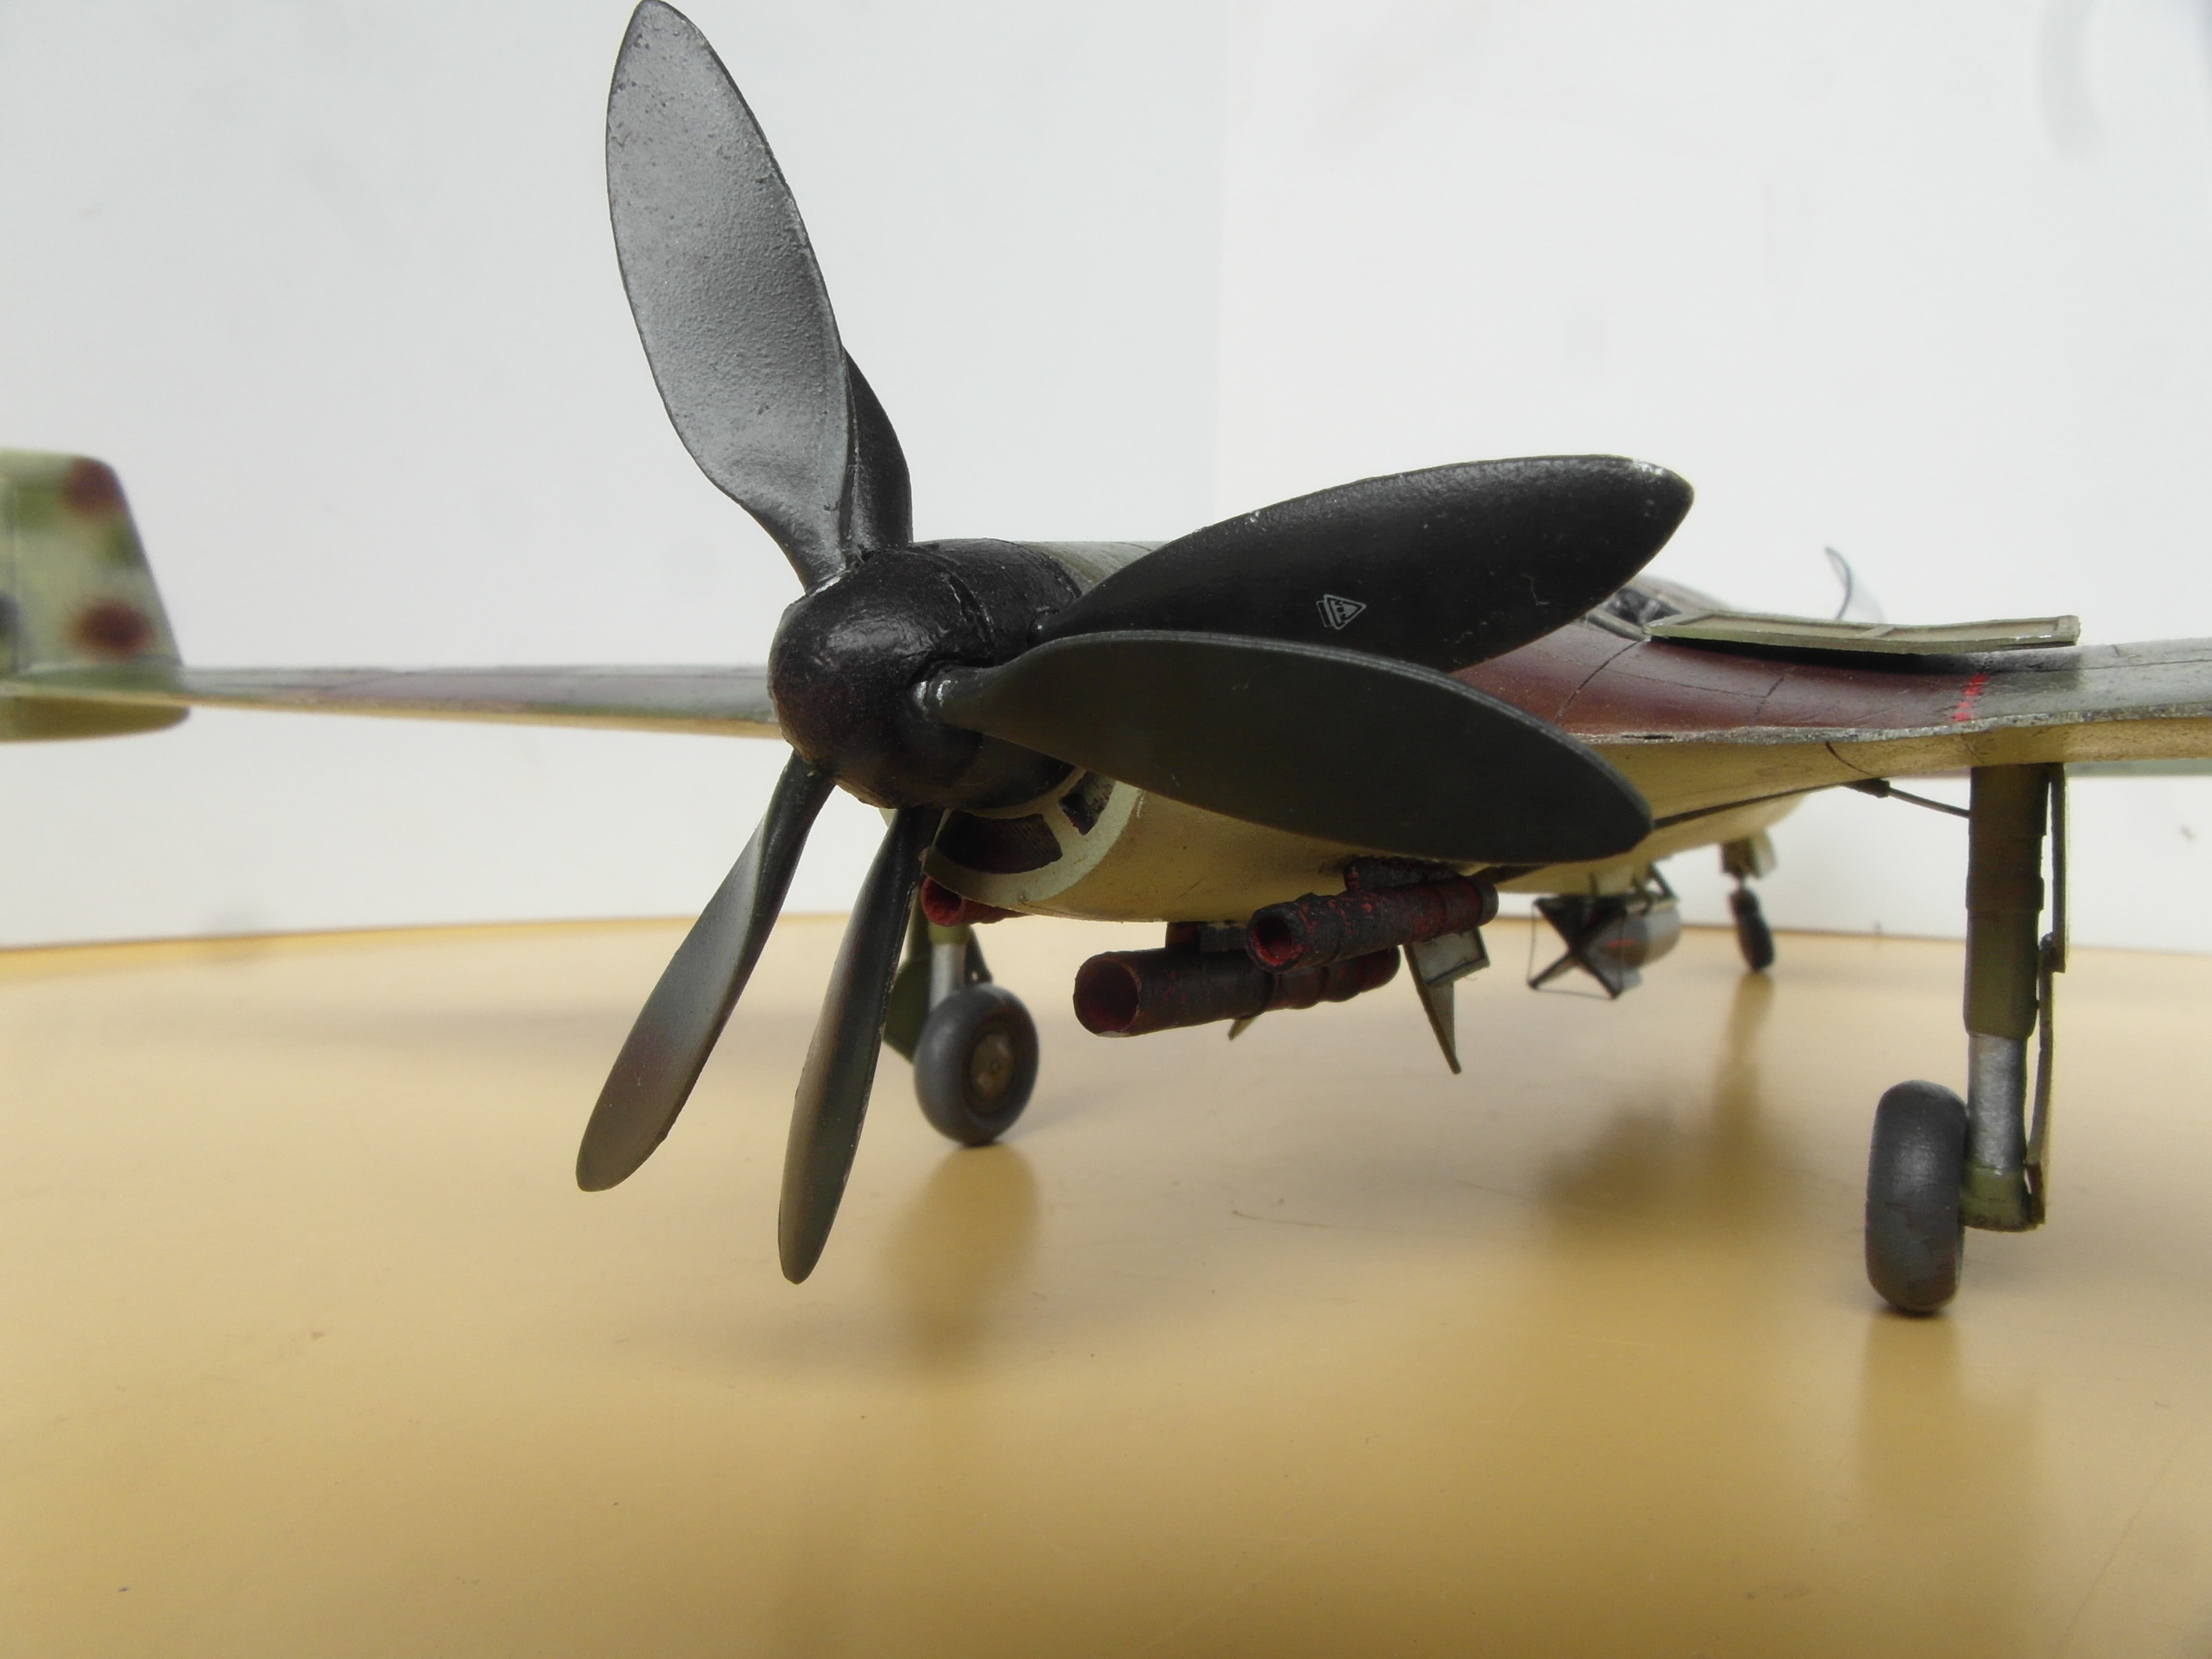
I also did some more work on the propeller. The original propeller is quite thick and stubby so I replaced them with some spare FW 190 props. As these are longer I needed to either shorten them or place them higher. I decided to 3D print a new rear section with smaller propeller hub placed all the way at the top with an air grille below. Maybe for engine cooling? I’ve added the files below. Also one for a centred propeller
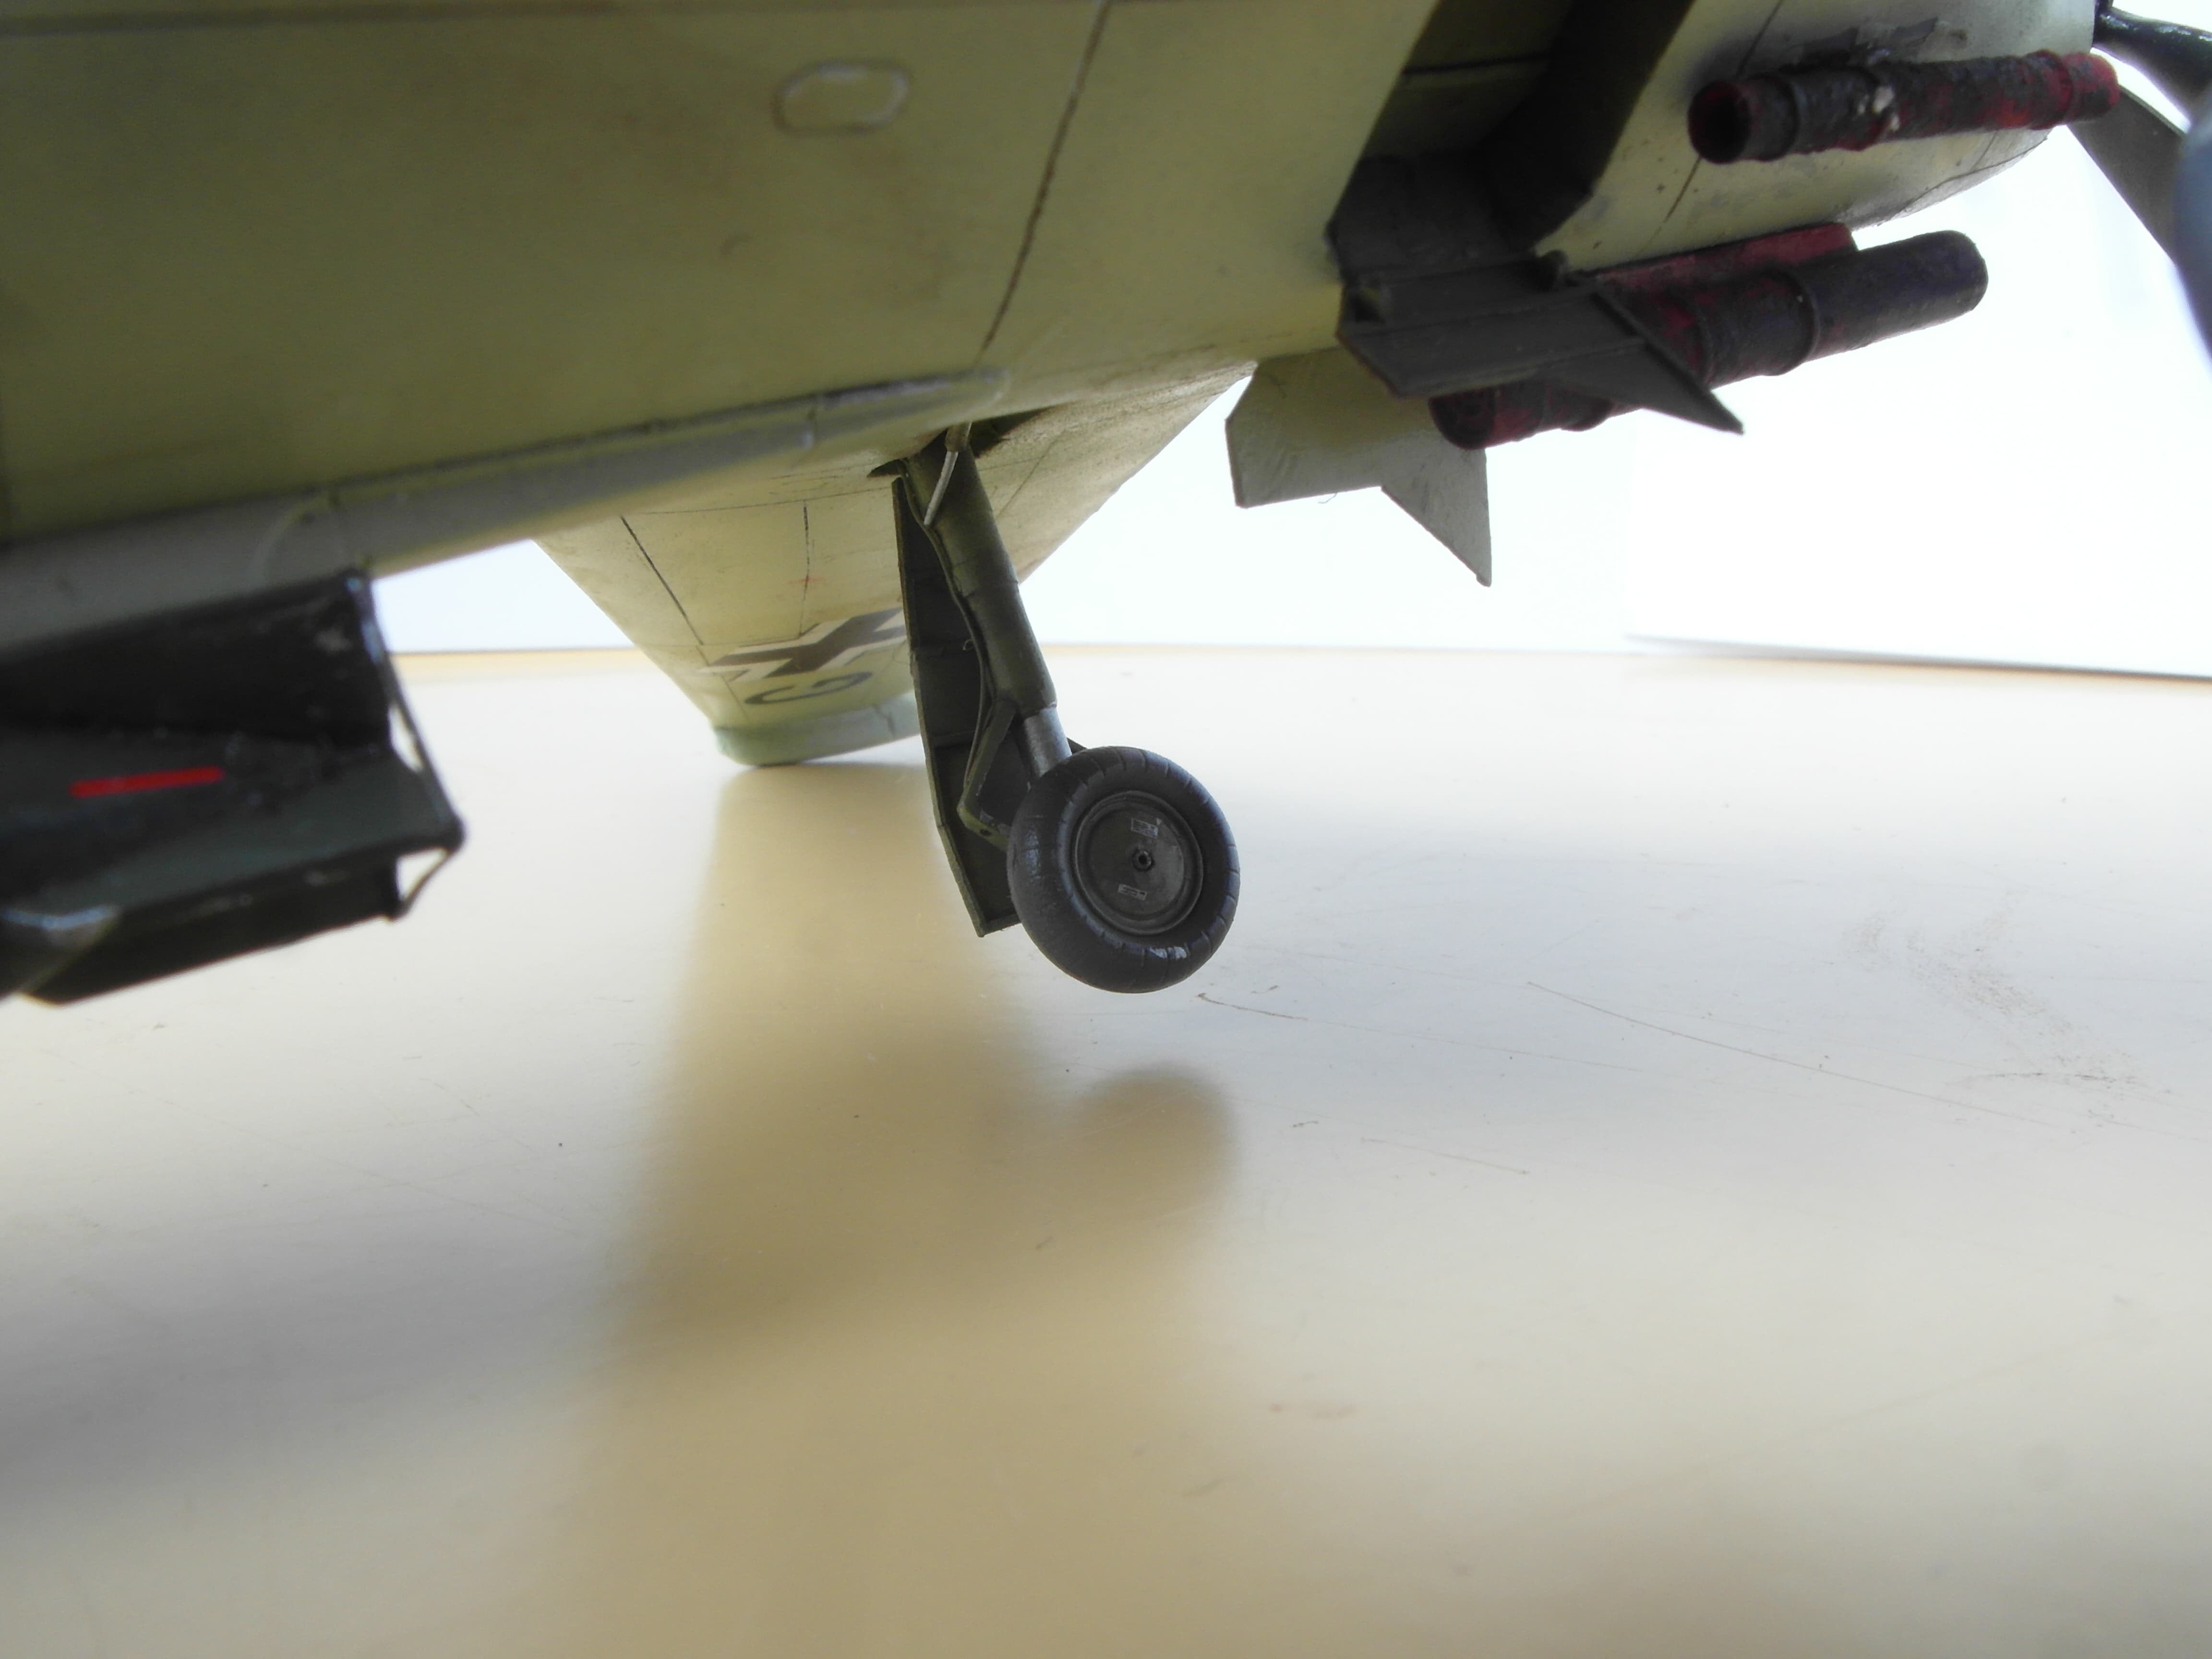
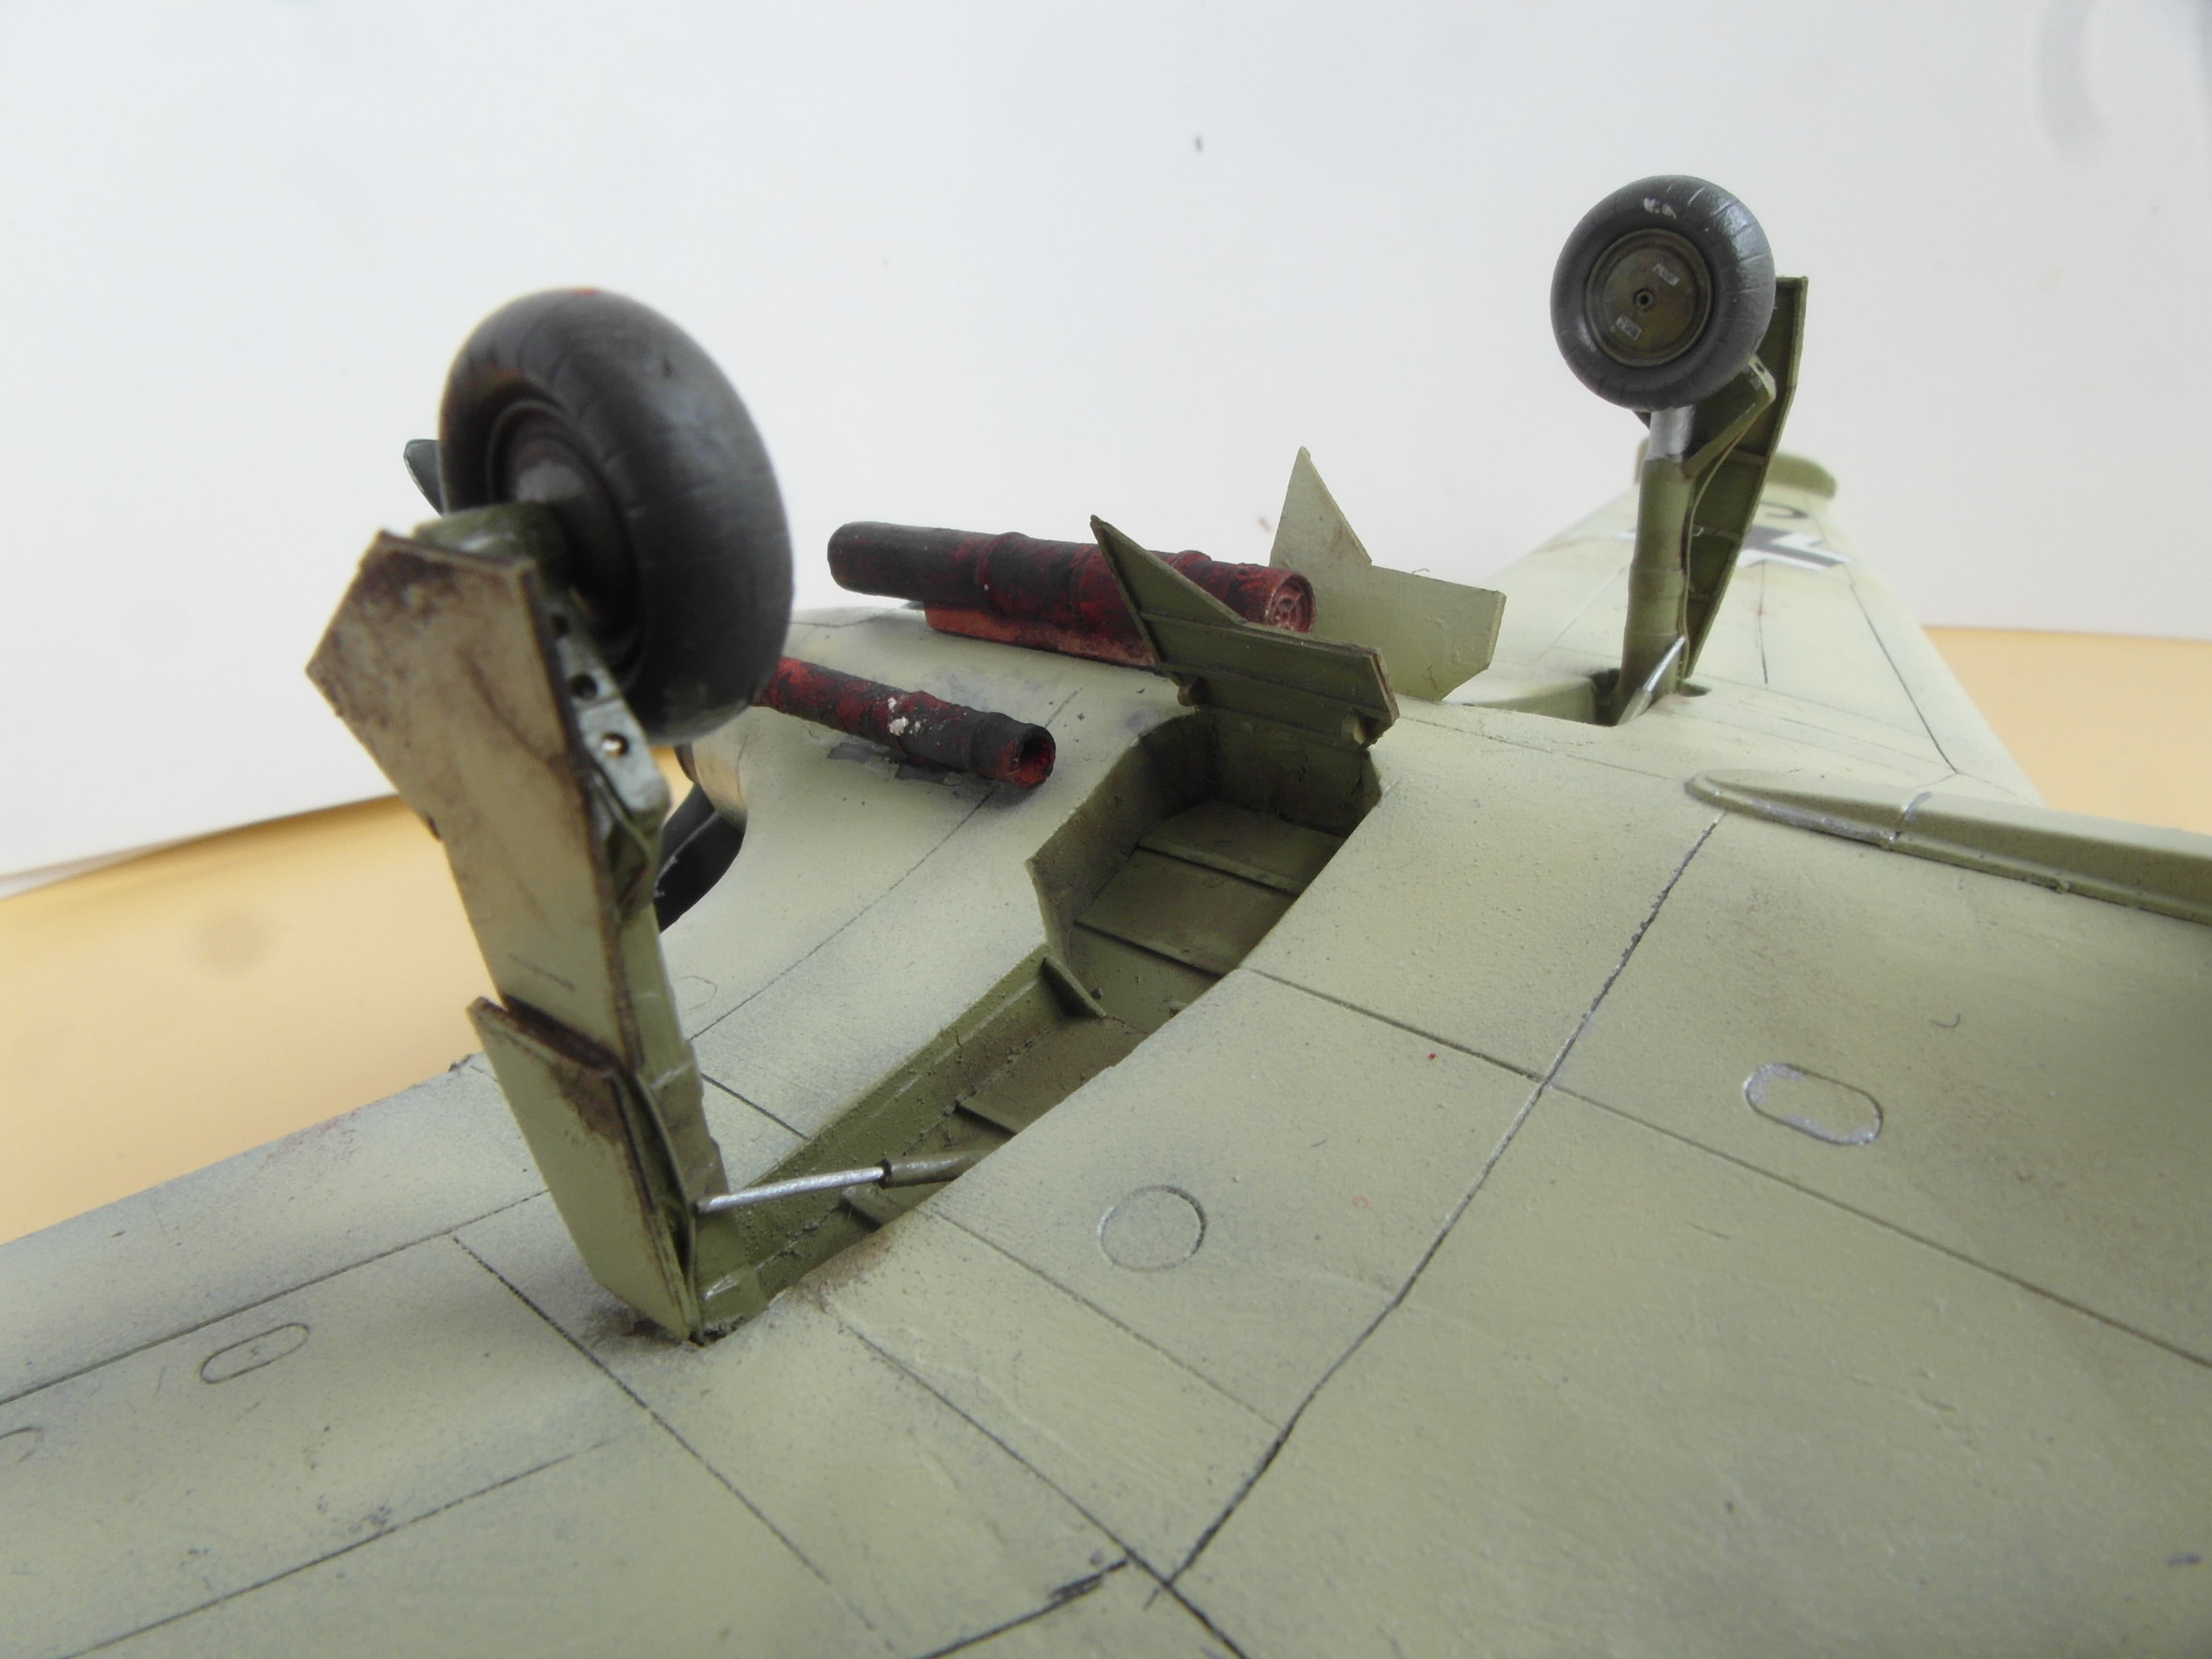
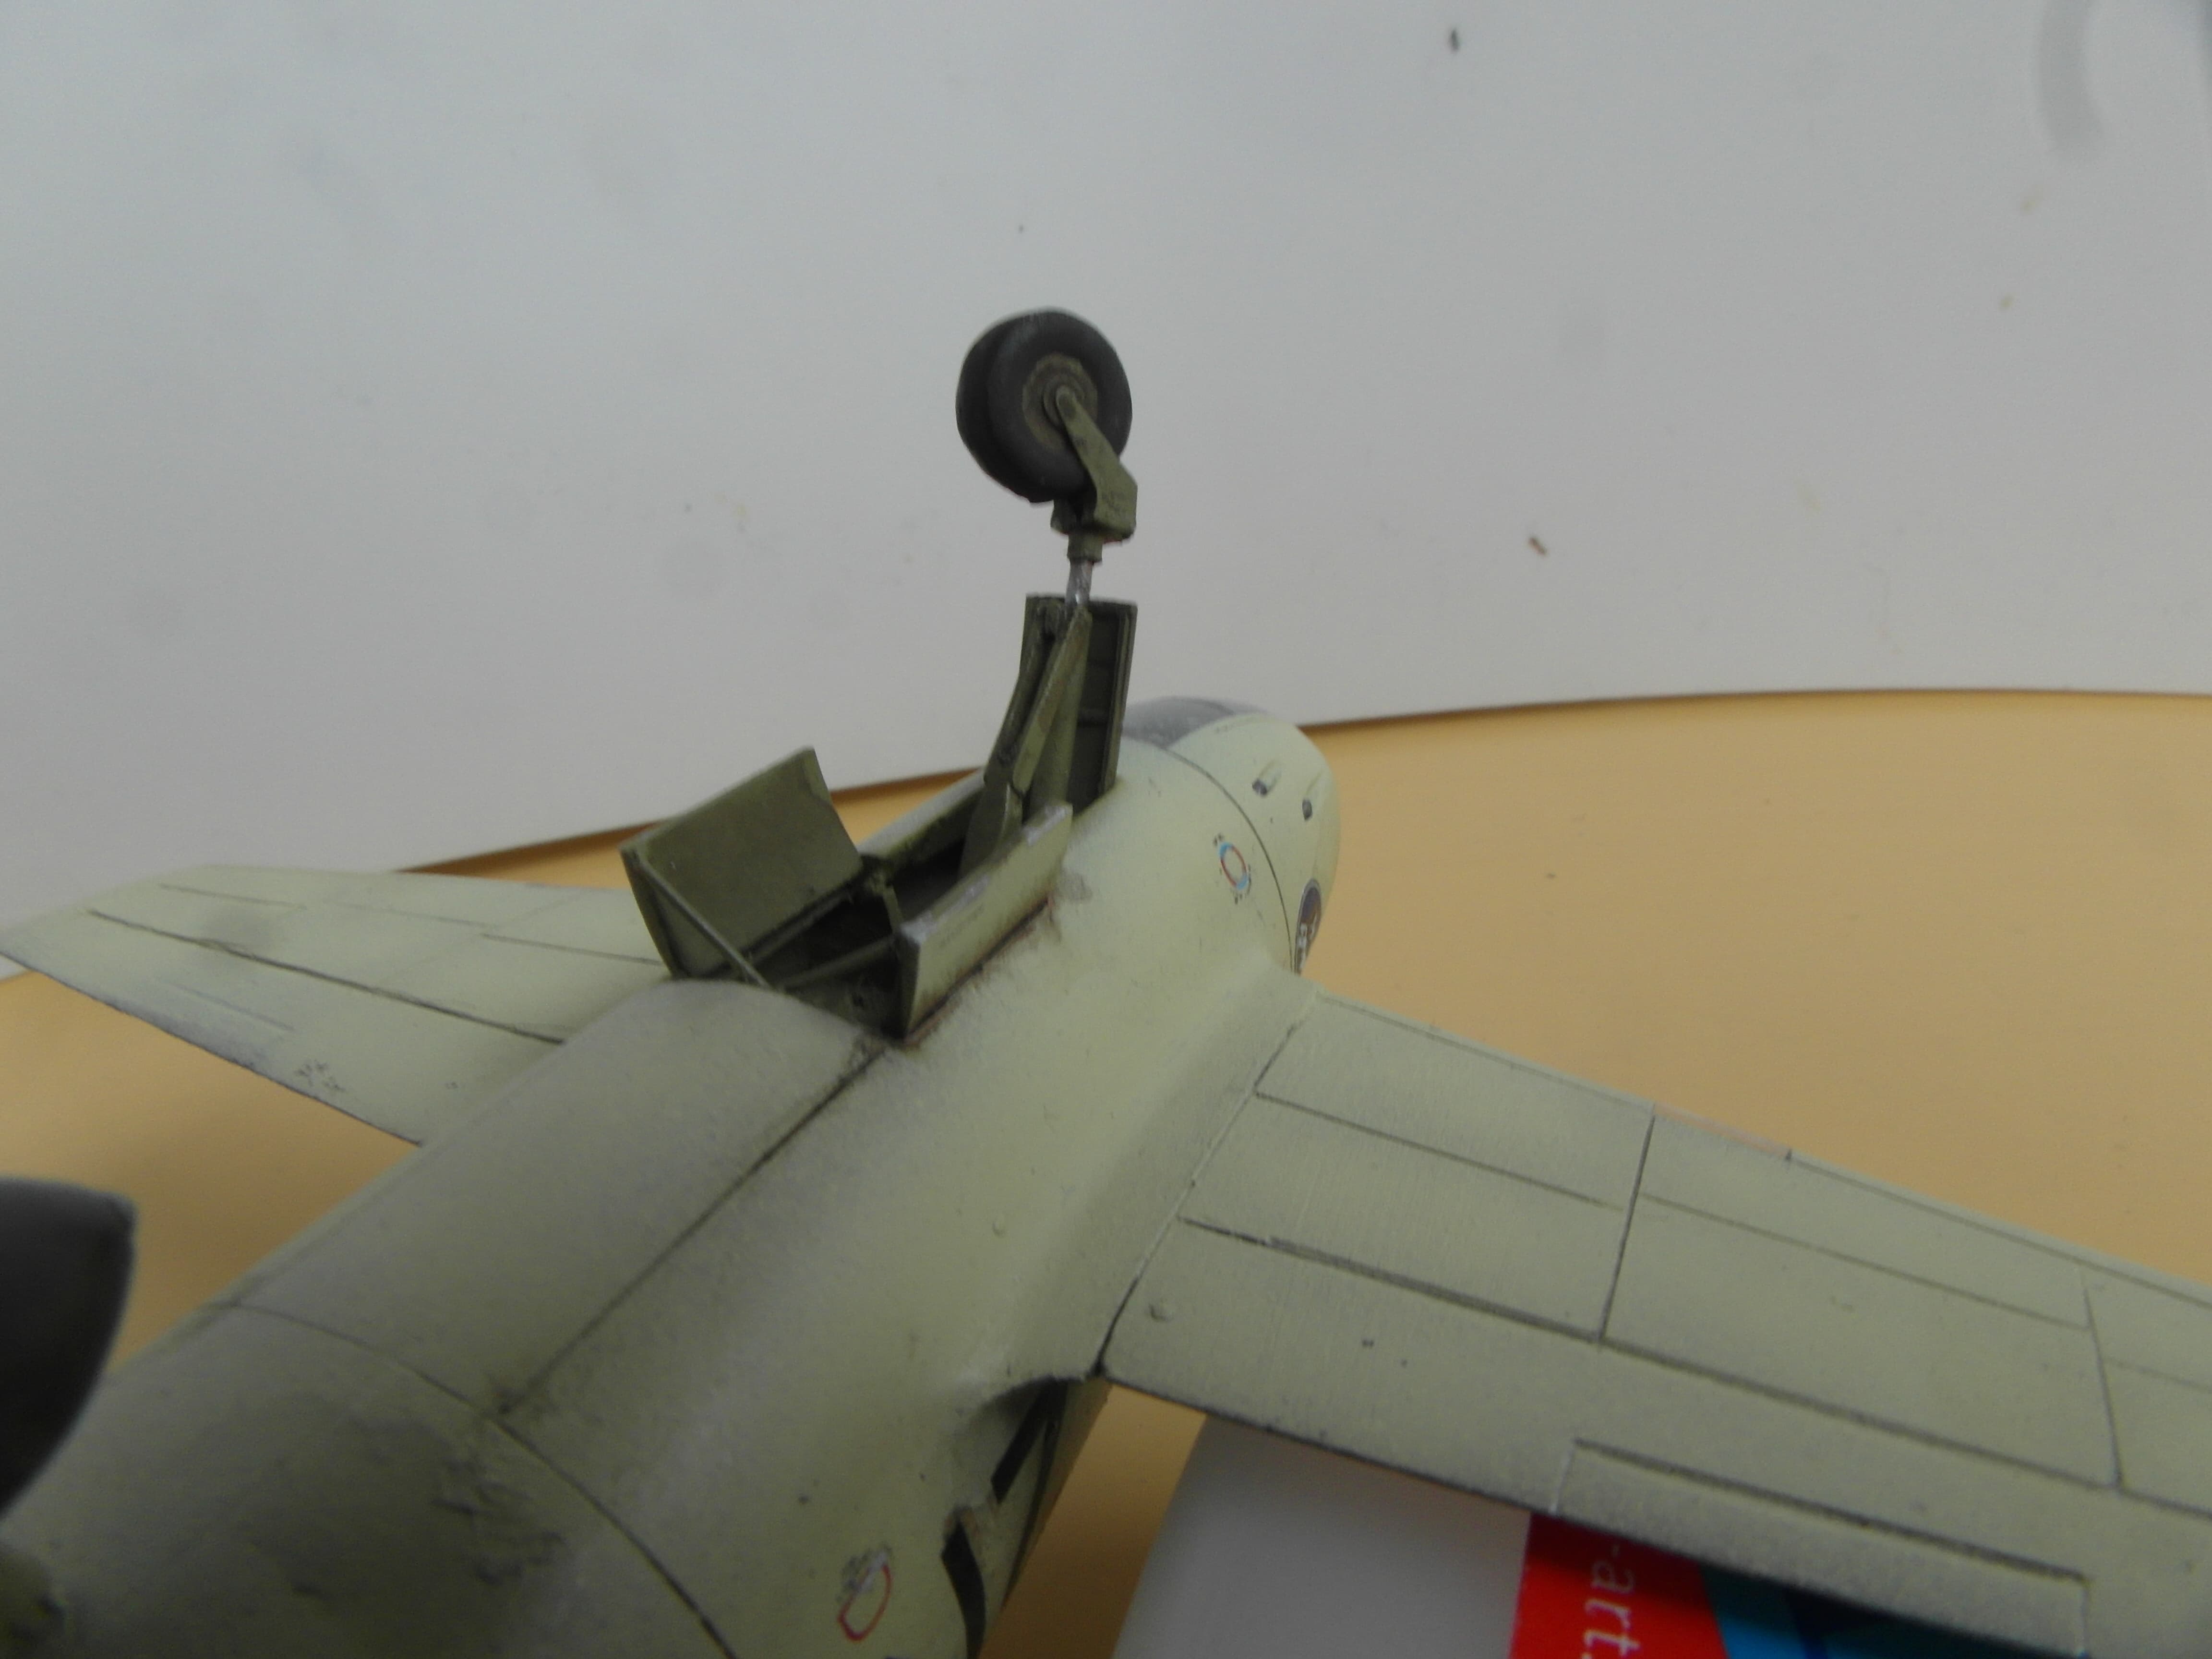
The nose landing gear was also replaced with a sturdier metal one, and the rear wheels were replaced with ICM’s Fw 189 wheels as these were just slightly nicer and actually fit the wheel wells.
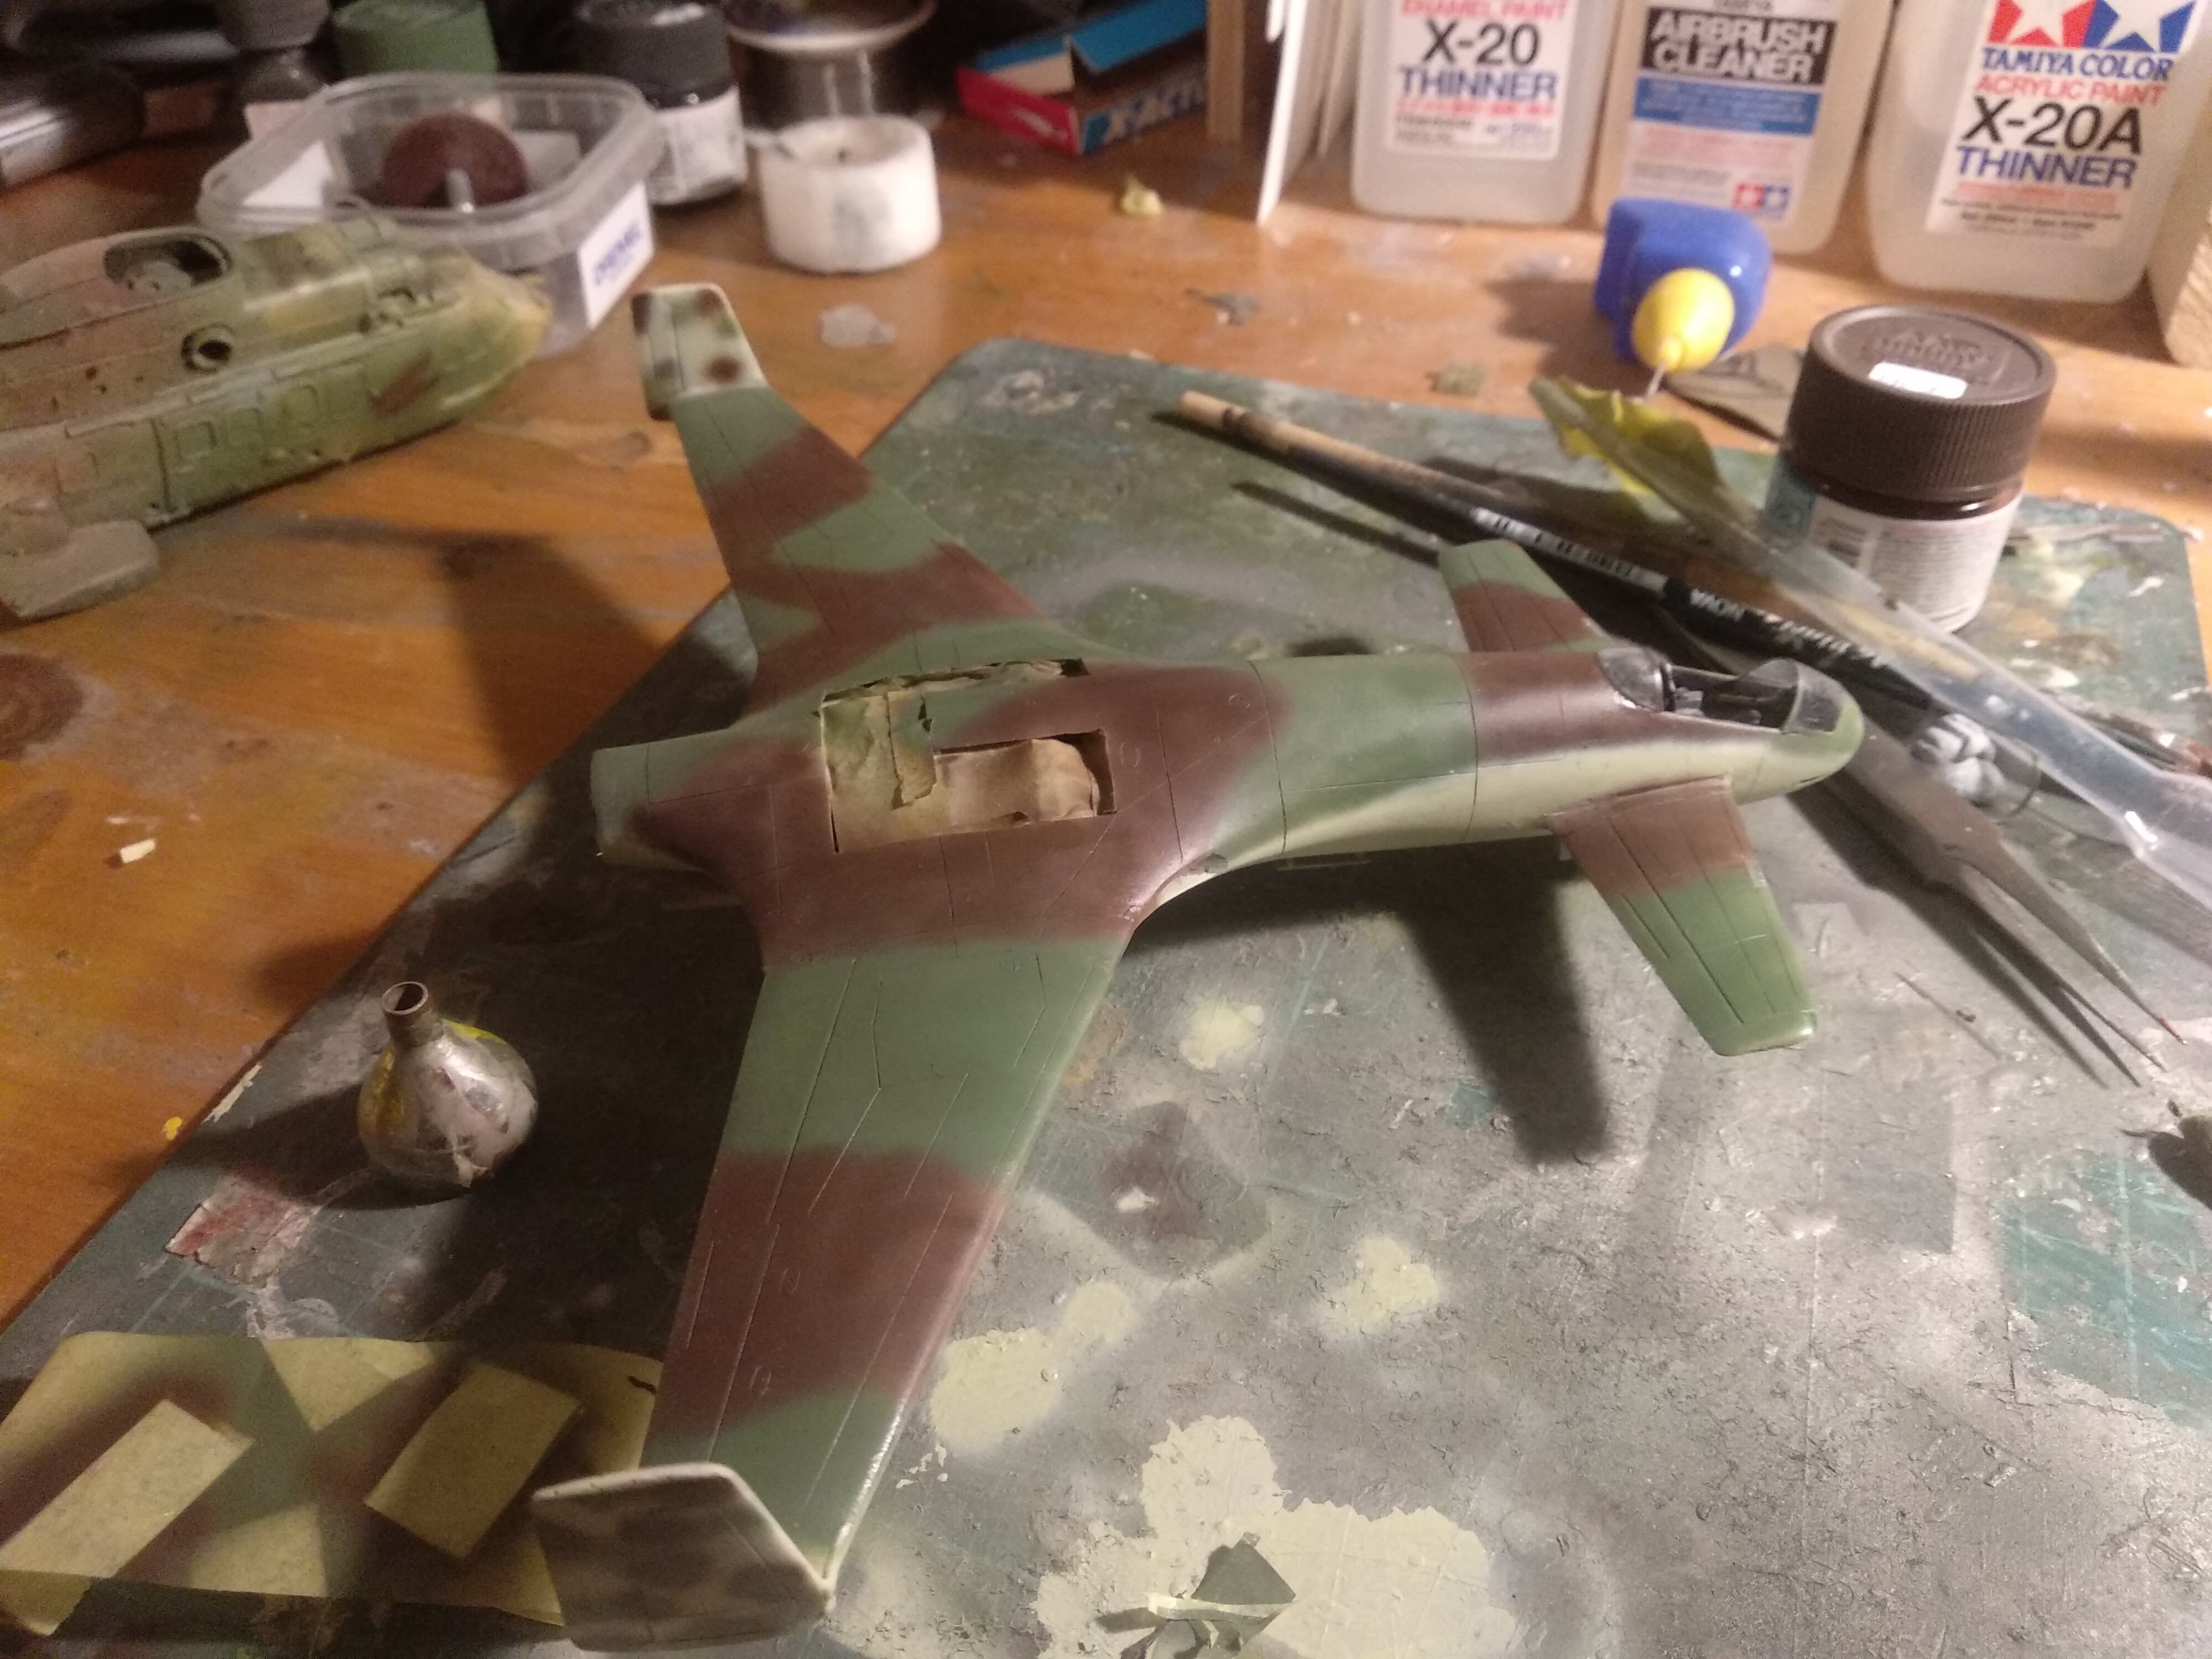
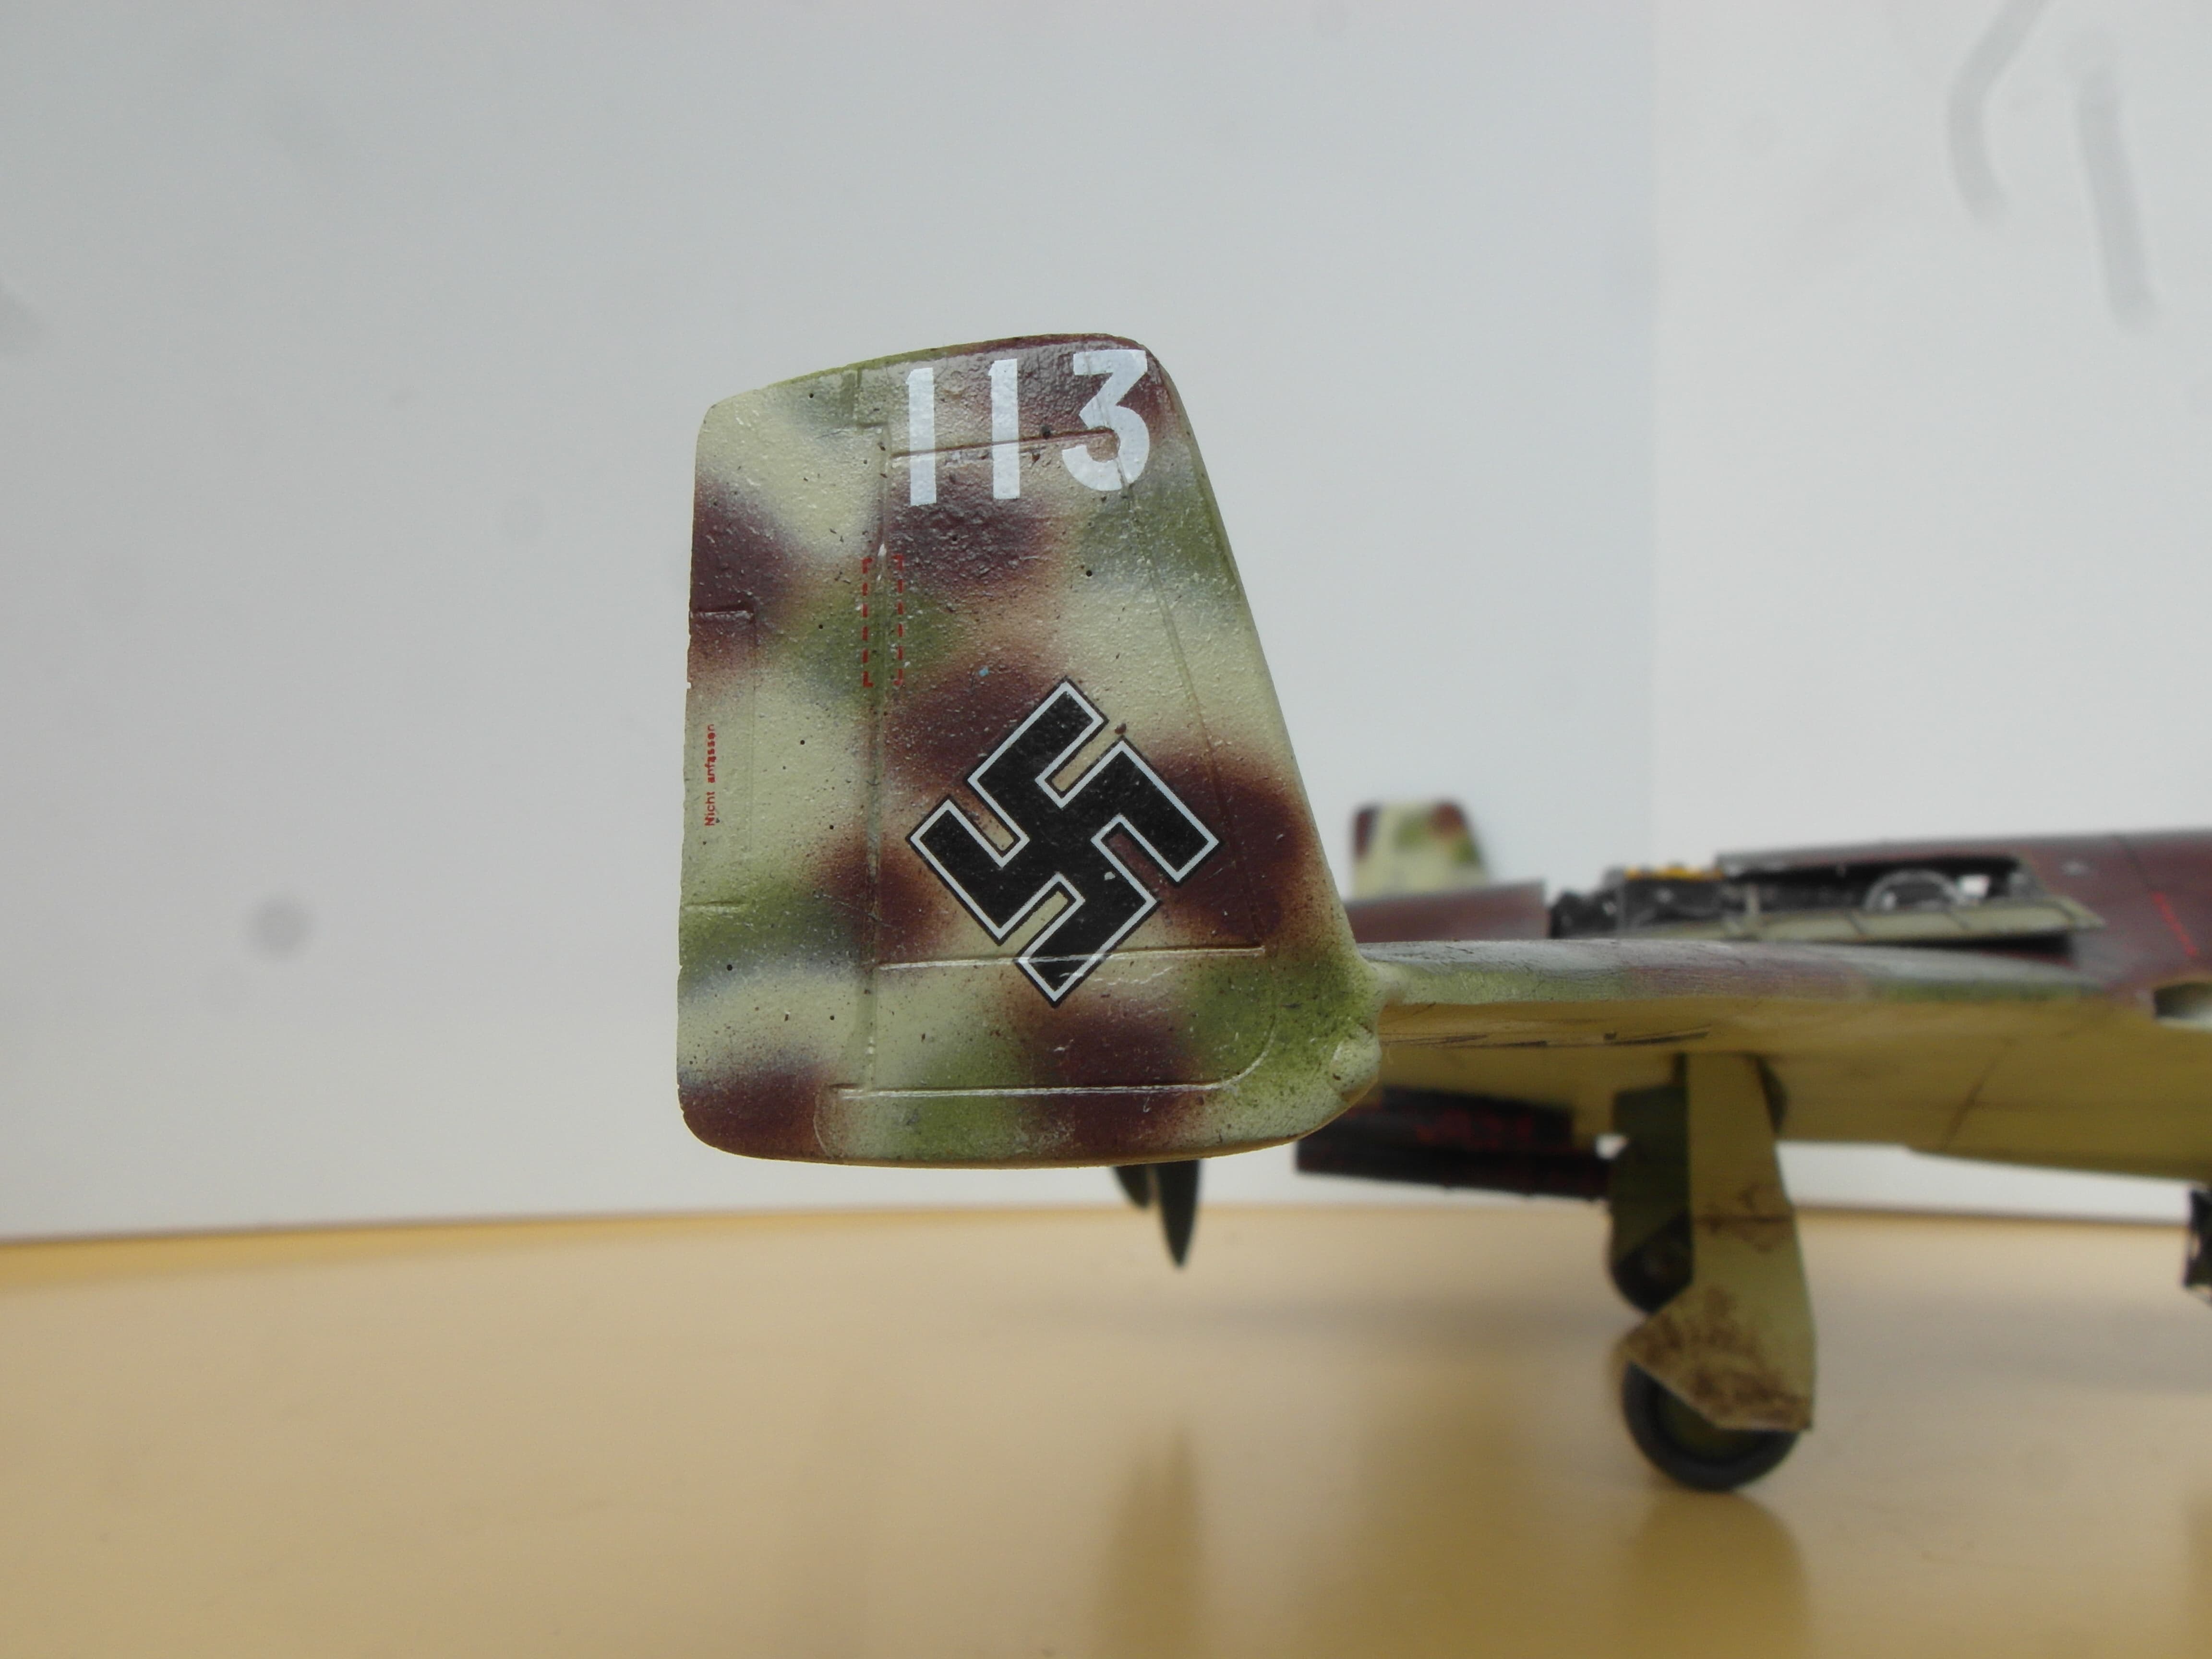
As for camouflage I’ve chosen an RLM 76-81-82 variant, with a late style RLM 76 and a brown RLM 81 variants. I’ve used AK RC 322 and Mr Hobby H422 + H423.