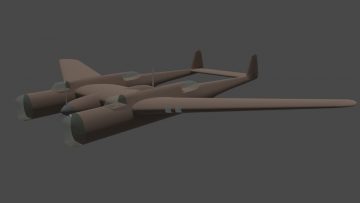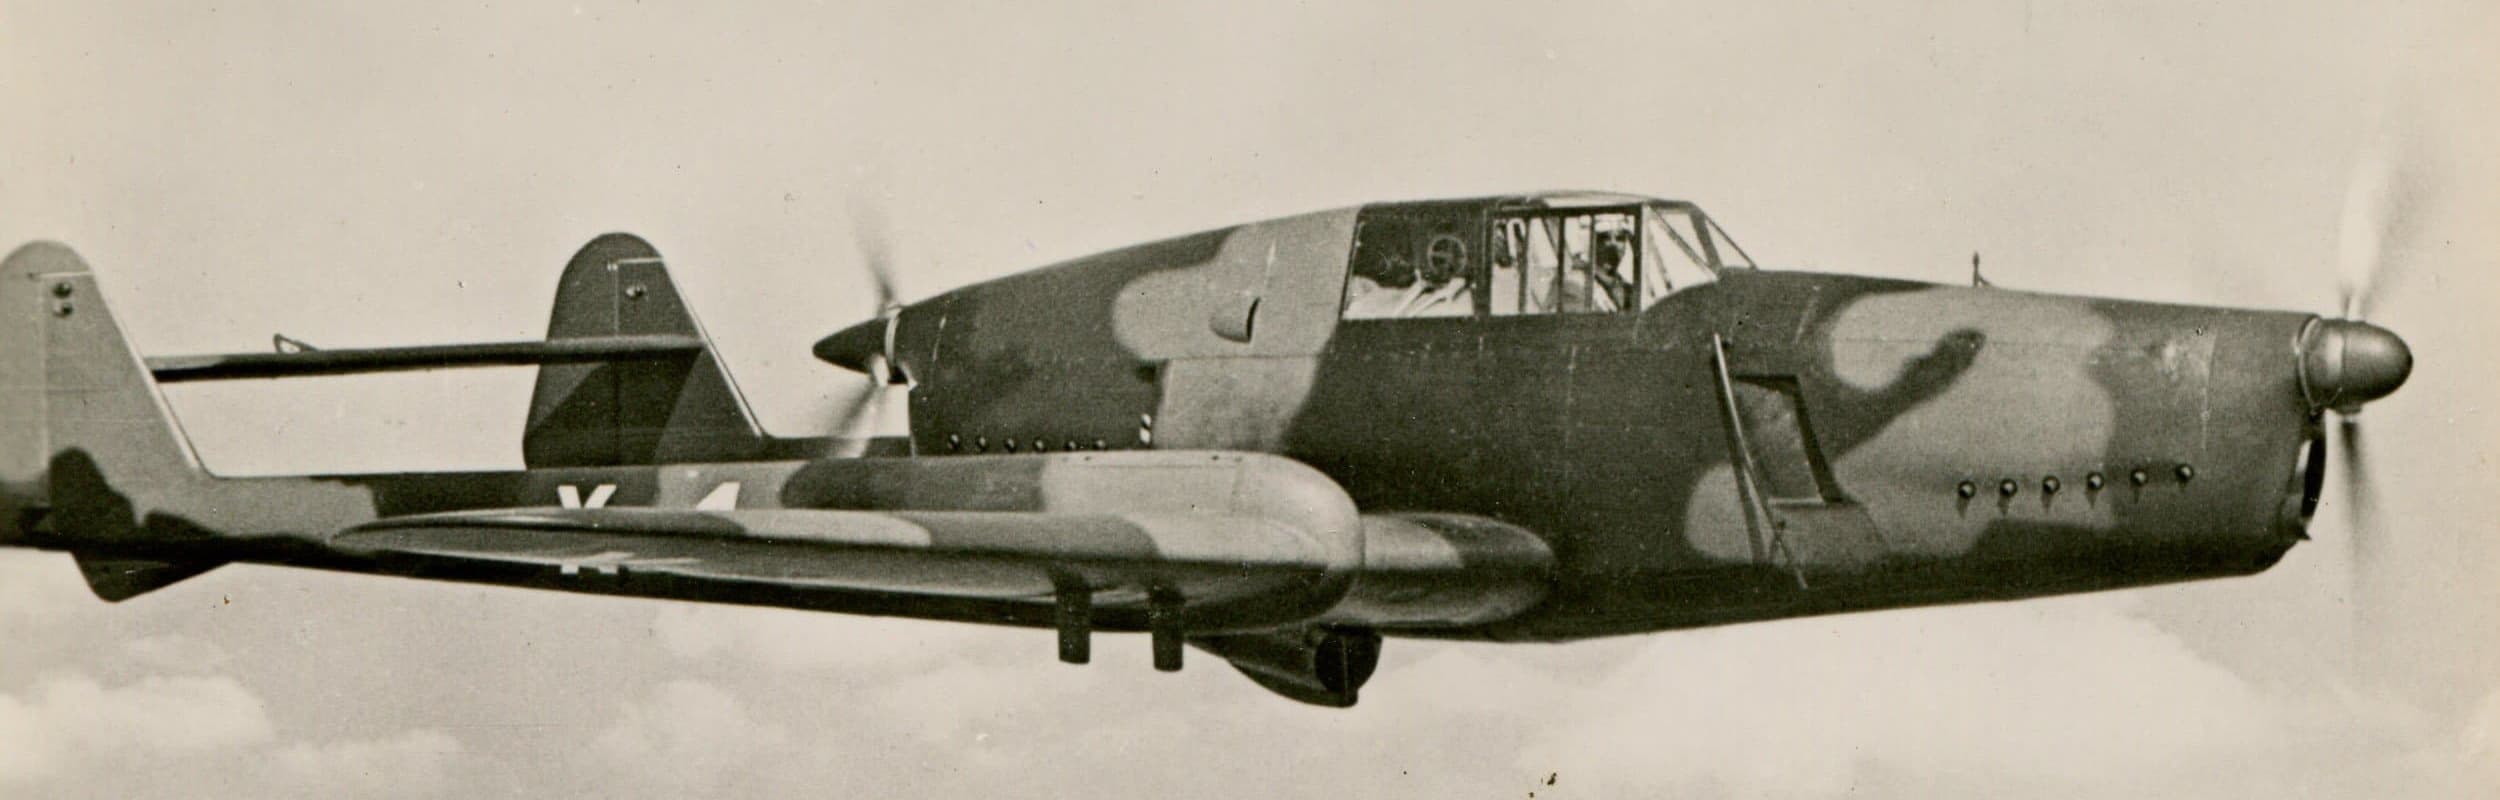
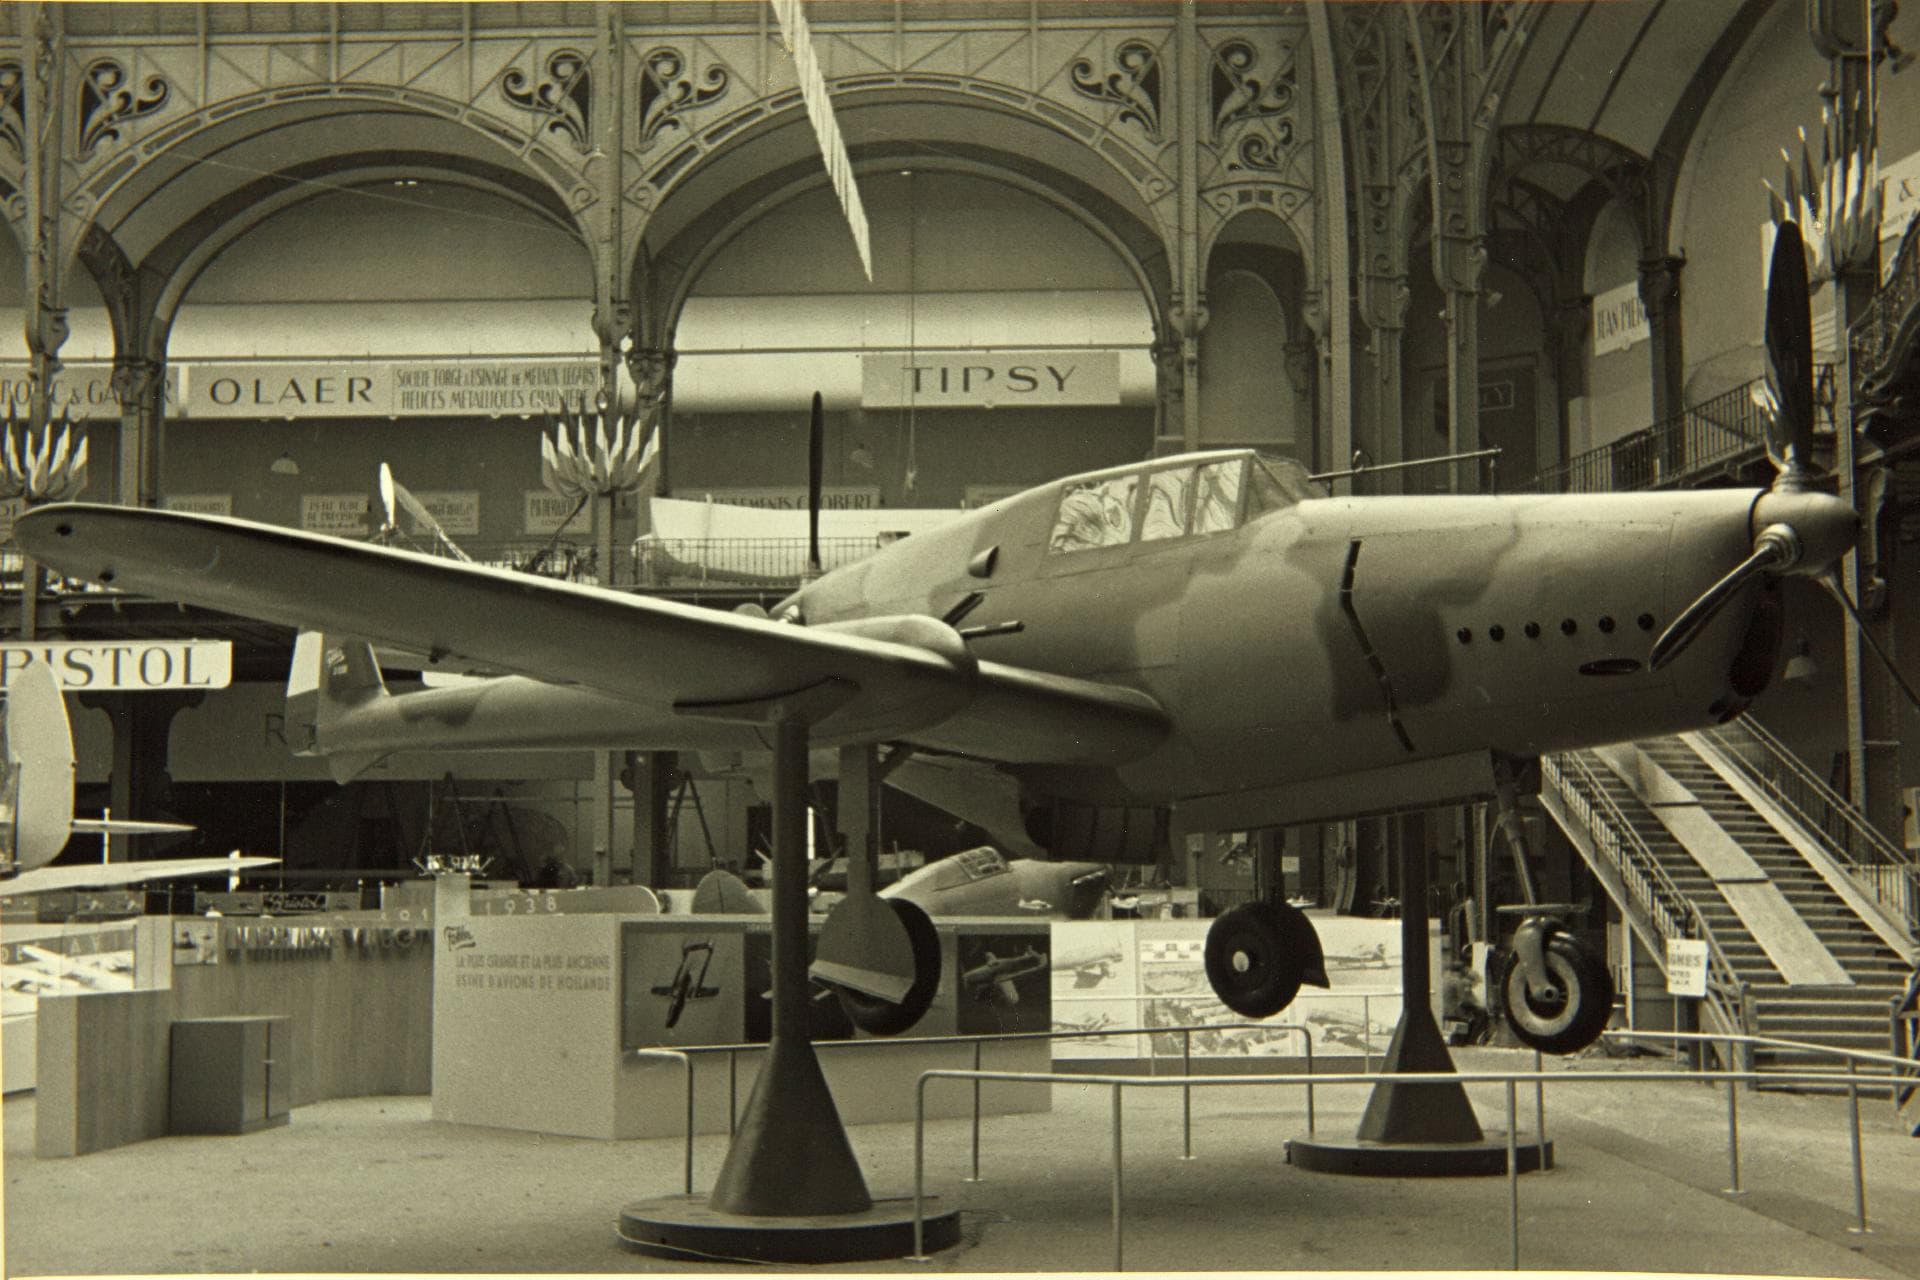
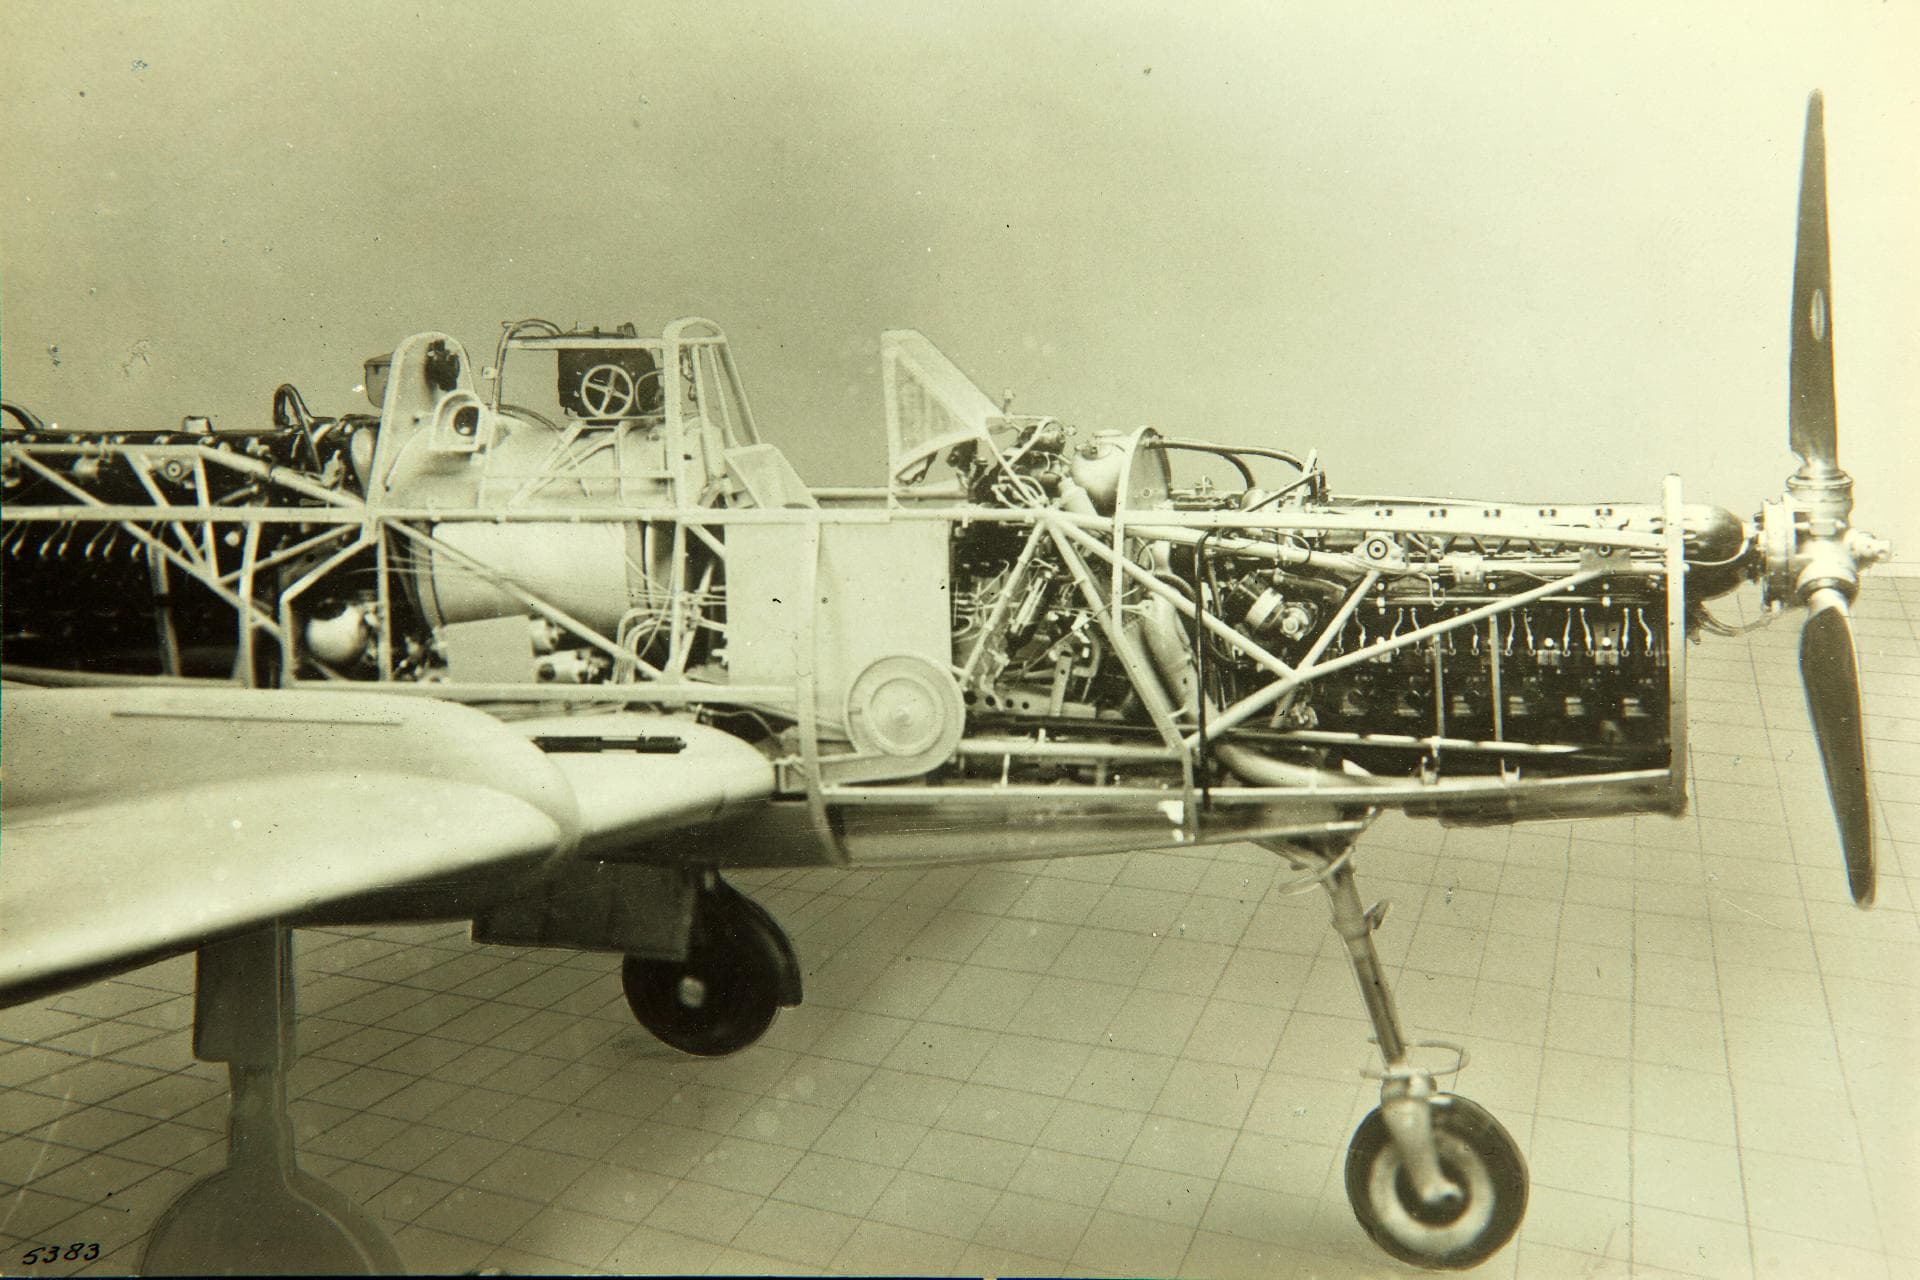
I like twin booms, I like Dutch aircraft, and i like unusual planes. The Fokker D.23 is this all. And i love it. The plane started development in 1937. It was revolutionary aircraft, with the push-pull configuration and the retractable tricycle landing gear. Displayed at the 1938 Paris air salon, the plane received both admiration and criticism. The plane made 11 test flights before German the invasion of the Netherlands on the 10th of may 1940.


The kit
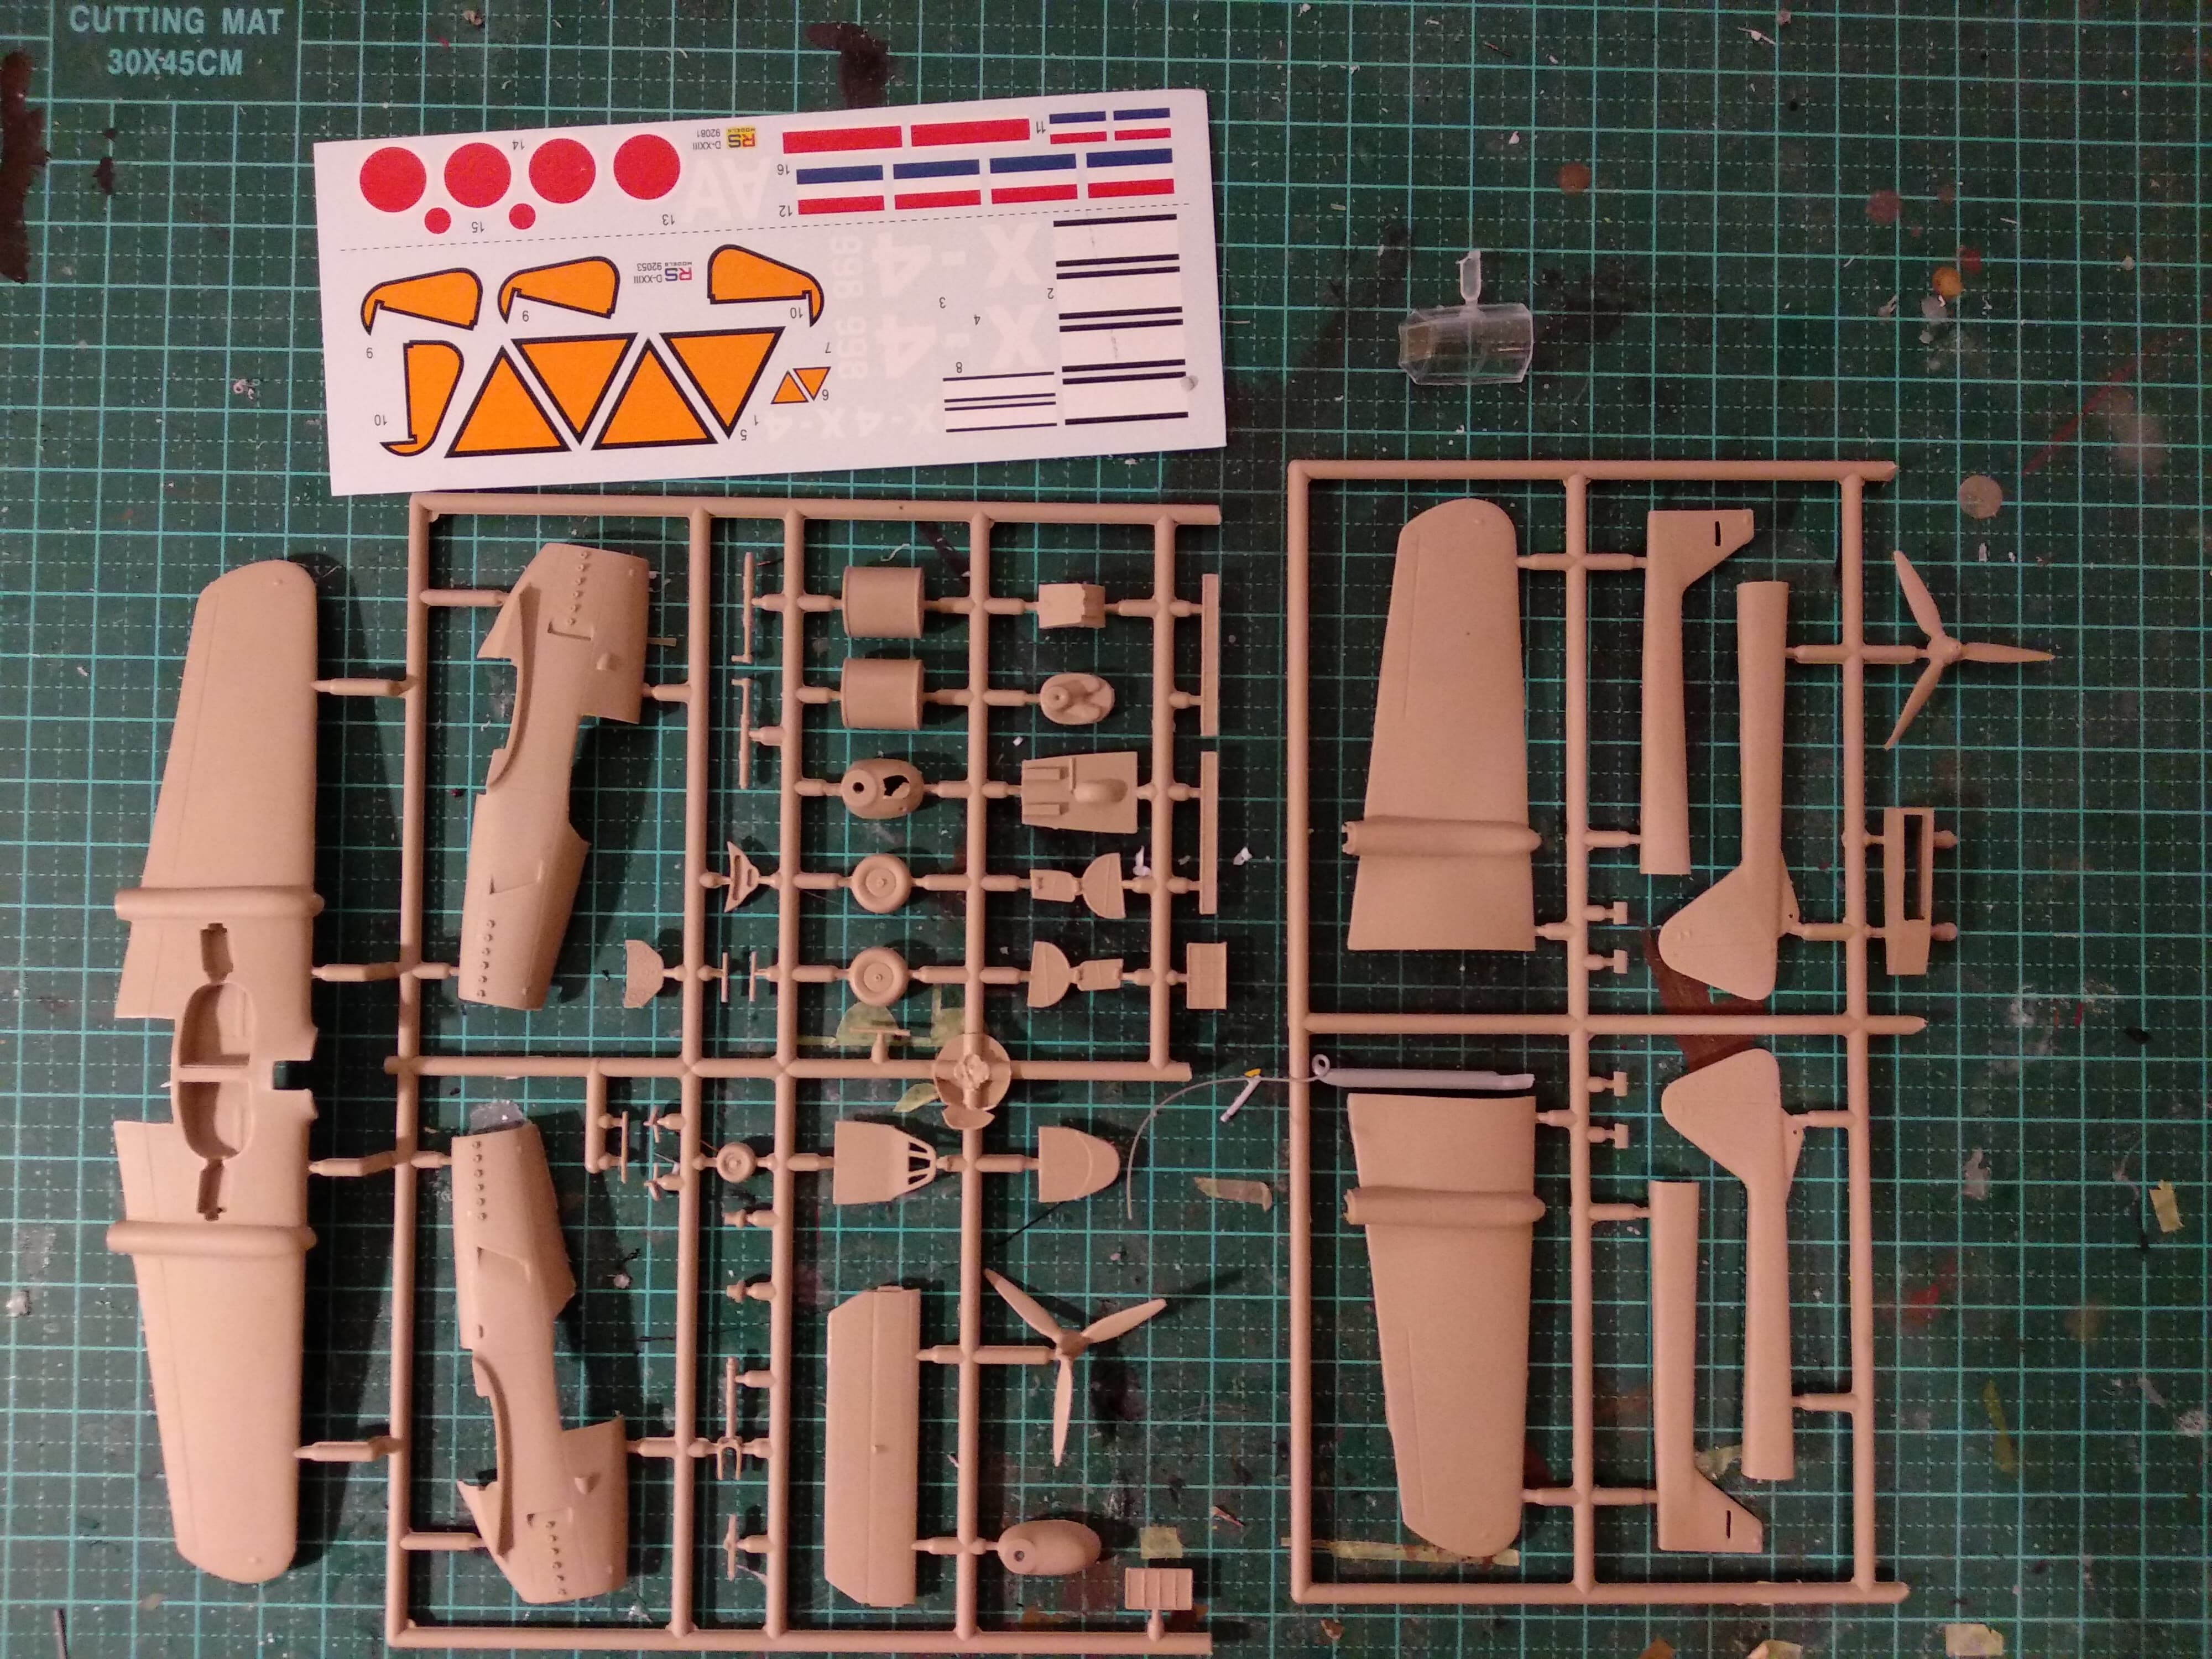
The kit looks very nice at first glance. Little flash, plenty of engraved details and crisp looking decals. The rendition of the instructions is a bit simple, but overall it looks nice. However this is a short run kit, which can give a lot of fitting issues. Especially due to this planes unusual configuration. During dry fitting these issues don’t seen too bad. The main body however proves to be rather annoying to glue together with the front wheel well not fitting properly.
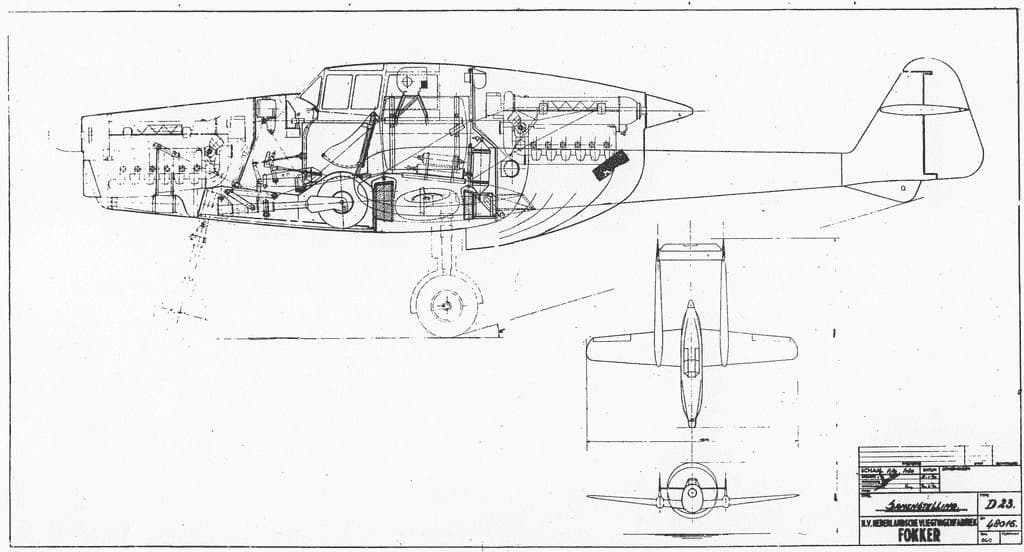
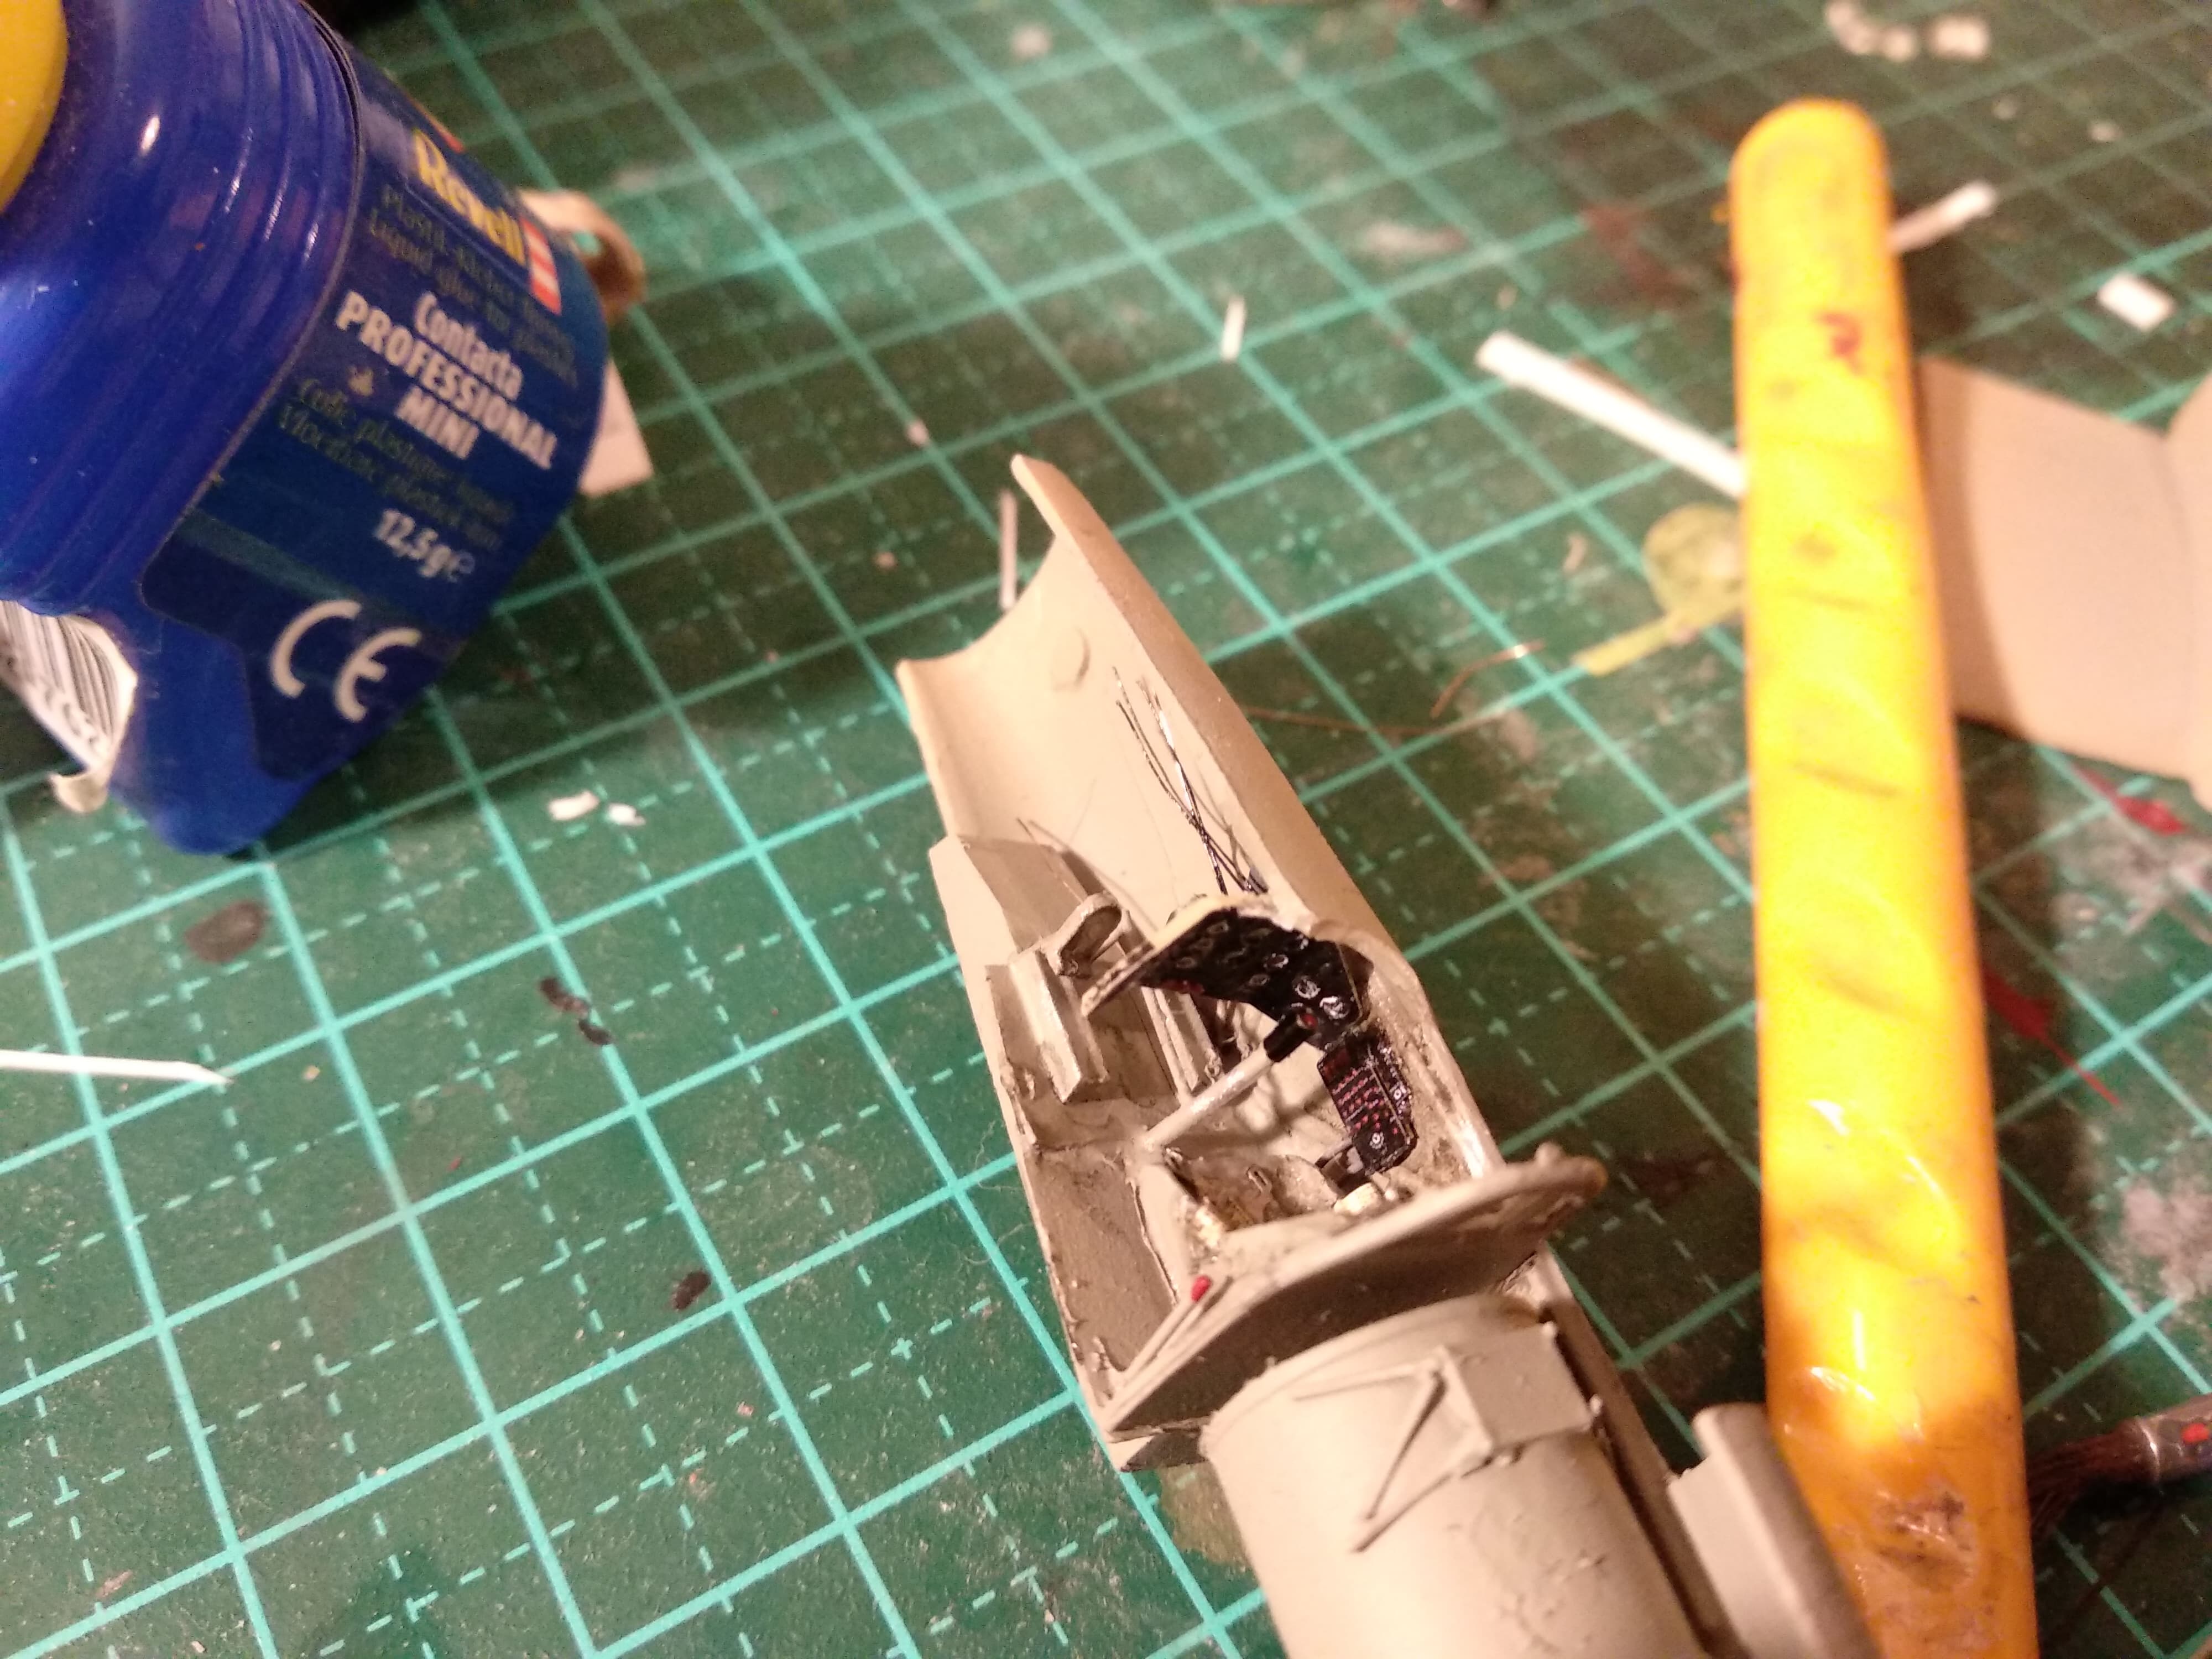
As usual, I start the kit with the cockpit. While some drawings and photo’s exist of the plane, i really couldn’t find any of the cockpit. This makes it somewhat of a guess what it would have looked like, especially the instrument panel. To make the provided cockpit a bit more busy I added a fuse box, gas handles and a bunch of wires to the cockpit. The seat belts are some spares I had lying around.
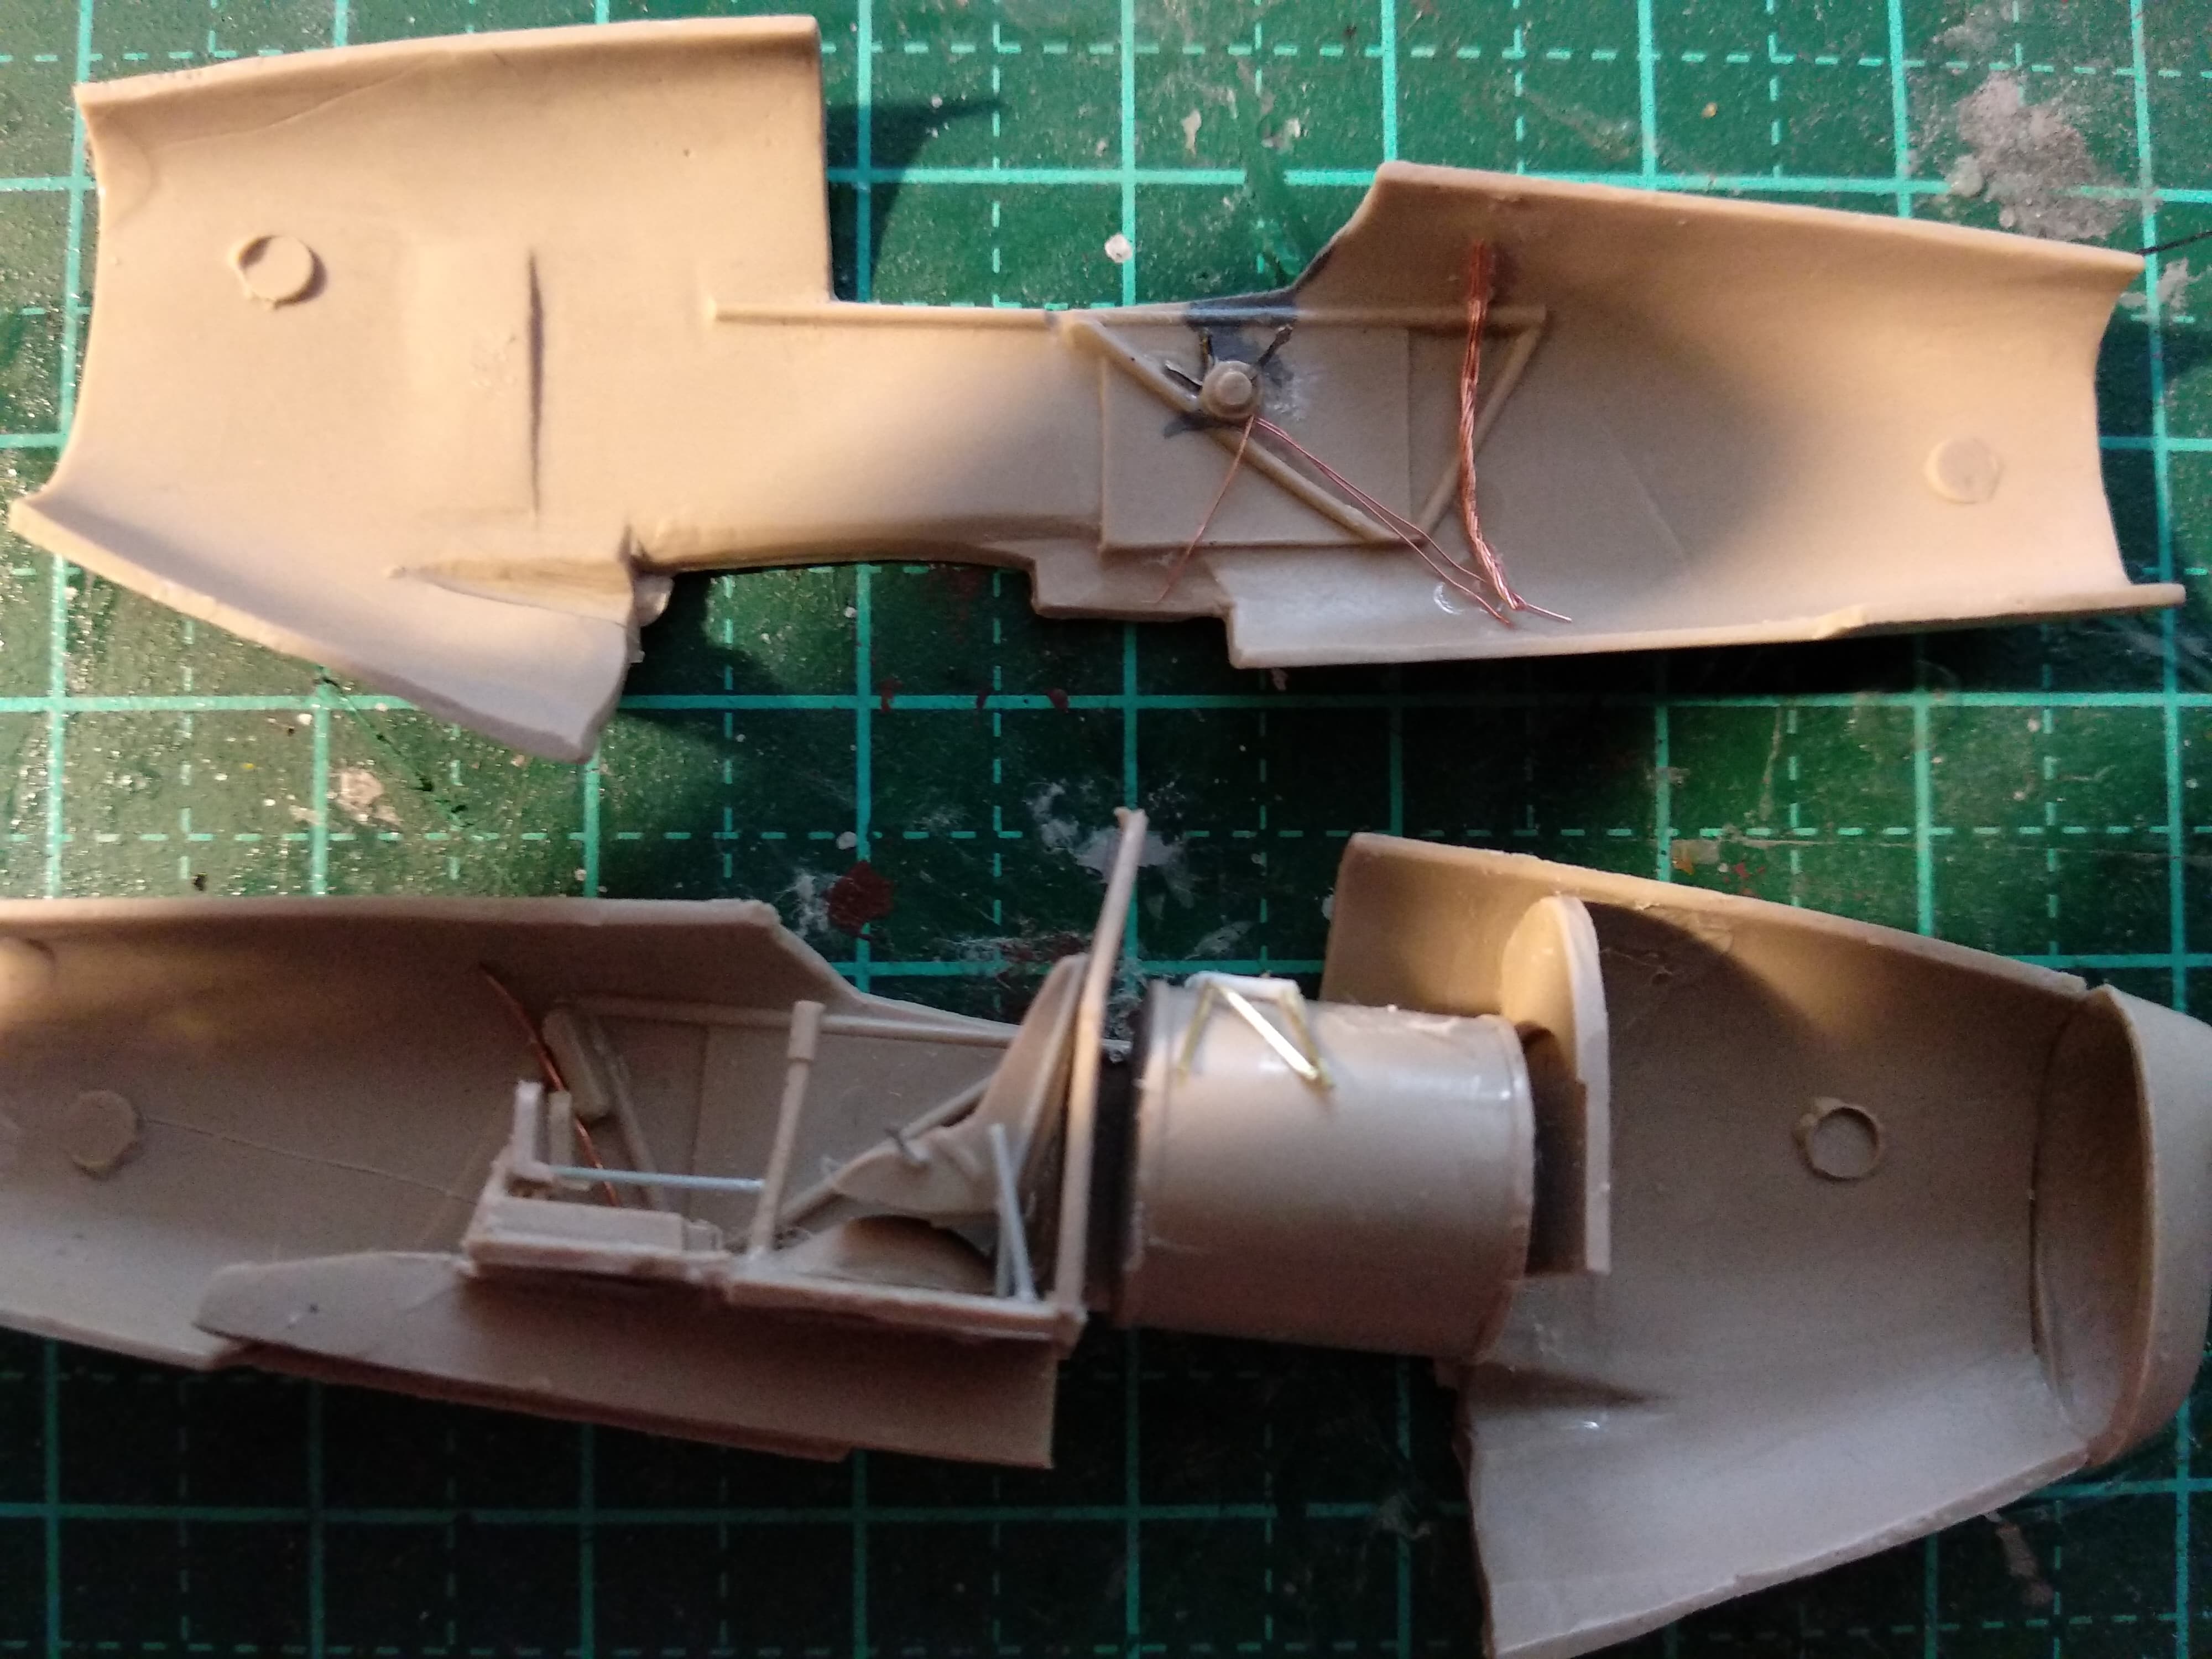

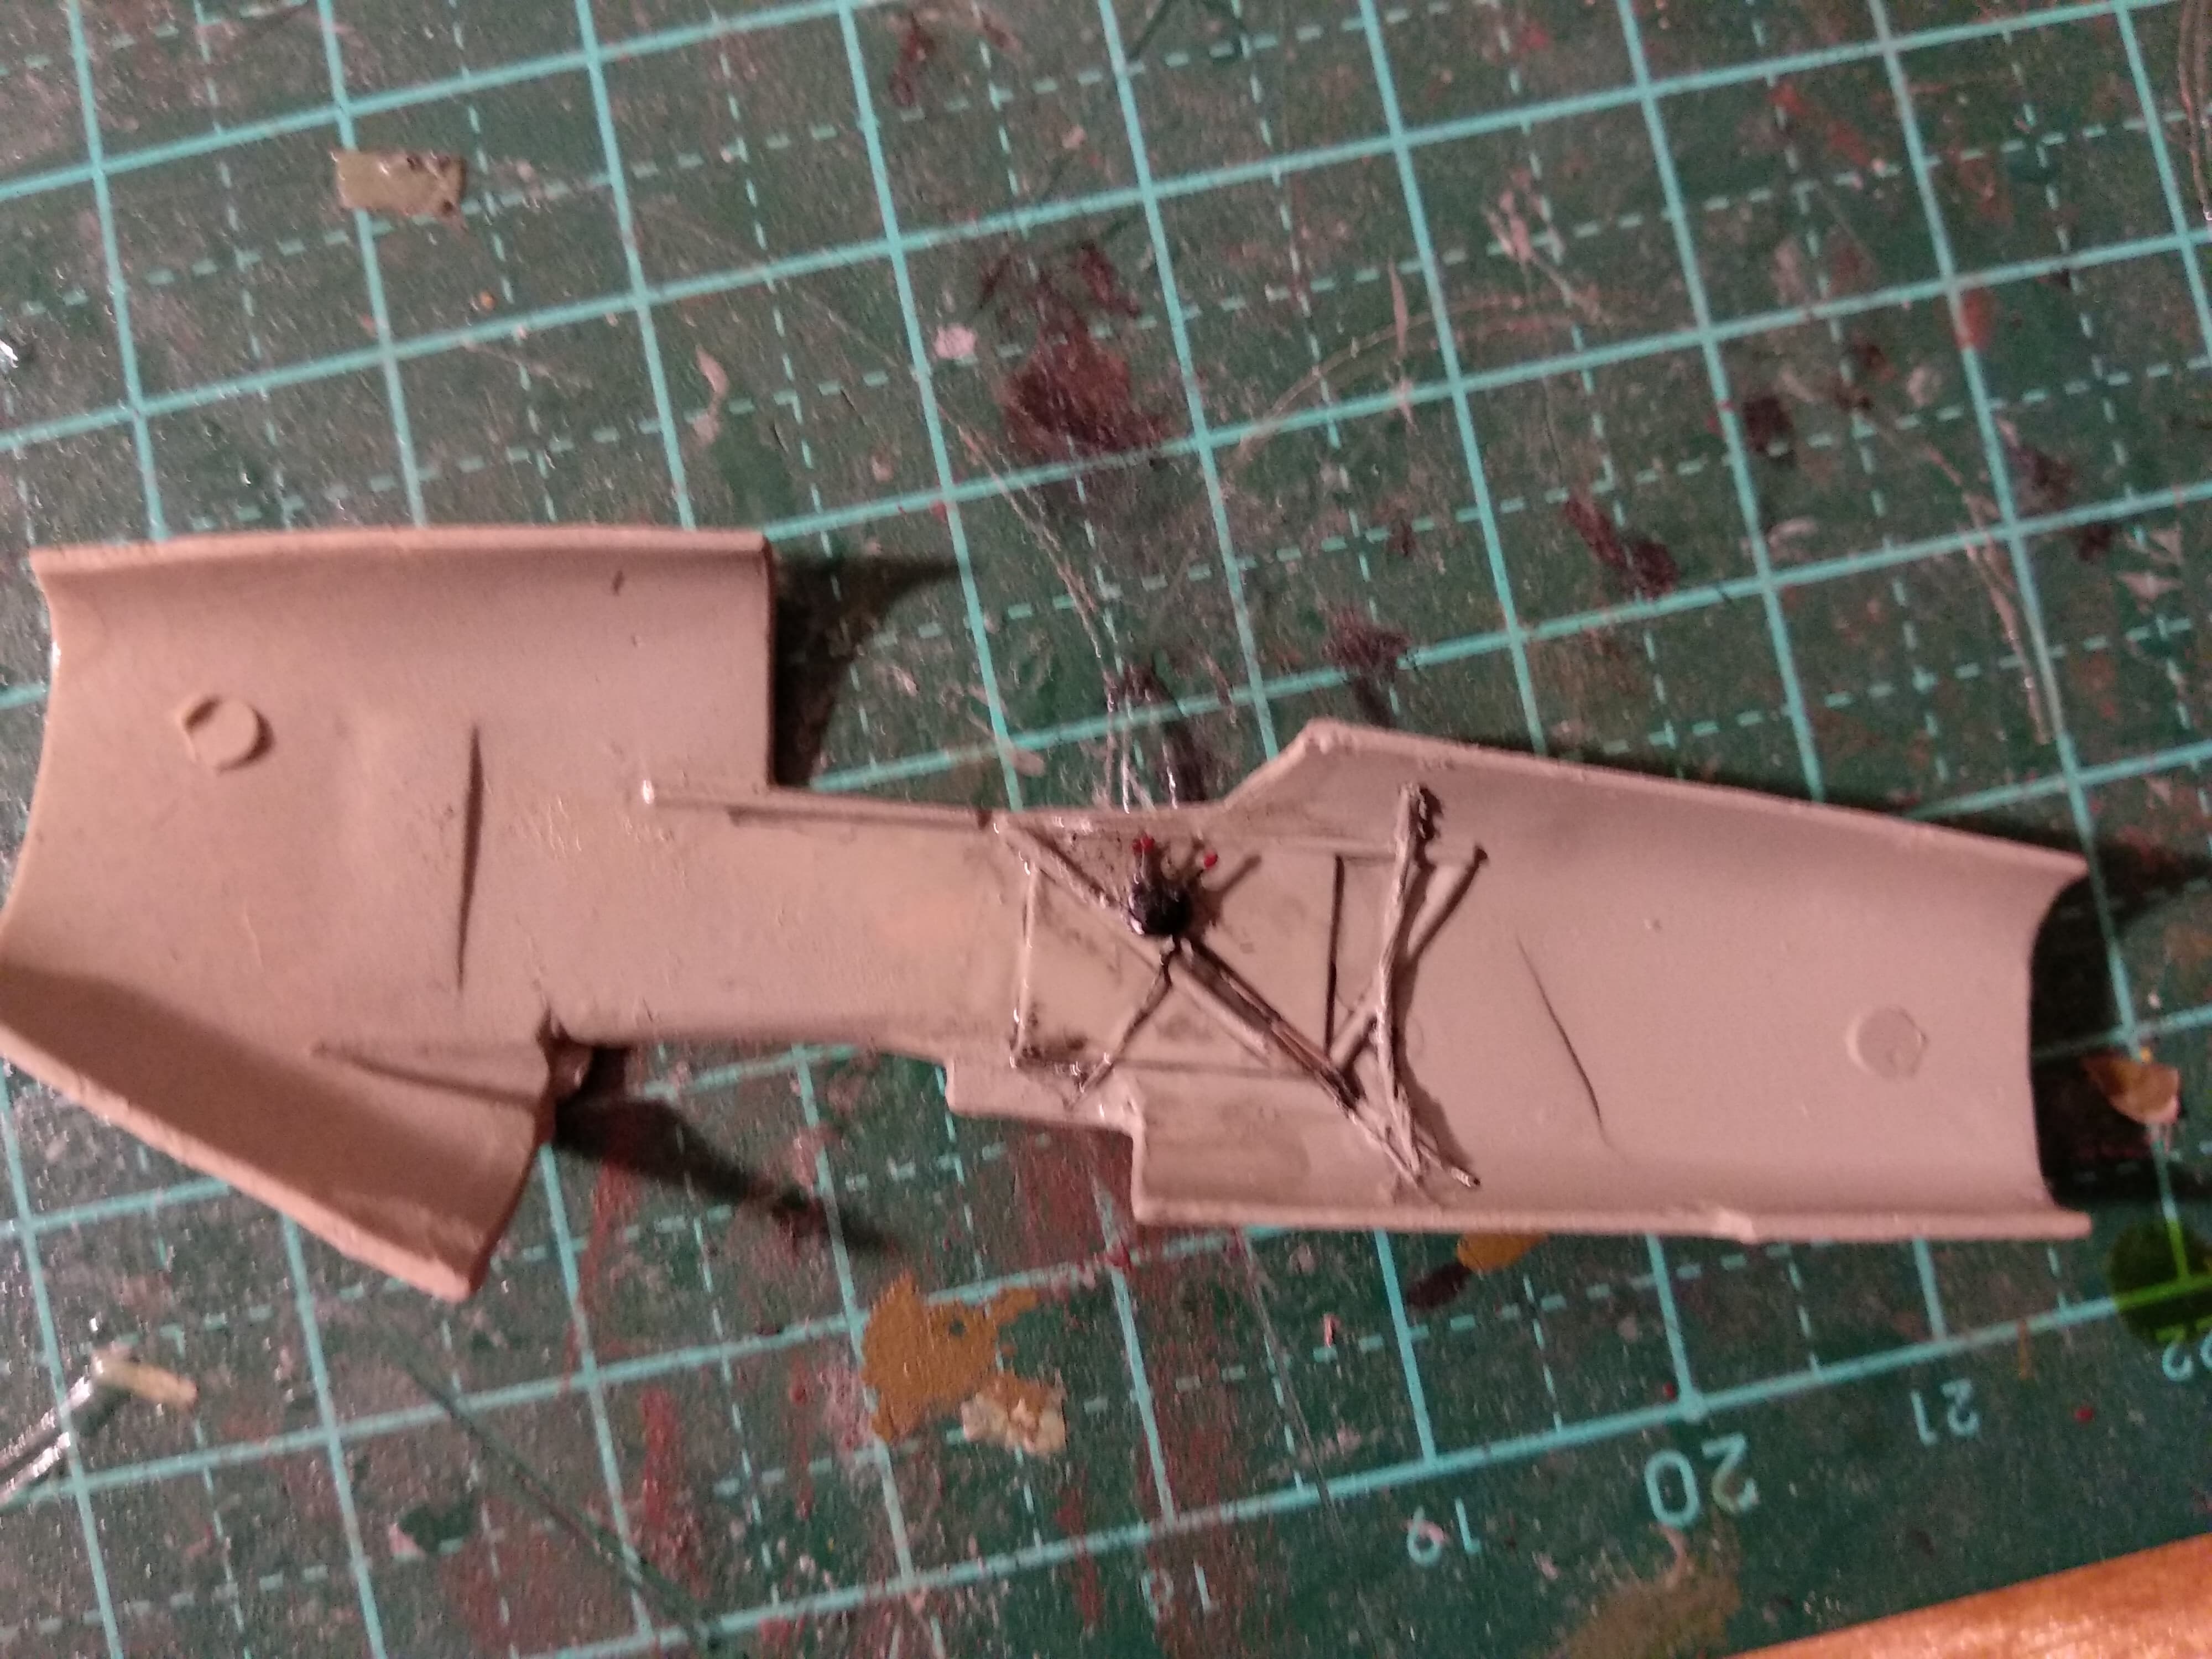
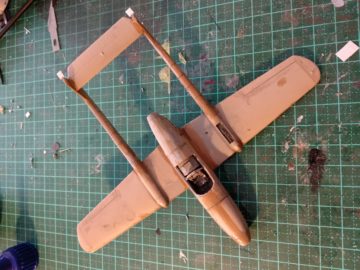
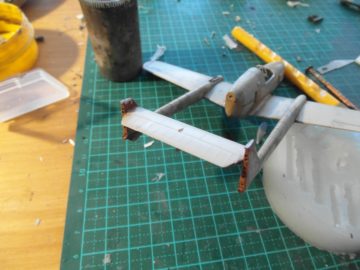
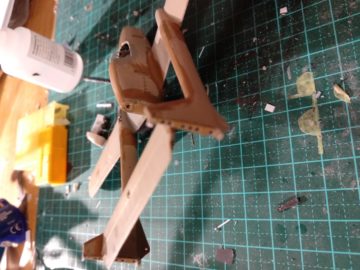
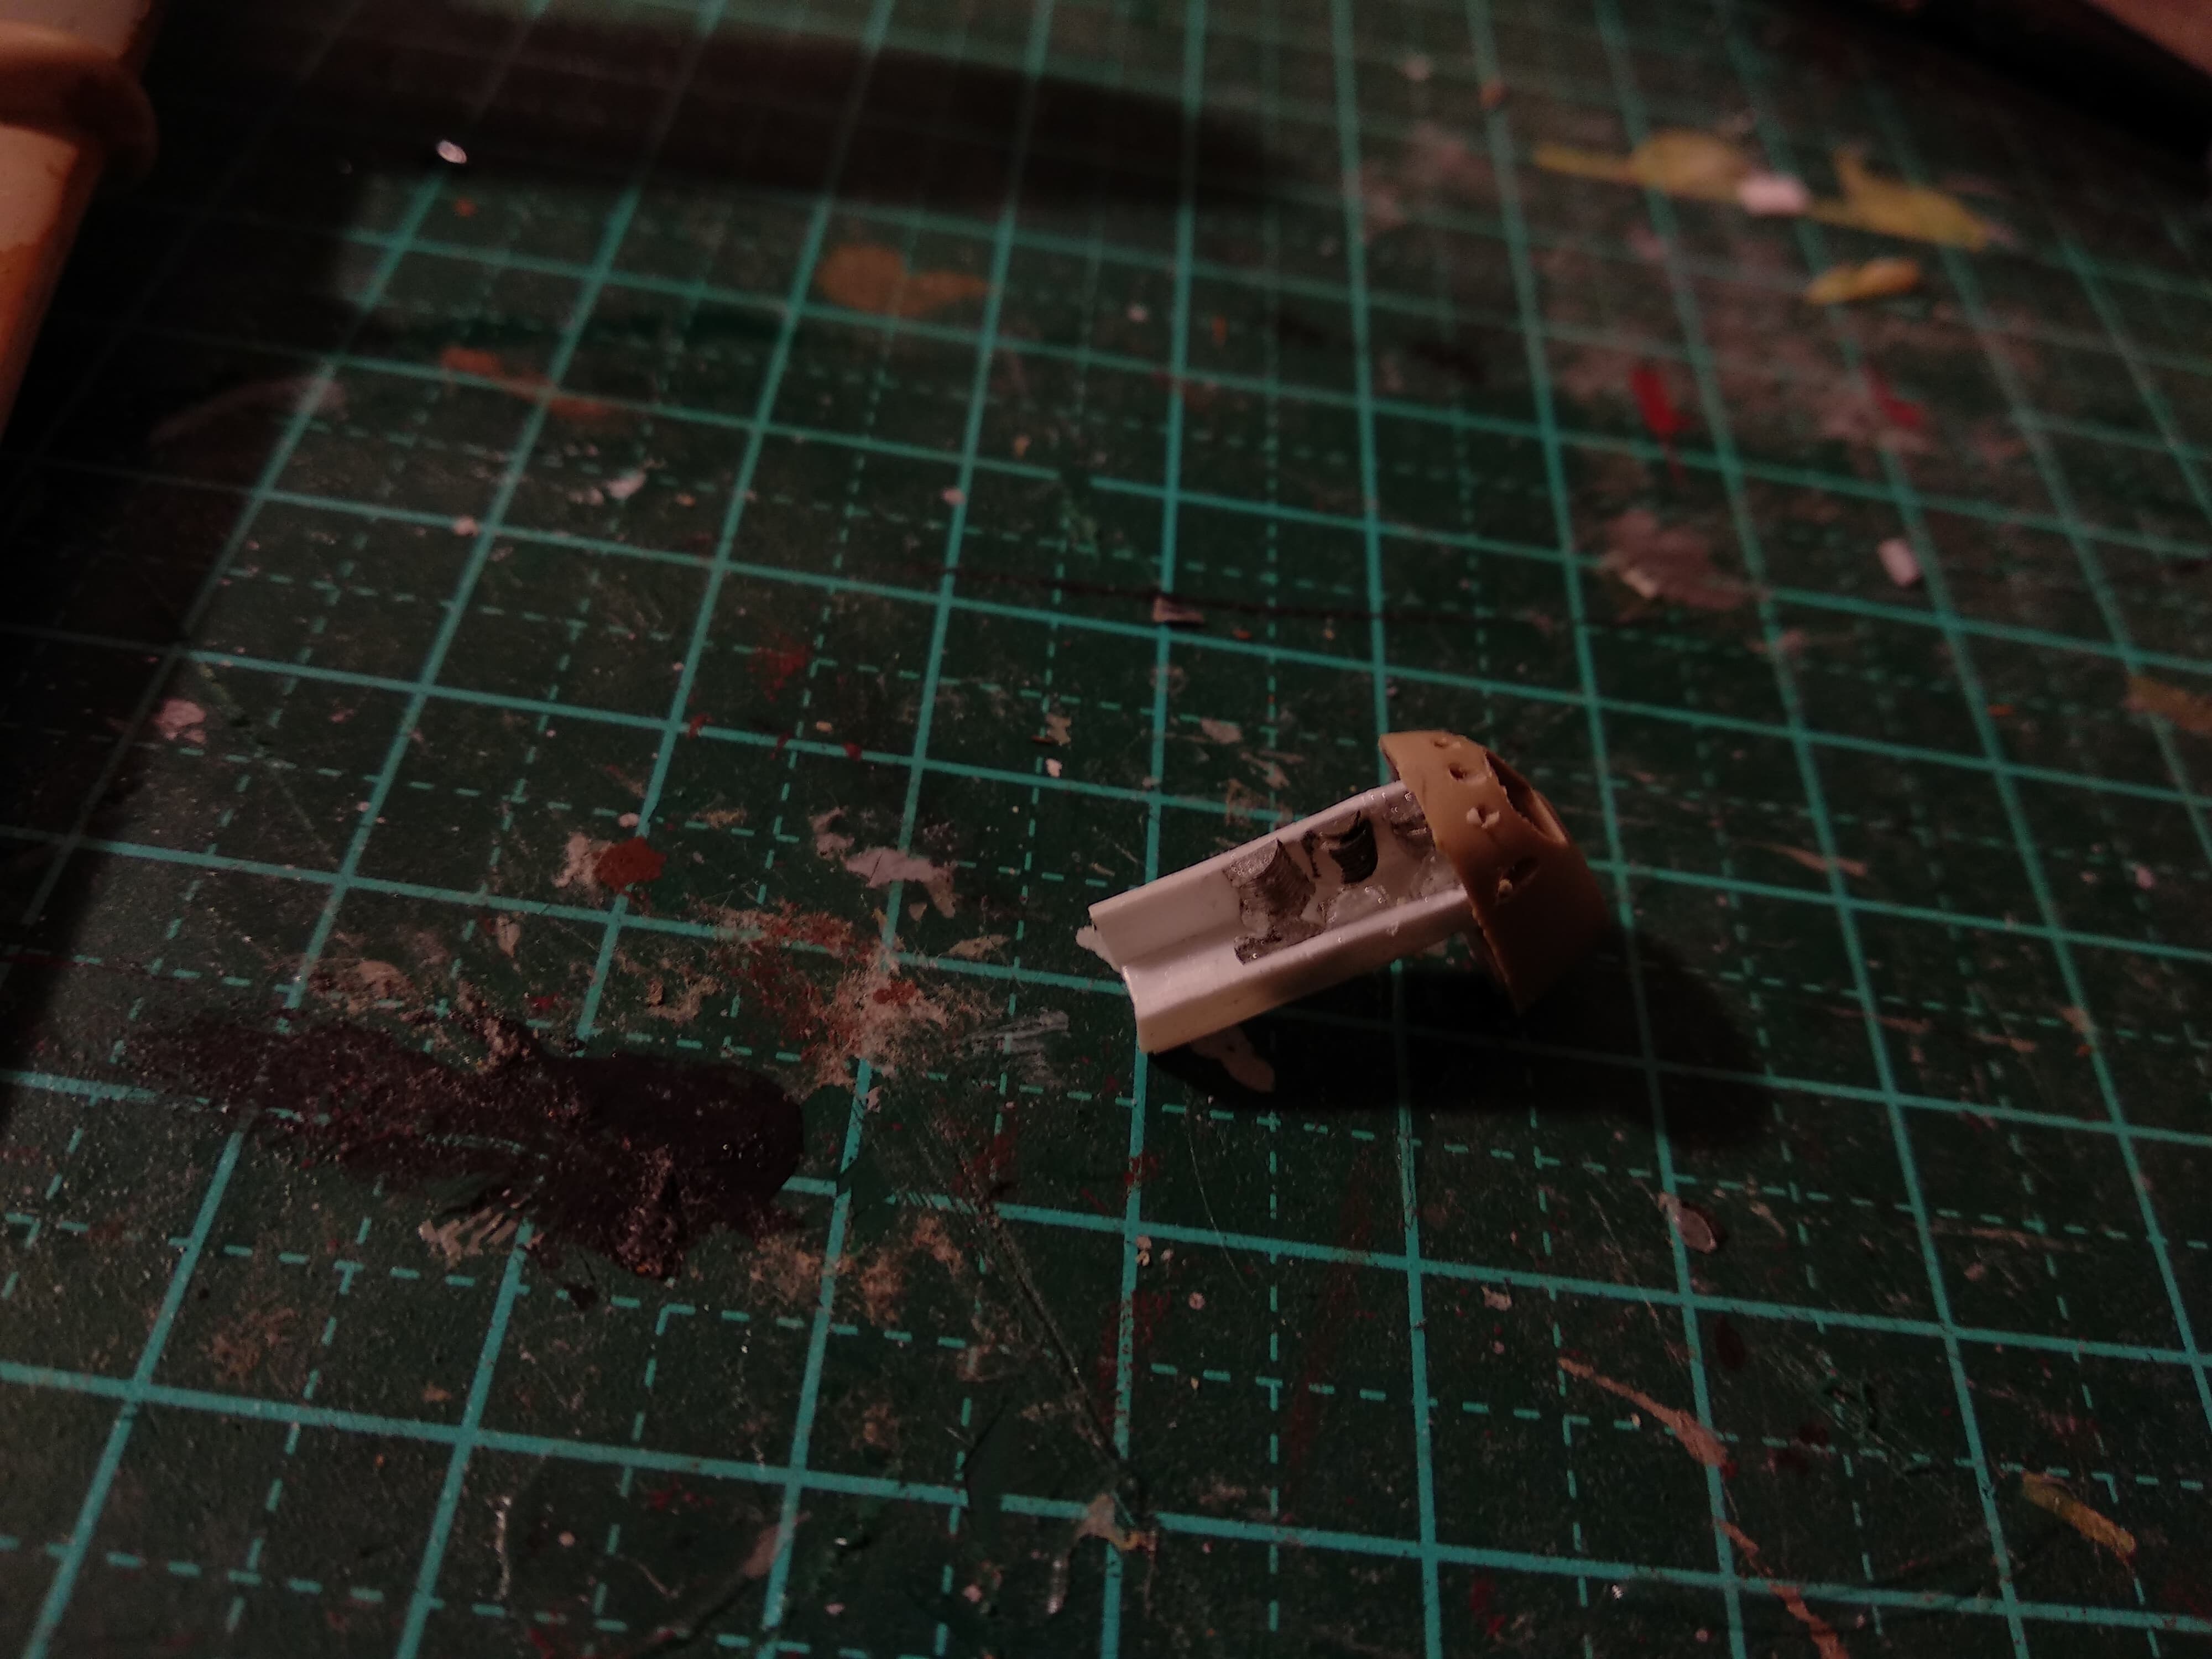
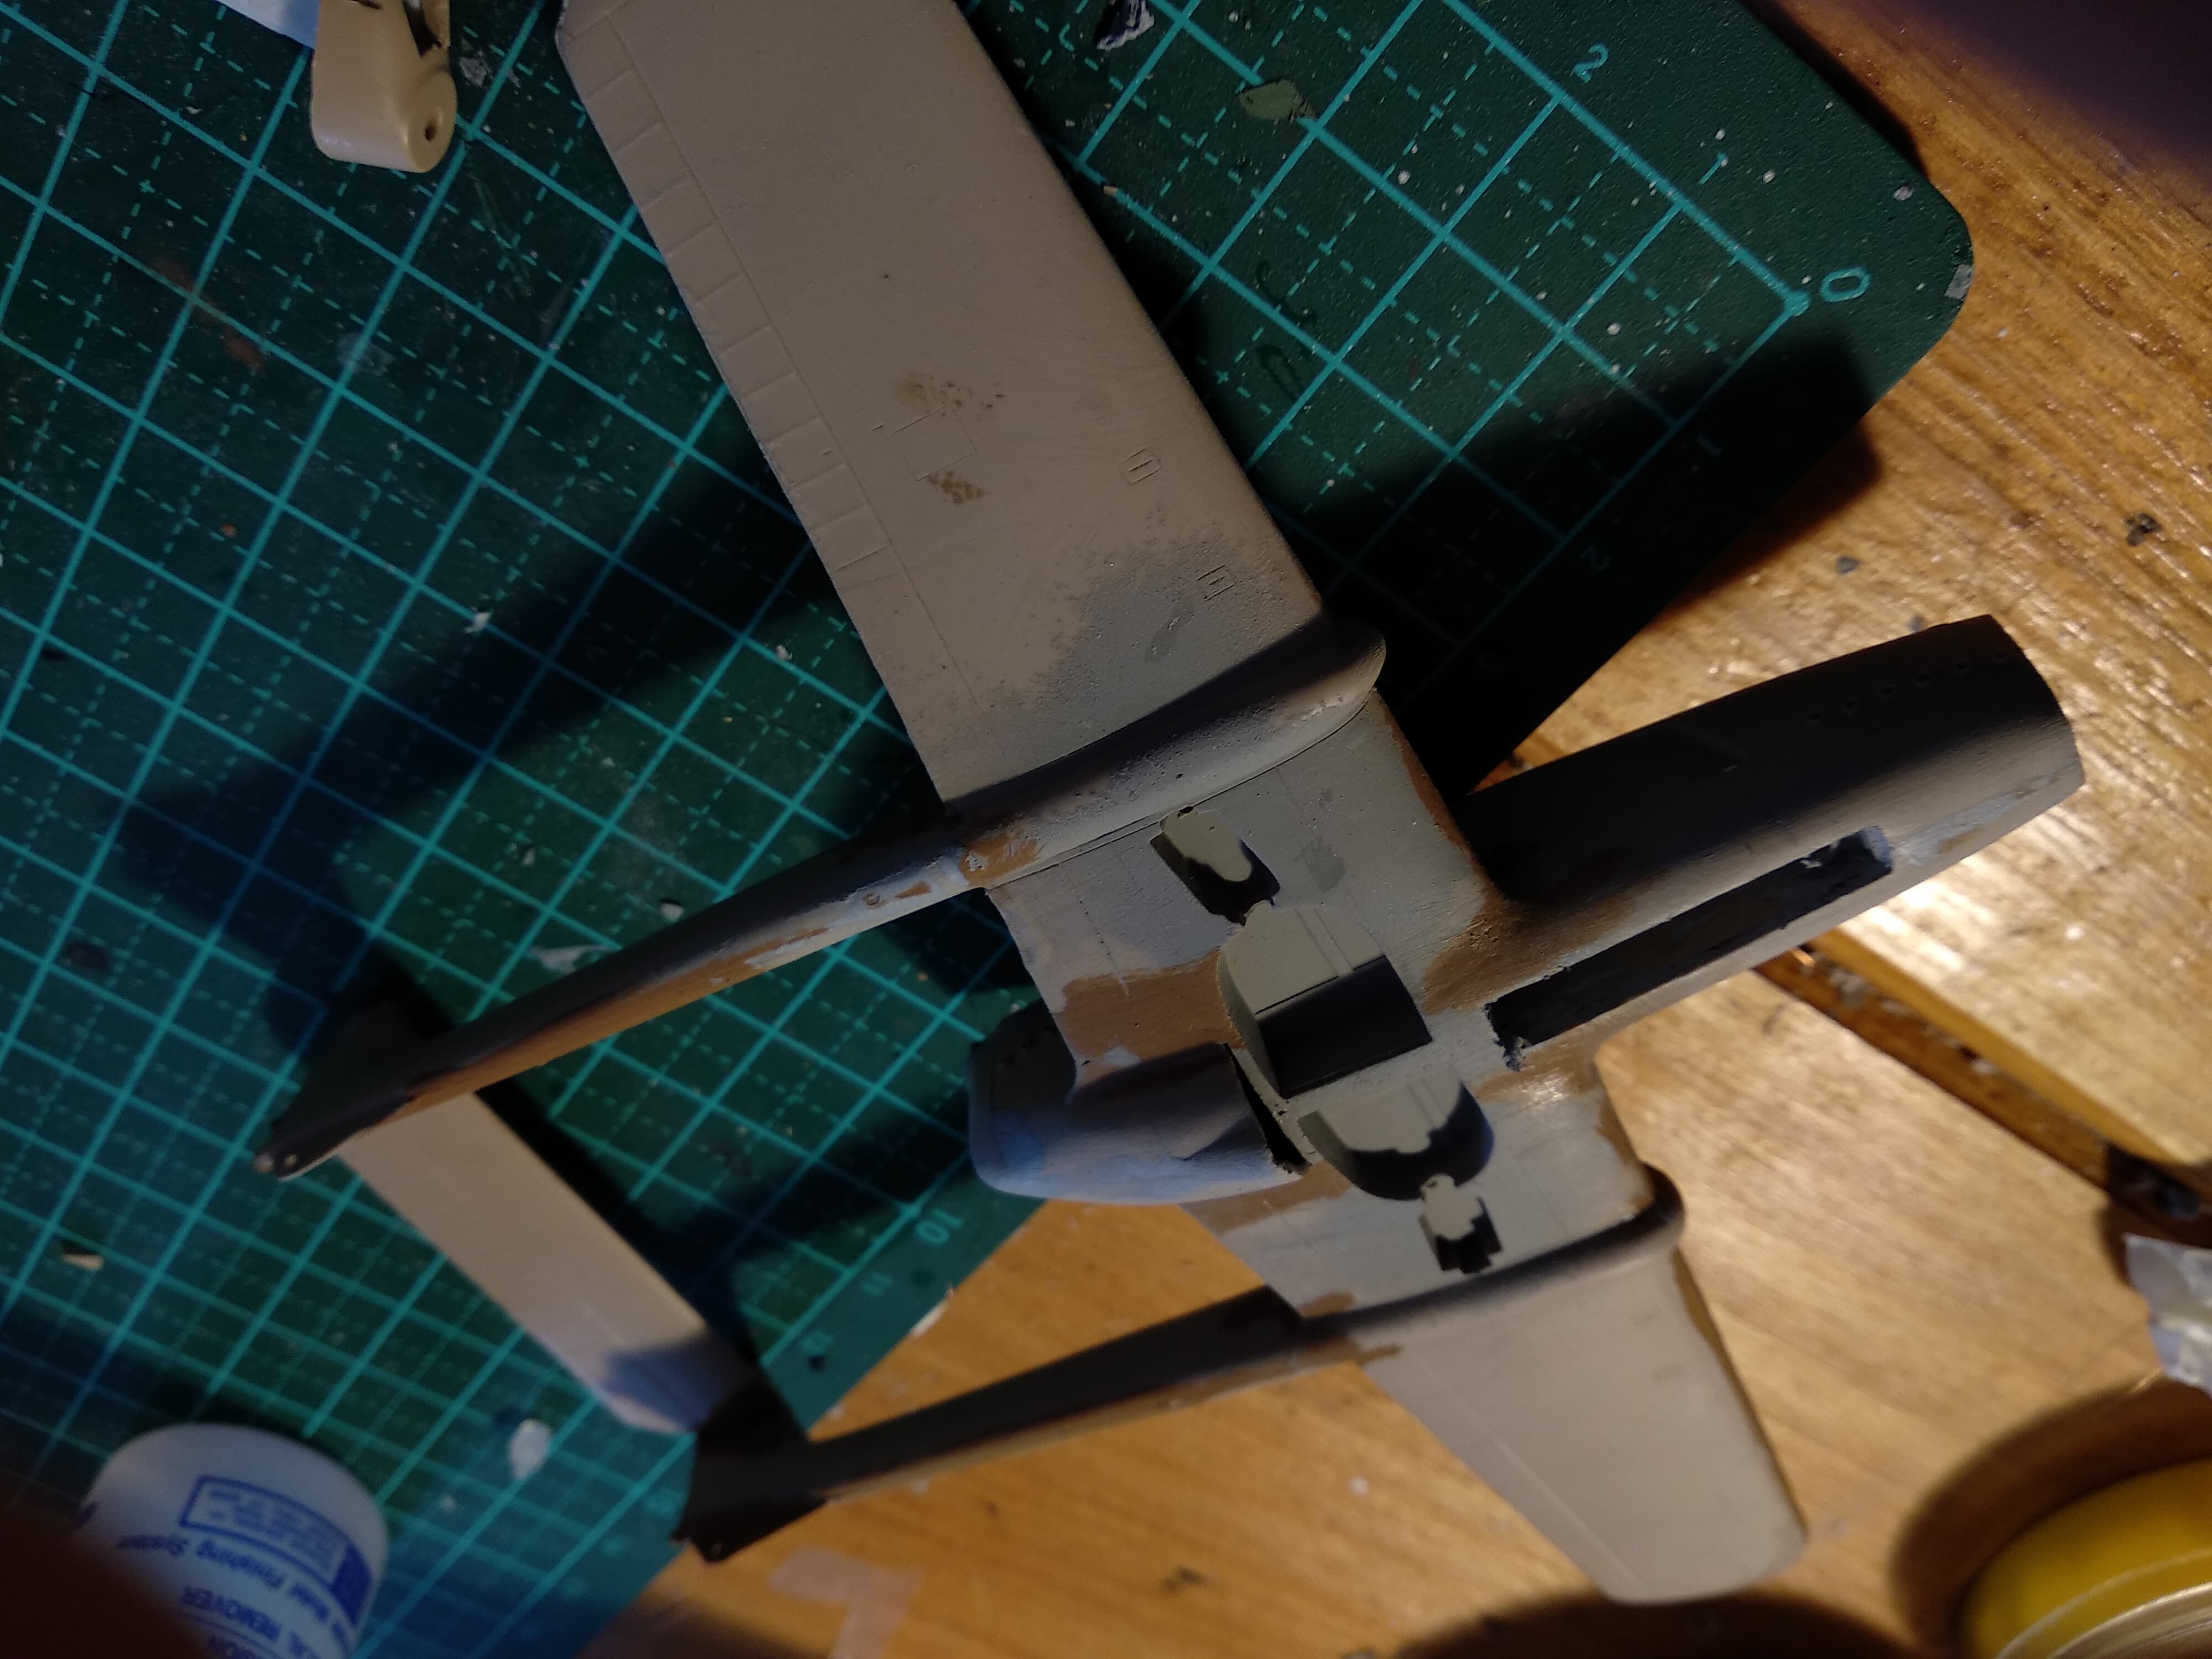
Gluing the two fuselage parts together proved to be rather difficult. Mainly the front wheel well refused to properly line up, however after a lot of force, sanding and glue, the to parts are snugly connected. The front engine is also a little bit visible through the air intake, however it is very simply moulded. I removed it and added some cylinders from some old resin parts I had lying around. I barely had enough space left for enough lead.
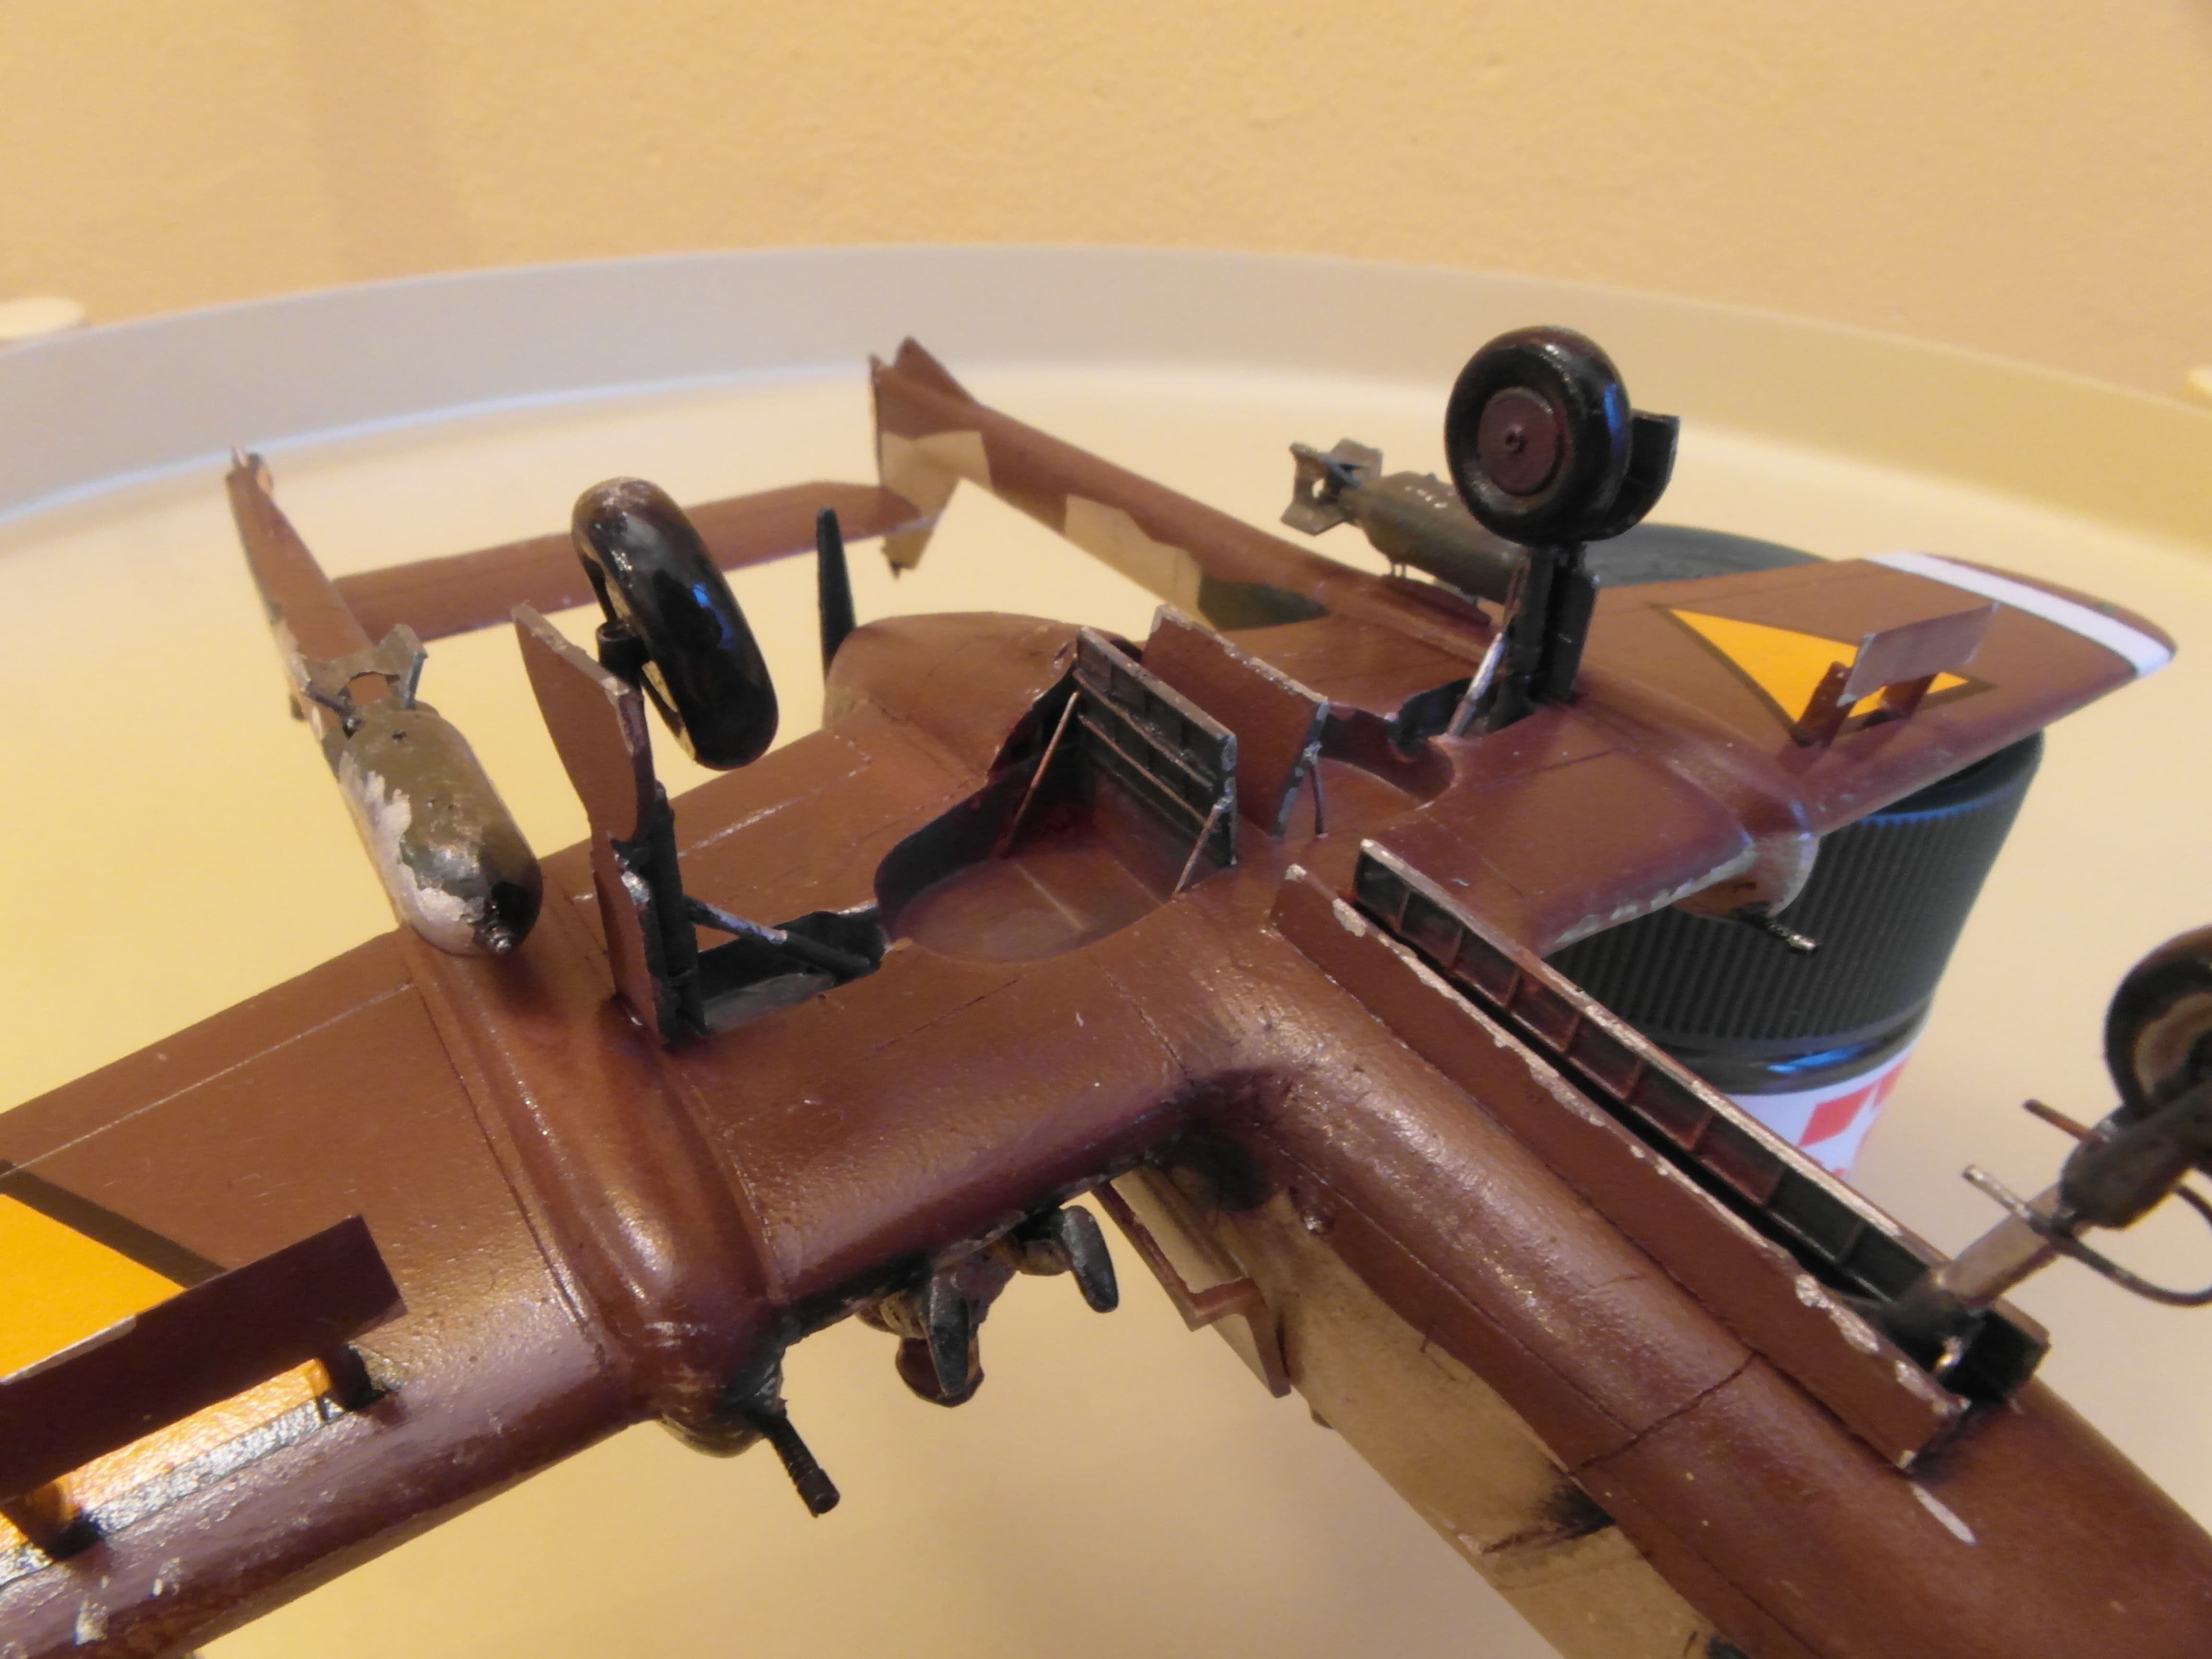
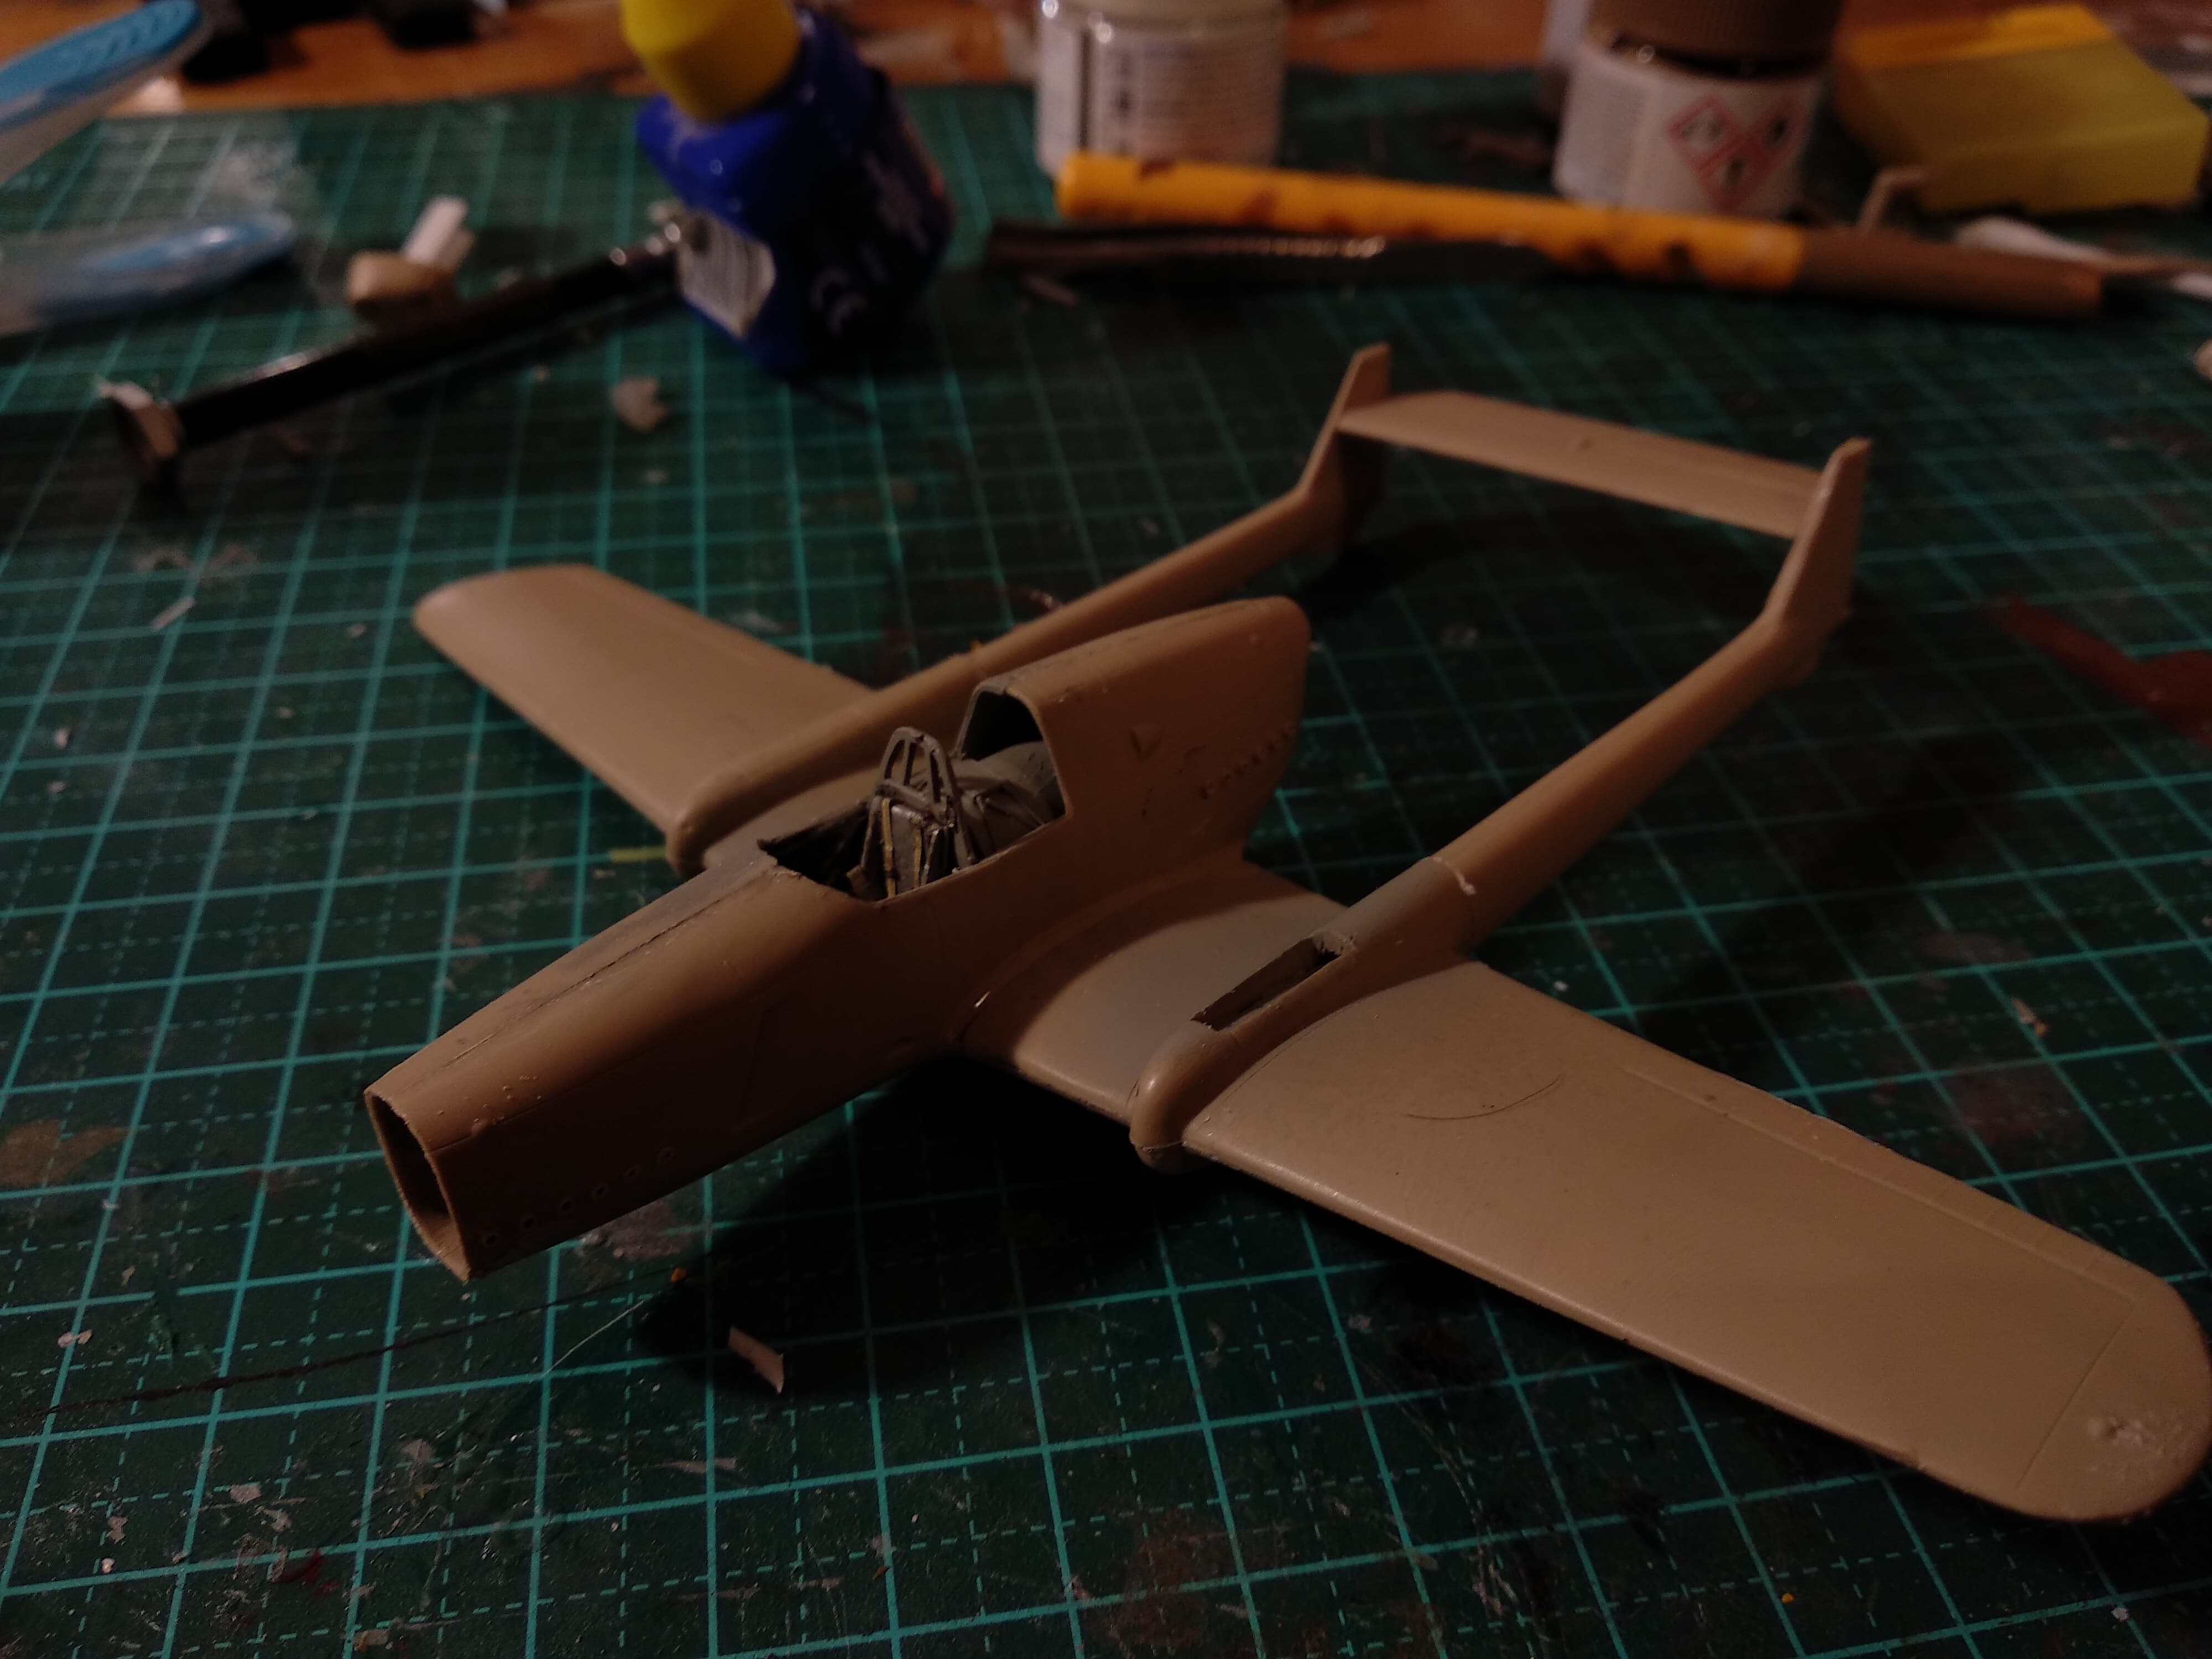
For the wings, I opened up the maintenance panel for the Browing-FN 13.2 mm machine guns.
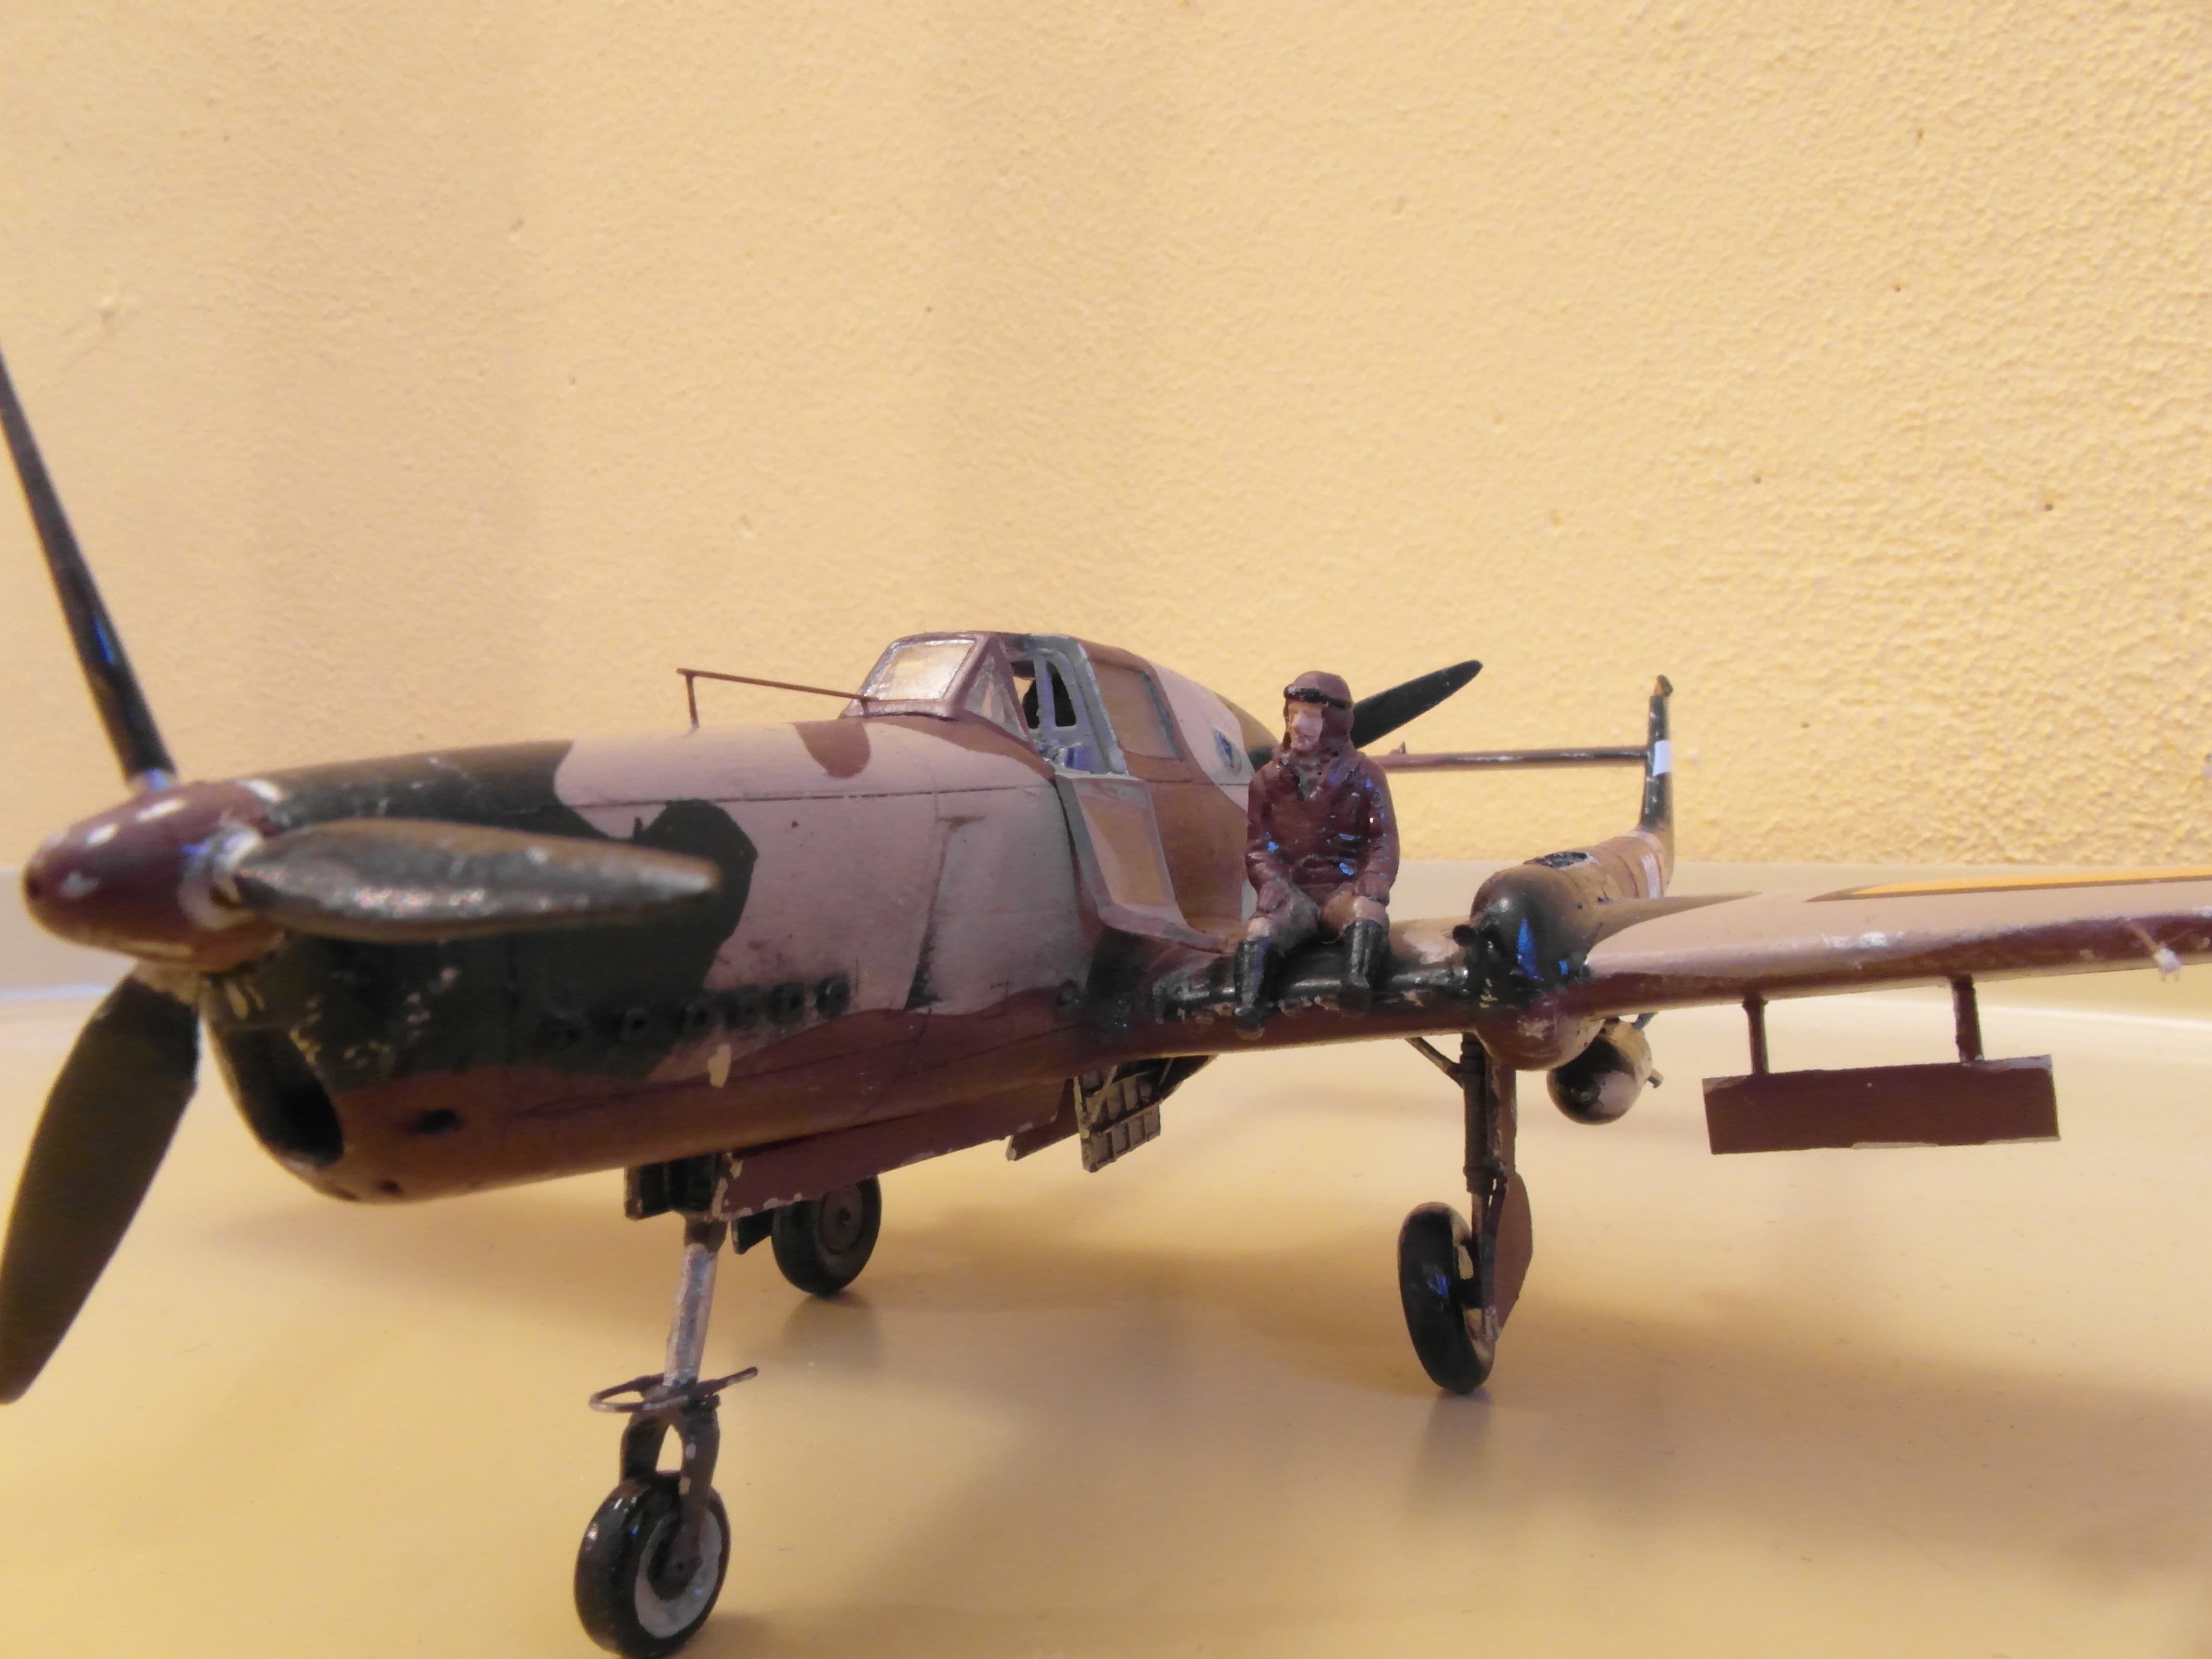
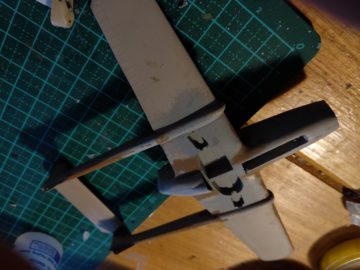
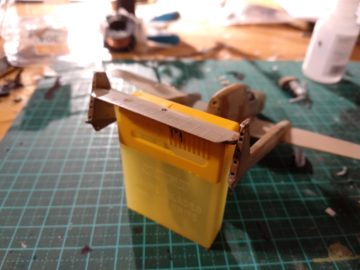
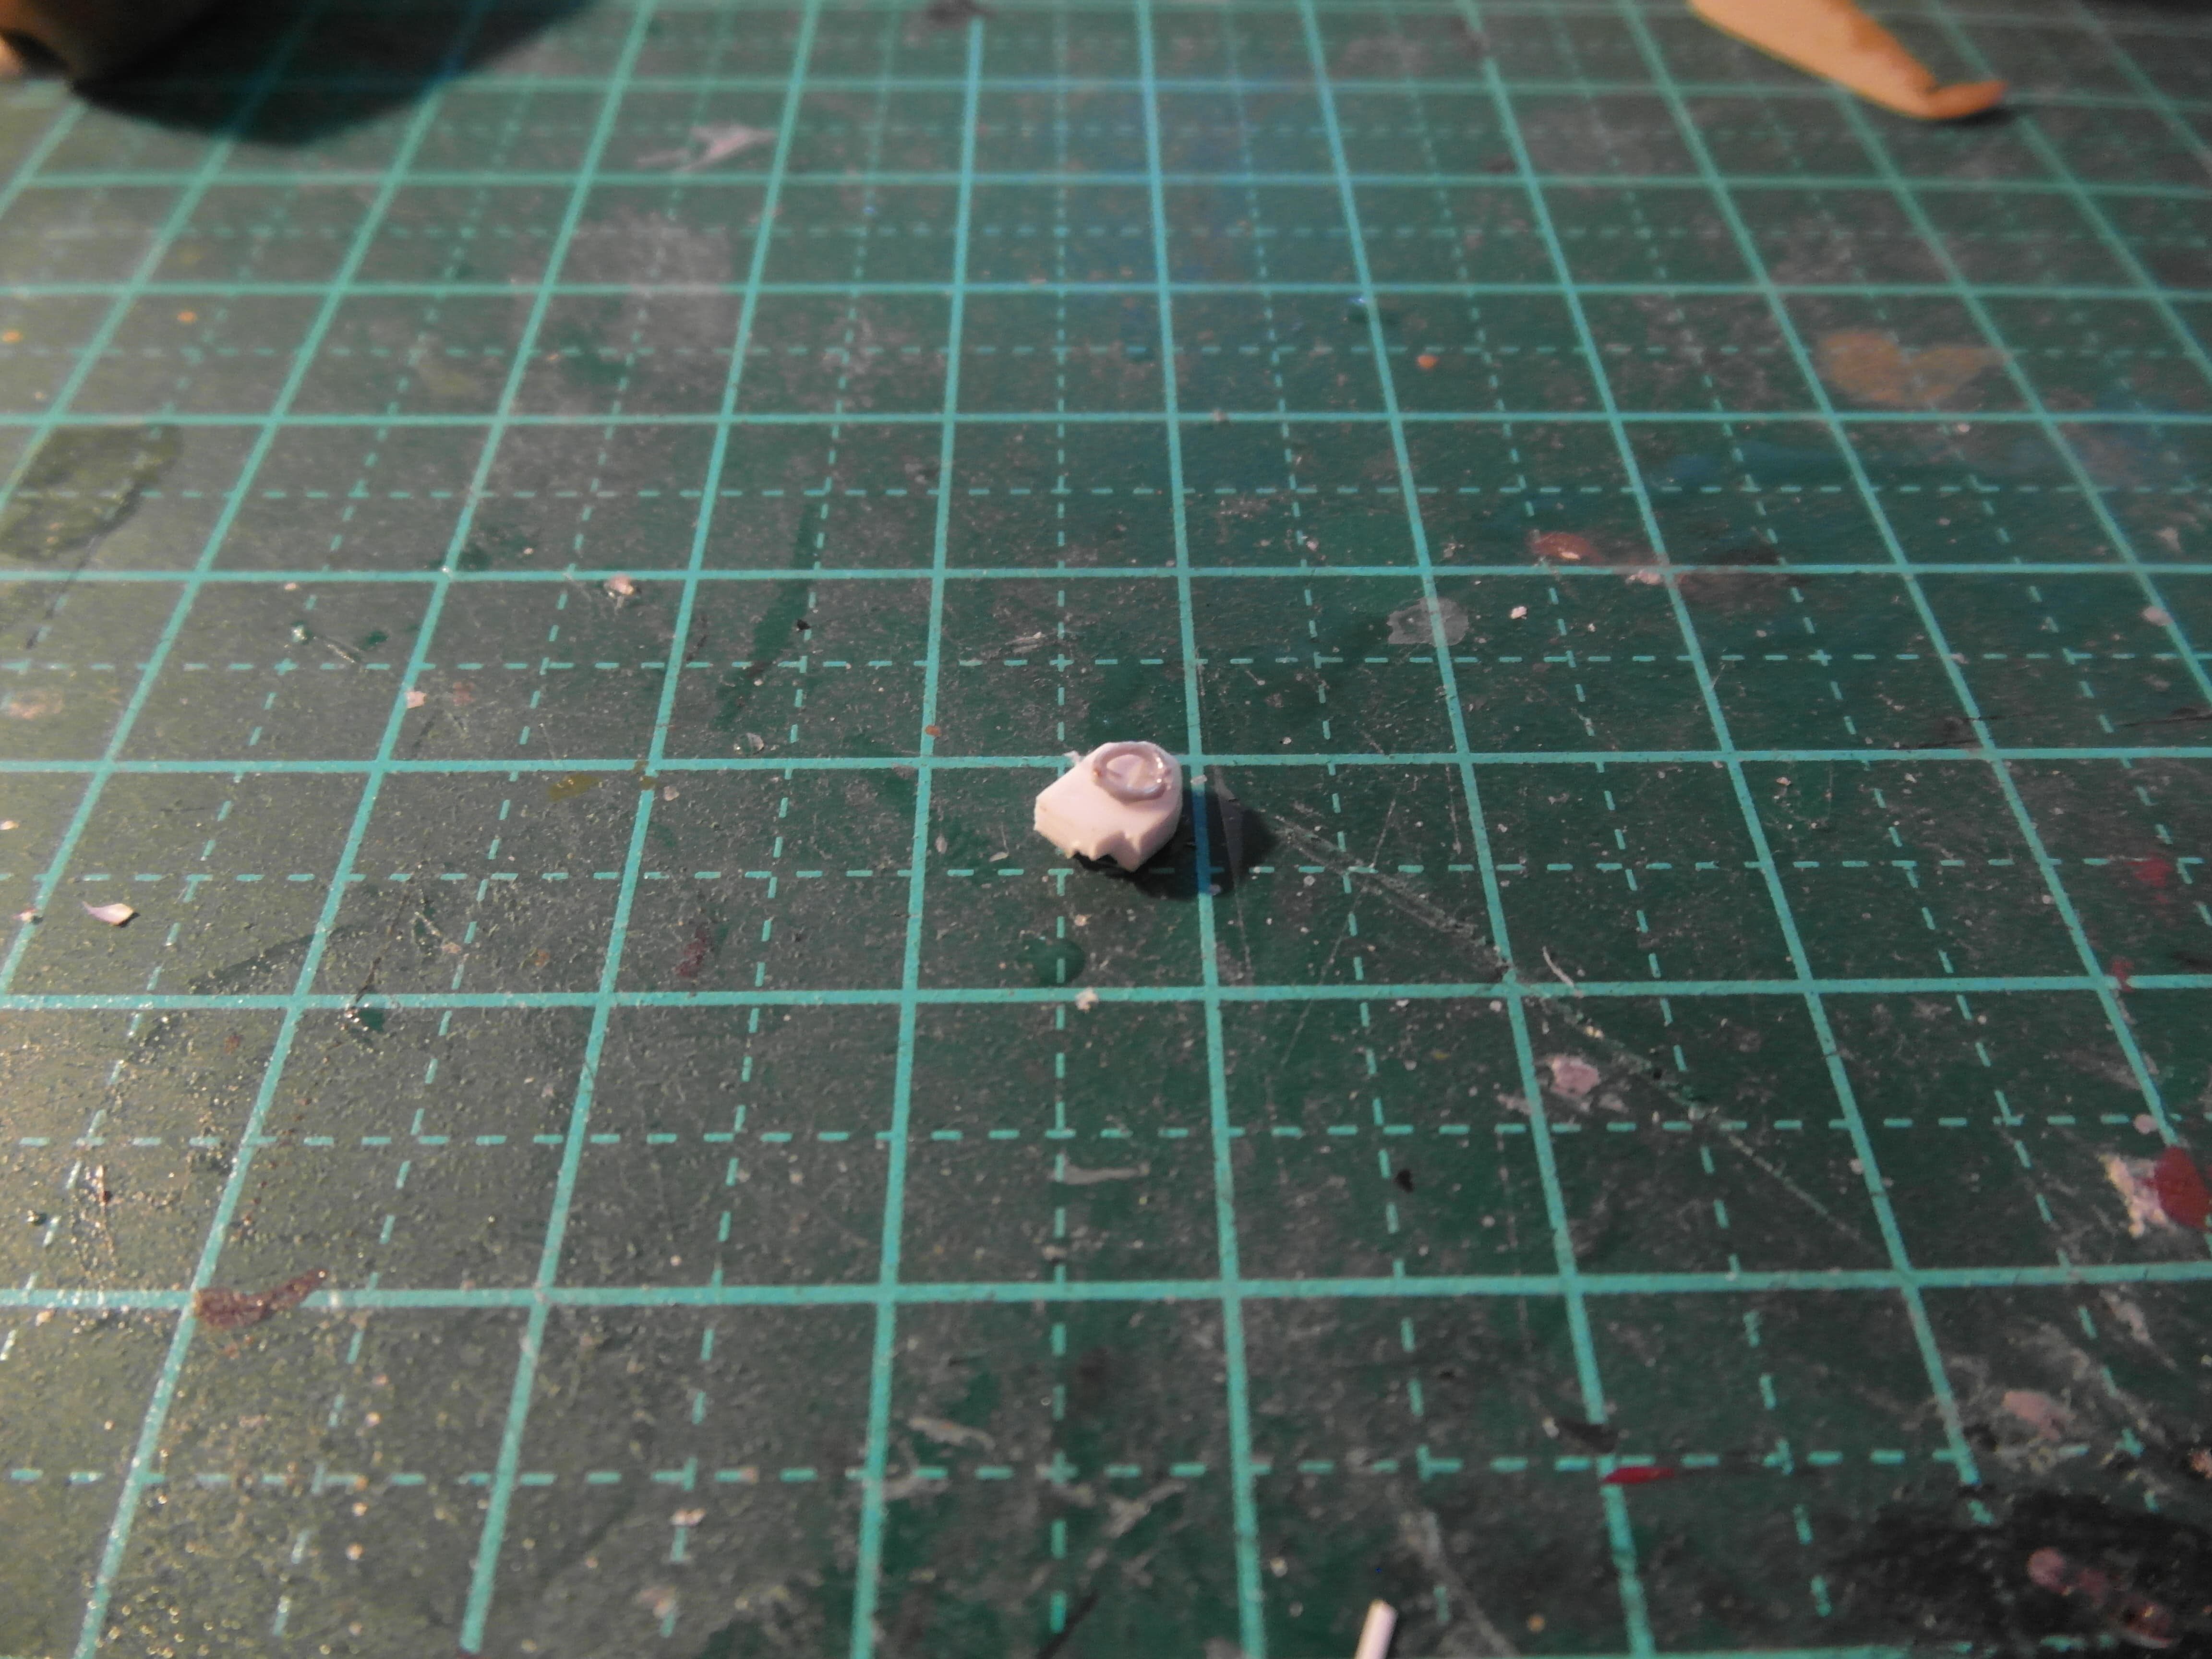
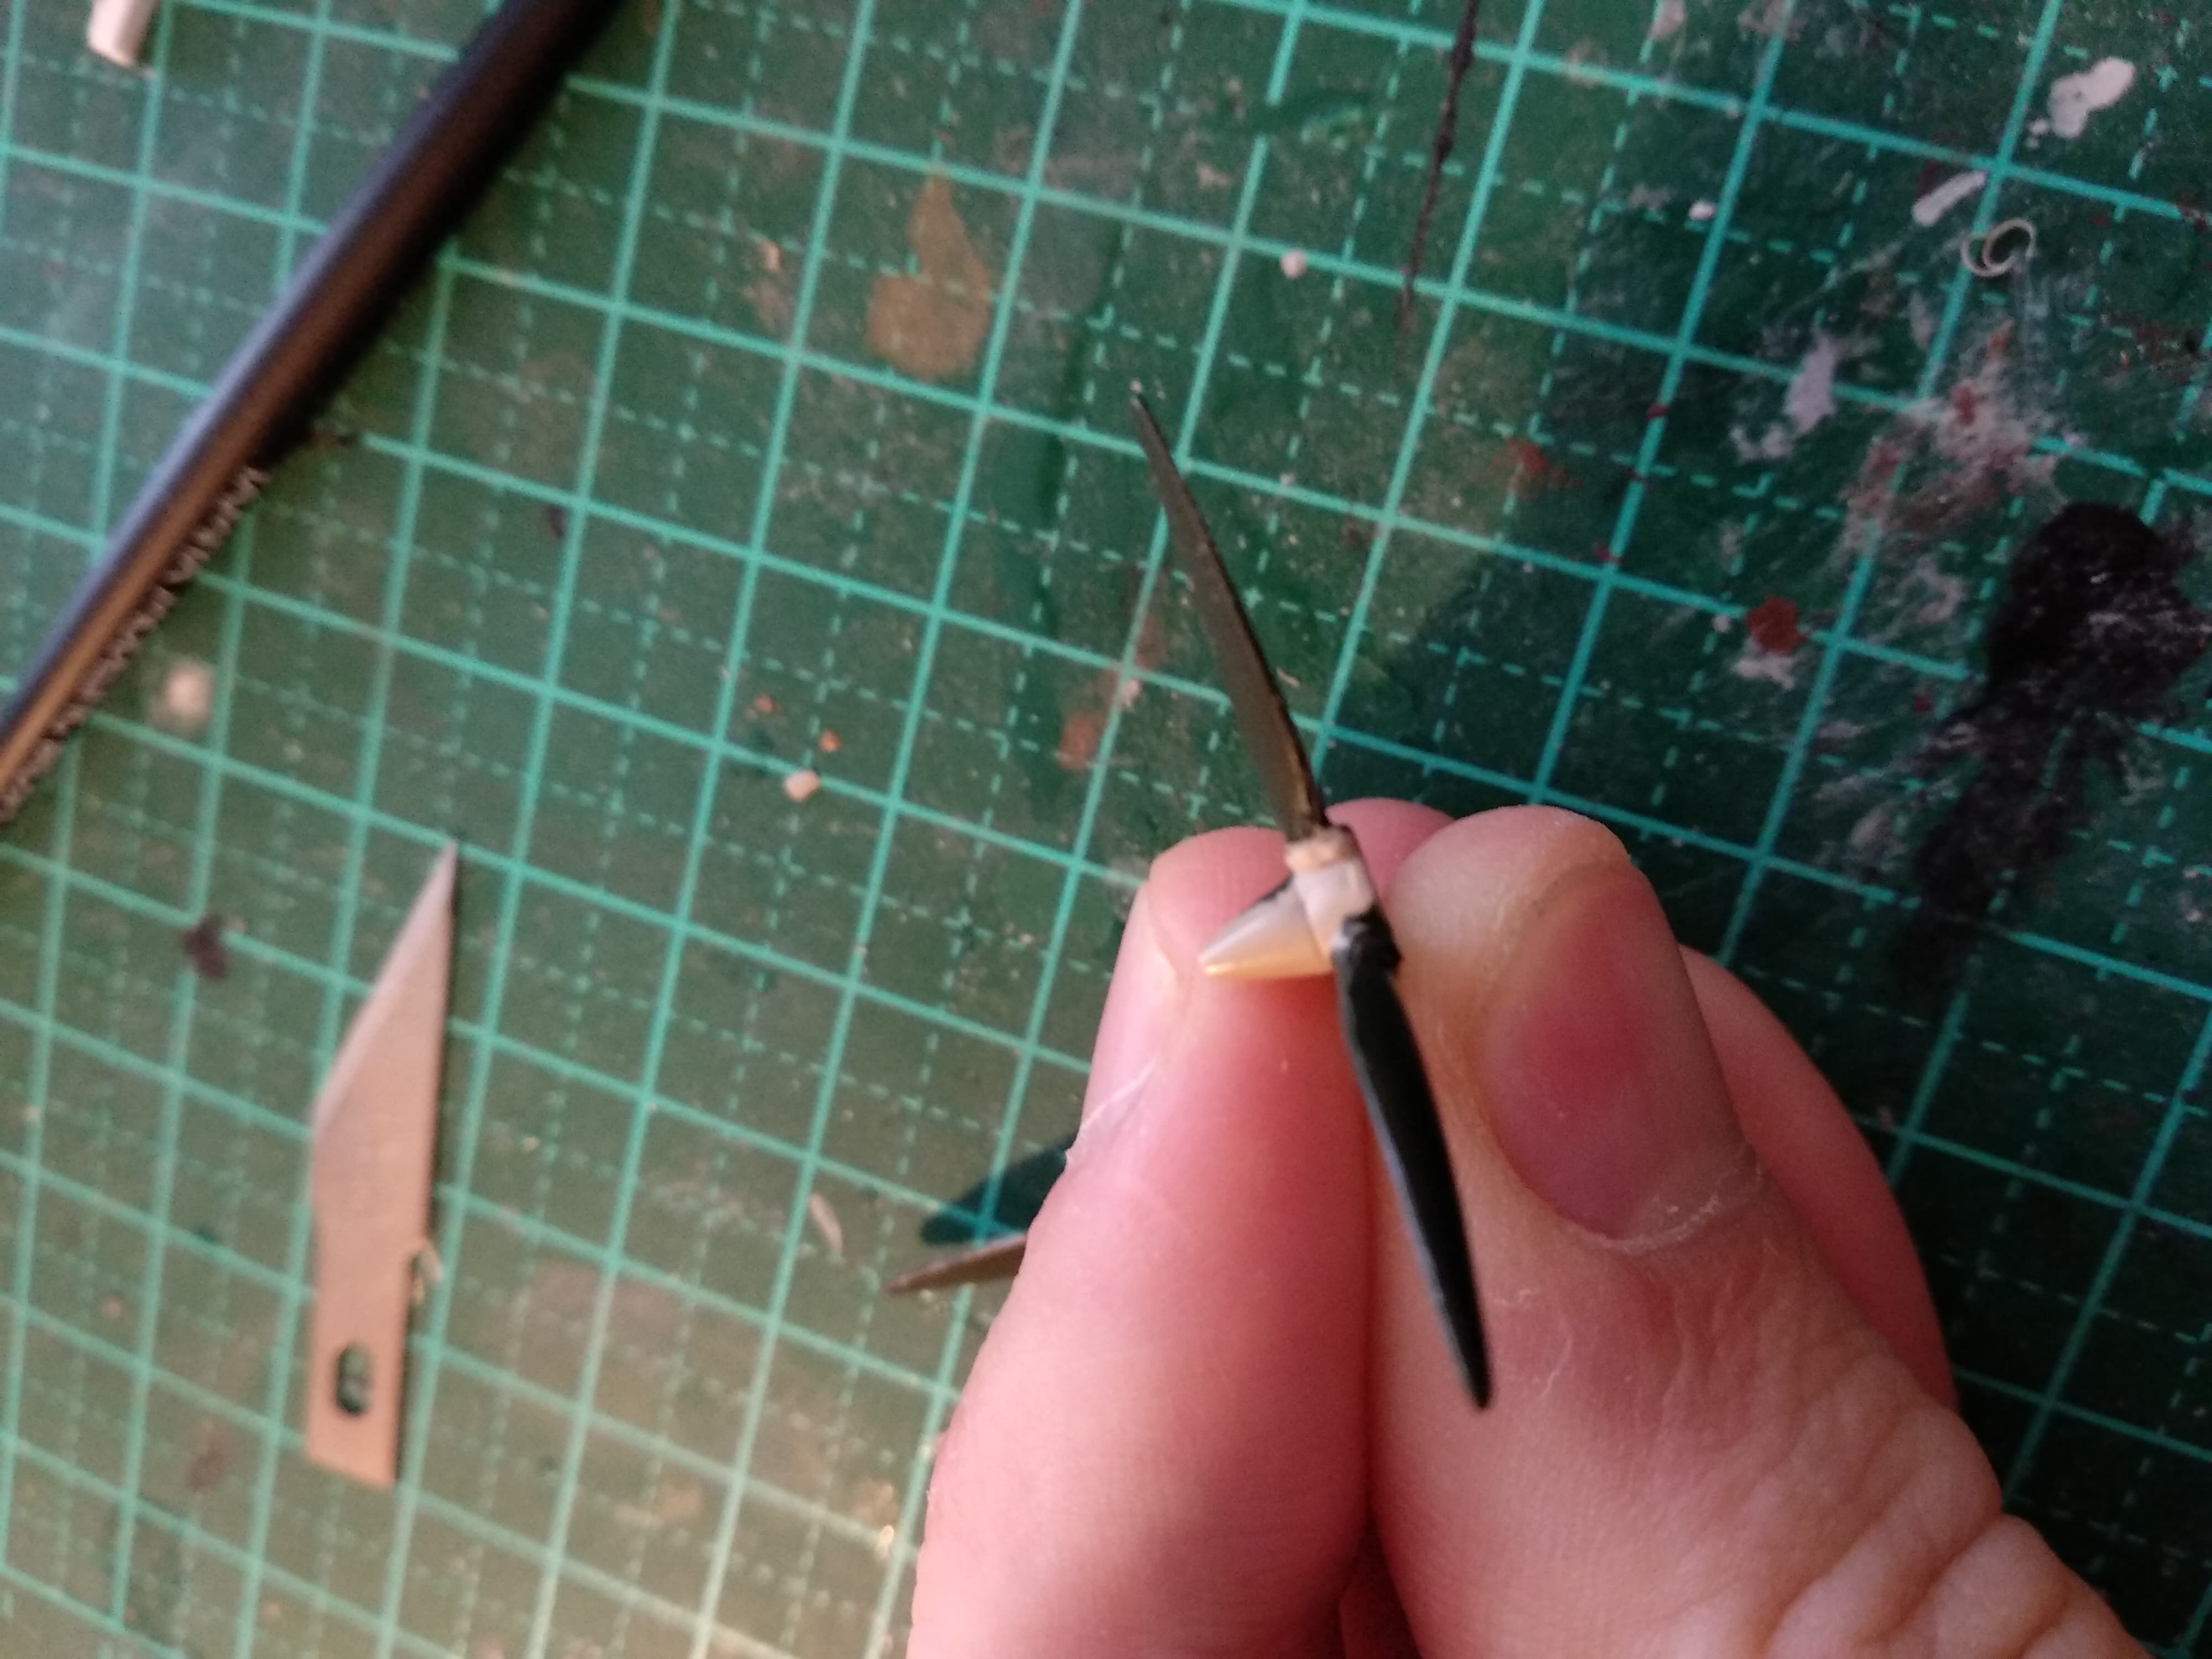
With the fuselage halves together, it was time to improve a bunch more parts on the outside. I started with the air intake for the rear engine. Simple and incorrect, I fully rebuild it, referencing pictures of the actual prototype. I also added a pilot sight, pull rod for the control surface and improved the the nose landing gear. Just for fun I also decided to add bombs. The plane is already fitted with hard points for dive breaks, supposedly to test them for the Fokker G.1. I did a little futuristic scratch building, and finished the dive brakes and added two bombs. I deliberately didn’t model the emergency exit bars for this reason as well. As this is supposed to represent a possible production model of the D.23 the issues with bailing into the rear propeller would have been fixed. Furthermore I opened up the cockpit window. This was done by creating a resin cast of the original window and casting it with clear, slow curing resin. This particular resin has about 2 days in a state where it stays soft and rubbery, making it really easy to cut with a knife before fully curing, allowing me to create an open cockpit, without risking cracking or damaging the windows. Before gluing on the canopy, I also added the missing Garelli compressor. The tail surfaces were also cut loose and reattached under and angle to give the plane a more realistic look. However this proved slightly more difficult than it appeared at first glance, as the brackets were rather fragile. However nothing a little scratch building can’t fix.

engine 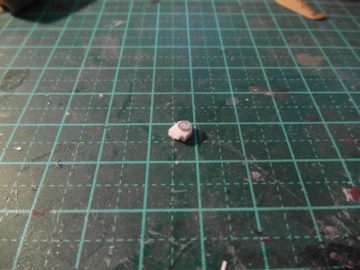
compressor 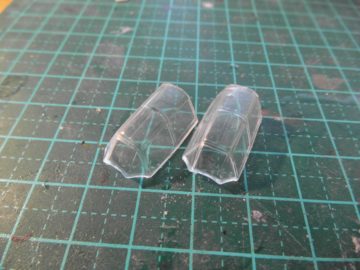
canopy copies 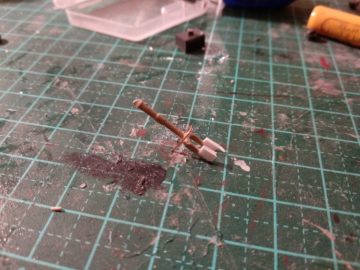
nose wheel gear 


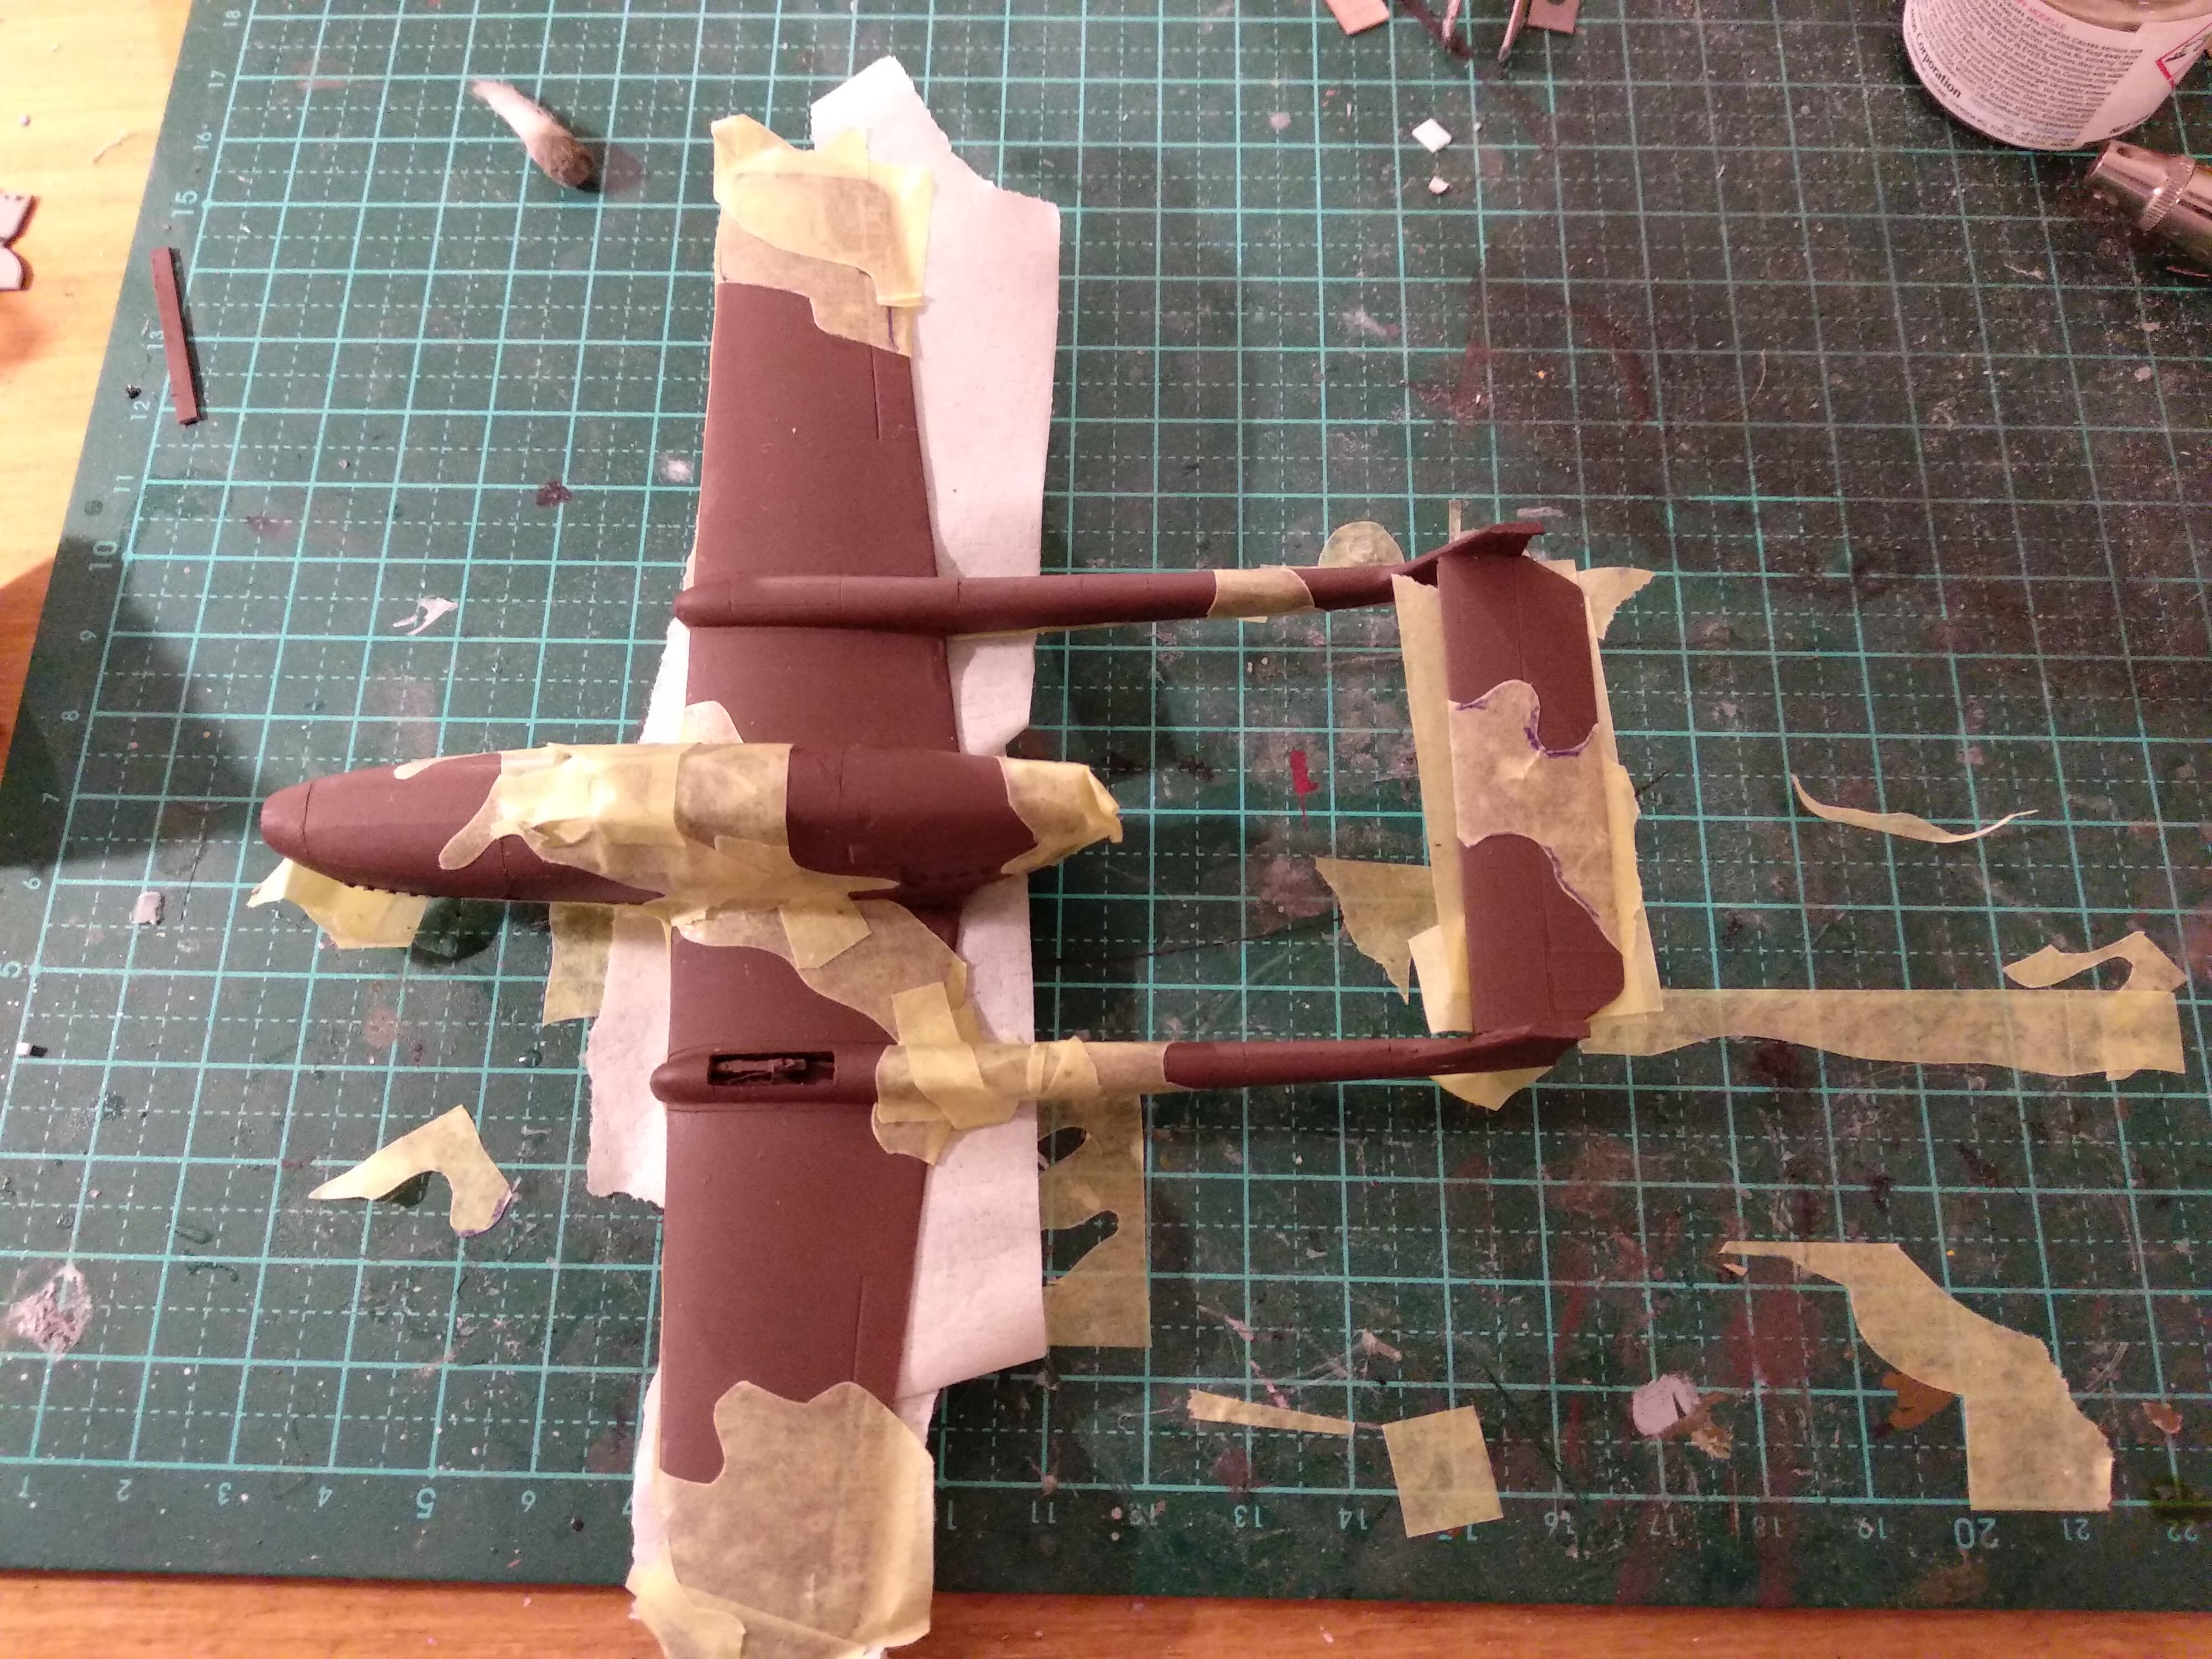
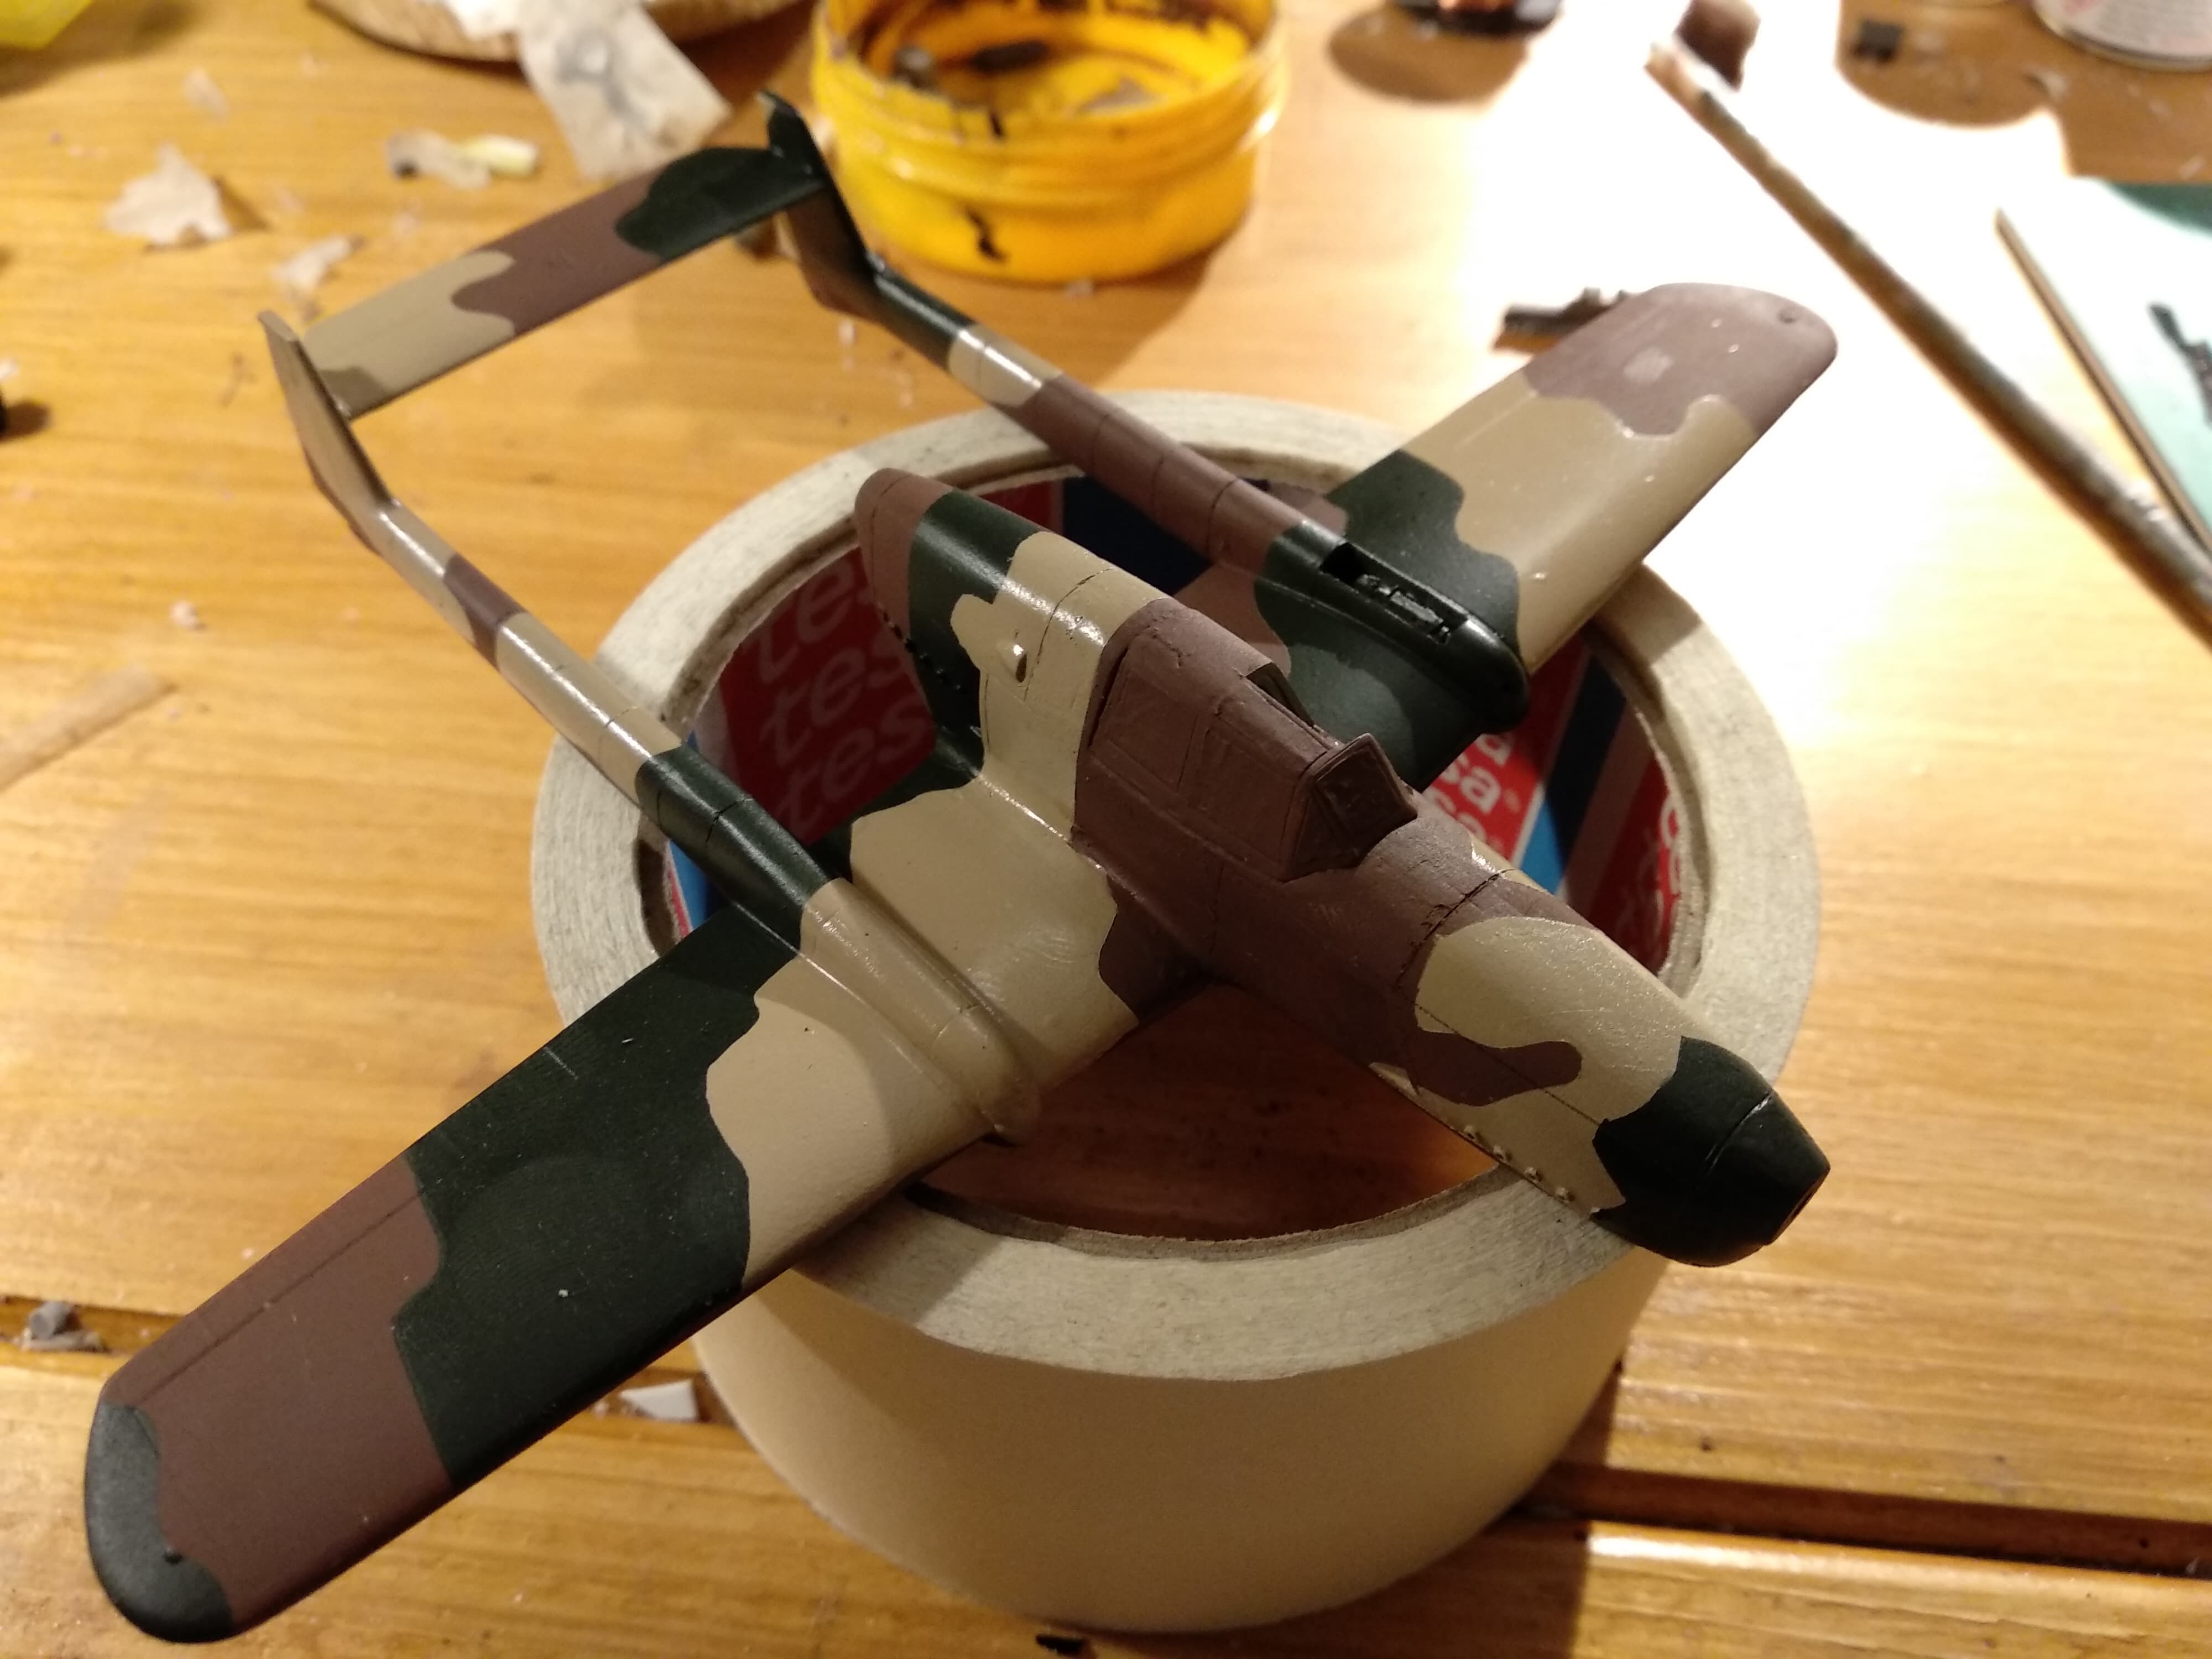
Painting
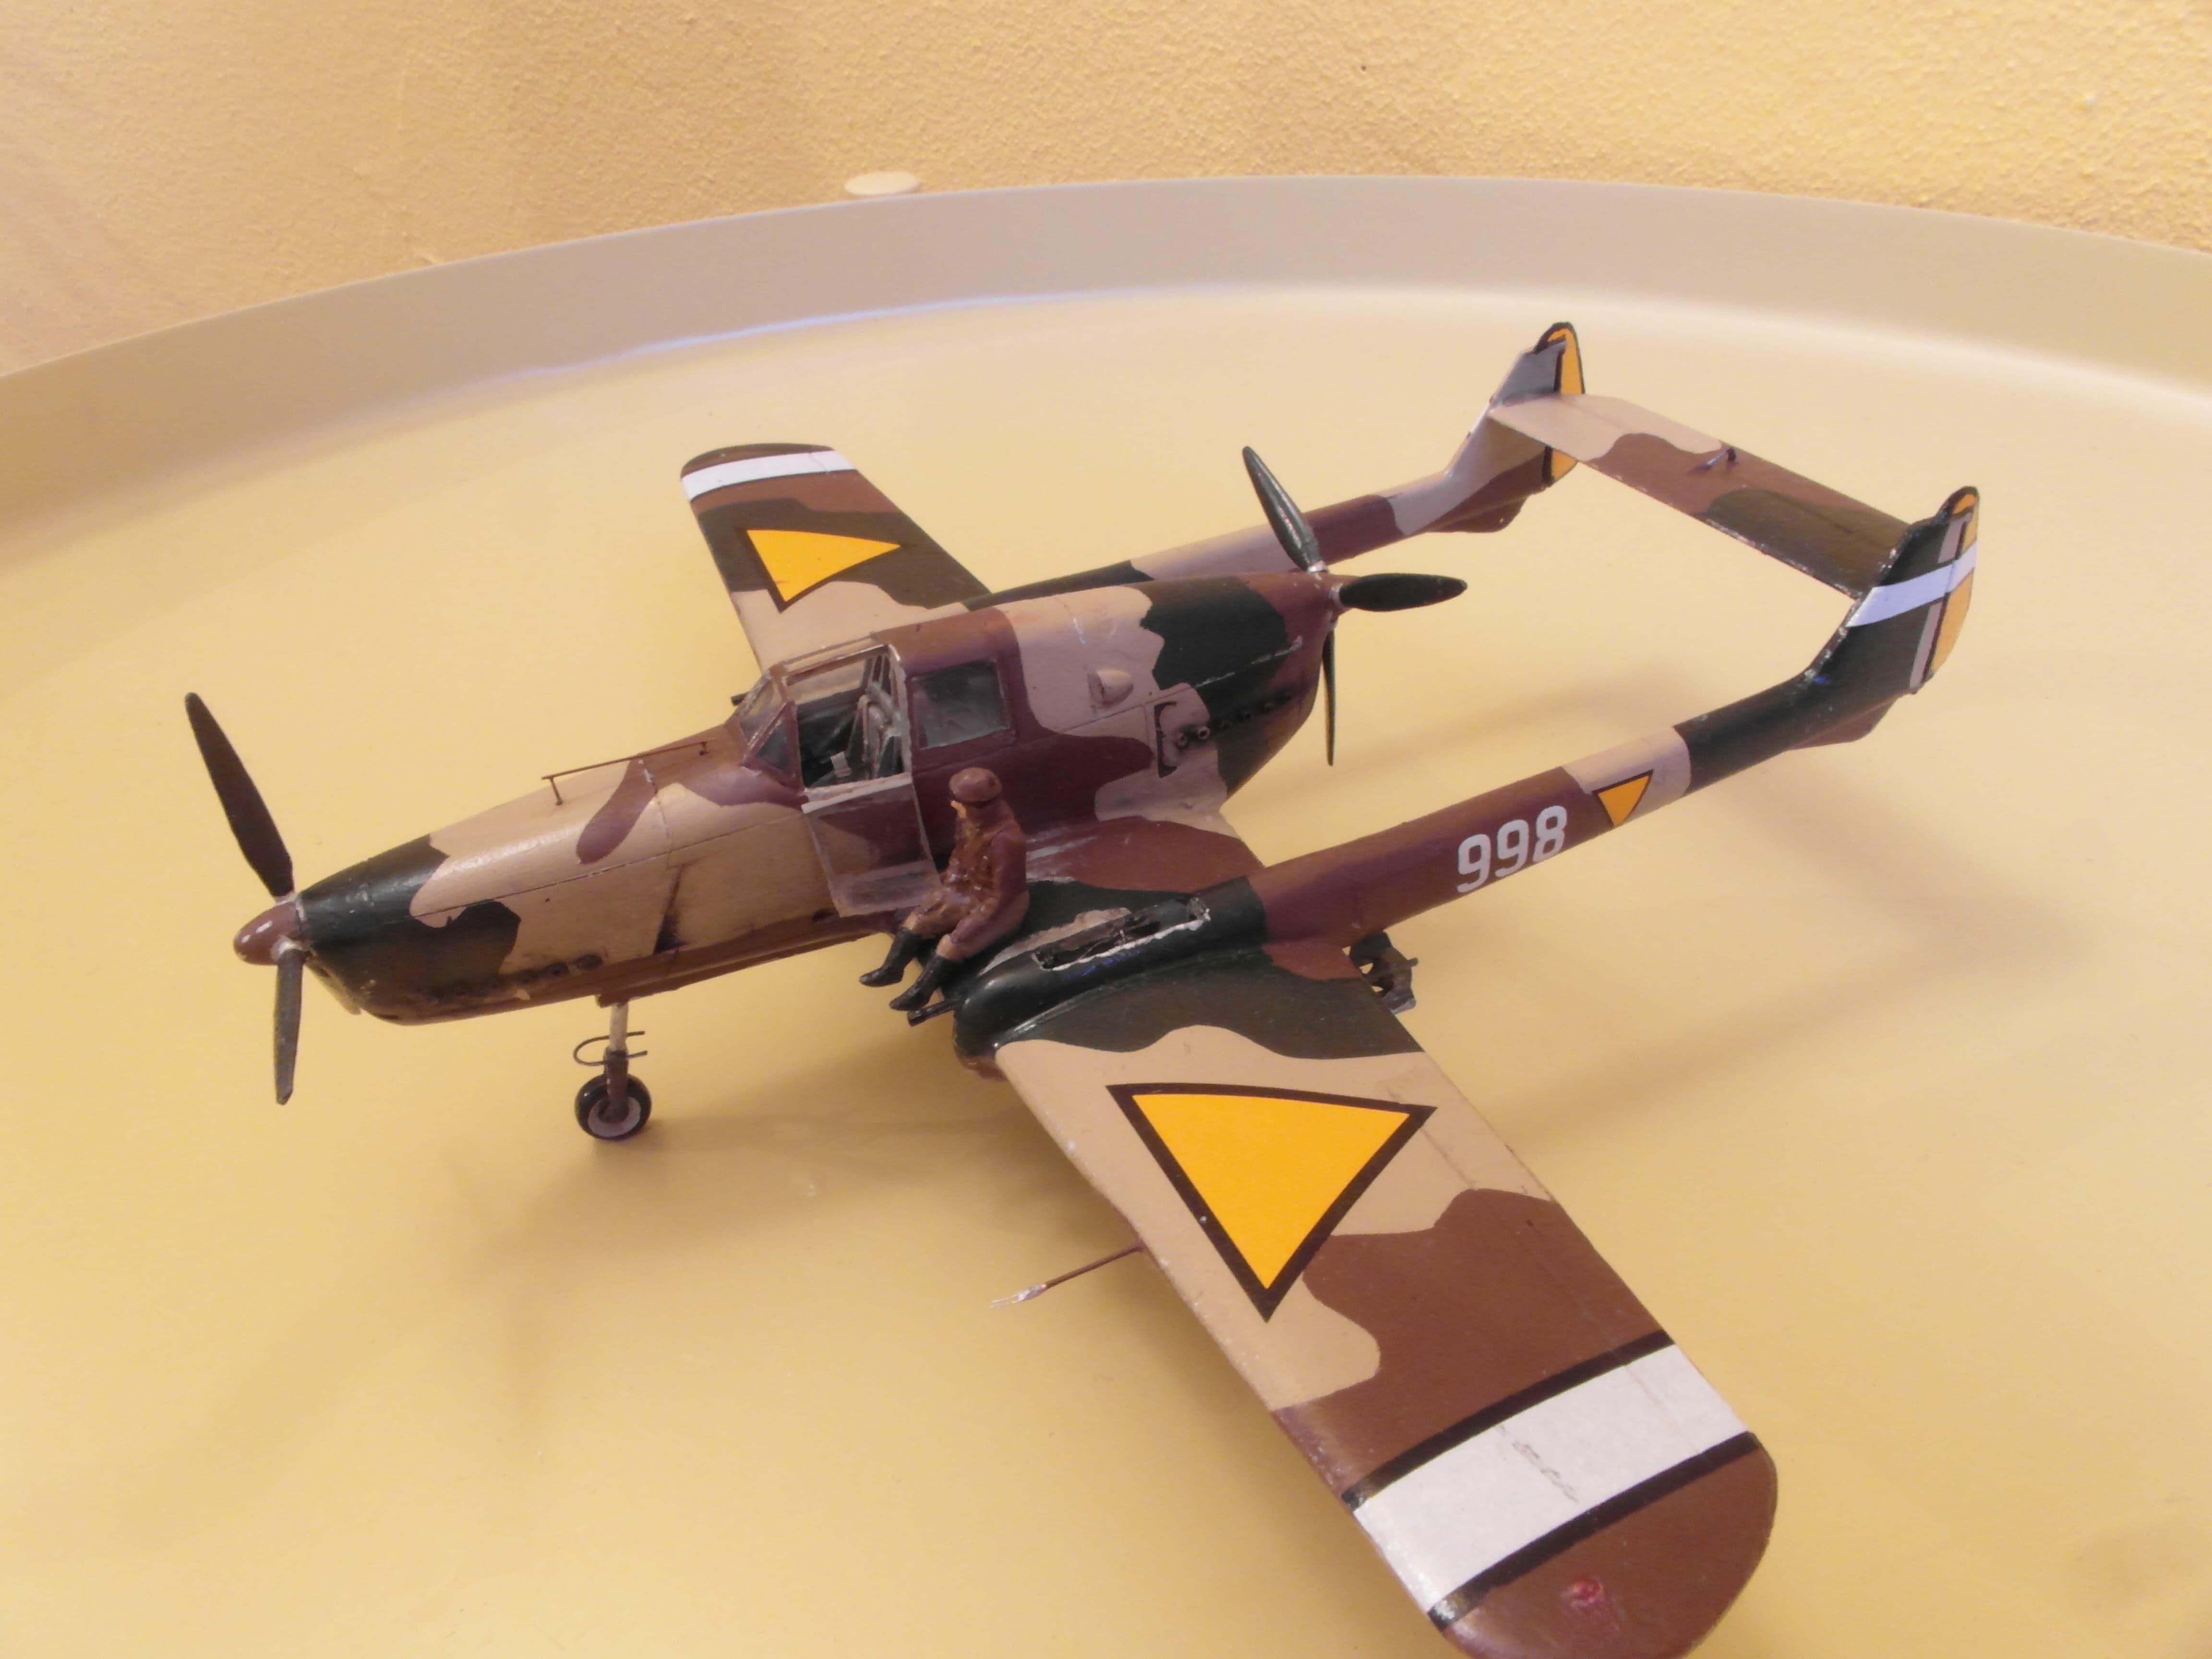
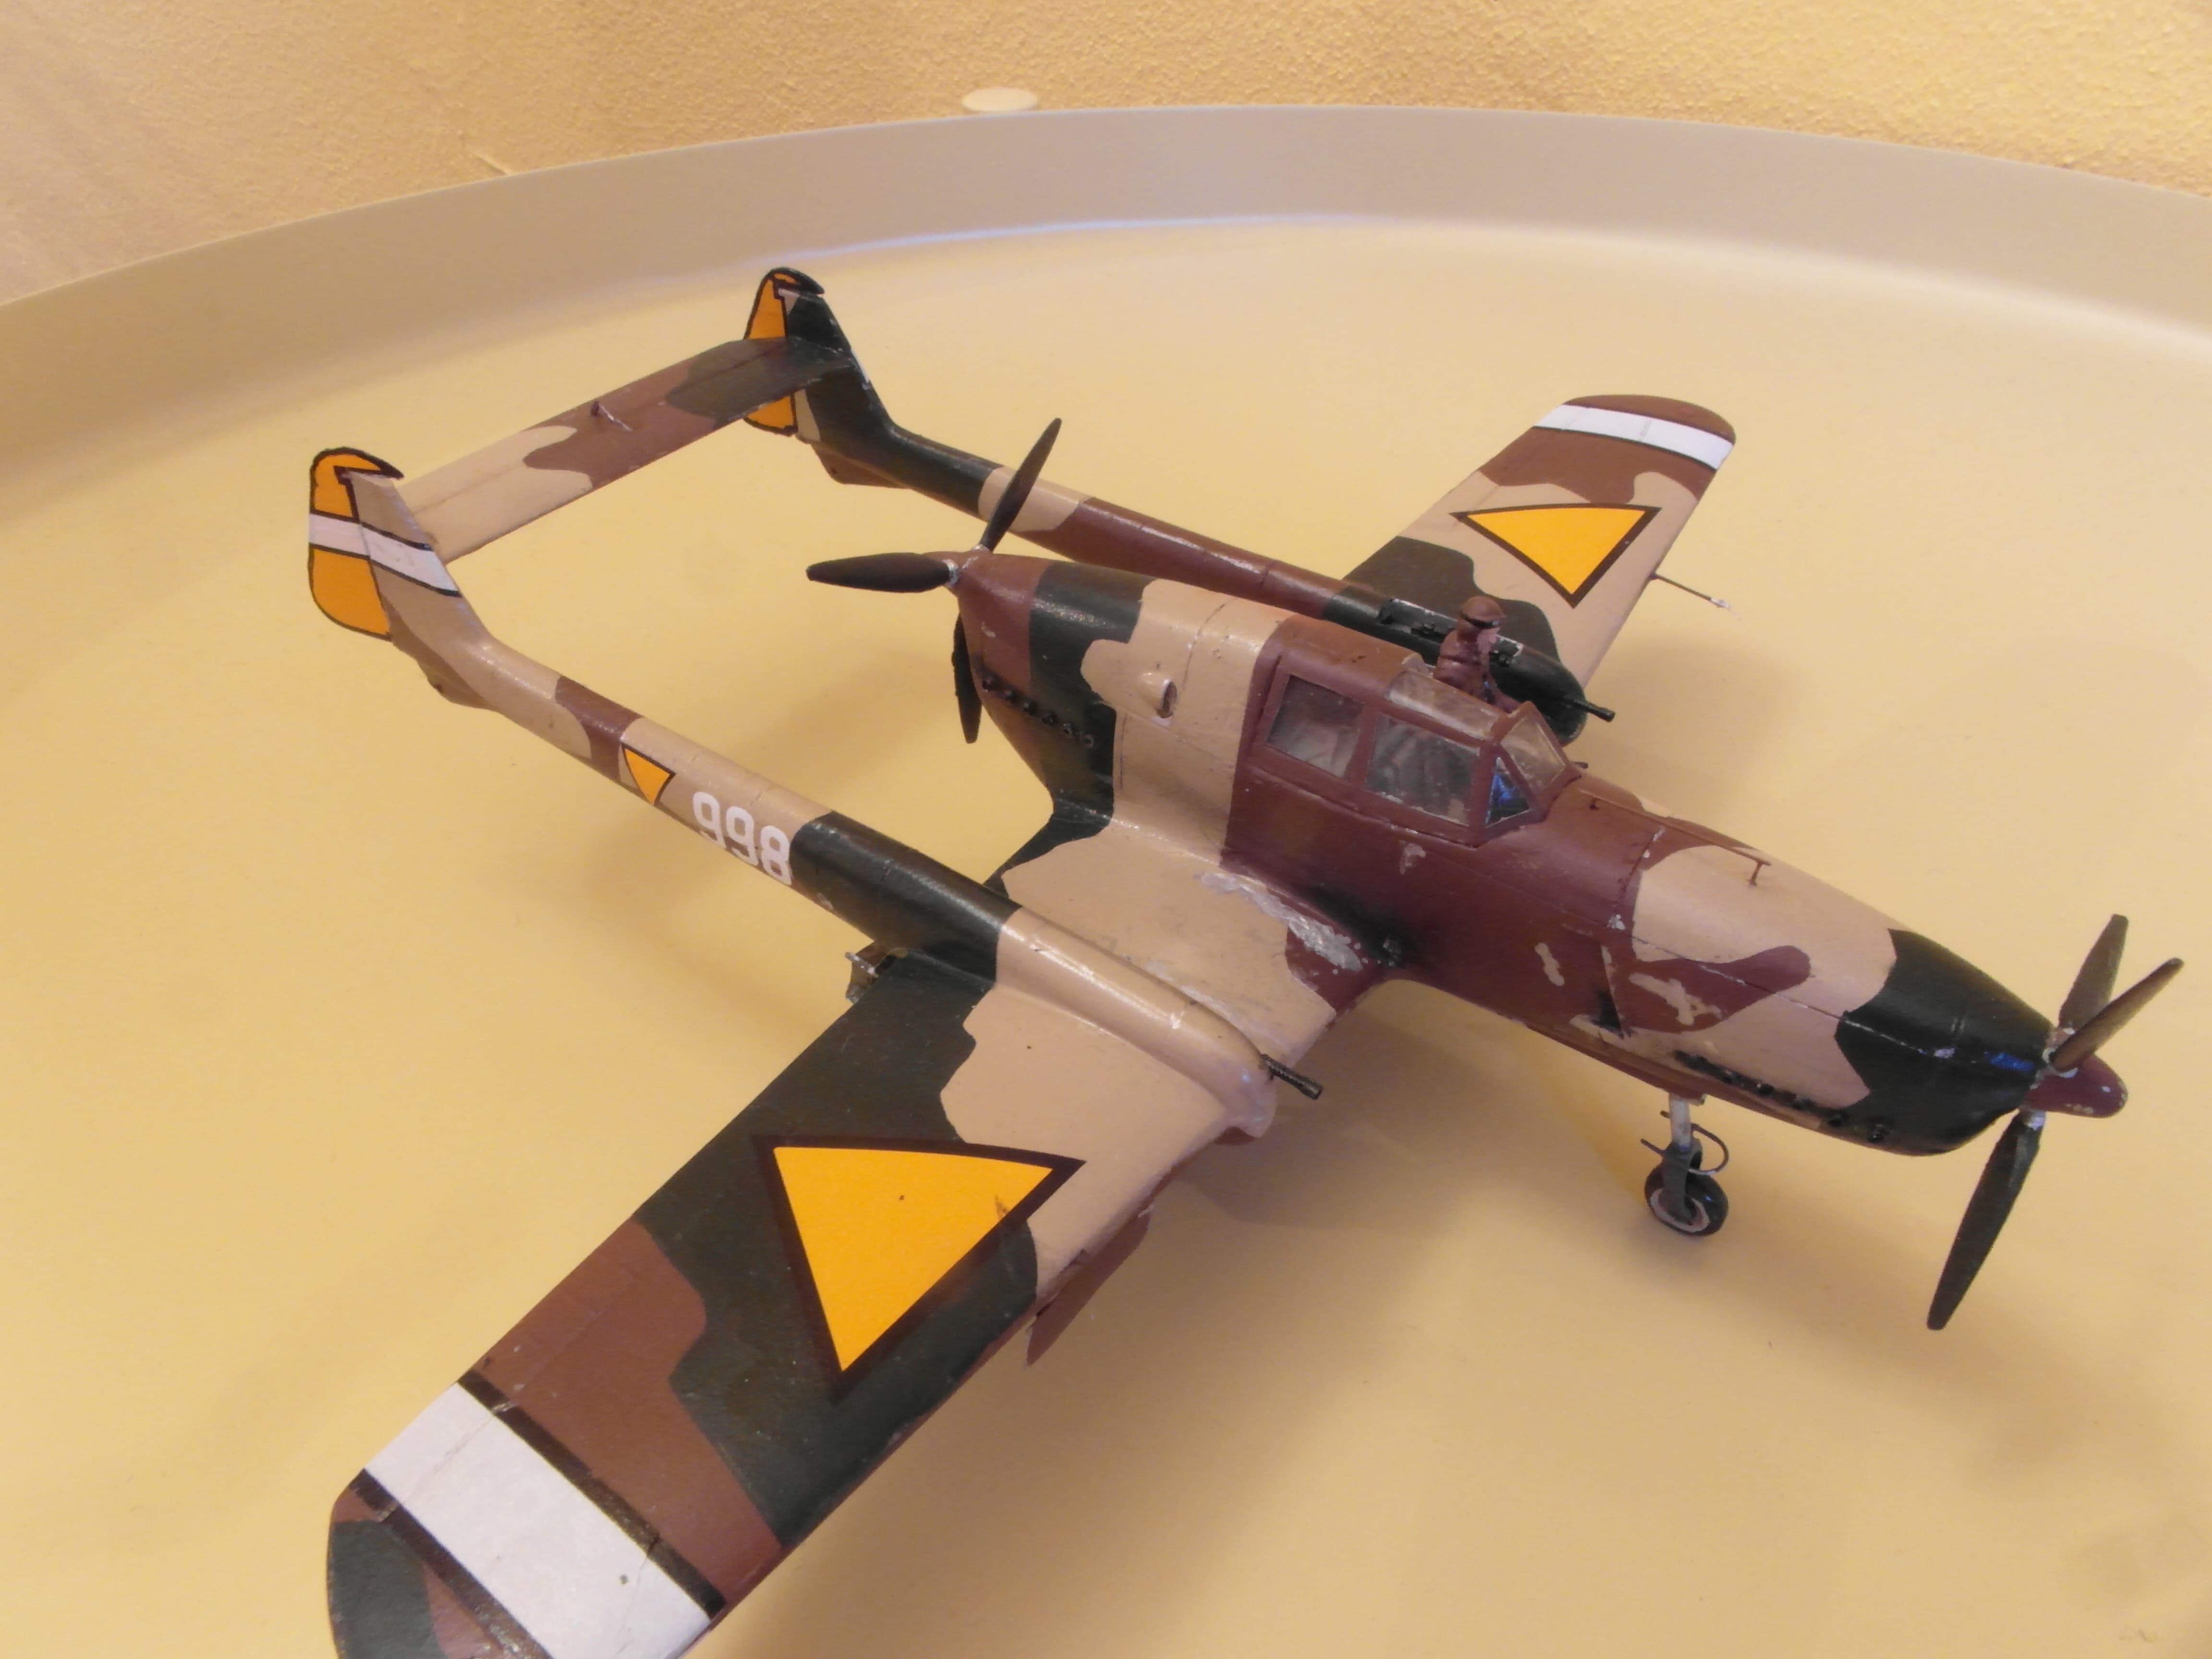
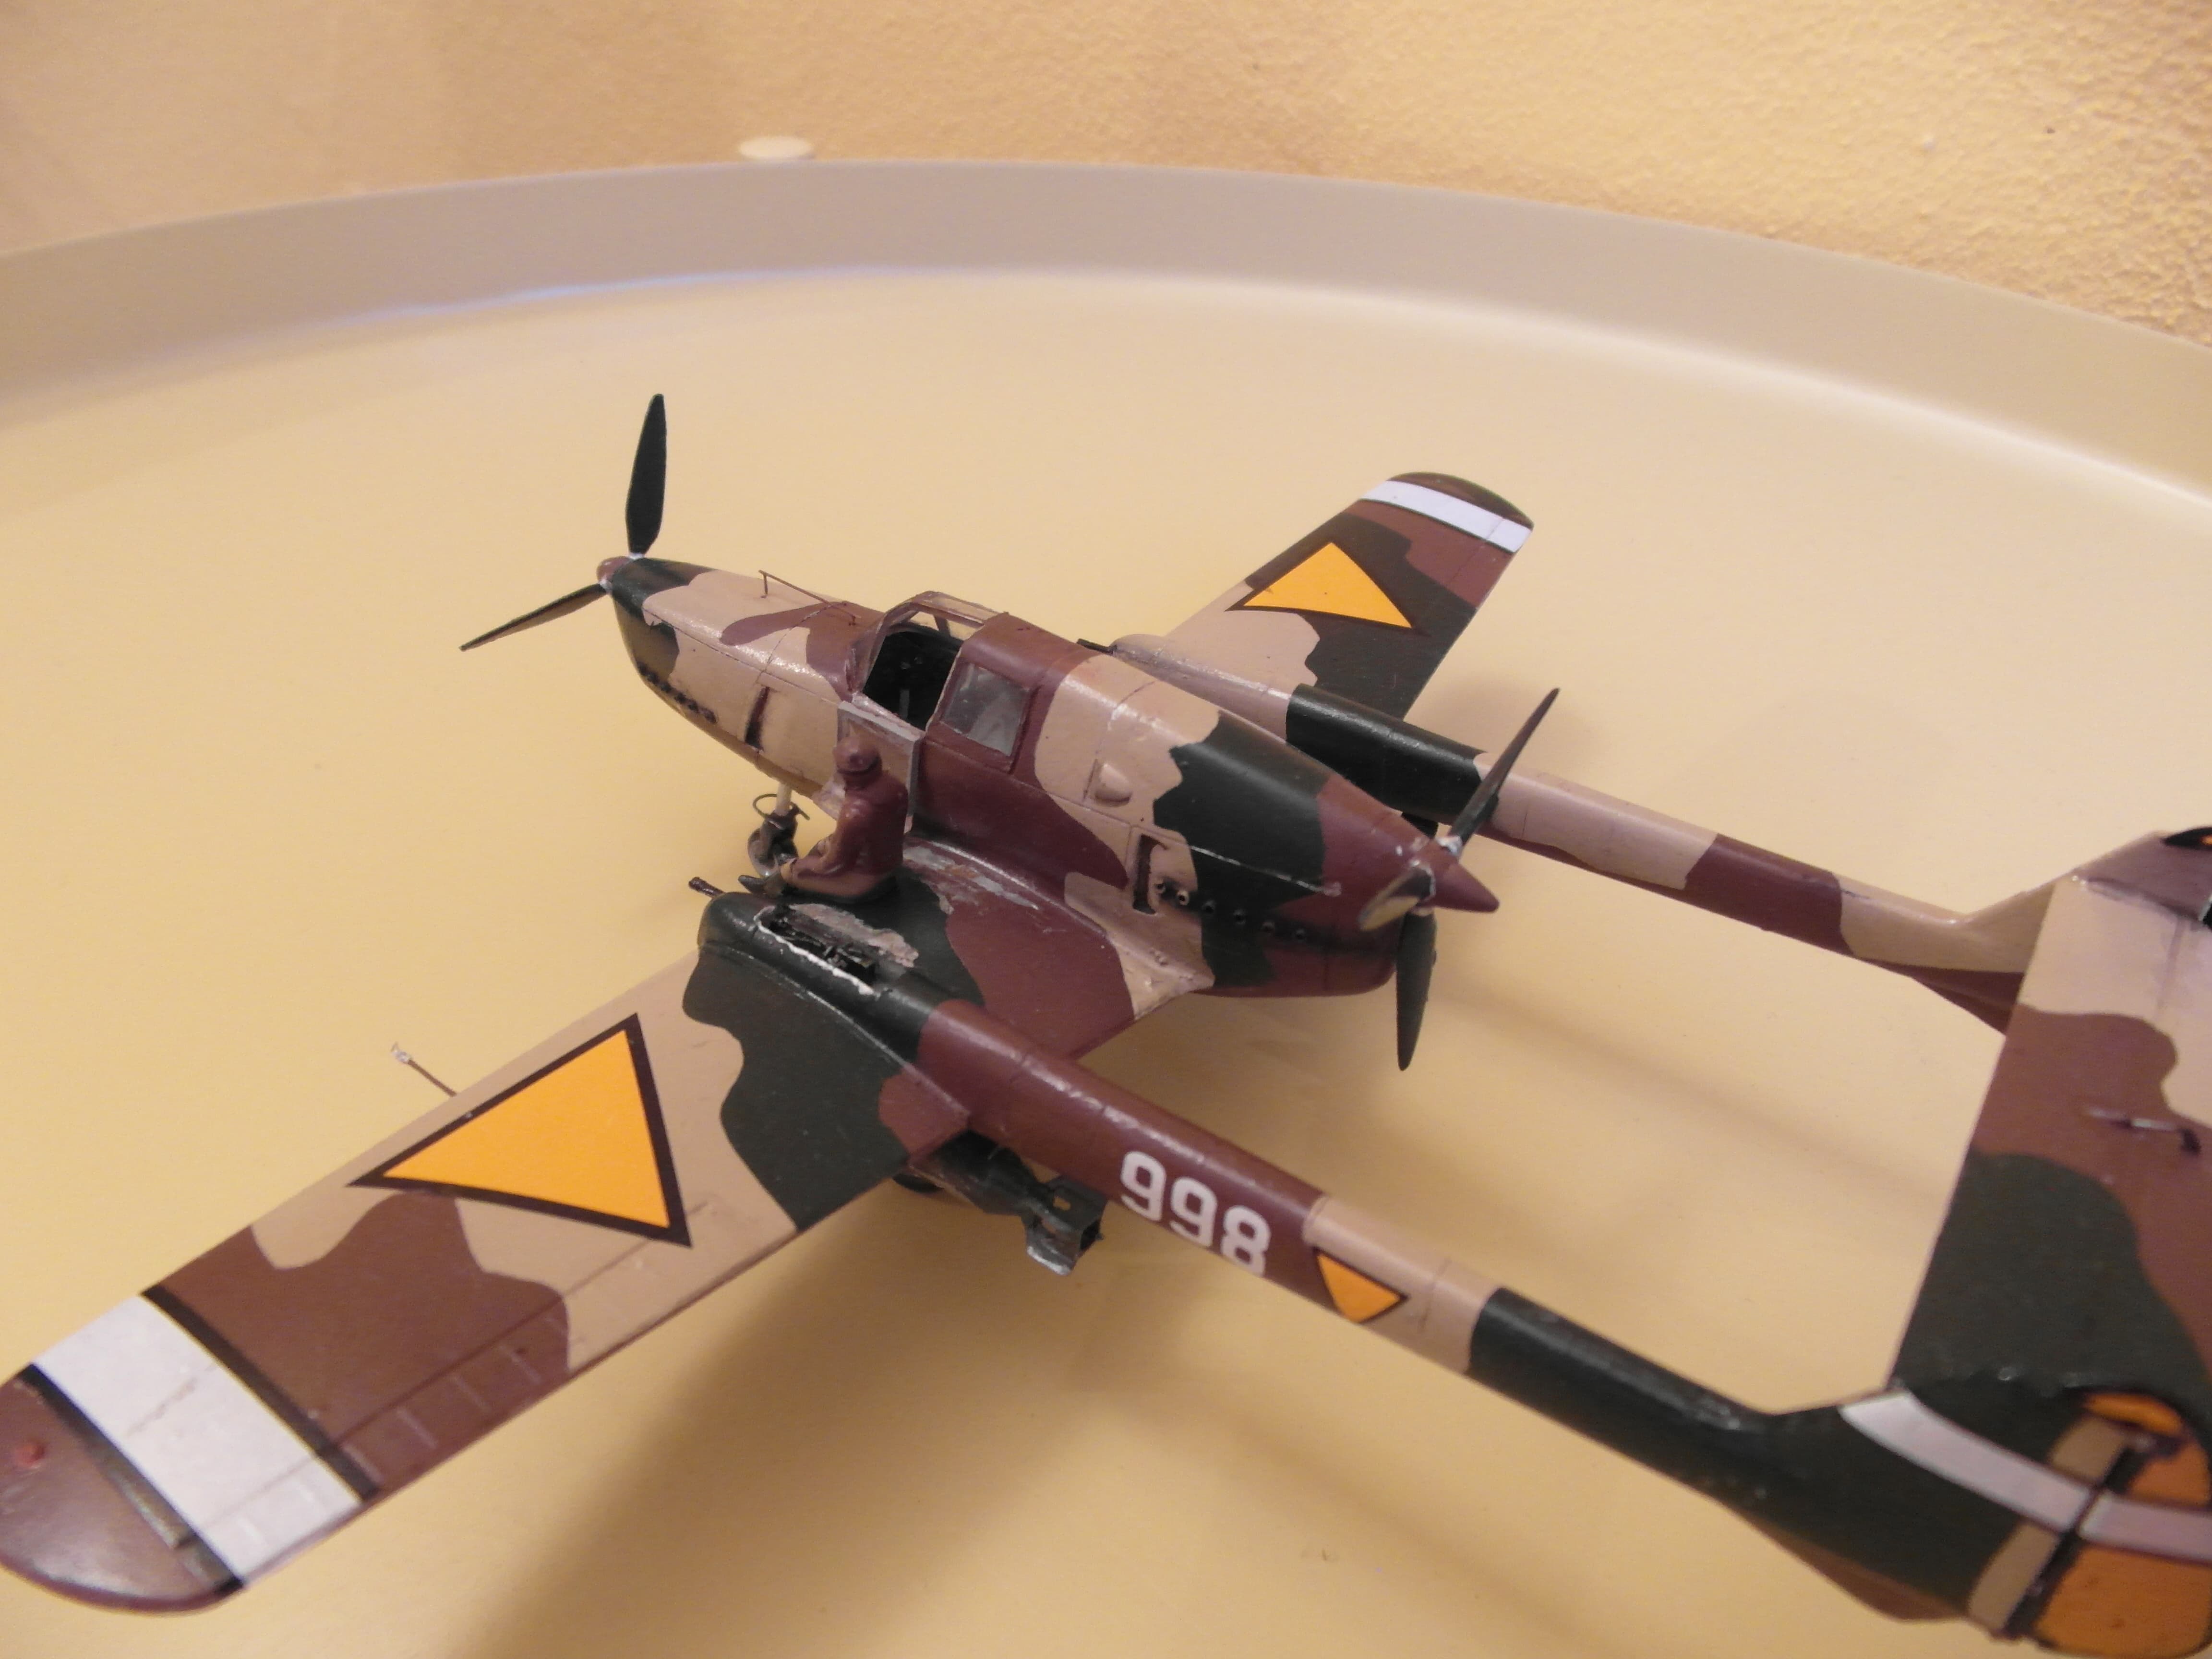
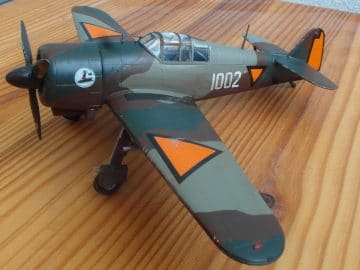
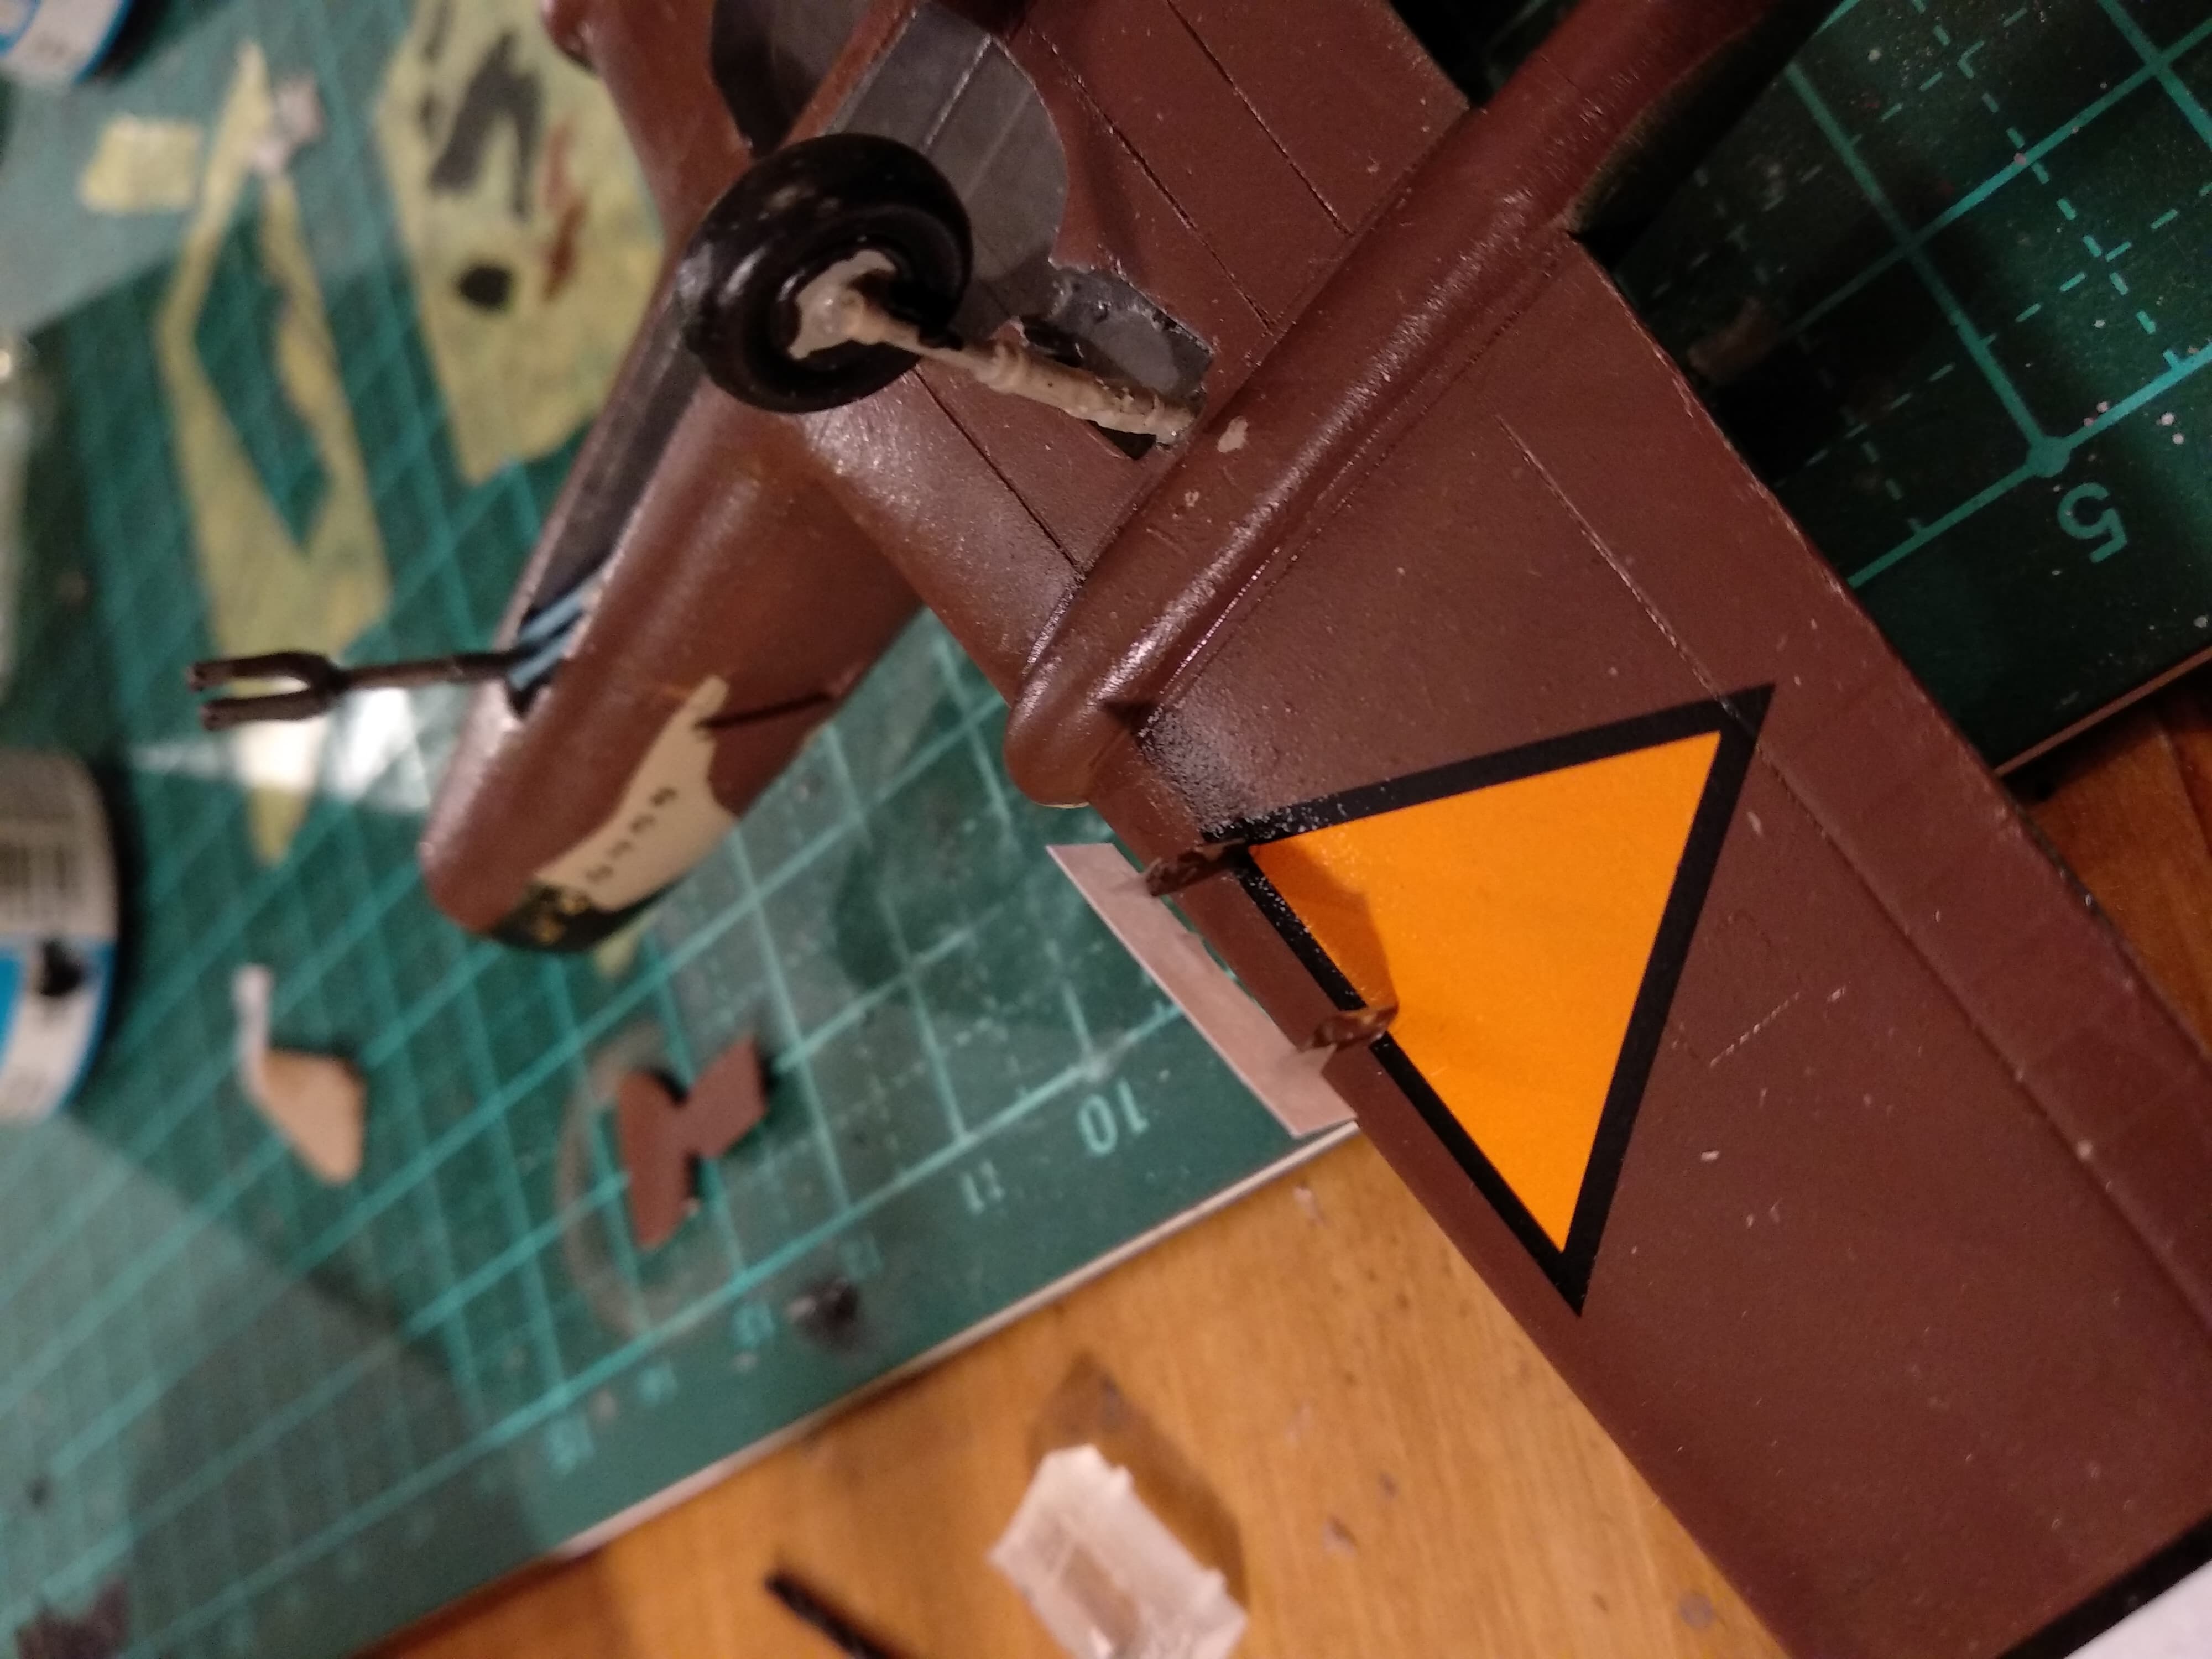
I painted the plane in the typical 3 colour Dutch livery. I used Tamiya XF-64 for the brown, Gunze H79 for the sand colour, and Tamiya XF-61 for the green. The kit says to paint the landing gear in a very light colour, the same as the cockpit, however i didn’t think that matches with the black and white photo’s which show a darker colour, thus i painted those dark gray.
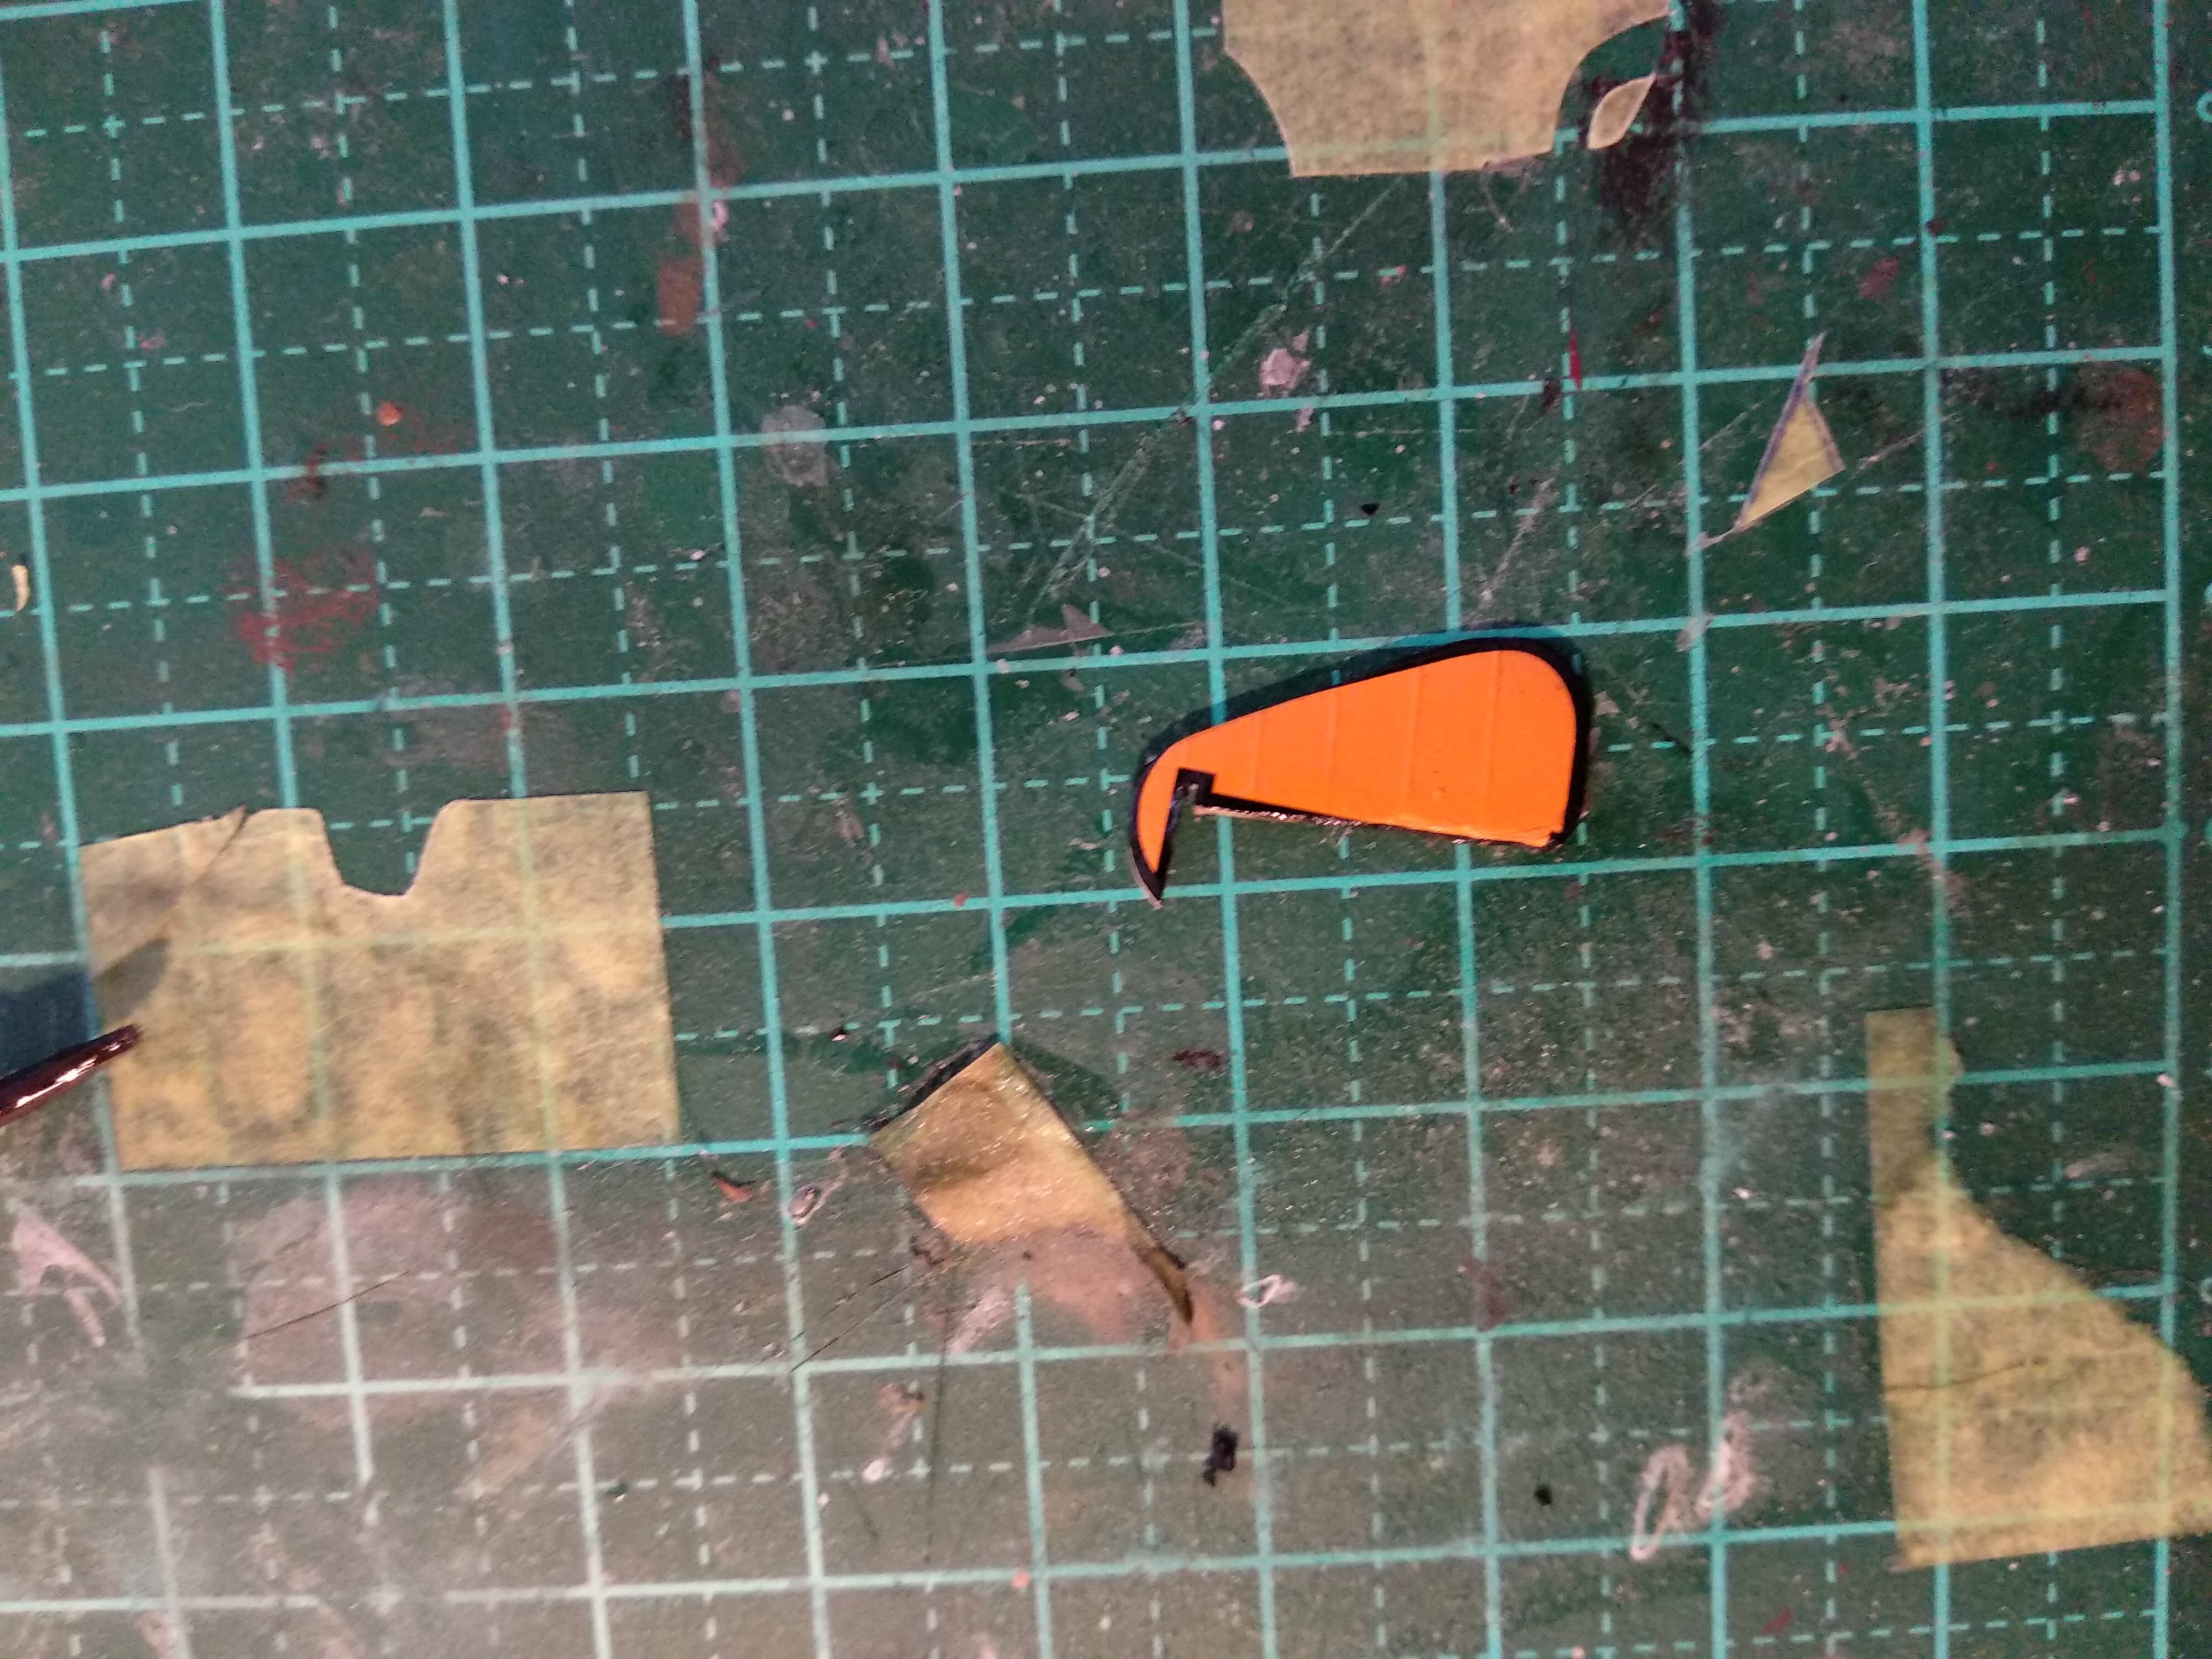
While i did see some complaints on the internet about the decals being slightly transparent, I didn’t have any issues with them whatsoever. They were very thin, crisp and reacted very good with micro sol. Even though this plane is supposed to represent a production model, i kept the white stripes on the wing tips and the tails. These were used to track the plane during test flights, but I think they just look sweet so I put them on. The fin flash was however the wrong shape, and needed a little TLC with some gloss black to restore the black borders. A finish of future, some weathering and the plane was done. For fun I took a pilot i had lying around, painted him in Dutch pilot uniform and glued him to the wing, just as a finishing touch.


Conclusion
A very nice kit of one of a very nice plane. It is however not a kit a kit for beginners. It is a short run production, and it shows. it requires a lot of sanding, putty and the parts don’t have any pins to align them, but a decent modeller can easily overcome this and it will result in a very good plane.